Speed up web design in Illustrator with Adobe Stock templates
Take the stress out of creating websites with smart Adobe Stock templates for Illustrator
In the past, webpage creation was the sole dominion of expert coders, an unavoidable hurdle that could prove expensive and inflexible. But these days, the world of web design is easier and more accessible than ever, with plenty of tools available to make the process simpler.
Before coding a website in HTML, you must first design the UI layout and create assets, either for your own use or to send to a developer. Illustrator is well equipped for this, since it has a pixel-perfect interface, vector graphics, CSS generation, good colour management, as well as access to Adobe Typekit. In this tutorial you will learn how to download a website template from Adobe Stock, customise it for your own use and export as slices.
Oh, and if you're new to Adobe Stock, then here's a great offer for you. Take out a 30-day free trial and get 10 standard assets to use in your projects, absolutely free. It's an offer you can't turn down, so get started with Adobe Stock today!
01. Search for a template
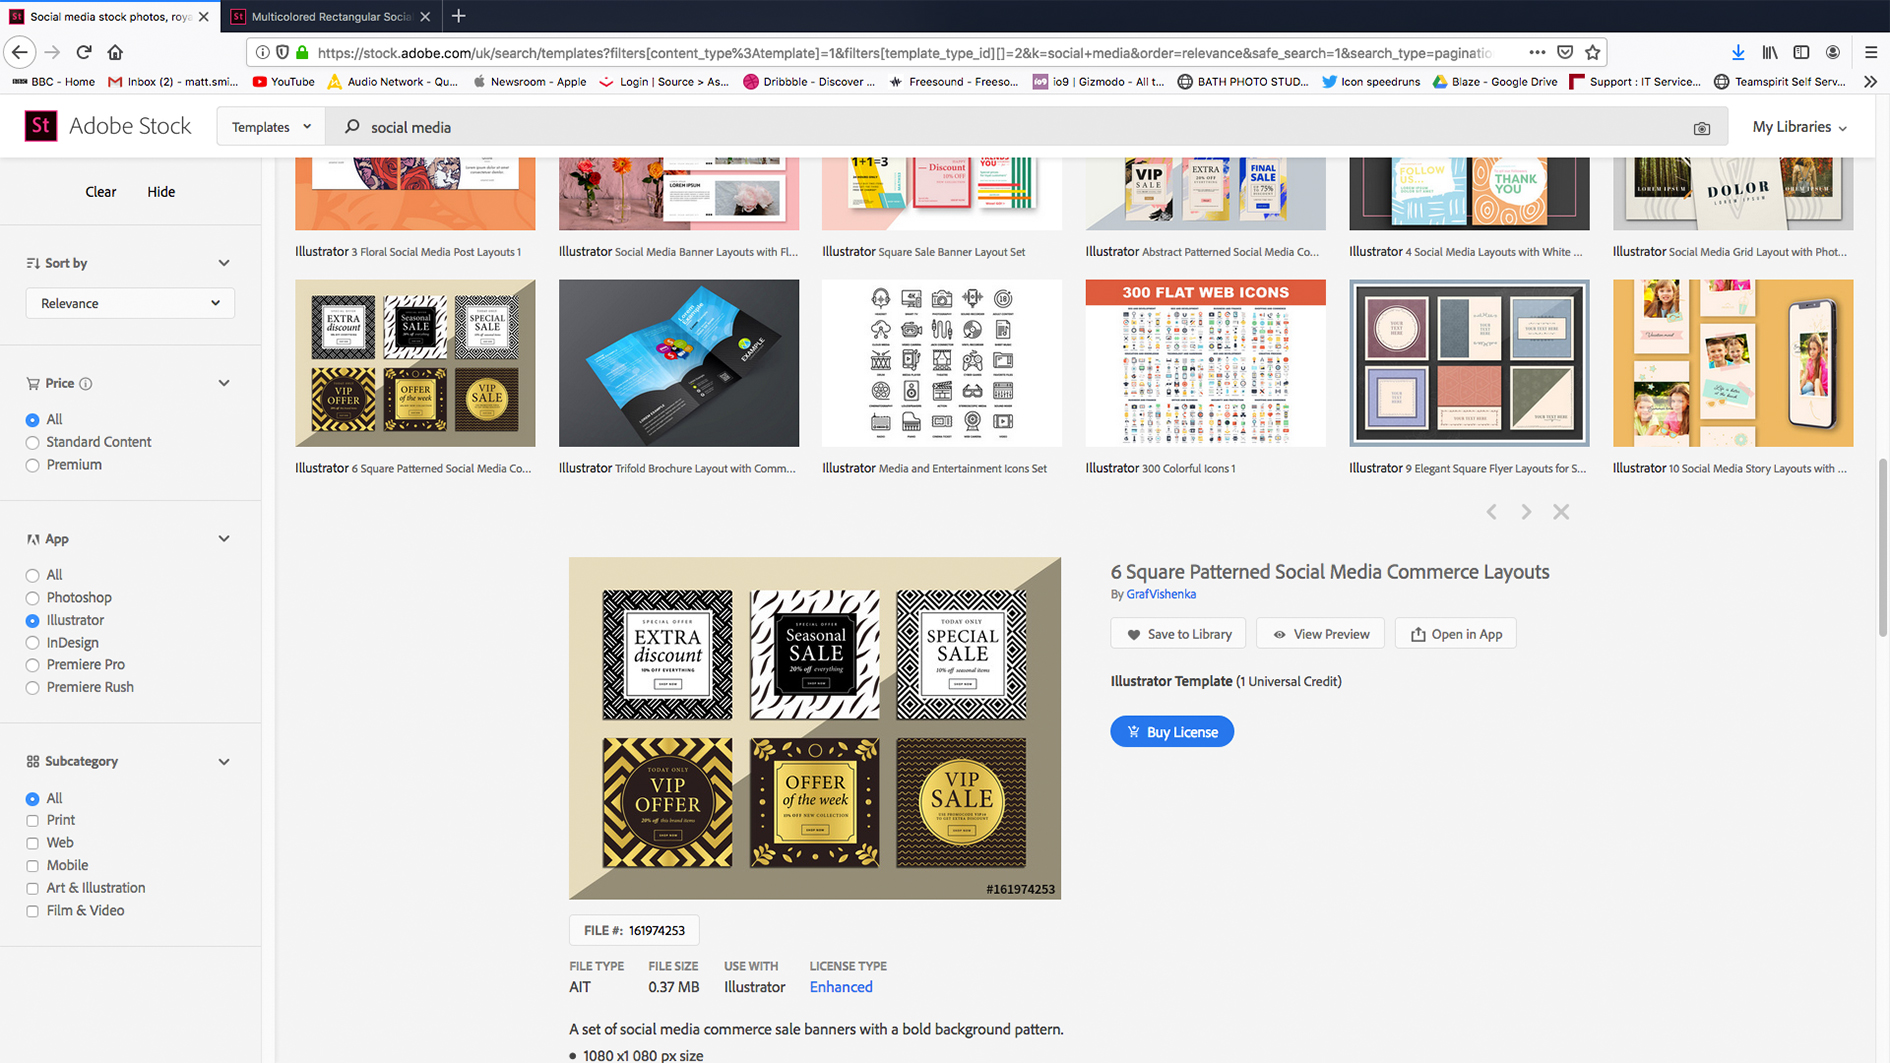
Any design job is a careful balance of inspiration and know-how. If you’re new to web design or want a quick solution, Adobe Stock provides a wealth of templates that can make the job simpler.
Illustrator’s New Document window offers a limited choice of free templates, which can be downloaded without ever leaving the app. Access these by clicking one of the tabs at the top of the window: Mobile, Web, Print, Film & Video or Art & Illustration.
For a more varied choice, visit the Adobe Stock website, which is home to a library of professionally designed templates, graphics and images. Type ‘website design’ into the search bar and sort the results by clicking on the View Filters button, which opens a sidebar of options. By selecting Illustrator, you will ensure that you are only seeing projects for that specific software.
Click on any template you like and license it. I used one of Illustrator’s free templates, which downloaded and opened instantly into the app.
02. Inspect the document
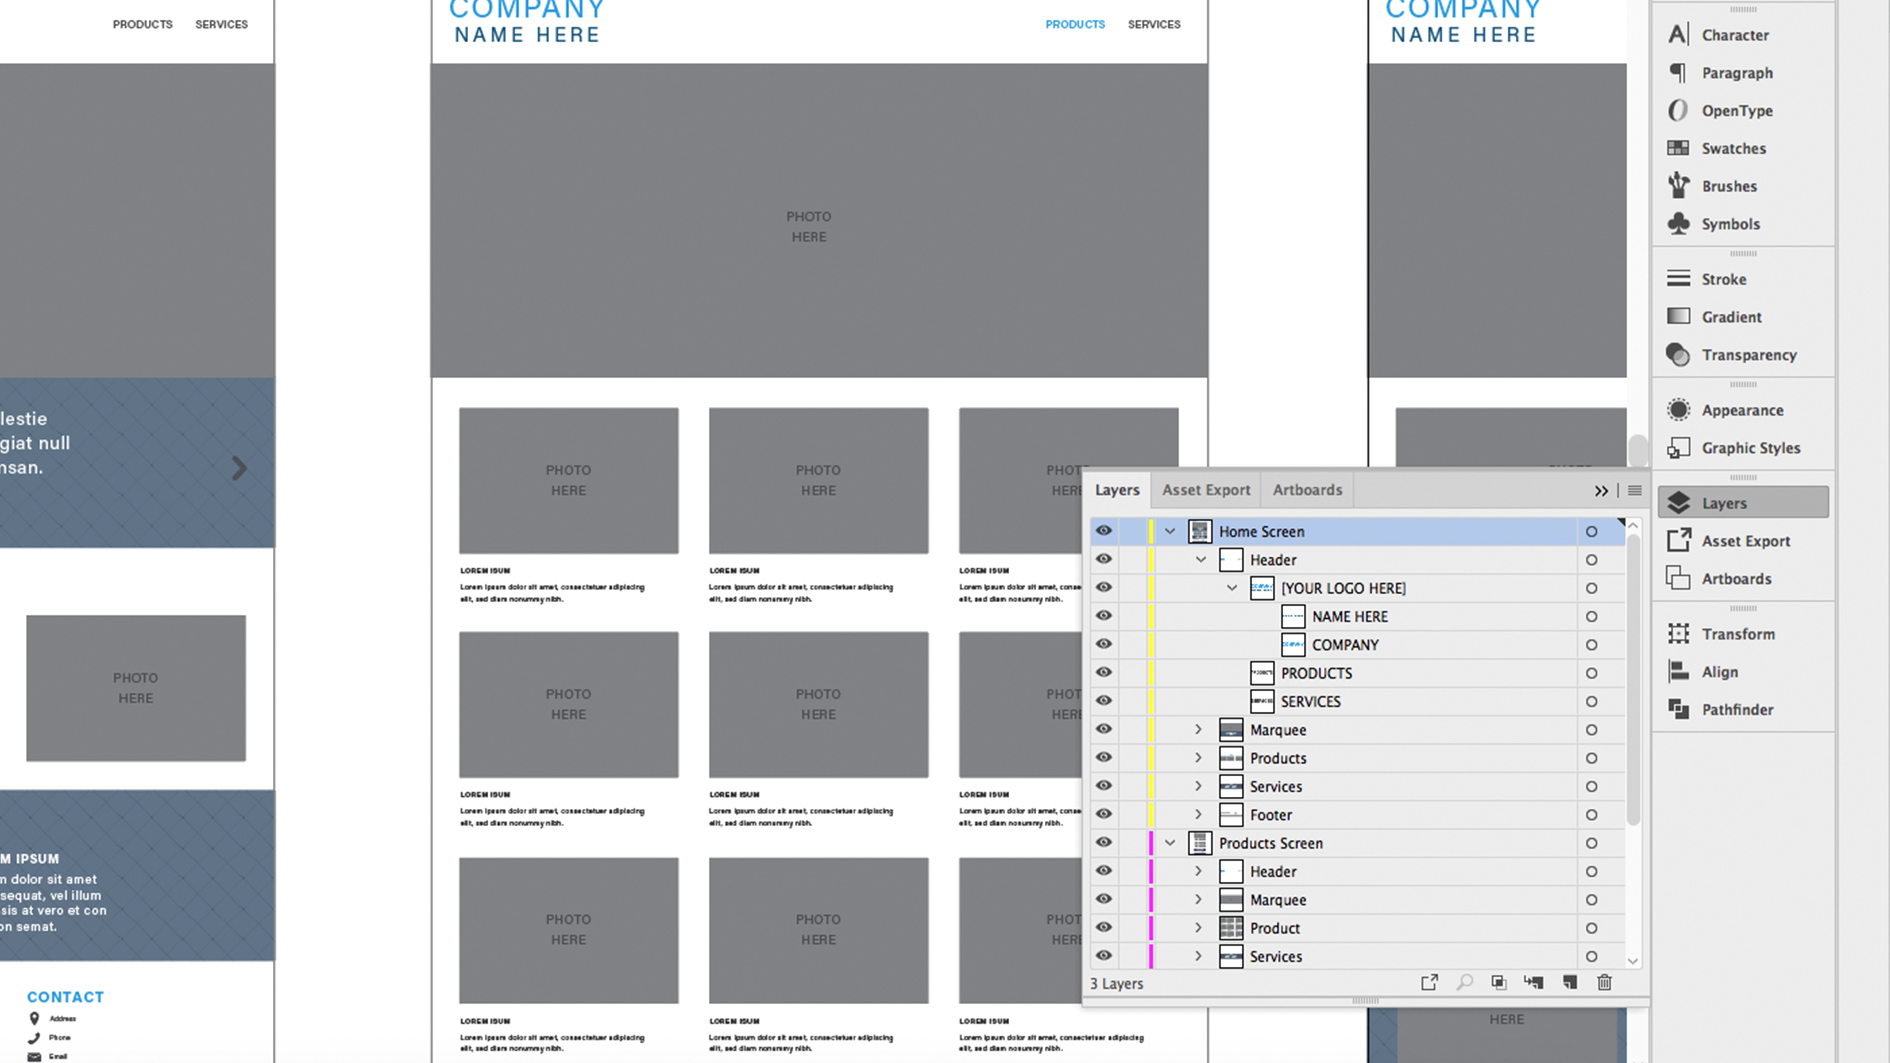
This document contains three artboards, designated by the black borders that appear around them. These are all set to a width of 1280px, a standard screen size for web. The height of the page will ultimately depend on the content you add and can be changed later on by going into the Document Setup and opening Edit Artboards.
This template is broken down into a nested hierarchy of layers, which can be accessed in the Layers tab. Click on the arrows next to each layer to delve down and find what you are looking for. You can also toggle layer visibility and lock them by clicking on the icons to the left.
It can be useful to place a screenshot of a web browser behind your design to see how it will look on a screen.
03. Add your own text
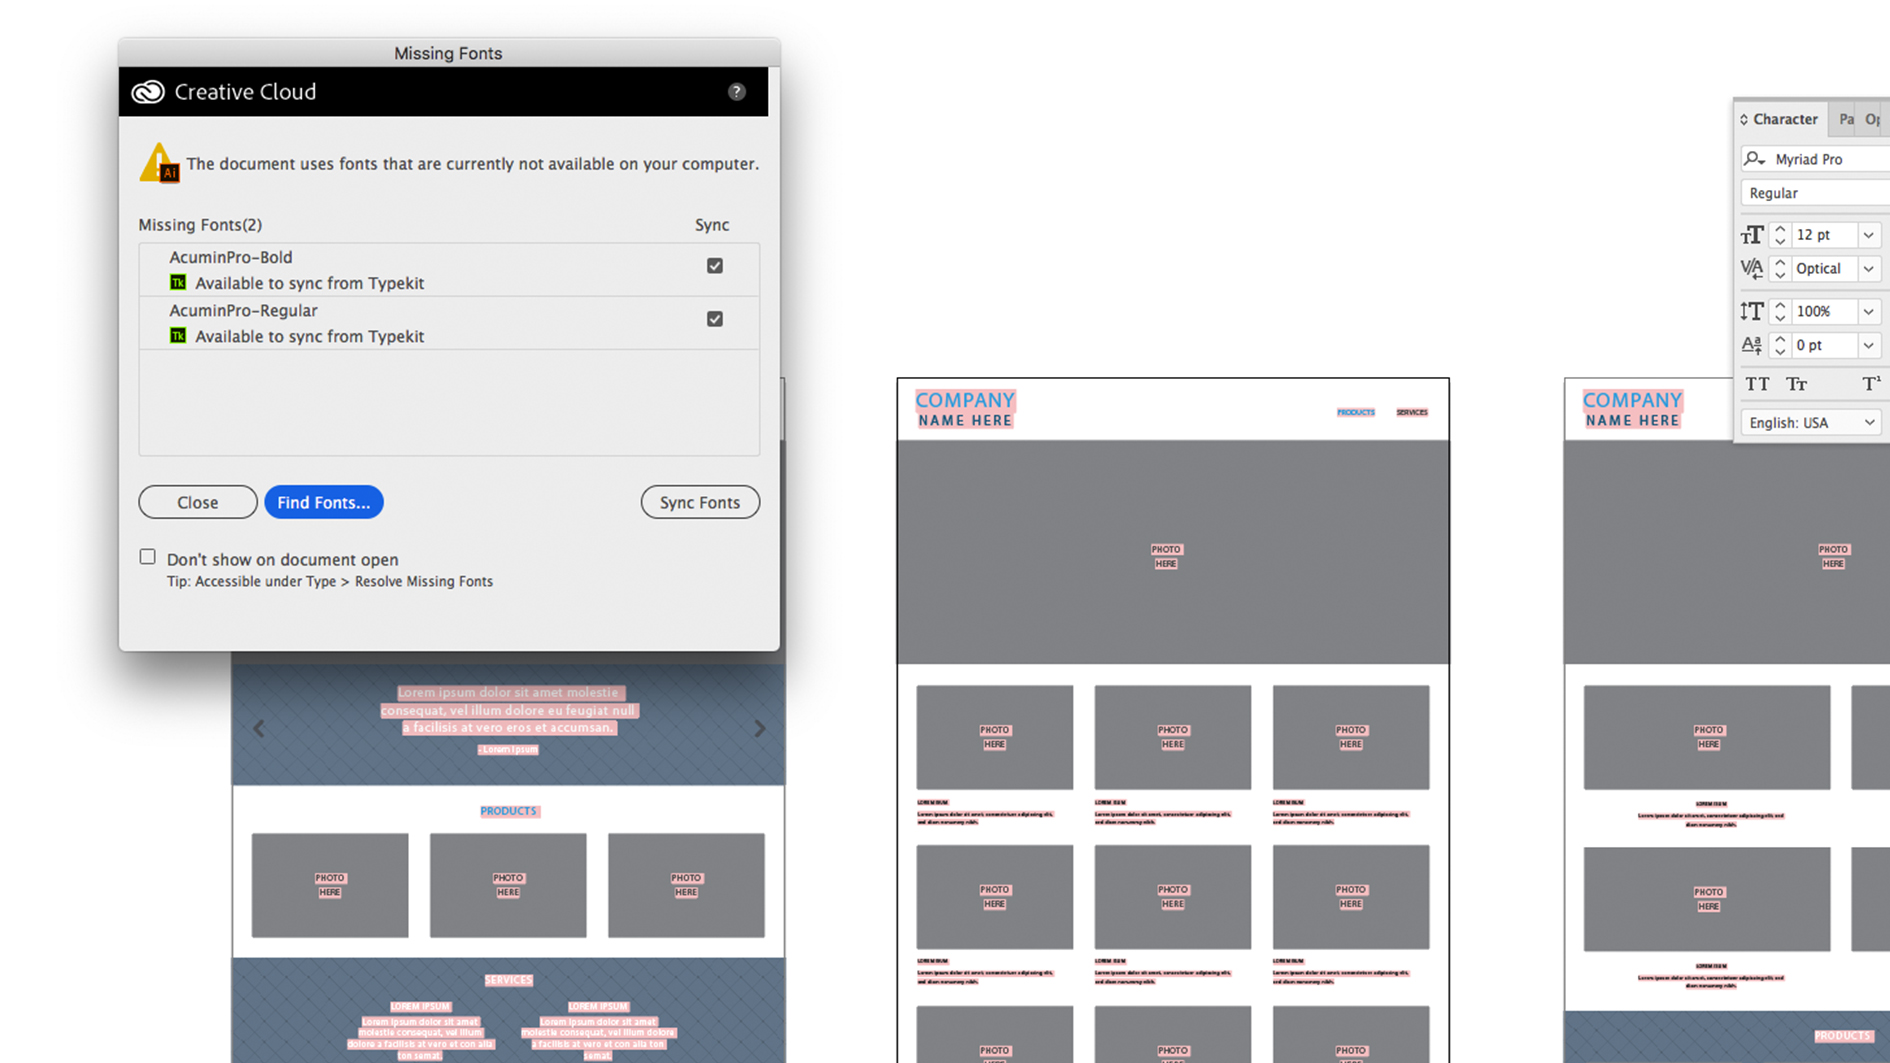
This template comes with textboxes already placed on the page, filled with dummy text. To edit the text and add your own copy, it’s a simple matter of double-clicking inside the textbox and replacing the dummy copy. You can also add your own textboxes with the Type tool, by clicking and dragging onto the artboard.
This is the perfect time to experiment with different typefaces – you may have your own preferences or simply want to run down the list in Illustrator’s font family. You can access more in Adobe Typekit, by clicking on the cloud icon in your computer’s taskbar and clicking on fonts. If you are missing any then you can activate them with Typekit when opening the file.
Illustrator comes with most of the same text tools that you find in other Adobe software. These include Leading, Tracking and Kerning, which are all useful when editing your text. Don’t spend too much time refining long passages of text, but it is worth kerning any large standout words, as well as your logo.
04. Images and clipping masks
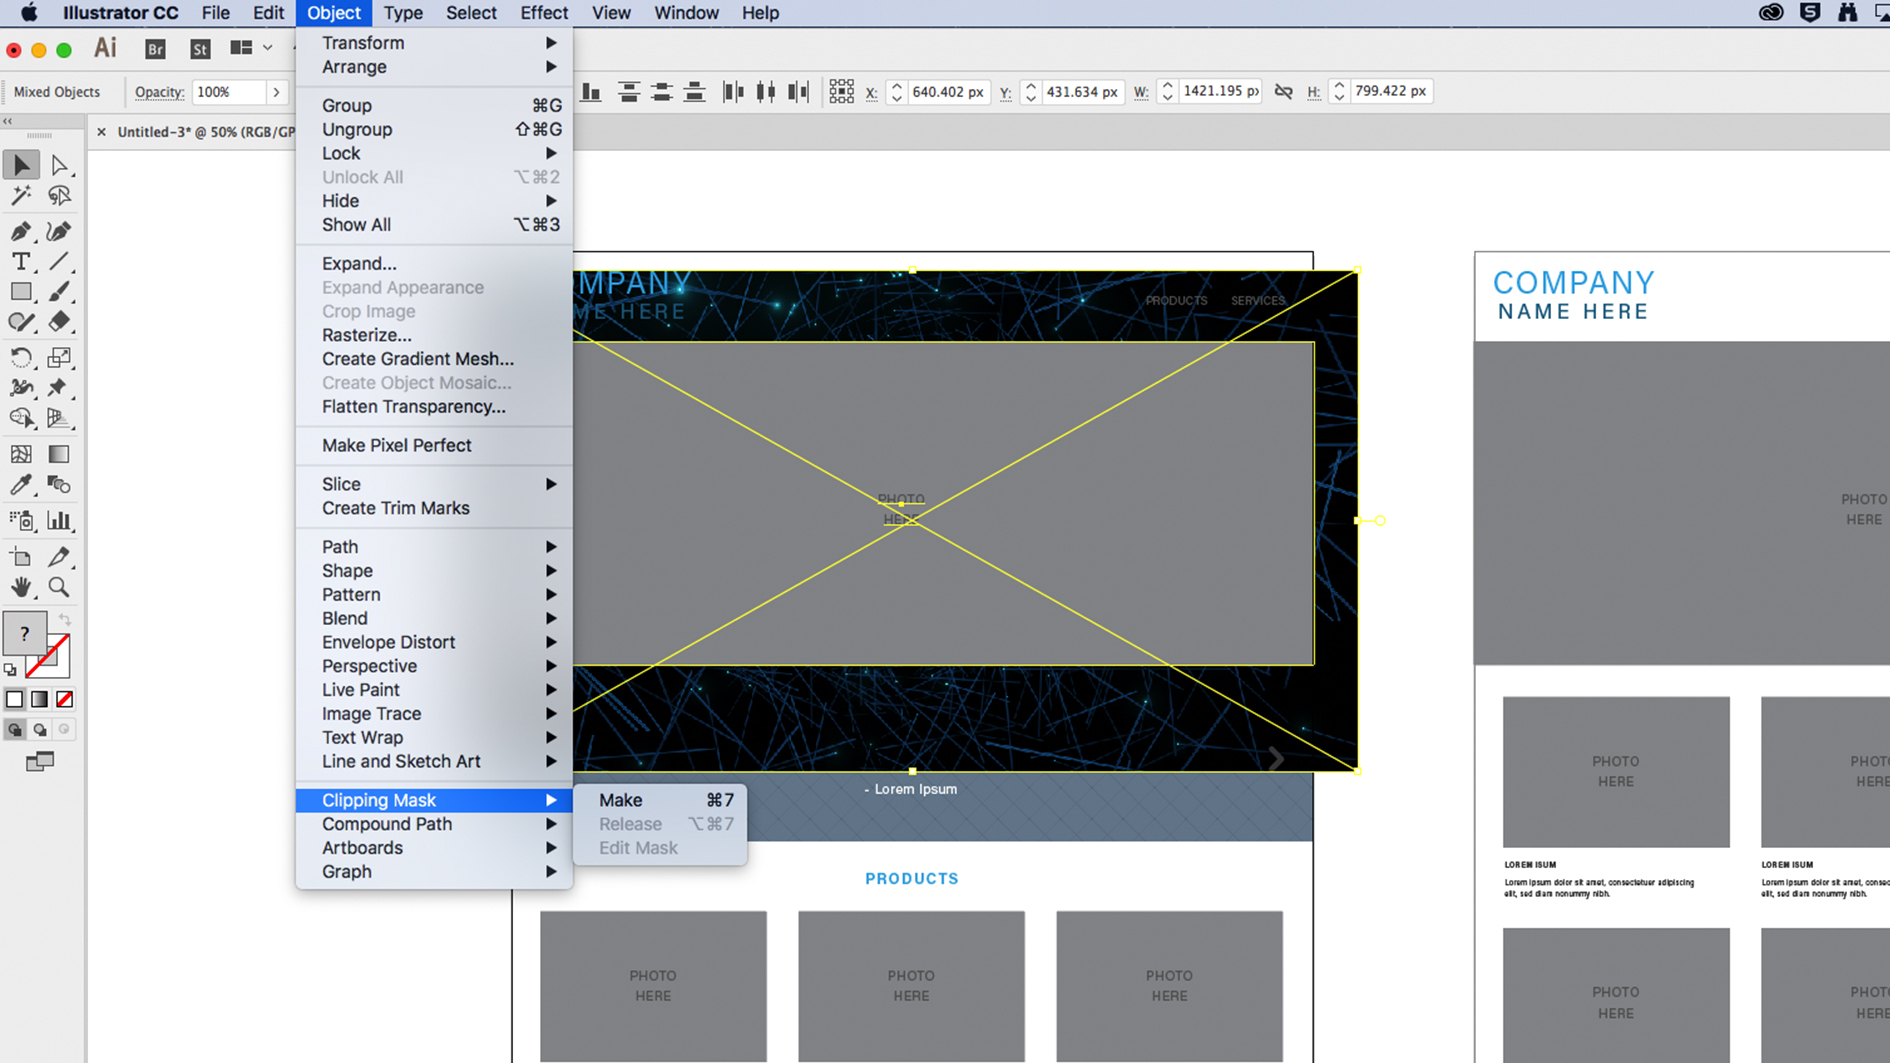
All images are represented as grey rectangles on the page. To replace these with your own images you will need to place images into the document, either by dragging straight in from Finder or using the Place shortcut Shift + Command + P (also found in File > Place).
Move your image over the rectangle you wish to replace and send it behind. You can do this by dragging the layer down the Layers panel or by sending the layer back using Command + square brackets (Command + Shift + [ will send the image to the back). Select both layers and make a clipping mask by pressing Command + 7 or Object > Clipping Mask > Make.
The image should now appear wrapped in a container made by the rectangle. You can still move the image around inside the mask by double-clicking on it and dragging it around. Repeat this process with the rest of the images on the page.
05. Positioning
After adding your own bespoke content, you may find that it no longer fits the current artboard and you will have to resize and reposition. It is important to use exact measurements when doing this as it will cause you fewer problems down the line.
Change the size of the artboard by going to Document Setup and clicking on the Edit Artboards button. You can then click on the artboard and change its height by dragging the handles of the frame or typing new dimensions into the taskbar. It may help if you have previously drawn a rectangle to give you an idea of the correct height.
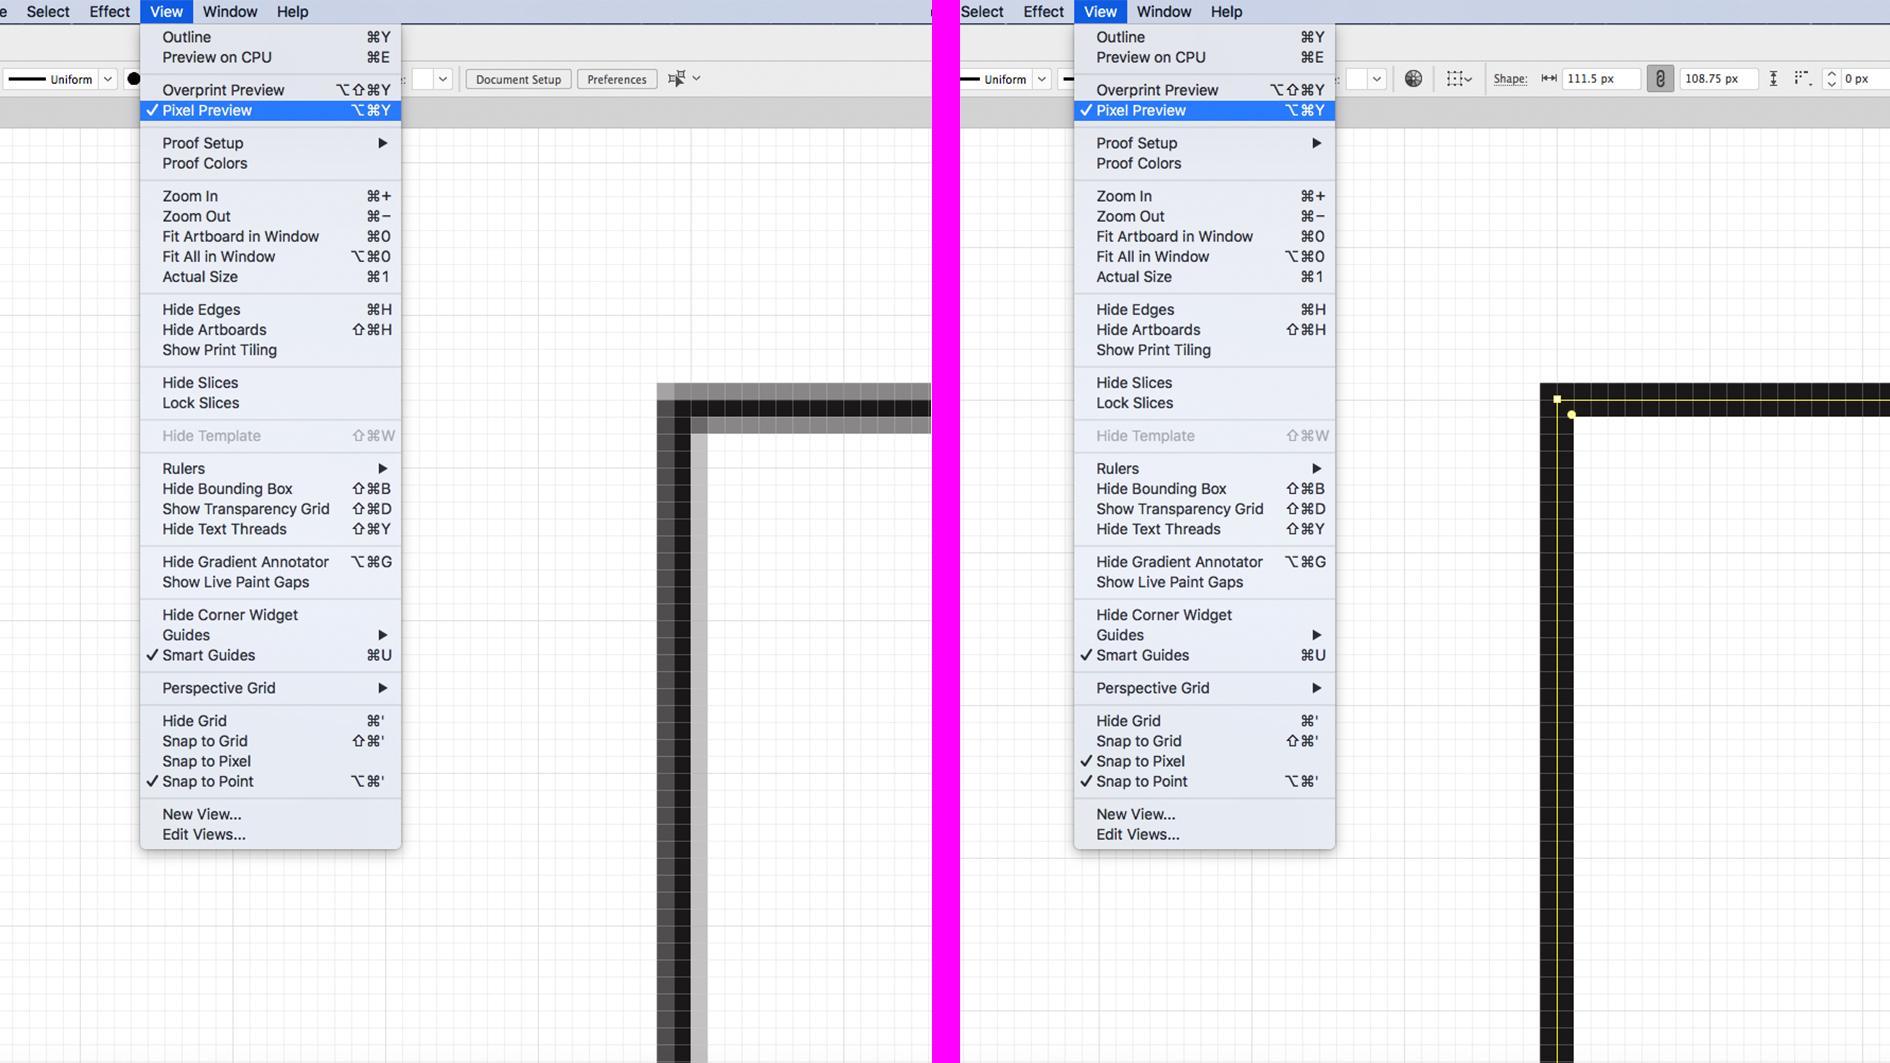
Turn on pixel grid and make sure you have Snap to Pixel turned on in View, which will ensure your edges remain crisp and clean. You can check this by going to View > Pixel Preview, which shows how Illustrator divides objects across individual pixels. Use the Transform panel to make any pixel-precise movements or set your Keyboard Increment to a specific pixel distance in Preferences.
06. Theme it up
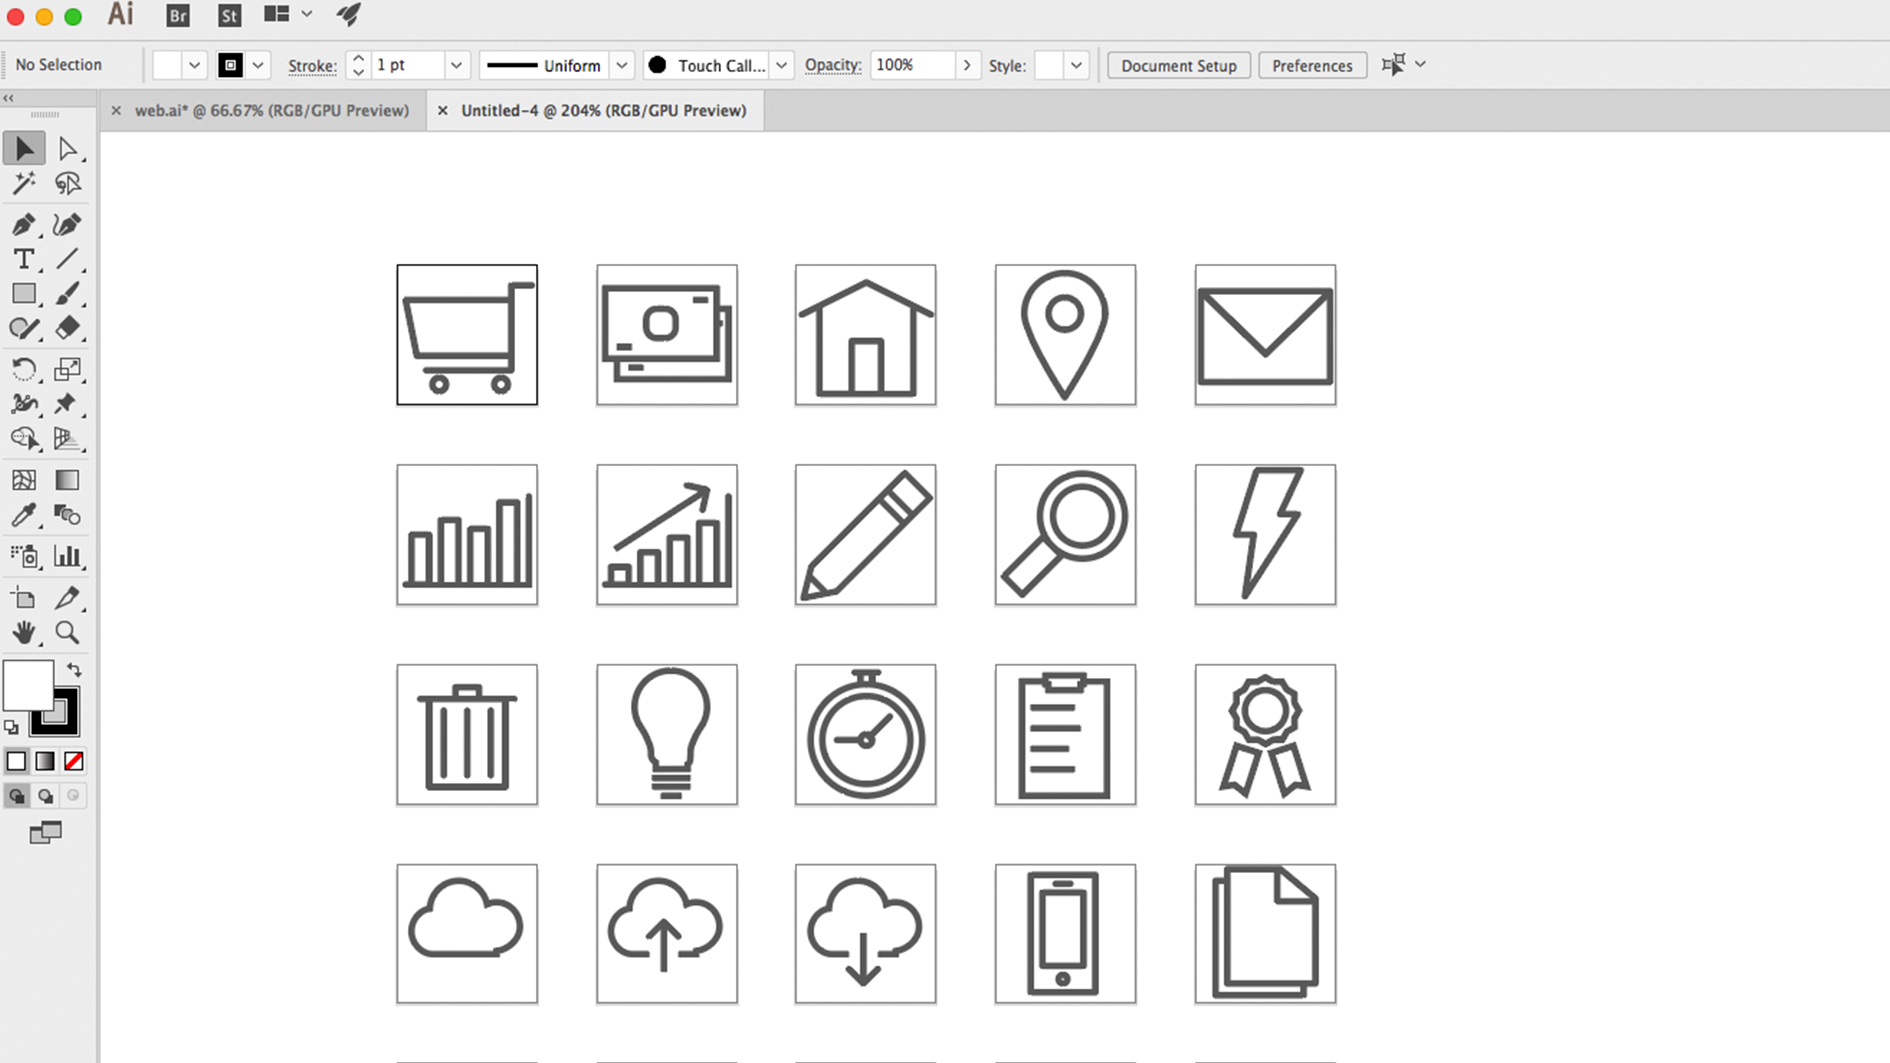
Part of Illustrator’s appeal to web designers is its versatile colour management. While it is possible to go through and change the colour of each element individually, it is much more efficient to use swatches, which automatically update any incidence of that colour across the whole document.
Go to the Swatches panel and double-click on any of the preset swatches or create a new one. The document colour mode will already be set to RGB, so you will be presented by three sliders to play around with. I used a combination of teal and orange to accent certain parts, while sticking to black and white for text.
If you already have your own logo then you can paste it into the top-left corner to replace the dummy text, otherwise type your name in and set it to whatever typeface you require. You could create a quick, temporary logo by downloading an icon from Adobe Stock, but it is important to understand that you don’t own any Adobe Stock images, so cannot use them when trademarking a real logo.
07. Exporting for web
At this point it might be enough to just send your Illustrator document to a professional web designer, who can then turn it into a fully functional HTML webpage. Alternatively you may wish to do this process yourself. To move elements from Illustrator to a website, you will need to slice your design into pieces, which can then be reassembled in HTML, or export them as svgs.
There are two main methods for achieving slices – Create from Guides or Create from Selection. The first requires you to draw guides over your artboard, isolating graphics you wish to export, while the other uses the slice tool to define areas you wish to export. Then go to File > Export > Save for web, selecting the slices you wish to export.
To export individual elements as svgs you must first click on the object, go to Object > Artboards > Fit to Selected Art. Then open the ‘save as’ window and select svg in the drop down box and use artboards. You will need to do this for every graphic you wish to export.
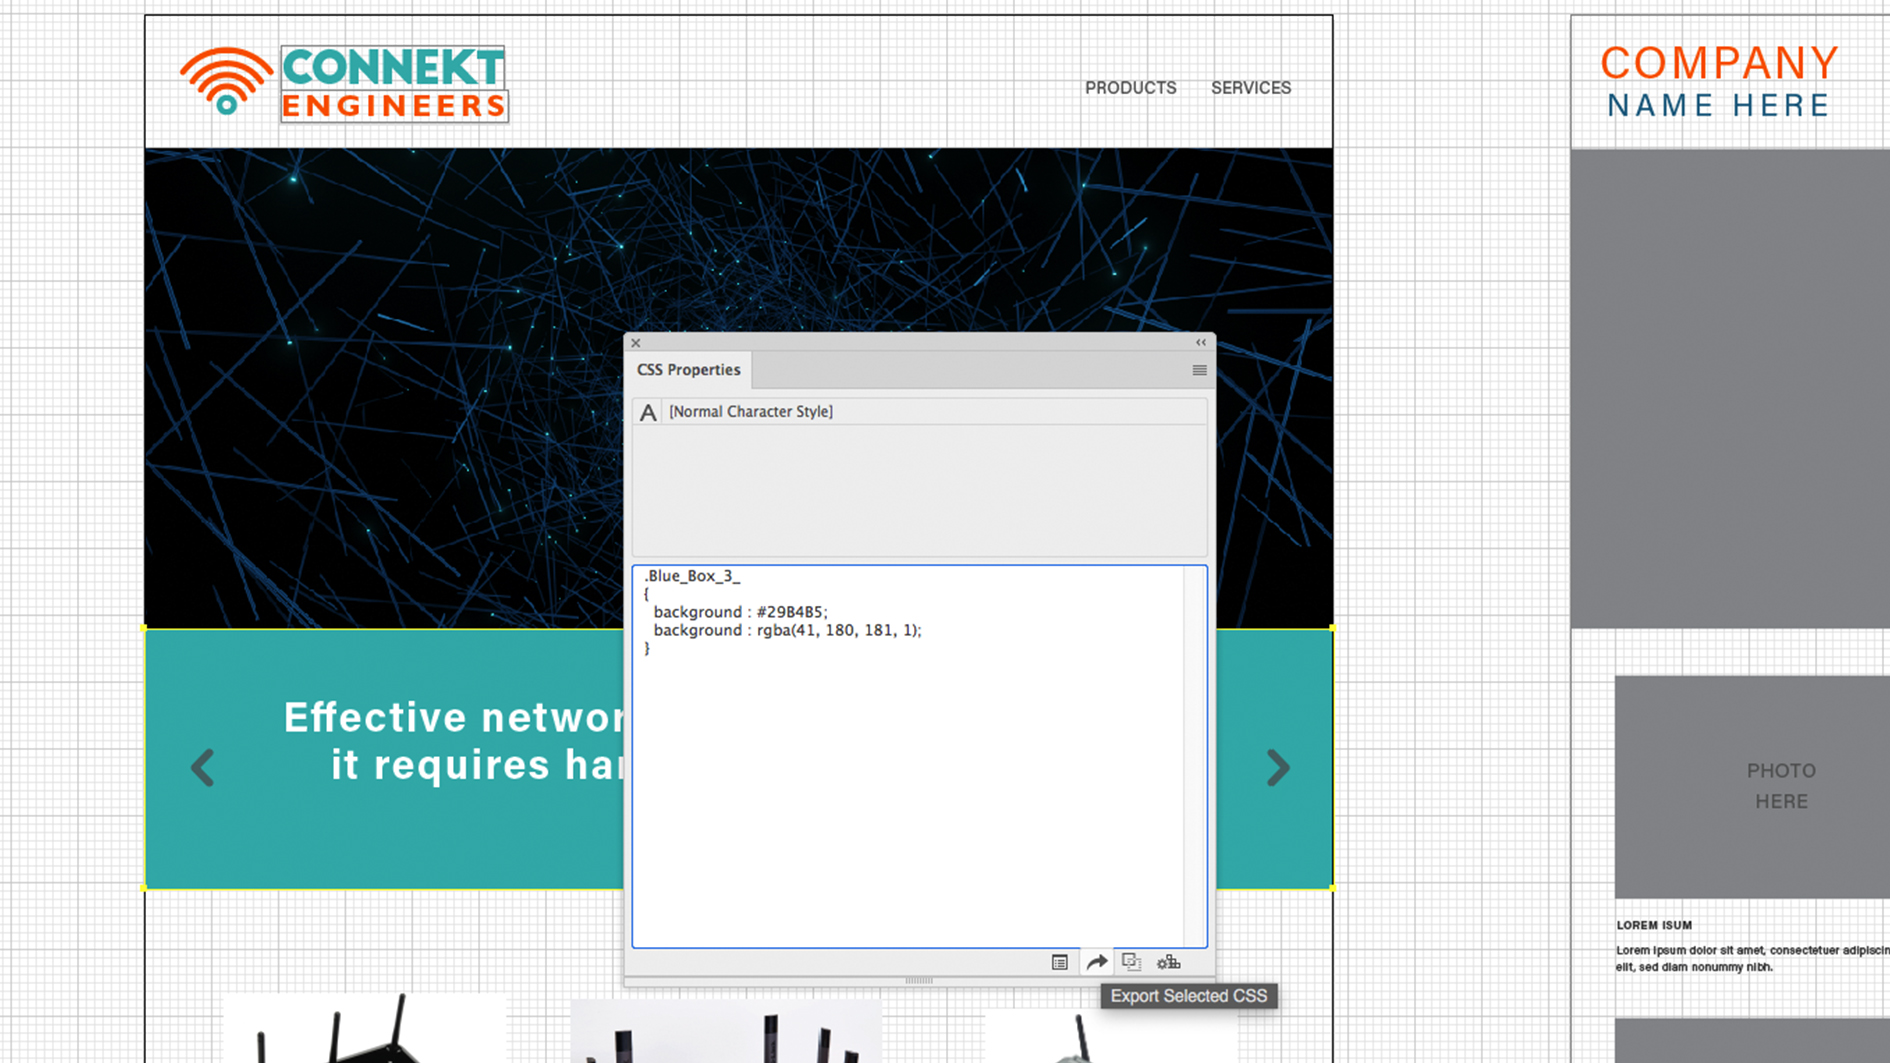
Illustrator can convert character styles and named vector layers into CSS. It will do this for individual elements, but you can also select all and generate a global CSS style sheet, including image assets as png files. Open the CSS Properties panel and select the style or object for the CSS code to automatically appear.
Daily design news, reviews, how-tos and more, as picked by the editors.

Matt has worked for various publishing houses and design agencies, covering studio photography, video production, editorial design, branding, illustration and motion graphics. He currently works for Future PLC with brands such as T3, Woman&Home, Marie Claire, Music Week, TechRadar, Golden Joysticks, Cycling Weekly, Brand Impact Awards, Horse&Hound and Tech&Learning. In the past he has designed titles including Mac|Life, IQ, Bow International, Drummer, iDrum, Acoustic, Clay Shooting, Sea Fishing and GunTradeNews. He has experience across the full Adobe Suite and is currently spending a lot of time creating projects in Blender and After Effects.
