This is how you make a pro website with Wix's big brother – Wix Studio
Daily design news, reviews, how-tos and more, as picked by the editors.
You are now subscribed
Your newsletter sign-up was successful
Want to add more newsletters?

Five times a week
CreativeBloq
Your daily dose of creative inspiration: unmissable art, design and tech news, reviews, expert commentary and buying advice.

Once a week
By Design
The design newsletter from Creative Bloq, bringing you the latest news and inspiration from the worlds of graphic design, branding, typography and more.

Once a week
State of the Art
Our digital art newsletter is your go-to source for the latest news, trends, and inspiration from the worlds of art, illustration, 3D modelling, game design, animation, and beyond.

Seasonal (around events)
Brand Impact Awards
Make an impression. Sign up to learn more about this prestigious award scheme, which celebrates the best of branding.
Looking to build a website with Wix Studio? You're in for a treat. Unlike standard Wix Classic web builder, Wix Studio is designed specifically for professional designers and developers who need more control and advanced features. It's the perfect middle ground between simple website builders and complex coding platforms, making it one of the best website builders for small business.
Wix Studio offers powerful design tools, custom breakpoints, advanced animations, and professional-grade capabilities that make it ideal for agencies, freelancers, and businesses wanting a sophisticated web presence. The platform includes everything from responsive design controls to custom code integration, all wrapped in an intuitive interface.
But if you've never used Wix Studio before, the array of features can seem overwhelming. My guide will walk you through creating a website from scratch, covering everything from initial setup to publishing your finished site. I've included detailed explanations of each step, plus practical tips I've learned from building multiple sites on the platform.
1. Getting started

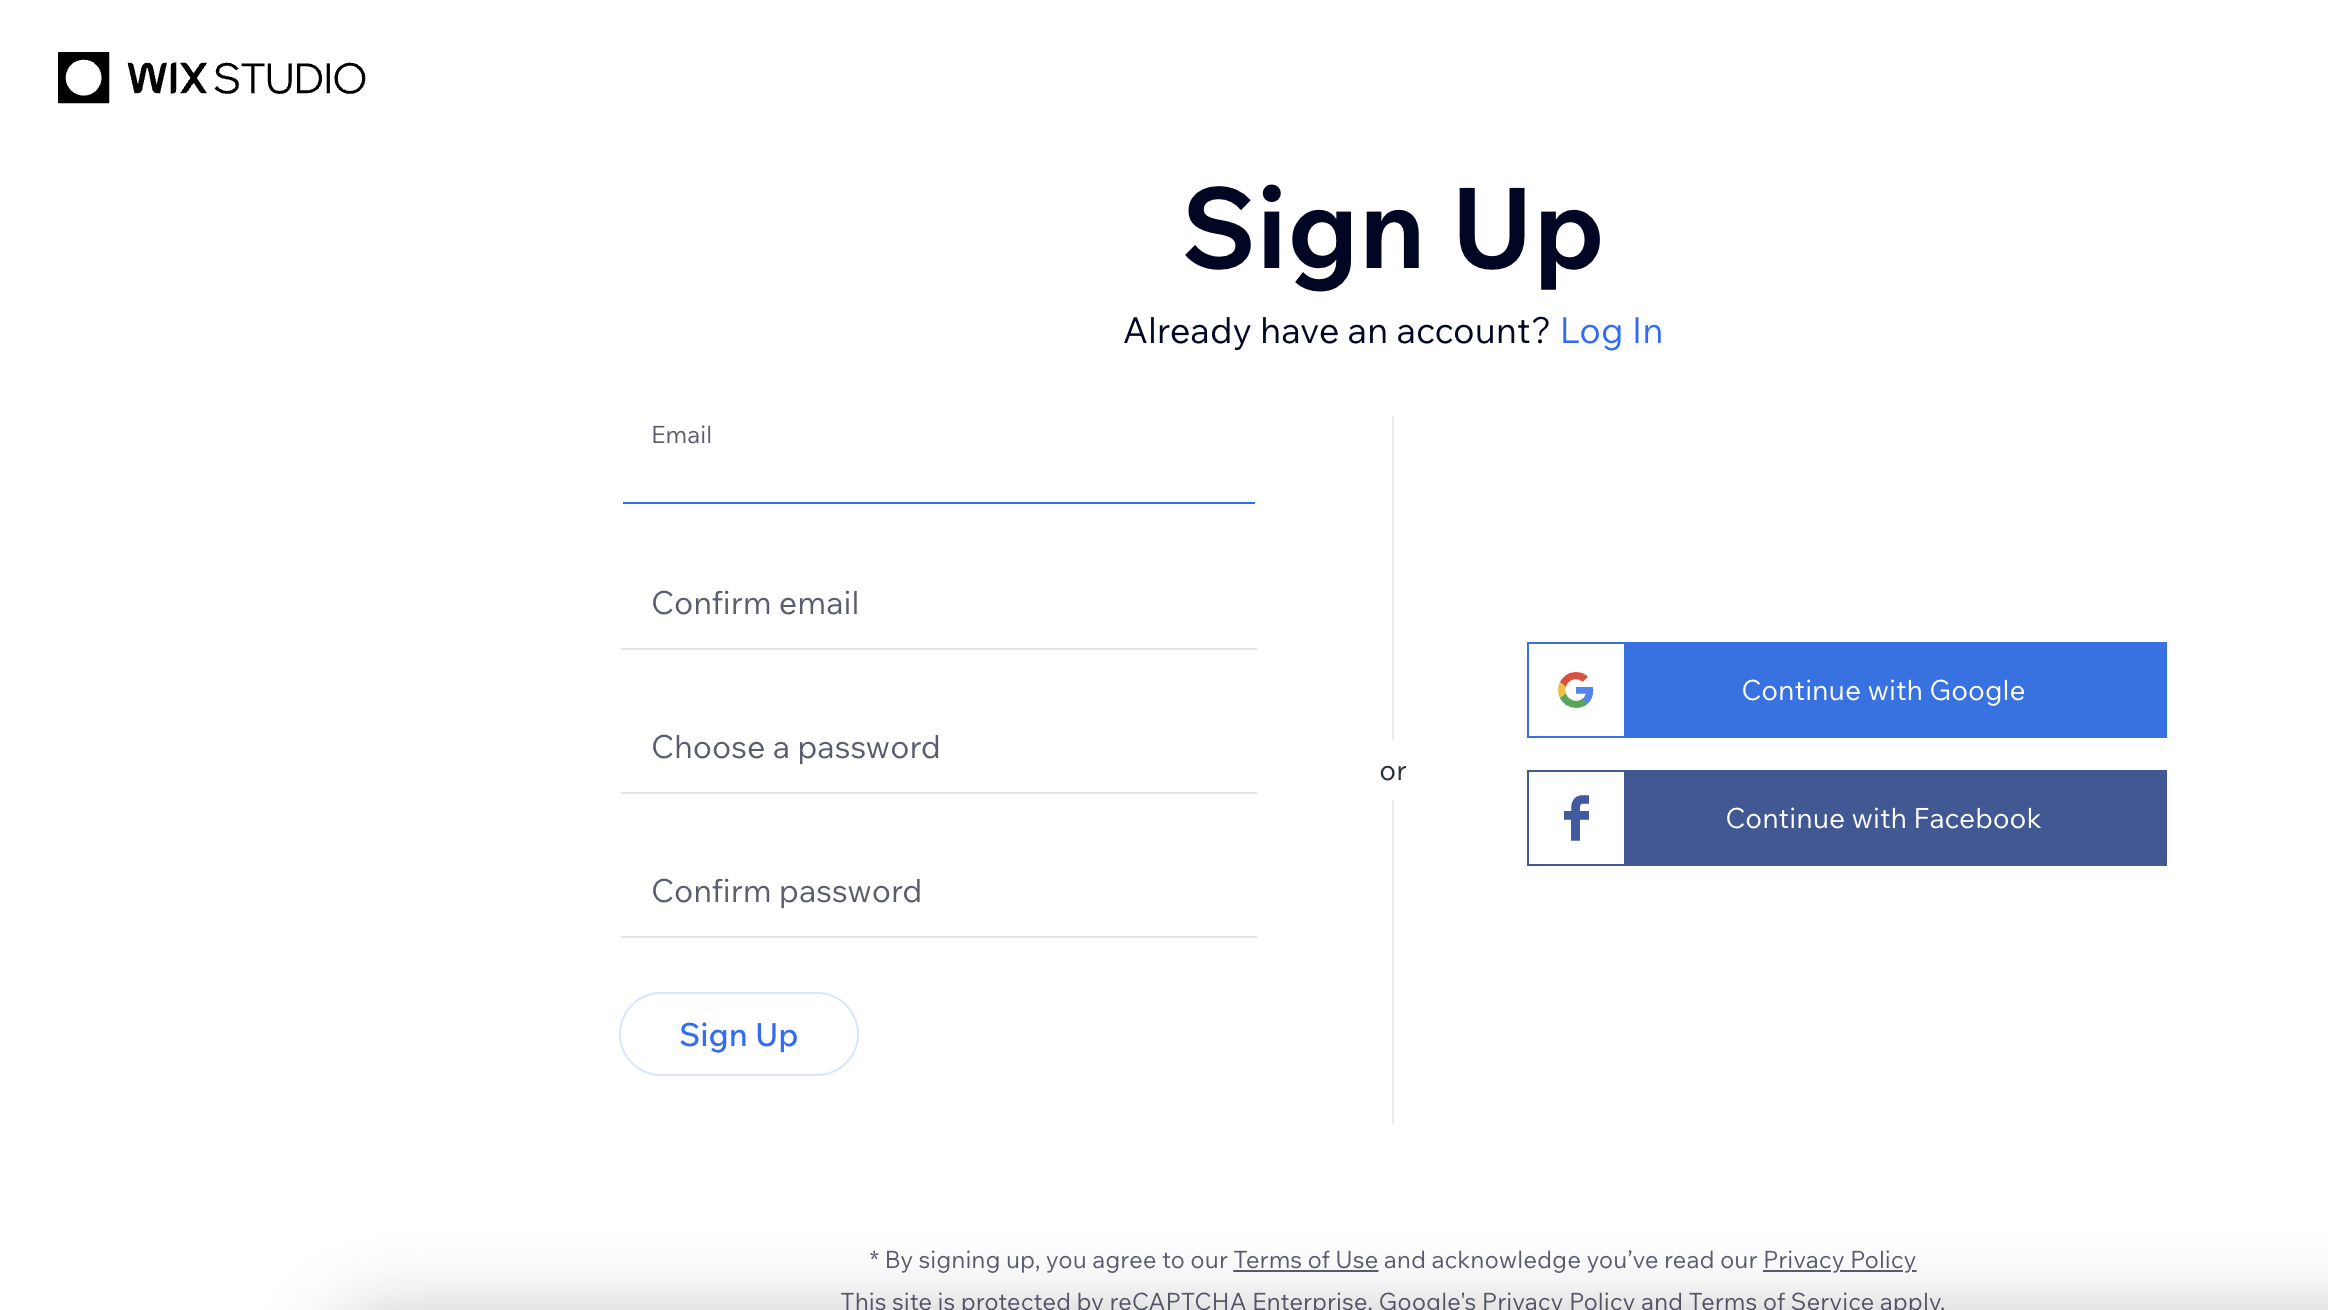
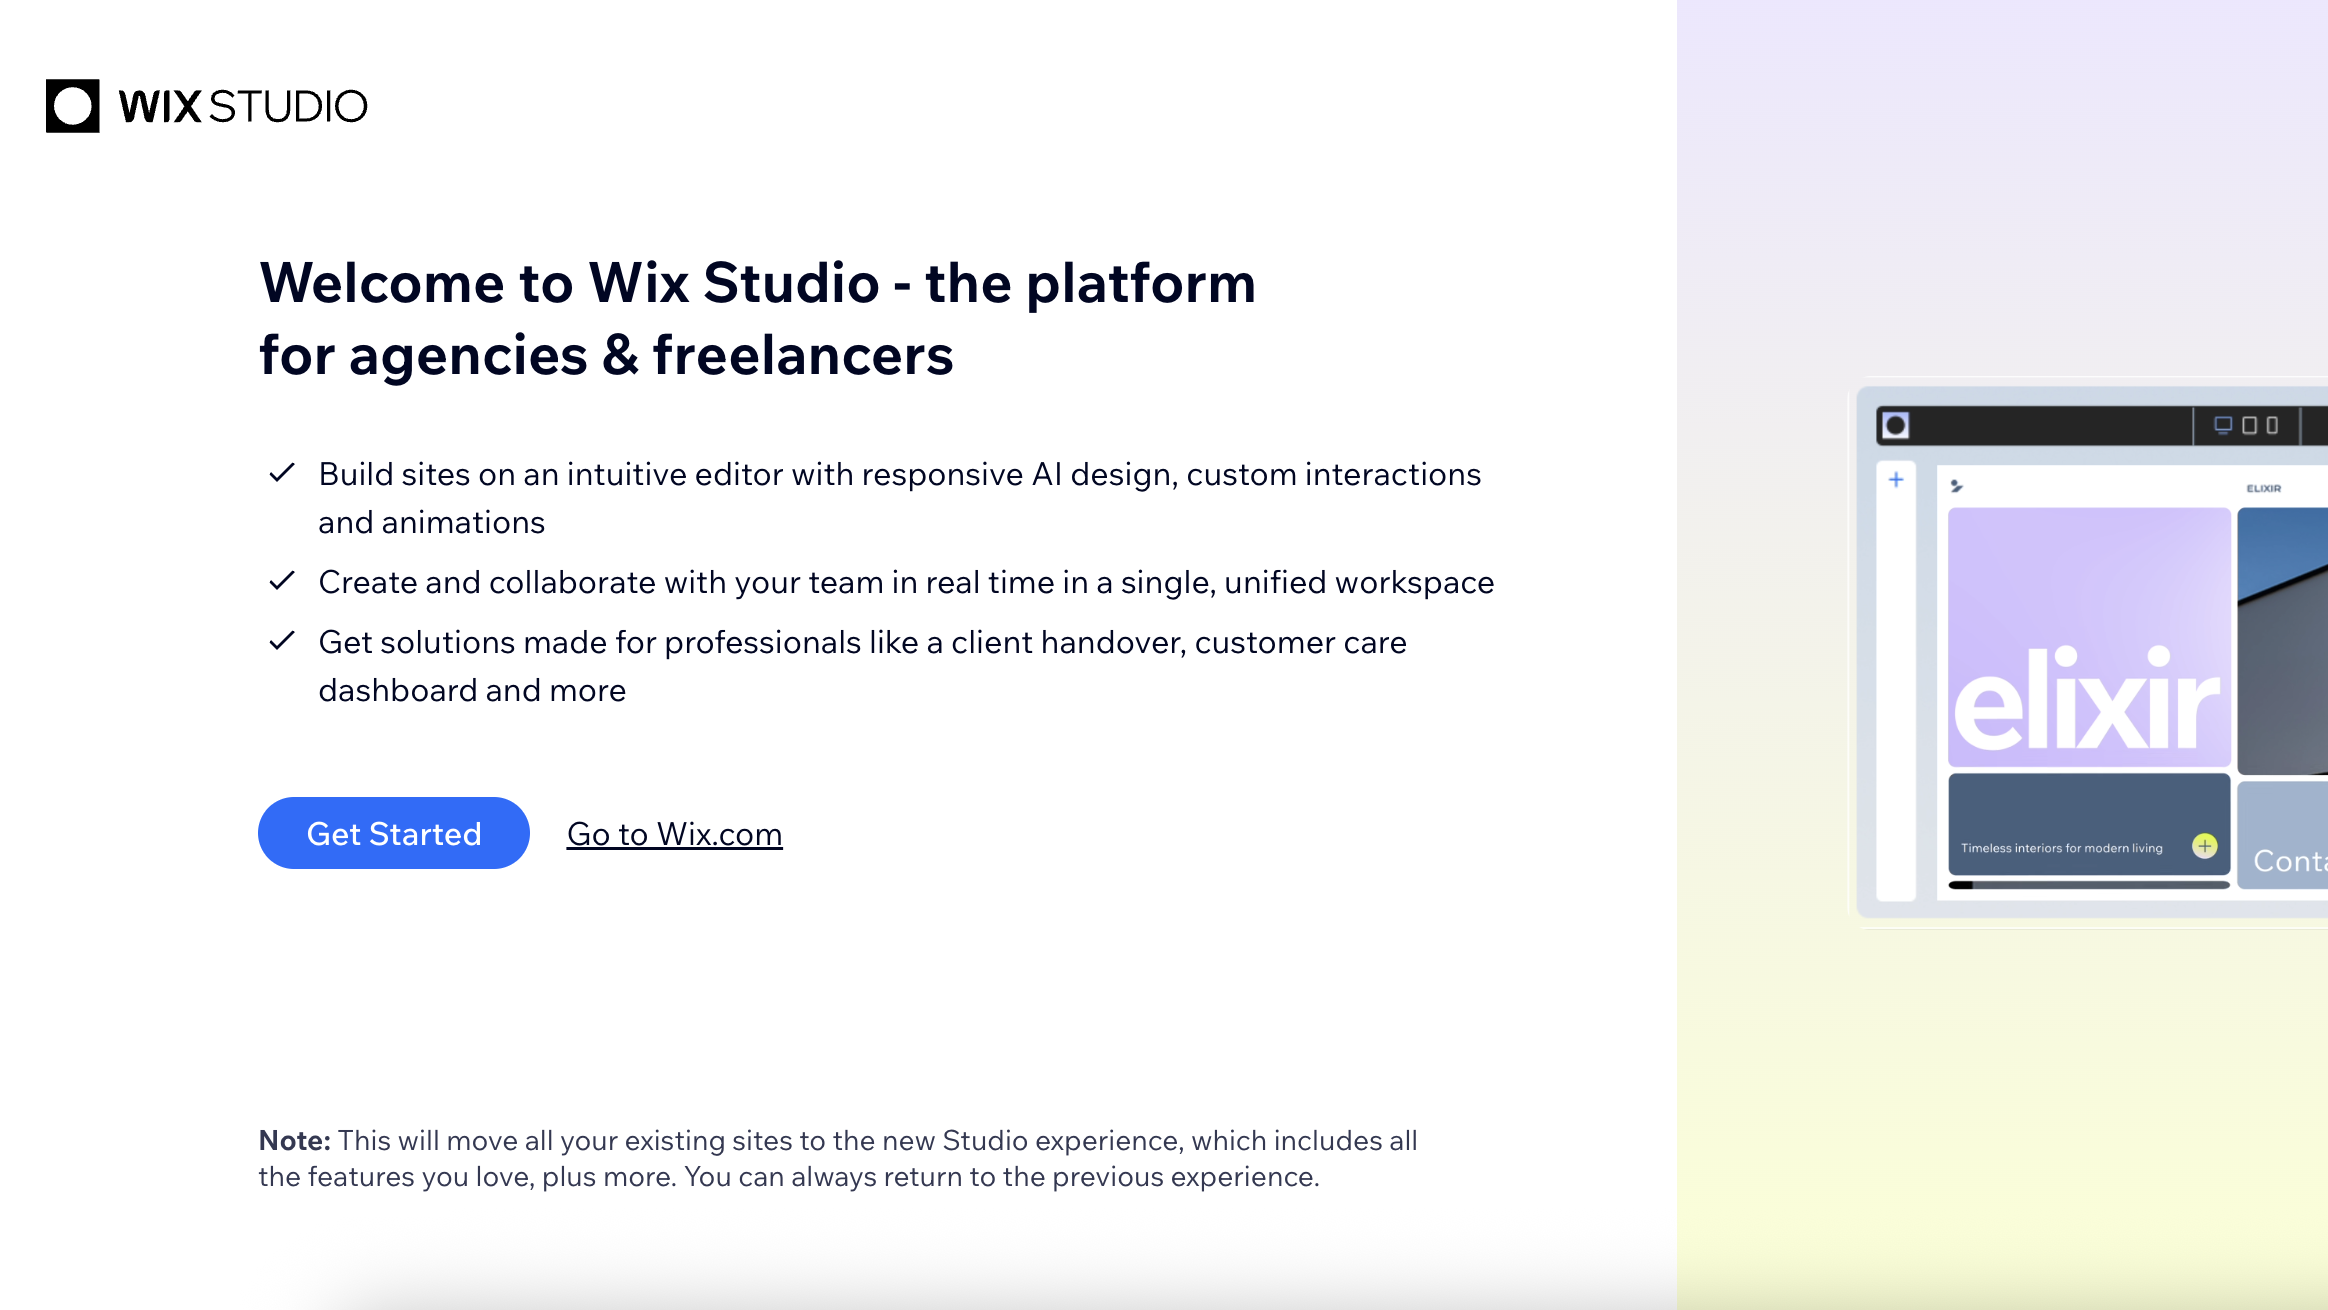
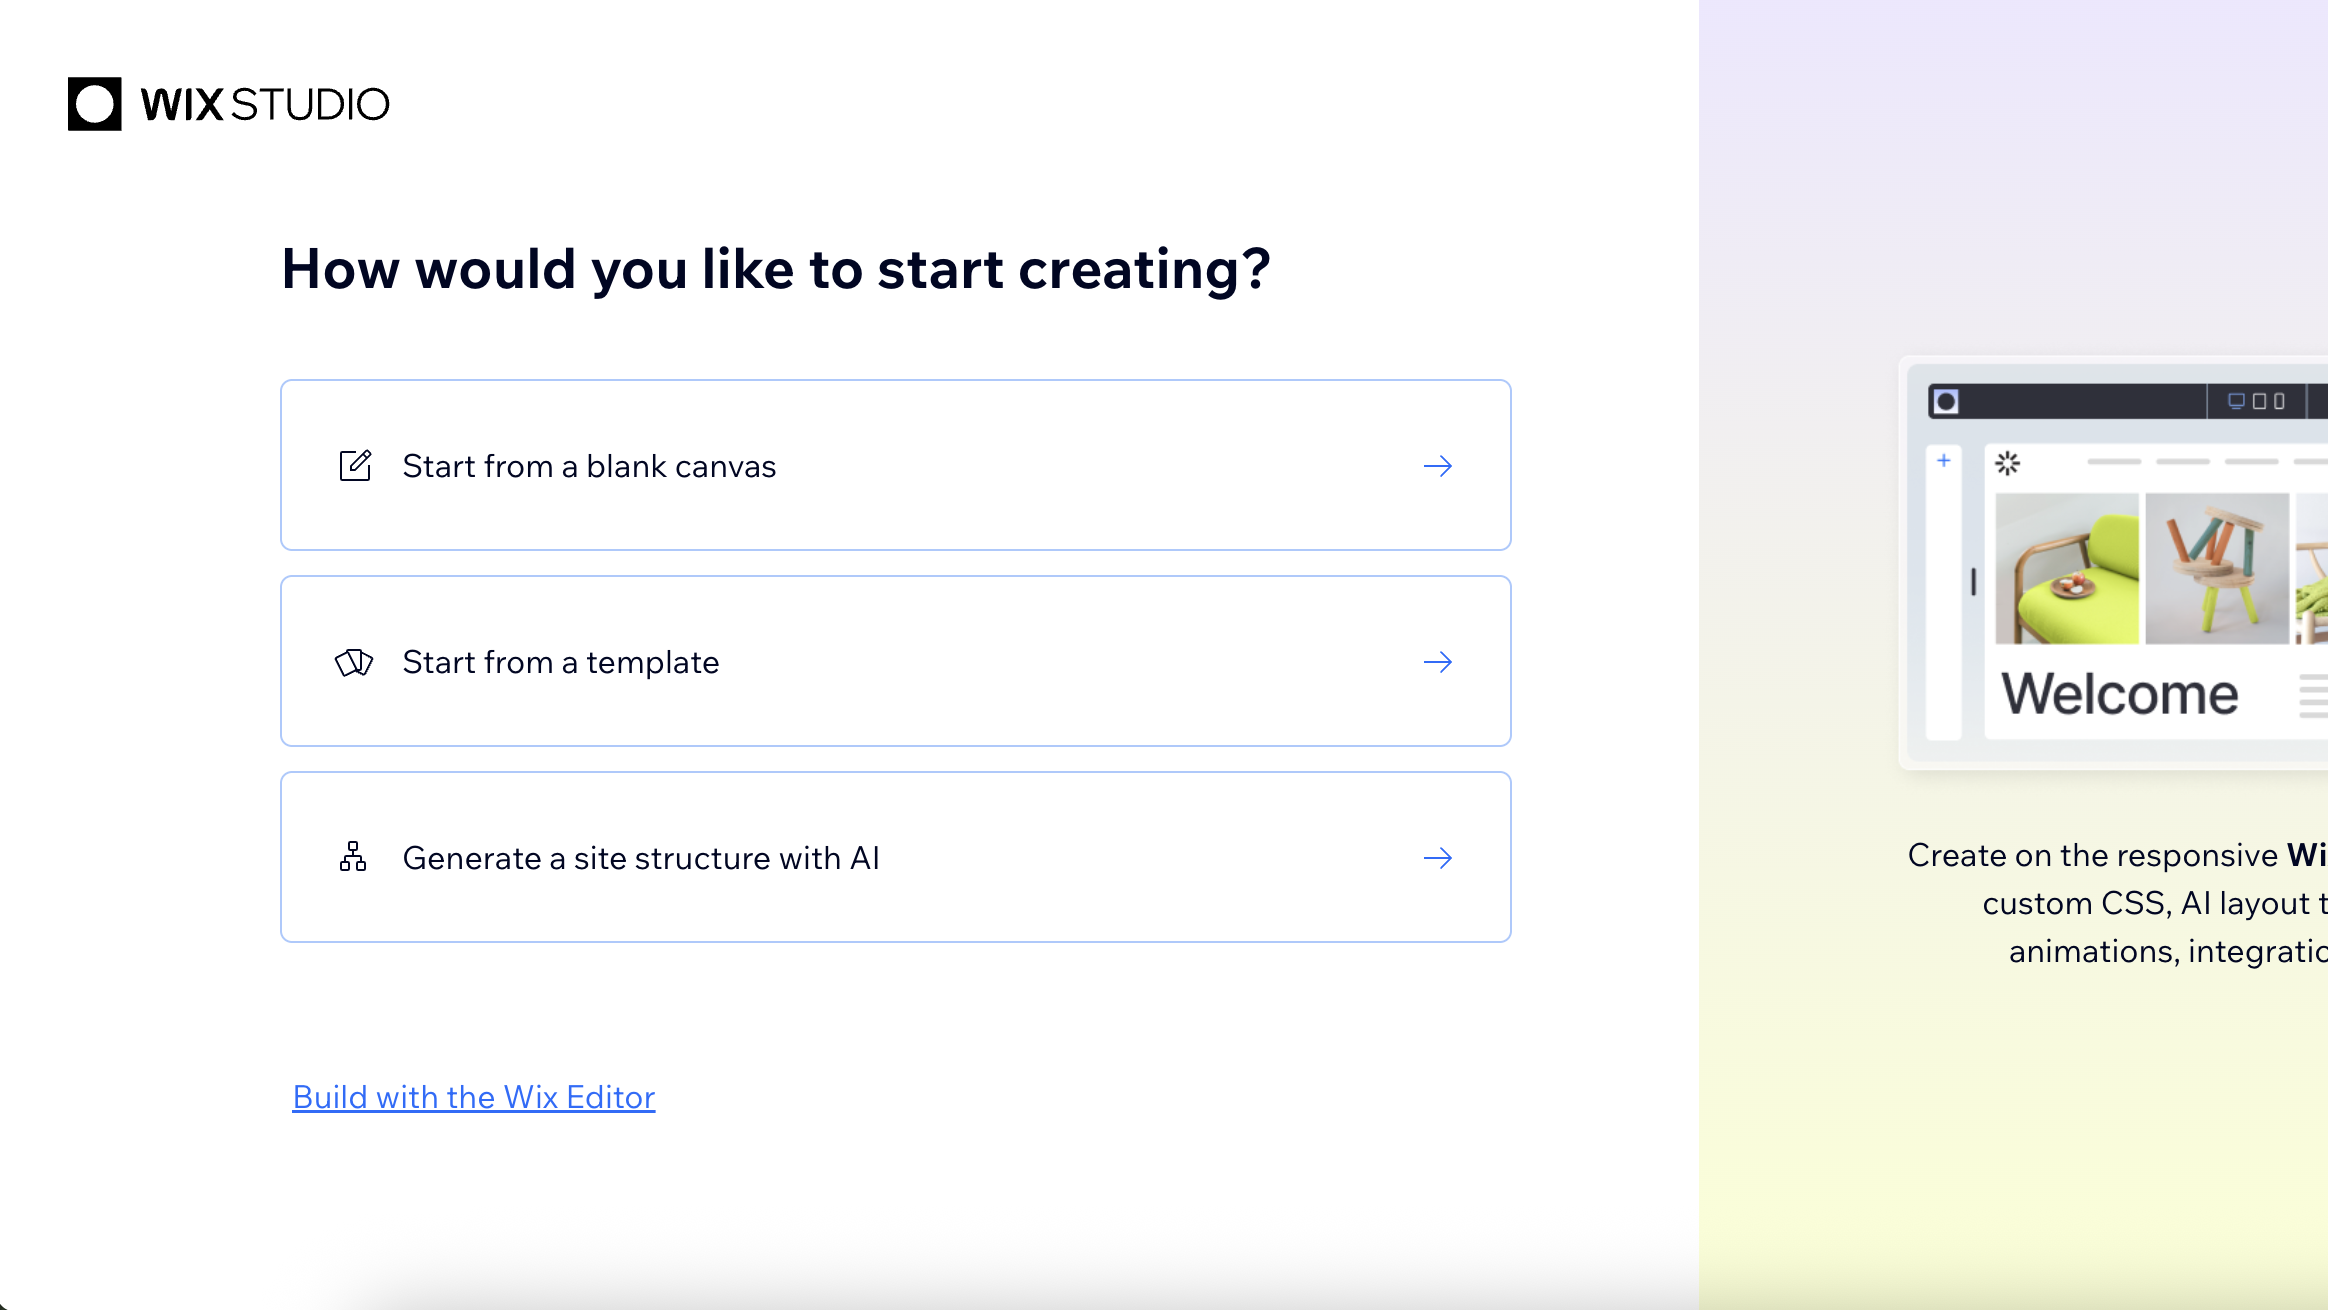
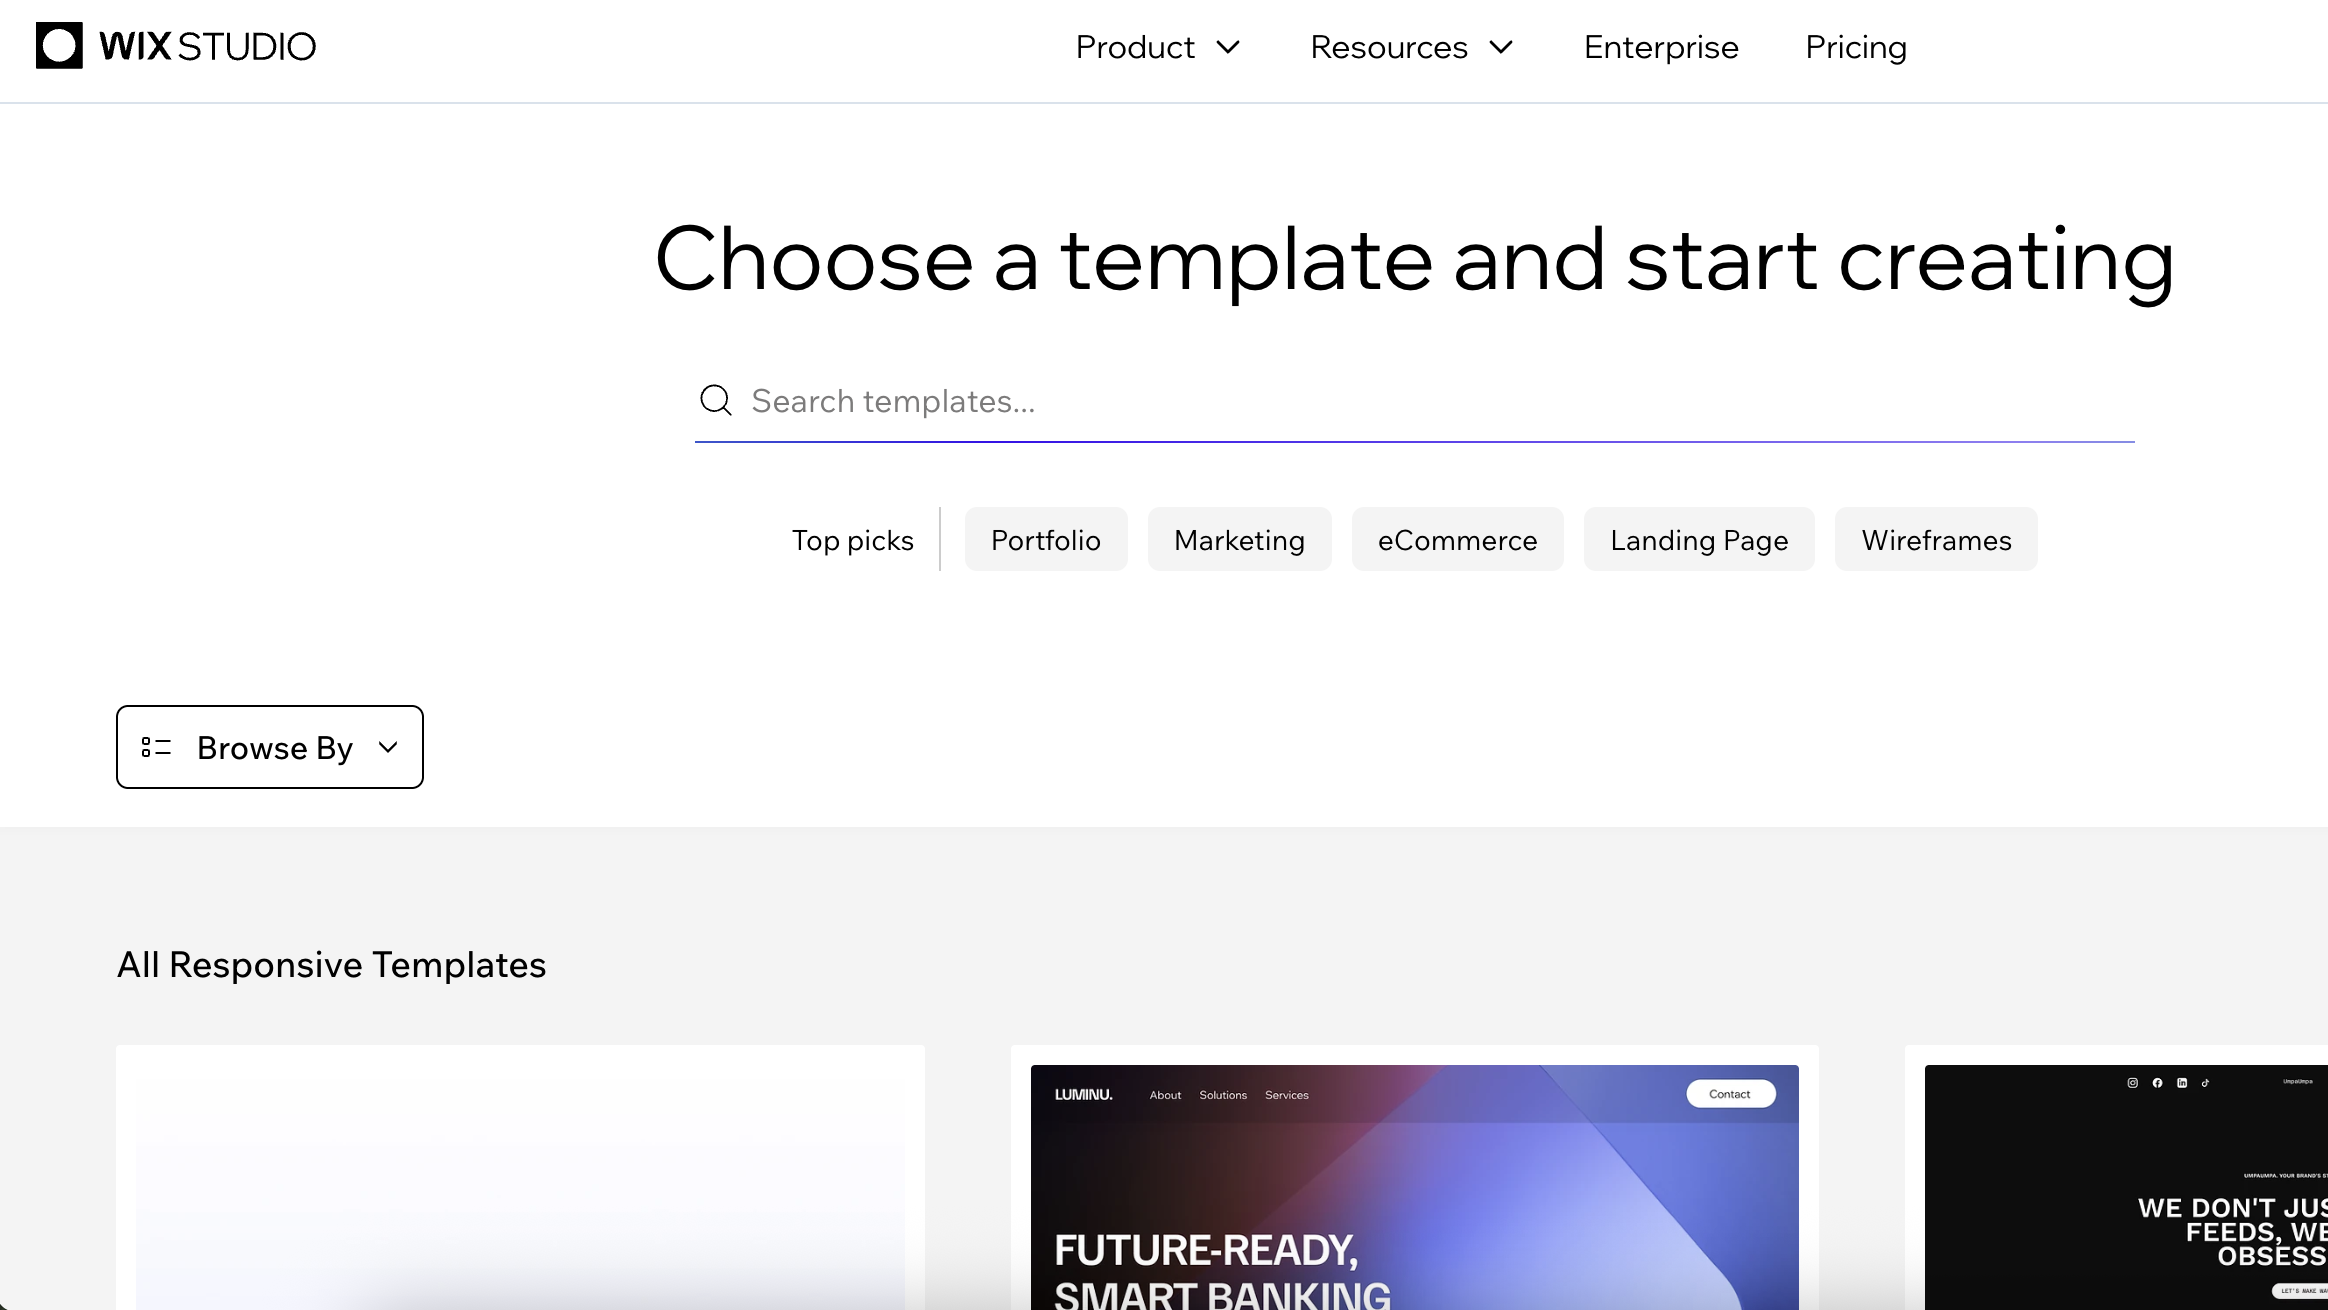
Wix Studio requires you to start with a blank canvas or choose from professionally designed templates built specifically for the platform. Head to studio.wix.com and click Start Creating to create your account. Add your email details to sign up and then click the Get started button.
You'll then land in your dashboard where you can manage multiple sites and projects. Click the Create New Site button to begin building your website. You'll be presented with three main options:
Start from Blank Canvas: This gives you complete creative control, starting with just a header and footer. Perfect if you have a specific design in mind.
Use a Template: Choose from Studio-specific templates designed to showcase the platform's advanced capabilities. Note that these aren't the same as regular Wix templates: they're built with Studio's unique features in mind.
Daily design news, reviews, how-tos and more, as picked by the editors.
Generate a site structure from AI: Does exactly as described.
For this tutorial, I'll use the Use a Template option.
2. Choosing and customising your template
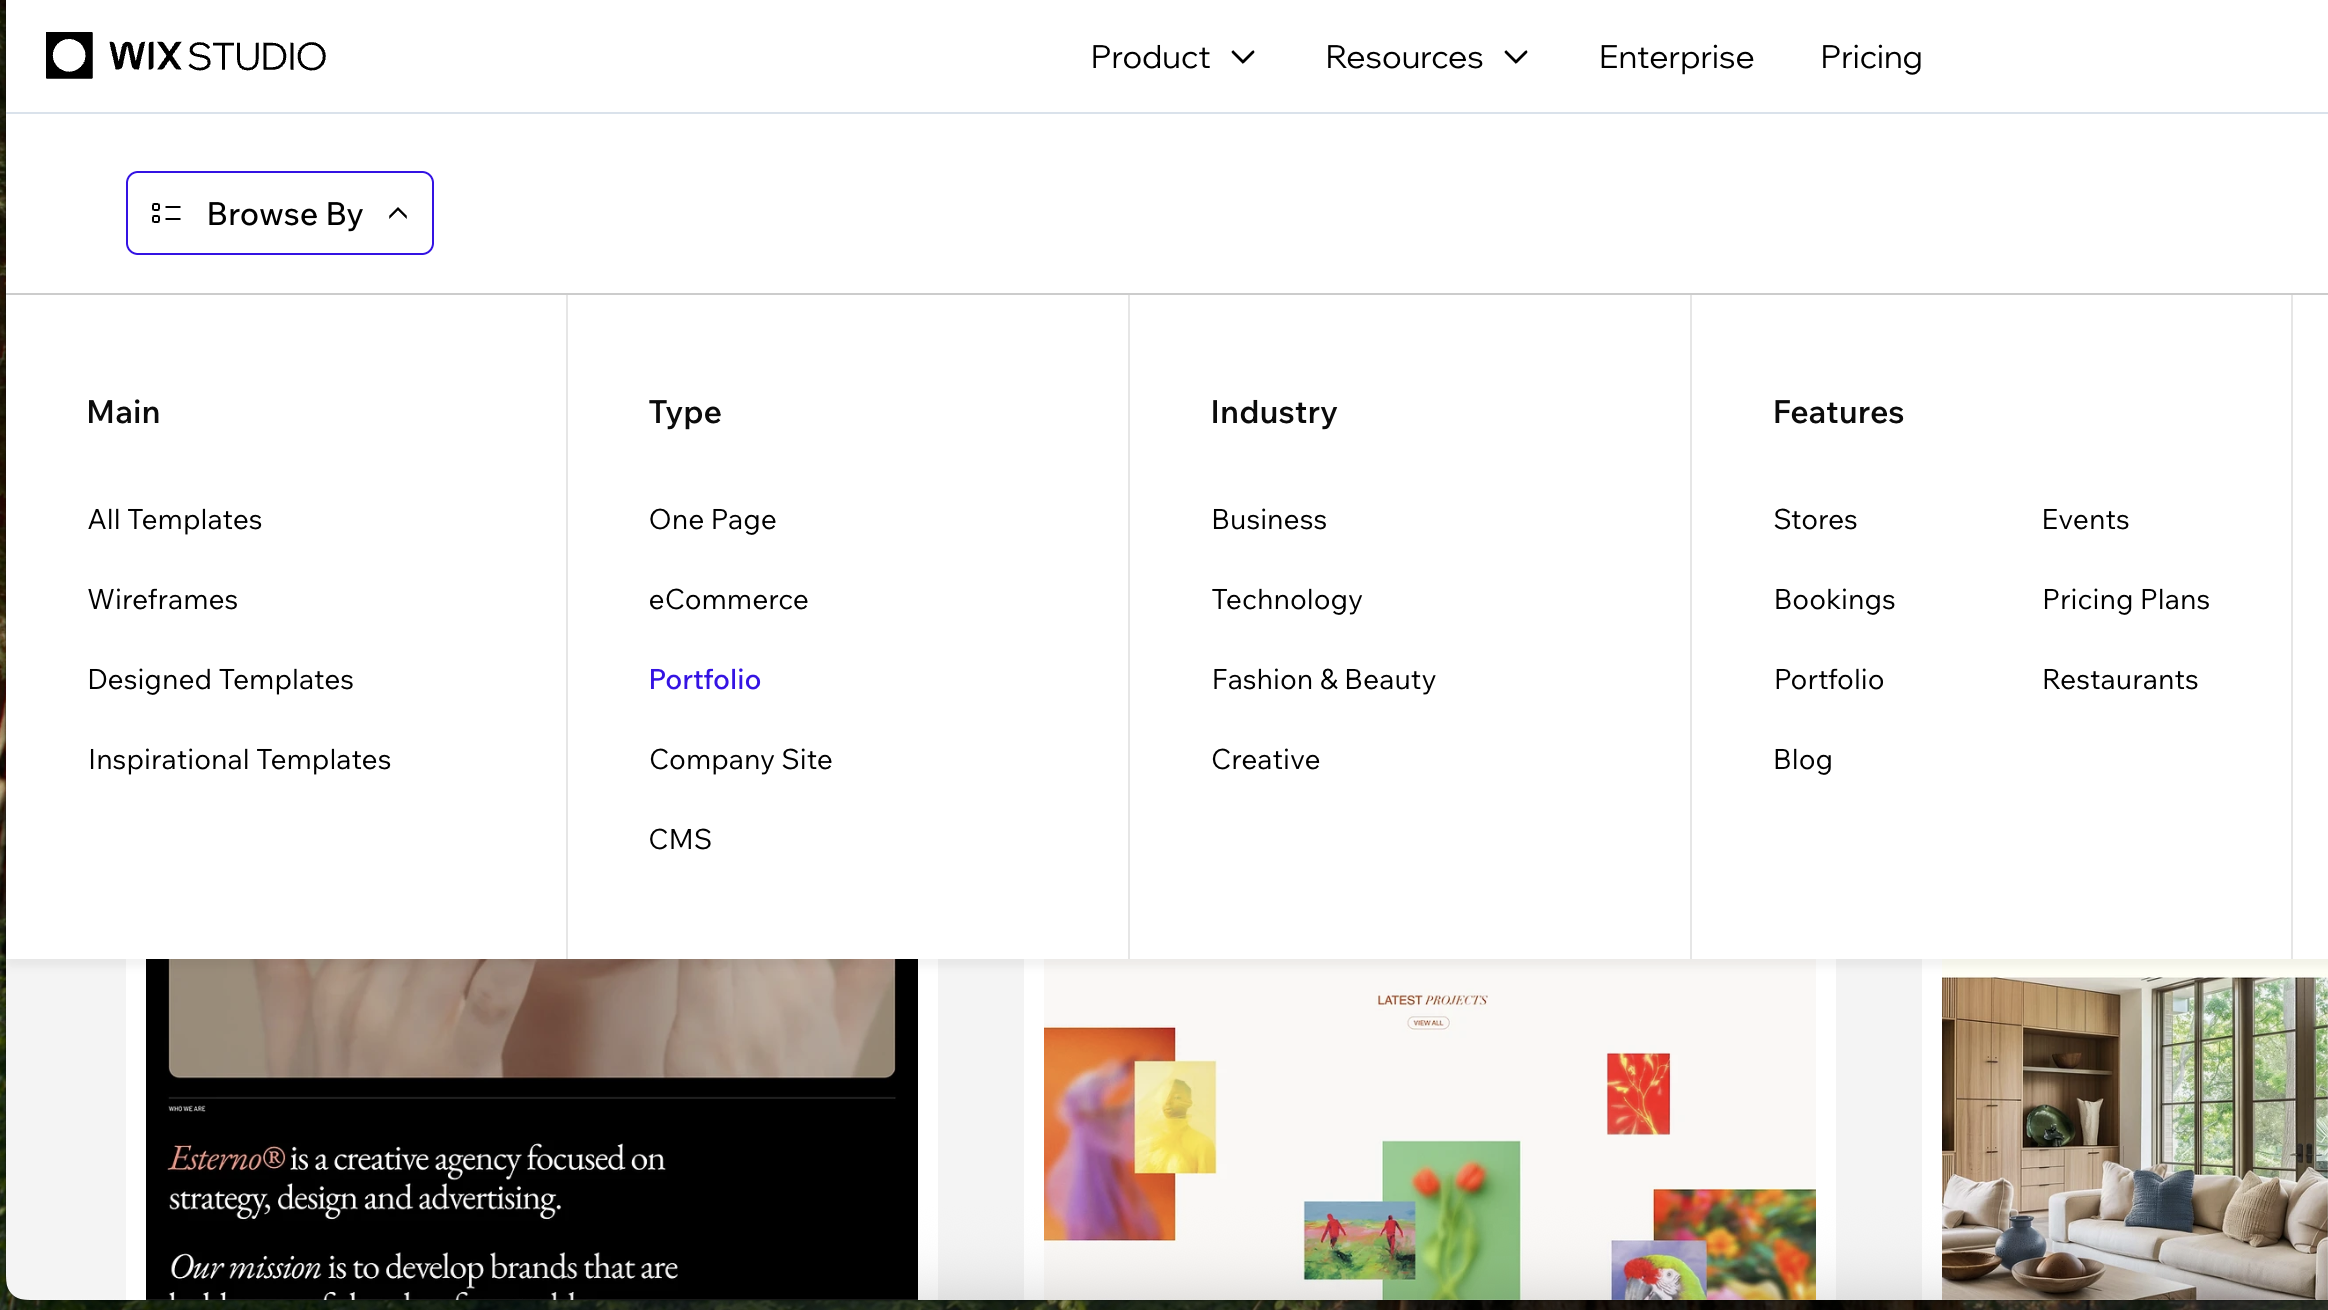
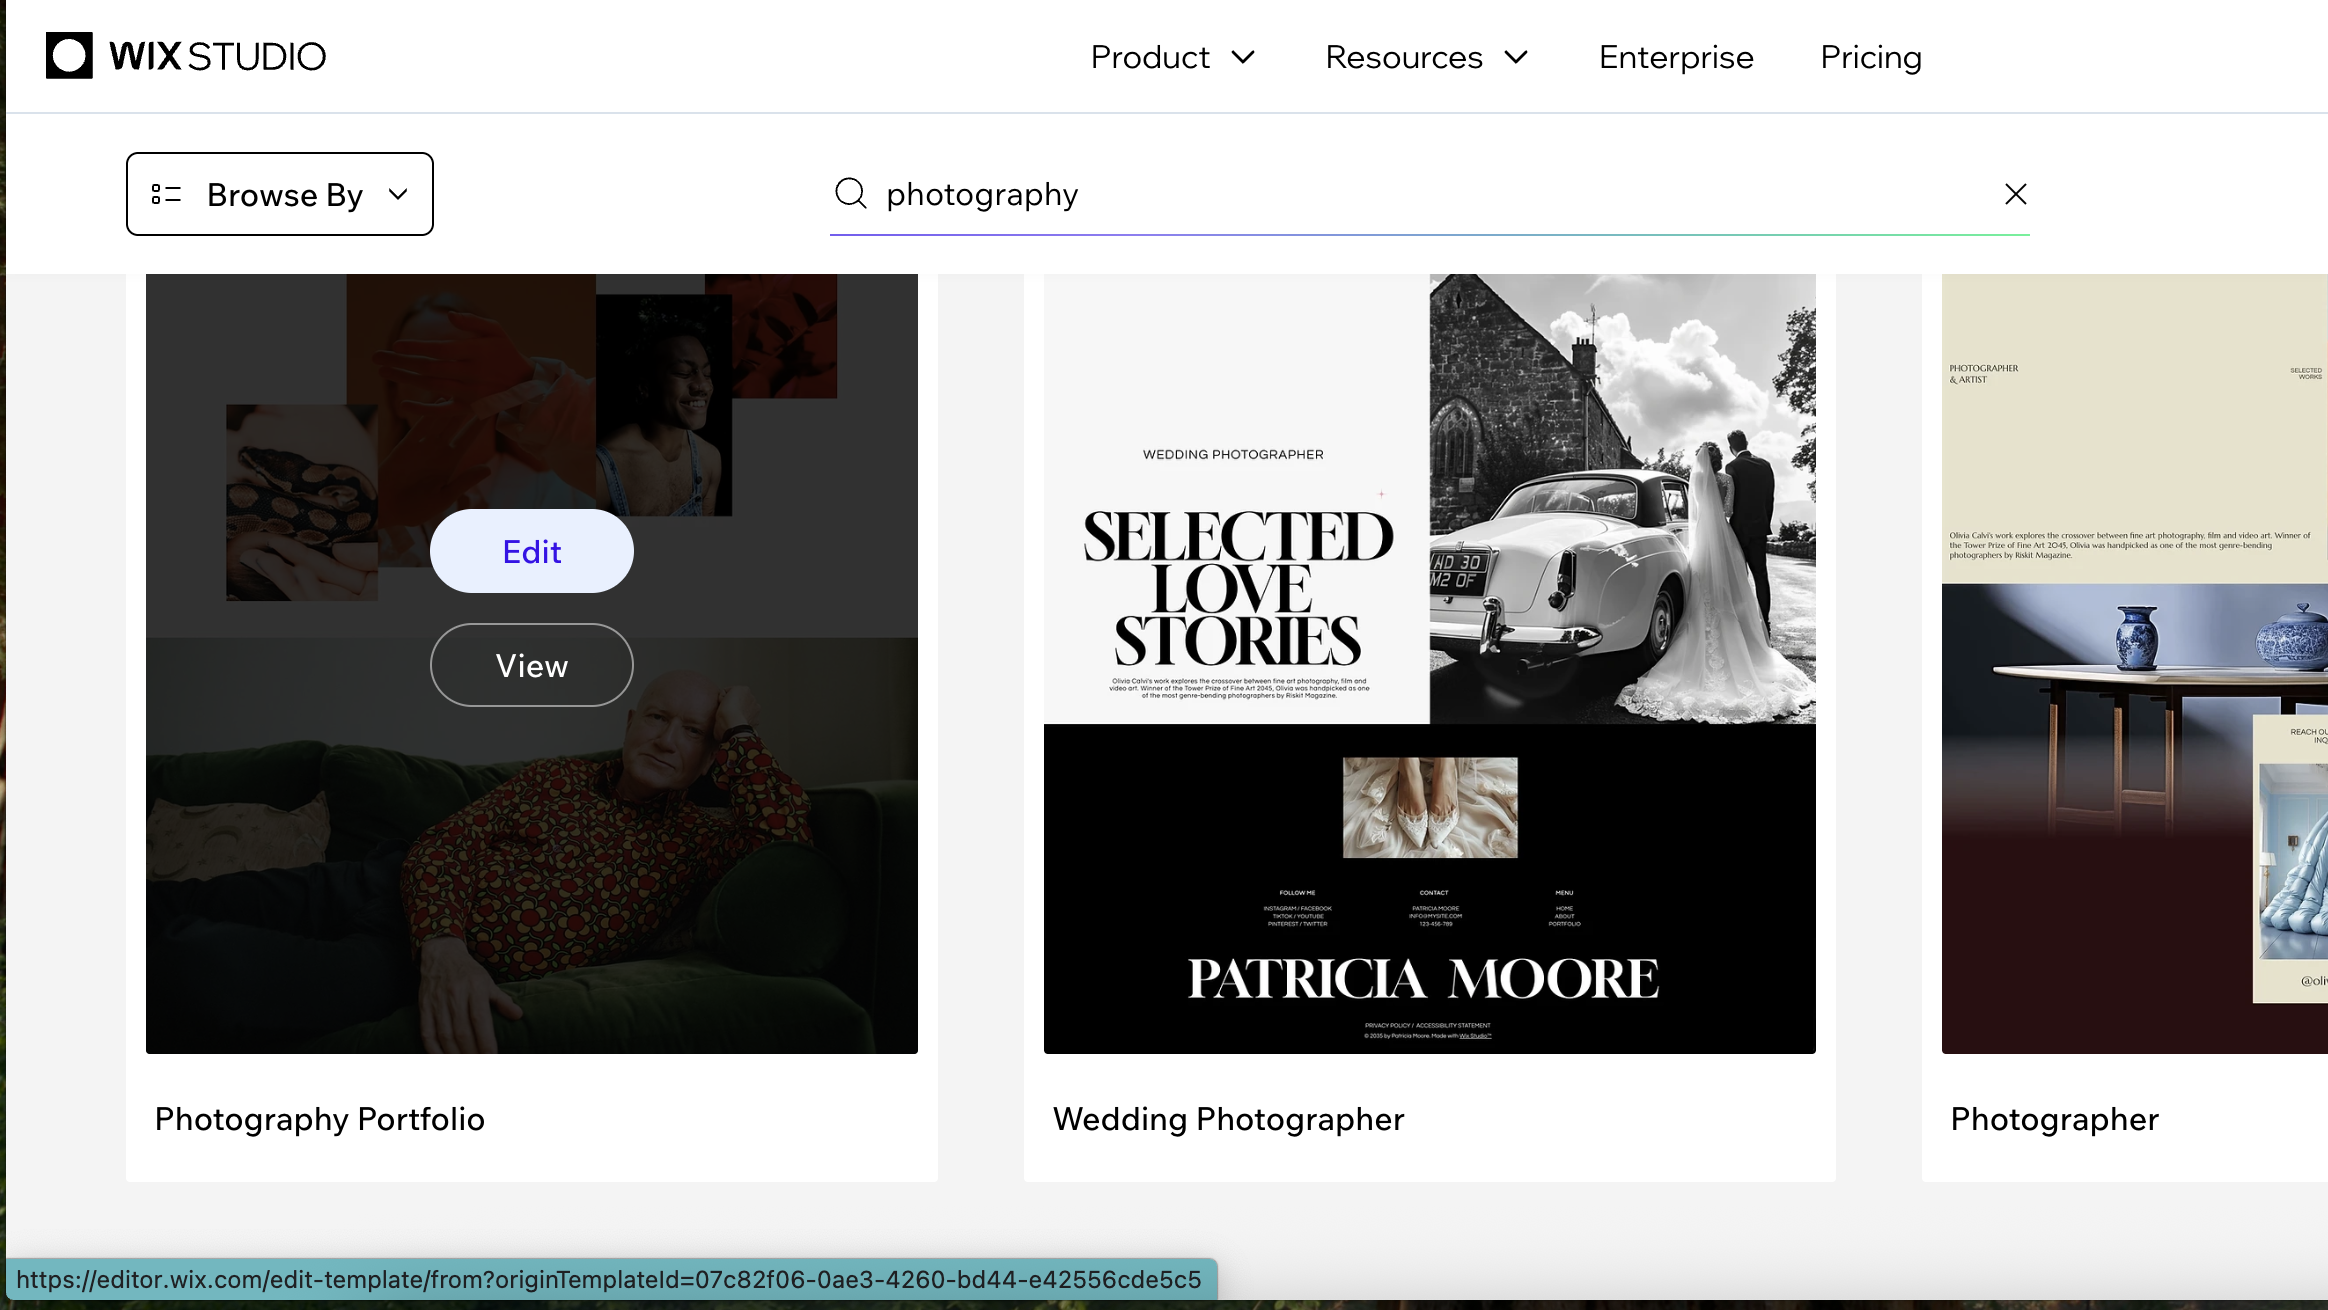
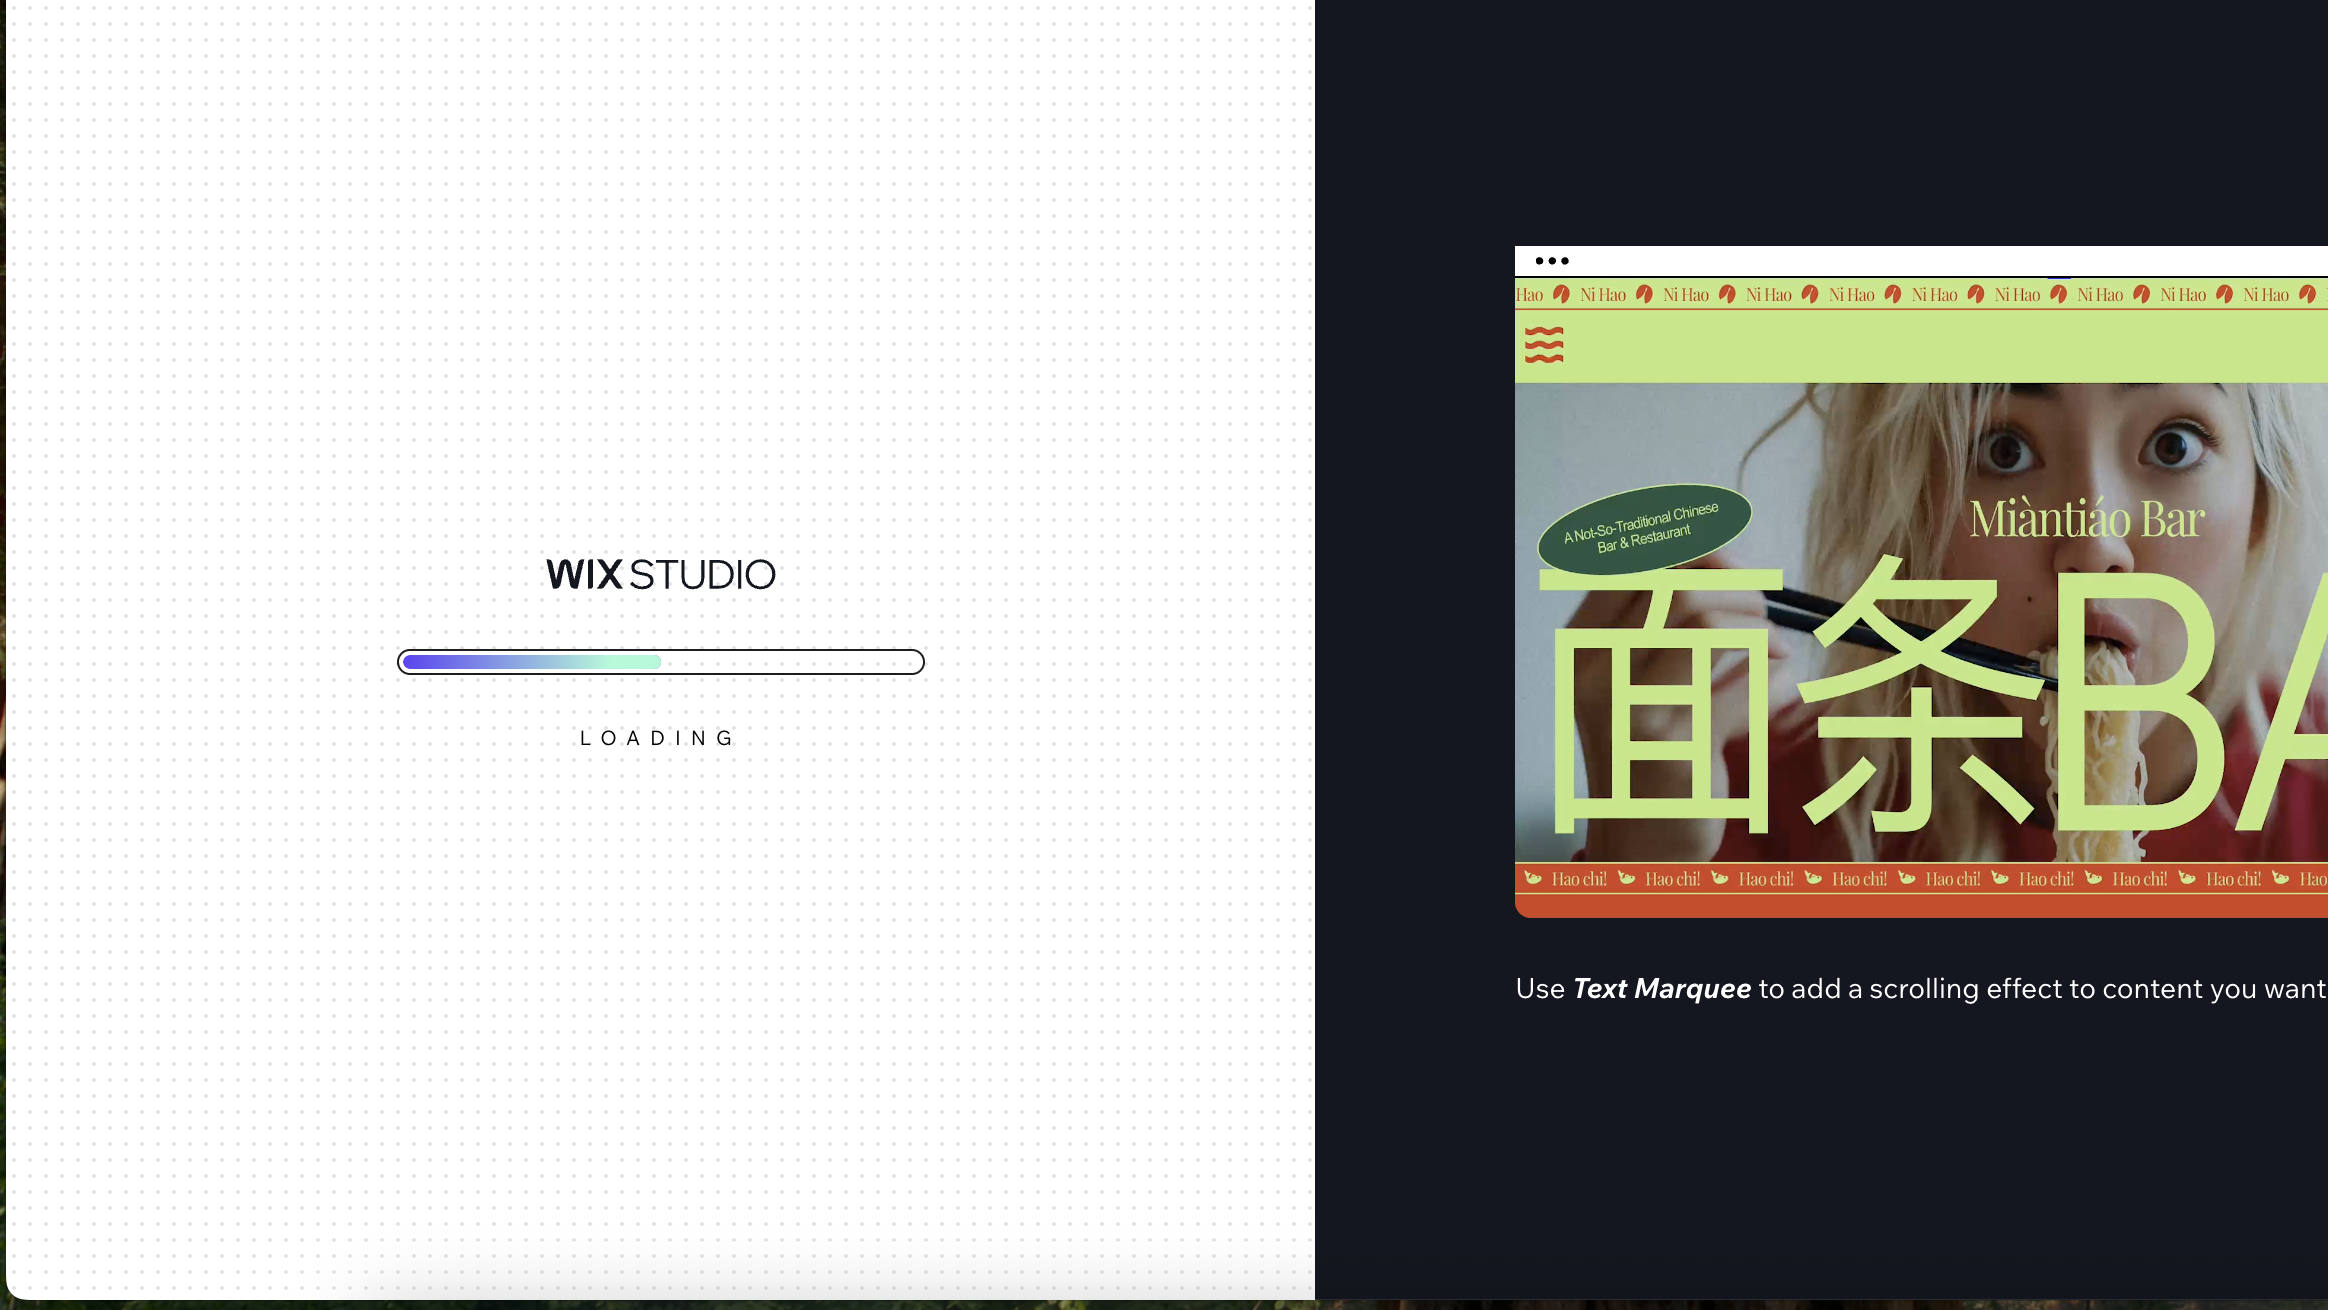
Browse through Studio's template collection and select one that matches your vision. The templates are organised by industry and style, making it easy to find something suitable.
Preview each template to see how it looks across different devices before making your choice. I've selected one called, simply, Photography Portfolio.
Once you've selected a template, click Edit to open it in the Studio editor. You'll see the template is already populated with sample content, placeholder images, and a complete site structure. Most templates include a homepage, About page, and Contact page, with some featuring additional pages like portfolios or services.
Note that the header and footer are global by default, meaning changes you make to them will appear across all pages automatically.
3. Customise your content
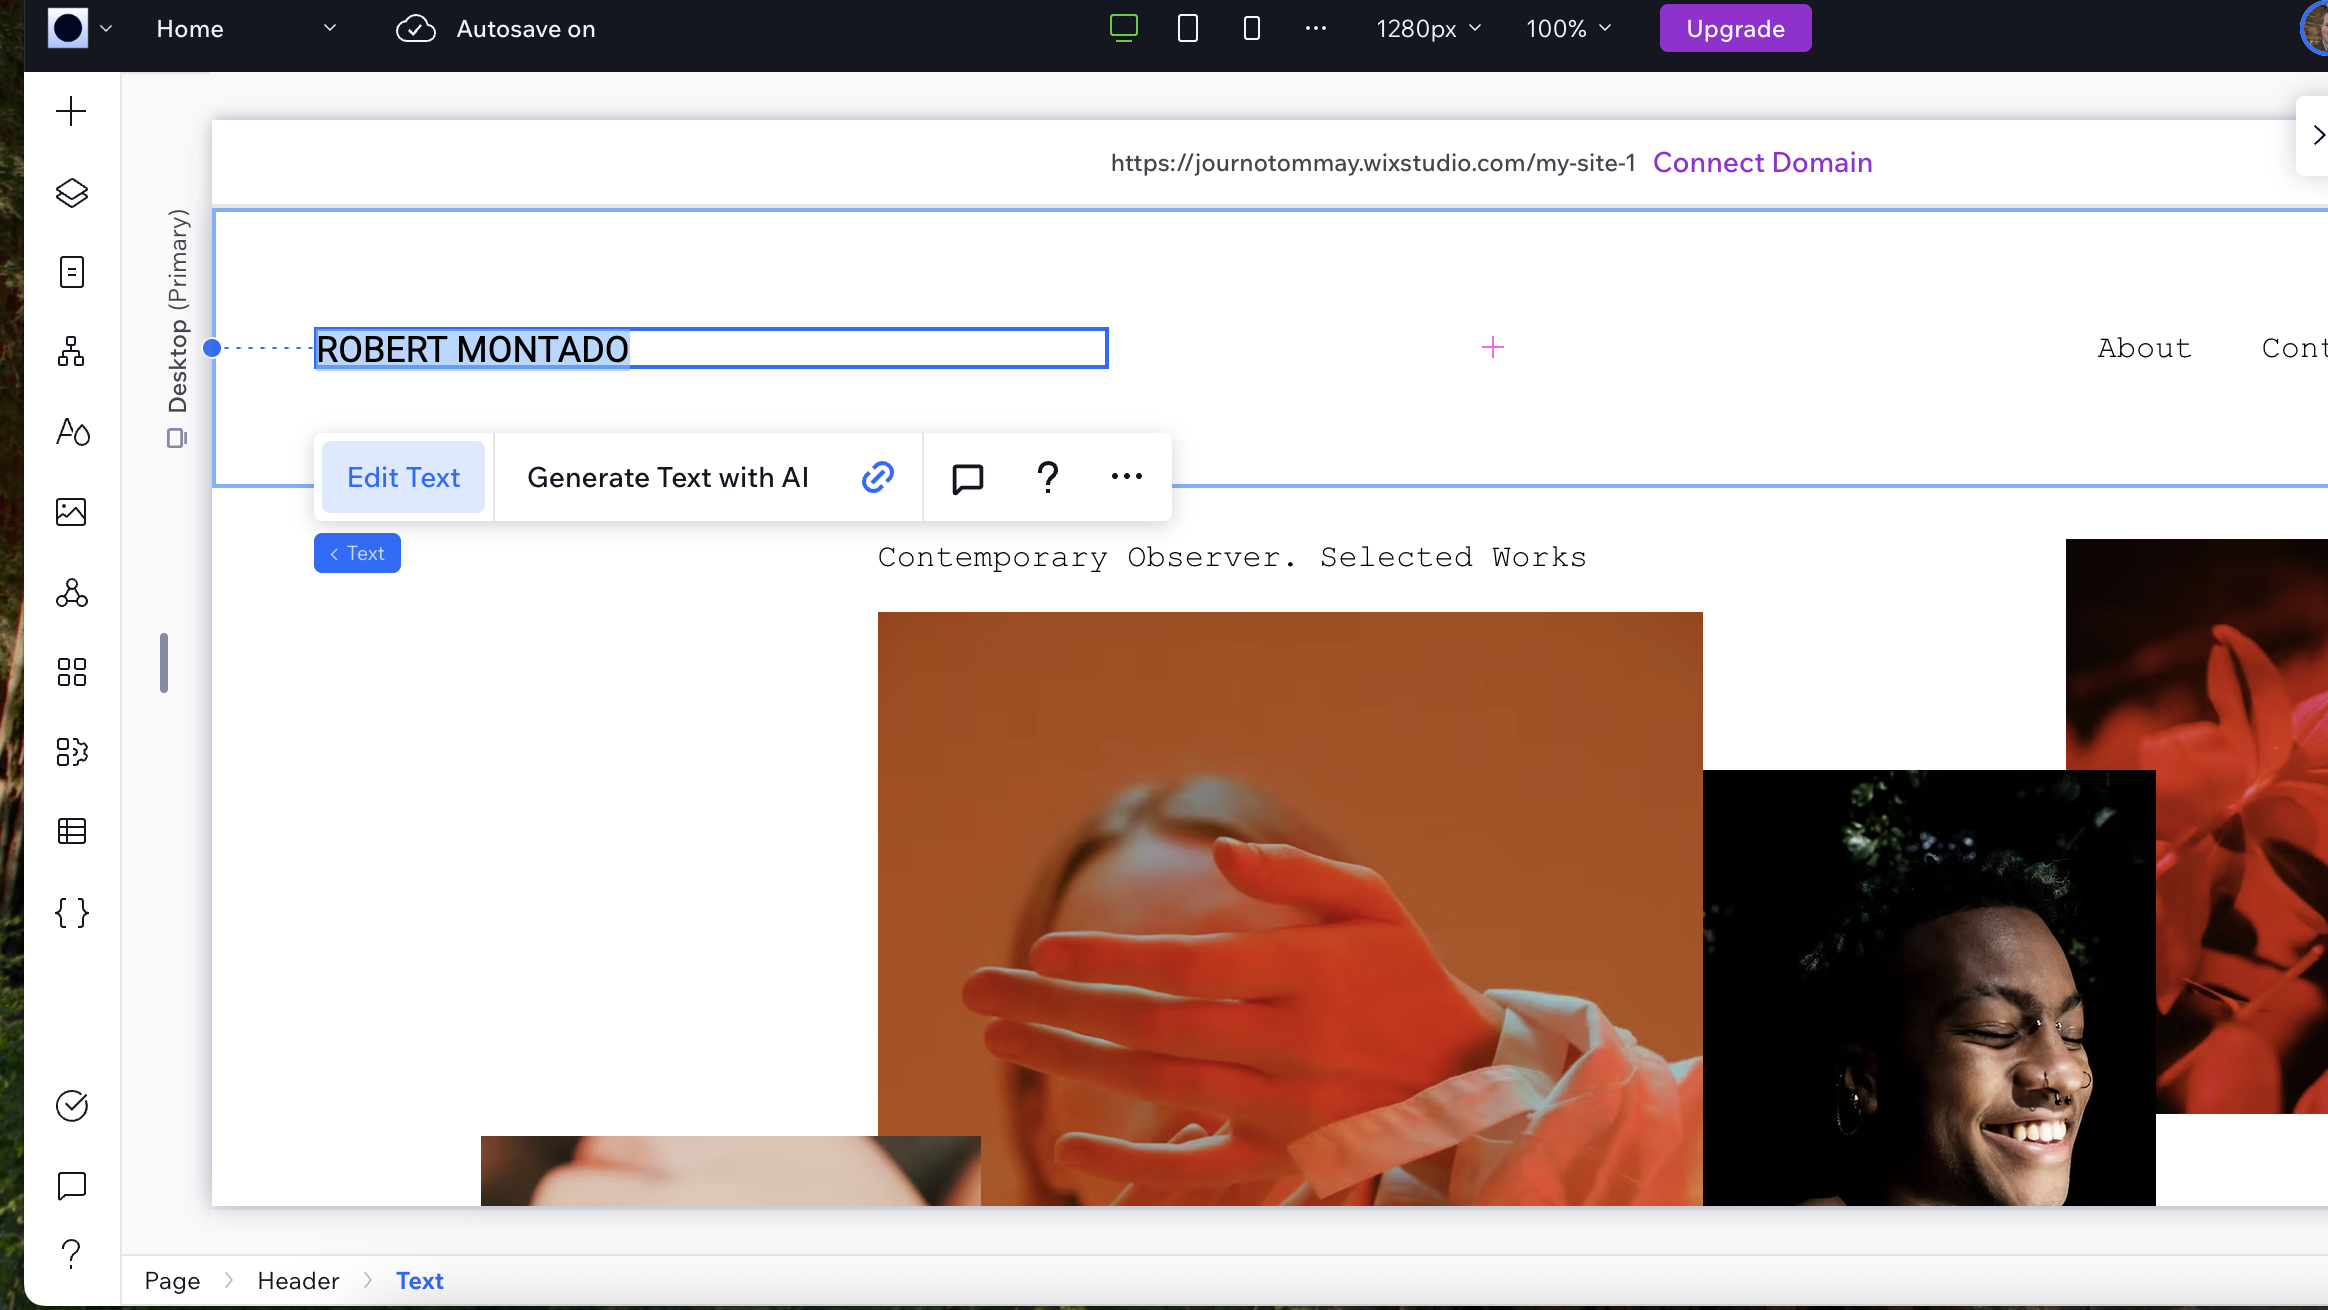
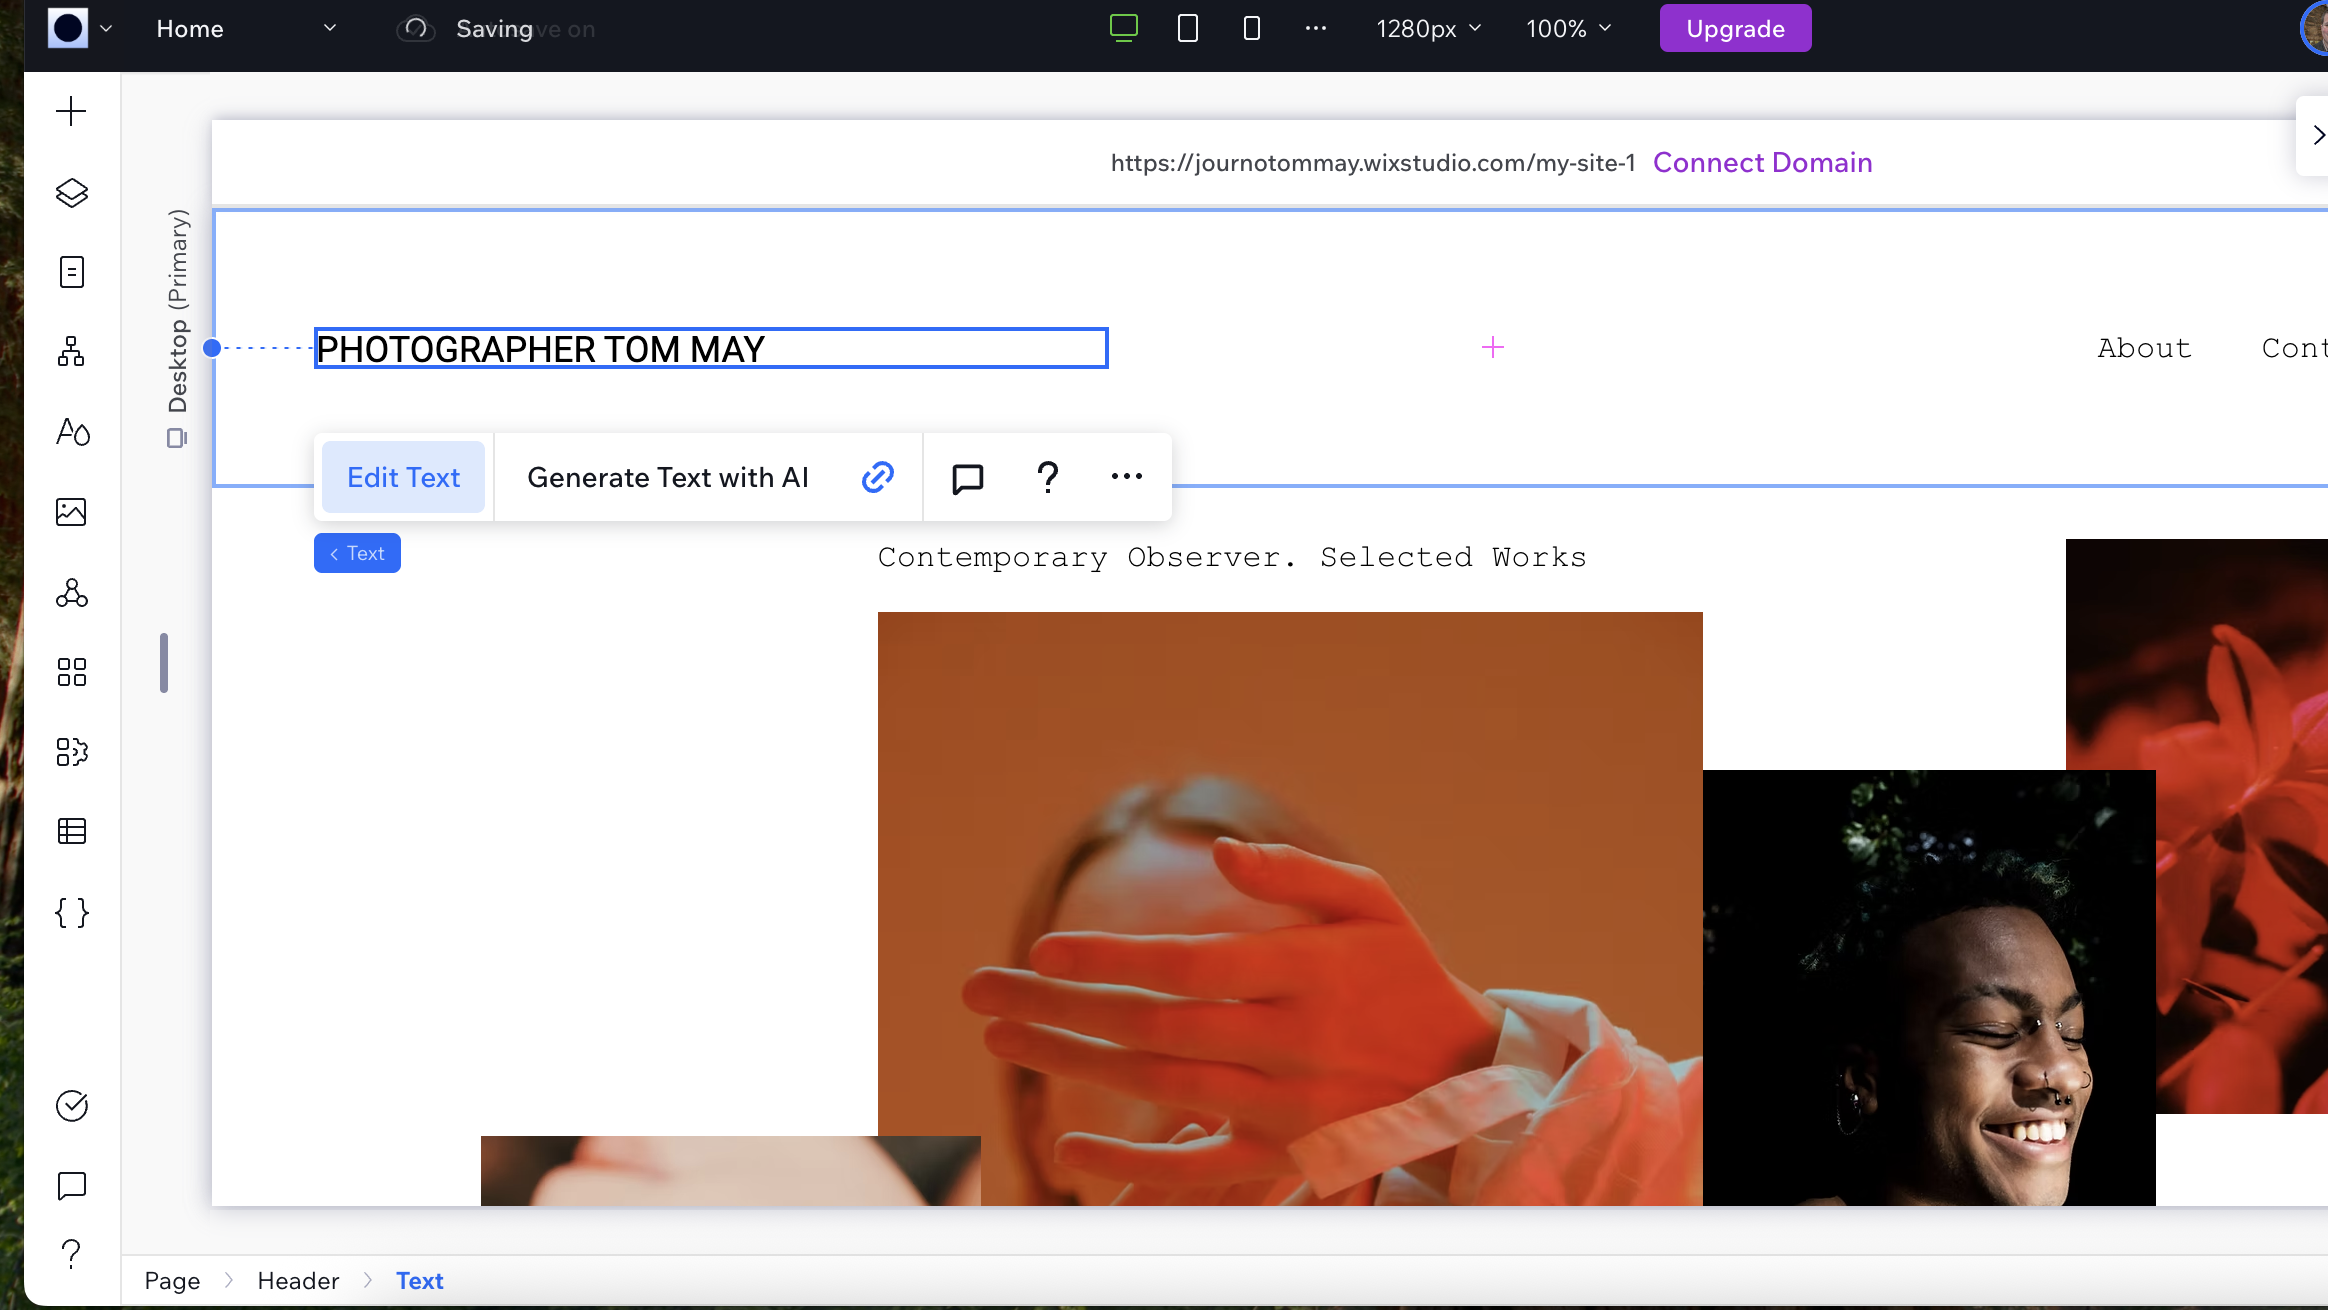
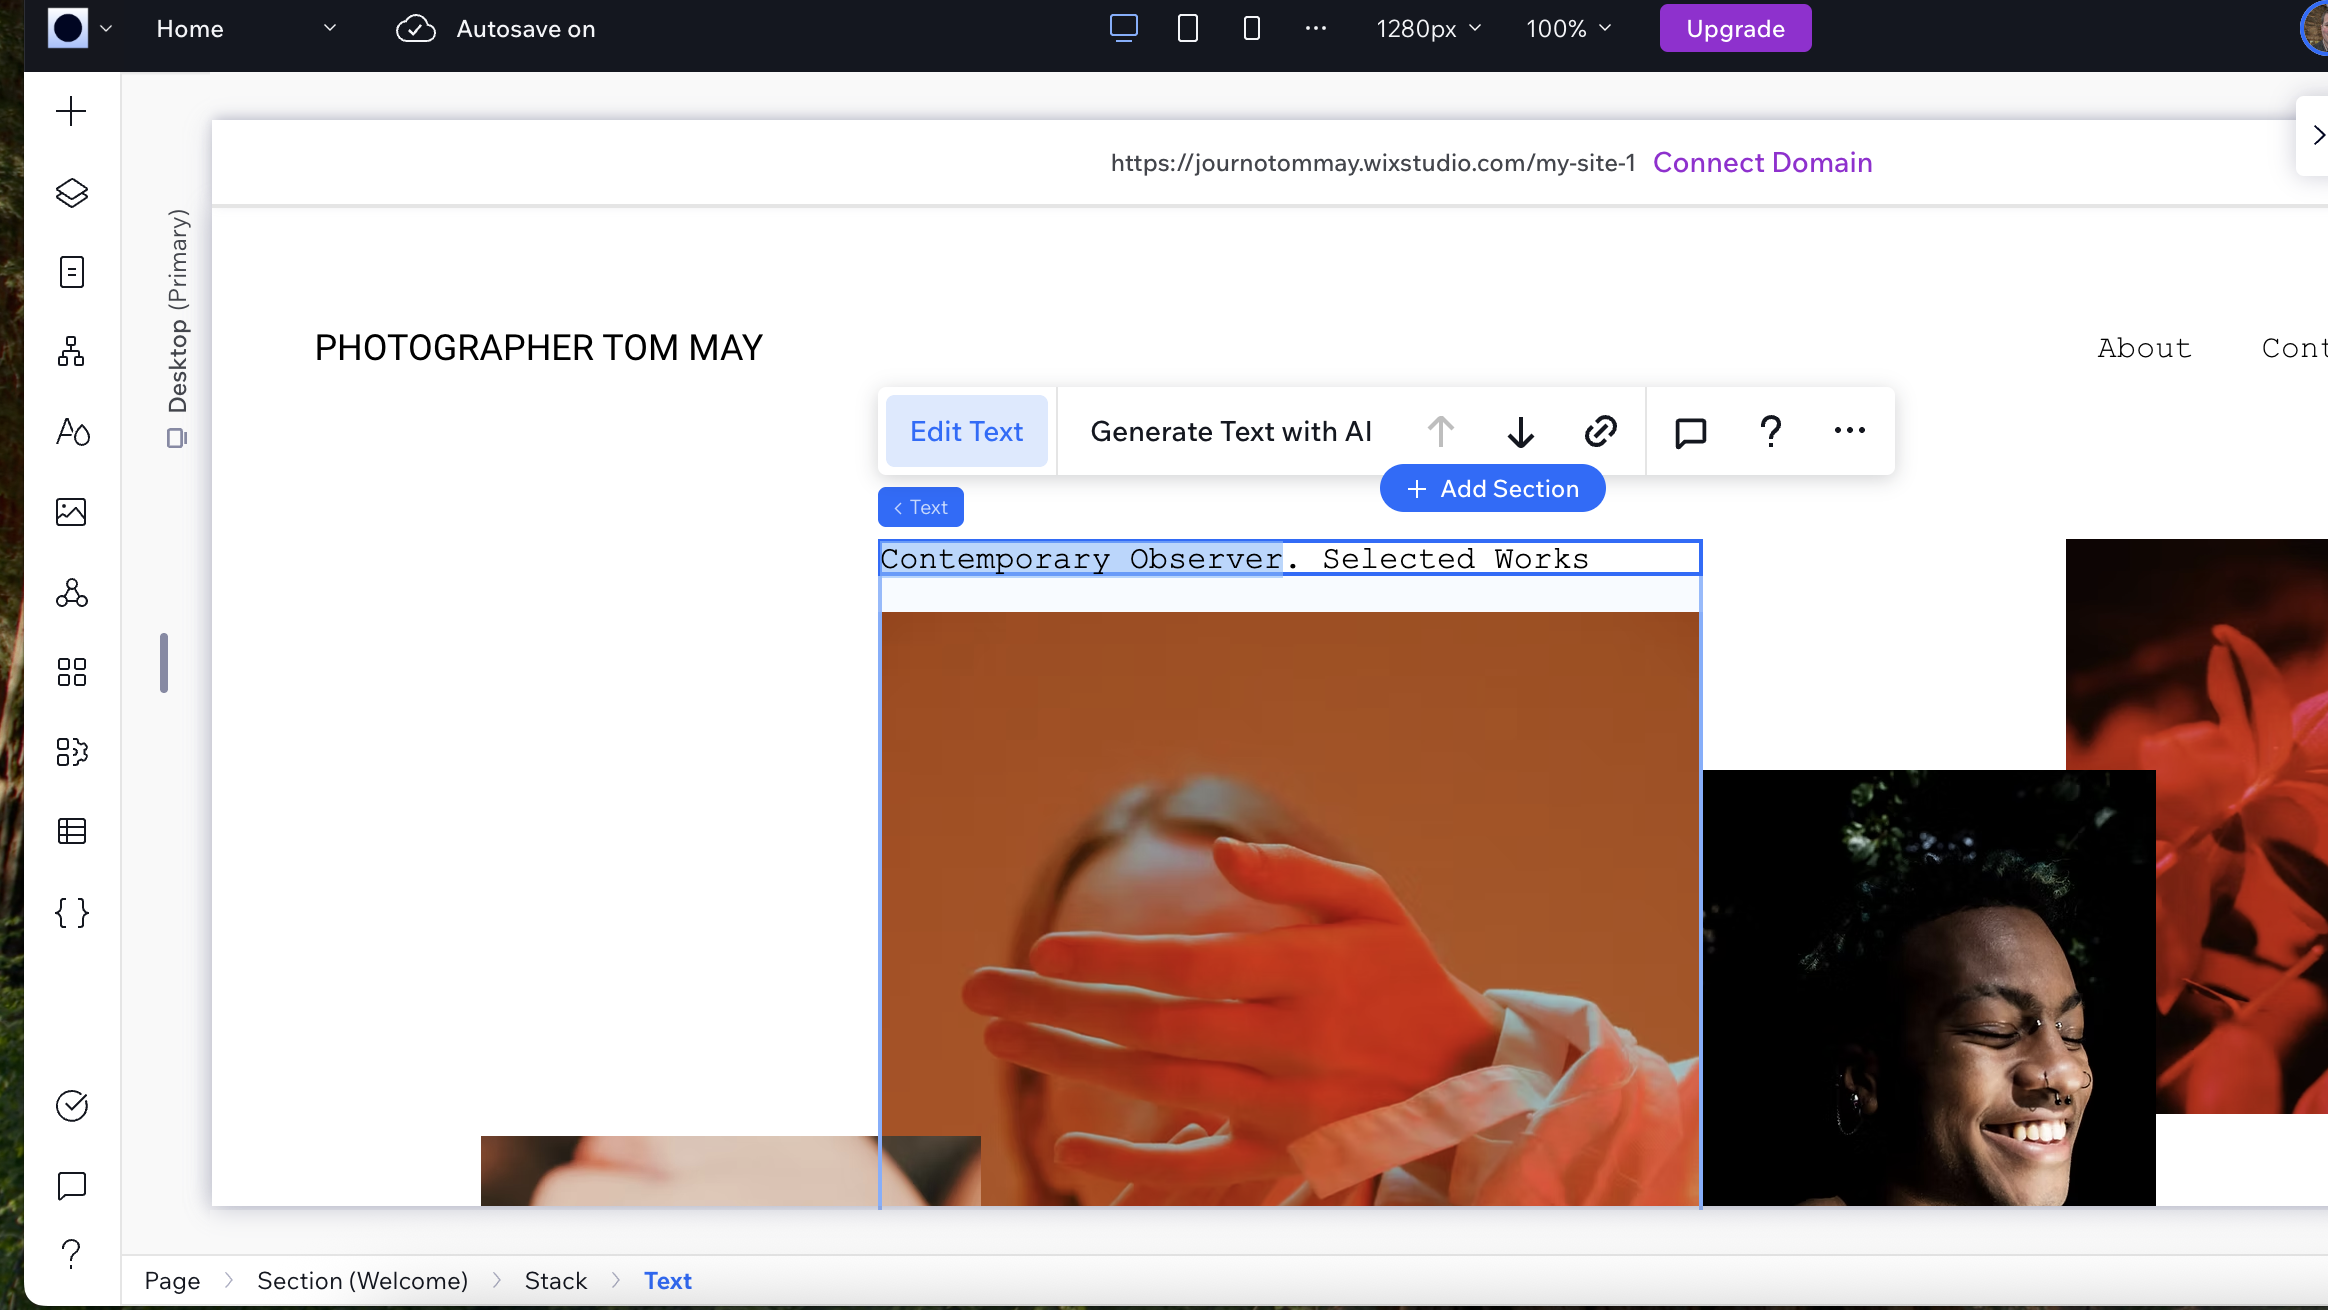
Your template already includes a designed header, but like most things on the website you'll want to make it your own. Click on the header section to select it, then use the Inspector panel to examine its structure.
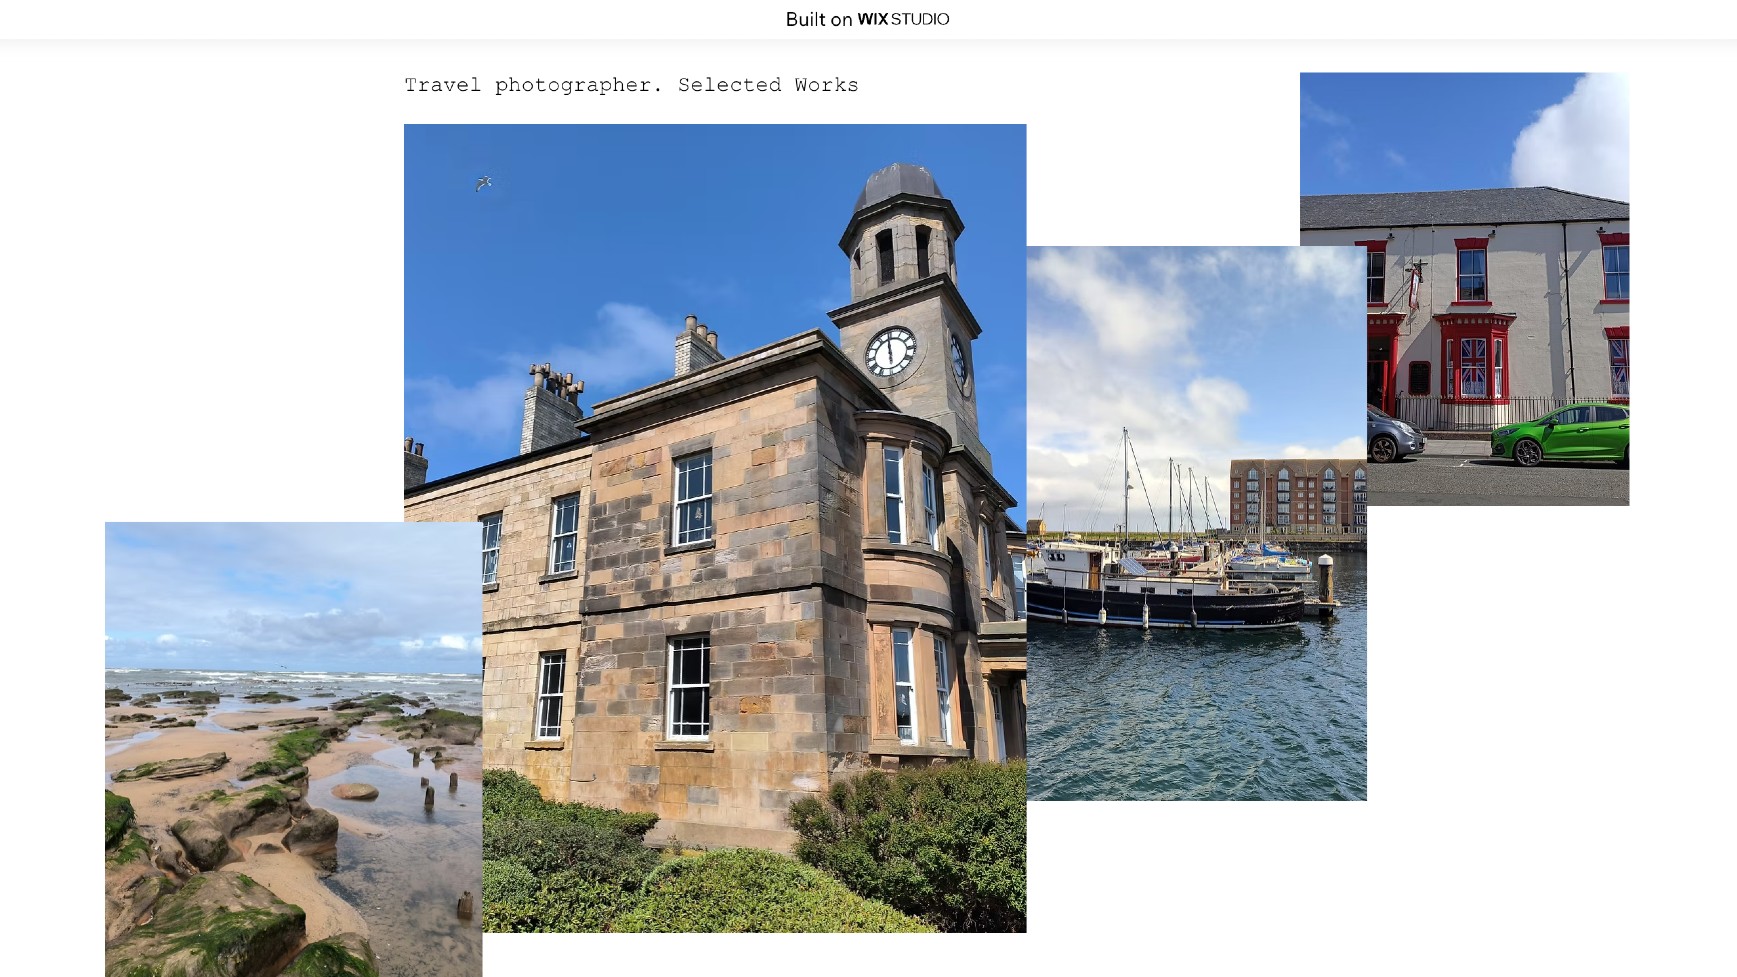
Replace the template text with your own by clicking on the existing text and selecting Edit text from the popup menu. For example, on my website, I've changed the dummy name of ROBERT MONTADO to PHOTOGRAPHER TOM MAY.
You can also update the navigation menu by clicking on each menu item and changing the text to match your site's pages. Add or remove menu items by right-clicking on the menu and selecting the appropriate option. If you make a mistake, just use Ctrl-Z to undo the changes you've made.
The template's header may include additional elements like contact information, social icons, or call-to-action buttons. Customise these by clicking on each element and updating the content, links, or styling to match your brand.
Studio's templates are designed with responsive behaviour already configured, but you can fine-tune how elements behave on different screen sizes using the Inspector panel's responsive settings.
4. Understanding the Studio interface
Once you're in the editor, you'll notice Studio looks quite different from regular Wix Classic. The interface is divided into several key areas:
- Canvas: The main design area where you'll build your site. Above it, you'll see breakpoint controls for desktop, tablet, and mobile views.
- Left Panel: Contains the Add panel (elements, sections, business solutions), Layers panel (site structure), Pages tab, and various design tools.
- Inspector Panel: On the right side, this controls individual element properties, interactions, and content settings.
- Top Bar: Houses your site actions, page navigation, and publish controls.
The real power of Studio lies in its professional features. You can create custom breakpoints, use advanced grid systems, apply complex animations, and even add custom code... all while maintaining visual control over your design.
5. Update your homepage hero section
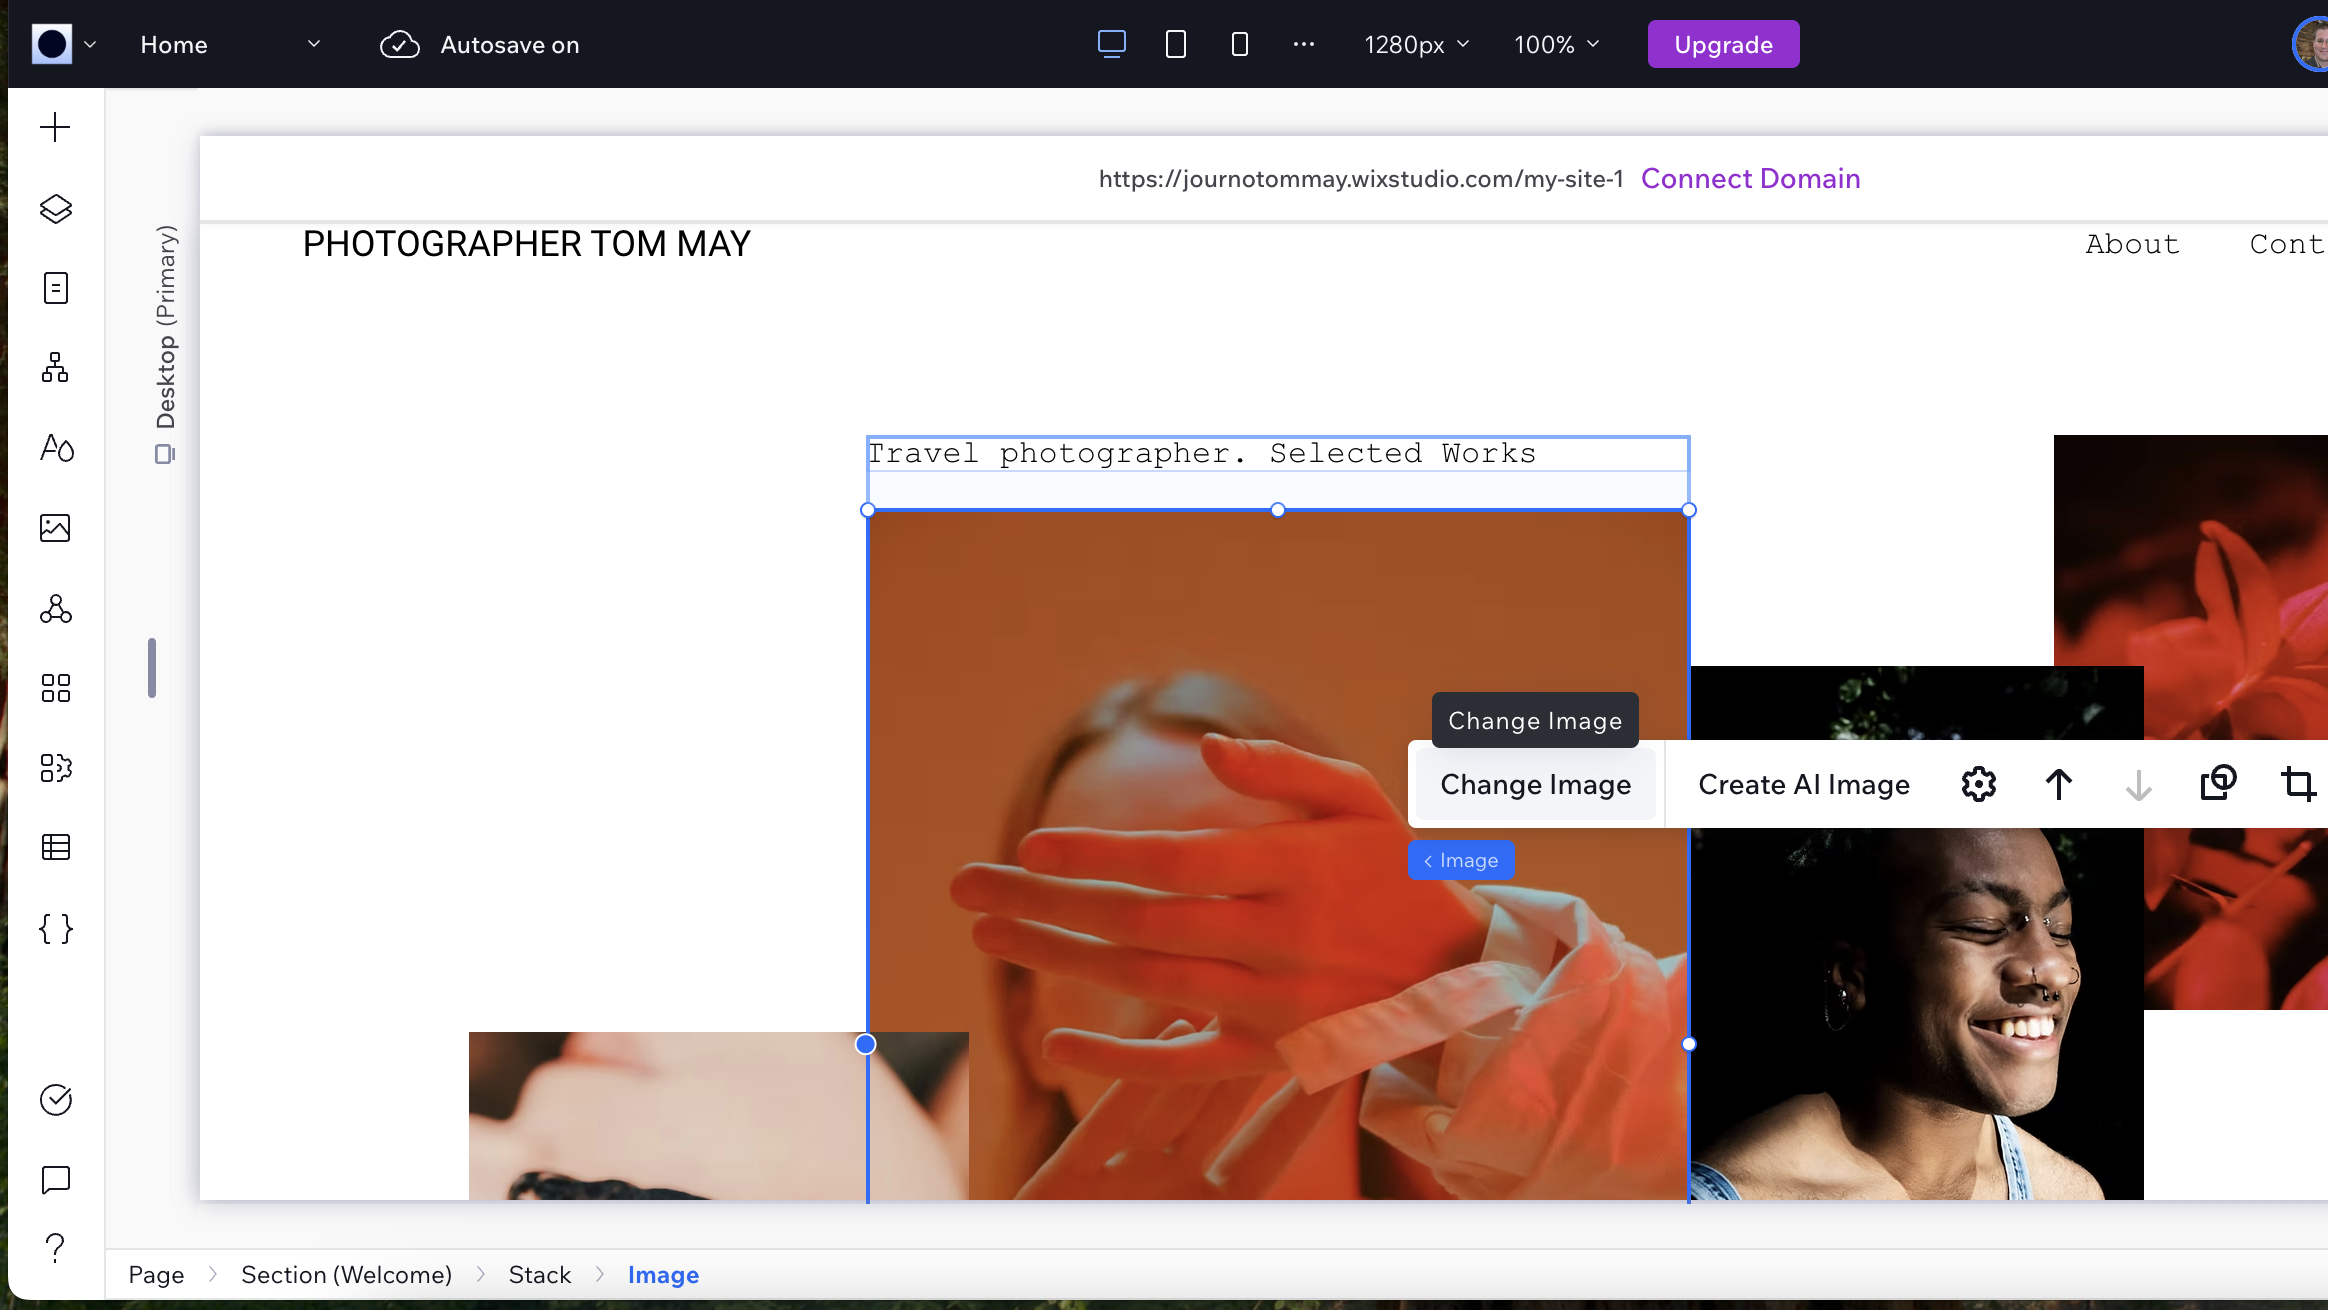
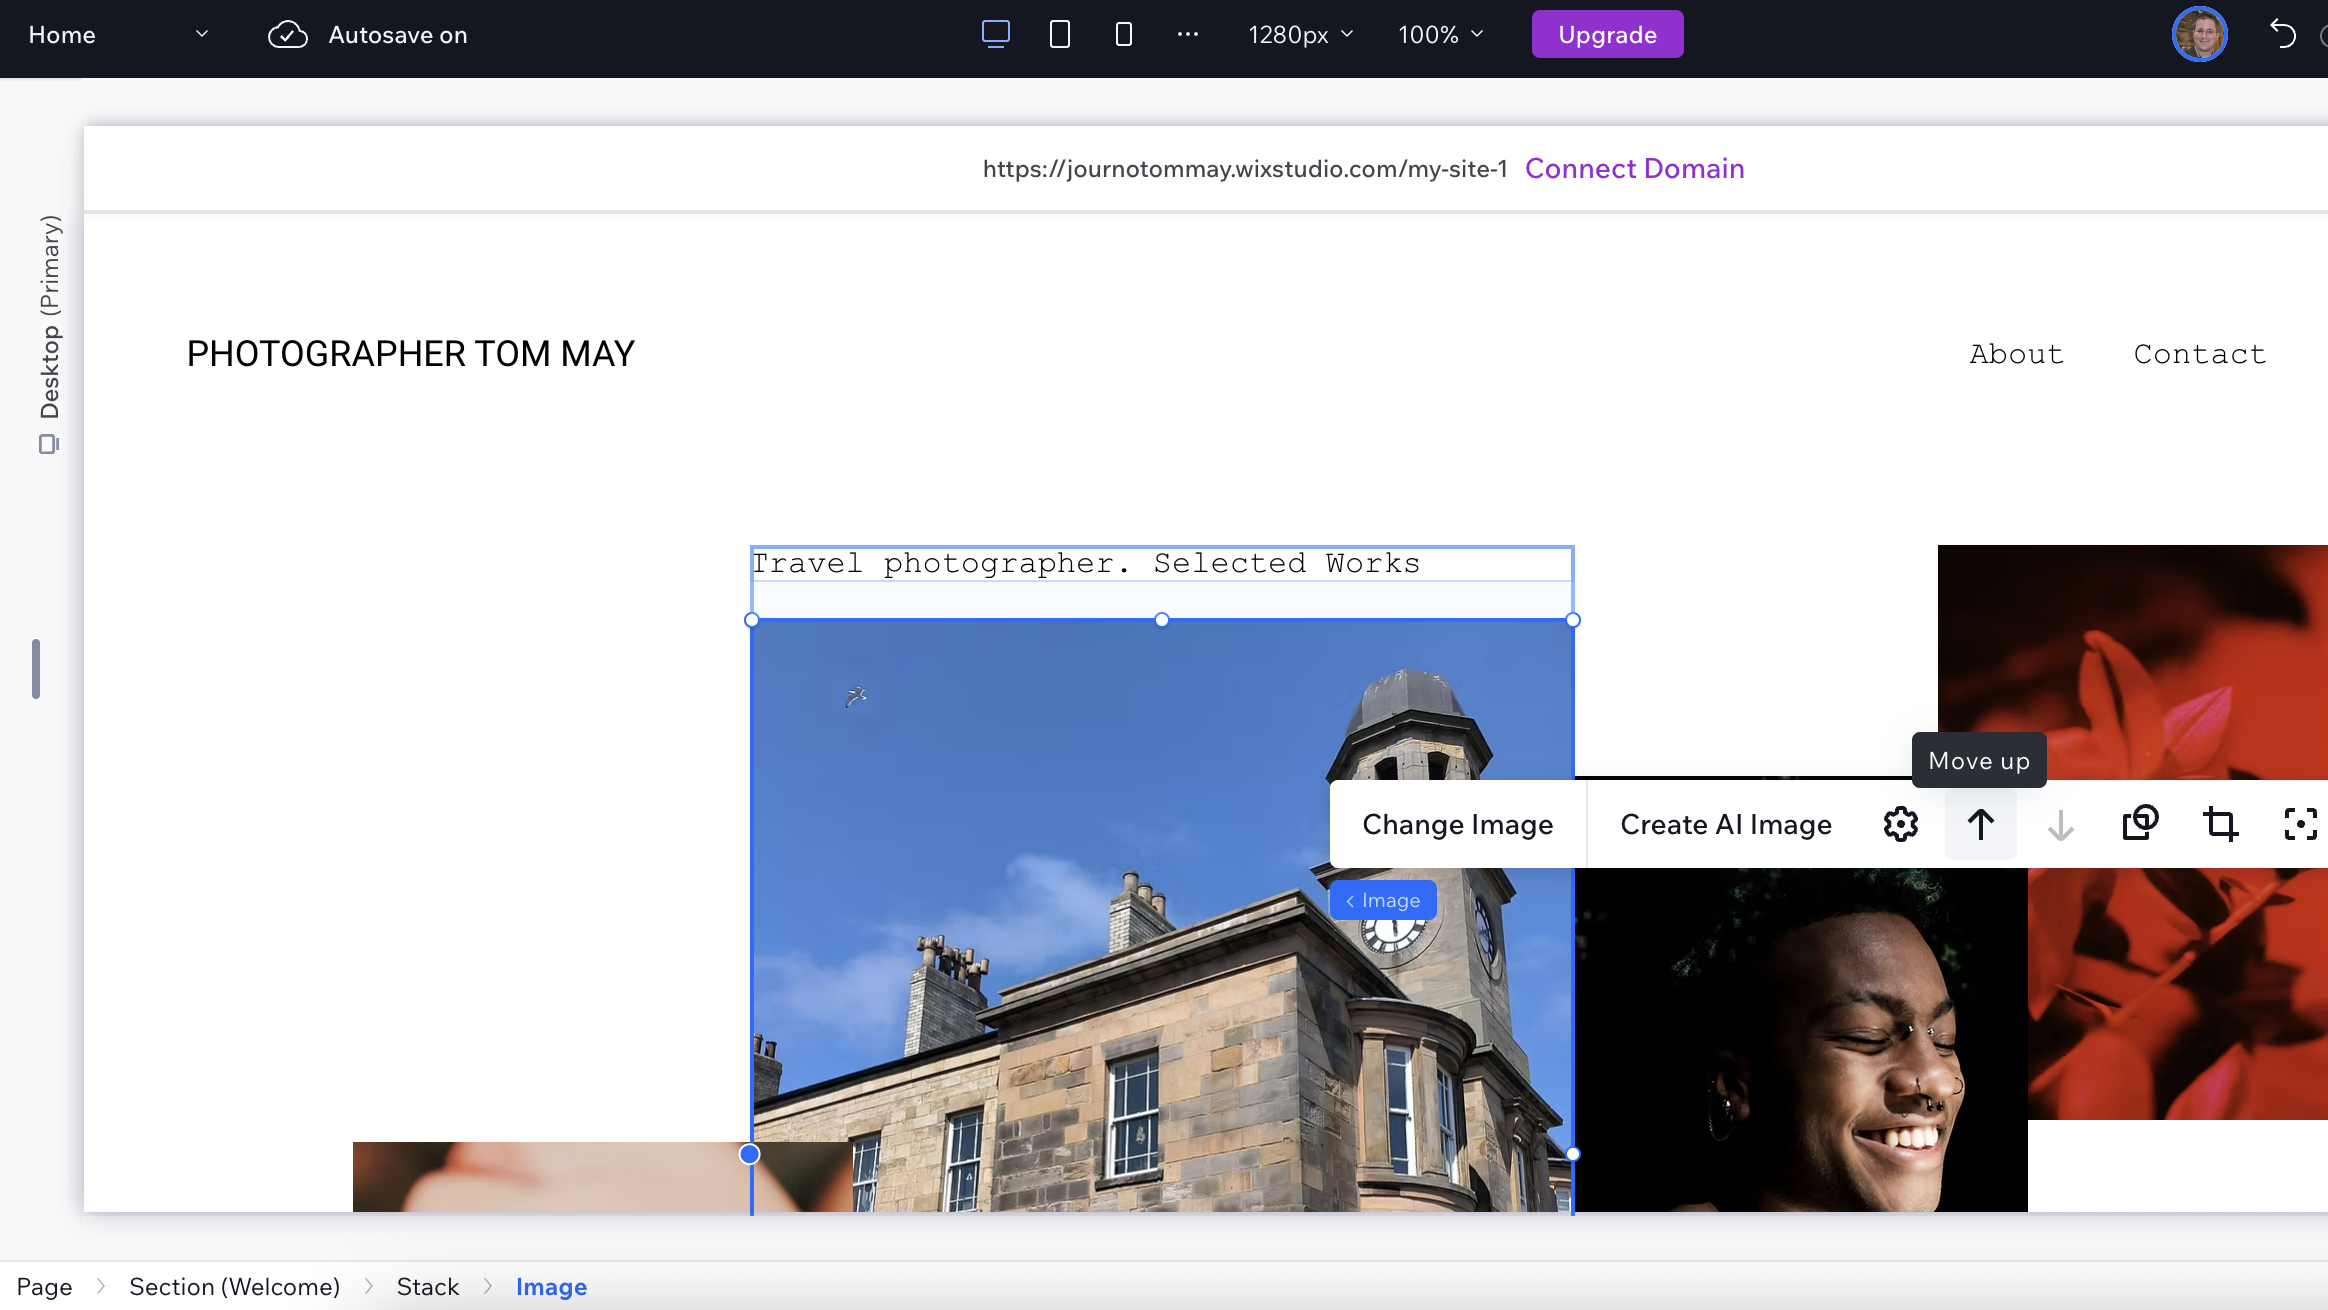
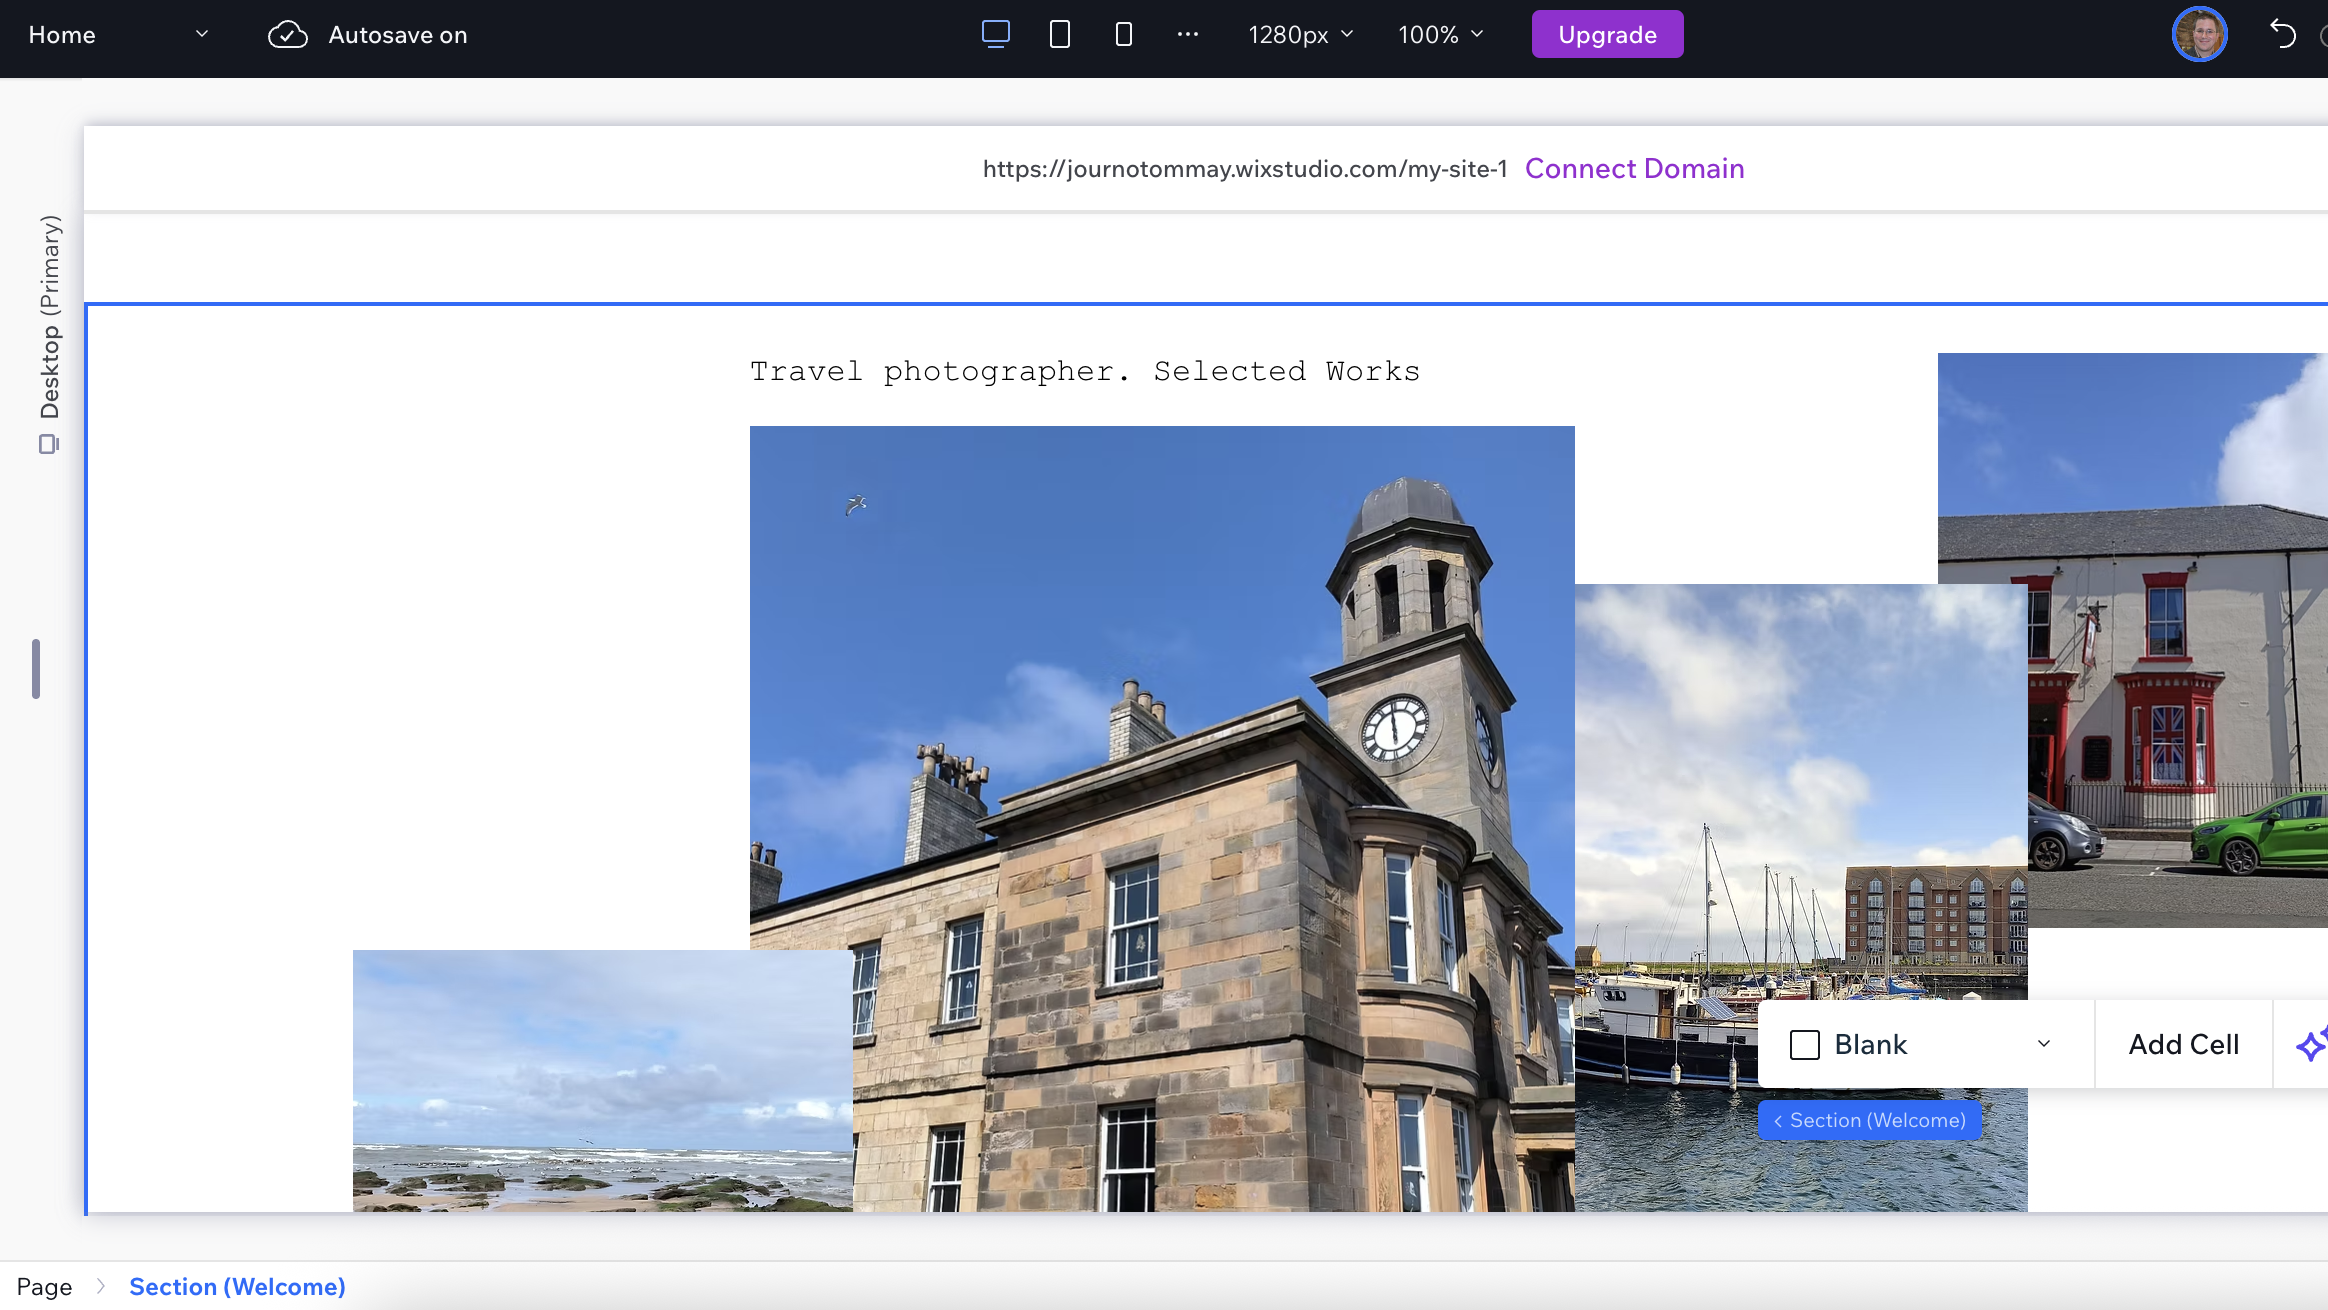
Your template's hero section is already professionally designed with placeholder content. Click on the hero section to select it, then begin replacing the template content with your own.
Start with the background image or video. Click on the background and select Change Background from the popup menu. You can upload your own media or choose from Studio's stock library. The template's original sizing and positioning will be maintained, but you can adjust these if needed.
Update the headline text by clicking directly on it and typing your new content. The template's typography styling will remain, but you can modify fonts, sizes, and colours using the Inspector panel if you want to match your brand better.
Replace the body text in the same way, clicking on the text element and updating the content. Many templates include call-to-action buttons in the hero section; update these with your own text and ensure they link to the appropriate pages.
If your template uses a multi-column layout in the hero section, you can adjust the column widths by dragging the dividers or setting exact percentages in the Inspector panel. This is particularly useful if your content doesn't fit the template's original proportions.
6. Customise content sections
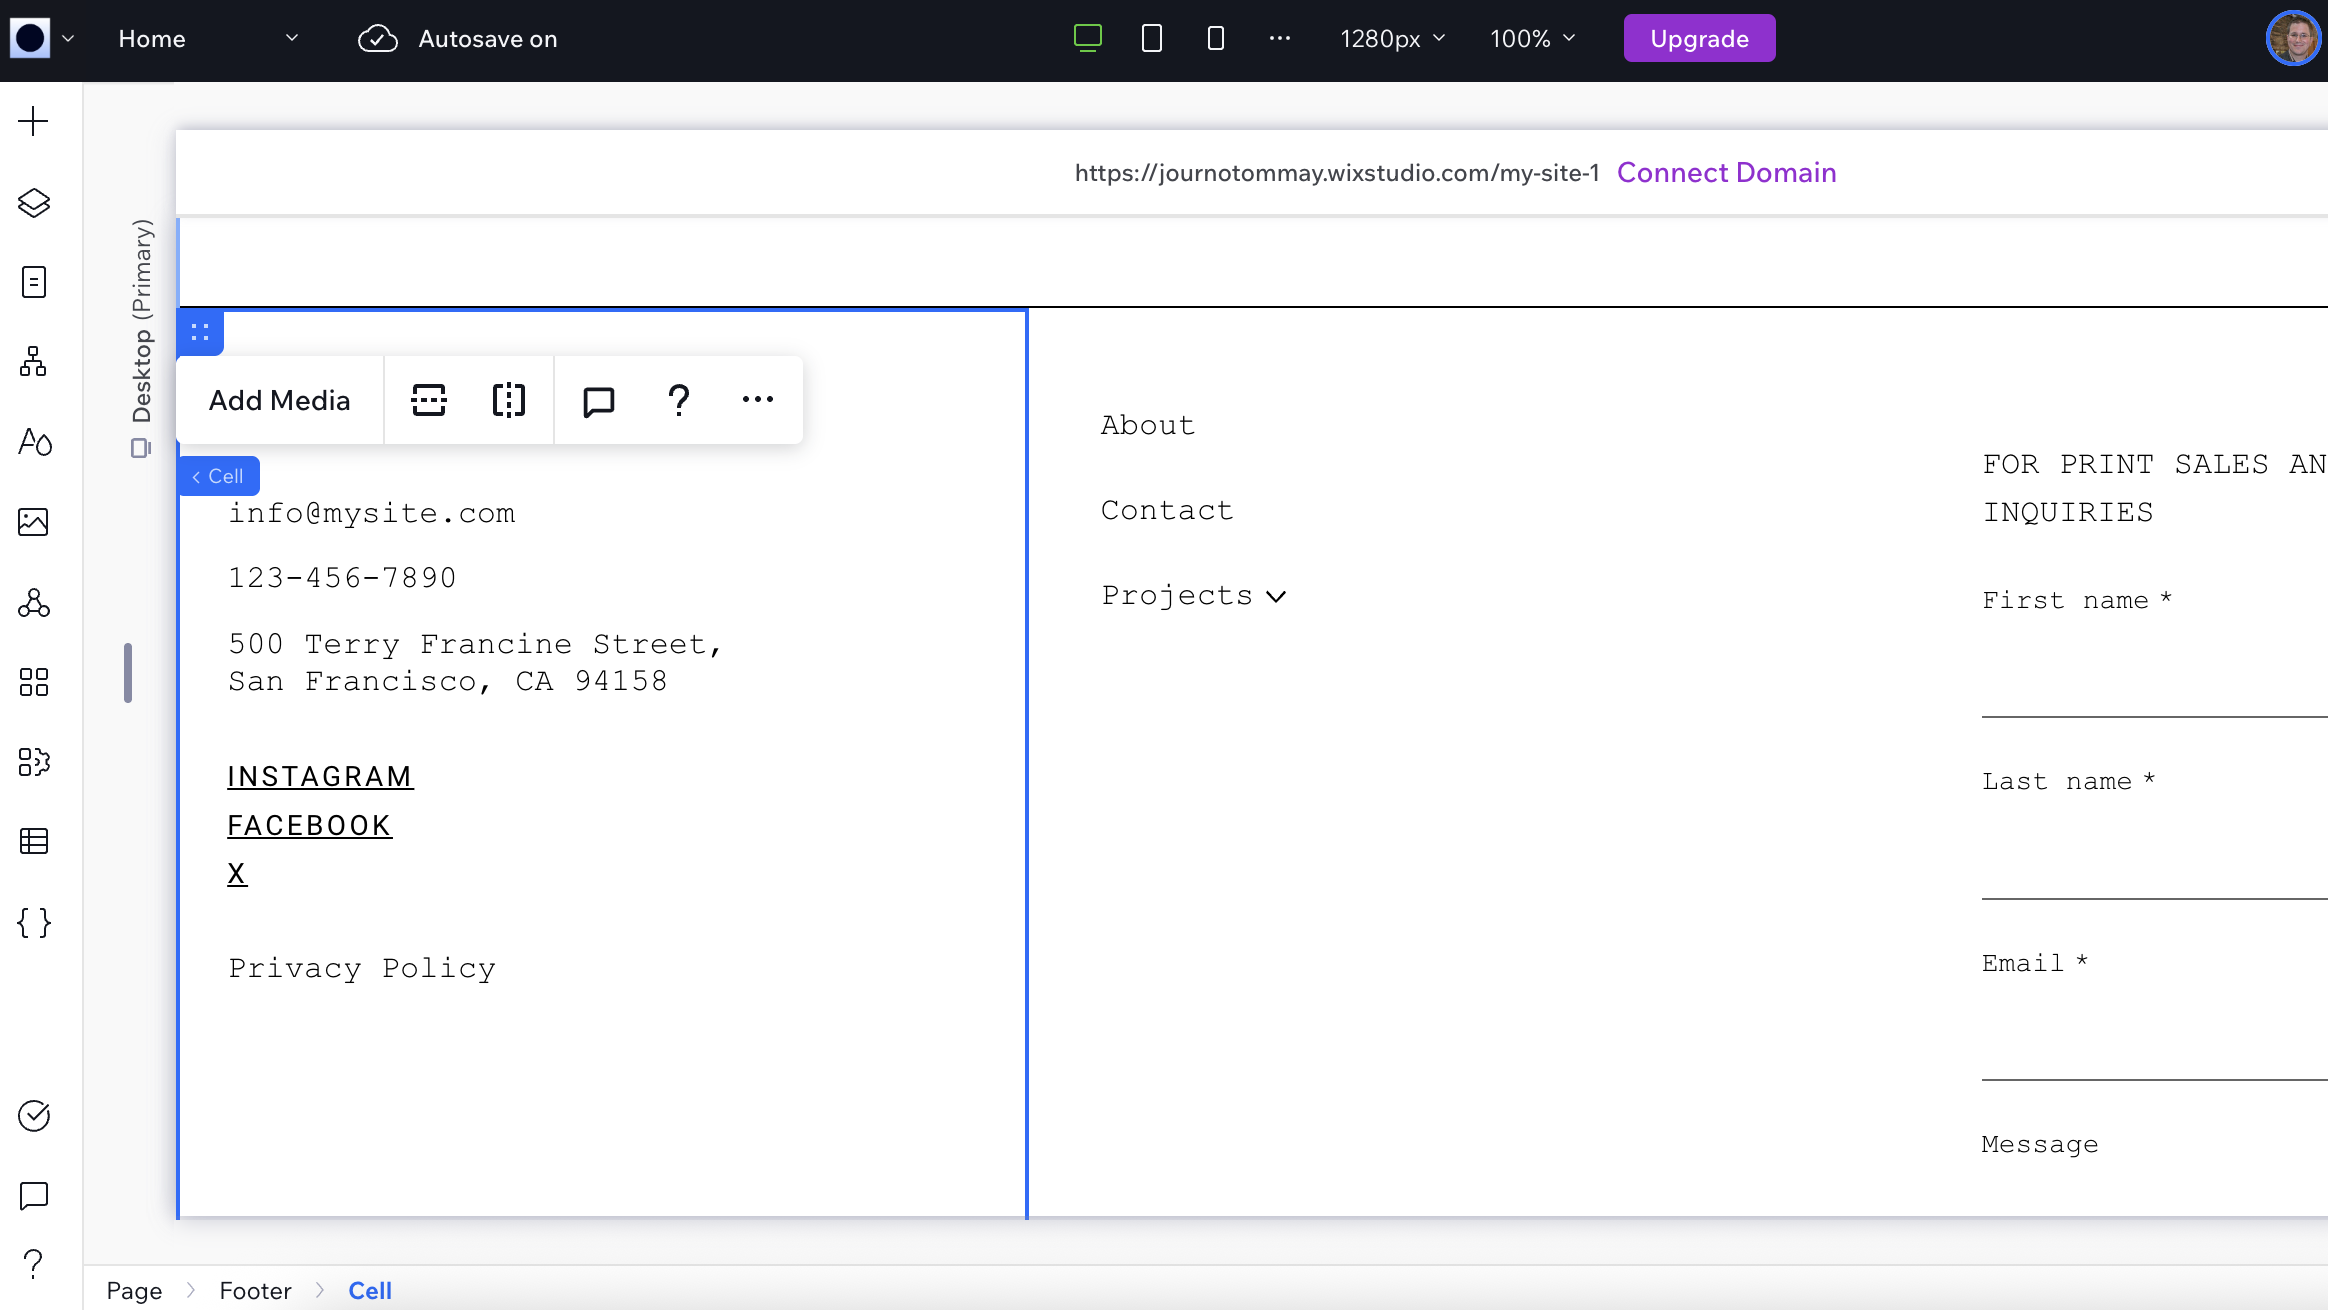
Your template includes several content sections below the hero area. These might include about sections, service highlights, testimonials, or portfolios.
Click on each section to explore its structure. You'll typically find a combination of text, images, and sometimes videos or galleries. The template's designer has already created an effective layout, so focus on replacing the placeholder content rather than restructuring the design.
For image galleries, click on individual images and select Change Image to upload your own photos. Studio will maintain the gallery's responsive behaviour and animations whilst displaying your content.
Text sections can be updated by clicking directly on the text and typing your new content. If you need to add or remove text blocks, you can duplicate existing ones and modify them, or delete sections you don't need.
Many templates include interactive elements like hover effects on images or animated counters. These will continue to work with your new content, but you can modify the animations through the Interactions panel if desired.
Many templates include contact forms that are already connected to Wix's backend systems. Simply update the form fields and labels to match your needs - the functionality will work automatically once your site is published.
7. Customising additional pages
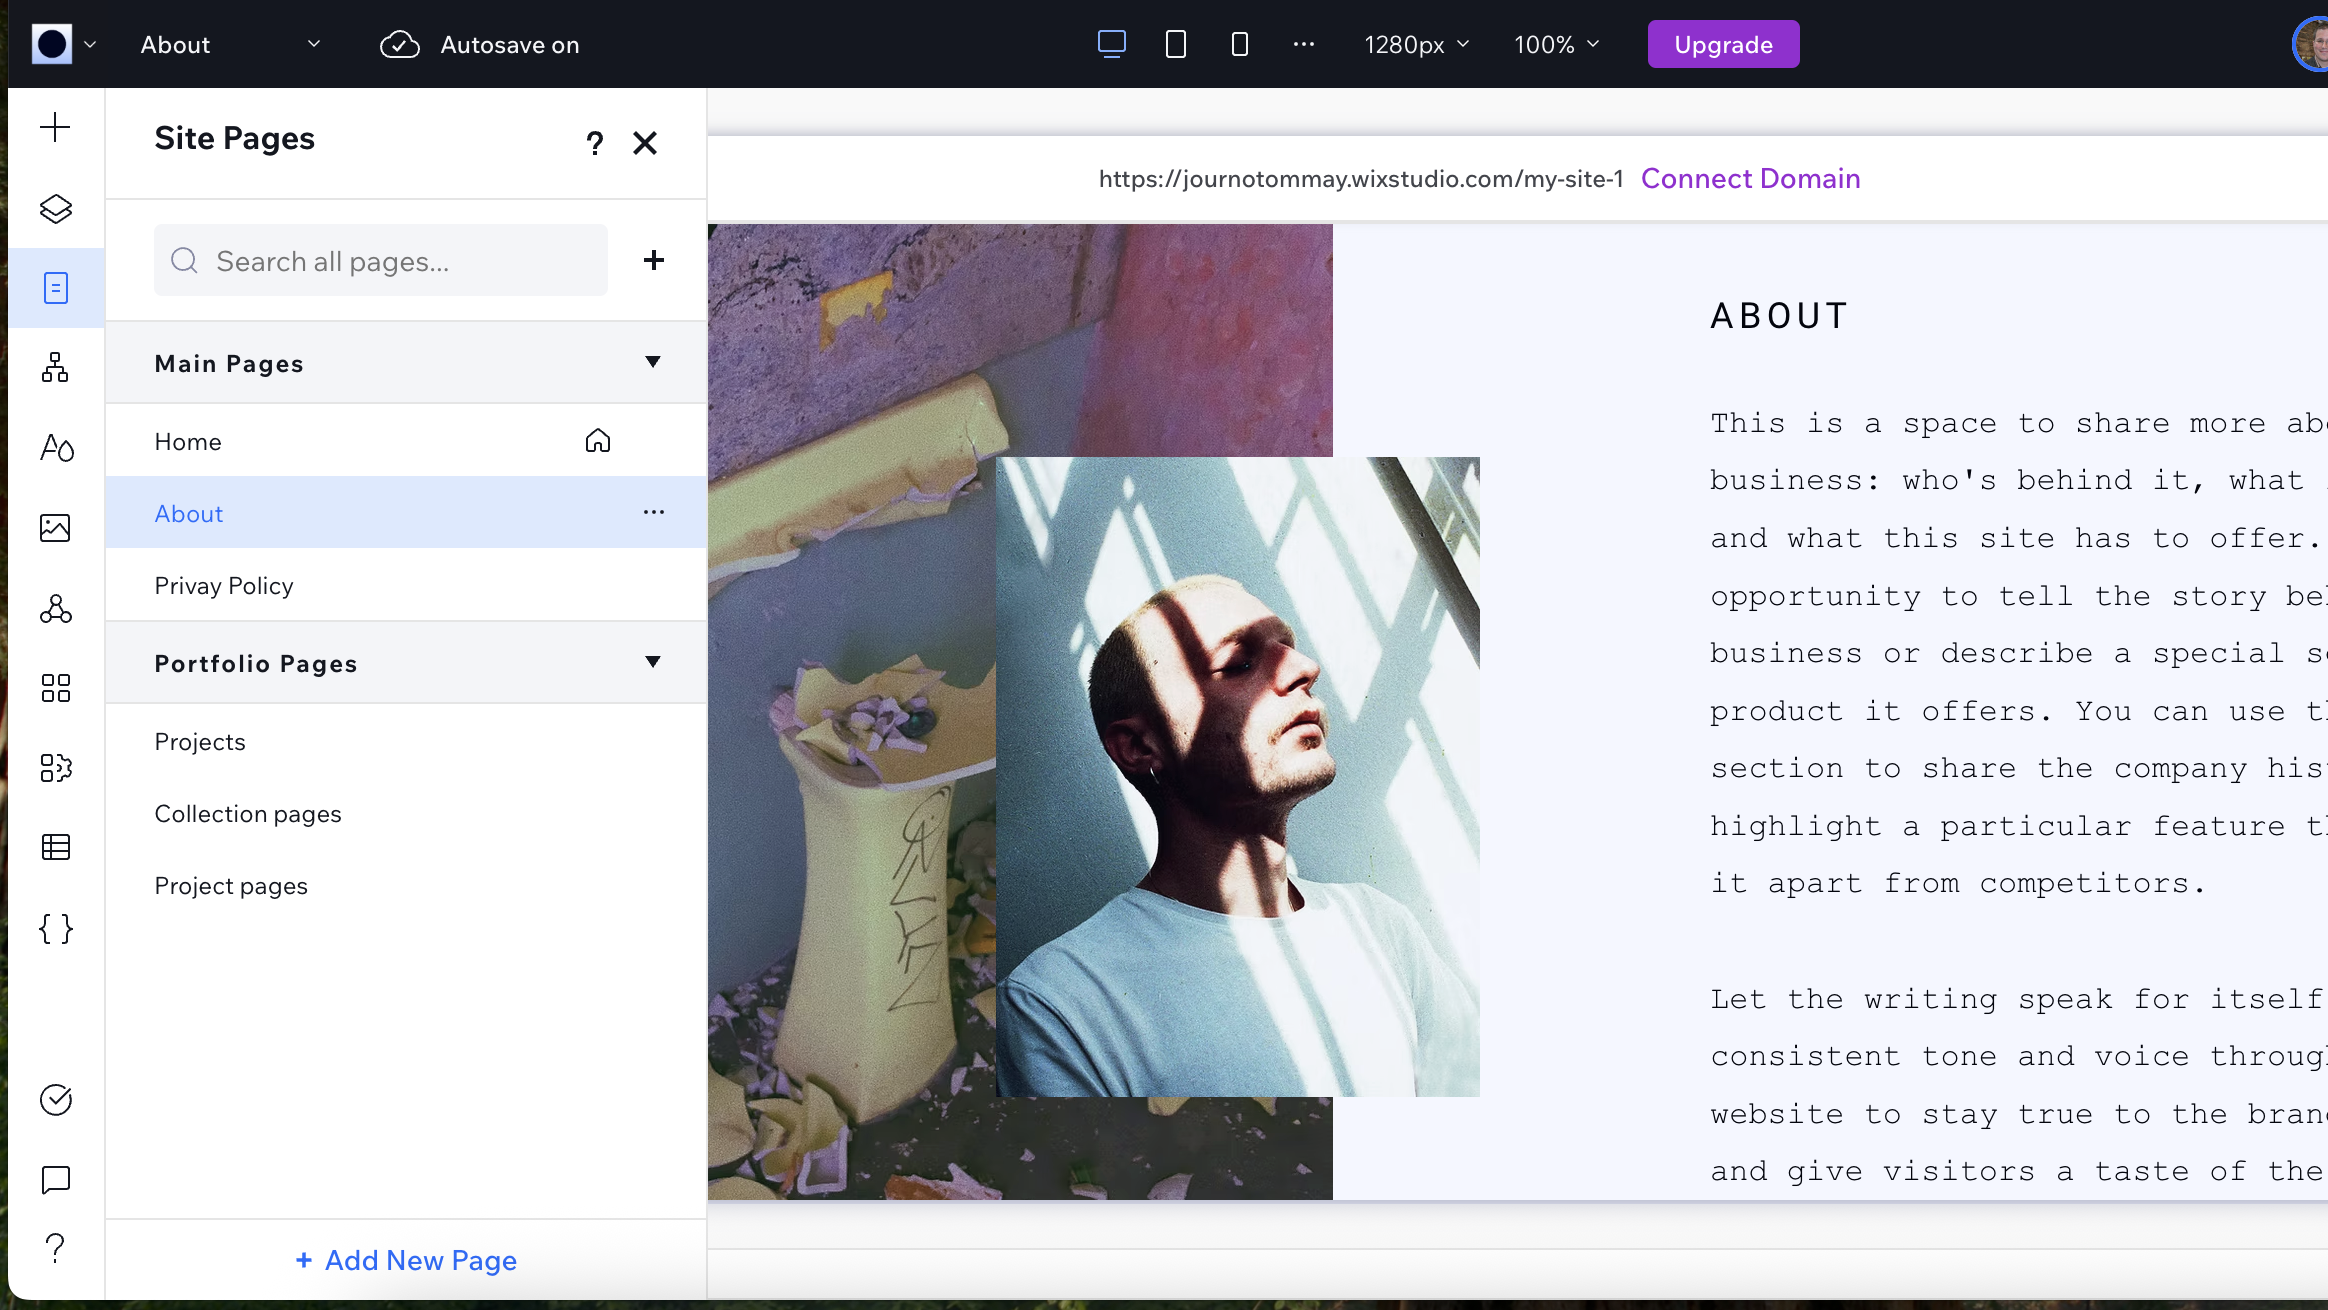
Your template includes multiple pages beyond the homepage; typically an About page, Services or Portfolio page, and Contact page. To navigate to these, go to the Pages icon in the left-hand panel (a portrait box containing two horizontal lines), and click on the appropriate page to switch.
Each page follows the same design principles as your homepage but with layouts optimised for different types of content. The About page might feature team member profiles, the Services page could showcase your offerings in a grid layout, and the Contact page will include forms and location information.
Update each page by replacing placeholder content with your own. The process is the same as the homepage; click on text to edit it, click on images to replace them, and use the Inspector panel to make styling adjustments.
If your template includes a portfolio or gallery page, you can add your own work by clicking on the gallery and uploading your images through the Media Manager.
8. Add extra functionality
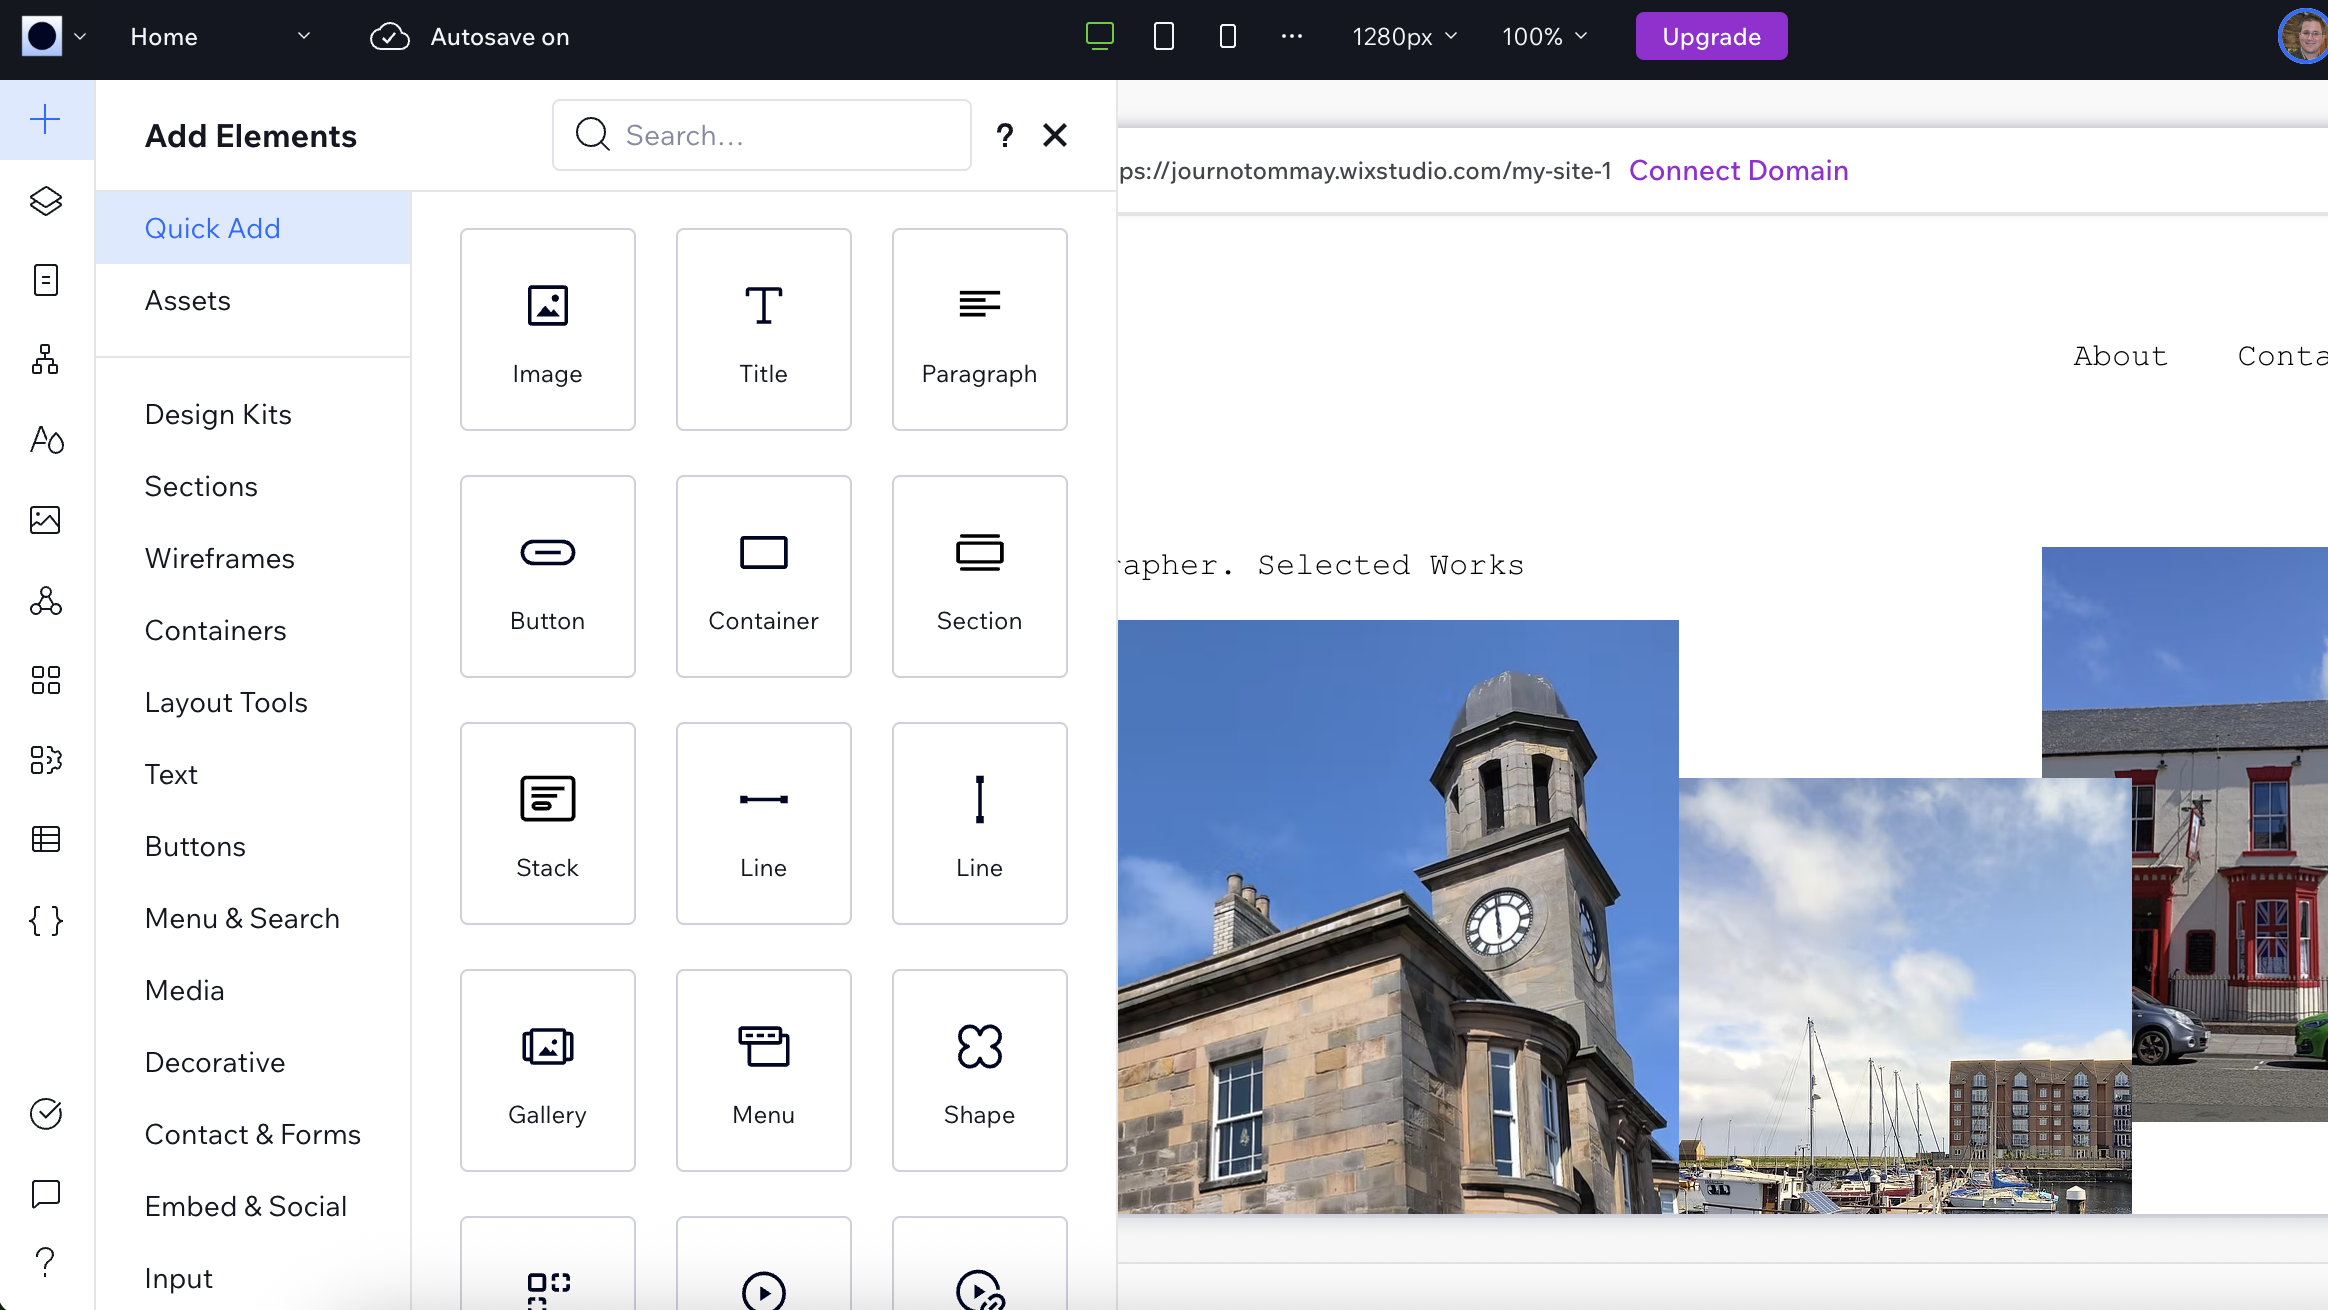
While your template provides an excellent foundation, you might want to add additional business functionality. Studio's Add panel provides access to various business solutions that integrate seamlessly with your template's design.
If you need e-commerce functionality, you can add product galleries and shopping cart features that will automatically adopt your template's styling. The same applies to booking systems, blog functionality, or advanced contact forms.
The App Market offers additional functionality created by third-party developers. These apps are designed to work with Studio templates, maintaining the visual consistency of your site whilst adding powerful features.
If your template includes CMS integration, you can create dynamic content that automatically populates multiple pages. This is particularly useful for portfolios, team pages, or news sections where you want to add content regularly without redesigning pages.
9. Responsive design and breakpoints
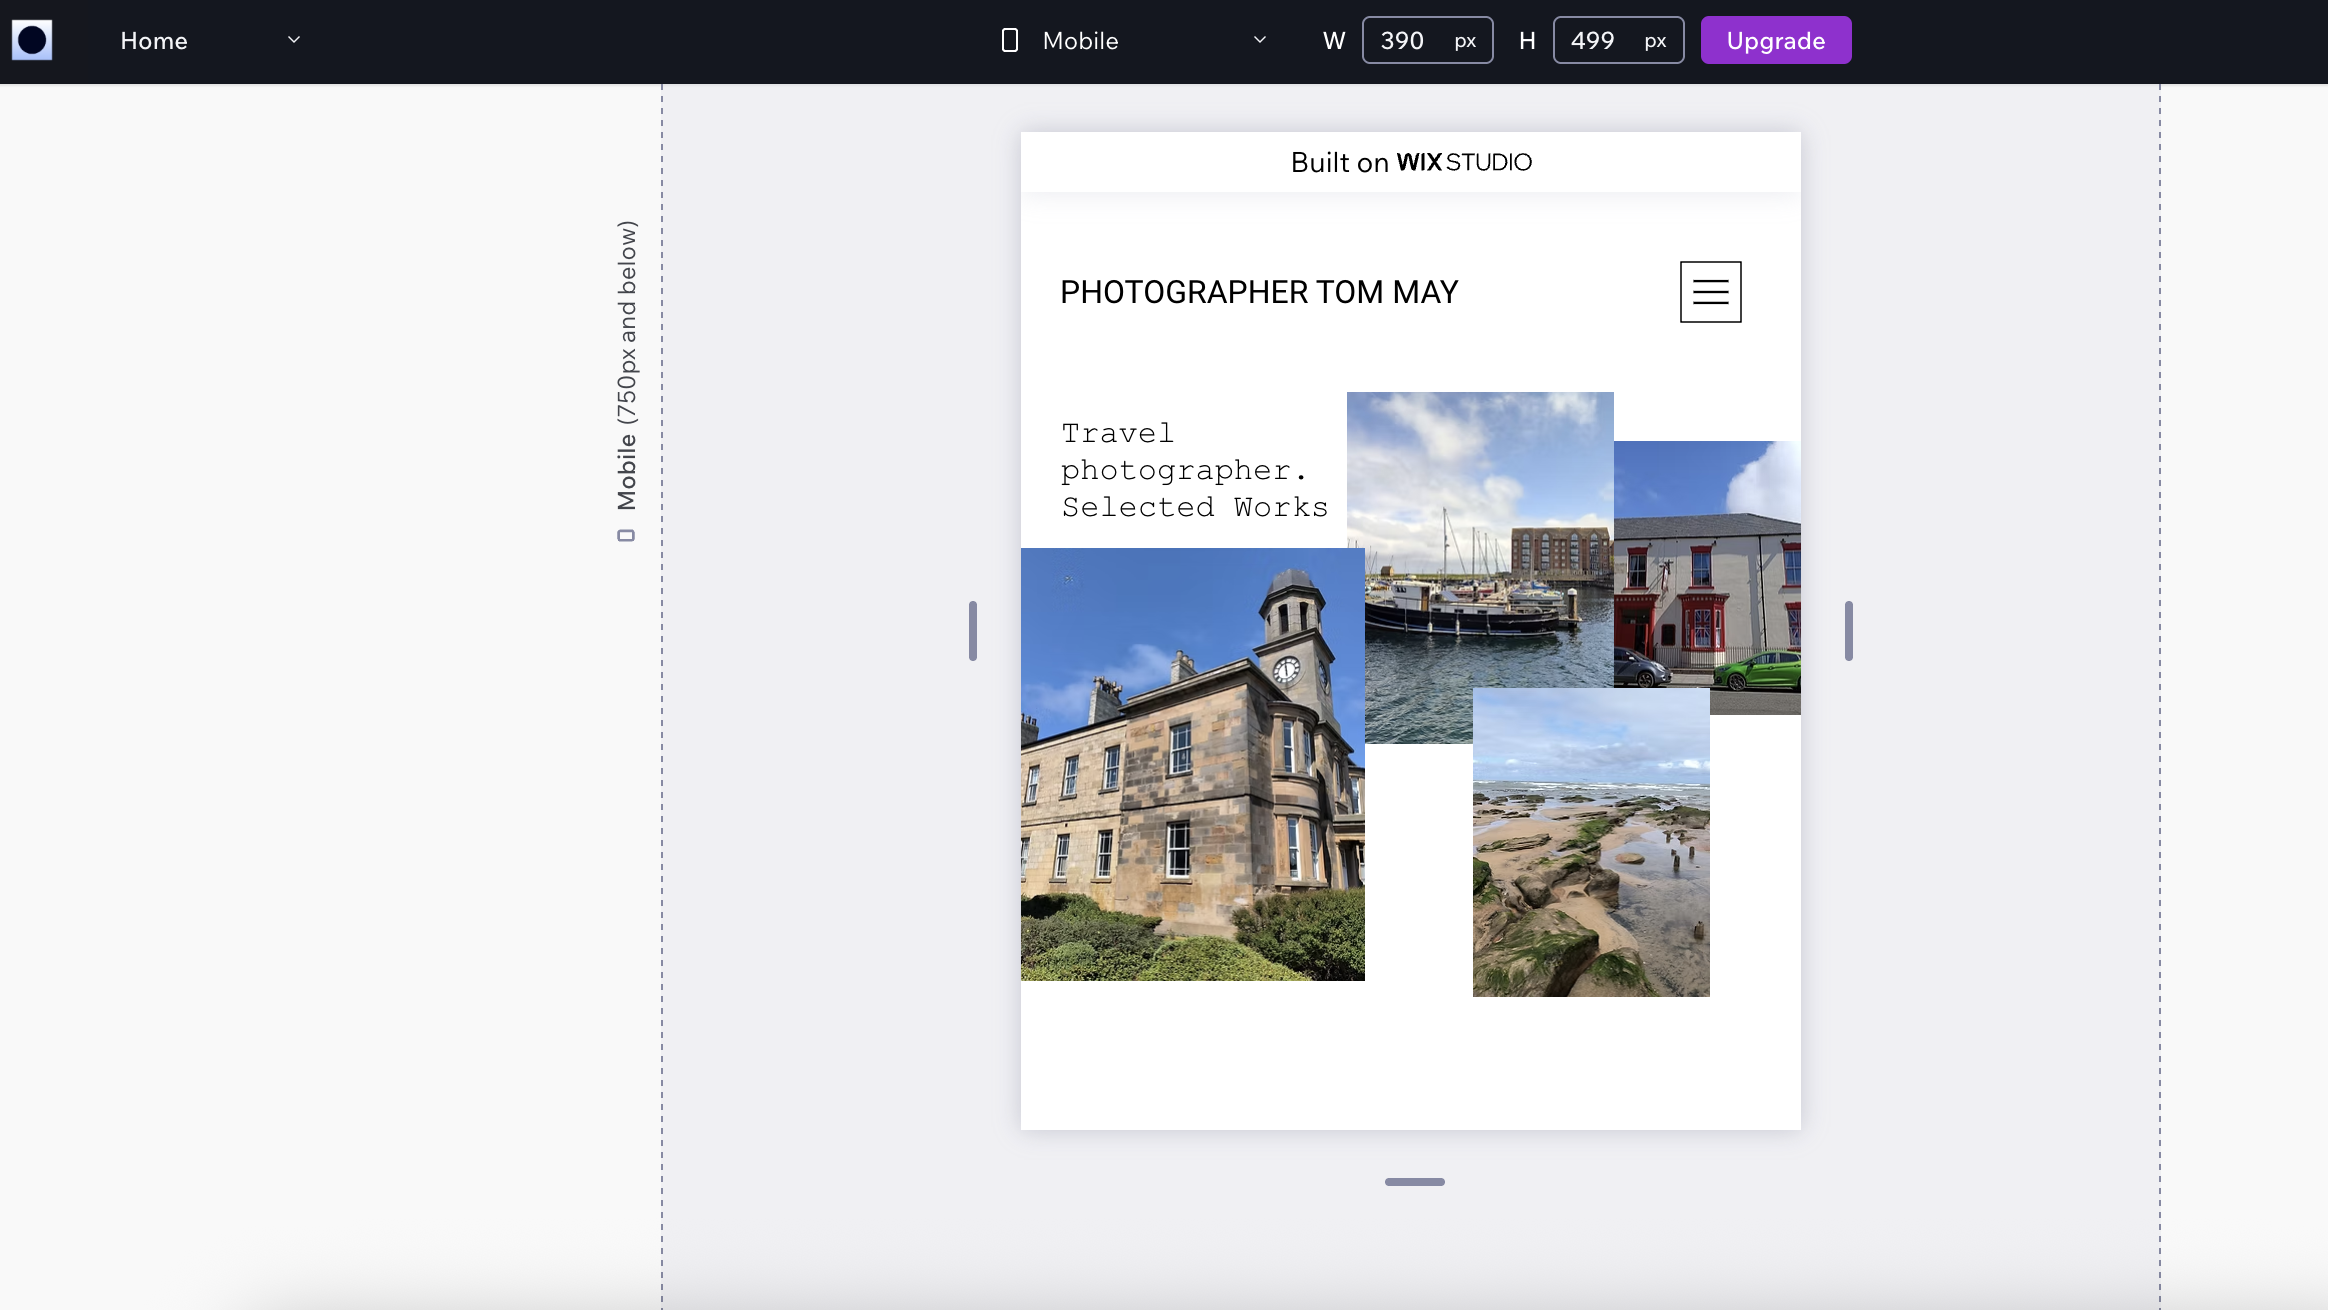
Wix Studio's responsive design system is more sophisticated than most website builders. Beyond the standard desktop, tablet, and mobile breakpoints, you can create custom breakpoints for specific screen sizes.
Use the resize handles on the canvas to test how your design behaves at different sizes within each breakpoint. Studio shows you exactly how elements will reflow and resize, so you can make adjustments before publishing.
Each element can have different responsive behaviours; some might scale proportionally, others might maintain fixed sizes, and some might hide entirely on certain screen sizes. This granular control ensures your site looks perfect on every device.
10. Preview and publish
Before going live, use Studio's preview feature to test your site thoroughly. You can preview on different devices, test all interactions and animations, and ensure everything works as expected.
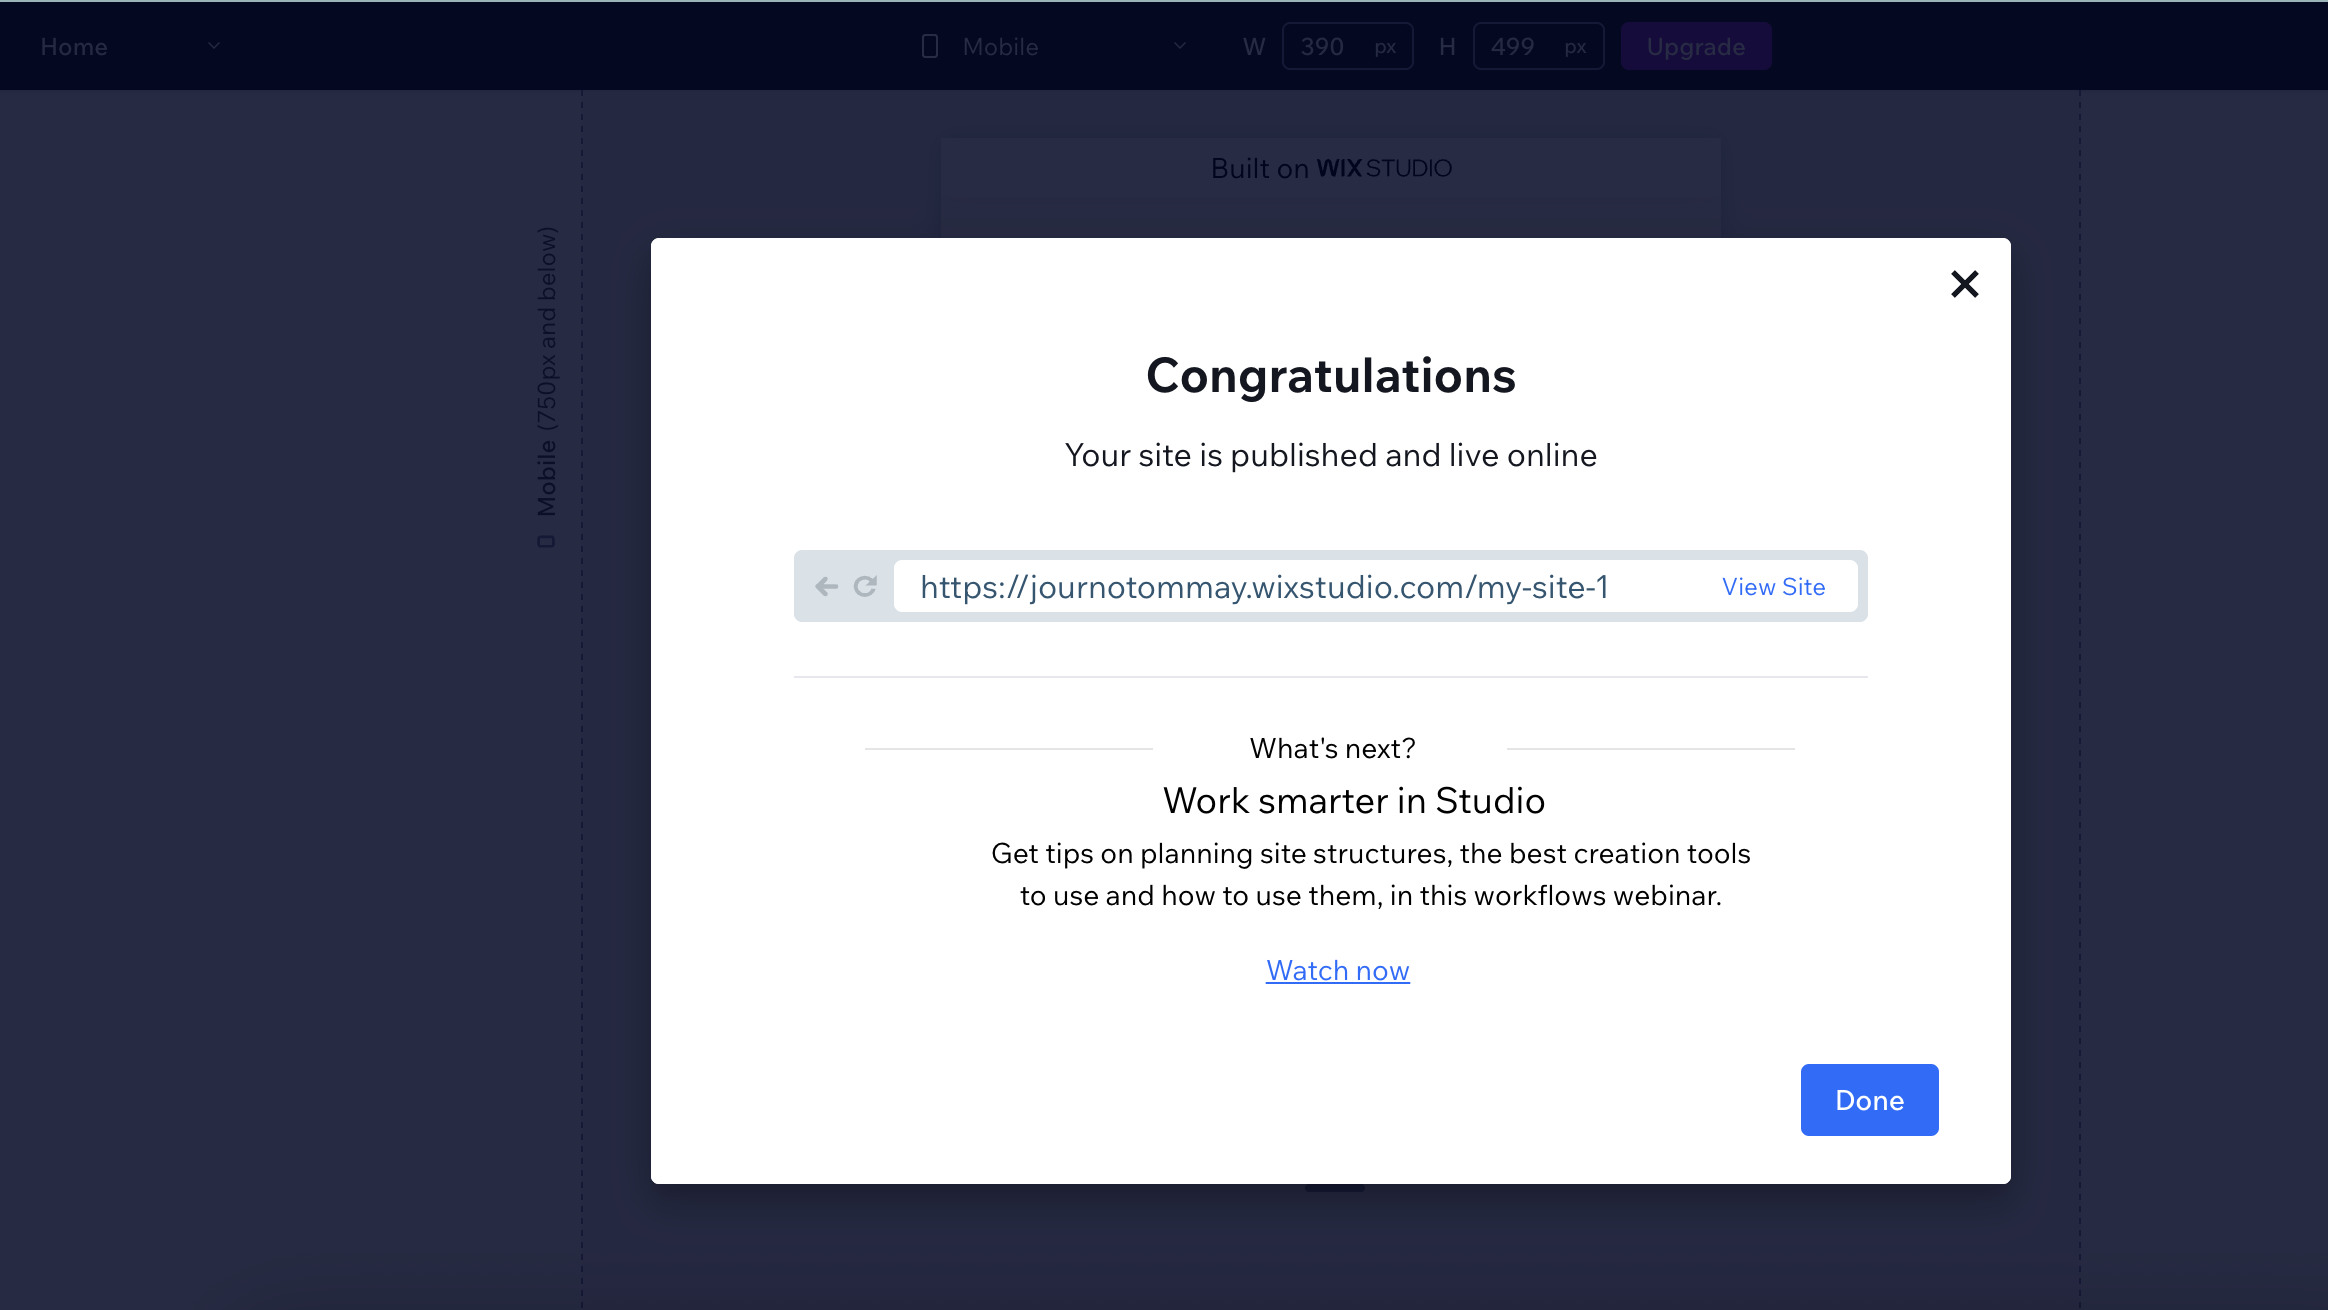
When you're ready to publish, click the Publish button in the top right. Studio will process your site and make it live within minutes.
After publishing, you can:
- Connect a custom domain name
- Set up email accounts
- Add analytics tracking
- Continue refining your design
Studio makes it easy to update your site at any time; just make your changes and publish again.
Once you've mastered the basics, Studio offers advanced features for professional web development:
- Client collaboration: Share your site with clients for feedback using the comments system
- Version control: Save different versions of your site and revert if needed
- Multi-site management: Manage multiple client sites from one dashboard
- White-label options: Present your work under your own brand
Studio also includes advanced design features like custom animations, micro-interactions, and even WebGL effects for truly cutting-edge websites. Most importantly, Studio grows with you. Start with simple designs and gradually incorporate more advanced features as you become more comfortable with the platform.

Tom May is an award-winning journalist specialising in art, design, photography and technology. His latest book, The 50 Greatest Designers (Arcturus Publishing), was published this June. He's also author of Great TED Talks: Creativity (Pavilion Books). Tom was previously editor of Professional Photography magazine, associate editor at Creative Bloq, and deputy editor at net magazine.
You must confirm your public display name before commenting
Please logout and then login again, you will then be prompted to enter your display name.
