This 2011 Photoshop tutorial just taught me more than many recent ones
Great art advice never ages.
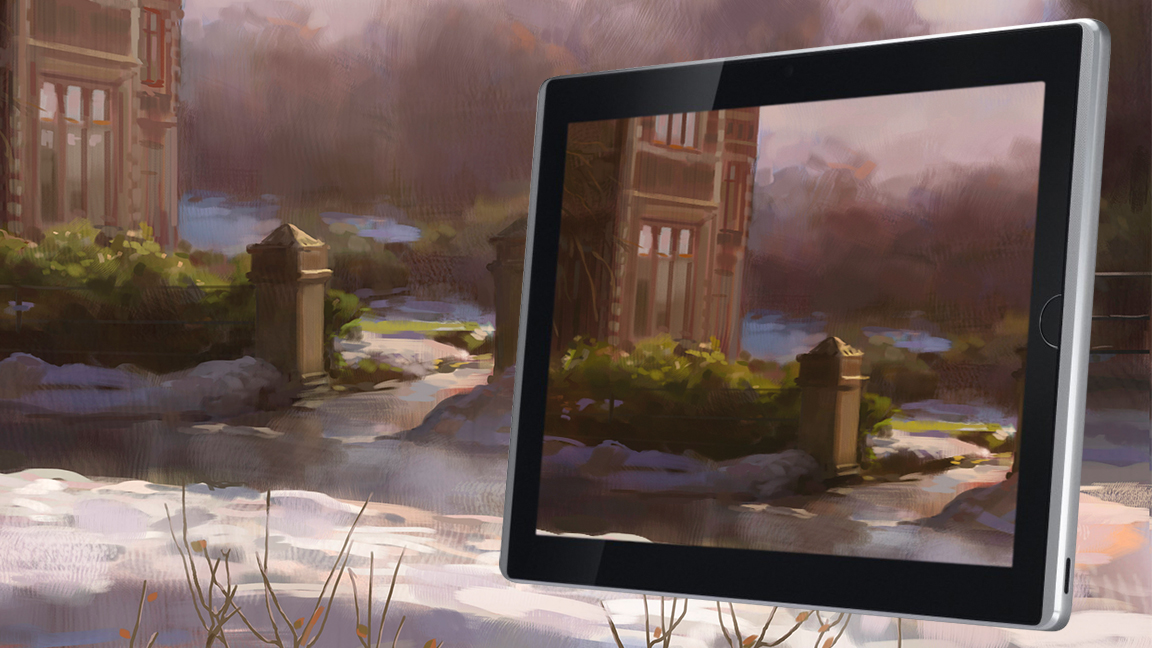
This Photoshop tutorial was written by Olly for our Digital Painting magazine, back when digital art was a new and innovative art form. As such, you may find Olly using an older version of Photoshop (CS6 – yikes) and a precursor to today's Windows tablets, like Microsoft Surface Pro 9, he used an Asus EP121 (double yikes). But the ideas, approach, and techniques are timeless, so we figured this is a great tutorial to dig out and share. And with that, it's over to Olly…
Welcome to my first-ever digital plein air tutorial! I’m going to go over one of my current favourite things in digital painting – painting a traditional landscape from life en plein air. En plein air is French for ‘in the open air’. This is a great approach that I believe can help to push our understanding of light and colour when painting, and it happens to be a surprisingly challenging exercise, especially after only studying photos of landscapes.
I’ve been doing this for a while now, and I use an Asus EP121 with Photoshop CS6, and sometimes Paint Tool SAI for sketching out lines.
It’s a really exciting time for digital art, as for the first time, we can step outside and paint the sunlit world digitally. There’s some beautiful art being made at the moment through this method, and a whole lot can be learned from it as well.
'A lot of artists I know have found that doing digital still life paintings of their desk is a great way to learn about light, colour, materials, and forms – and I like to think of this as an even more awesome and inspiring version of that.
We can really see the effects plein air painting had on the traditional art world when artists such as Claude Monet started documenting the sunlit world and its vibrant colours with oil paints. Today, I will be attempting to follow in these artists’ footsteps, but this time using digital tools.
So grab your tablet or laptop and prepare to open your eyes to a new way of digital painting… and have fun.
Daily design news, reviews, how-tos and more, as picked by the editors.
1. The hardware

Any tablet or smartphone with any painting software is suitable, or even just a laptop and a tablet. Although I use Photoshop, I’m keeping brushes and software tools simple, so it works with any setup. As I’m a shortcut addict, I use a cheap USB numpad I ordered online, and use Randyrant’s SharpKeys to map the USB numpad to keyboard letters, which can be set up as shortcuts in any painting software.
2. On-screen buttons
On a tablet, painting software tends to be designed much better for touch screens, so for those, this kind of device isn’t needed. But on Windows tablets, there is a good on-screen display, ‘Paintdock’ (The first results on Google for ‘paintdock’). This is another great free program for on-screen buttons. Personally, I like to work in full screen without anything obstructing my view, so I usually stick to hardware for shortcuts.
(These days, Windows tablets and 2-in-1s are better, but the advice remains the same. Read our best laptops for drawing guide for more.)
3. Taking along the right kit
Depending on where I go to do my painting, I often make use of a cheap, collapsible camping stool. These expand the options of where I can paint from, but they can add a bit of weight to my bag. Benches are usually placed in scenic locations; otherwise, a blanket might be a good idea. Hand-warmers are great in the winter, and I use external battery packs for the tablet during extended painting sessions.
(Read out guide to digital plein air painting to discover what other artists use.)
4. Defeating glare
When painting under the sun, there can be a problem of glare on the screen. This gets in my eyes and dims the screen, and I will end up looking at some very bright, saturated paintings when reviewing the painting inside. Even on the best screens, this is a problem, so working on an easel rotated away from the sun is a good solution, or I normally use a tripod-mounted umbrella as a sunshade. This also helps block inclement weather.
(Even today, with new anti-glare screens on tablets like the Ugee UT3 and the best iPad for drawing, this is still an issue.)
5. Starting to paint
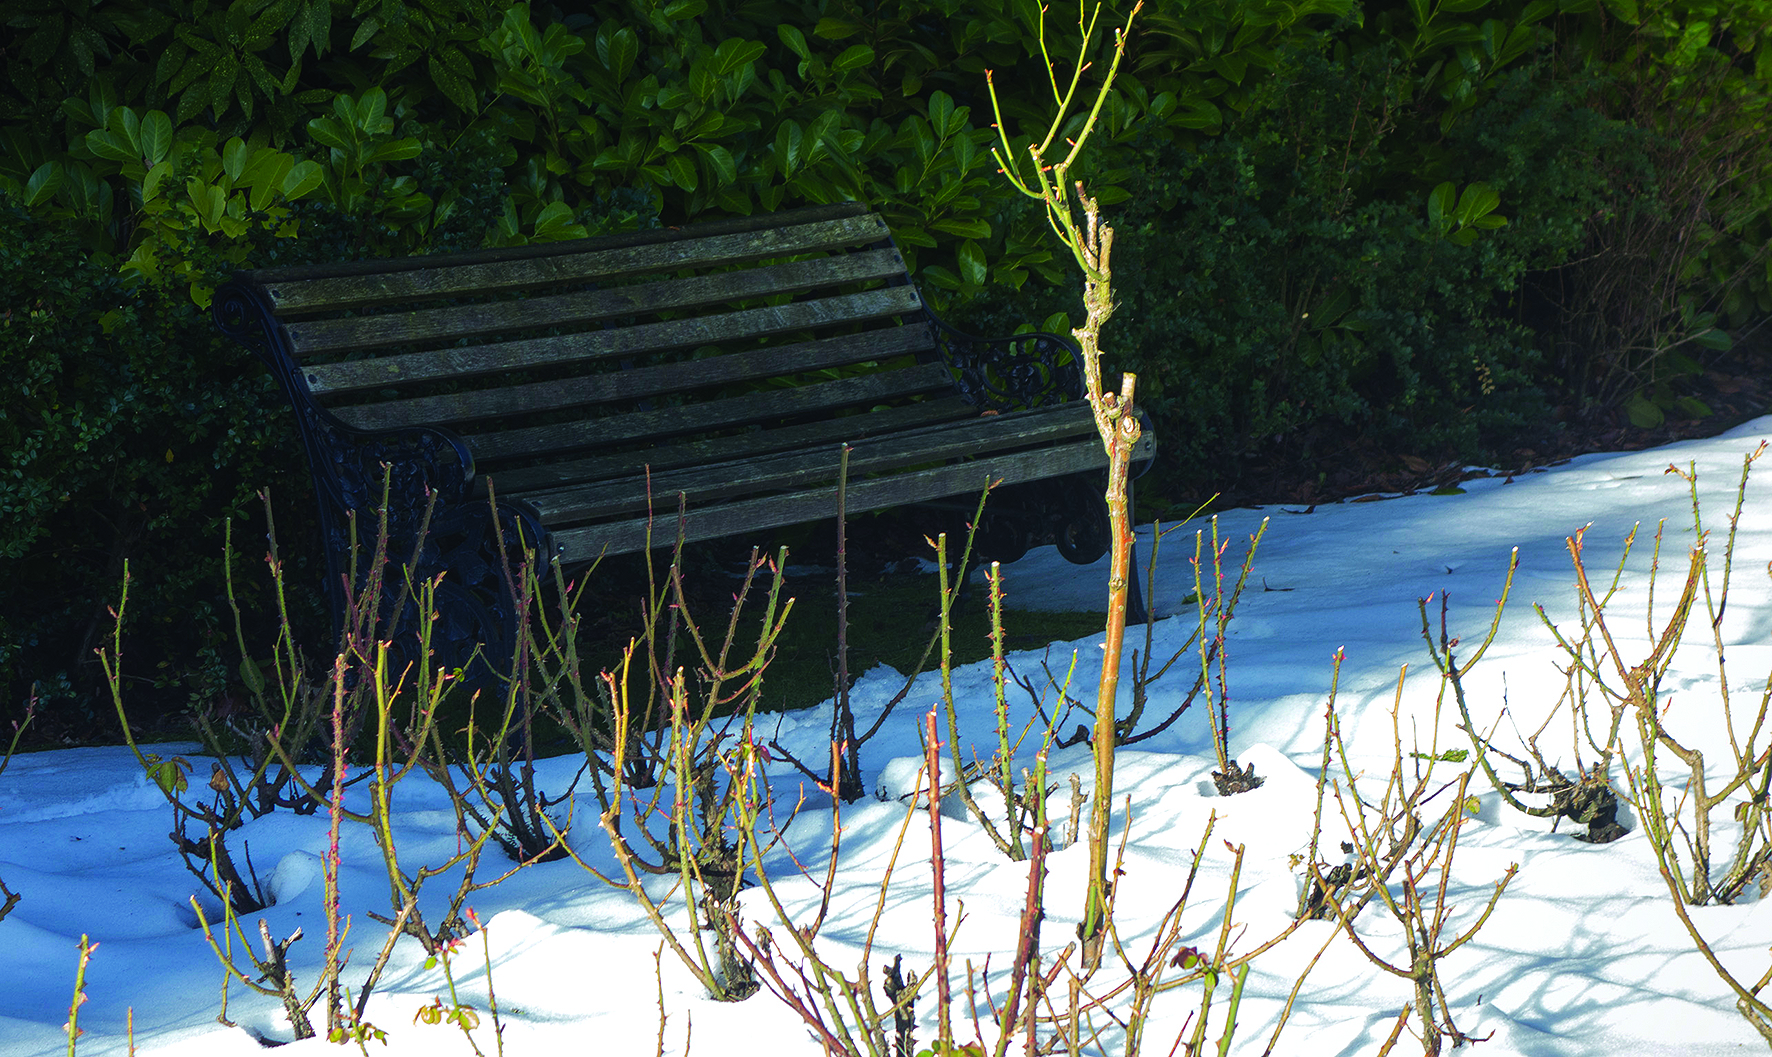
I take some time finding a location, but not too long. A big challenge will be in handling the sun. The earlier I start the better, especially in the winter months where there are less hours of daylight. Setting up around sunrise is really the most ideal, especially when I am on a tight schedule. I’d already scoped out my location before, and knew there would be benches so I didn’t have to bring the camping stool this time.
6. Painting using a clear workspace
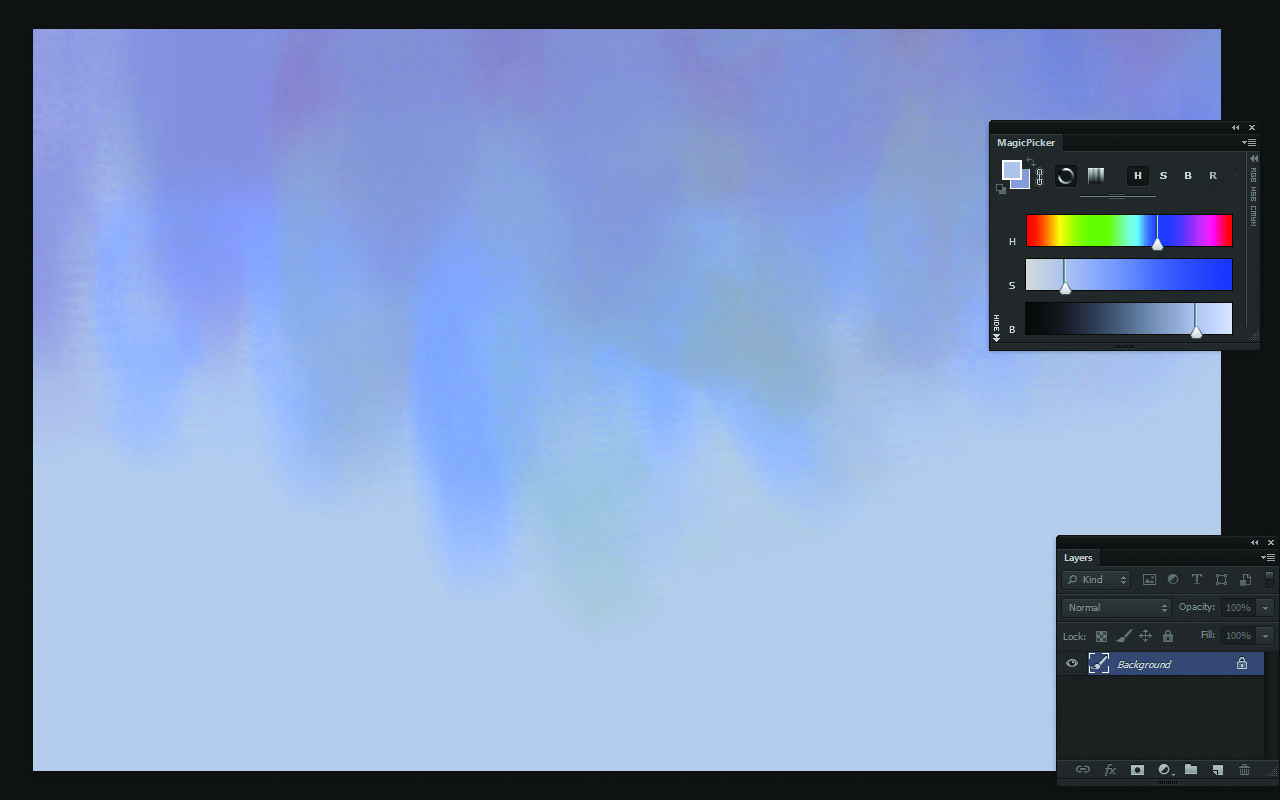
This is my workspace for most of the painting. On a desktop, I work entirely in full screen, but I like to use MagicPicker for colours on my Asus EP121. There are only very rare times I need to use something in Photoshop’s menus that can’t be accessed by a shortcut, so I’m able to work with few distractions on the screen. This is especially important to me when I am working on a small-screened device en plein air.
7. Creating the underpainting
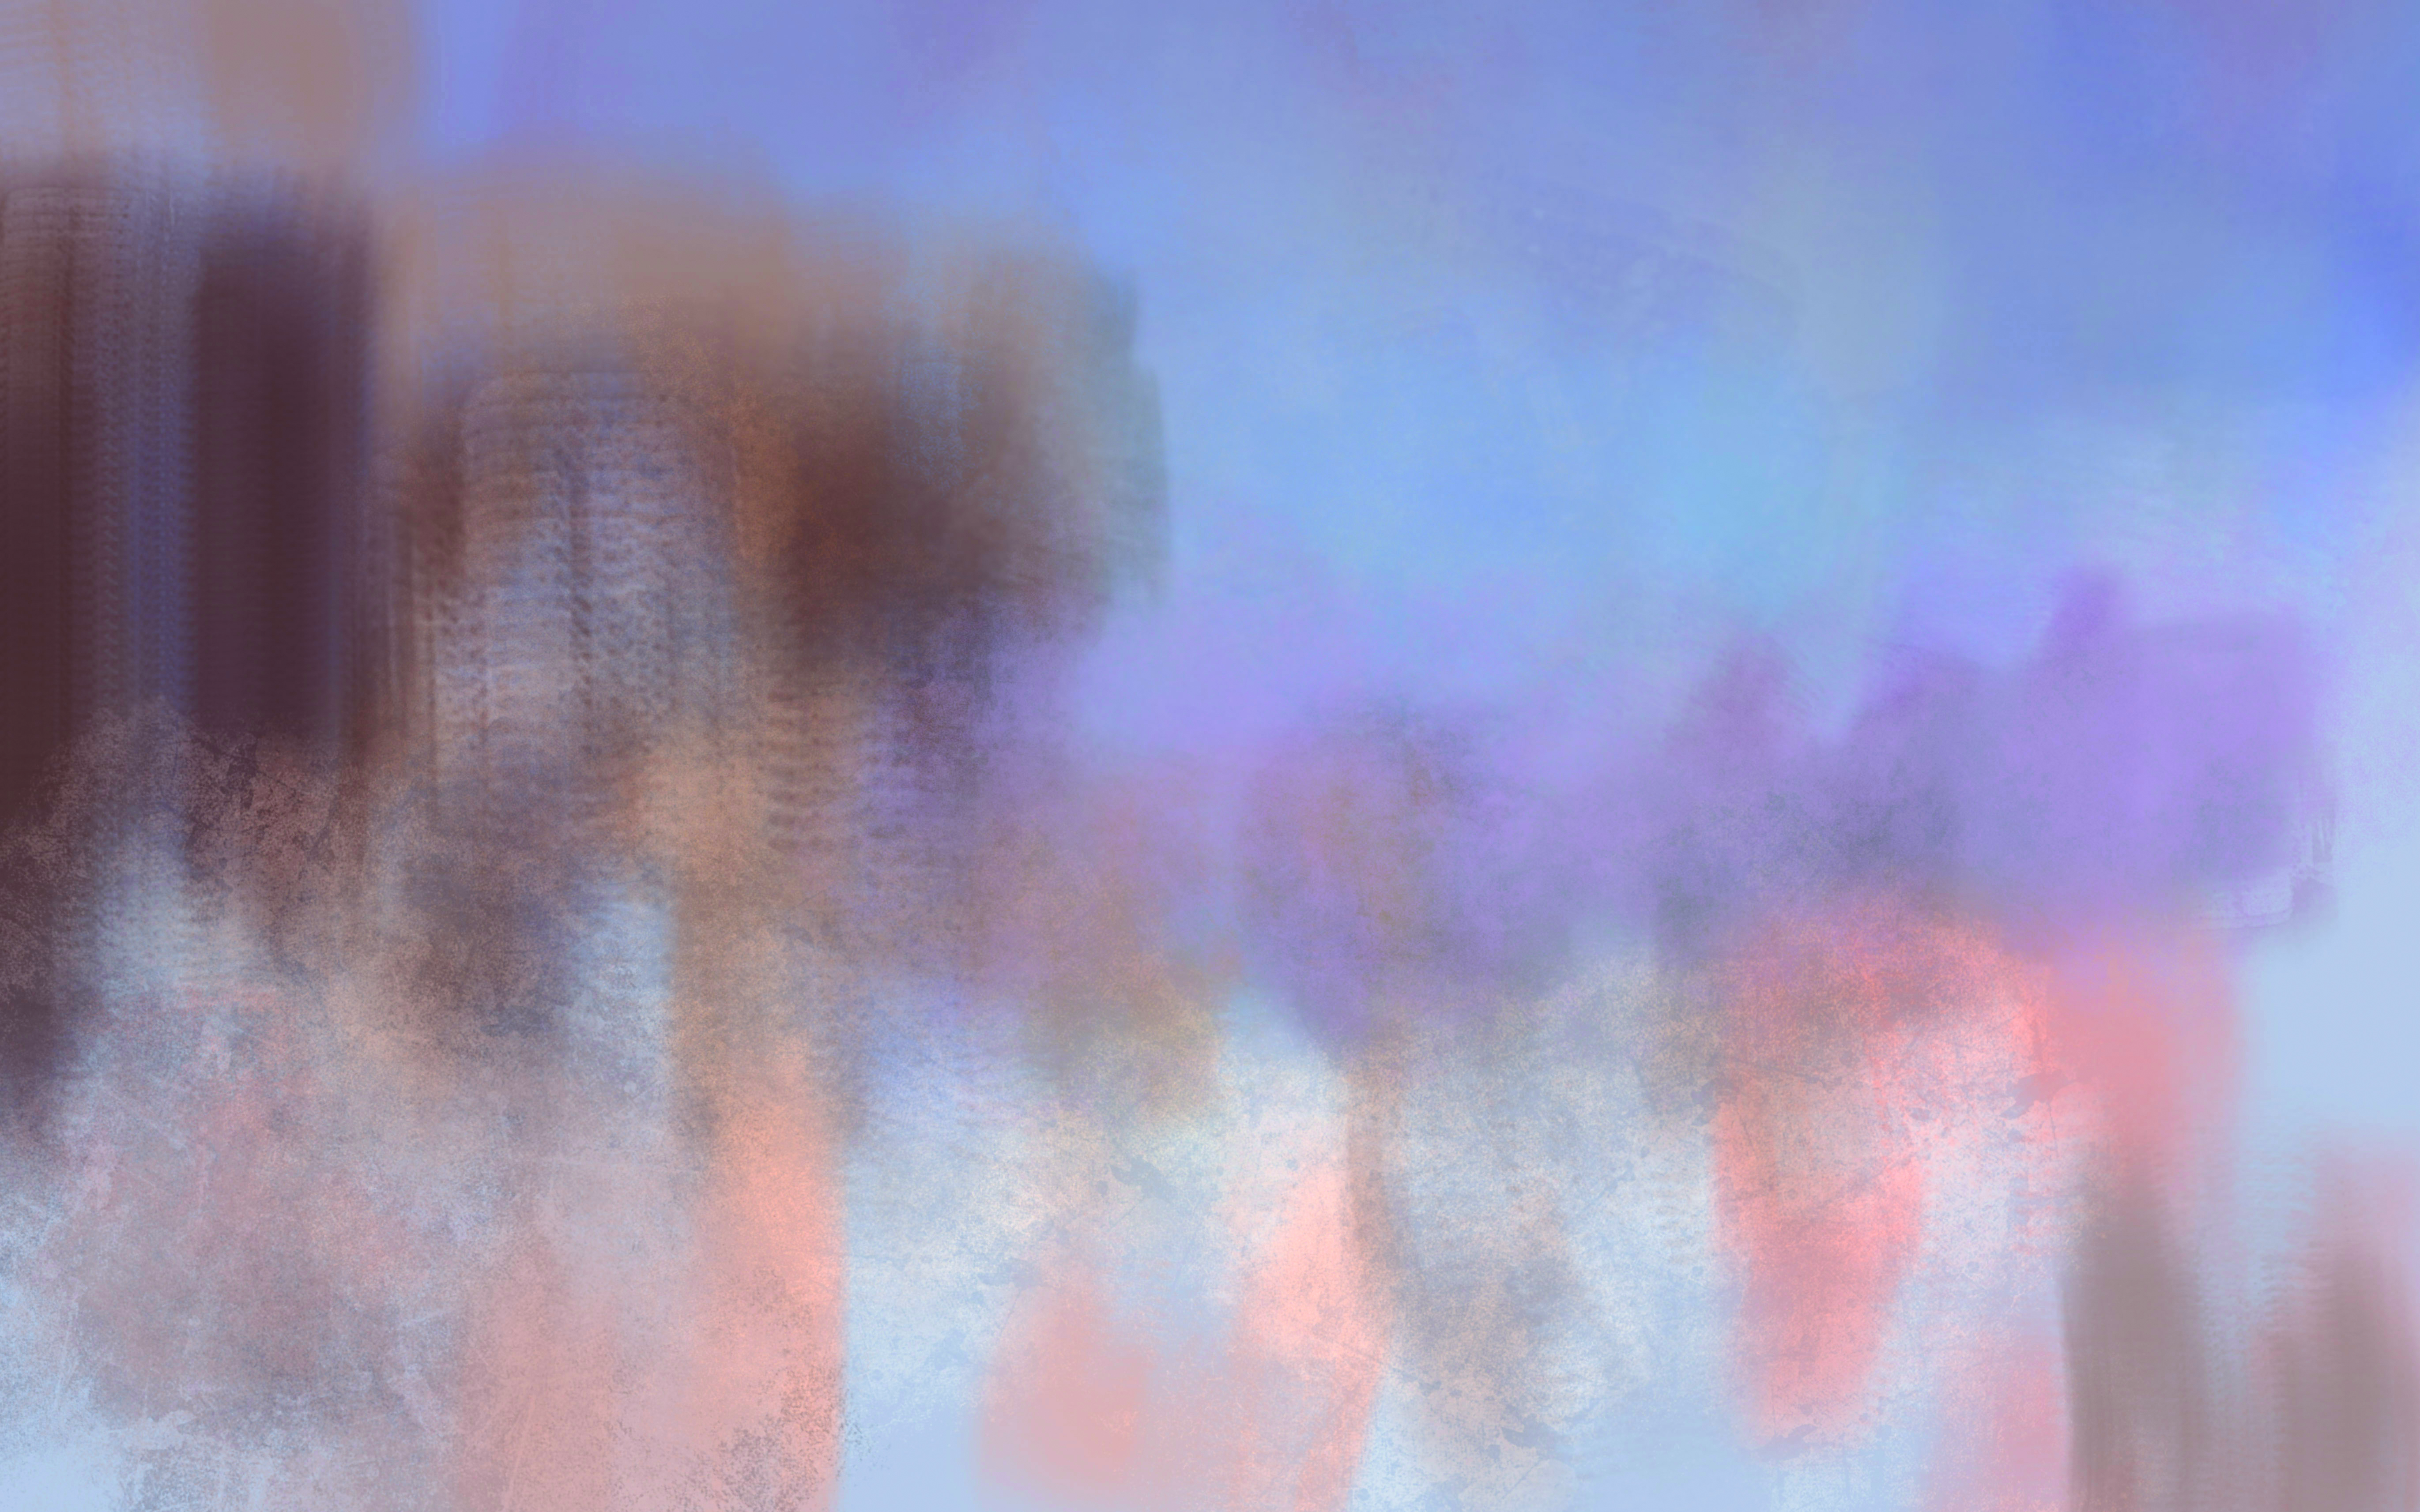
Here I’m starting by laying down a loose, bright, and warm texture. This will show up later in between the brushstrokes, and using a nicely saturated warm tone will help bring in some much-needed reds into this leafy green piece. I just use any textured brush – it’s easiest to just apply a photo of some concrete to any brush and get some noise on there, so that I’m not painting on a flat, sterile surface.
8. Working 'alla prima'
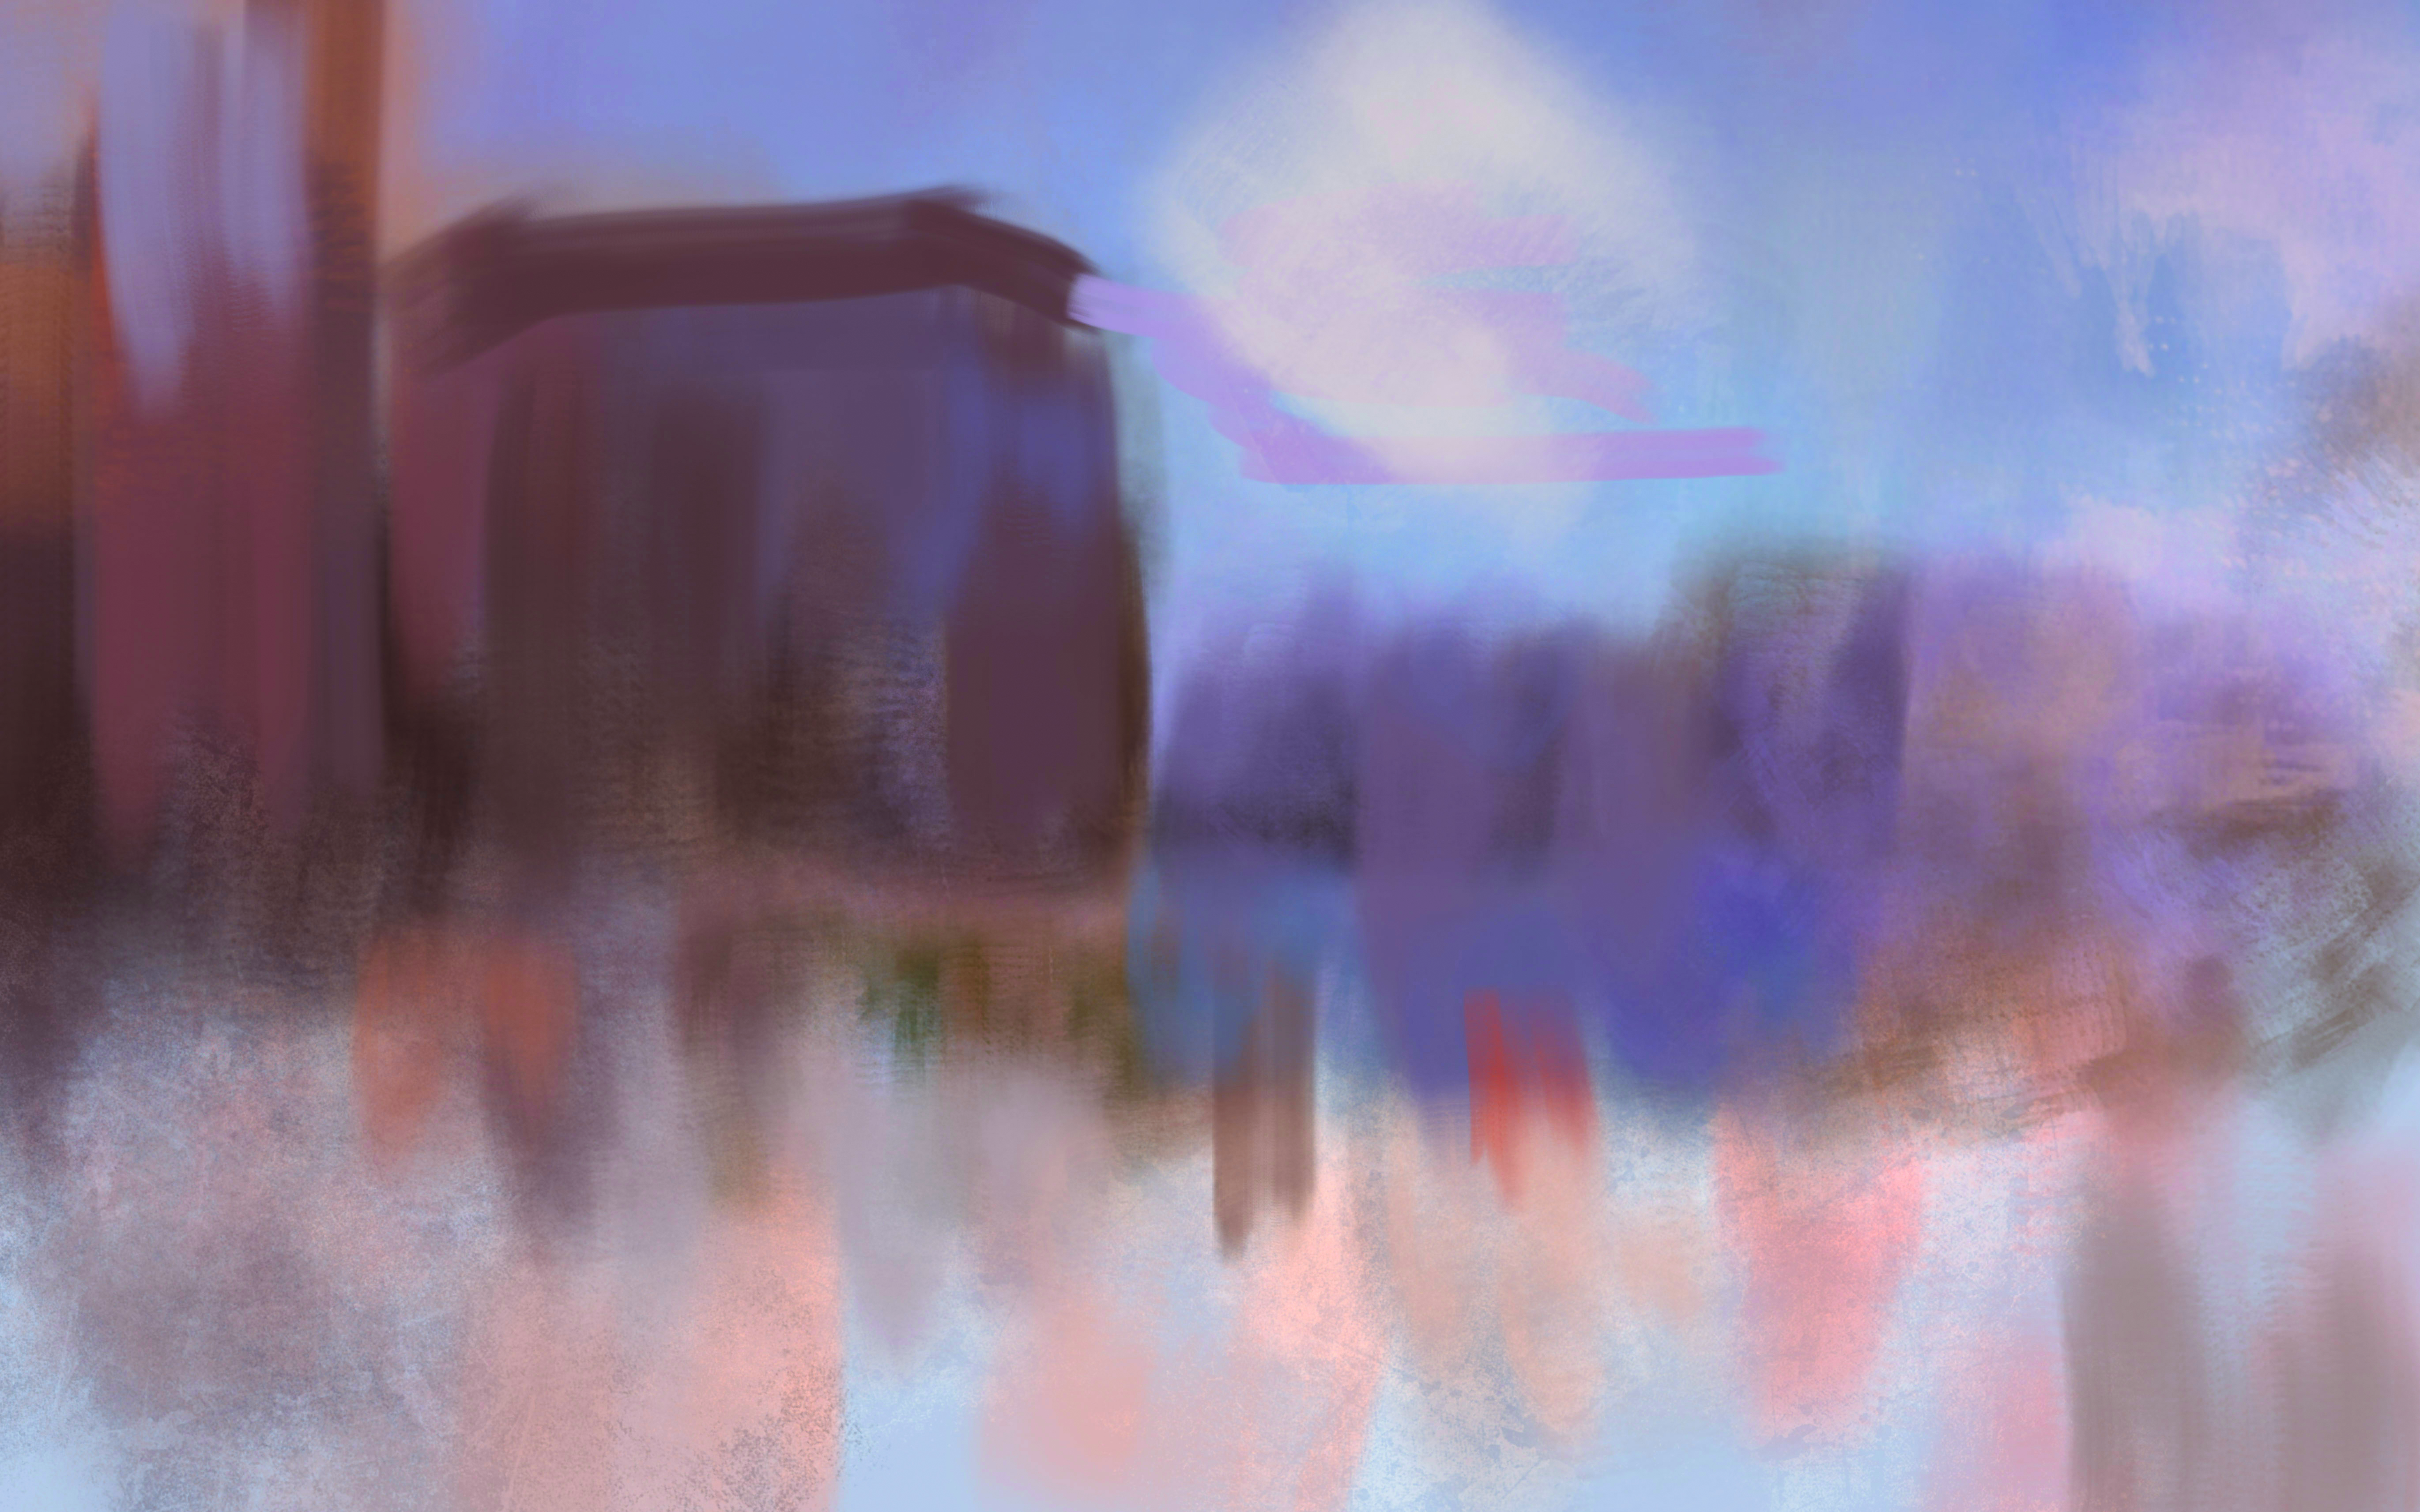
Although I started with an underpainting, the way I work from life will mostly be ‘alla prima’. This is the name of the wet-on-wet art technique used by artists from John Singer Sargent to Richard Schmid. It involves trying to place each stroke perfectly, so that they will be there by the end of the painting. I don’t have time to layer things up when working by the sun’s time, so I have to make every mark count.
9. Selective focus
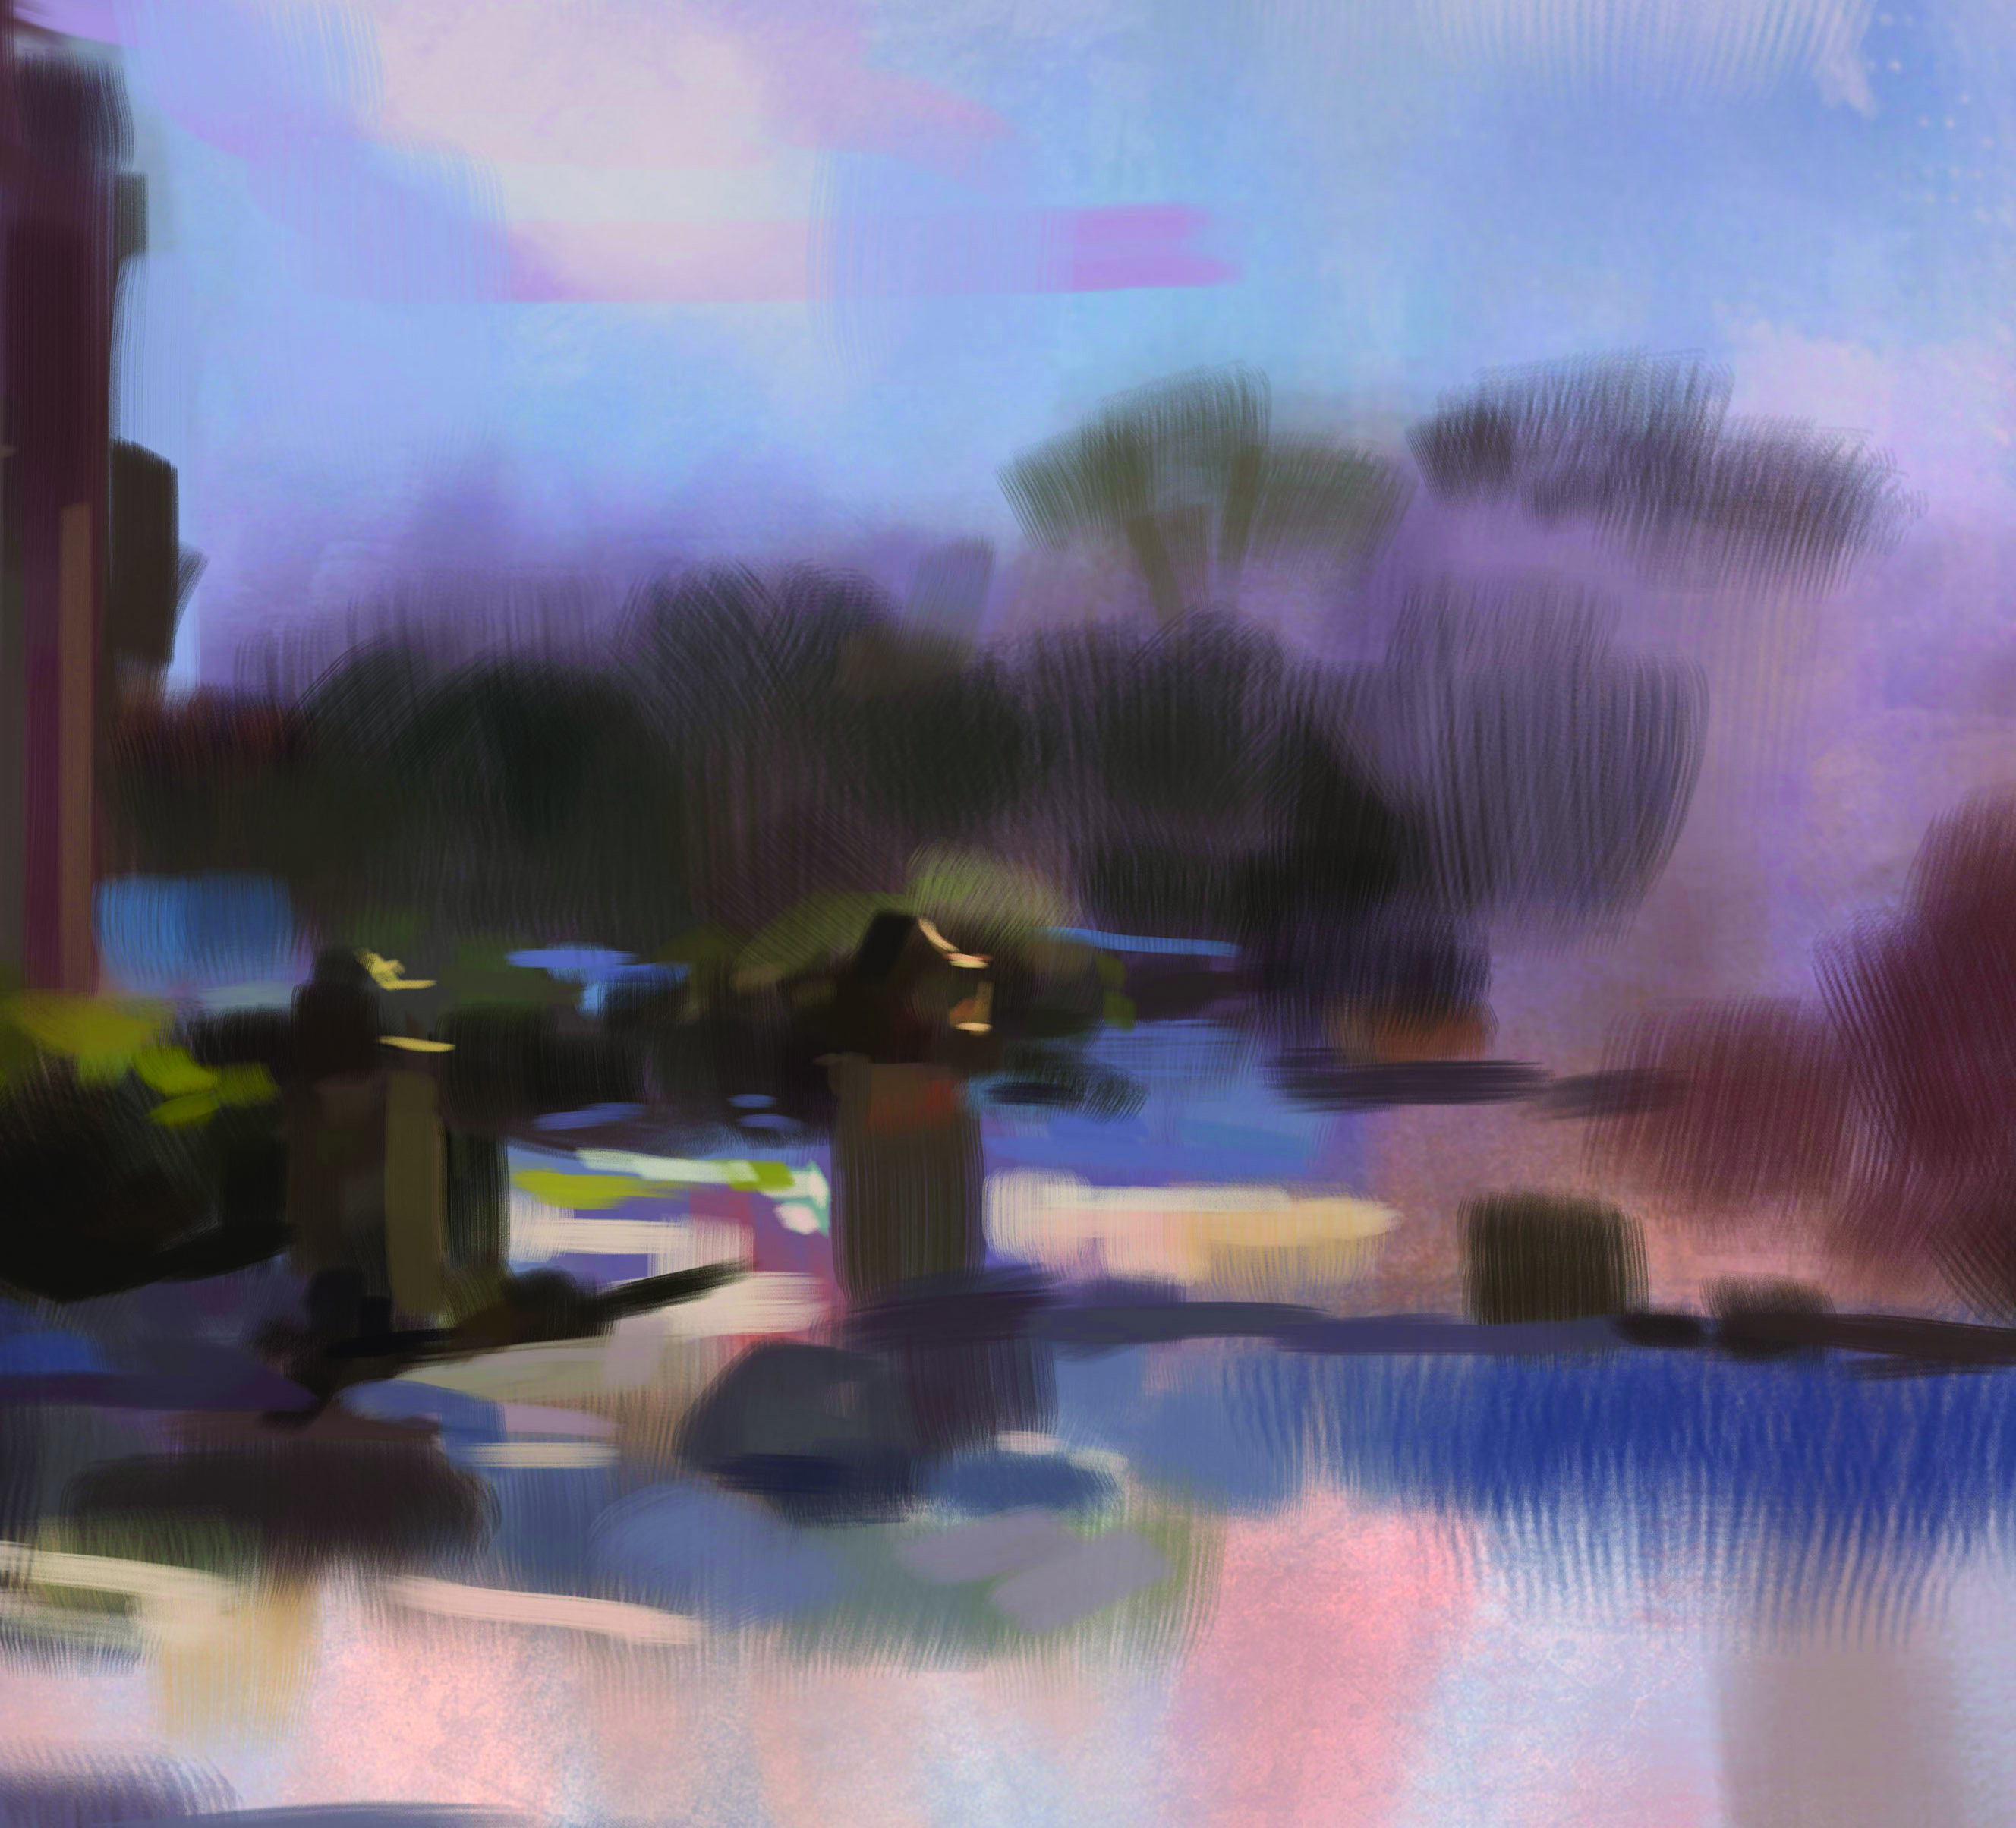
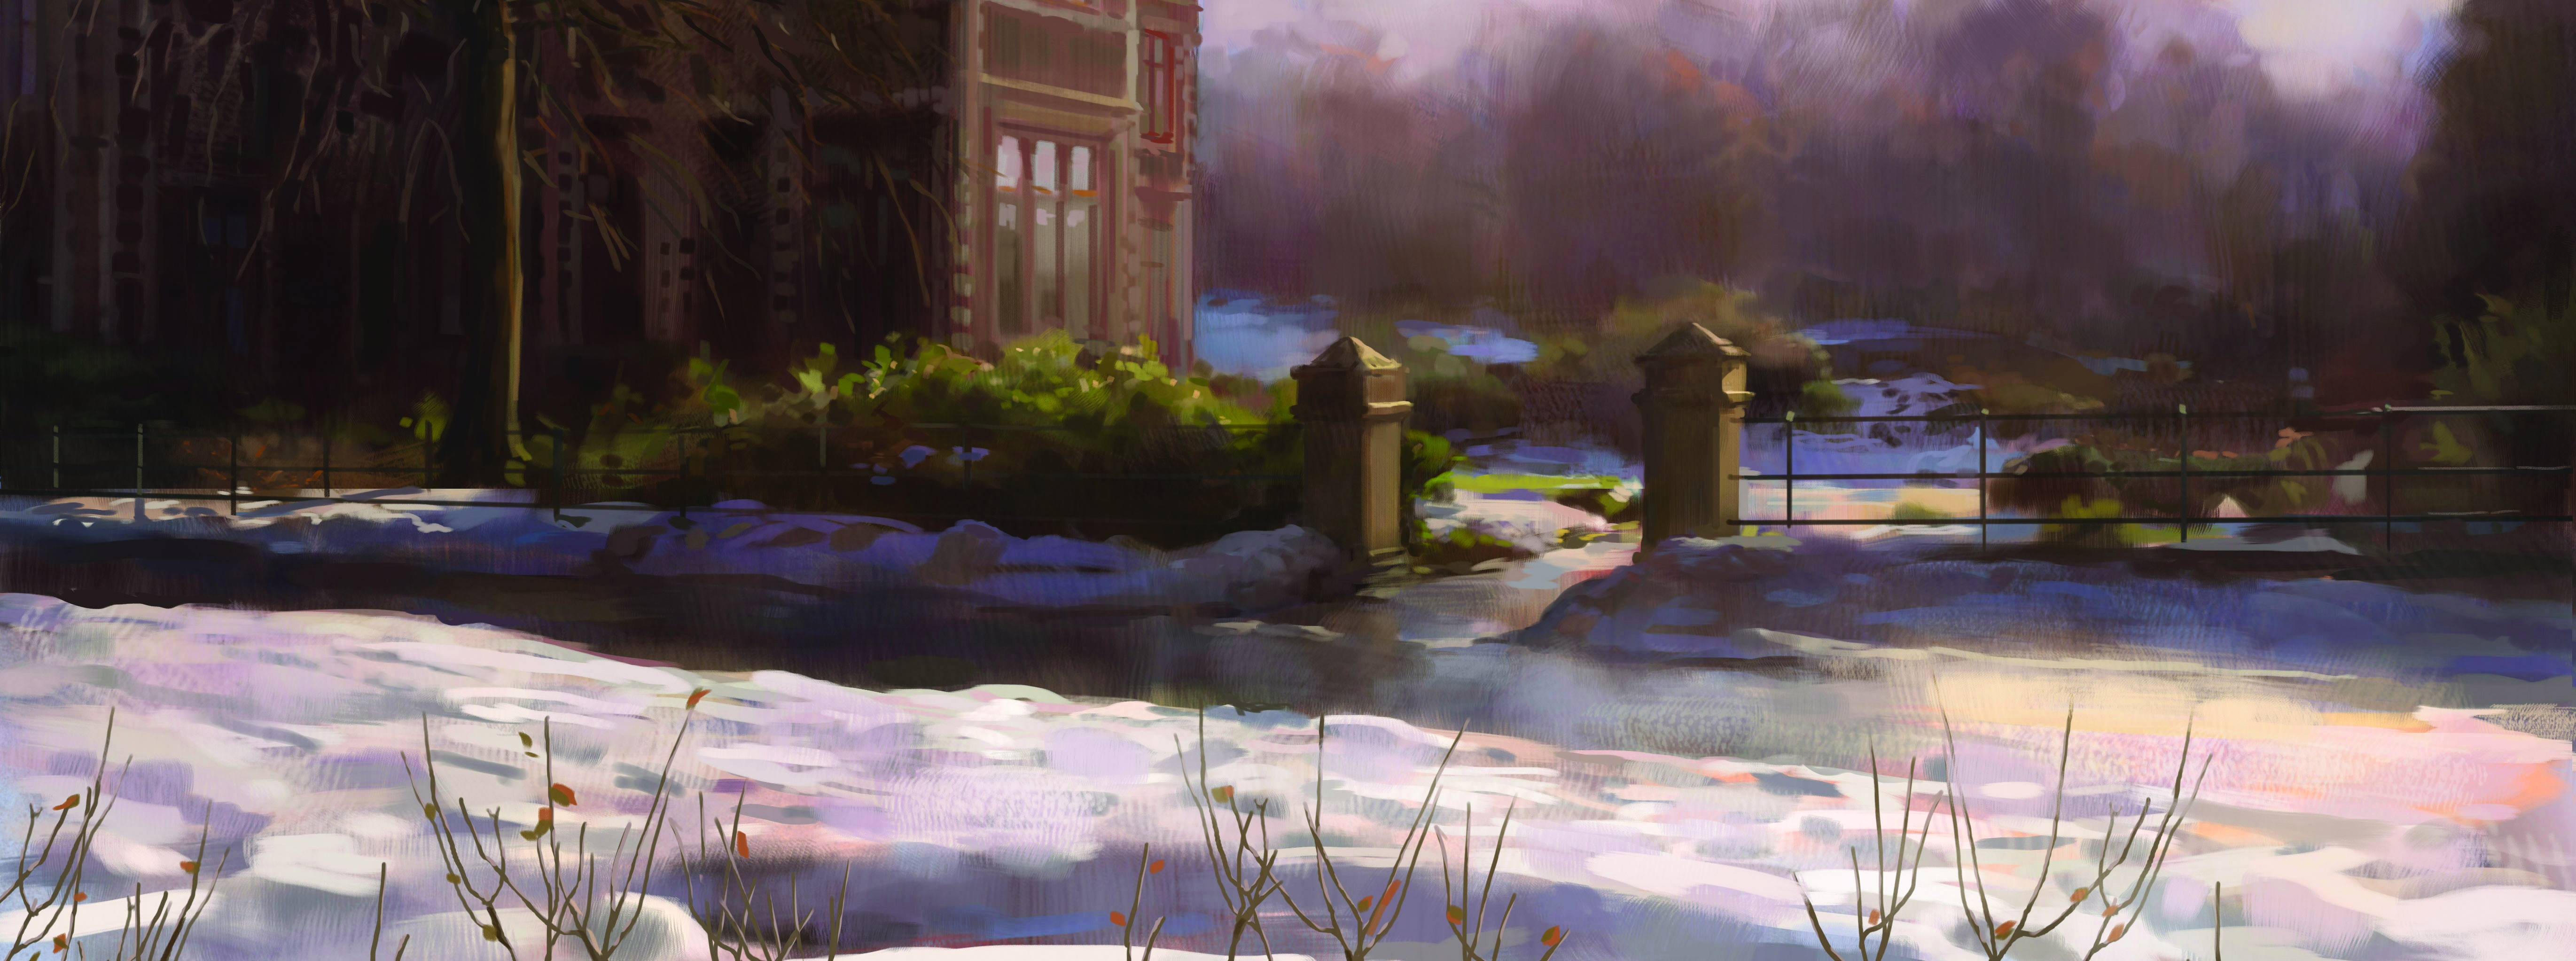
Under the sun, I don’t have time to make a rendered image, so I am focusing mainly on the gate. This has the happy side effect of keeping focus on it as a detailed area, if I don’t overdevelop the rest of the painting. I’m going for accuracy still, even at these early stages. I don’t want to have to move things about or be stuck when things don’t fit together due to bad measuring at the start.
10. Pushing the sky
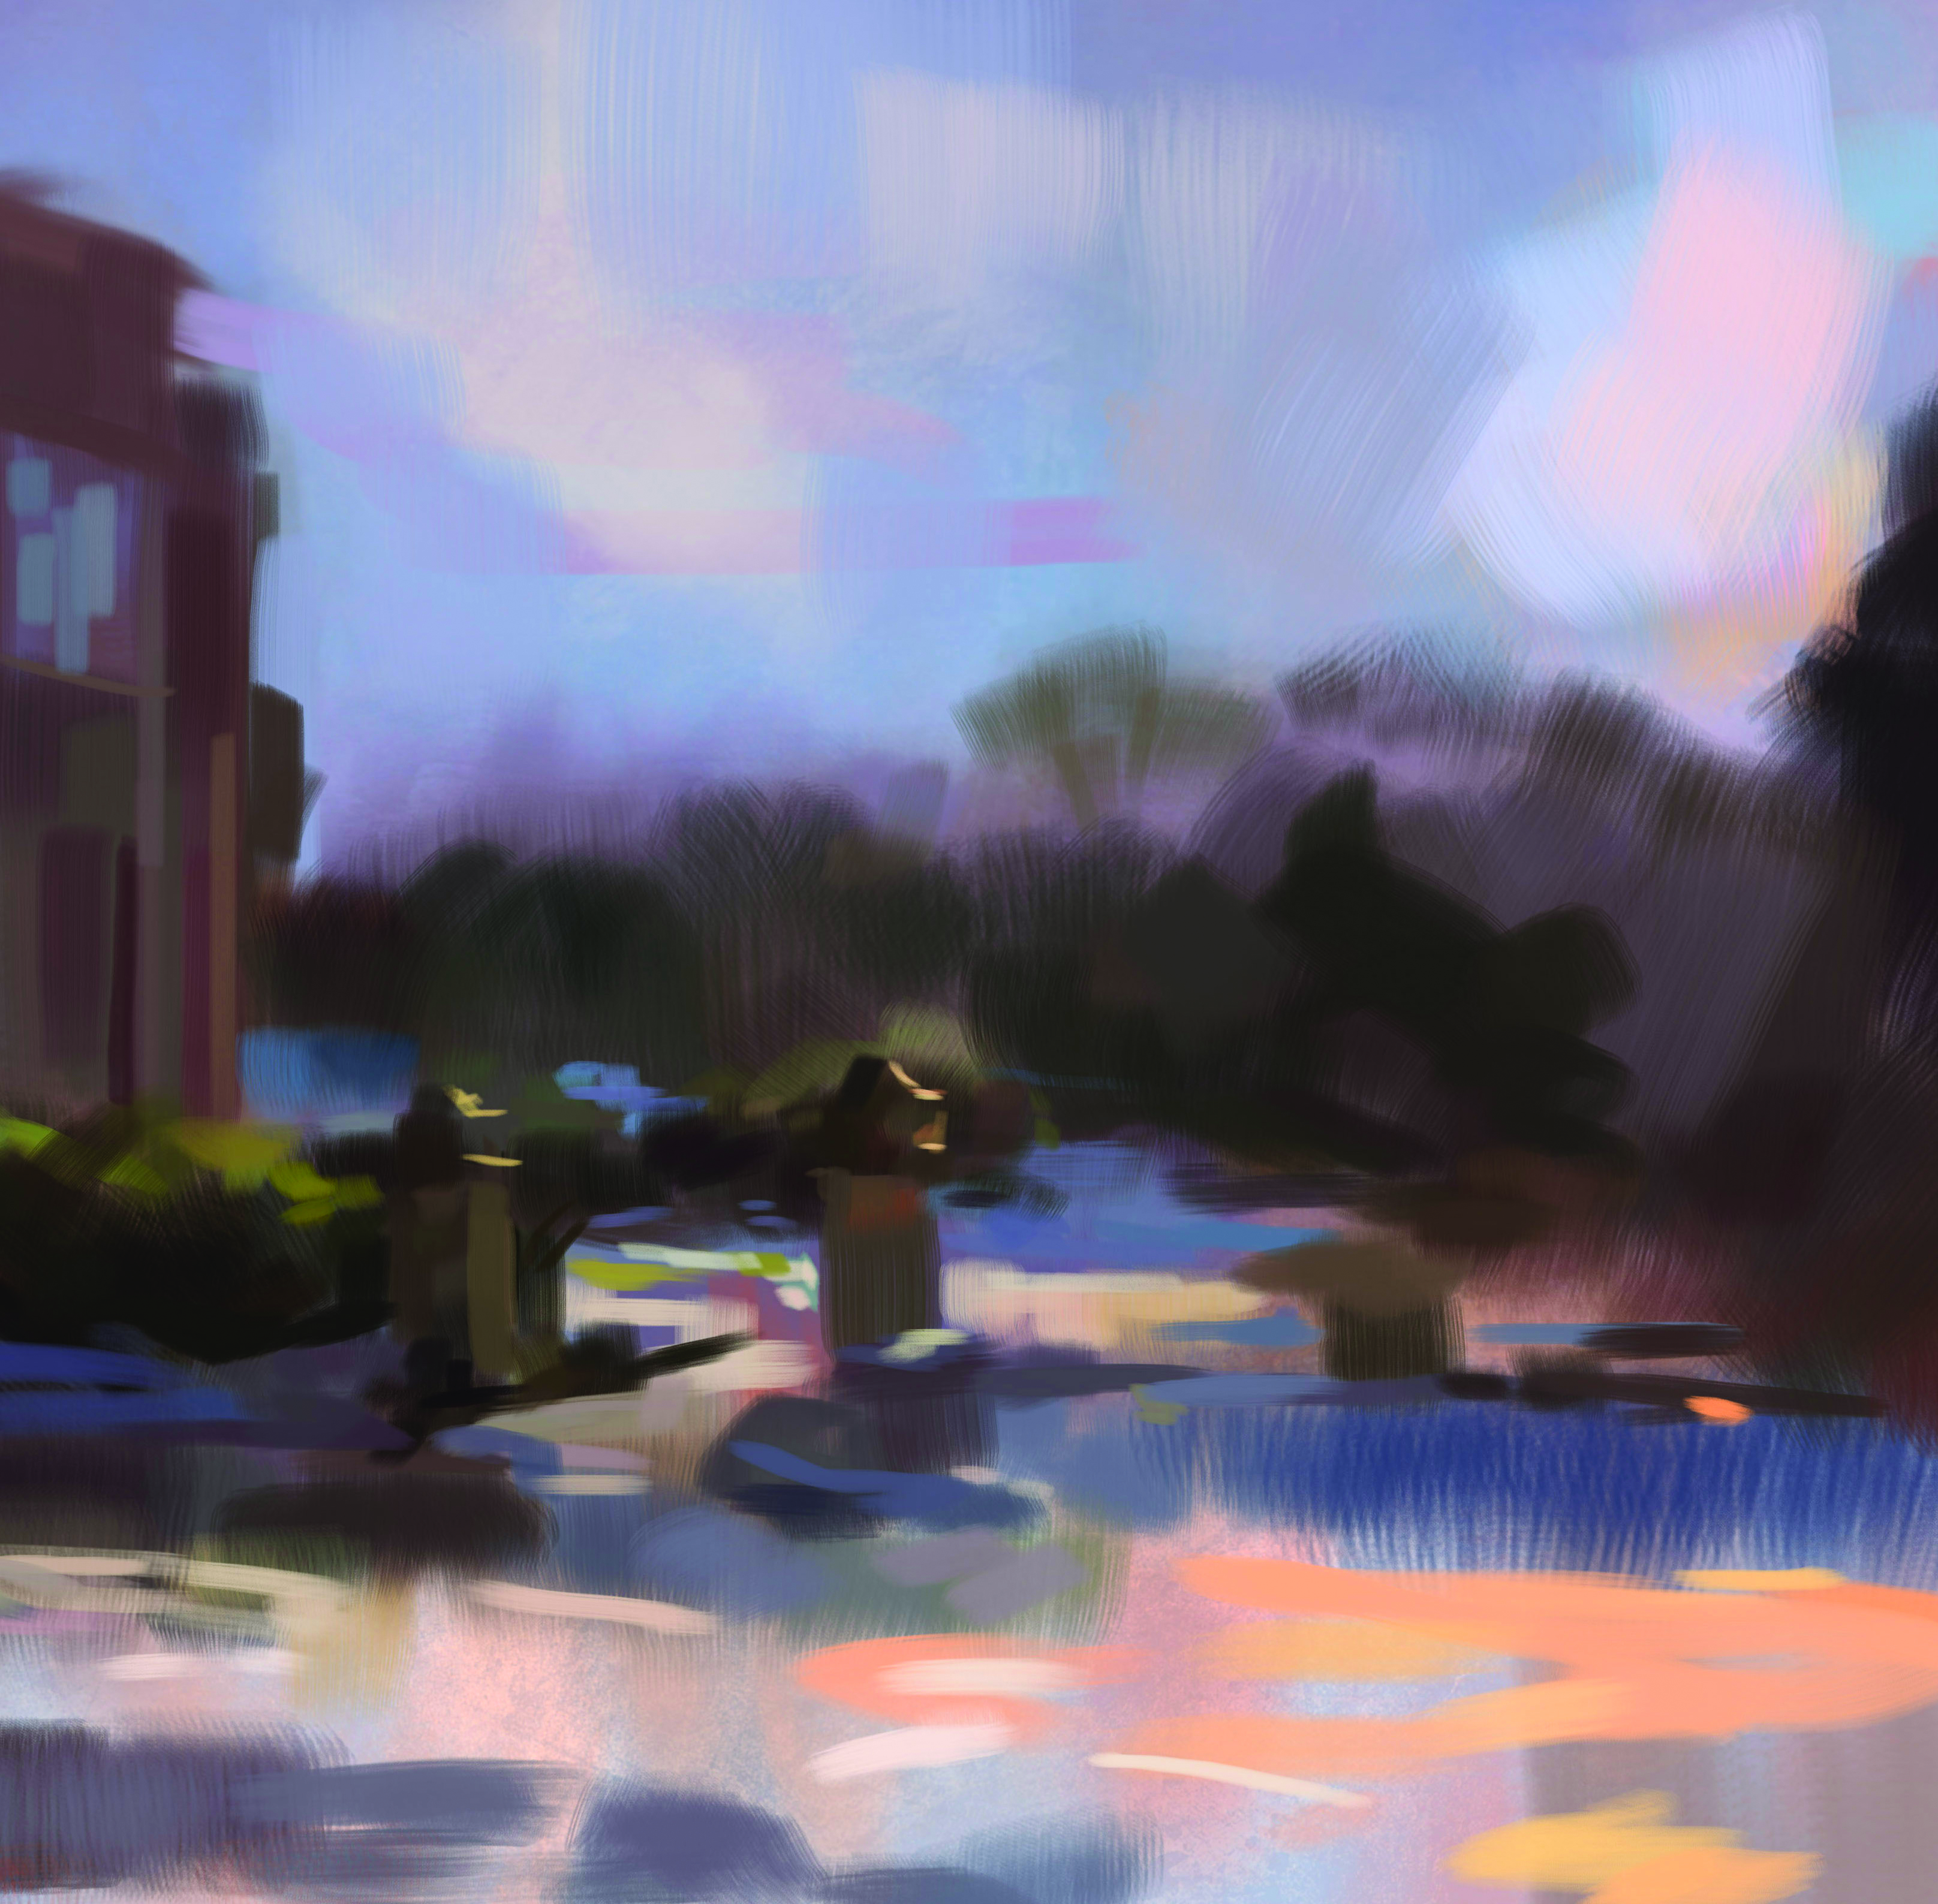
You’ll soon discover that the values the artist can perceive in daylight vastly outnumber the values a monitor can show, and we need to ‘compress’ our range of values to our paintings. I’m establishing the darkest darks I can see at this point. I know in my mind roughly what value the lightest lights will be, but I save placing them to the end as highlights, because I want them on top and solid.
11. Exploring colour
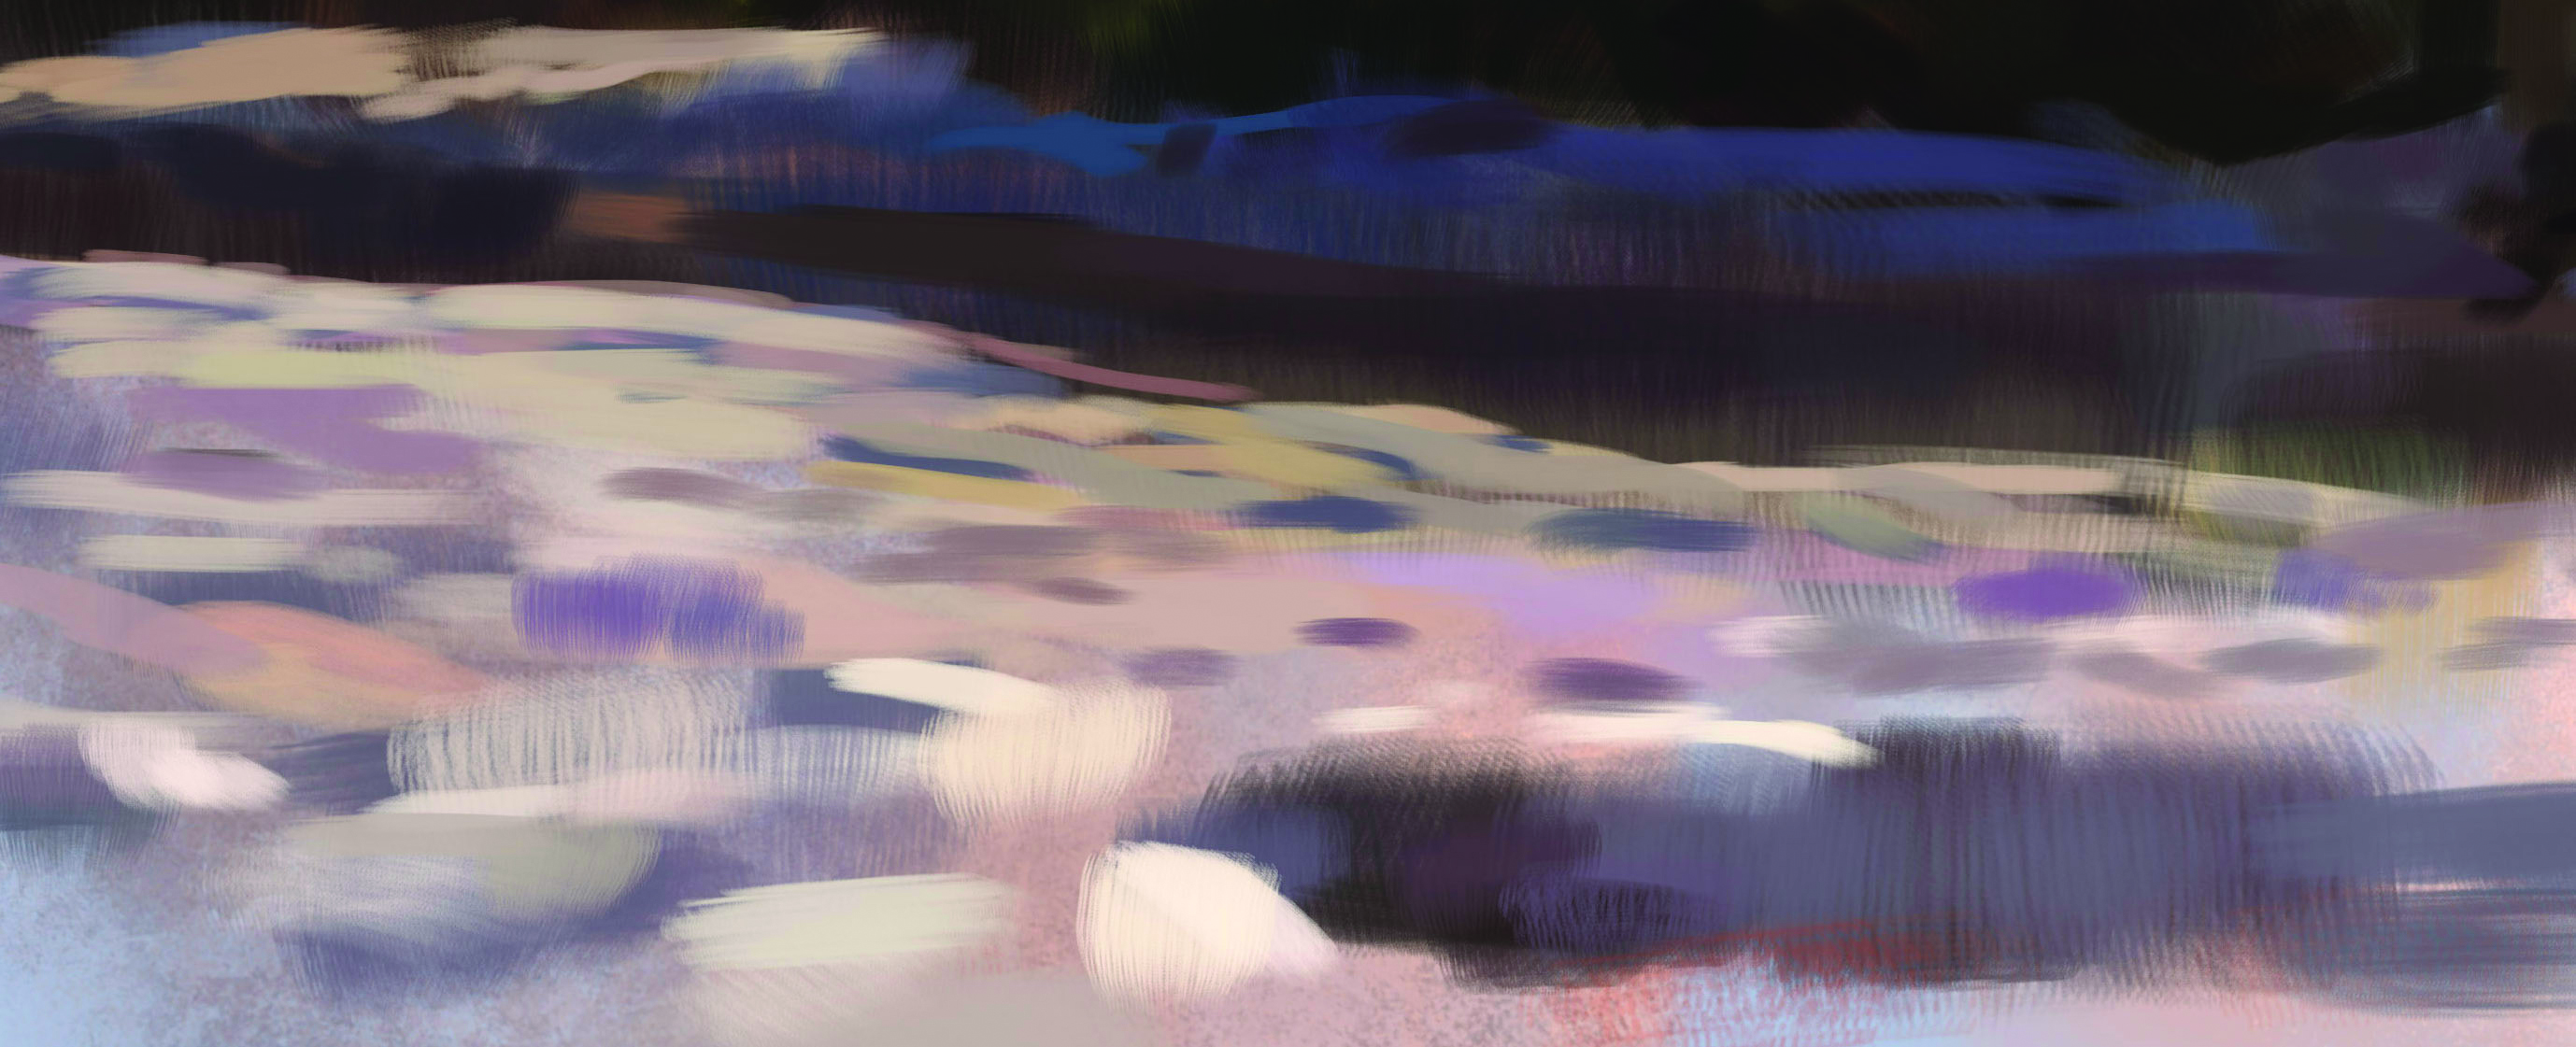
The main thing I want to explore is colour. When observing strongly lit surfaces, we see a beautiful variety of colours and the strength of edges that a camera cannot capture. The snow is superbright pinks and yellows on blue, so I place down those colours and break them up with bright whites and darks for shadows to unify the overall values.
12. Interpreting what I see
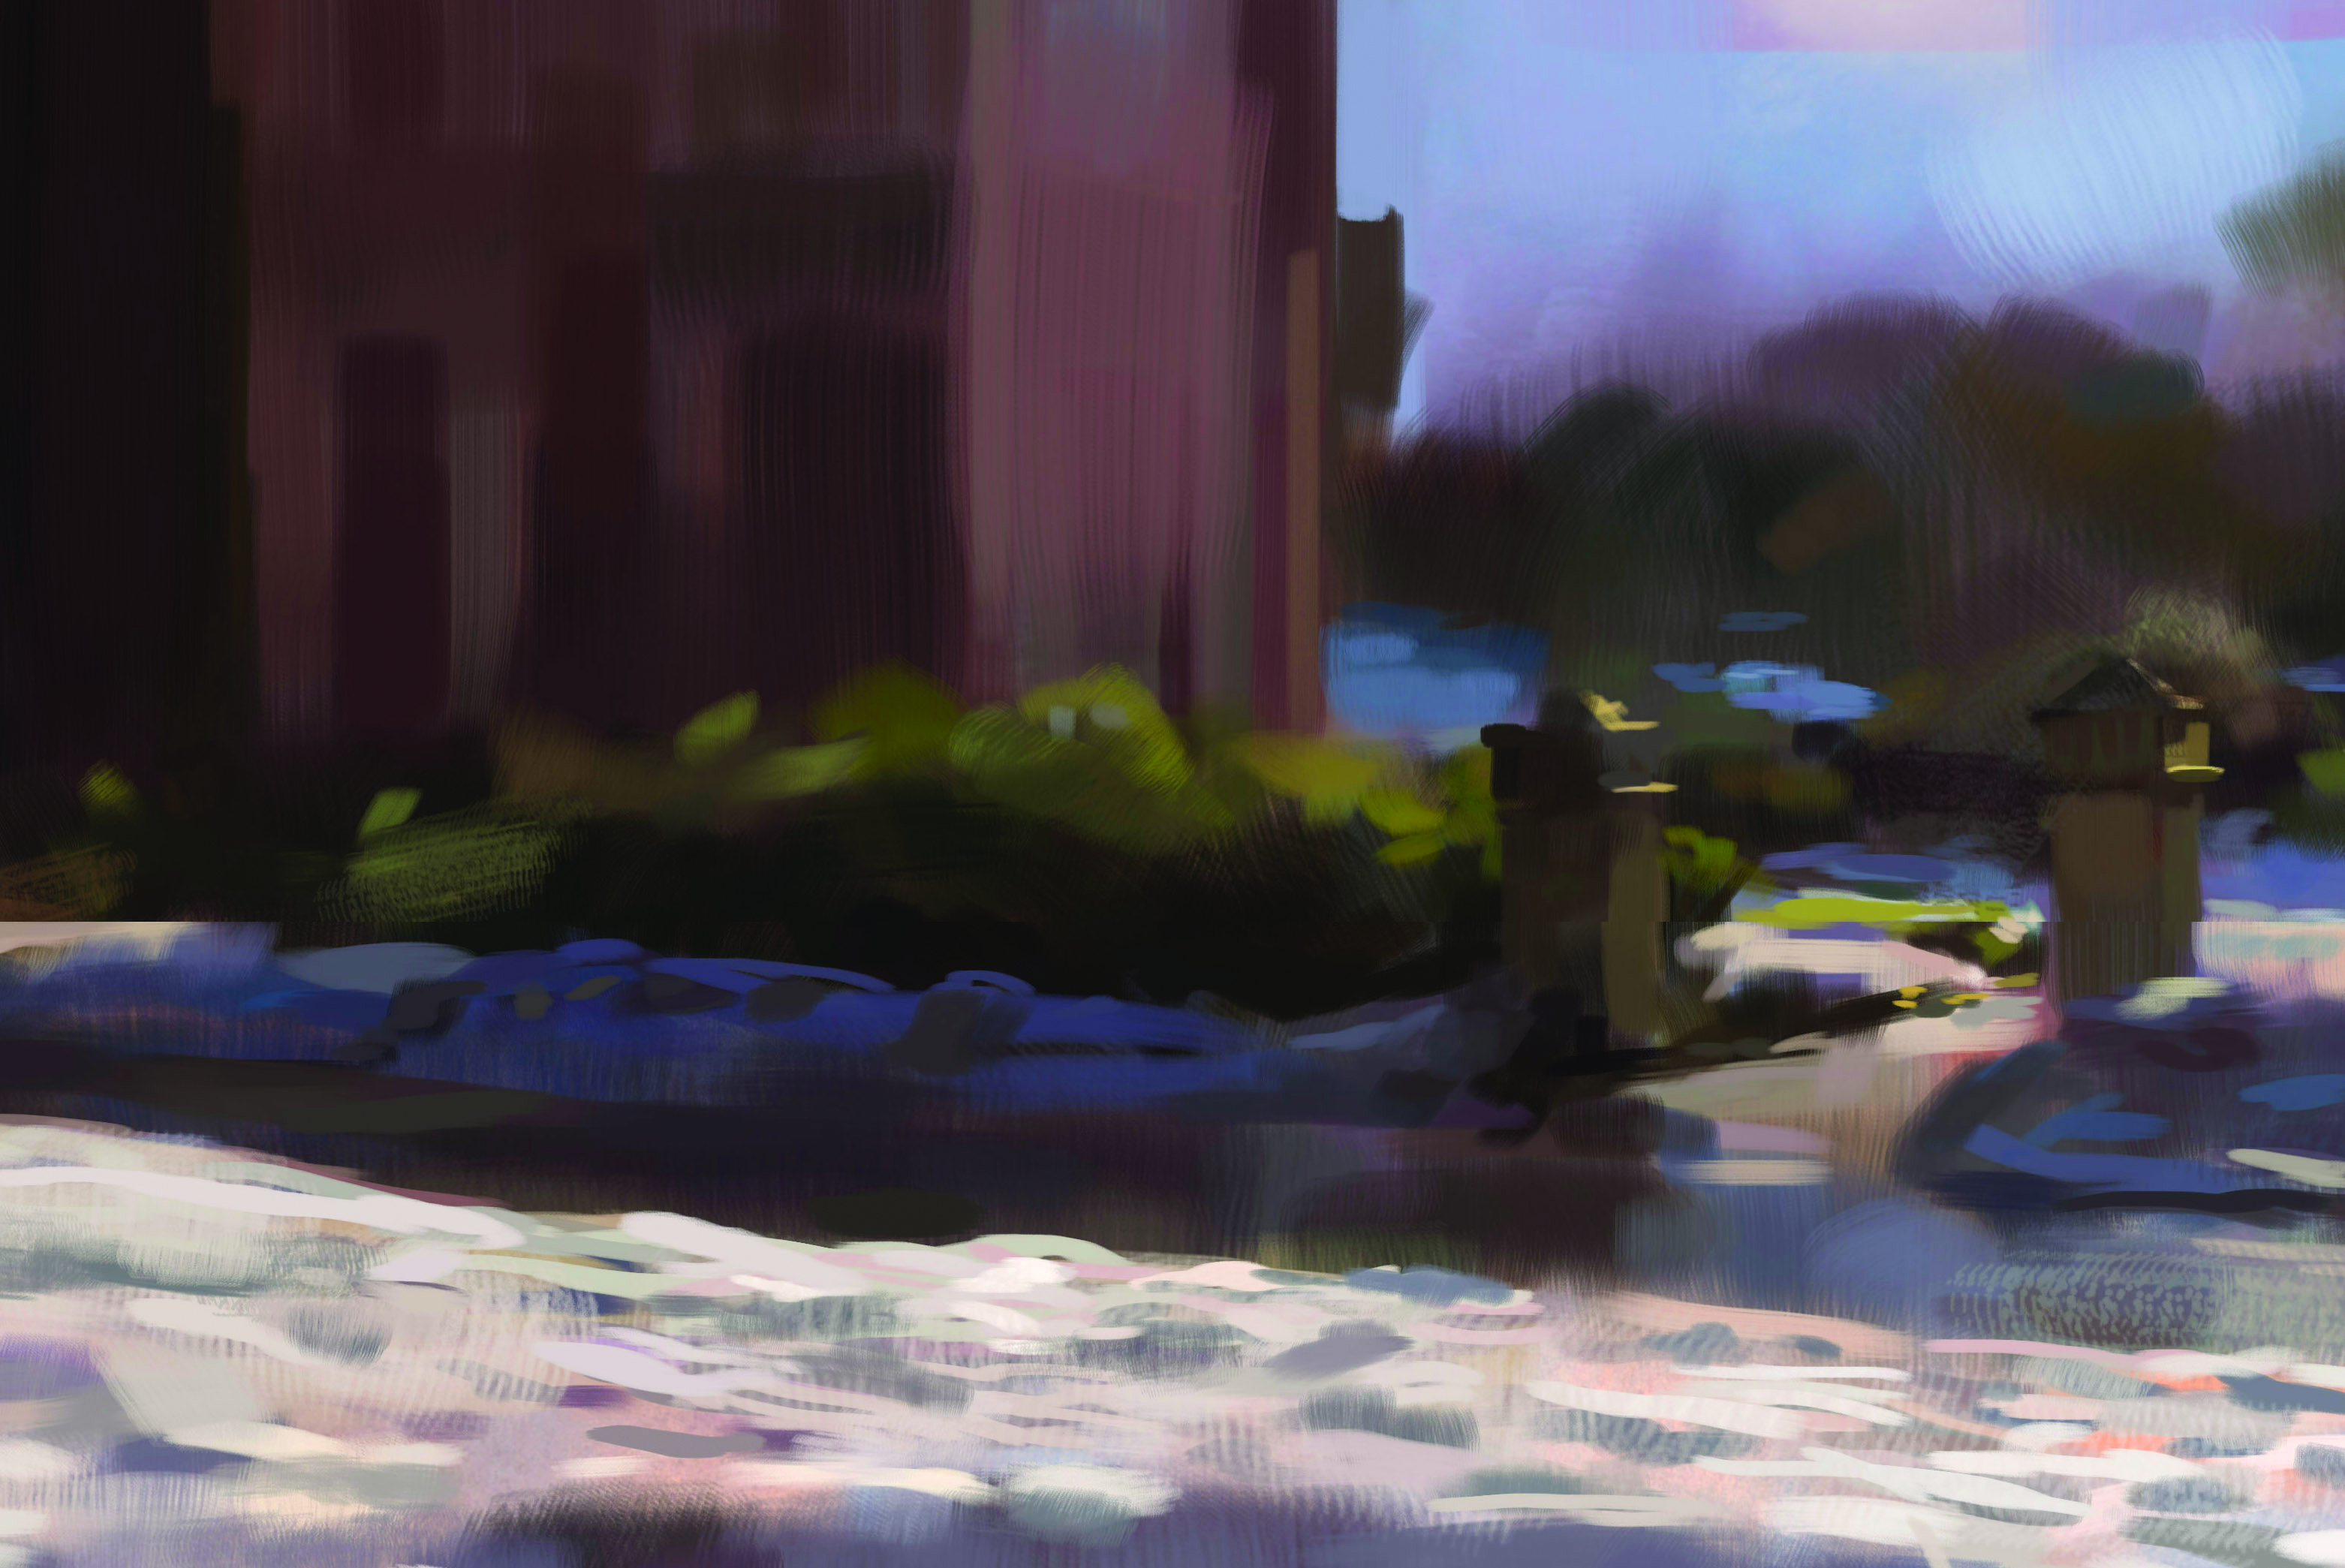
Looking across a landscape, the planes on the floor are very flat, and this means there are a lot of tight horizontal lines on the ground. This shows depth, but needs to be balanced with vertical shapes. I’ve joined these by inventing a bush between the building and the gates. This adds a layer of depth and balances the colour, and the more random stroke direction of the bushes cuts up the strong horizontals and verticals.
13. Adding a human touch
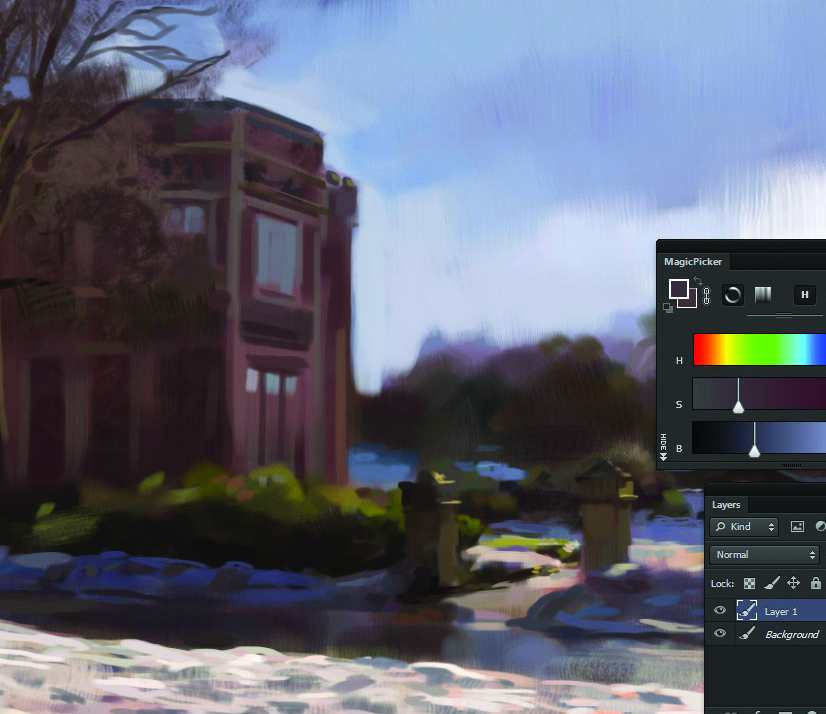
I don’t like to be a slave to what is in front of me. Sometimes an element can be just a little off, or the weather on that day might not be great. The artist can push areas about or invent, simplify, or remove elements to improve the overall picture. I believe artists as designers should not work like a camera, and this human abstraction is what makes for a really great picture from life.
14. Working with changing light
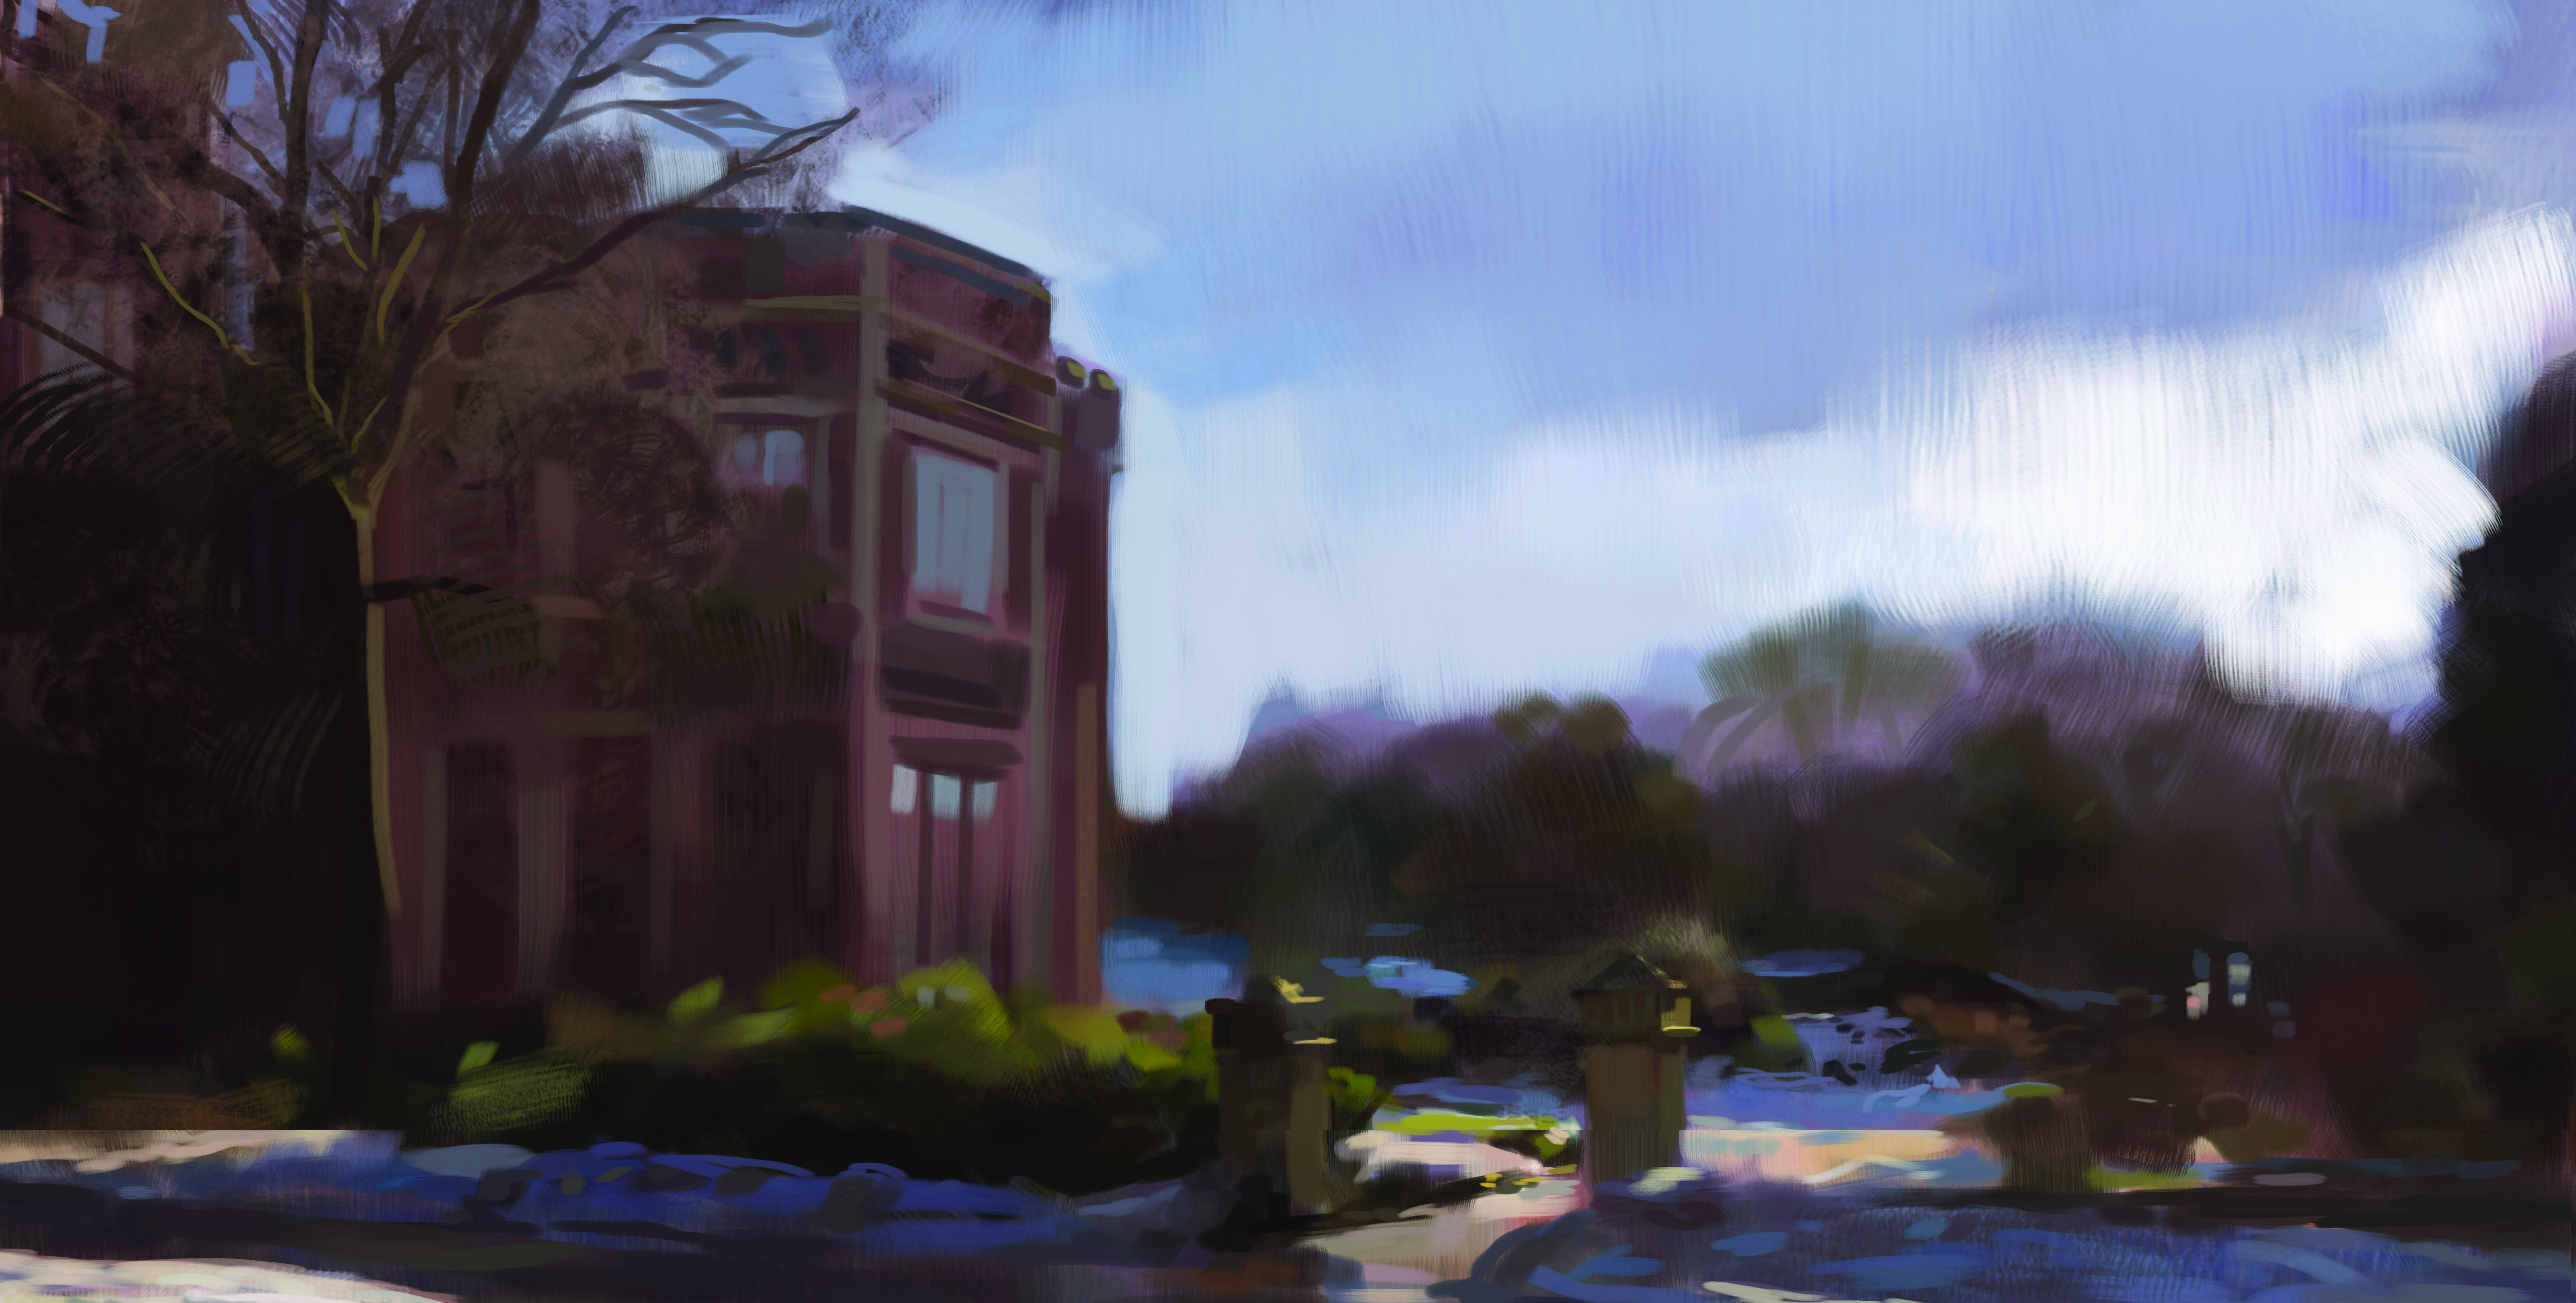
I am several hours into the painting now, and I’m finding that the light and colours outside are constantly changing. As the sun travels across the sky, every value and colour changes. In getting the important elements placed down, I can then continue to paint them from my established marks, but I am also having to invent a lot of things as the light changes. This takes quite a bit of practice, as I have to predict early on how the lights will behave on the surfaces throughout the rest of the day.
15. Cropping the composition
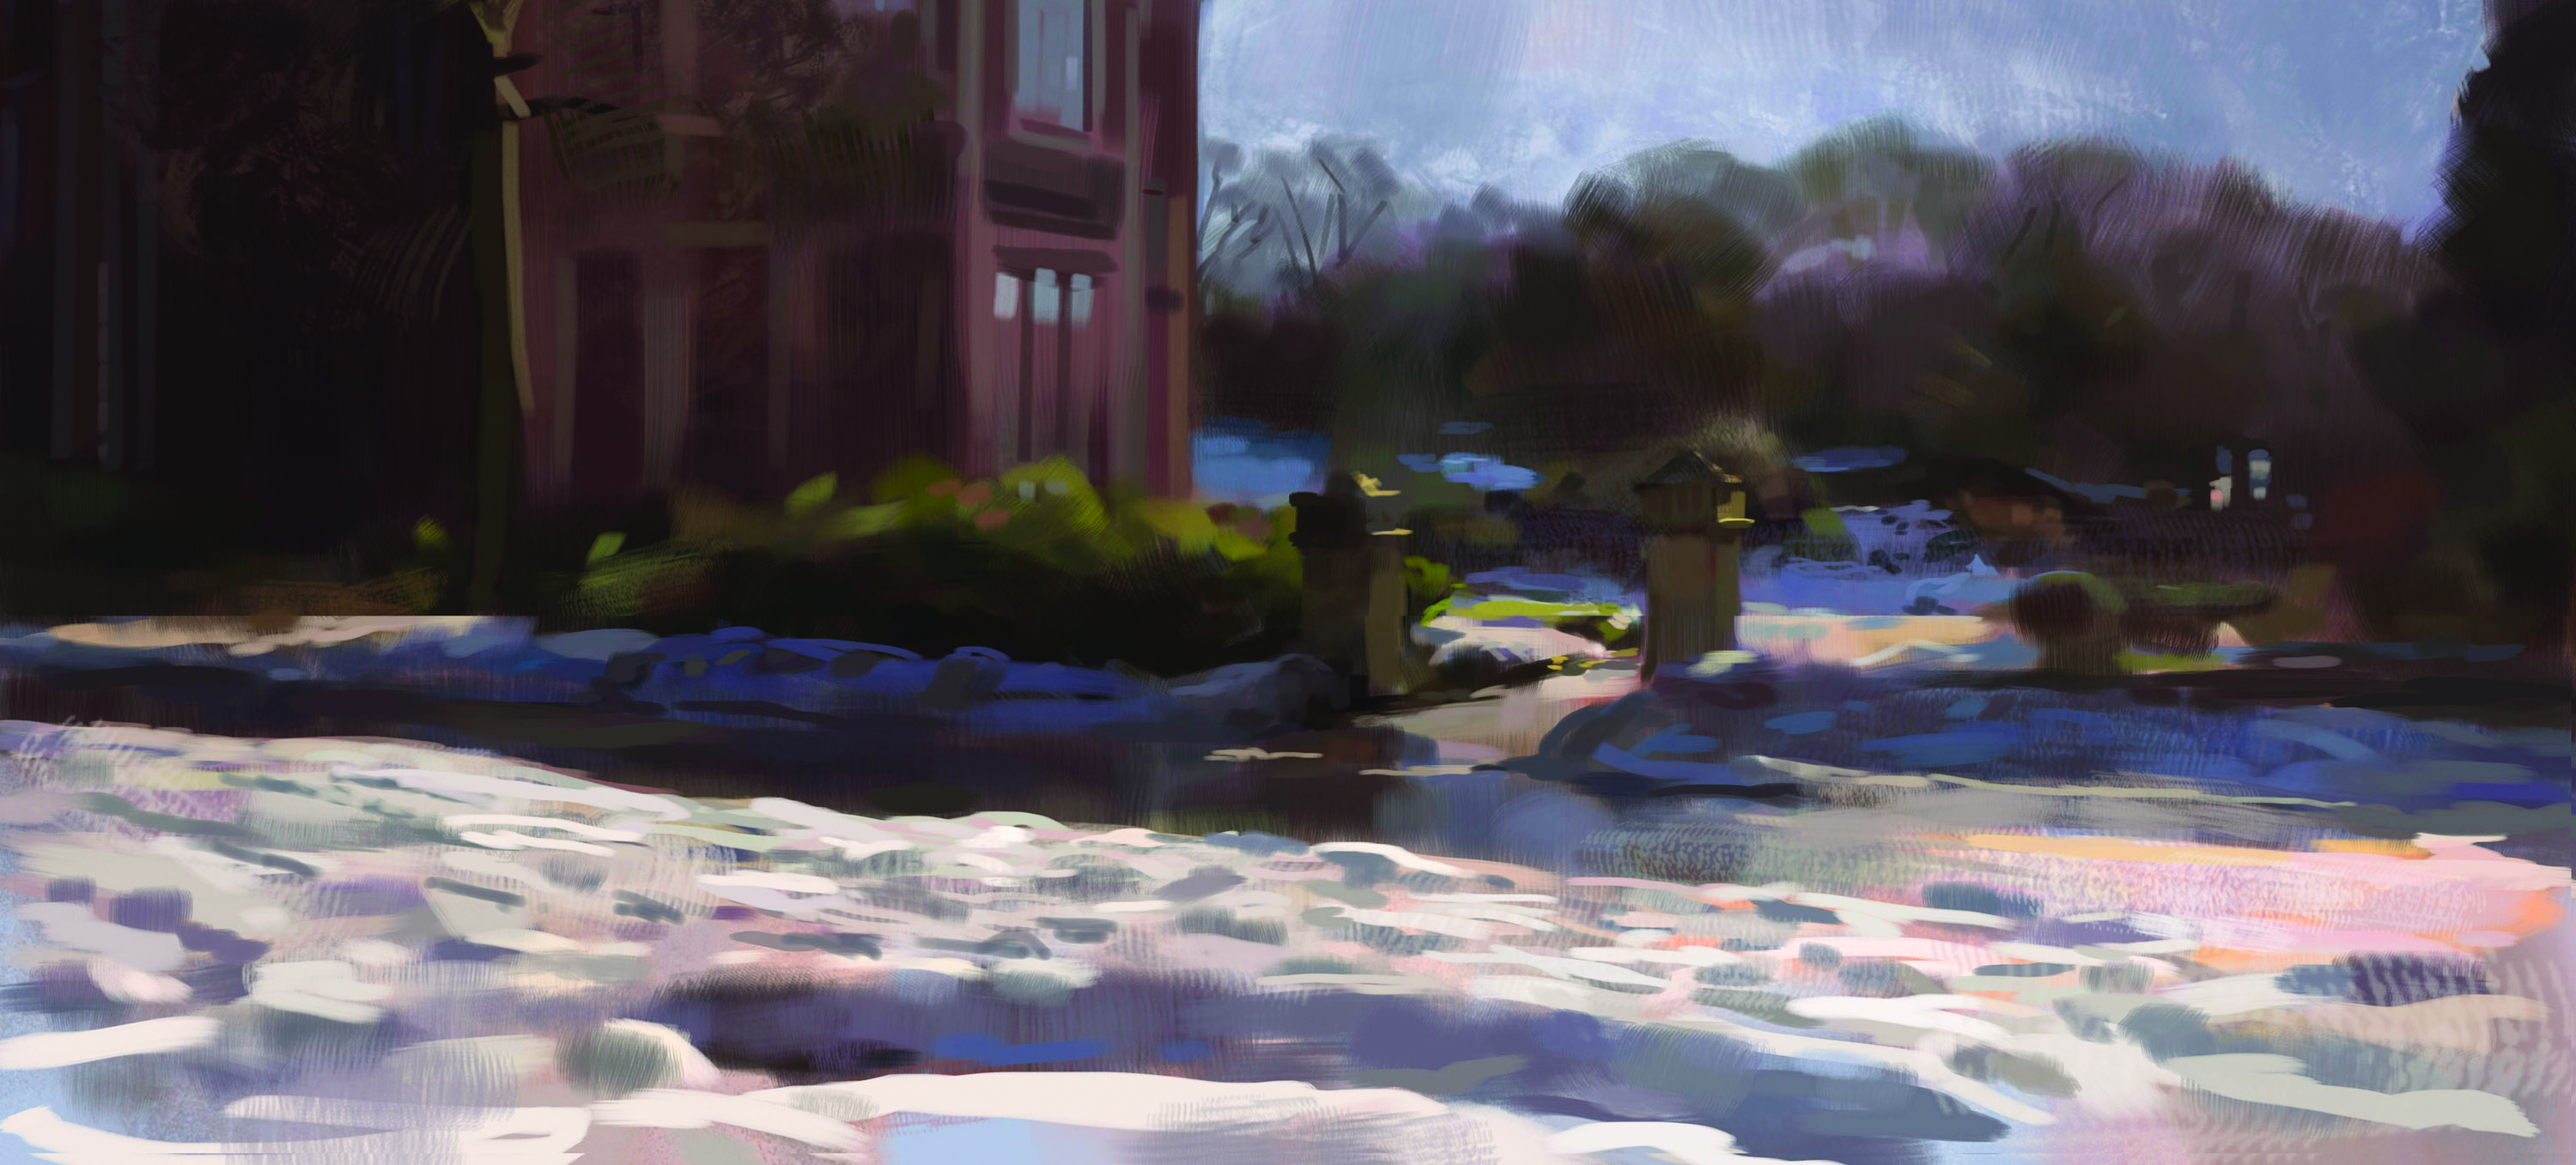
This is a horizontal composition, and I’m not that pleased with how the house is working in the painting. So I decided to try cropping the house down to a more letterbox ratio. Not having any limitation on the size of the canvas throughout a painting can be a really handy advantage over traditional painting. However, I do try to avoid relying on this option as a crutch and always attempt to establish a decent composition from the outset, so as not to waste time further down the line.
16. Next day painting
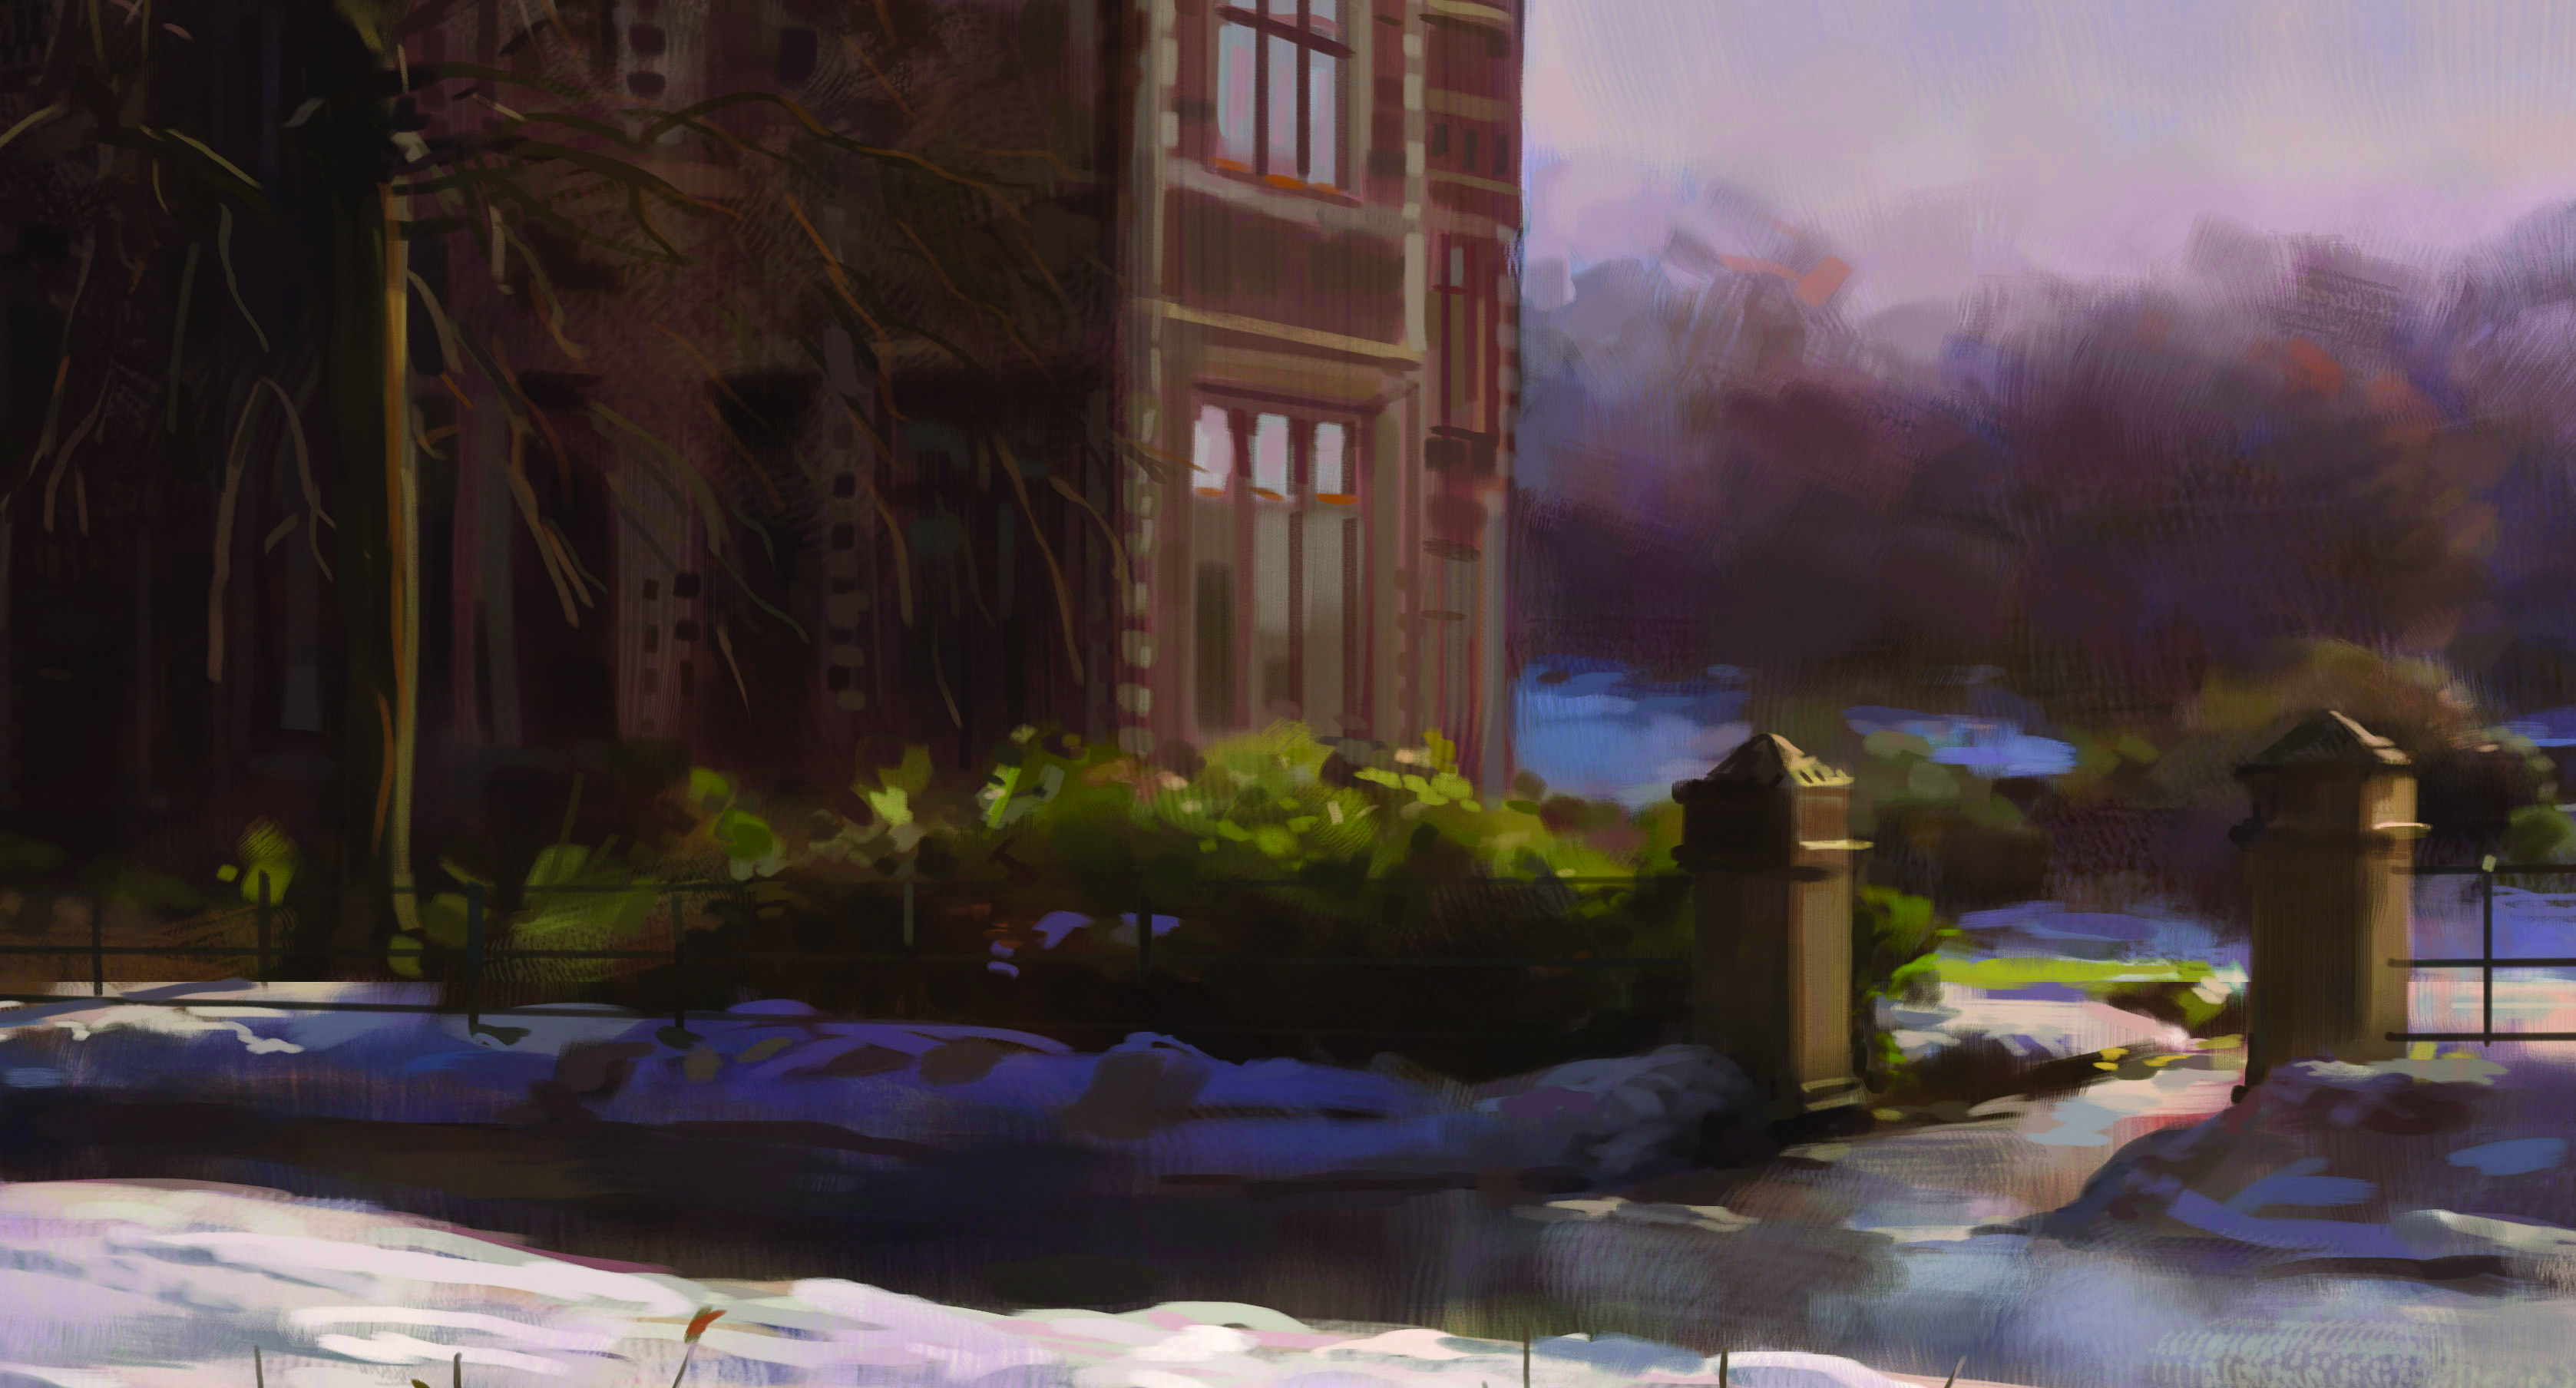
I return another day to start again under sunlight. I pushed the snow in previous steps because I knew that today it would have changed a lot, so from now on, I will work entirely on the rest of the image. As the morning lighting is much nicer, I re-light some of the planes with the Soft Light blending mode, to strengthen darks and lights on the walls, tree, and pillars.
17. Adding detail
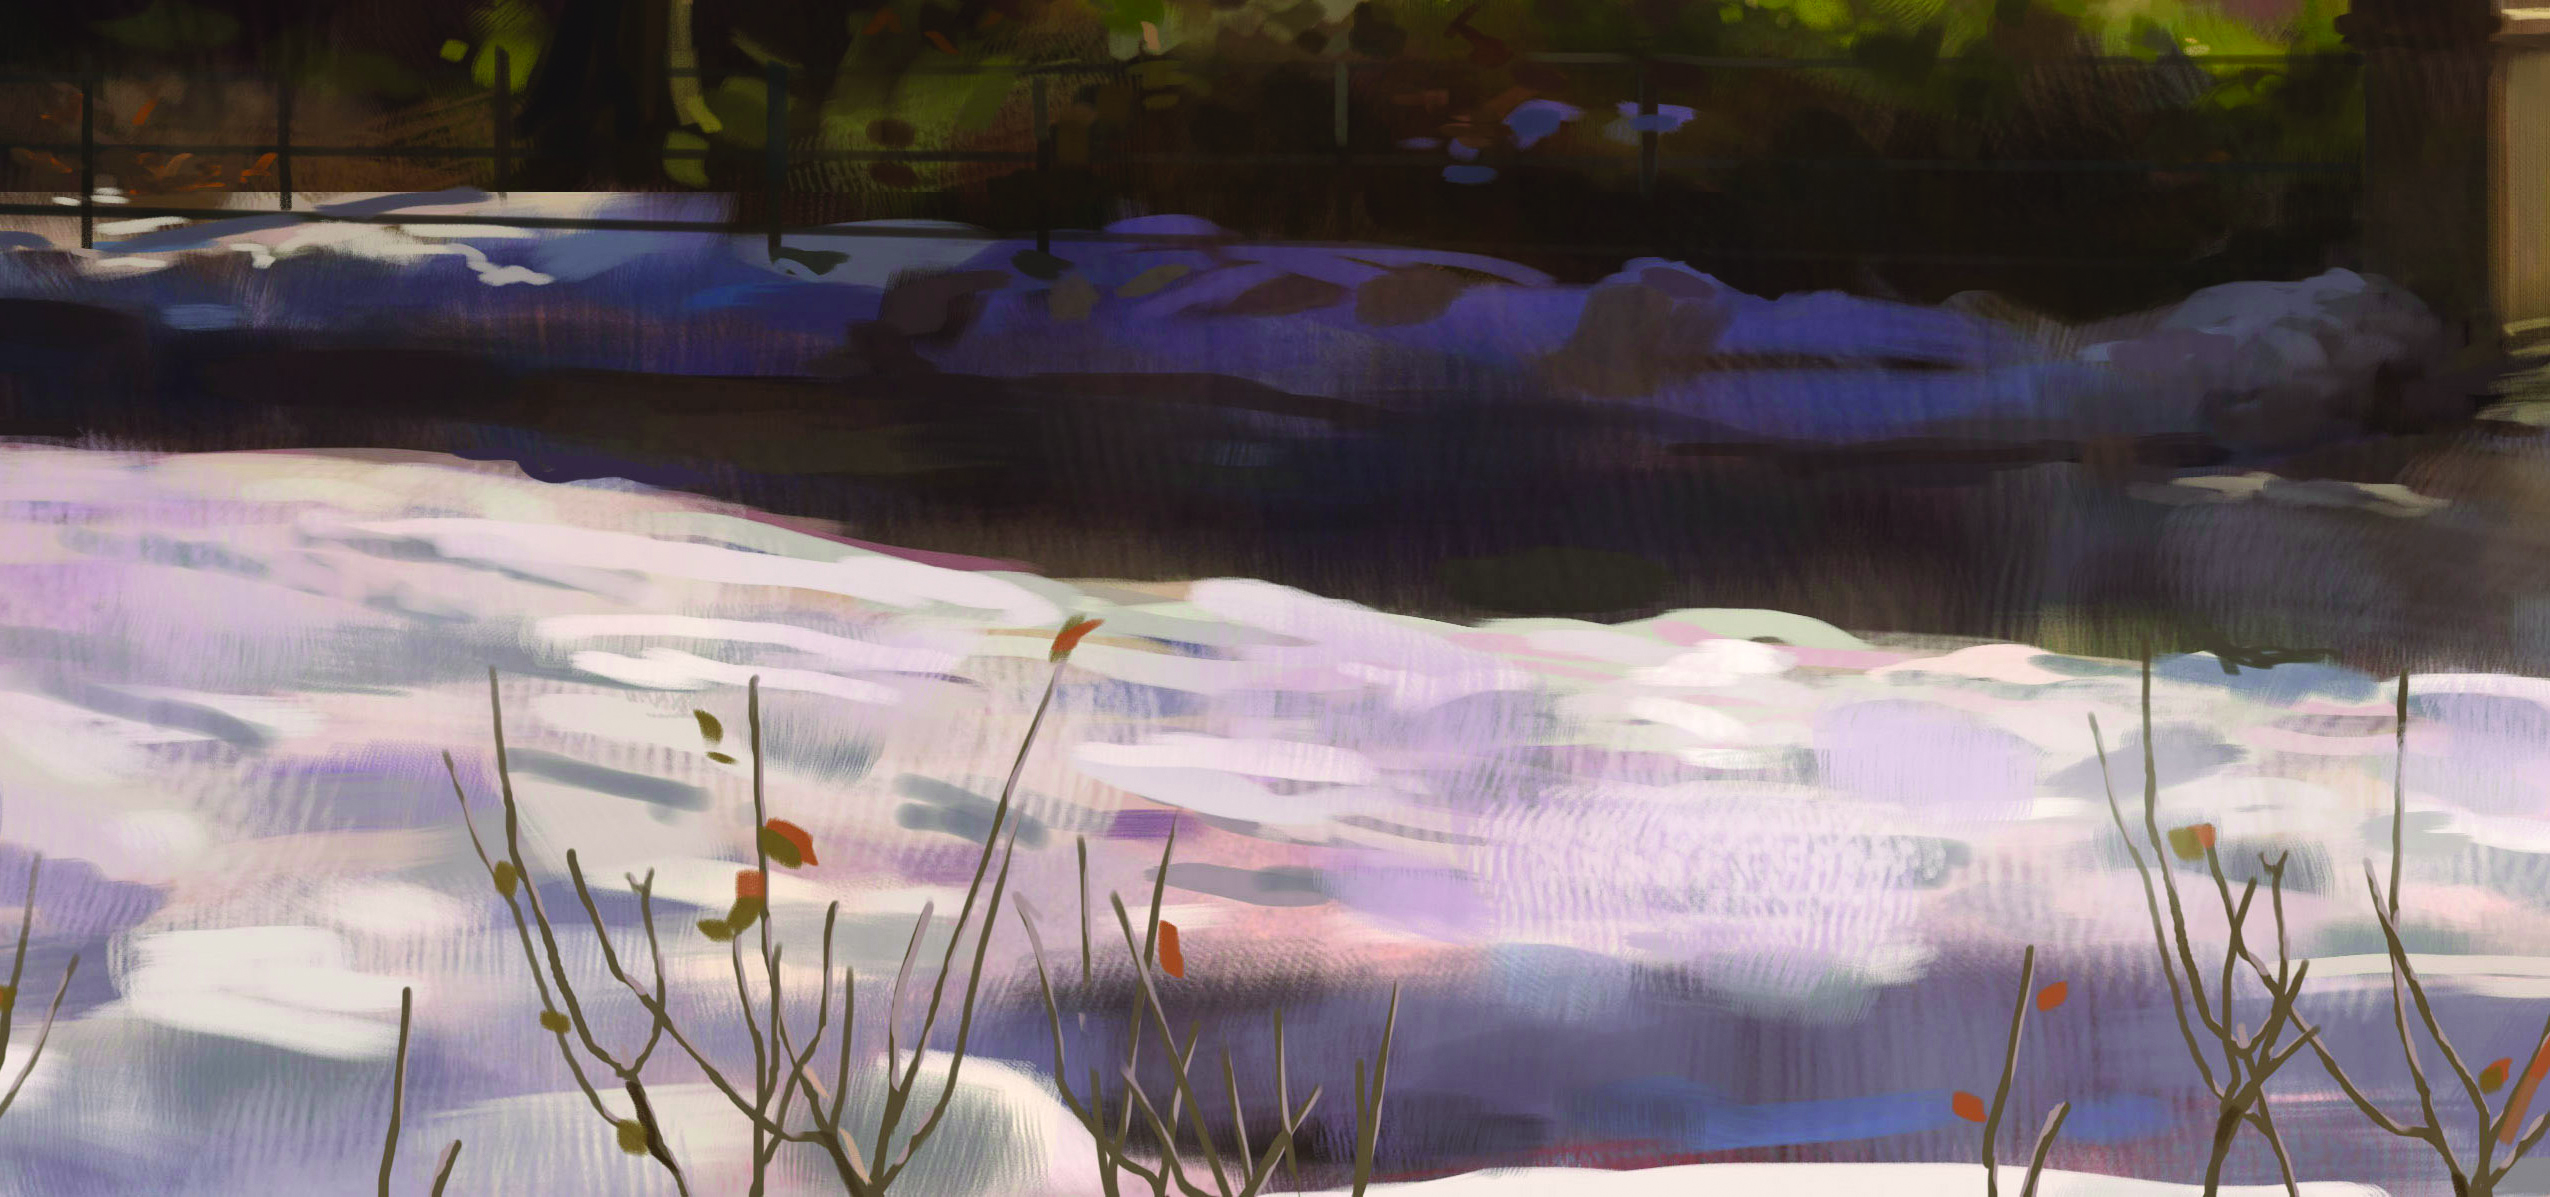
Unlike a typical client piece, a sunlit study is not something I can spend all day on with rendering. The second day is drawing to a close, and I have taken some photos throughout the day to develop some parts further at home. I am still leaving some warm tones to show through the snow, as careful observation reveals that the sunlit white snow conceals an iridescent rainbow of colours.
18. Finishing up
I’ve pretty much completed the painting now. I return home and see what it looks like out of the sunlight. The colours tend to be brighter and more saturated, so I dim them down a little bit and unify the lights/darks. I take a break from it for a week, and with fresh eyes, touch up details that look out of place. Thanks for reading – I hope you will learn something with this exercise!
And there we are, folks, Olly's timeless workflow and advice from way back when digital art was but a smudge on Adobe's profit sheet. If you want to put some of these ideas into practice, it's best to read up on new tech like the XPPen Magic Drawing Pad and dedicated mobile art apps like Procreate (read our Procreate tutorials) and Heavy Paint.
Karl Simon's 'How I use an iPad to paint from life in a museum' tutorial is also a fantastic read for getting started in outdoor digital art.

Olly is a freelance illustrator and art director who has worked at Atomhawk Design on titles from Warner Bros, Sony, and Microsoft. He has also illustrated for Wizards of the Coast and runs his own studio, Cooldog Studios Ltd, specialising in game art.
- Ian DeanEditor, Digital Arts & 3D
You must confirm your public display name before commenting
Please logout and then login again, you will then be prompted to enter your display name.
