How to create a character design in Photoshop that rocks
Lera Kiryakova shows us how to create pitch-perfect characters bursting with personality.
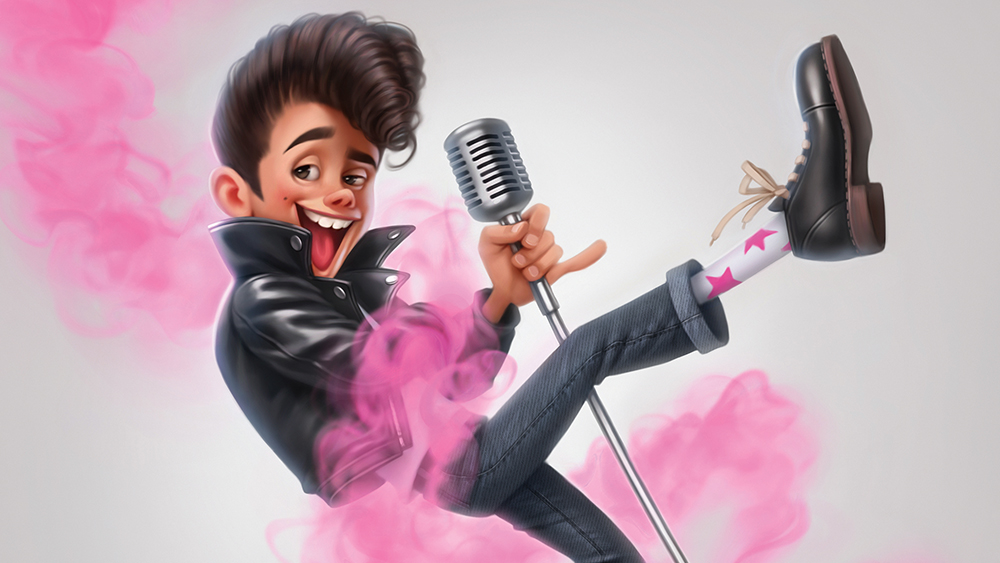
In this workshop, I’ll guide you through my character creation process, from drawing the initial sketch to finalising the rendered artwork. We’ll start by exploring different poses to find the most dynamic and engaging silhouette, and then refine our sketch, with the focus on clear, expressive line work that helps to convey personality and movement.
With the sketch ready, I’ll walk you through the colouring process, starting with base colours, adding depth with shadows, and gradually building up highlights to create a polished 3D look. A key aspect will be understanding how to treat different types of material like glossy leather, soft fabric and shiny metals to make the character feel more realistic and visually appealing.
We’ll also integrate the character and background using atmospheric effects and lighting tricks to enhance our final composition. I’ll show you how to add a vibrant smoke trail effect that gives your scene even more energy and helps to make the character truly stand out.
Article continues belowWhile I did this piece in Photoshop, you might be able to do something similar in the best Photoshop alternatives or other digital art software.
01. Find a dynamic pose
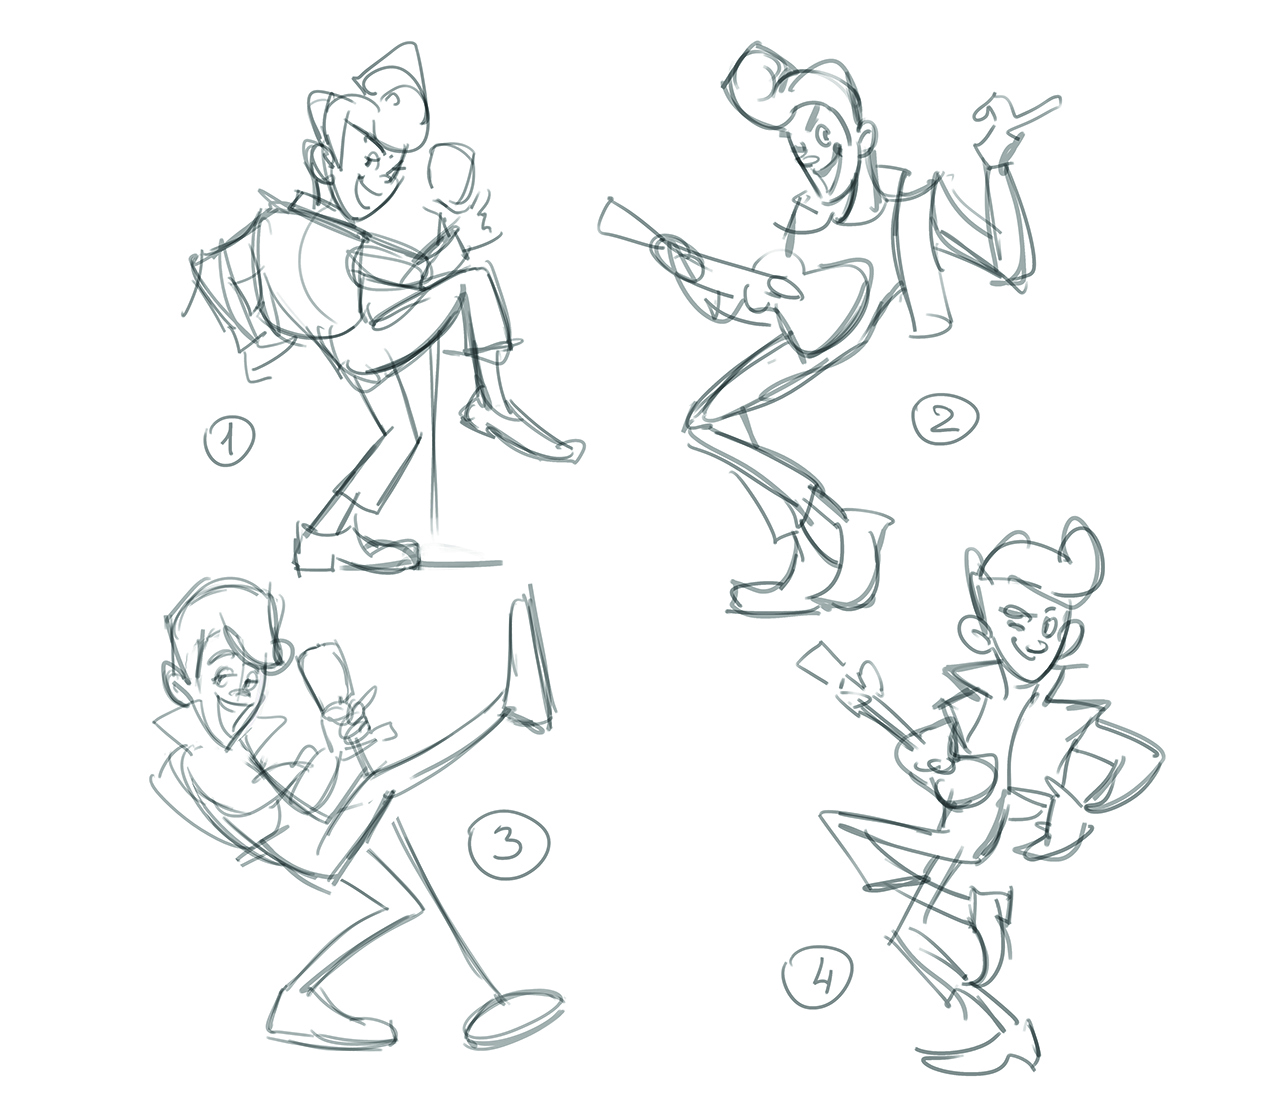
Before considering details, start with a few quick pose sketches. At this stage, don’t focus on the anatomy or construction but rather on the silhouette, energy and movement.
Experiment with different options to find the most expressive and interesting angle. It’s important that the pose feels natural yet fun and memorable, with a silhouette that remains clear and easy to read.
02. Choose a final sketch
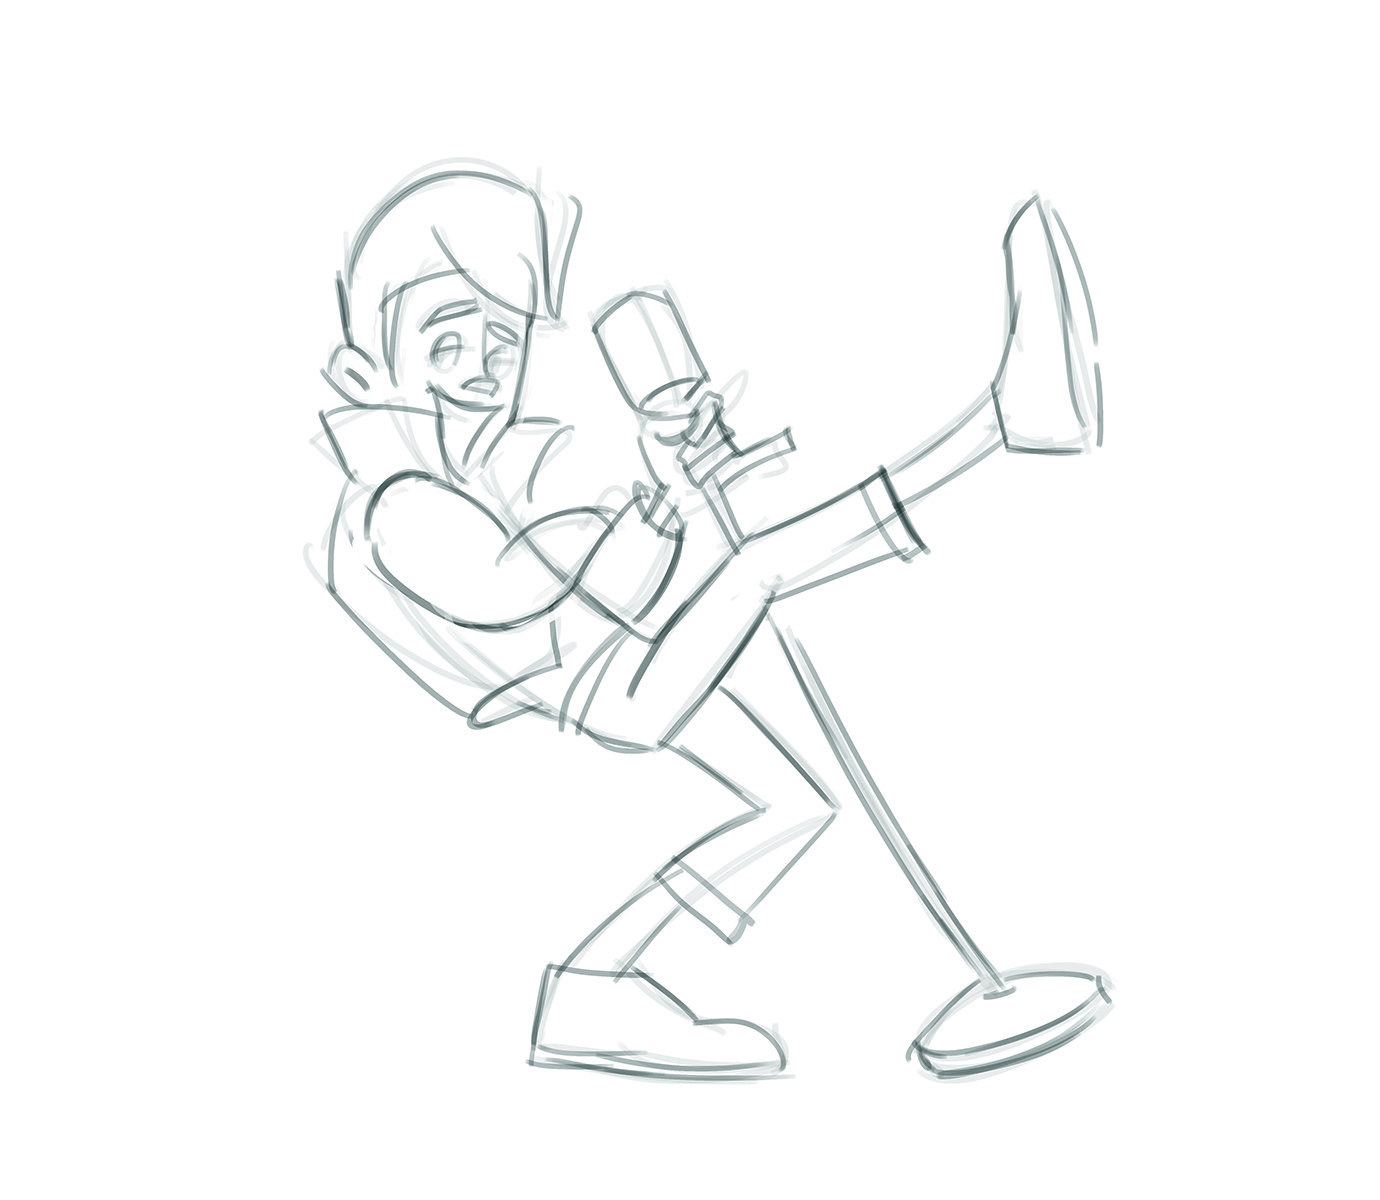
From several pose sketches, choose the strongest one, which in my case was number three as I think it best conveys the movement and energetic mood I was looking for. Roughly define the key body elements but don’t focus on small details yet.
Sign up to Creative Bloq's daily newsletter, which brings you the latest news and inspiration from the worlds of art, design and technology.
Add a natural bend to the spine to enhance the character’s movement. The microphone stand in my piece is also tilted and slightly curved to make the pose more dynamic and natural.
03. Refine the sketch
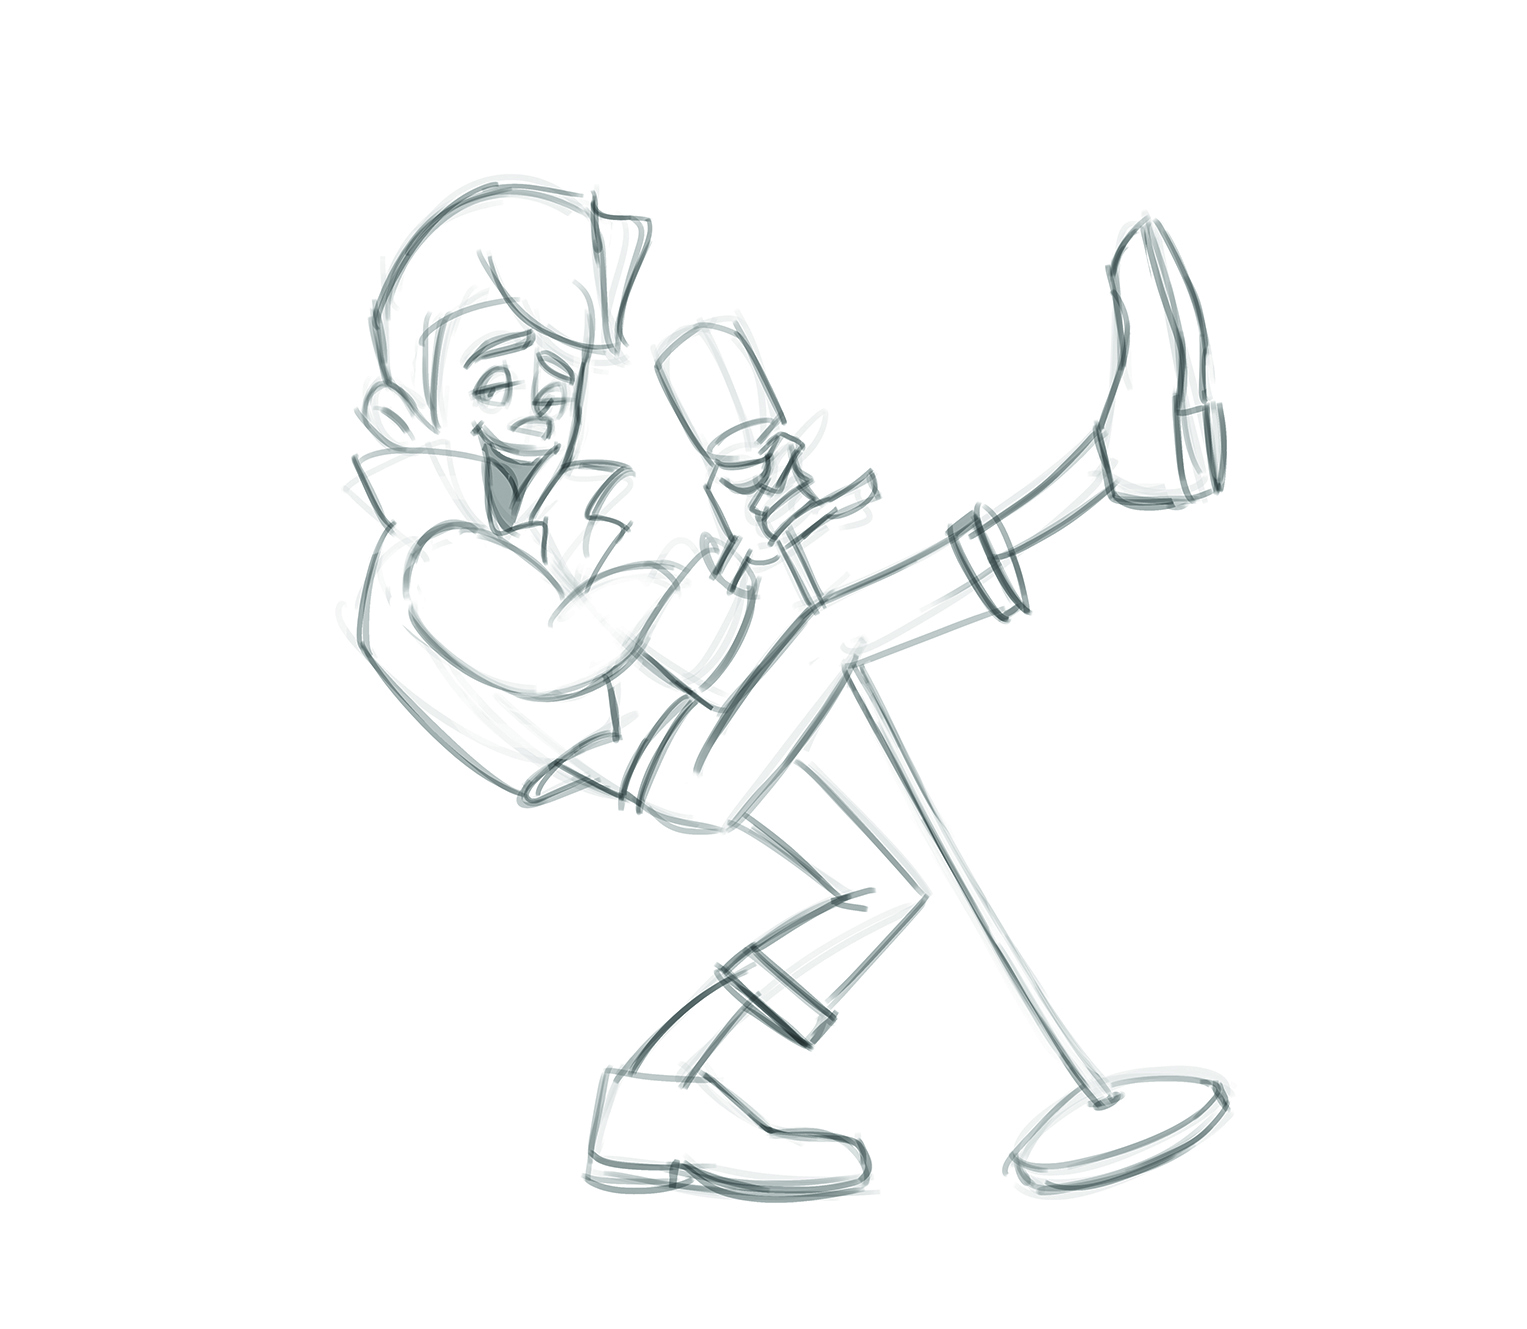
To clean up the rough sketch, lower its opacity and draw more precise lines on a new layer. We can also define the character’s facial expression here. The goal is to show their charisma not only through the pose, but also through a charming facial expression.
I sketch a wide smile, adjust the eyes and eyebrows, and add extra details to the outfit, shoes and other elements.
04. Build more details
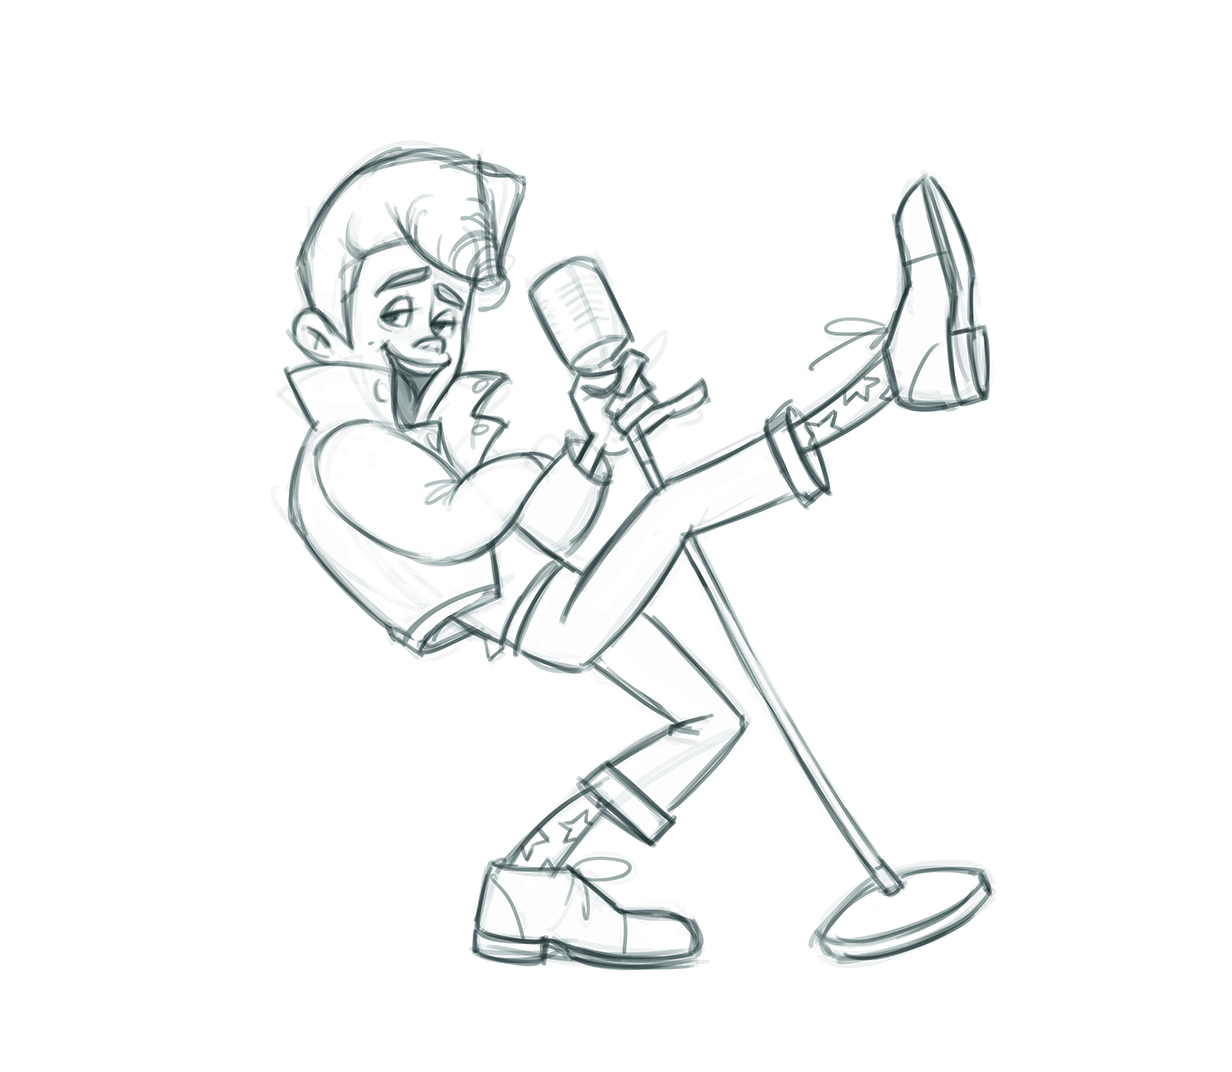
Now we’ll refine the sketch further by bringing in small details to enhance the character’s expressiveness. To emphasise my singer’s playful personality, I decide to curl his hair into dynamic waves and add a star pattern to his socks, making him a little more stylish and fun. The sketch is almost complete at this point.
05. Complete the line-art
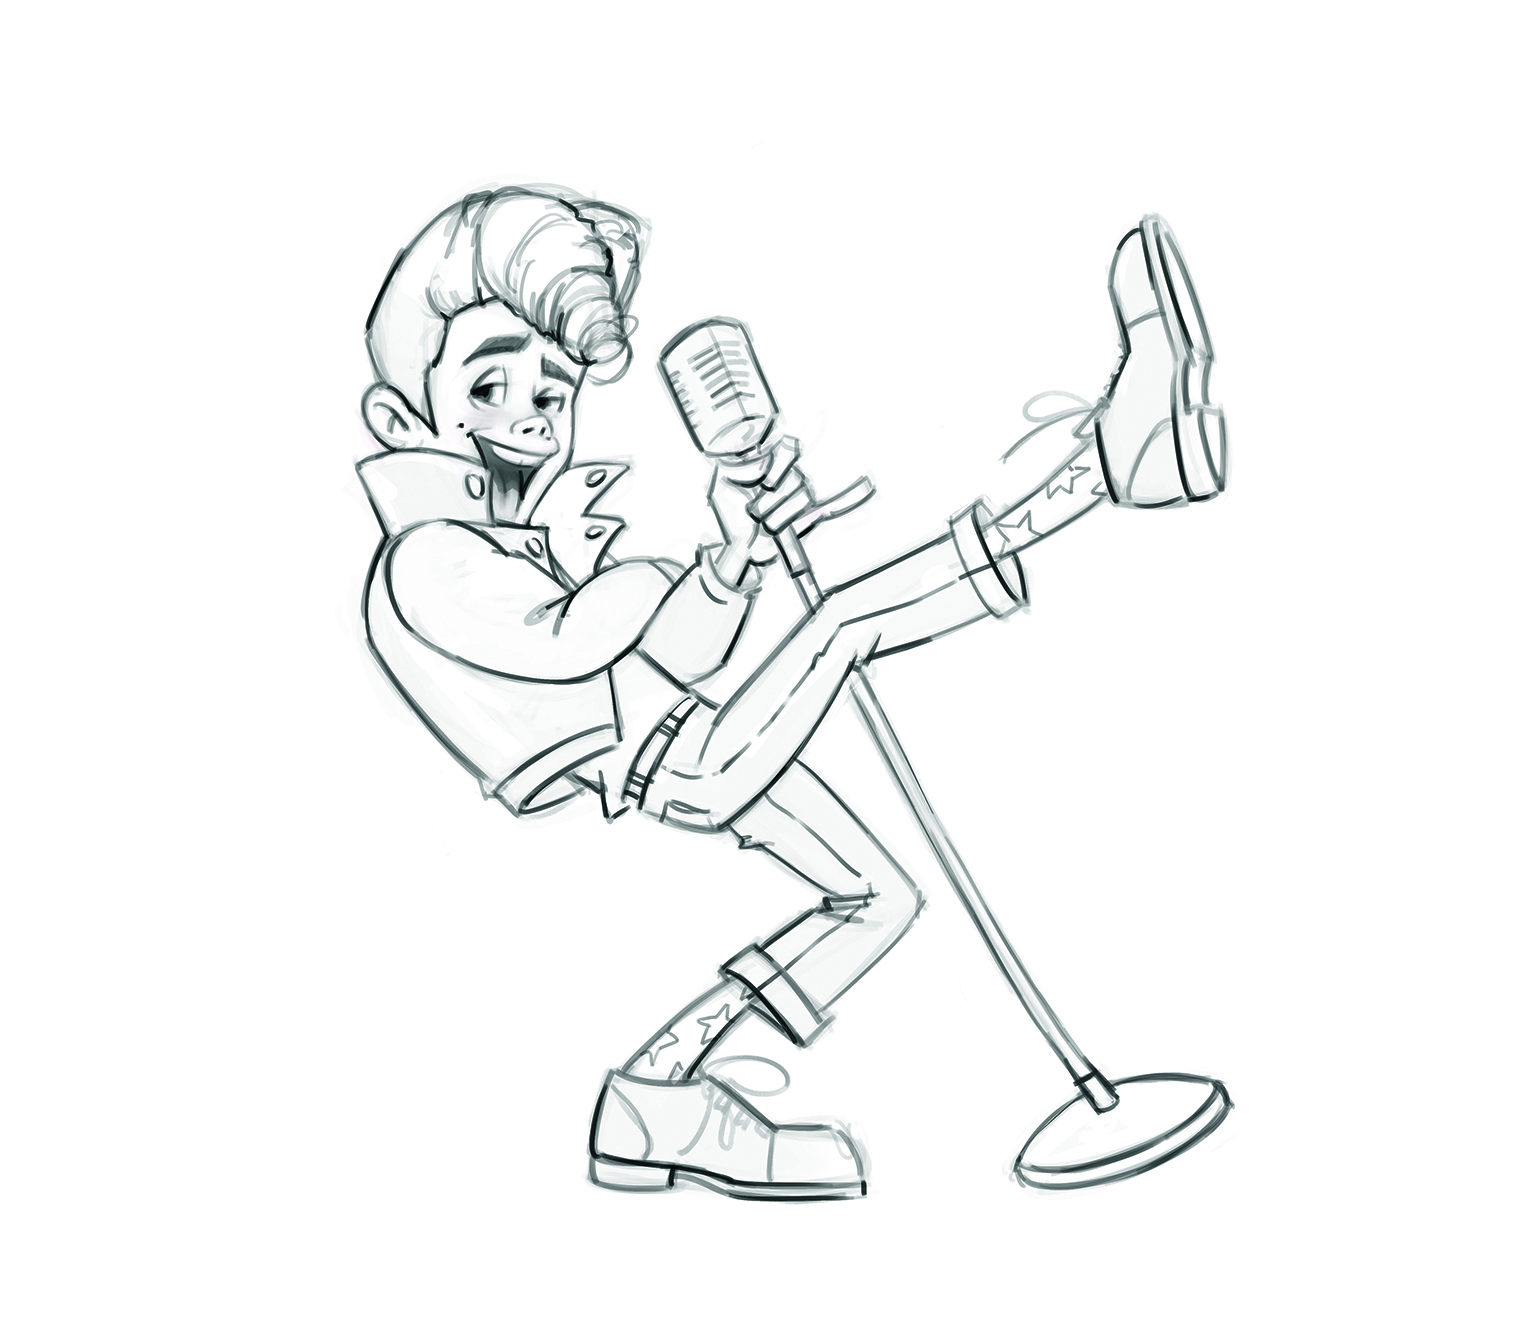
For the final sketch, we want to refine the contours of the outfit, hairstyle and accessories, and define the folds of the clothing. Keep the lines clean and precise to make the colouring stage easier. At the same time, avoid adding too many details so that each individual element remains clear and readable.
Once the final lines are in place, we can move on to colouring our character.
06. Lay down base colours
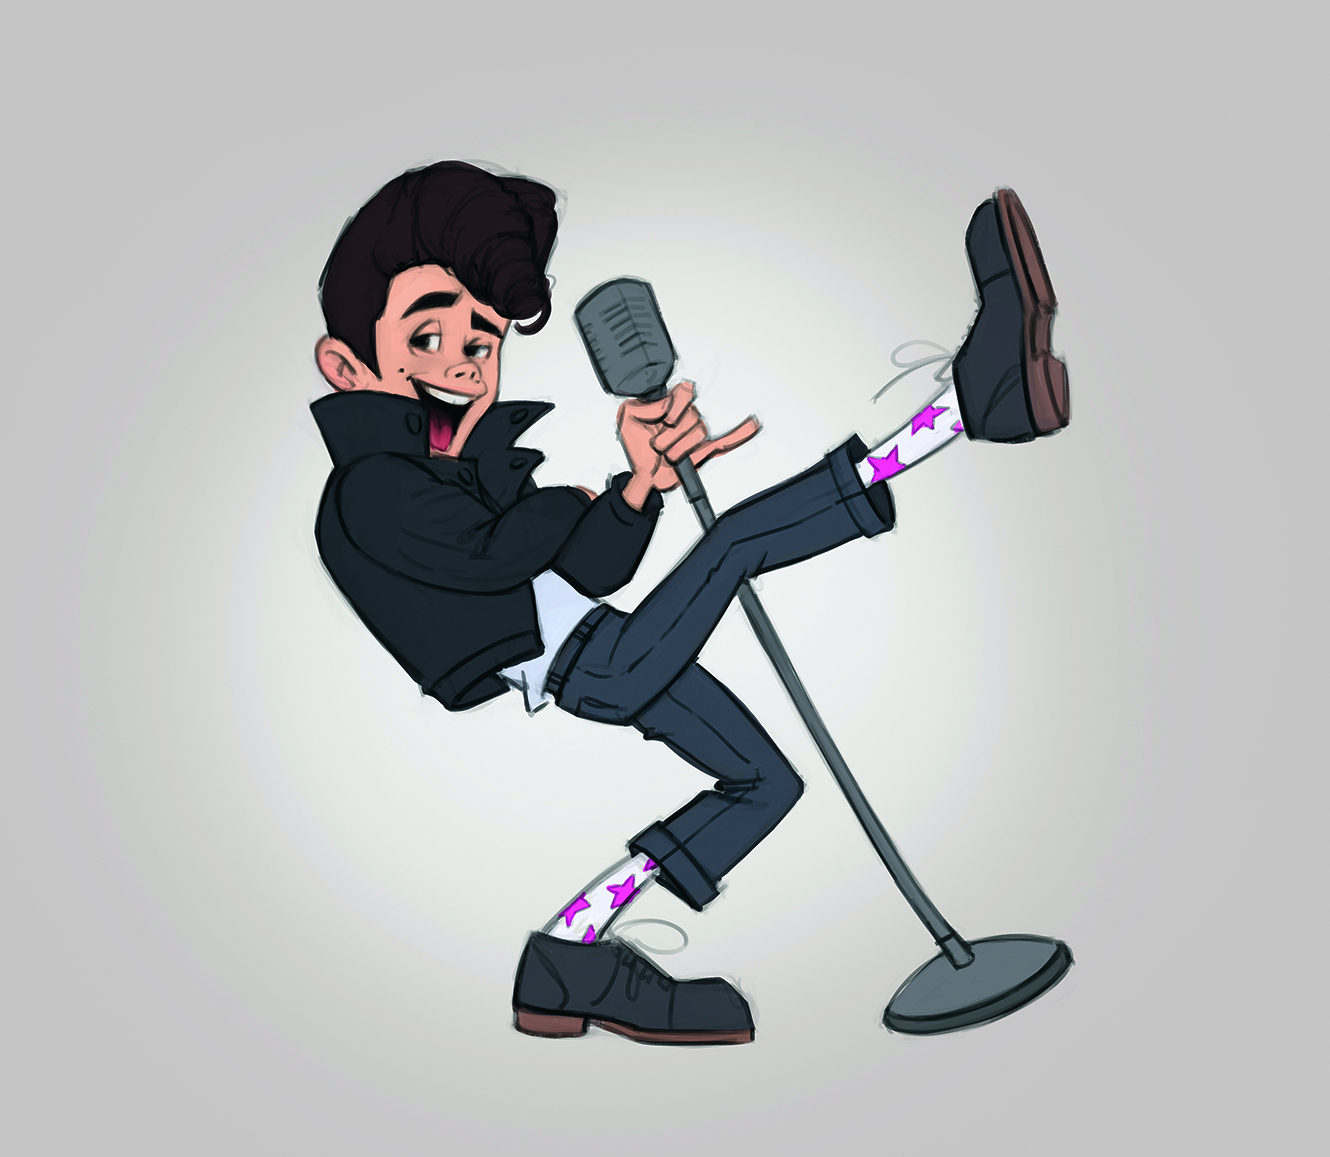
Begin colouring by setting your sketch layer to Multiply so the lines remain visible. Create a new layer underneath for the base colour fills. I usually work in a single layer to keep everything cohesive, but keep small details such as the star pattern on the socks on a separate layer.
I also added a neutral grey background behind to make the character stand out a bit better.
07. Block in the shadows and merge layers
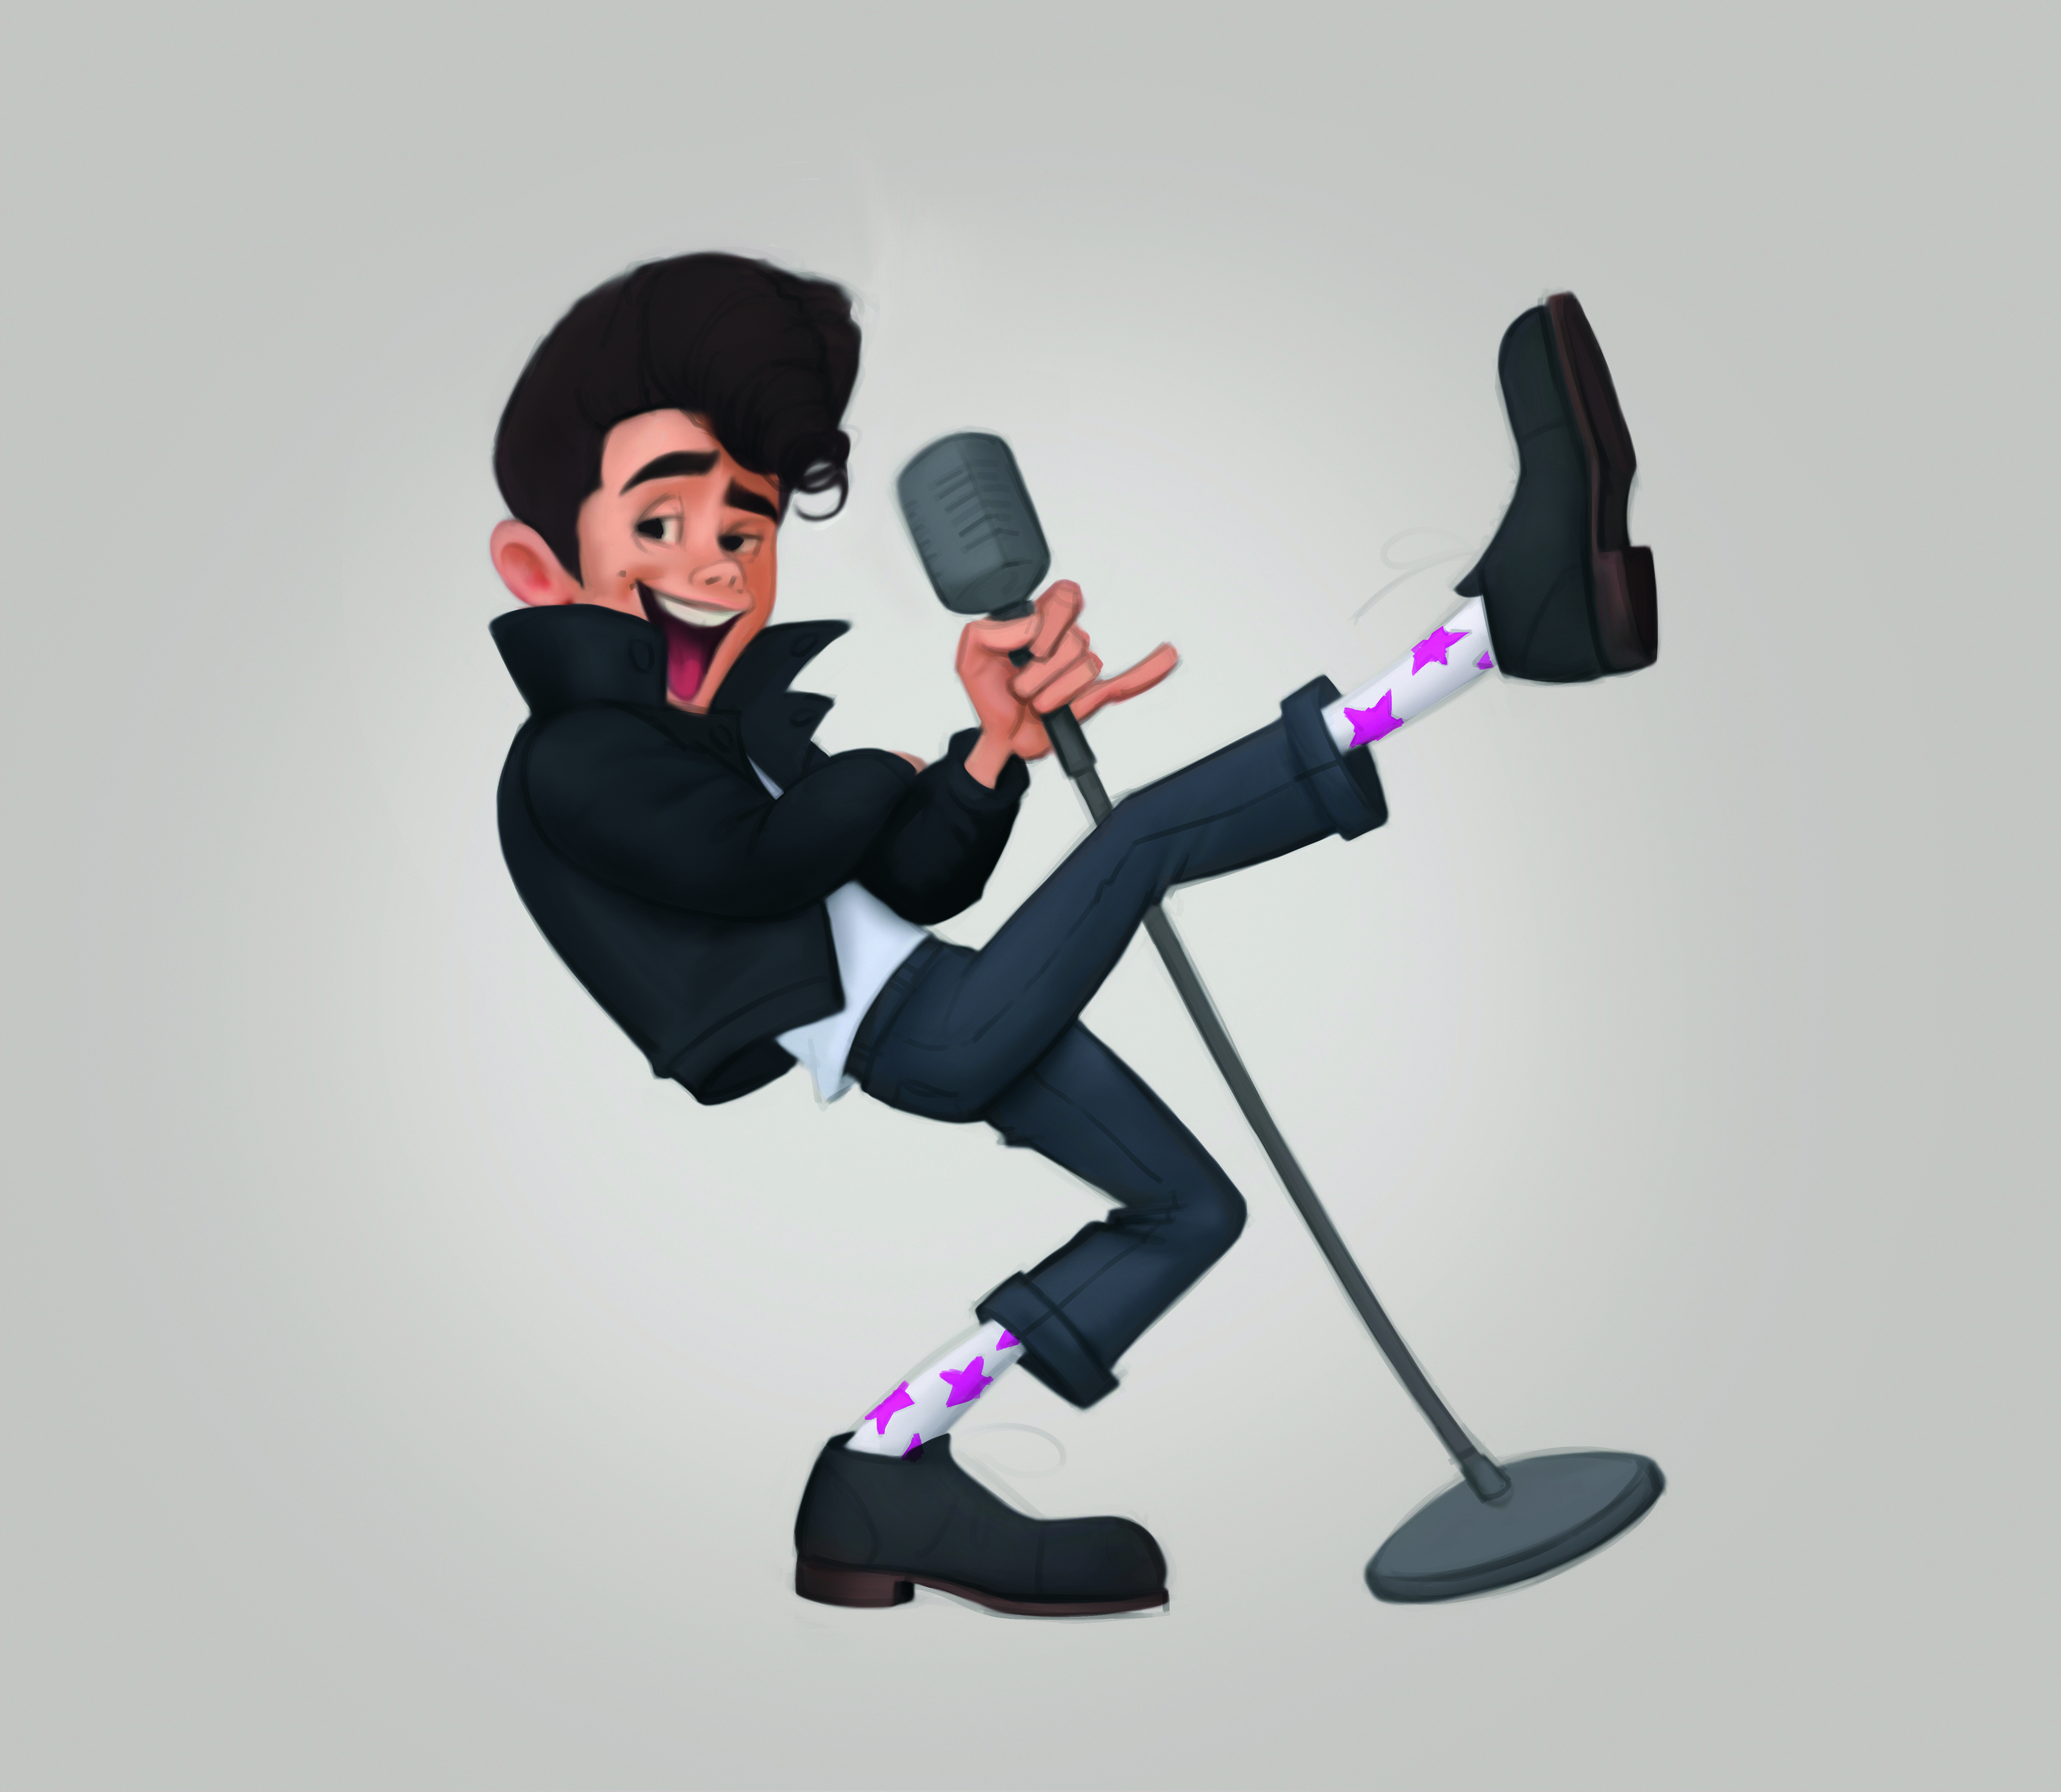
Reduce the opacity of the sketch and start defining the shadows across the character using a soft round brush, on a new layer and with a clipping mask. Once the shadows are in place, we want to merge the layers and use the Smudge tool to soften the edges and transitions.
Finally, I also slightly blurred the character’s outer edges to prevent any harsh cut-out effects.
08. Enhance the volume
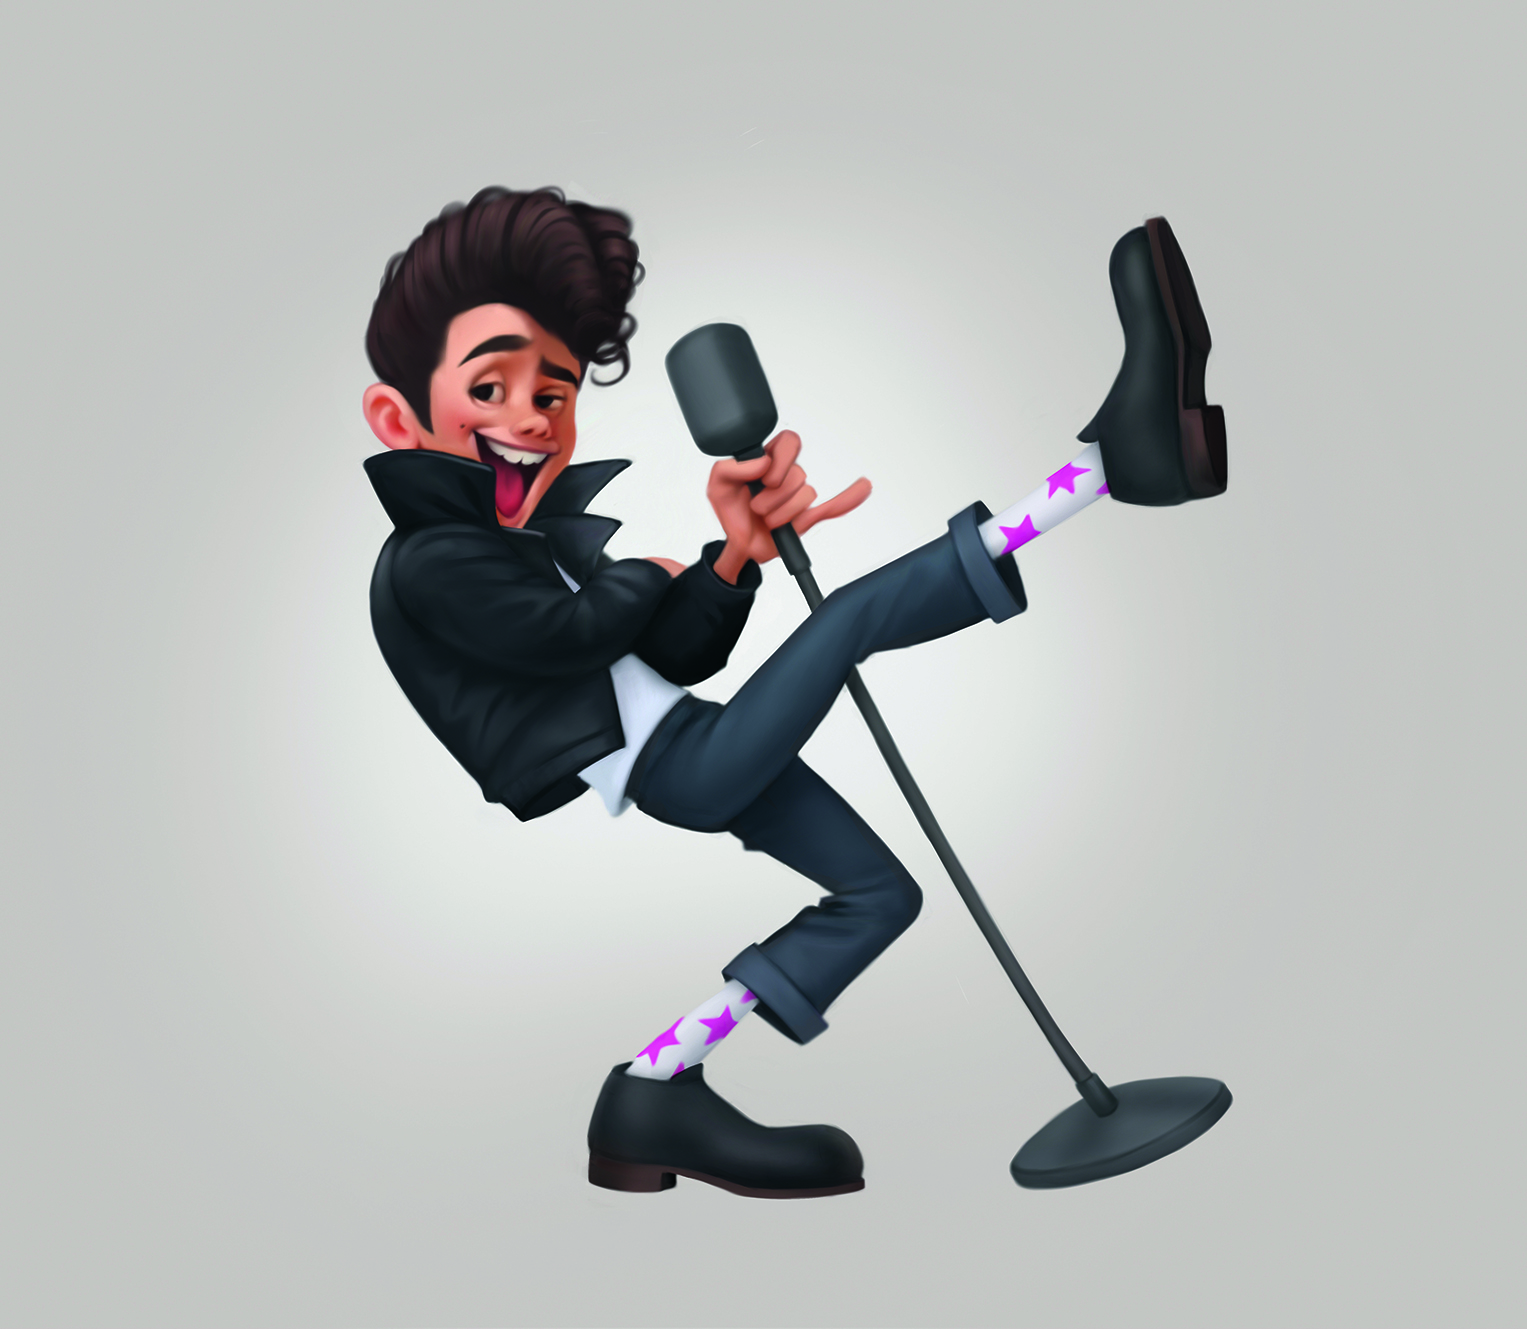
Now remove any remaining sketch lines to clean the drawing and refine the shapes. Continue adding depth by working on light and shadow, but don’t focus on material differences yet. I added warm pinkish tones to my character’s cheeks, nose and ears to make him feel more lively, and also began defining the hair by sketching out the main strands and following the flow of the movement.
09. Bring in extra details
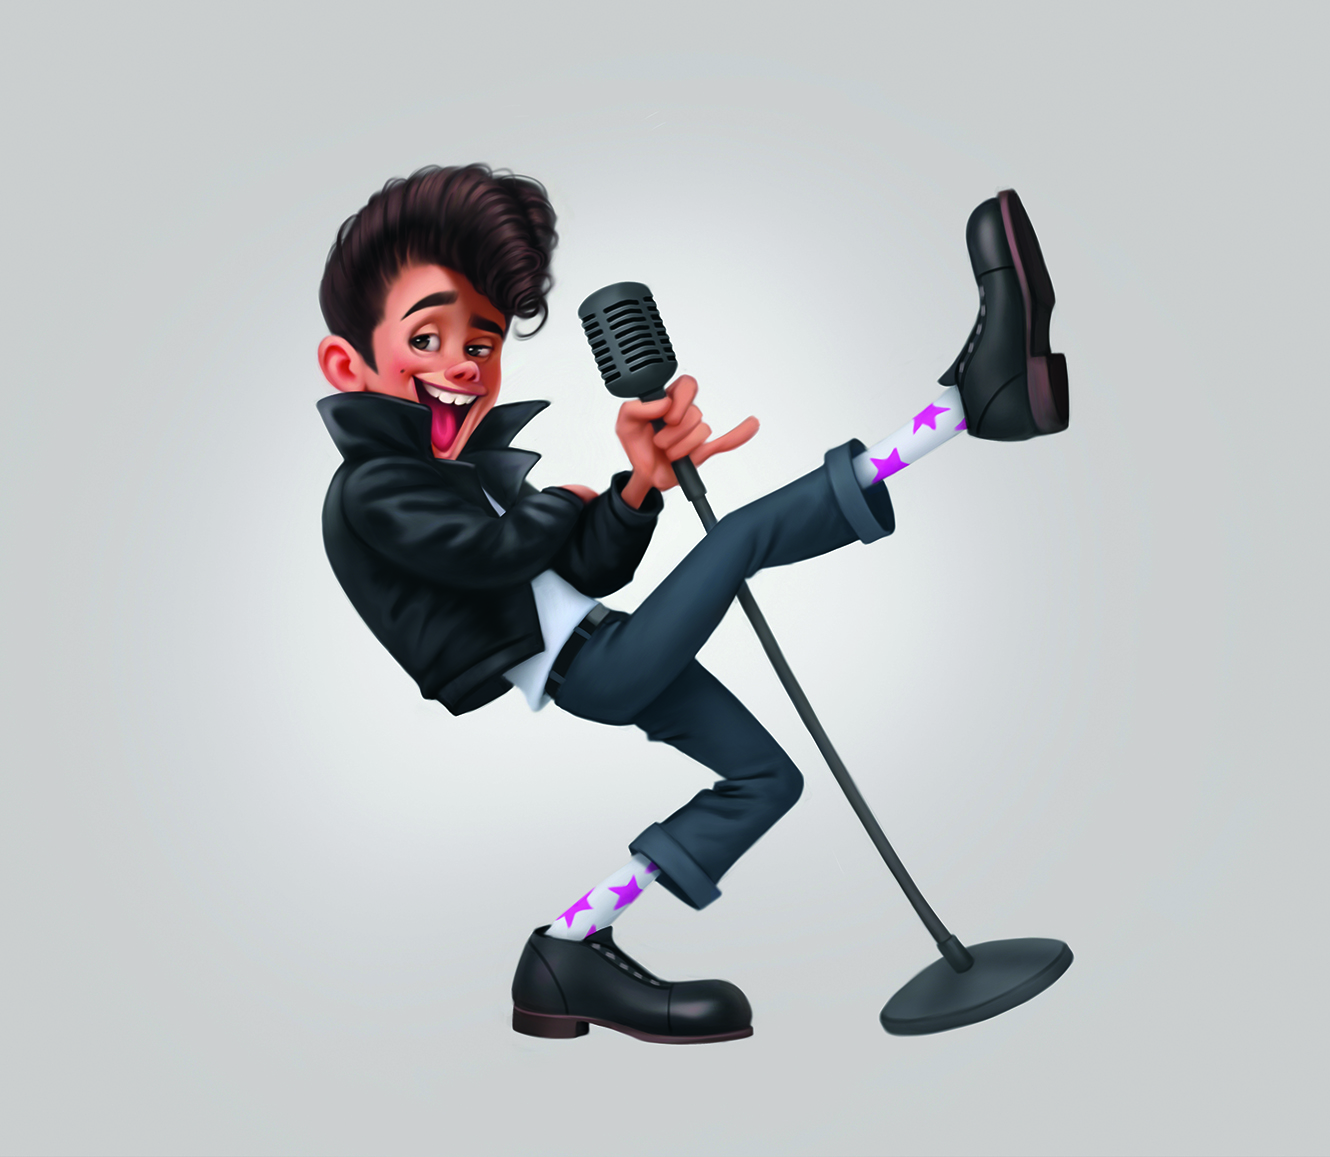
Now we can switch attention to the material and surface properties. The leather jacket and boots needed to appear glossy, so I enhanced their highlights. The jeans, on the other hand, remained matte, so had softer shading and less contrast. I also refine the face and hair with extra highlights to create depth, but avoid strong highlights on the skin to prevent it from looking plasticky.
10. Form the materials and textures
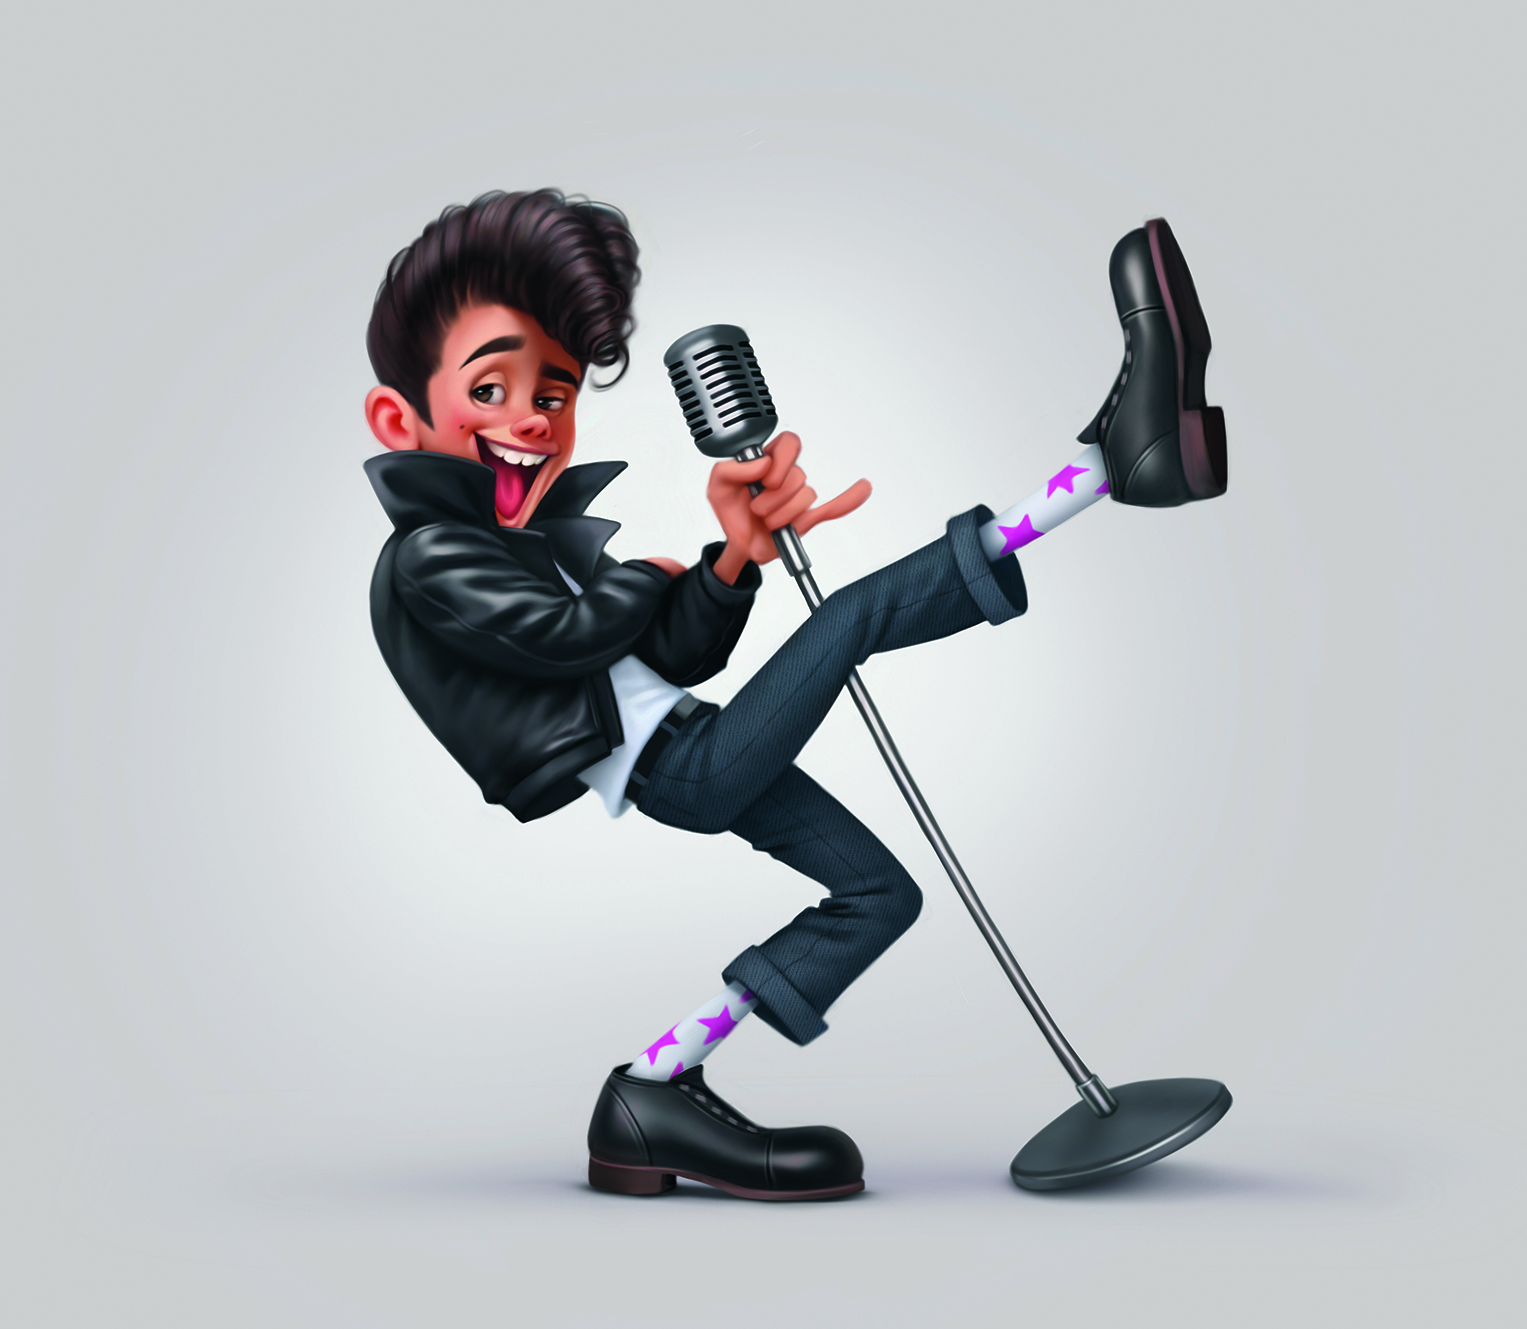
At this stage, let’s increase the contrast in the materials. The highlights on the leather jacket and boots in my image become even brighter, while the metal microphone gets sharper reflections to enhance its metallic look.
Add in a soft shadow under the character using a gradient effect where the darkest part is near the contact points with the floor and then fades out gradually. To add texture, I apply a denim photo to the jeans in Multiply mode and adjust the opacity.
11. Finalise the character
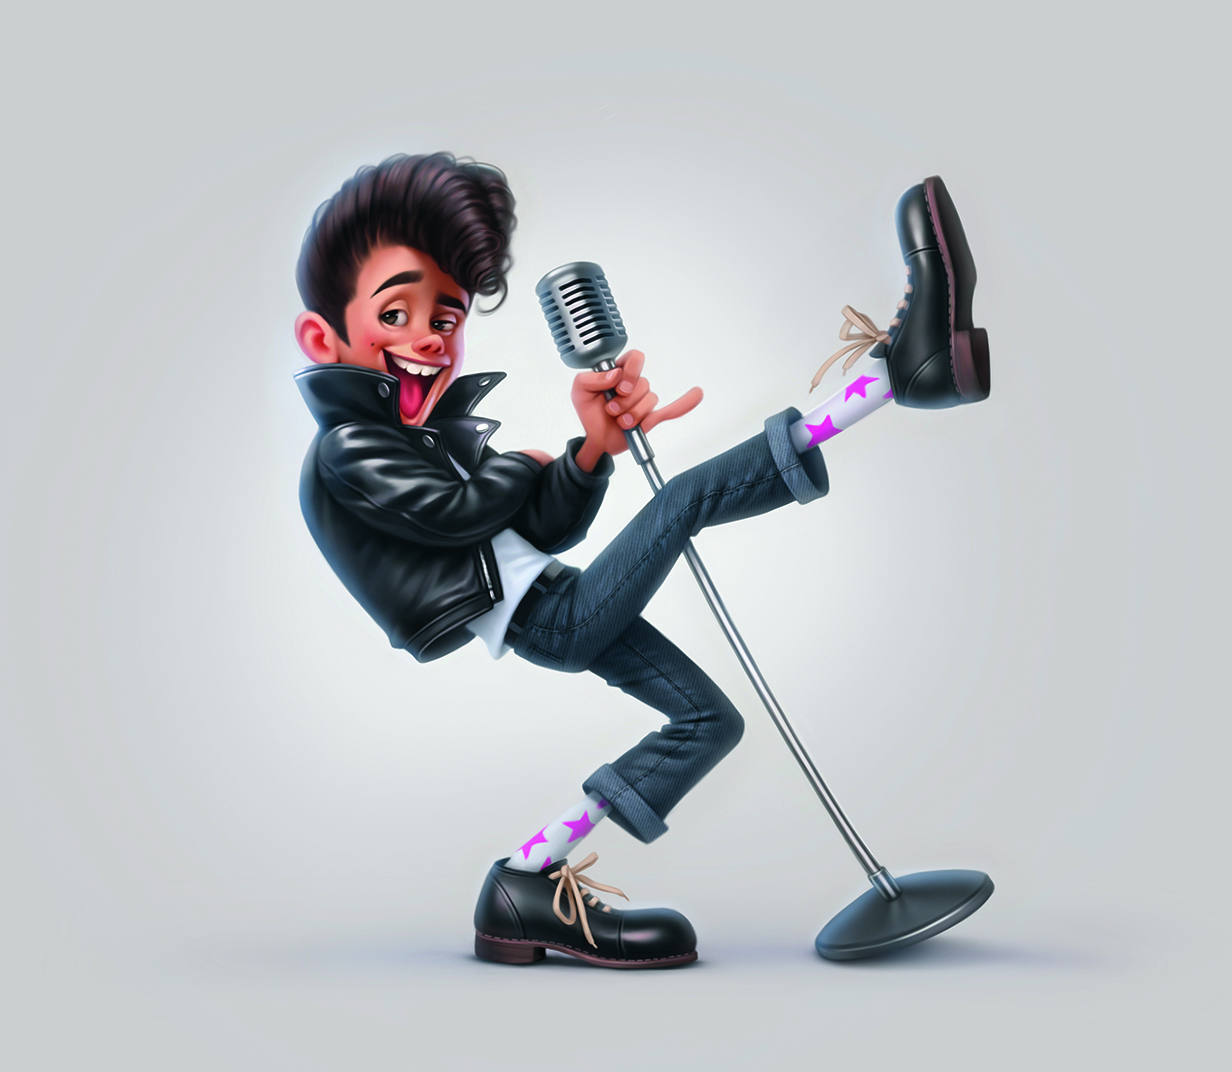
To wrap up work on the character, create a soft atmospheric glow around them to blend better with the background. Pick the background colour with the Eyedropper tool and lightly paint around the figure with a soft, low-opacity brush; this makes the character feel more integrated into the scene.
Next place reflected light on the skin and outfit to enhance the depth. Finally, add any small details such as shoelaces, buttons, seams on the jeans, fingernails, and so on. The character is now complete, but we can still boost the energy of the scene.
12. Create a colourful smoke effect
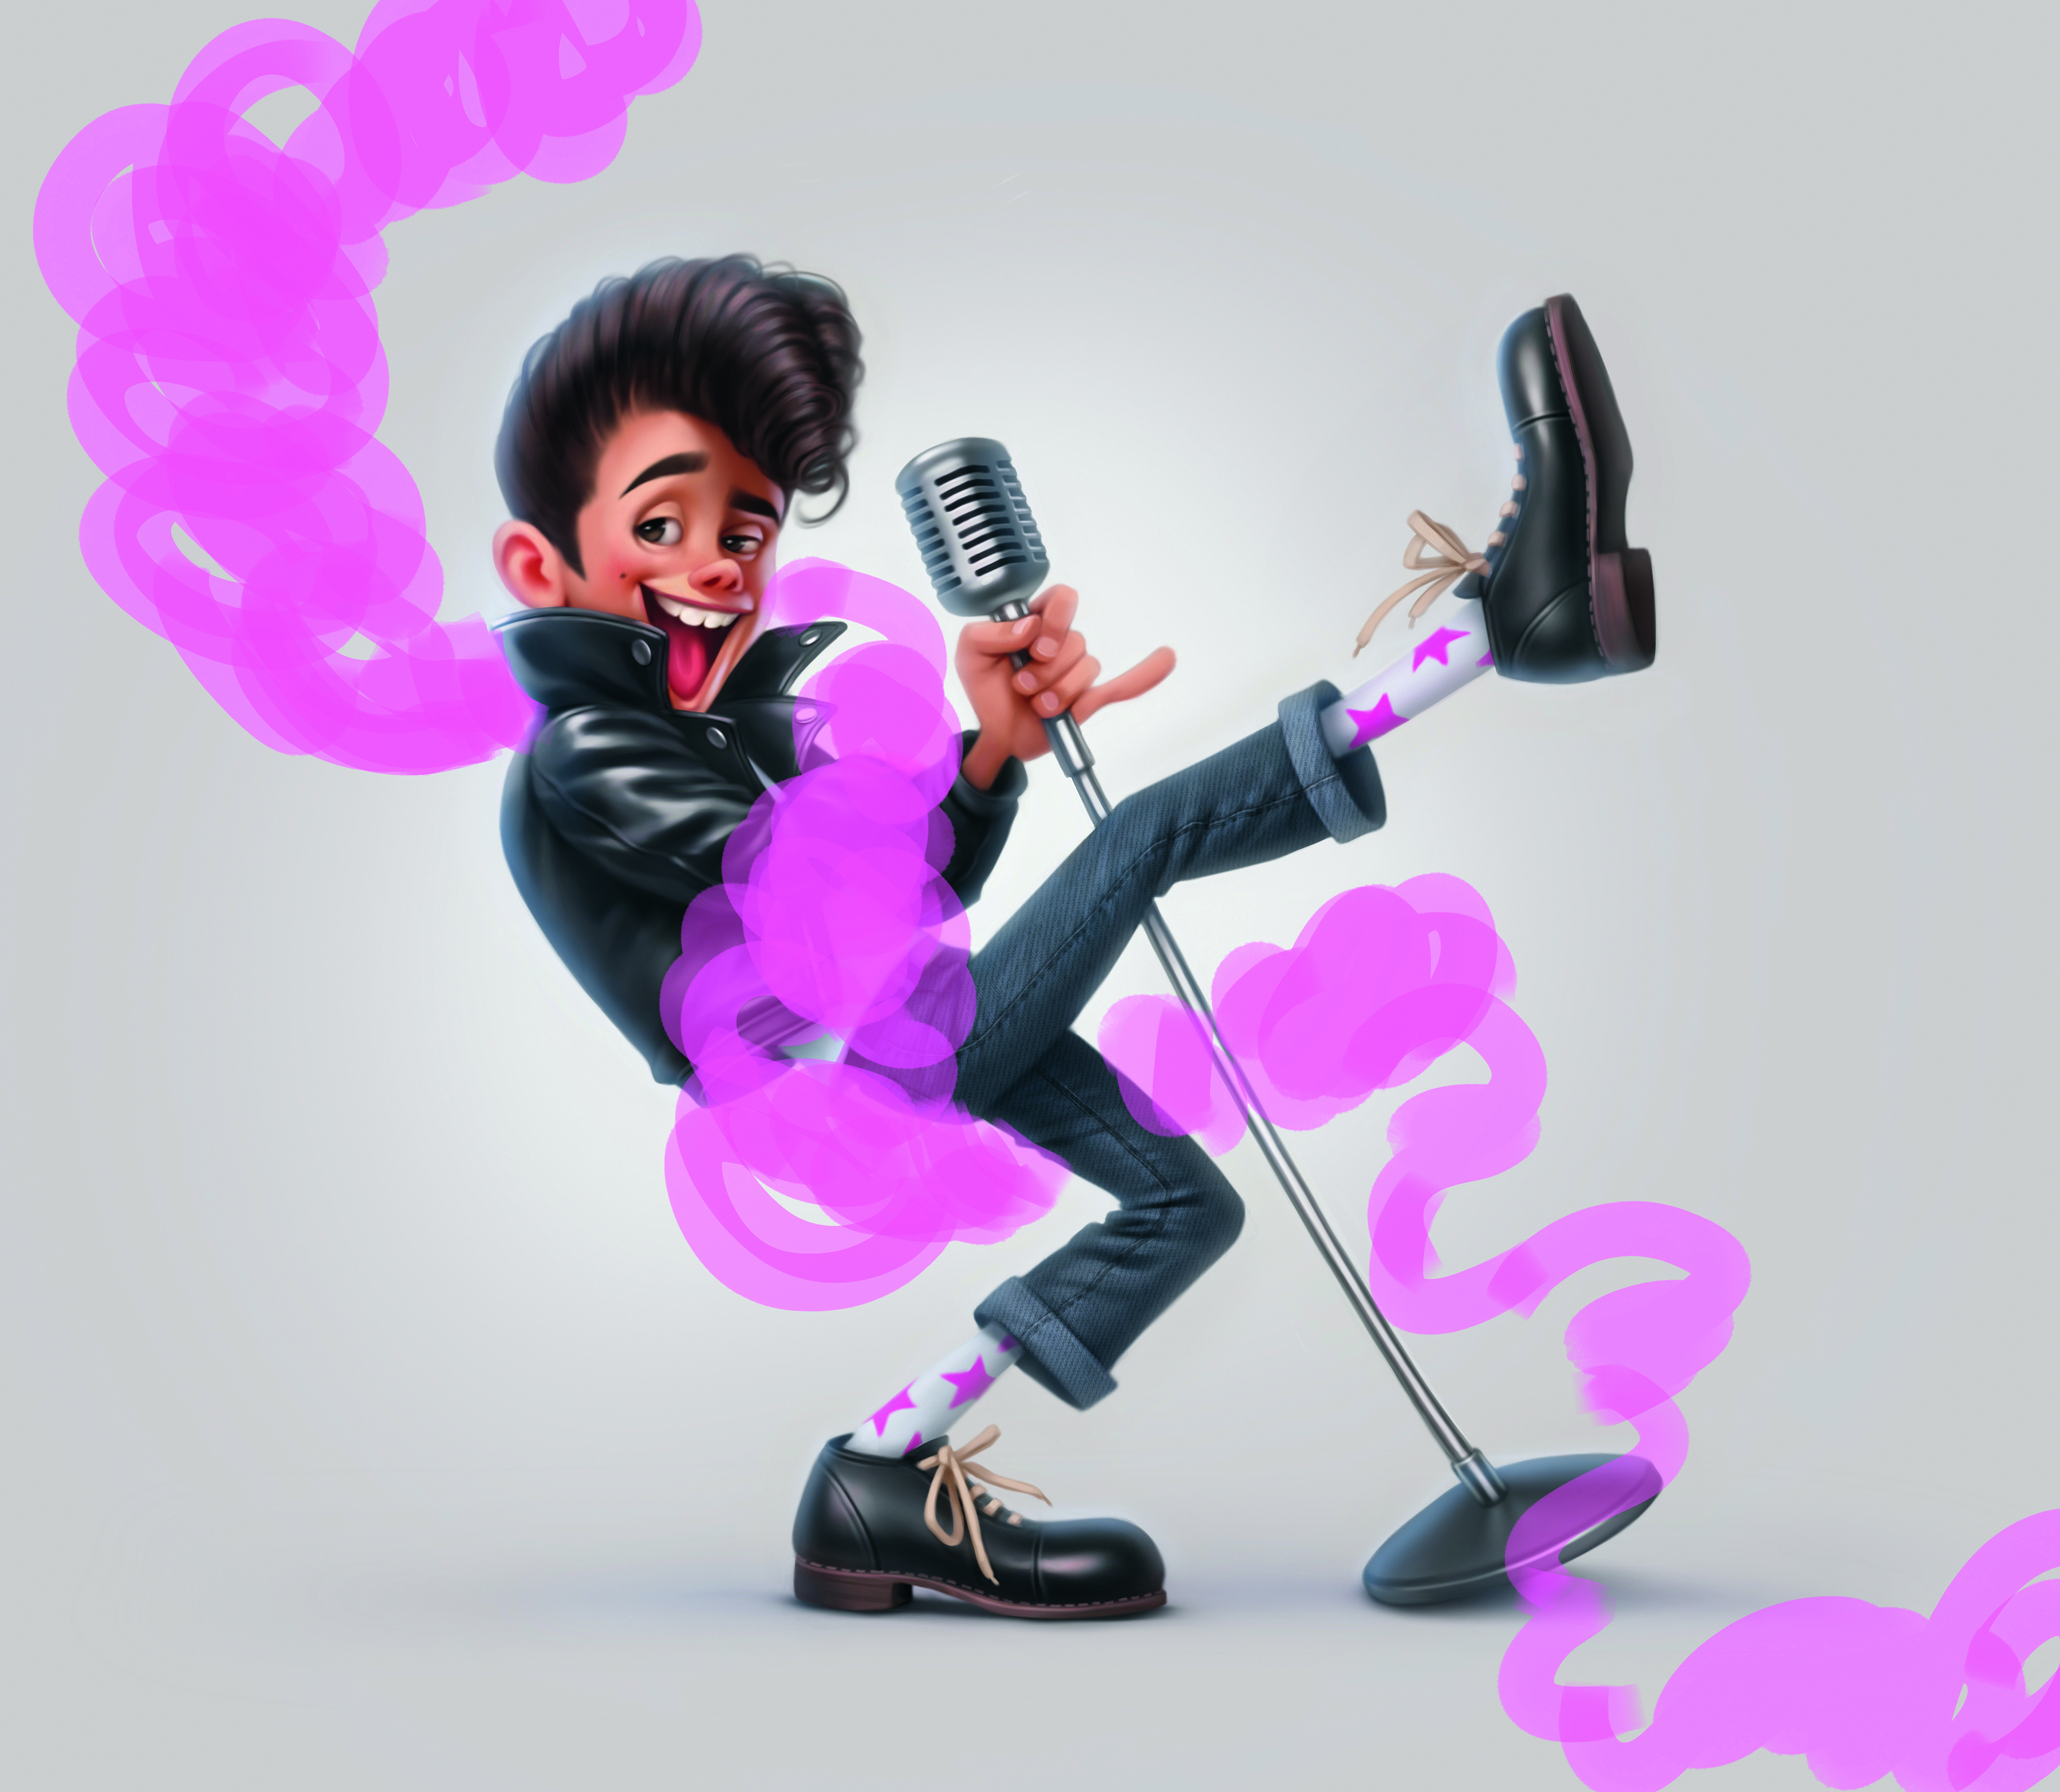
To develop a stronger stage presence, I wrapped vibrant pink smoke around my character, which creates a more dynamic sensation in the illustration. Roughly sketch the smoke flow using a hard brush in a way that complements the pose rather than overwhelming the composition.
13. Blur and adjust the smoke
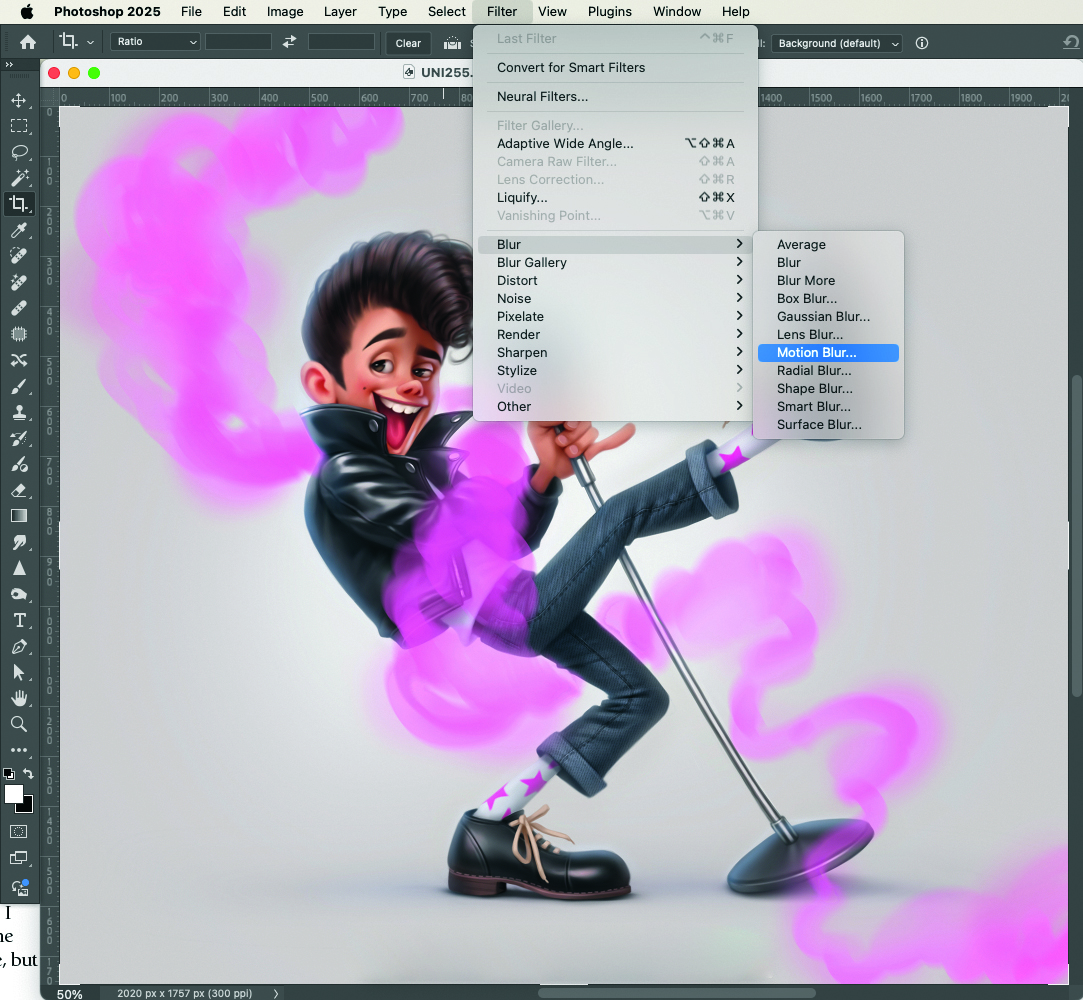
Now transform the rough brushstrokes into soft, realistic smoke. Using the Motion Blur filter we can create a natural dispersing effect, then fine-tune the density by making some areas more transparent and others more solid. Combine a soft brush with the eraser for smooth gradients to give the smoke a natural, flowing look.
14. Add the final touches
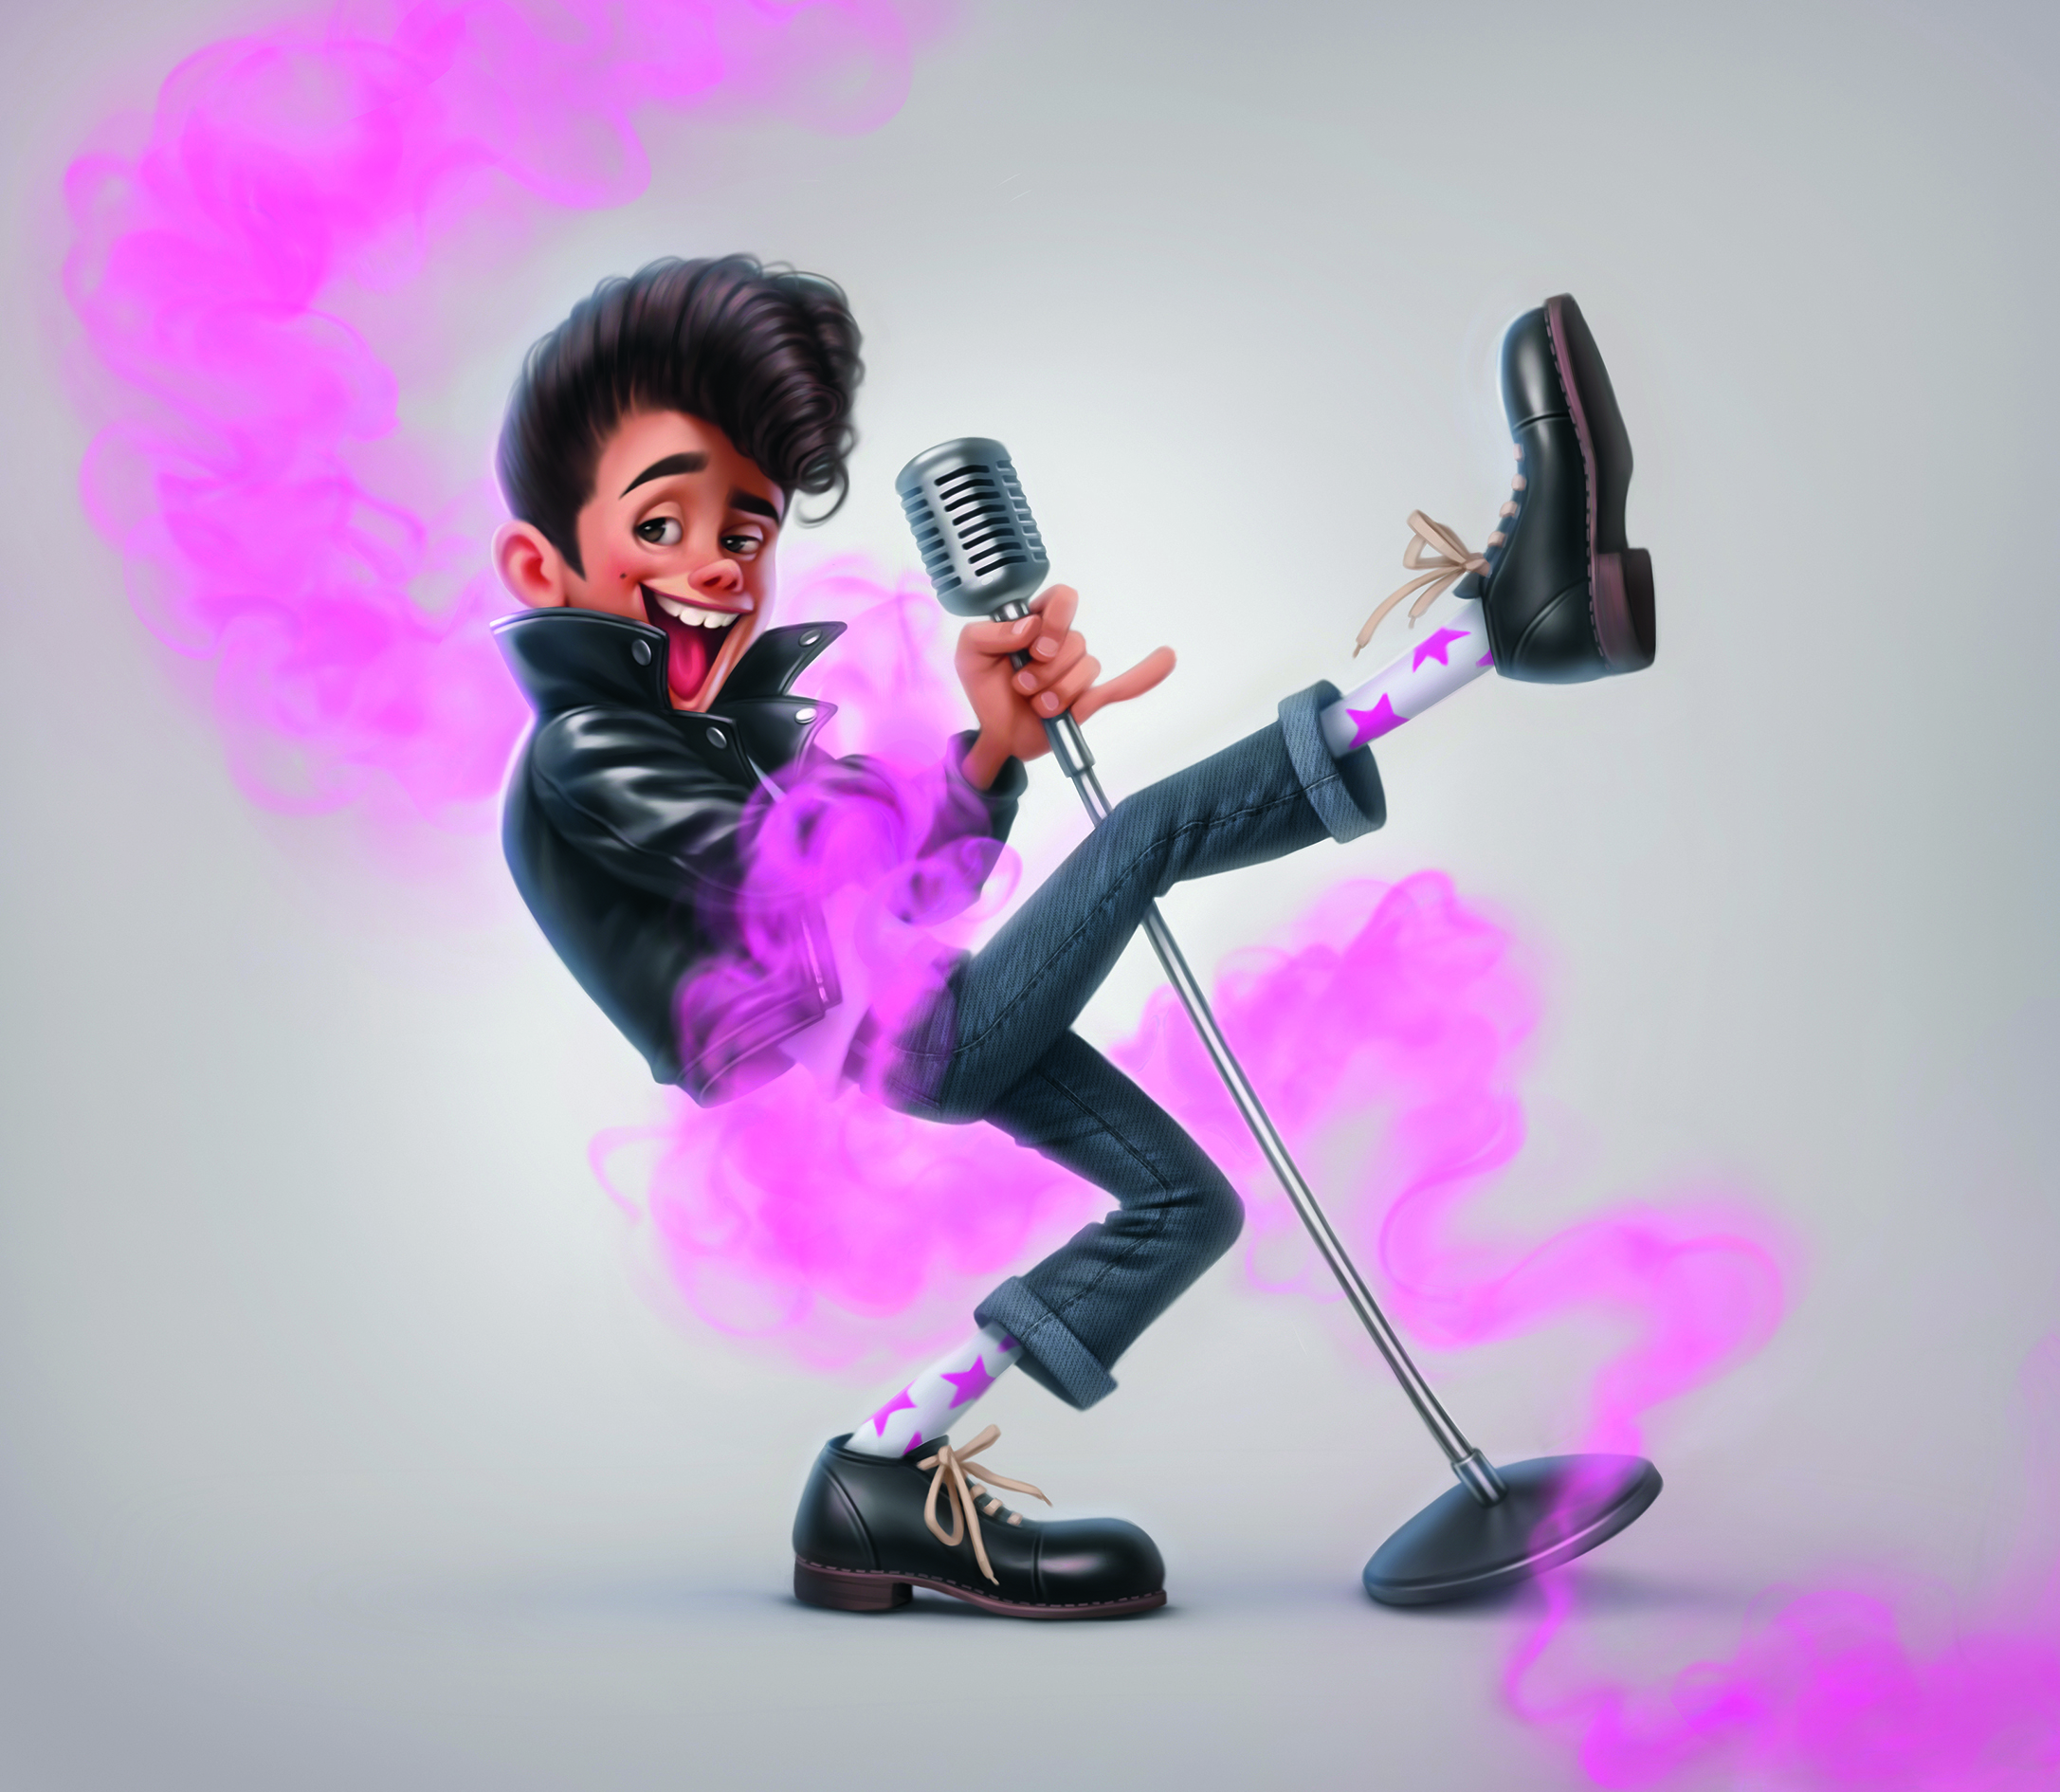
Utilise both hard and soft brushes in the Smudge tool to create swirling smoke patterns. Make random strokes in different directions to add texture and then some finer, soft details with a brush before blending them again with the Smudge tool.
This final pass gives the smoke more depth and volume. With the smoke effect now surrounding the character, the scene feels complete, and my rock star is ready to take the stage and set the crowd on fire!
For more tips, see out bumper roundup of Photoshop tutorials. If you need to upgrade your hardware for digital art, see our guides to the best drawing tablets and the best laptops for drawing.
This content originally appeared in ImagineFX magazine, the world's leading digital art and fantasy art magazine. ImagineFX is on sale in the UK, Europe, United States, Canada, Australia and more. Limited numbers of ImagineFX print editions are available for delivery from our online store (the shipping costs are included in all prices).
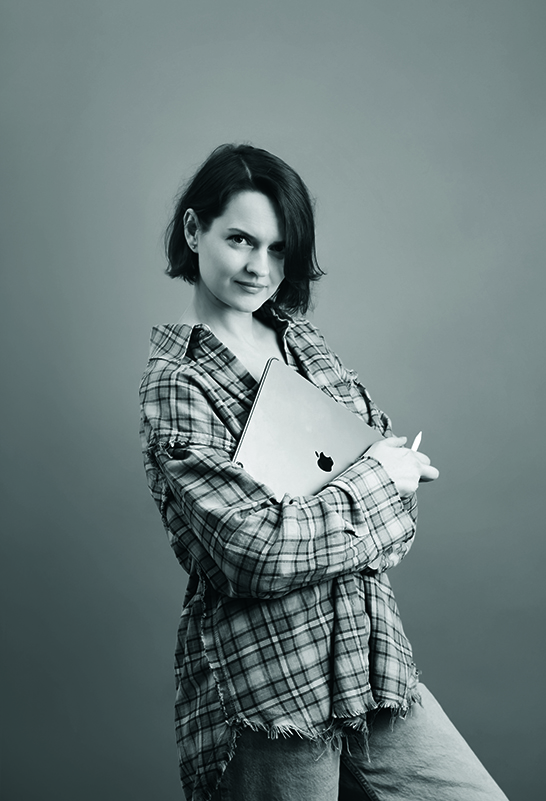
Lera is a professional illustrator and character designer based in Montenegro. She likes to focus on characters with a lot of emotion, personality and playful details.
You must confirm your public display name before commenting
Please logout and then login again, you will then be prompted to enter your display name.
