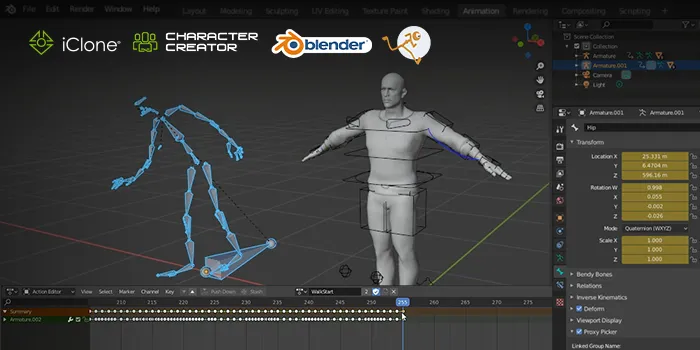
In this 4 part tutorial series, Marko Matosevic documents the process of creating a fully-rigged character in Character Creator 3, animating the character with iPhone facial mocap and the Reallusion motion library in iClone, and importing character and motion into Blender. Marko showcases two methods of working with motion data in Blender – one is using Auto-Rig Pro, another is using Non-linear Action Editor (NLA).
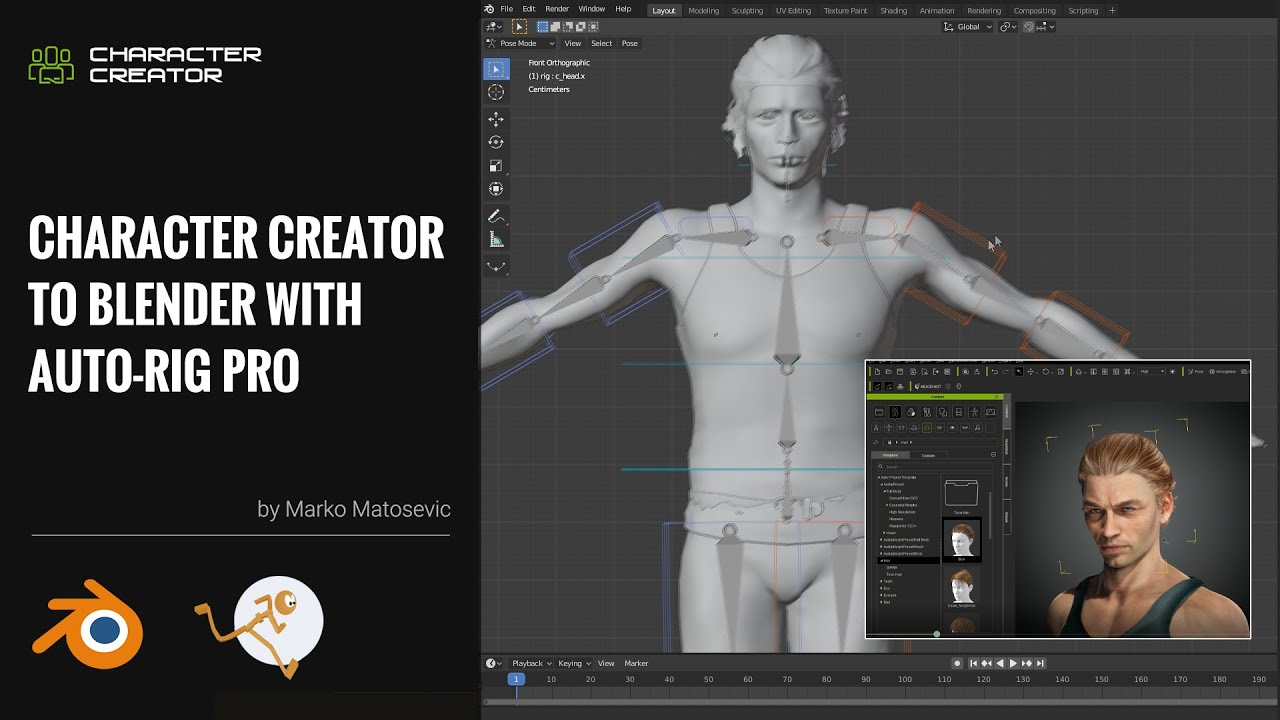
PART 1: CHARACTER CREATOR TO BLENDER WITH AUTO-RIG PRO
If you are someone like myself who just wants access to a library of character, then Character Creator 3 (CC3) is the tool that you are after. CC3 is an amazing character creation tool that can be imported into Blender with no issue and a little setup. Character creation is a skillset where you can spend tens of hours working on the one character, but with CC3, you can have a unique character in as little as ten minutes using the intuitive sliders to change body and facial shapes.


In this video (below), we are going to go through the process of exporting the character from Character Creator 3, importing it into Blender, setting up the materials, and then rigging the character with Auto-Rig Pro.
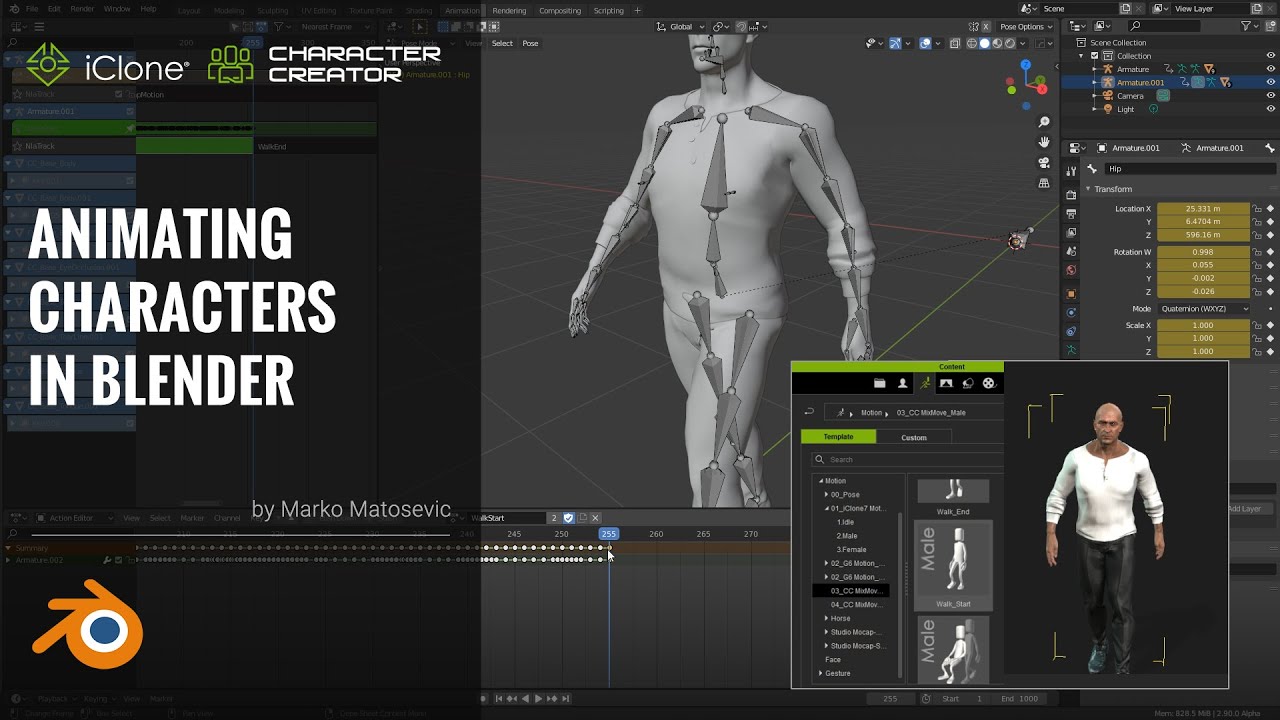
PART 2: ANIMATING CHARACTERS IN BLENDER
iClone is a truly amazing tool for working with motion capture data, and also using their motion library, in giving your character life. Compared to Blender, there are no native tools for working with motion data other than the Non-linear Action Editor (NLA) and even then, there is a lot of post work that needs to be done. iClone does a lot of the hard work in order for your animations, whether for game or film, to be up and running. I have been using iClone for over a year now and my production cycle has reduced from six months to two weeks for animated short films.
In this video (below), we will go through the process of exporting a character from iClone with body motion, and applying it to another character in Blender.
It is highly recommended that you create all your base animations in iClone before exporting to Blender, and this goes for both body motion and facial motion. This will save a lot of time and you will not need to do post work with applying actions in the Non-Linear Animation Window.

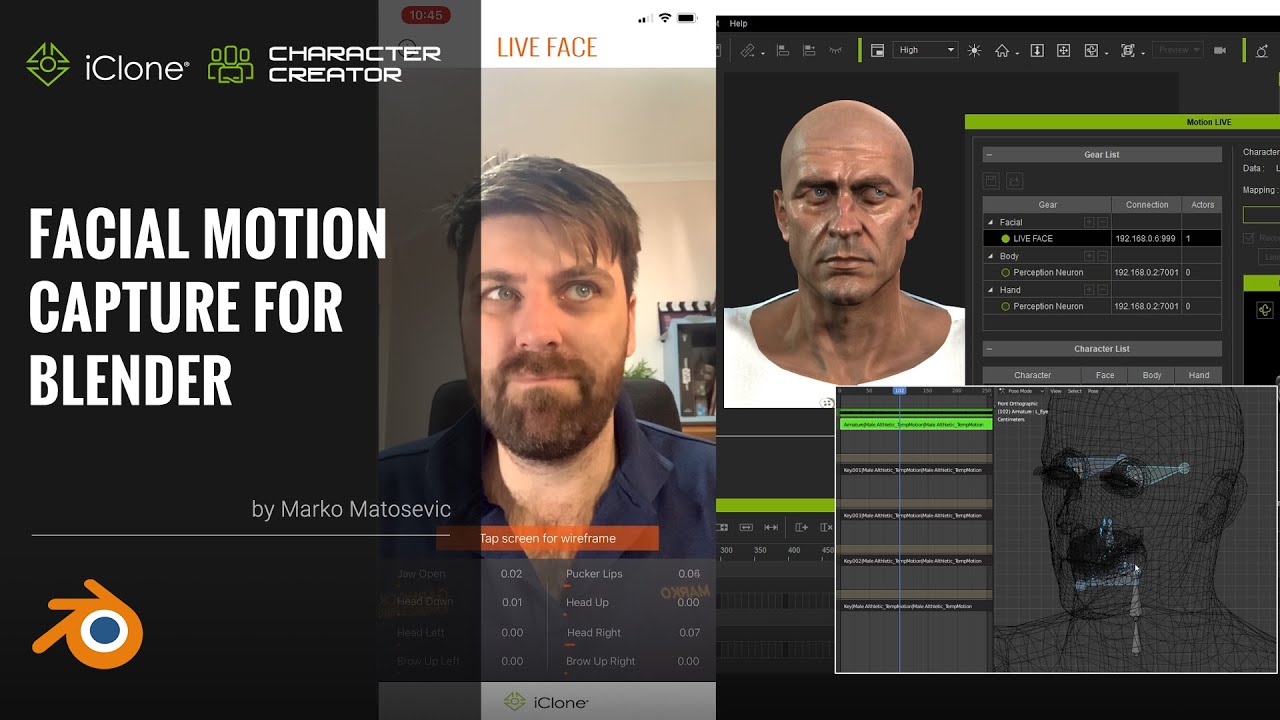
PART 3: FACIAL MOTION CAPTURE FOR BLENDER
Facial animation is a very time consuming aspect of animation, as this is what will make or break your work. Using iClone to capture that facial animation, you have the ability to use facial capture. Just simply put an iPhone X or above in front of your subject and you are set. iClone will then do all the hard work for you, saving you time and money. Within Blender, you could try using hooks and paint dots on your face to track the markers, however that comes with its own challenges, such as failed tracks.
In this video (below), we will go through the process of capturing facial motion data, exporting from iClone and importing it into Blender. From here in Blender we will then go through the process of combining body and facial motion capture to one character to complete your animation cycle.
PART 4: COMBINING FACIAL SHAPE KEYS AND ARMATURE ANIMATION IN BLENDER WITH AUTO-RIG PRO
Exporting characters from either iClone or Character Creator 3 and importing them straight into Blender will only import the default rig. If you want to be able to refine your motions, but would like more controls, such as IK and FK tools, then using Auto-Rig Pro will resolve this issue. Auto-Rig Pro as well will speed up the process of applying motion capture data from other sources onto your characters, increasing workflow times. There are some tricks to getting this flow working correctly, but once it is set up, you won't have to do it again for that character.
In this video (below), we will go through the process of exporting your character from Character Creator 3, importing it in Blender. From here we will use Auto-Rig Pro to create a new rig that allows more control over the default armature, whilst still being able to apply facial motion capture to the character. This is the last part of the series where we will go through the full process of exporting an animation with both body and facial motion capture, importing it into Blender, and then rigging the character with Auto-Rig Pro.

You can download a free trial of Character Creator and iClone, and learn more details about how to make good use of this tool from Reallusion tutorials.
Read more:
- 5 essential VFX tools
- The 5 best 3D tracking tools for CG artists
- Download Premiere Pro: How to get Premiere Pro for free or with Creative Cloud
