
Film-inspired fan art is nothing new. But, as many digital artists will attest, reimagining a movie character in 3D is a huge undertaking. Until now, that is.
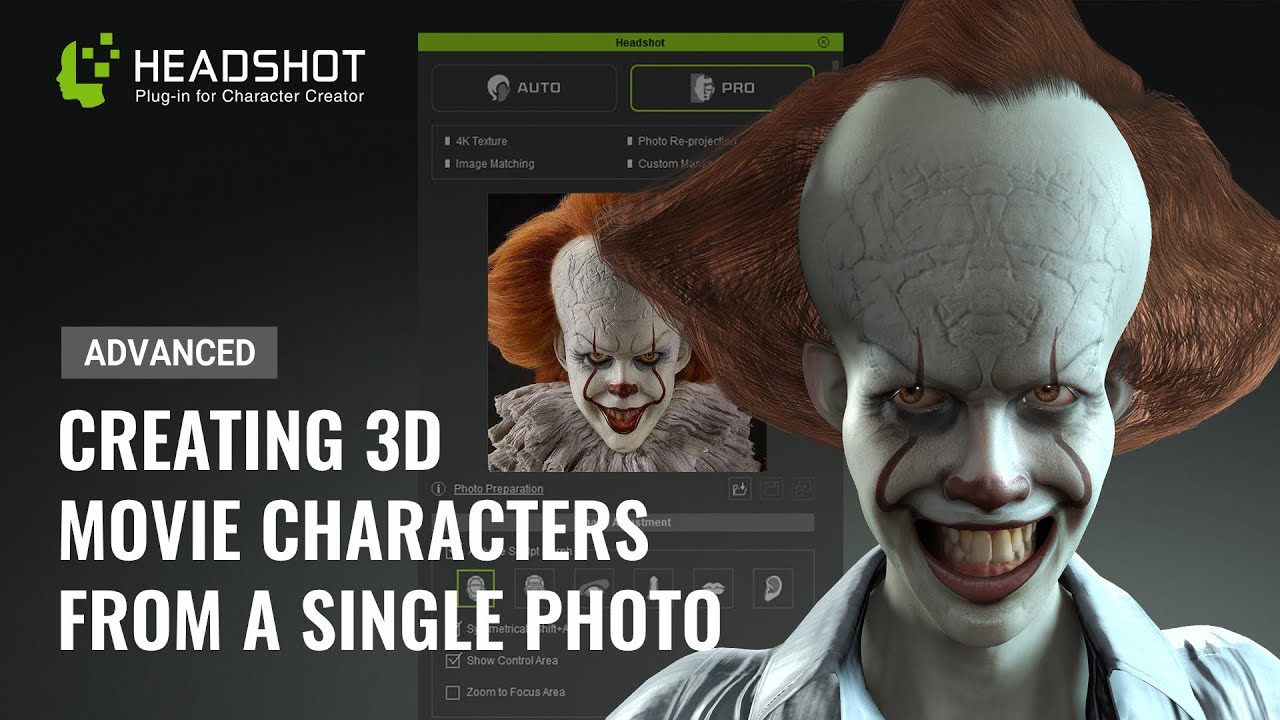
Headshot plug-in for Character Creator software enables artists to quickly generate human 3D models from 2D images. In this article, digital artist Peter Alexander reveals how to take a photo of Pennywise the clown from hit horror film IT, and easily transform it into a complex 3D model using Headshot, ZBrush and Blender.
Alexander’s guide covers everything you need to know go get started, including photo selection and preparation, using the bake, edit mesh and sculpting tools native to Character Creator 3, manually adjusting Headshot masks in Photoshop, how to fix symmetry using ZBrush, and, finally, a crash-course on creating hair with a third-party Blender add-on called Hair Tool.
Download a free trial of Headshot plug-in here, and learn how to easily create a fully animatable 3D Pennywise model from just a single 2D image.
01. Finding a reference

I found a photo of the clown from hit film IT by typing 'Pennywise bust' into Google images. Note this image is being used strictly for educational purposes – please pay attention to and respect the copyright of any source images.
In order to fully demonstrate how Headshot works, I made further adjustments to the image, including adding symmetry by duplicating and mirroring the best side, and reducing some of the shadow.
02. Initiating Headshot and matching source image
With the photo ready to go, I initiated Headshot. Once it computes the image, switch to the Sculpt Morph tool and Image Matching Tool. At this stage you will push, pull, and exaggerate the shape of the head by using the Bake feature to ‘lock in’ each transformation and reset the morphing limits.

03. Fixing the projection with expressions
Approximate the expression of the source photo by using the Facial Expression Editor. Once you have a rough matching of the photo, use the ‘Re-project Photo’ feature under the Image Matching Tools.
04. Adjusting teeth with Edit Mesh
Use the Edit Mesh tool on the teeth to give them a pointed look. You can also adjust the teeth using the Morph Sliders included in the Headshot Morph 1000+ pack.

05. Editing mask to keep details from source image
The red nose is masked by the default masking options. To keep more detail from the source image, I used Photoshop to add white to the masked area of the nose, mouth and eyes.
06. Fixing symmetry for eyes and teeth in ZBrush
I sent the character mesh to ZBrush via GoZ function for some modest sculpting, using an app called PureRef to reference the source image at the same time.
While in ZBrush, I corrected the symmetry on the eyes and teeth. Starting with the former, move the eyes into the approximate centre of the socket. Mask one of the eyes, and go to click ReSym and Smart ReSym in the Deformation area. You may have to slightly smooth out the eye, then ReSym and Smart ReSym repeatedly

Re-import the file back into Character Creator, automatically align the bones to the face, and then delete the eyes and add new ones. Any deformations in the mesh should be fixed.
07. Touch-up and creating normal map in ZBrush
To fully clean up the texture and produce normal maps, I subdivided the Basemesh of the full body a few times and hid everything except the Head UV group. Character Creator groups the mesh into the correct UV groups when GoZ’d into ZBrush.
In the Texture Map dialog, add the face texture that has been produced by Headshot. Select Polypaint From Texture – from here you can do some light touch-ups and produce a cleaner texture map.

To create a normal map, use brushes of your choice to sculpt and add definition around the painted areas that indicate detail. I sculpt around the brows to give increased depth, and notice the cracks in his painted head.
When complete, switch to the lowest subdivision and extract a normal map. This can be combined with the provided normal map using an image editor with layer blending capabilities (e.g. Overlay).
08. Creating hair in Blender
I created hair for Pennywise with a paid add-on for Blender called 'Hair Tool'. I started by exporting an OBJ file of the Pennywise mesh in T-Pose from Character Creator, and importing it into Blender. In Blender, I selected the skullcap, duplicated the mesh and then separated the two.
In Particle edit mode, I combed the hair appropriately using a mouse, then increased the Strand Width to 20 (approximately). I switched interactive grooming off and on when editing settings for the hair. Once satisfied, I selected Particle Hair to Curves, and then Curve Ribbons to Mesh Ribbons.

Export Opacity Map from UV settings, and export the Hair Mesh as an OBJ. Now back in Character Creator, import the hair OBJ as an Accessory.
To create a hair texture, I searched the Internet by typing 'Copper Hair Texture' into Google.

I assigned the red hair texture to Base Color, and the Opacity Map saved from Blender into the Opacity slot. Once happy with the hair setup, it can be saved as a reusable hair item. Here is the hair content I created as an example, you can download it from the description on my Youtube video (above).
09. Animating the Character
This character is fully-rigged, and ready to be animated in iClone or any 3D tools. Here is an example of live animating Pennywise by mocap in iClone.


You can download a free trial of Reallusion’s Headshot plug-in, and learn more details about how to make good use of this tool from these tutorials.

