
The best manga art is colourful and expressive. In this Photoshop tutorial, I'll explain how I work with colour and form to make my manga art characters shine. I'll also go through the basic rendering techniques I use in my manga illustrations.
In this tutorial I used two custom Photoshop brushes: a square brush (which I use to sharpen the edges of solid forms) and a render brush (which helps me draw and render without having to switch brushes). You can download them for free here.
Also read: how to draw manga characters.
01. Start off by being messy

Here’s the preliminary gesture for the final image. At this stage you can be as gestural as you want. Go ahead and be messy, use construction lines and energetic lines until you find the pose you’re looking for. Sometimes you’ll find new and interesting ways of constructing a scene through these unplanned lines.
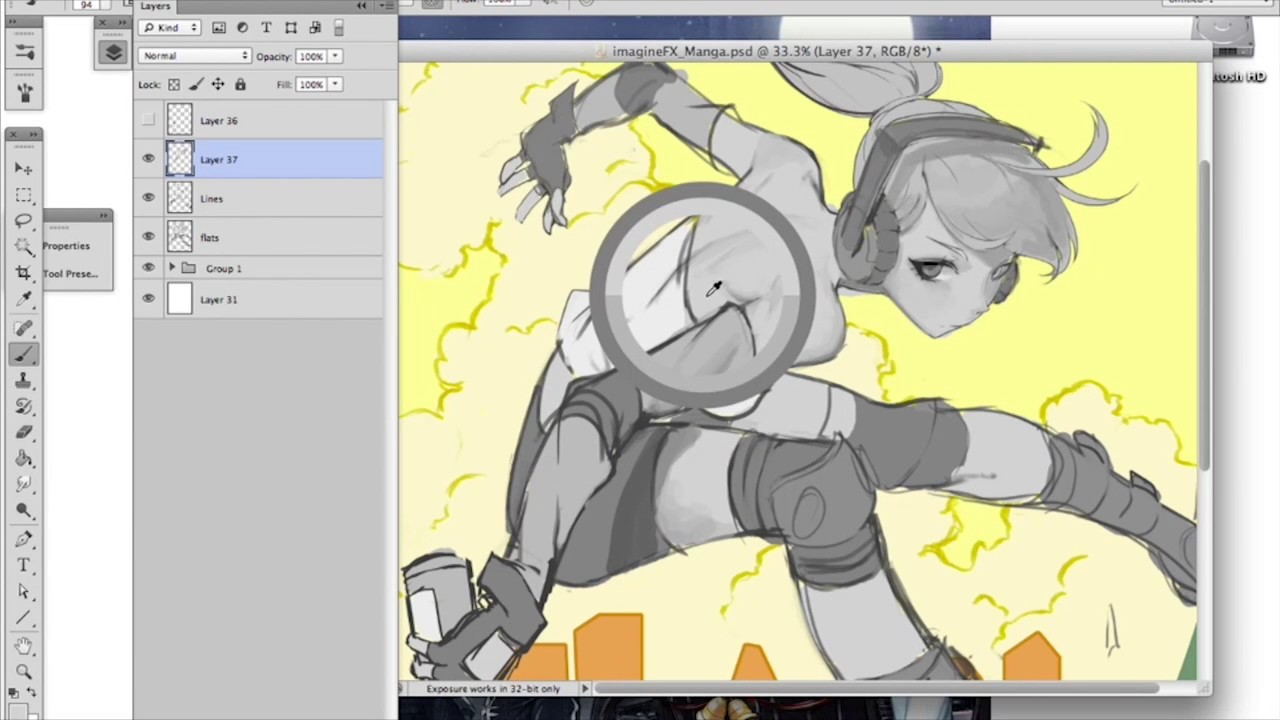
02. Include anatomical details

I always draw plenty of anatomical details during the initial sketch stage. Even though they’ll probably fade away during the rendering stages, such subtle details will still leave an impression. For example, most of the lines in the character’s back in my initial sketch are rendered out in the final design, but the impression of underlying musculature remains. Accurate, low-key anatomy will set your manga art apart from the crowd.
03. Summon the Photoshop gods

I want the background to pop and feel real, even though it’ll eventually have a two-dimensional, stylised look. So I begin messing with Photoshop’s blending options, filters and inverted controls. While doing this, I never know where it’s going to end up. Experiment with different layer effects until something magical happens.
04. Explore videogame influences

With all the colours laid out, it's time to start transforming my manga art character's features and adding details. This character needed to have a Jet Set Radio-like underlying theme. So I render out the face with similarities from the game’s unique style while trying to maintain a manga likeness at the same time.
05. Add highlights

For my final highlights pass, I use a separate Overlay or Color Dodge layer and draw out a thick highlight with Transparency turned on. Then I use an eraser to create the highlight shape. This is similar to masking but a little more intuitive, and because it’s on a separate layer you can adjust the colour with the Hue slider.
06. Colour your highlights

It’s important to separate lights by colour. Here, the red circles are the primary warm highlights – notice how these highlights are almost purely white. The blue circles are areas that take on the yellow light from the background. This helps the viewer easily distinguish between the different lights being used (essentially, it’s directional light versus rim light). I use a Darken layer for this process.
07. Use colour gradients

For my background I've used a smooth transition of colour, despite there being contrasting elements, such as the buildings against the clouds. In everything you paint, you should be looking for ways to implement colour gradients. Think of the whole image as one big abstraction of colour, and then find ways to bring certain areas of colour together.
08. Make it glow

Of course, with every splash of colour you need an element of glow. Using an Exclusion layer, I remove the green channel so I can have a green knockout glow effect behind the character. This helps lift the main character off the background and make her pop off the page.
09. Check your tones

At this point I need to check the tones within the composition to make sure that I haven’t pushed the contrast too far. I strongly believe you should be constantly toggling between colour and greyscale views throughout the entire painting process.
To do this, select View > Proof Setup > Custom… and apply the settings that are shown above. Now every time you press Y you can see your work-in-progress as a greyscale image.
10. Refine details

Although I’m keeping this illustration pretty simple, it never hurts to carry on detailing (at least, up to a point). I prefer to detail using highlights.
11. Correct uneven tones

To connect the character to the background’s overall palette, I change her shirt to a deep orange. Even though it’s tonally correct, her shirt was blending with the background clouds too much. It’s never too late to make these kinds of adjustments. Don’t settle for what you’ve painted until your eyes agree with the overall image.
12. Show your reasoning

I realise I need to justify why there’s rim light on the character. Art doesn’t always need to make sense, but in this case the colourful environment means I definitely need to show the cause behind the effect. What better way to do this than by painting, a giant stylised sun to match the rest of the background?
This article originally featured in best-selling digital art magazine Imagine FX issue 149. Subscribe to Imagine FX here.
Read more:
