How to photograph food: 10 pro tips
The key to great food photography is to make the subject look appetising. Here are some expert tips to get you started.
Daily design news, reviews, how-tos and more, as picked by the editors.
You are now subscribed
Your newsletter sign-up was successful
Want to add more newsletters?

Five times a week
CreativeBloq
Your daily dose of creative inspiration: unmissable art, design and tech news, reviews, expert commentary and buying advice.

Once a week
By Design
The design newsletter from Creative Bloq, bringing you the latest news and inspiration from the worlds of graphic design, branding, typography and more.

Once a week
State of the Art
Our digital art newsletter is your go-to source for the latest news, trends, and inspiration from the worlds of art, illustration, 3D modelling, game design, animation, and beyond.

Seasonal (around events)
Brand Impact Awards
Make an impression. Sign up to learn more about this prestigious award scheme, which celebrates the best of branding.
Food photography isn’t just restricted to recipe books and packaging, it’s everywhere. If you walk down the average high street you’ll see it in the windows of restaurants and cafes and on huge billboards. Browse the stand of a newsagent and you’ll find plenty of examples in lifestyle magazines as well as the usual foodie mags. It’s big business, but it’s also something you can do very successfully in your own home if you follow a few key guidelines (check out our piece on Food art for some culinary creations).
01. Perfect ingredients
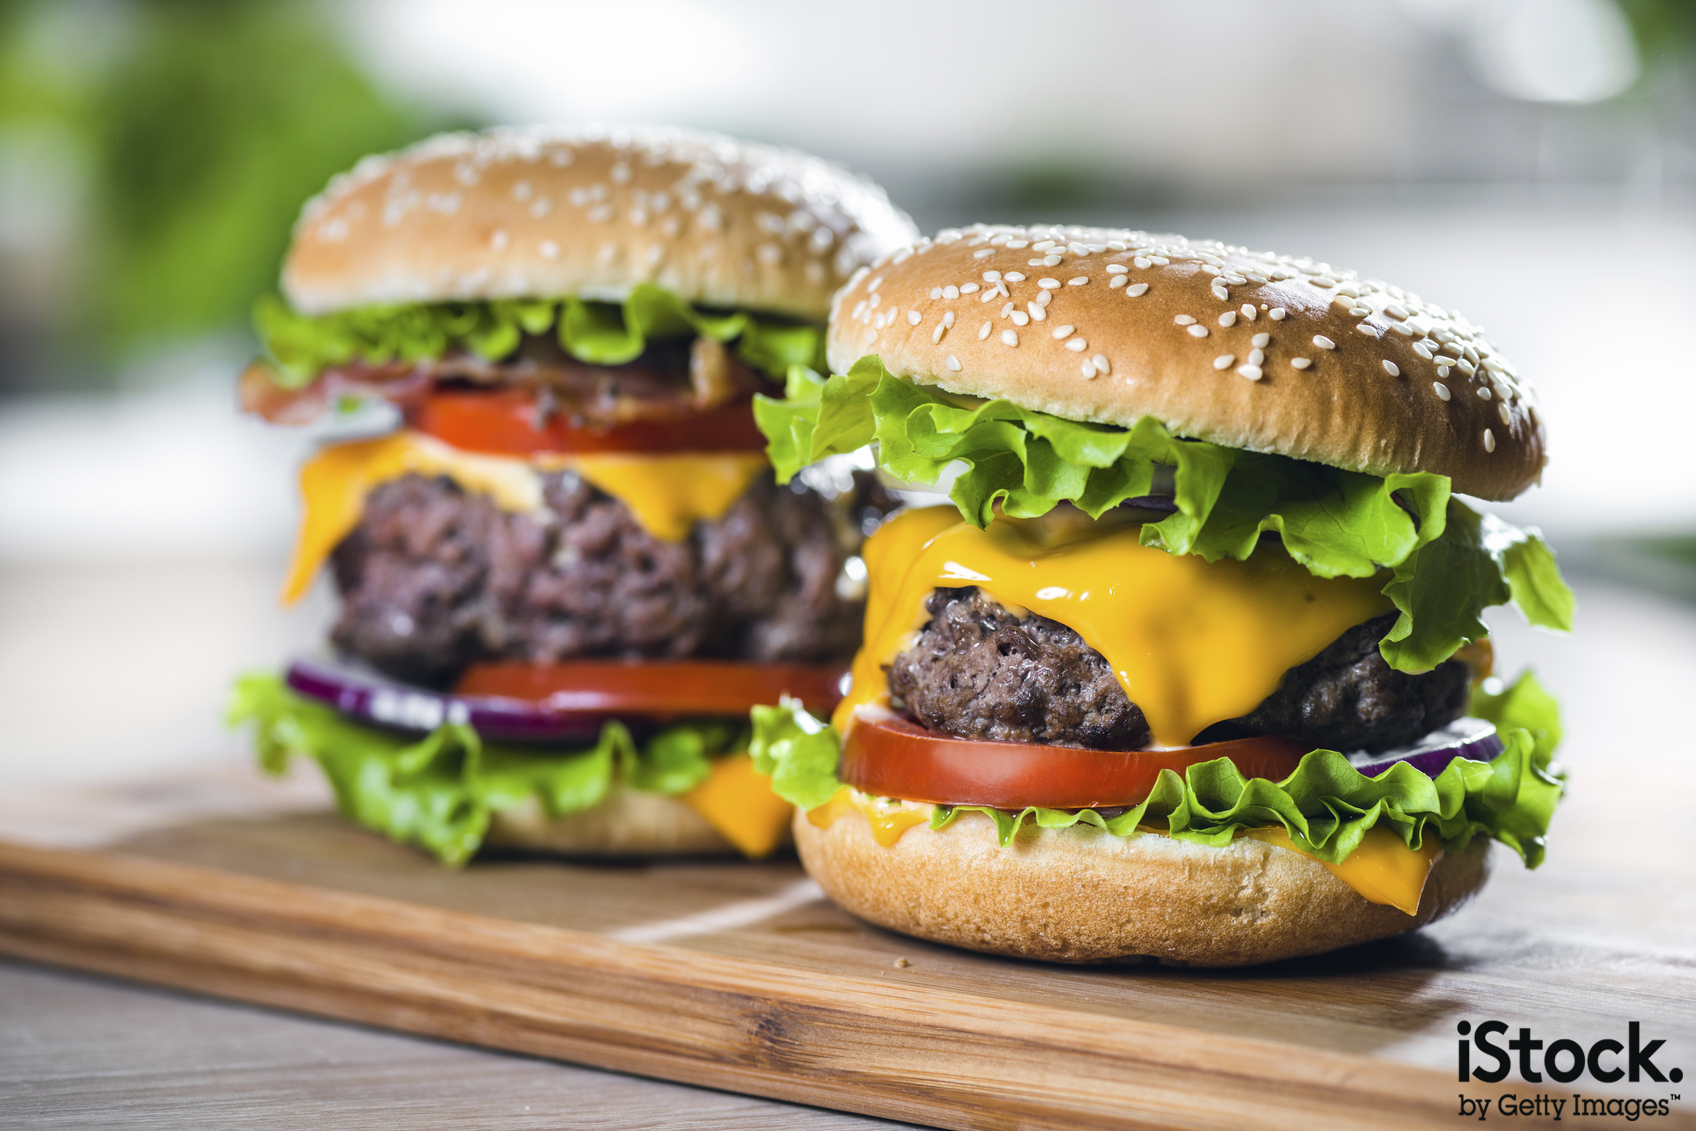
Unless you’re illustrating an article about mouldy tomatoes, only the freshest, most perfect ingredients will do as subjects. It’s worth spending time in the supermarket selecting the most photogenic ingredients, rejecting any that are marked, misshapen or in any way sub-standard. Being fussy at the buying stage saves you lots of time later.
Prepared food also needs to be perfect: you’re aiming to photograph the ideal picture that you see on display in the burger bar, not the soggy disappointment in the carton.
02. Lighting
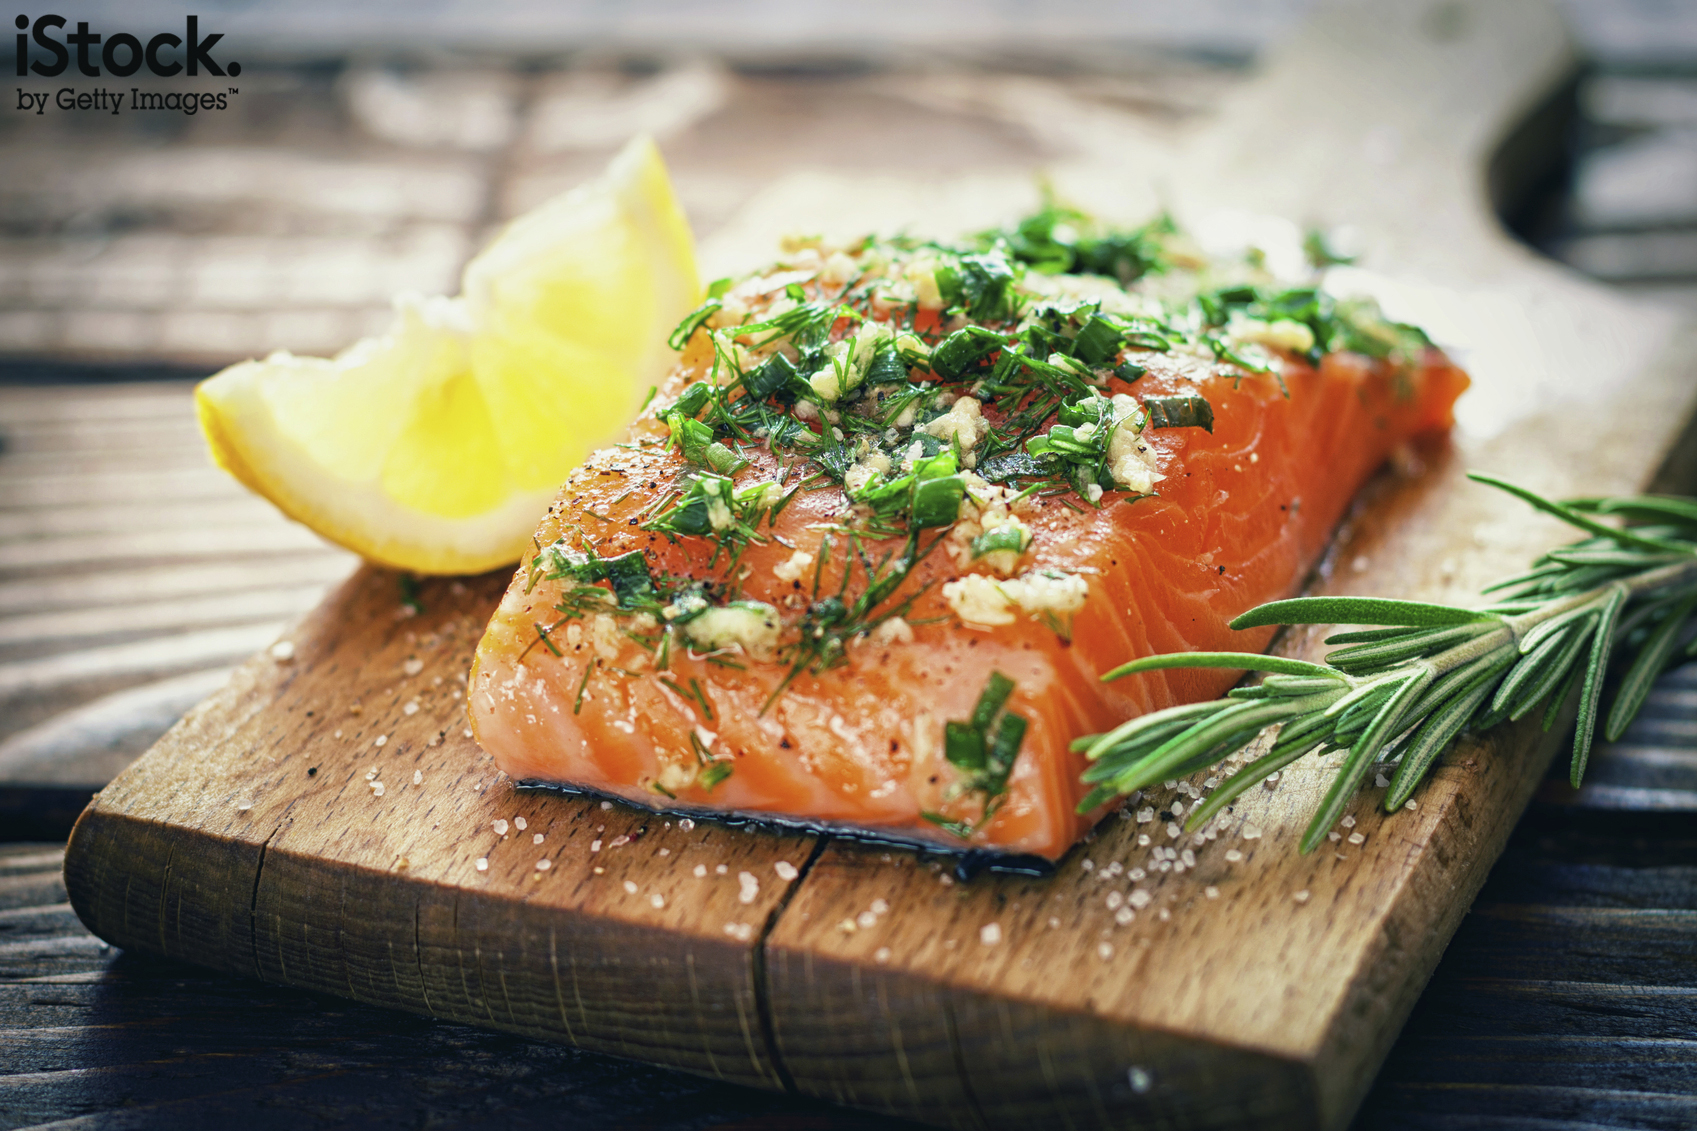
Natural lighting is fine, but this will limit the timeframe that you can shoot in. Avoid shooting near windows with direct sunlight: go for windows on the other side of the house, as this will provide softer light with less harsh highlights and shadows. Use a reflector (a sheet of white card will do nicely) to bounce some light back into the darker areas.
You can also use studio lights, flashguns or constant lights, but keep in mind that in most instances the aim is to create natural looking light or the type of lighting conditions that you expect in a nice restaurant.
As a rule, light the subject from behind or the side rather than from the front and above. This helps bring out the shape of the food, giving texture and shine as well as helping to emphasise any steam.
03. Keep it simple
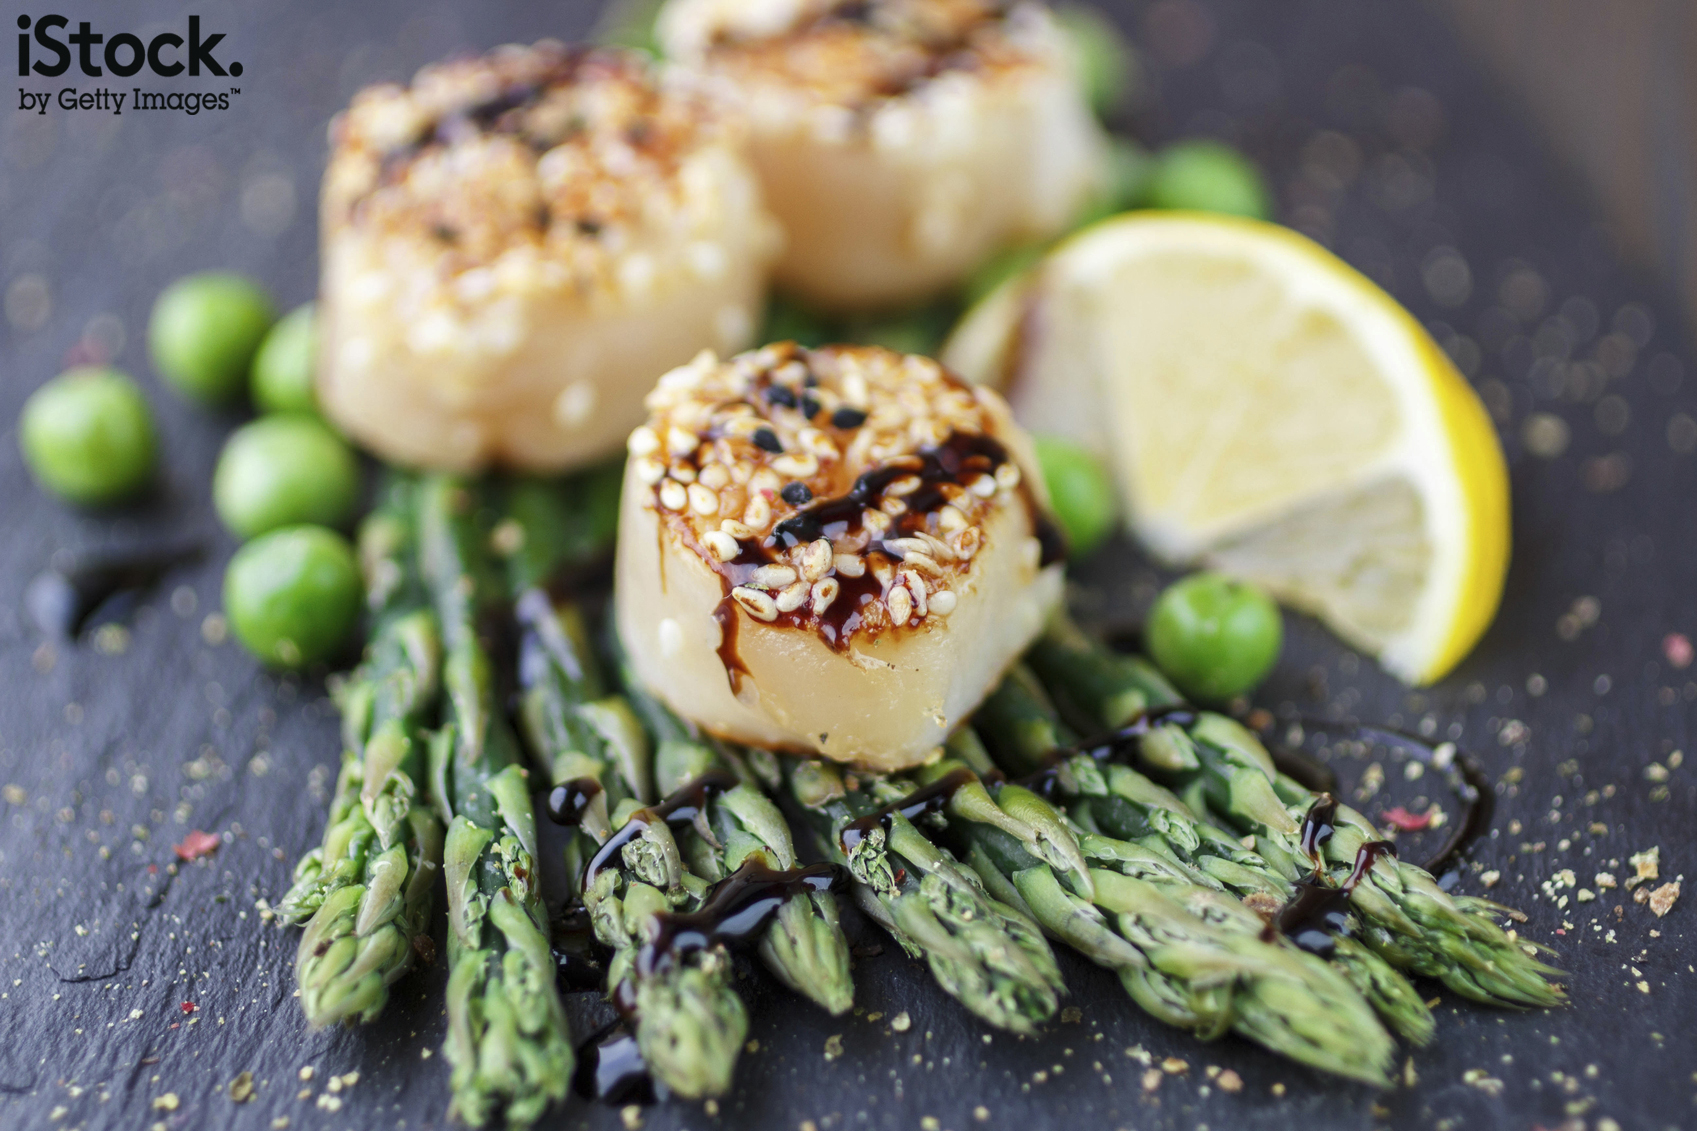
While there are some great photographs that contain a myriad of ingredients and utensils, try to keep things simple. It makes things easier to control and you’ll wind up with a cleaner looking image.
Daily design news, reviews, how-tos and more, as picked by the editors.
04. Add a human element
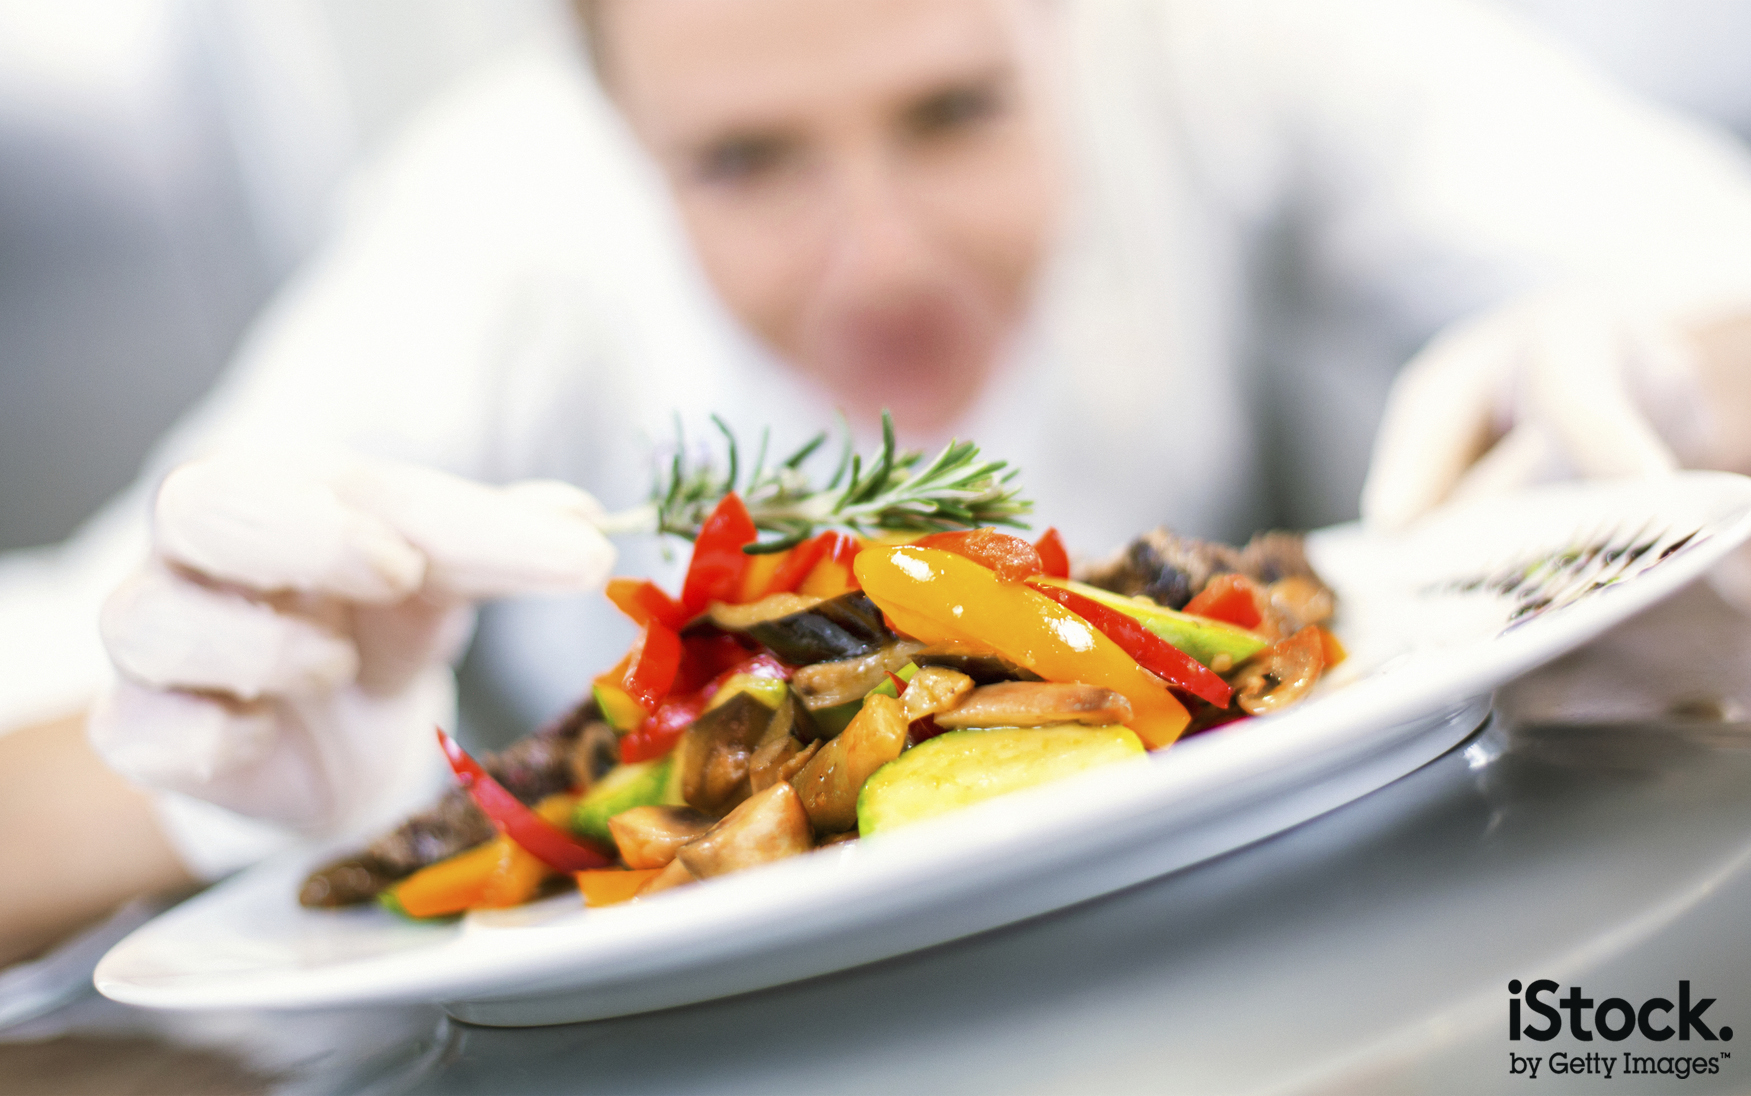
Don’t be afraid to include people in a food photo. Ideally they should be as squeaky-clean and perfect as the food, but if you’re only shooting their hands (clean fingernails are essential) or they are out of focus, you can afford to be more forgiving. Don’t forget to consider the age demographic that you want your image to appeal to, and find appropriate models.
05. Invite the viewer to taste
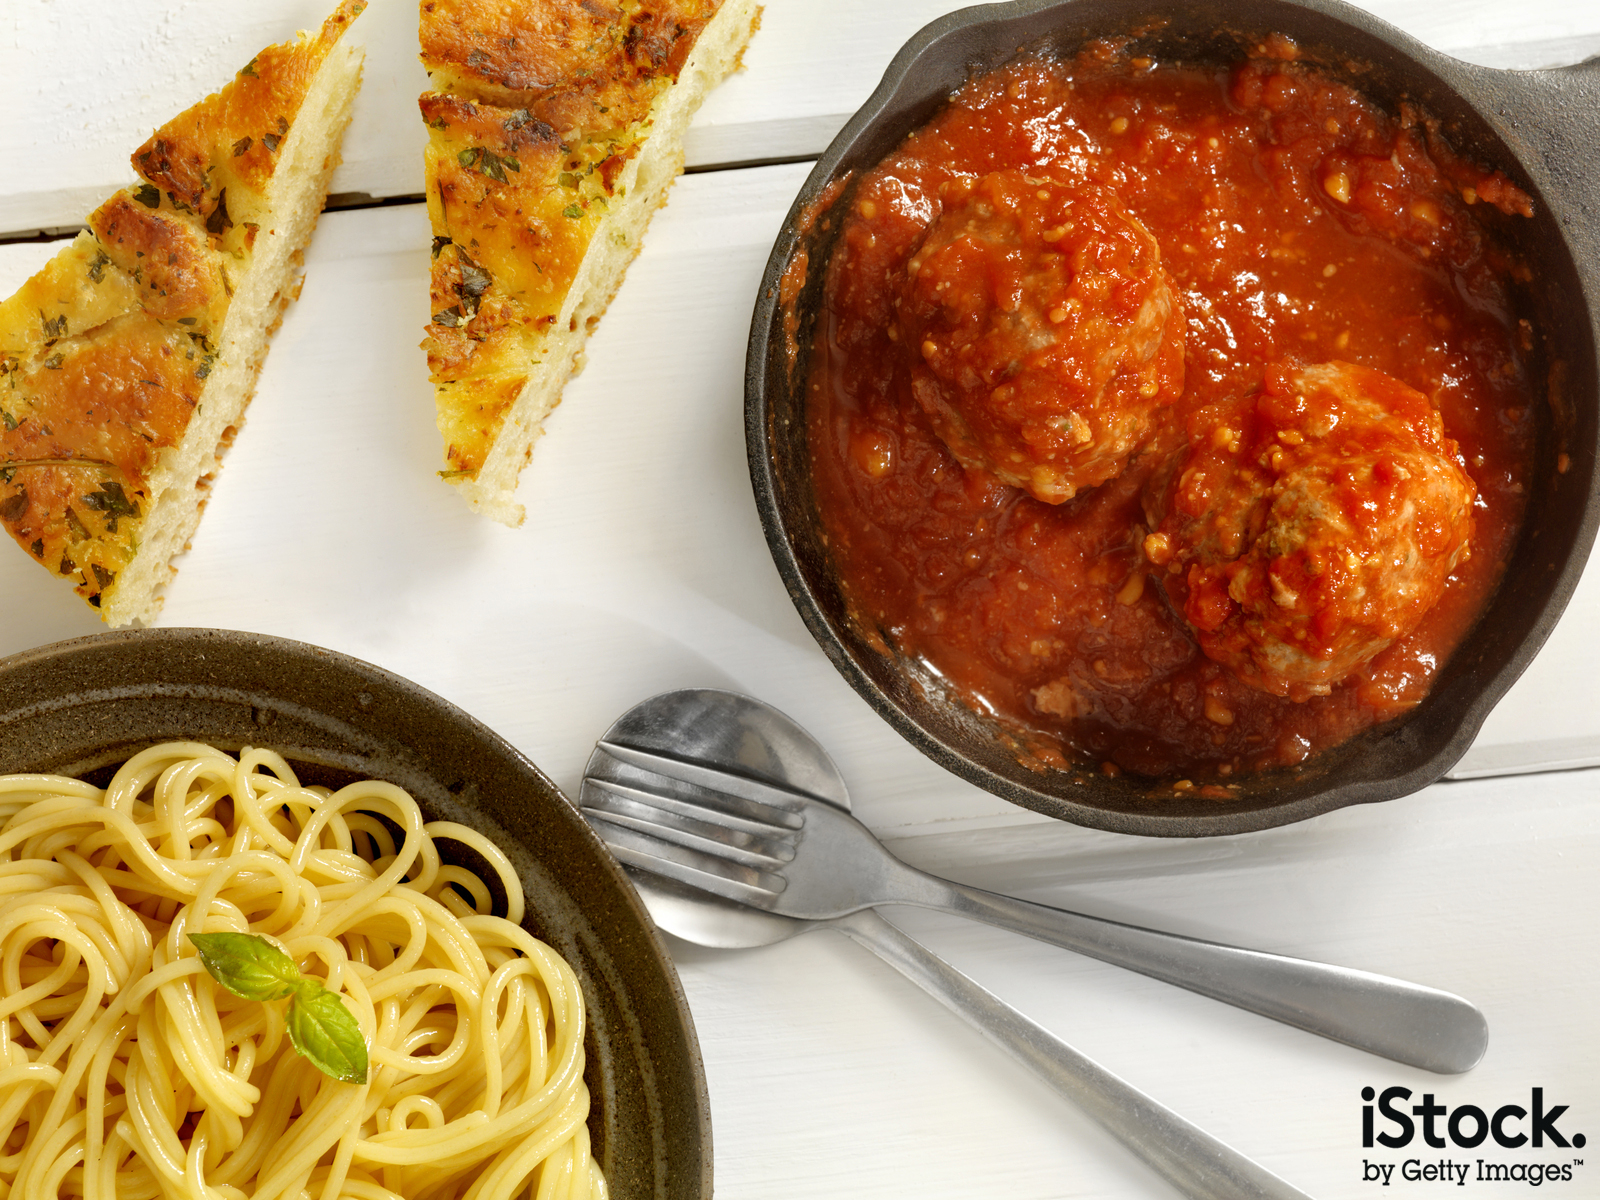
Placing a spoon or fork on the side of a plate or bowl helps the viewer put themselves in the image; you want them to imagine tasting the food. Steam rising from soup and casseroles, etc, also helps convey an aroma as well as warmth, helping the viewer immerse themselves in the image.
06. Make batches

If you’re photographing prepared food, make sure that you have plenty of potential subjects that are cooked in batches at different times so they won’t all start to sink or stop steaming at the same time. Cooking extra at the outset is easier than going back to the beginning once you’ve started shooting.
07. Keep it clean
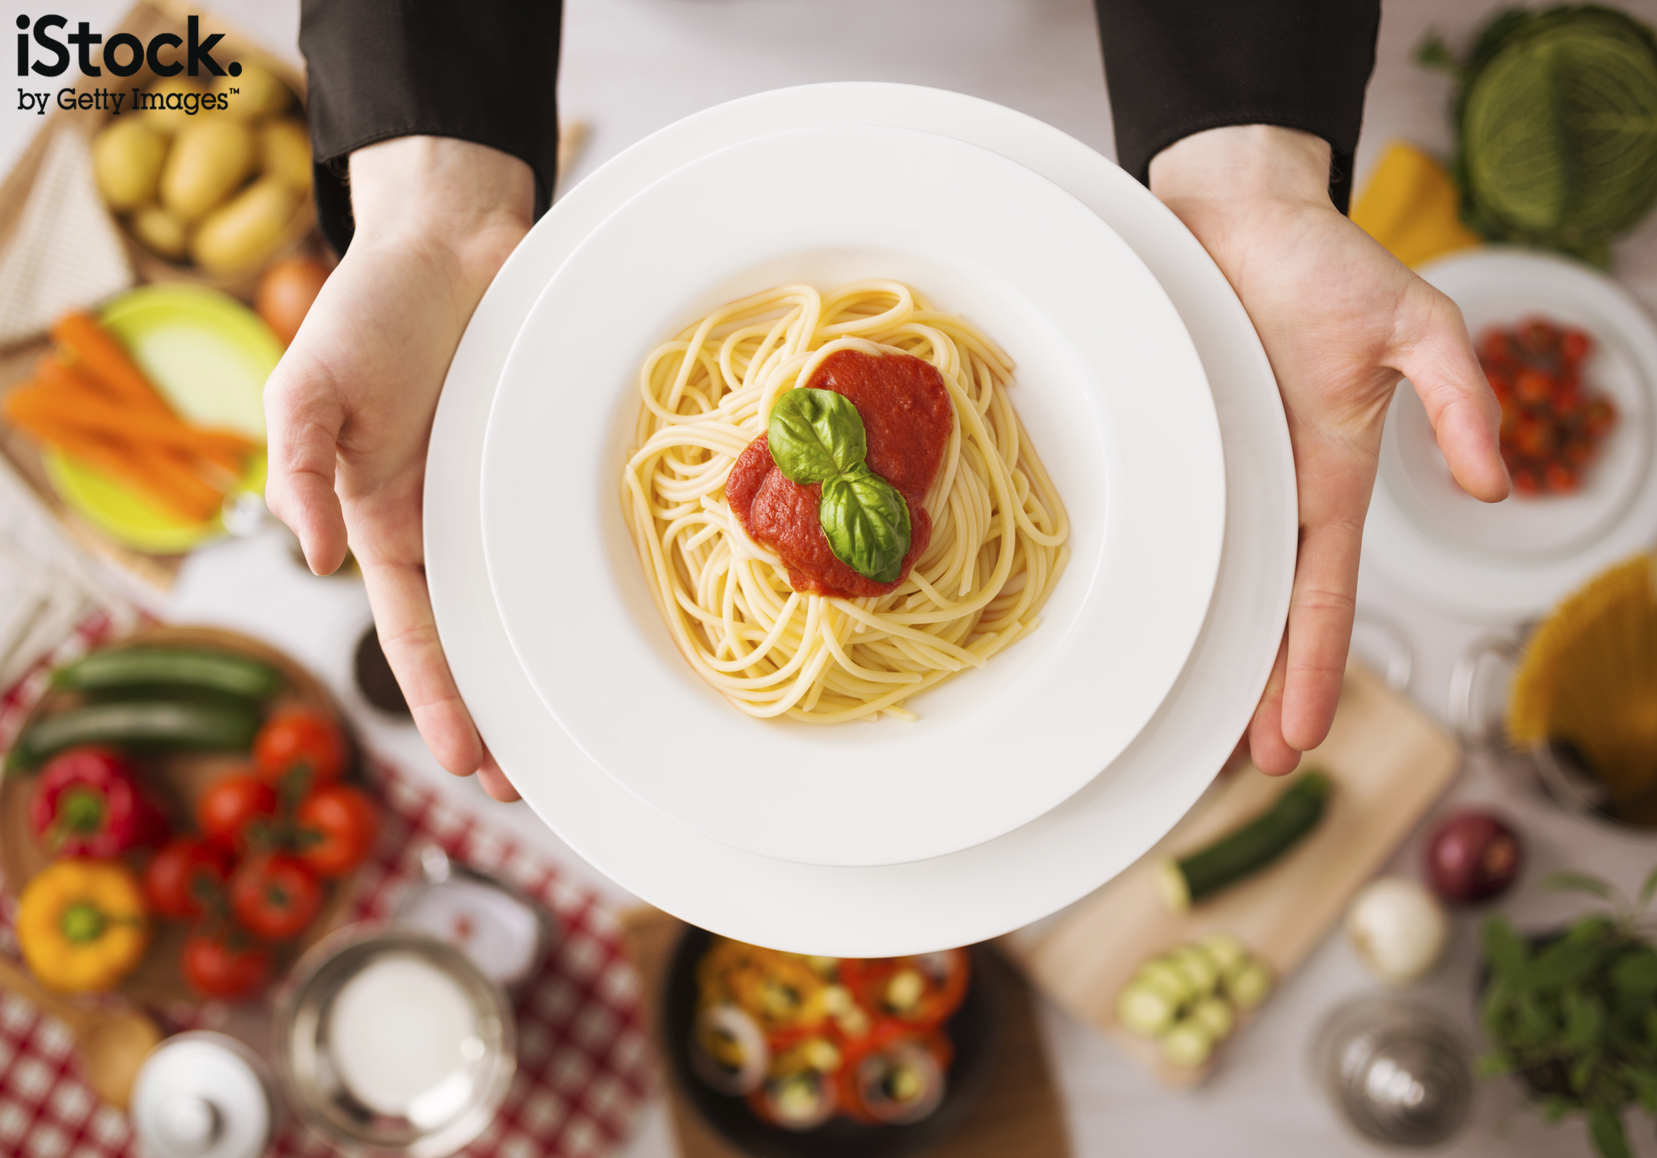
Whether it’s a plate or a fork, everything in your image must be scrupulously clean. You might be a dab-hand at cloning in Photoshop, but it’s usually quicker and easier to remove marks before you take the shot. Check for scratches and fingerprints on things like cutlery and glassware and make sure that any drips or crumbs are cleaned up.
If you’re photographing a slice of cake, the cuts need to be perfectly straight and any filling where it should be, not slumped out onto the plate or smeared down the lower half of the cake. It takes practice and a sharp knife to get the cutting right.
08. Add shine and garnish
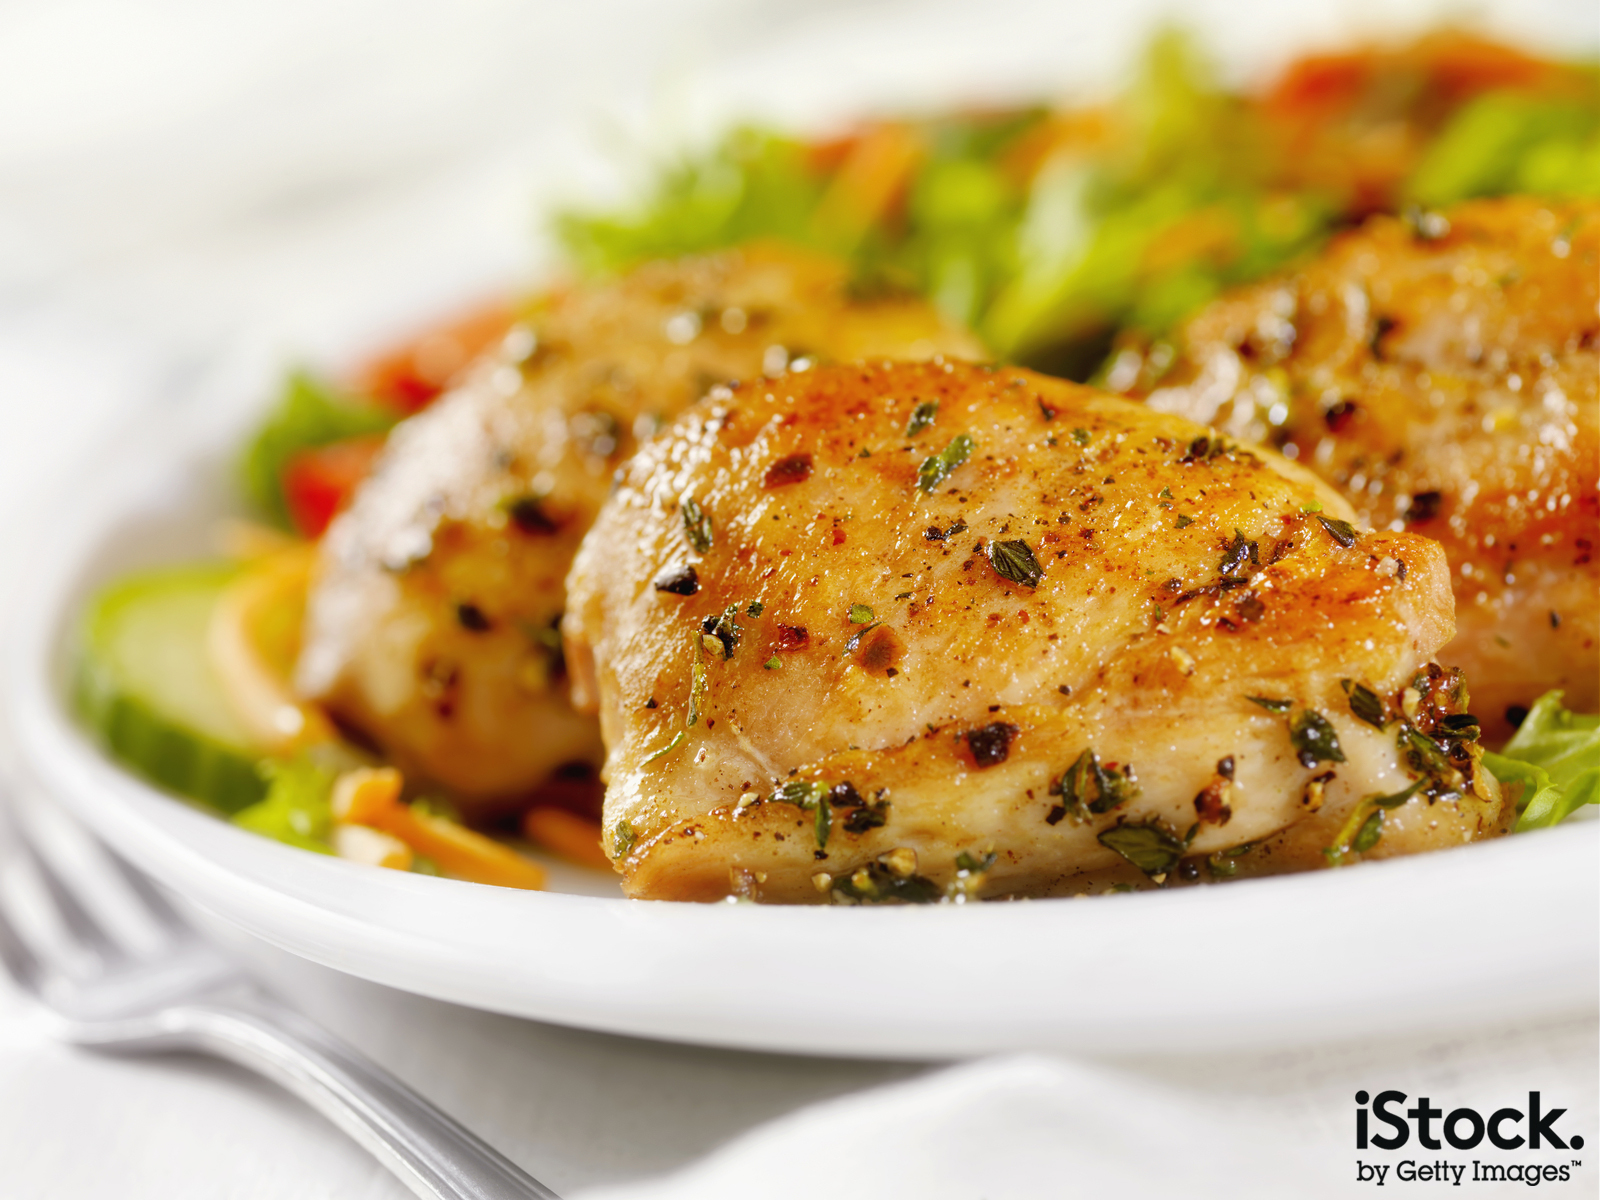
A quick spray of oil or water can go a long way to making food look more appetising. A plant sprayer is ideal for misting fruit and vegetables with water to give them the ‘just-picked’ look while a kitchen oil spray works well on salads and cooked food, making them glossy and attractive.
A sprinkling of herbs, a little pepper or a wedge of lemon can also help elevate a dish.
09. Cheat
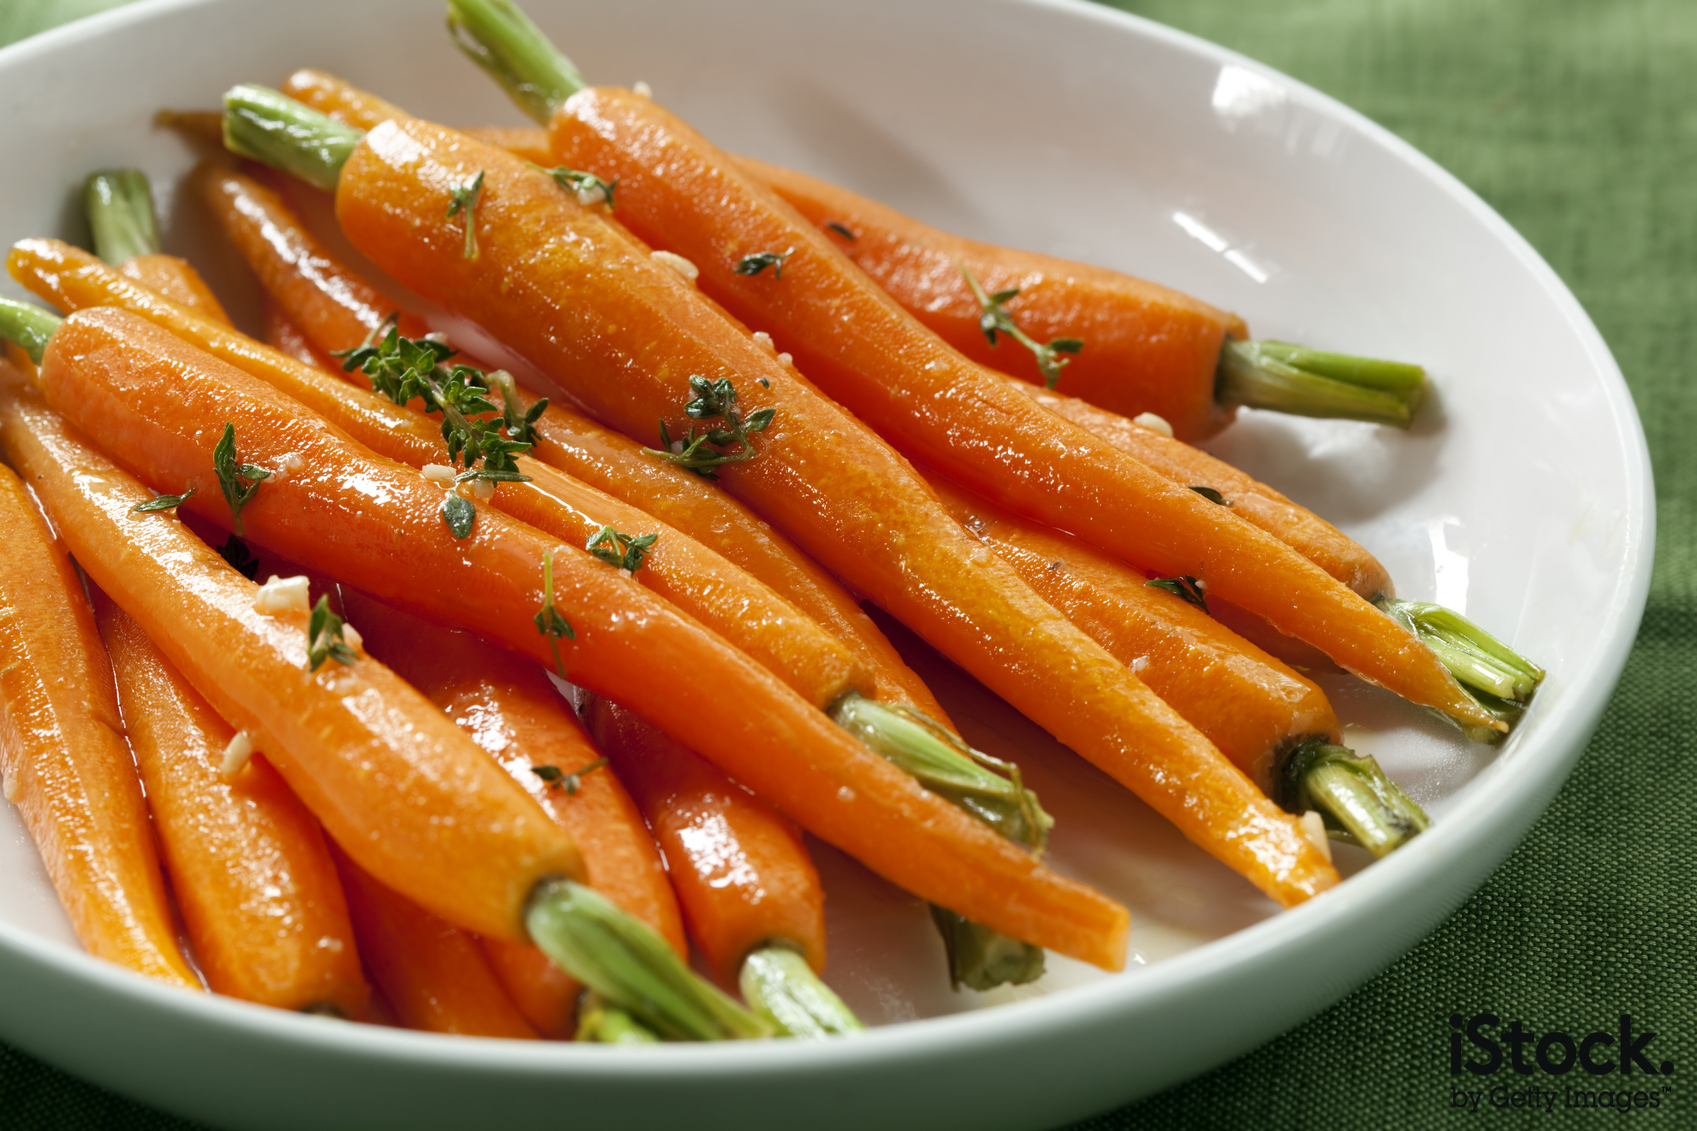
While cakes need to be fully baked to look good, some vegetables look better a little underdone. To stop them cooking before your eyes, dunk them on cold water before you photograph them.
10. Collect props
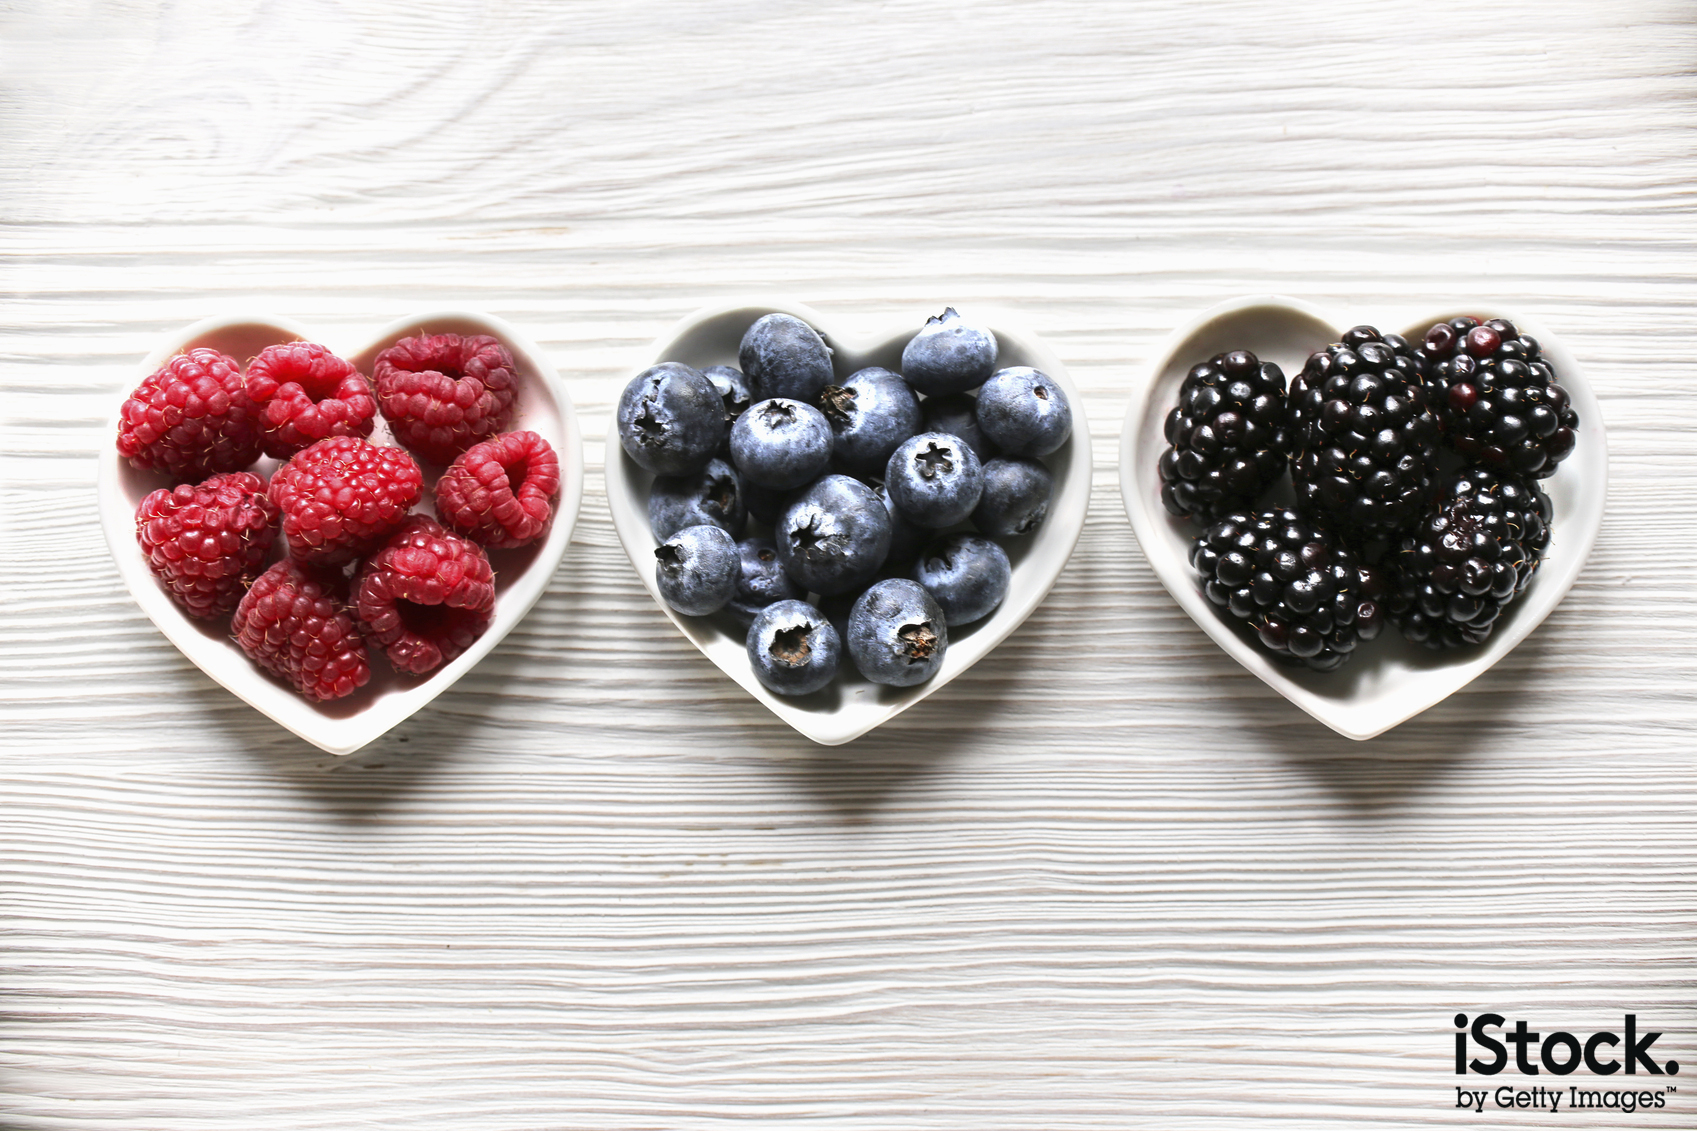
If you plan to do lots of food photography, and unless you want to have everything the same style, you’ll soon run out of plates, bowls and cutlery. Charity shops, antique fairs and house clearances are a great way of finding new props without spending a fortune. Also try using alternatives such as jam jars instead of glasses and tea cups instead of bowls.

Angela Nicholson has been head of testing for various photography magazines and now works as a freelance reviewer, writer and photographer. You can find her @AngeNicholson on X.
