Build a simple music player with React
Discover how to use the basic concepts of React to make an interactive music player.
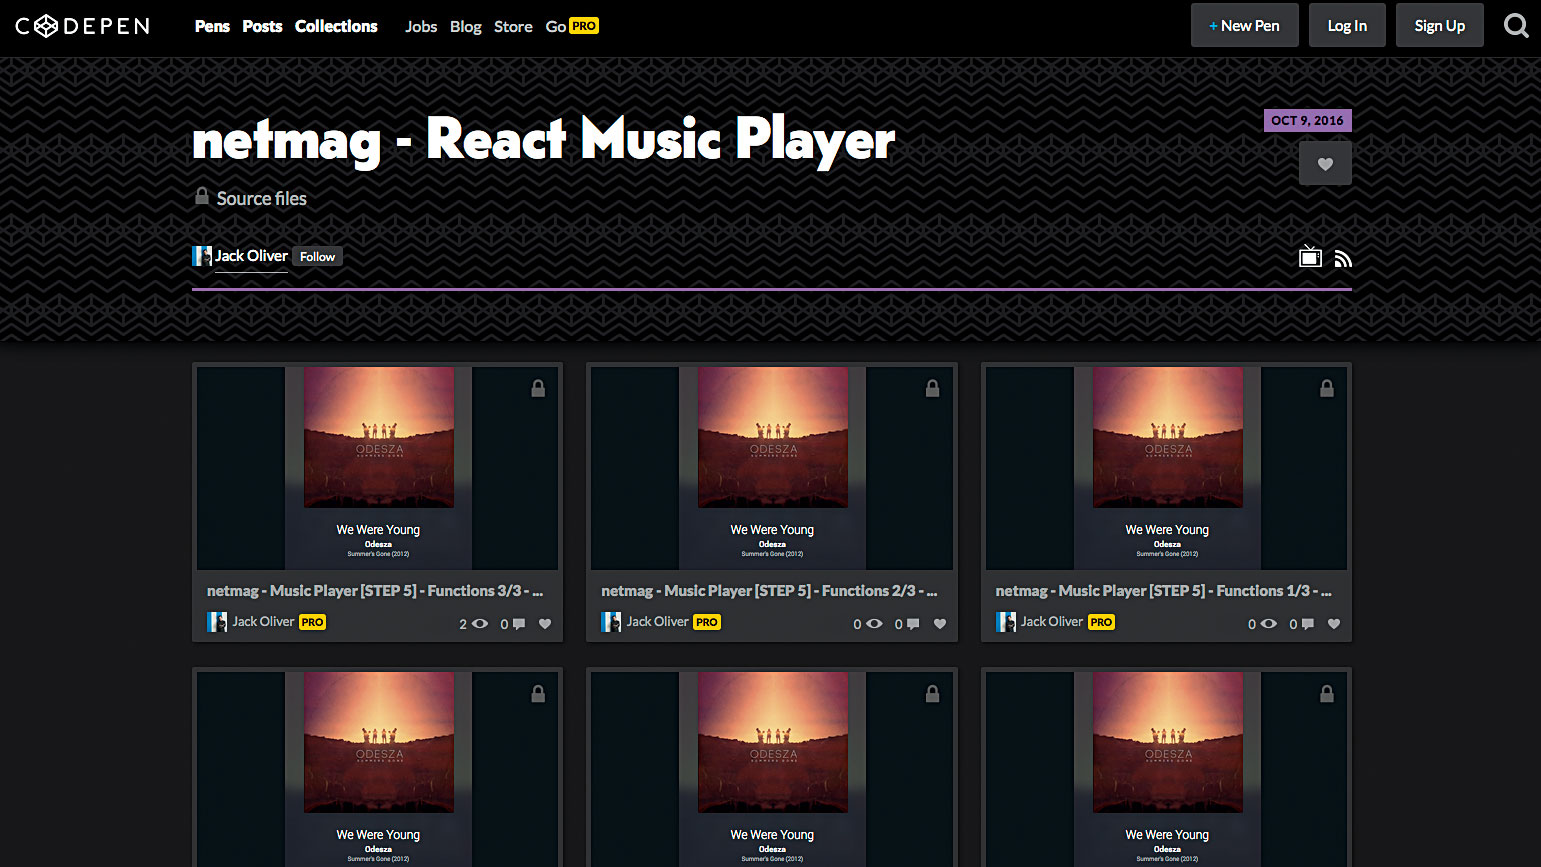
React is a popular JavaScript library for building user interfaces, and in this tutorial I'm going to show you how to use it to build a simple interactive music player. We're going to be working in CodePen, and you could also write this project offline inside a React app, since all the components can be ported to a repo pretty easily.
We're going to explore props, state and how components work together and communicate with each other inside the React ecosystem. We're also using Font Awesome, so make sure that's included inside your CodePen CSS panel.
To get you up and running with React very quickly, I've put together a collection for you on CodePen, and split it into stages so you can jump in at any point, fork the step and go forward from there. I have also written the CSS for you, so you can just focus on React, and how it's all working.
Create the React UI
Let's get started! First, we have to create some components in React. We're going to take the code from Step 1 in the accompanying Pen, and convert it into components. Let's begin by creating the main component that we'll put everything else inside. We'll call this component Player.
The code to create a component looks like this:
let Player = React.createClass({
  render: function() { return (
      <div className="Player">
        <ChildComponent /> // This is a child component, nested inside.
      </div>
  )}
});
Note that you have to use className because class is reserved in JavaScript. Go through the CodePen provided and convert the basic HTML you find there into React components.
Next we'll focus on two more awesome concepts in React: state and props. You won't see anything yet, because we haven't rendered our app.
Daily design news, reviews, how-tos and more, as picked by the editors.
Rendering, State, Props
In order to render our React awesomeness, we need to tell the tool where to place itself in the DOM. To do this we use ReactDOM.render(). You'll find the code for this in Step 2 on CodePen.
ReactDOM.render(<Player />, document.querySelector('body'));If you've done everything correctly, you should see the player appear. Next we're going to build our props object. props is short for properties, and these are pieces of information you pass to your components for them to use. We need to give the player some information for the track, so we'll do that now.
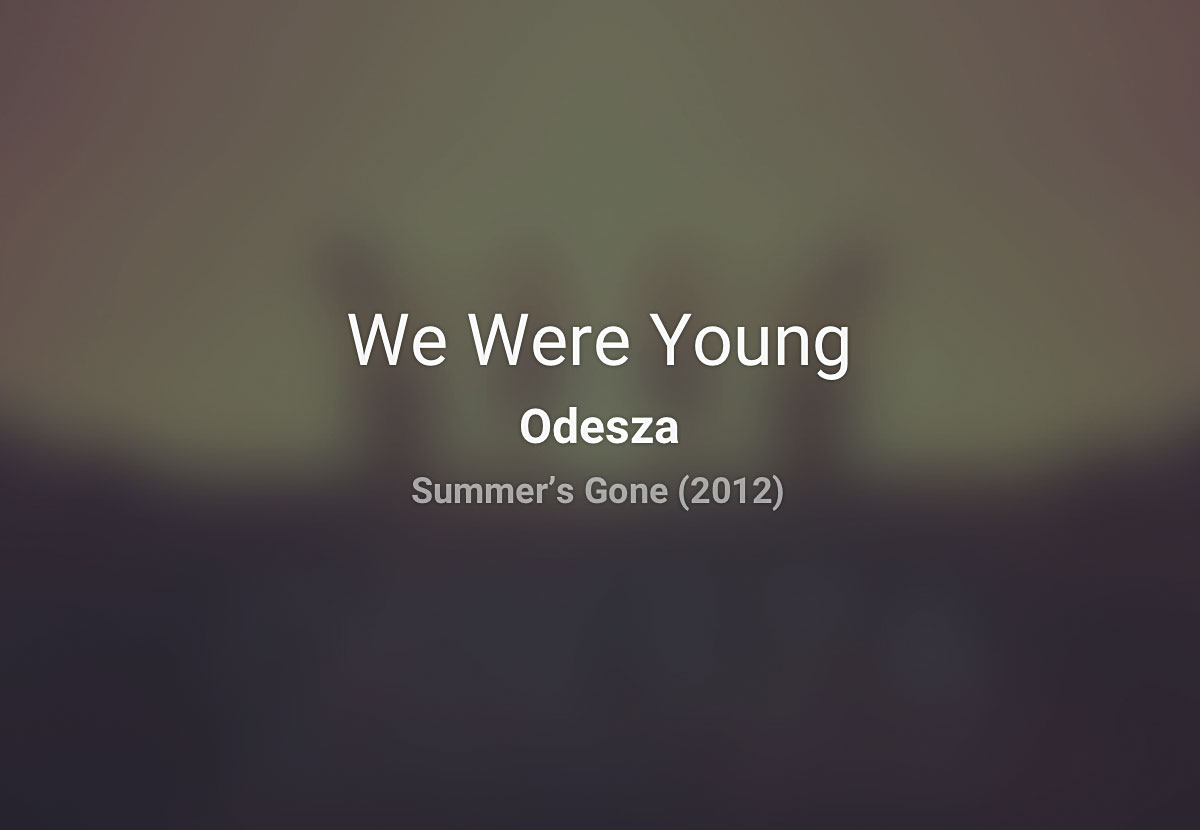
Your props object is stored inside getDefaultProps, and should look like this:
getDefaultProps: function() {
  return {
    track: {
      name: "We Were Young",
      artist: "Odesza",
      album: "Summer's Gone",
      year: 2012,
      artwork: "https://funkadelphia.files.wordpress.com/2012/09/odesza-summers-gone-lp.jpg",
      duration: 192,
      source: "https://s3-us-west-2.amazonaws.com/s.cdpn.io/557257/wwy.mp3"
  }}
}
We also need to create a state object to store the current time of the song and the play/pause state:
getInitialState: function() {
  return { playStatus: 'play', currentTime: 0 }
}
Your app's state changes constantly, and is stored in the state object. This is important to remember when you're writing React because the components that rely on that state as a property will change if the state does. What makes React so great to work with is that it calculates the changes for you and updates the DOM efficiently when the page changes. Everything stays in sync.
Passing props and state
Now we're going to pass props and state values into our components (Step 3). Our Player component should now look like this:
render: function() {
  return (<div className="Player">
    <div className="Background" style={{'backgroundImage': 'url(' + this.props.track.artwork + ')'}}></div>
    <div className="Header"><div className="Title">Now playing</div></div>
    <div className="Artwork" style={{'backgroundImage': 'url(' + this.props.track.artwork + ')'}}></div>
    <TrackInformation track={this.props.track} />
    <Scrubber /><Controls />
    <Timestamps duration={this.props.track.duration} currentTime={this.state.currentTime} />
    <audio><source src={this.props.track.source} /></audio>
    </div>
)}
We can then pick these values up inside our child components. For example:
var Timestamps = React.createClass({
  render: function() { return (
    <div className="Timestamps">
      <div className="Time Time--current">{this.props.currentTime}</div>
      <div className="Time Time--total">{this.props.duration}</div>
    </div>
  )}
});
Look through step 4 on CodePen to see how all the props are passed down and used in the child components.
Duration calculation
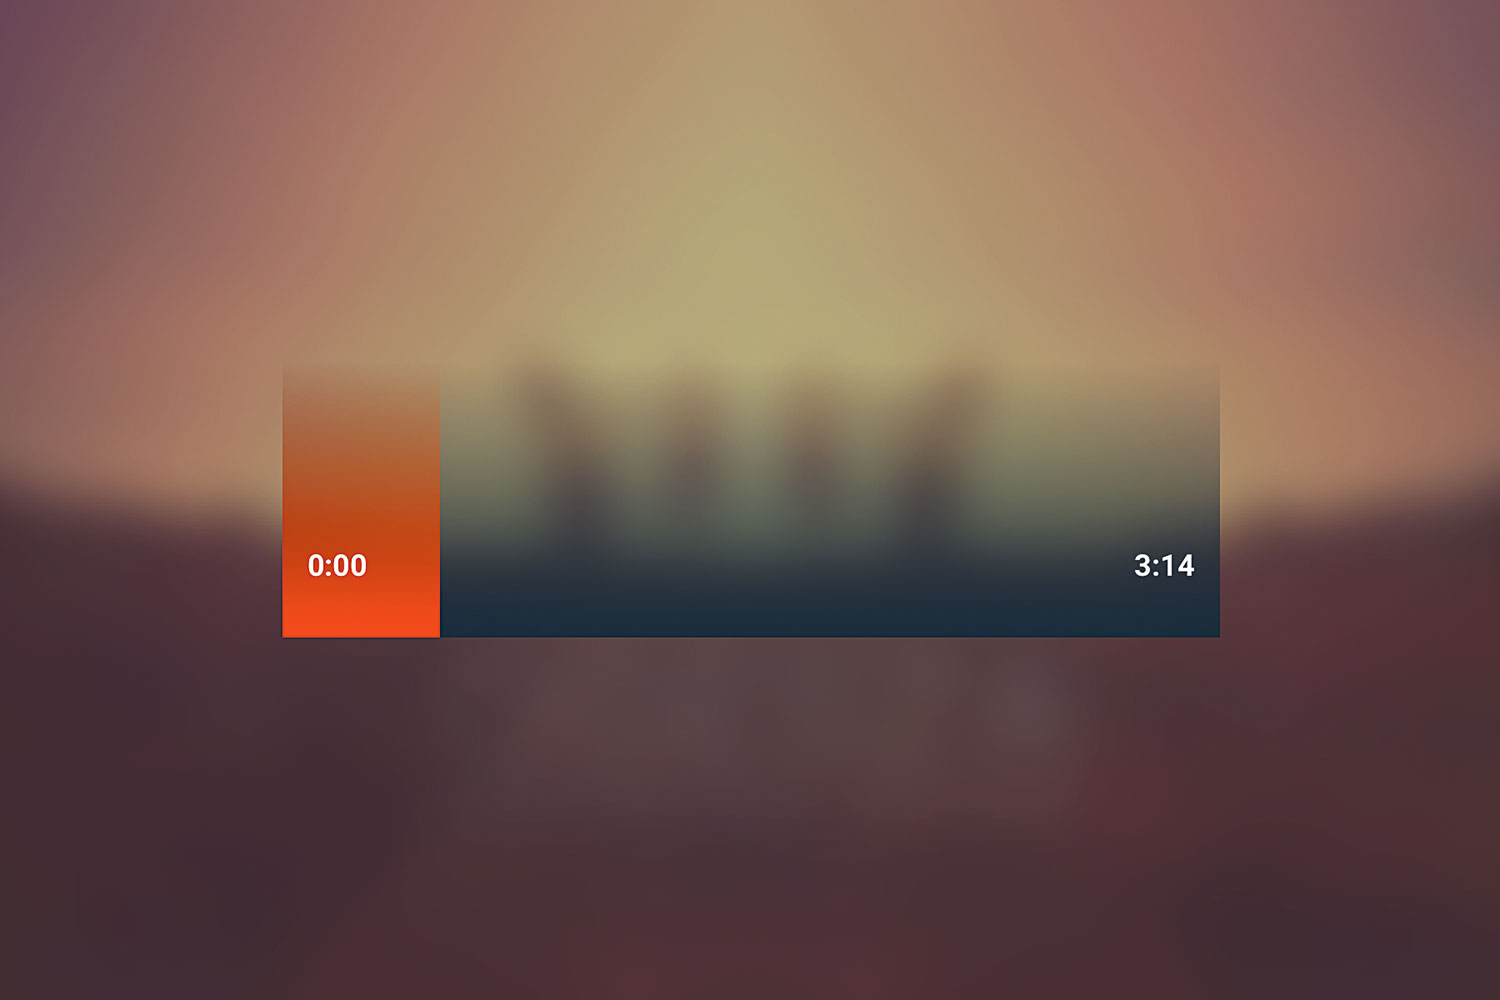
The timestamps right now are just plain numbers. We need to convert them to timestamps before they can be used in our app. We will do this by writing a function inside our component:
convertTime: function(timestamp) {
    let minutes = Math.floor(timestamp / 60);
  let seconds = timestamp - (minutes * 60);
    if (seconds < 10) { seconds = '0' + seconds; }
    timestamp = minutes + ':' + seconds;
    return timestamp;
}
We can then use this in our Timestamps component:
{this.convertTime(this.props.currentTime)}.
Play and pause
We're going to bind a function to the onClick event of the Play/Pause button and pass it back up to the main component: <Controls isPlaying={this.state.playStatus} onClick={this.togglePlay} />.
Our Toggle looks like this:
togglePlay: function() {
  let status = this.state.playStatus;
  let audio = document.getElementById('audio');
  if(status === 'play') {
    status = 'pause'; audio.play();
  } else {
    status = 'play'; audio.pause();
  }
  this.setState({ playStatus: status });
} 
We also need to add some code inside the render function of the Controls component to toggle the icon from 'Play' to 'Pause', and another function to update the timestamps when the song is playing.
render: function() {
  let classNames;
  if (this.props.isPlaying == 'pause') {
    classNames = 'fa fa-fw fa-pause';
  } else {
    classNames = 'fa fa-fw fa-play';
  }
  return {...}
}
We need to write a function to handle the updating of our timestamps from before. It's best to keep this code separate, in case we want to use it for something else later.
updateTime: function(timestamp) {
  timestamp = Math.floor(timestamp);
  this.setState({ currentTime: timestamp });
} 
Finally, we need to update our playToggle function to call the updateTime function on a setInterval.
...
audio.play();
let _this = this;
setInterval(function() {
  .....
  _this.updateScrubber(percent);
  _this.updateTime(currentTime);
}, 100);
...
Moving forward
So now you should have a shiny working music player. You could go further here and add features for scrubbing through the song with e.pageX, or add Playlist functionality by storing upcoming track IDs in an array, next and previous buttons. If you get stuck, reach out to @mrjackolai – I'll be happy to help out! Have fun, and good luck.
This article originally appeared in net magazine issue 289; buy it here!
Related articles:
