
Long-time After Effects user and Cartoon Animator content creator and power user Warwick Hays shares the process he used to create this brilliant comedy sketch animation. This involved using Cartoon Animator 4 and its huge selection of ready-to-use characters, assets and pre-made character motions, and later Adobe After Effects to add polish to the final animation.
Hello, my name is Warwick Hays and I’ve been using After Effects for a long time. I have, in the past, used After Effects to animate characters and have always found it difficult to keep track of keys while keeping my projects simple to manage. Then I found Cartoon Animator’s quick, simple and a short learning curve. All I needed was an easier way to get what I created in Cartoon Animator back into After Effects to be able to add a layer of effects and post-processing.
With the recent release of the Cartoon Animator to After Effects plugin, everything is much easier. I want to show how I use some of the key features in both software packages to produce fast character animation and add a few ‘bells and whistles’ to the animation at the end.
Step 1: The idea
The idea is a part of the process the software can’t help with, but we all have great ideas, so make sure you keep a notebook or some sort of digital notepad to keep track of them all.
For this example (from my notes), I wanted to keep it short and simple:
I want to have the character walk onto the stage with applause.
He says, “Thank you, thank you, you are all awesome...we have some classy people here tonight! It’s great to be here.
So, a Priest, a clown and a Call Girl walk into a bar and….”
A hook comes out behind him and yanks him off stage. Then the curtain drops.
Step 2: Assets galore - marketplace
Reallusion has a large marketplace for its various software packages and you won’t be disappointed with Cartoon Animator’s Marketplace either (anyone can make content and upload it to their own store on Reallusion) and the Content Store (assets from selected feature developers, like myself).


Inside, you will find a huge range of styles in both stores but I love to play with 3D stylised backgrounds and my characters (so far) tend to be more cartoon-like and sketchy. They seem to work well together.
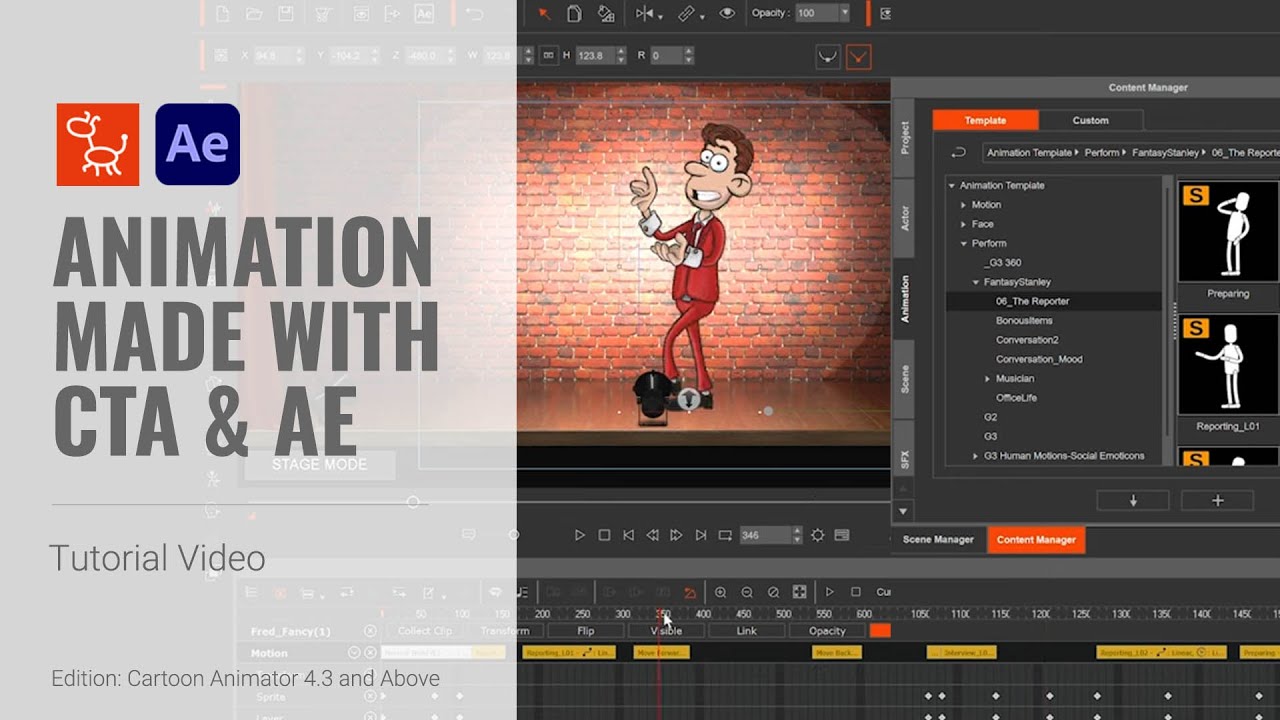
Step 3: Fast staging and blocking
Setting the scene up in Cartoon Animator is very straight forward. Once you have your assets in the right folders you just drag (or double-click) them into your Stage View. When the stage and character are in, we are ready to go. My scenes are already set up in layers and with a ‘Z’ depth to the layers to give a parallax view when you track the camera in.

Blocking the character (giving him his basic movement in the scene) was pretty easy too since all he had to really do was walk on and then wave his hands around and talk.
But the first step before that is to lip-sync the mouth to the audio before the movement of the character becomes a distraction.
Once all the mouth shapes are covered I go back through and use the Deform Tool to adjust some of the mouths to either transition better from one mouth to the next or just to make a shape a bit smaller for the sounds that don’t need a large open mouth.

The last part I did for the face was add in a little head movement with the Face Key Editor. I find if you start with basic movement and build on it you get a much better result rather than diving straight into the detailed animation.
In the end, the finer details that are added after the basic movement make all the difference, even if you can’t put your finger on exactly what those little things are.

Step 4: Animating with pre-made motions
One of the key advantages of Cartoon Animator is its pre-made motions for characters and props. They can speed up your workflow and save you so much time. Even if you want animation that is not ‘canned’ animation for your characters, the pre-made motions are a great starting point.
An extra little detail I did was to add in some of my other characters into the audience. To help with file size and ease of working within Cartoon Animator I exported these characters in their rows as PNG images.

Then in Photoshop, I made them into a silhouette (see it didn’t matter that the characters were facing the wrong way to begin with) and imported them into the main scene as free bone characters. I added a couple of bones to each of the characters and animated a slight sway or movement to them so they weren’t completely static in the audience.
The next thing I do is put on my ‘directors hat’ and animate the camera. Once the camera is animated to cut from wide shots to close-ups I think I’m pretty much done in Cartoon Animator.
Step 5: Exporting everything to After Effects
This next step is now so much easier with the Cartoon Animator to After Effects plugin. No more having to export each layer as its own PNG image or sequence and rebuilding the whole thing in After Effects. The export will save everything nicely into folders for each element from Cartoon Animator.

The next couple of effects make the biggest difference in the scene, including character shadow and the rim lighting on the character.


Conclusion
With each animation I do, I like to challenge myself and try something new, whether it’s the way I go about animating the scenes and characters or just trying out a particular feature I haven’t used before. Either way, the fact that Cartoon Animator makes a lot of the steps in the animation process easy, I have time to concentrate on fine-tuning the animation and those new things I’m trying.
And now with the Cartoon Animator to After Effects plugin, I can now add some great finishing touches to the visuals of the animation to give it that final polish and professional look.
You can download a free trial of Cartoon Animator and the free AE script, learn more details from the full tutorial article.
Read more:
