Build your first in-house photo studio
Setting up a photo studio isn't as intimidating as it seems – these are the steps and equipment you'll need.
Anyone who works with images will find photography is a constant need. Rather than hiring a pro, paying for stock or wasting time on Google, why not set up a small photo studio of your own at the office?
Setting up a small in-house photo studio isn't all that hard, needn't be expensive, and can quickly deliver on your needs.
01. Pick a photographer
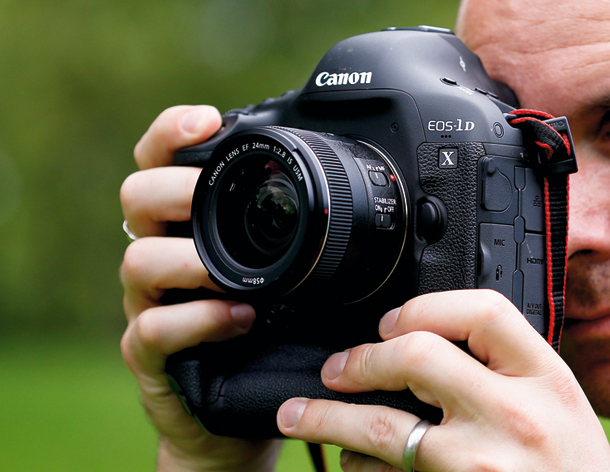
Pick a person to be your photographer. Photography has become so popular, there's bound to be someone in every office who knows a good bit about it. You want just one person, rather than all chipping in, so that they can keep track of everything and be responsible for looking after the equipment.
02. Choose your studio
Now you need to choose a space. Whether your office is a huge, trendy loft with room to spare, or a small space, you can usually find enough room to make most photography work. Ask yourself, what is it that you wish to photograph? Are you likely to be shooting groups of people? Client products? Maybe a range of editorial-style images?
A complex professional still life set up can easily use hundreds of square feet. But still lifes could also be shot in an area no larger than a walk-in closet or office cubicle. Shooting people needs more room. People look better when photographed from at least five feet away, and you don't want the studio lights right on top of their face. About 15 by 25 feet is a comfortable space, though a head and shoulders portrait probably only needs 10 x 15 feet.
Whatever space you choose, if it can be a dedicated space, clean from other activities, that would be great. This will of course depend on how much you shoot.
03. Equip the studio
In your studio, you are likely to need:
Daily design news, reviews, how-tos and more, as picked by the editors.
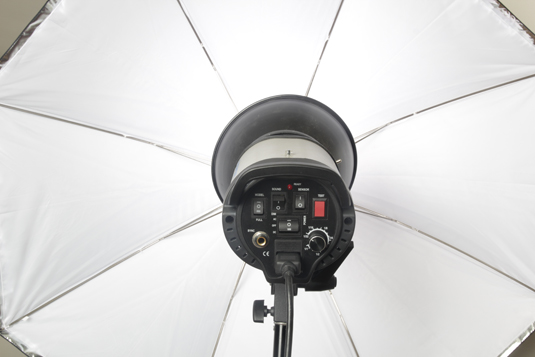
- Between one and three light sources
- Light stands for each
- Light modifiers (an umbrella, softbox, barndoors, snoot, etc)
- Backdrop support stand
- A camera
Studio lighting
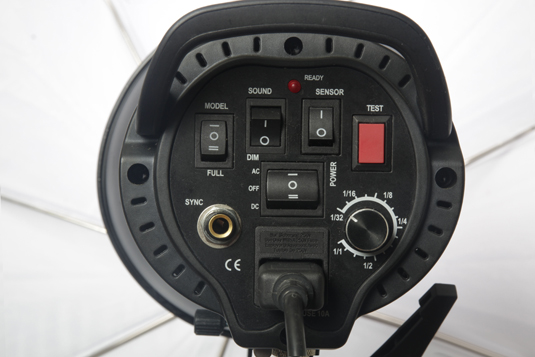
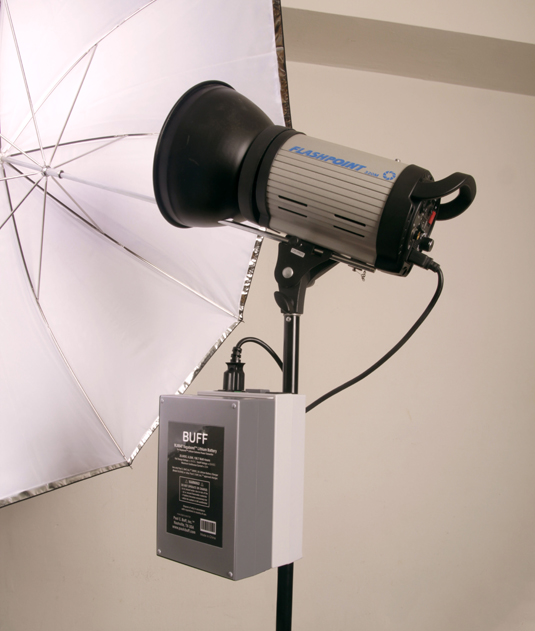
There are two kinds of lighting – flash heads (also called strobe) and continuous light. Strobes are generally used for still photography. Continuous lighting can be used for either stills or videos.
A strobe light gives a quick burst of bright light, freezing the action for a sharper image. It's also brighter, so you can use smaller apertures for greater depth of field. Strobes come as battery-powered lights (from around $300/£240), or as self-contained monolights, which tend to be more affordable (from around $85/£150).
When choosing a strobe, the watt/seconds tells you how bright it gets, and its recycle time tells you how long it takes to recharge to fire again. Recycle is important when shooting portraits, less so when shooting a still life. Units that have at least 150 watt/seconds with about one-second recycle times are ideal.
Continuous lights cost less, make it a bit easier to see what you are getting than the modelling lights on strobes, and if you are also going to be shooting video, you get double-duty lighting. Continuous lights come in affordable entry kits, with fluorescent (from around $85/£85), LED (from around $100/£60) or tungsten (from around $110/£90) light options.
Backdrop
The easiest thing to do, and what many do when they start, is hook your backdrop material to the rear wall of your studio. In fact, sometimes people just use the back wall by itself! For a more professional solution, hang paper backdrops by buying a 'seamless backdrop' stand (essentially, some poles that hold a roll of paper) – kits come in various sizes with different coloured backdrops, from as little as $105/£55.
The camera
You can go for a top pro camera, but that probably isn't needed. A mid-range camera is more than fine.
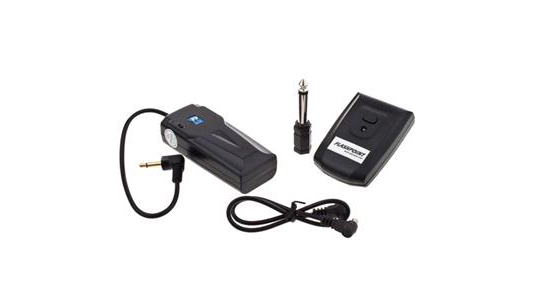
The main benefits of using a DSLR, rather than a point and shoot camera, is being able to change lenses, which will also be of better quality than those on lower-end cameras. DSLRs also integrate with studio lights via a wired connection (around $10/£5), or a wireless trigger and receiver kit (from around $40/£60).
Accessories
Once all of the major purchases are out of the way, we can look at the smaller items without which, things might not work. You might need:
- A modestly priced tripod (around $50/£40) – especially for shooting products or shooting with continuous lighting
- A table studio/light tent (around $50/£35) – for shooting small products
- An SD memory card with Wi-Fi (from around $30/£30) – to send your files to your computer/phone/tablet wirelessly, while you're shooting
04. Set up the studio, shooting and post production
Even if you know what you're doing, unpacking it all and setting up a studio takes some time. So does learning how to use the strobes and camera. Try to do this days or even weeks before you agree to any photo deadlines.
Once you have an understanding of how the equipment works, and you are able to see reasonably exposed images, you are on your way. But now the real work starts. Start playing with the lights and experiment! Practice on objects, practice on co-workers. Read about photo techniques, and start critiquing the photos you see to understand what you like about them.
Do all of this, and you will be amazed at how good you will become in a very short time!
Like this? Read these:

Lance Evans is creative director of Graphlink Media (graphlink.com), a boutique creative marketing agency in NYC, with clients like Olive Garden, Miller Beer and AMEX. Lance recently launched "OPEN STUDIO | NY", a YouTube channel looking at production techniques for advertising and publishing shops. Visit it at youtube.com/@OpenStudioNY
