How to stream on Twitch
Learn how to stream on Twitch and turn your passion into an online sensation.
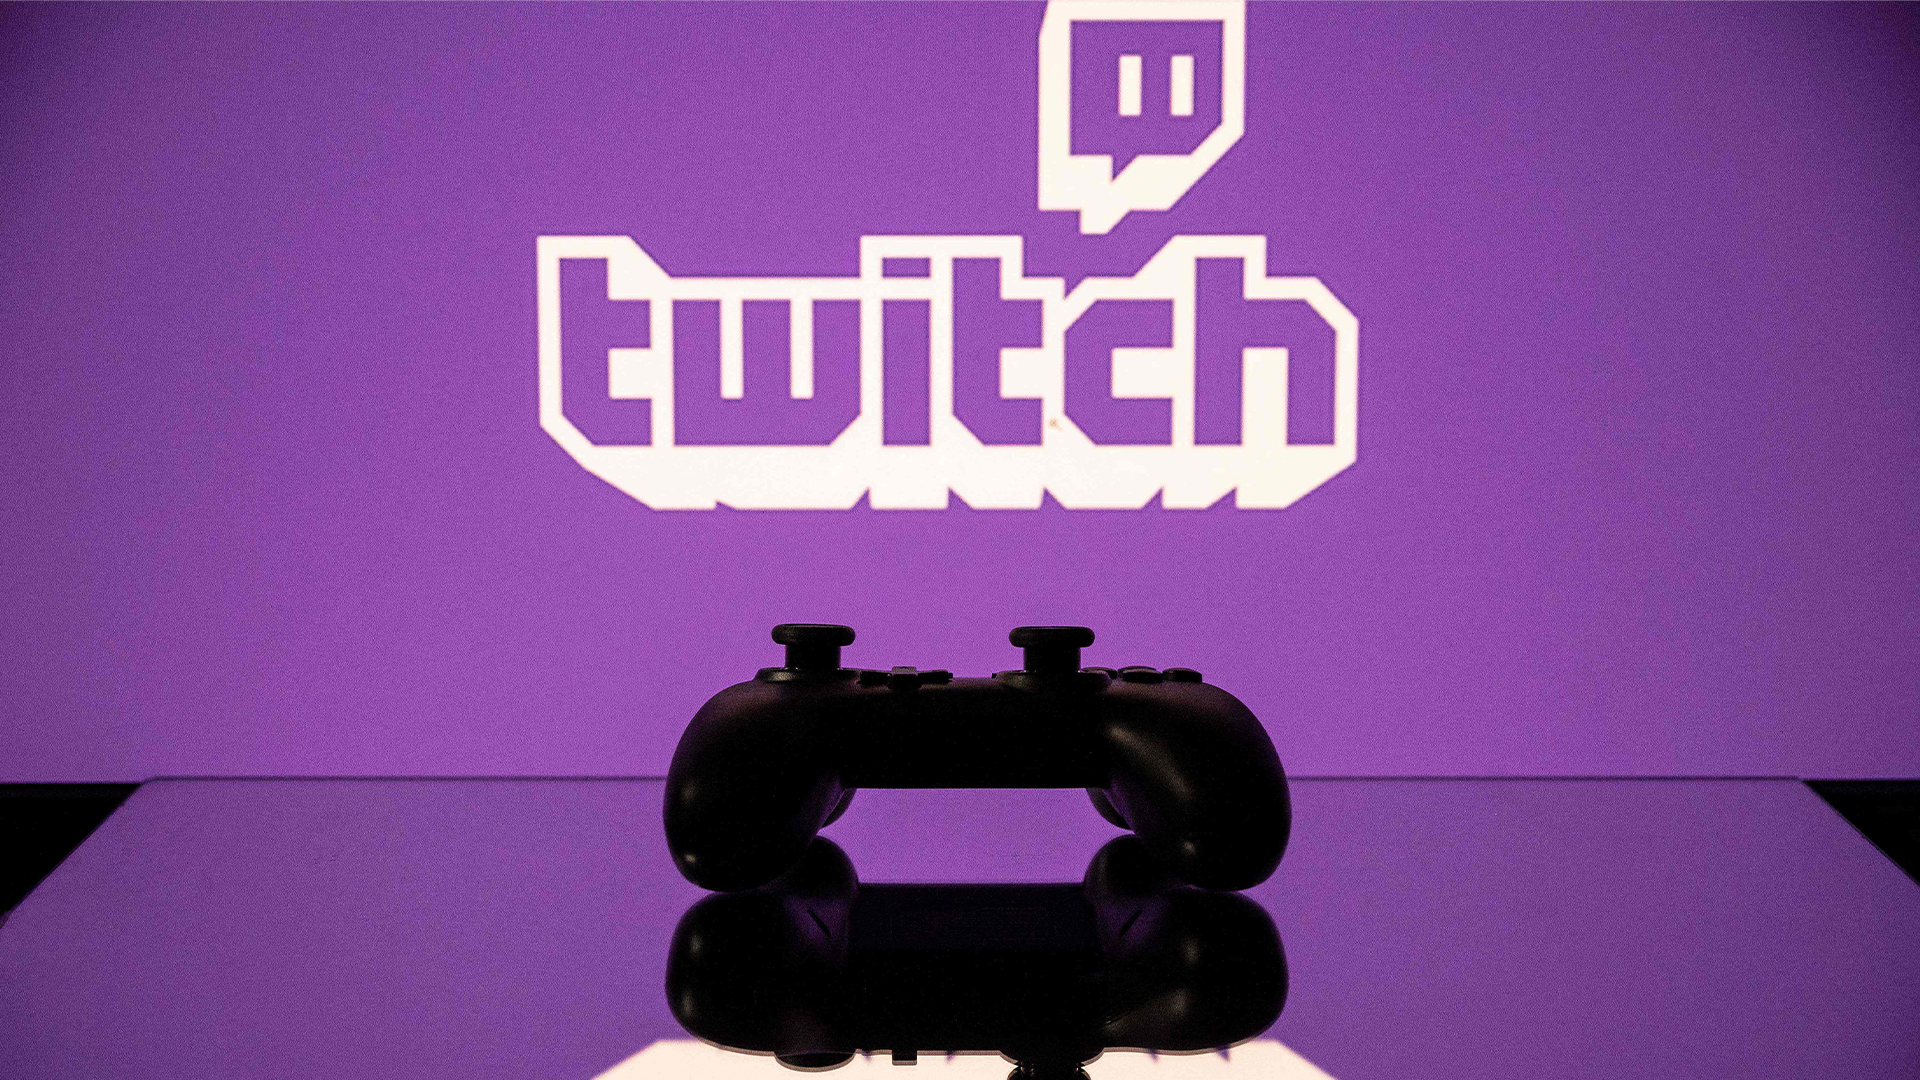
Want to know how to stream on Twitch so you can share your own personal brand of entertainment with the world? We're here to help you out. While you may well want to stream your favourite games on Twitch, it's also a home for more creative content, so you could livestream your current art project, launch your own cookery show or simply chat with your viewers. As long as you're passionate about your subject and have lots to say about it, you should be able to pick up an audience of like-minded viewers.
And the good news is that getting started on Twitch isn't hard at all (check out our collection of the best content creator kits and our picks for the best camera for streaming to get the best gear). A basic stream is easy to set up, and with success, you might even be able to earn an income from your streams. We'll explain everything you need to know to get started, as well as share some more advanced tips for creating a great-looking stream that people will keep on coming back to. So let's get going!
What you'll need to stream on Twitch
The bar to entry for streaming on Twitch is surprisingly low. All you really need to get started with a basic stream is a recent gaming console, PC or Mac, plus a webcam with a built-in microphone. If you want to sound good on your stream you should also invest in a condenser microphone with a pop shield, but that needn't cost you a fortune. And naturally you'll need an internet connection with a decent upstream, but it doesn't have to be super-fast; Twitch allows streams up to 1080p at 60fps, which means that as long as your upstream is at least a steady 8Mbps, you're good to go.
You'll also need the right software for streaming to Twitch. If you're taking the console route this couldn't be easier; the PS4 and PS5 come pretty much ready to stream, while on Xbox consoles you'll need to download the free Twitch app from the Microsoft store.
Things get a little more complicated if you're streaming from a PC or Mac as there are quite a few streaming apps to choose from. Twitch has its own free app – Twitch Studio – which is probably the easiest way to get up and running as it provides a guided setup as well as customisable templates for quickly putting together a good-looking stream. However as you gain experience you might find Twitch Studio just a little bit limiting, in which case you might be better off with a more fully-featured option.
The most popular streaming option by far is the free and open source OBS Studio for PC, Mac and Linux. Now, if the phrase 'open-source' rings alarm bells for you, well, your reservations aren't entirely unjustified. The initial learning curve for OBS is a little on the steep side, but once you've learned its ways (which won't take too long) you'll find it to be a versatile and powerful package that's ideal for streaming to Twitch and other platforms.
An alternative to OBS is the Windows 10-only XSplit. It's easier to get up and running and delivers great results, but while there's a free version you'll quickly tire of its watermark and limited number of scenes, which means you'll have to pay for the premium version.
Sign up to Creative Bloq's daily newsletter, which brings you the latest news and inspiration from the worlds of art, design and technology.
Advanced options
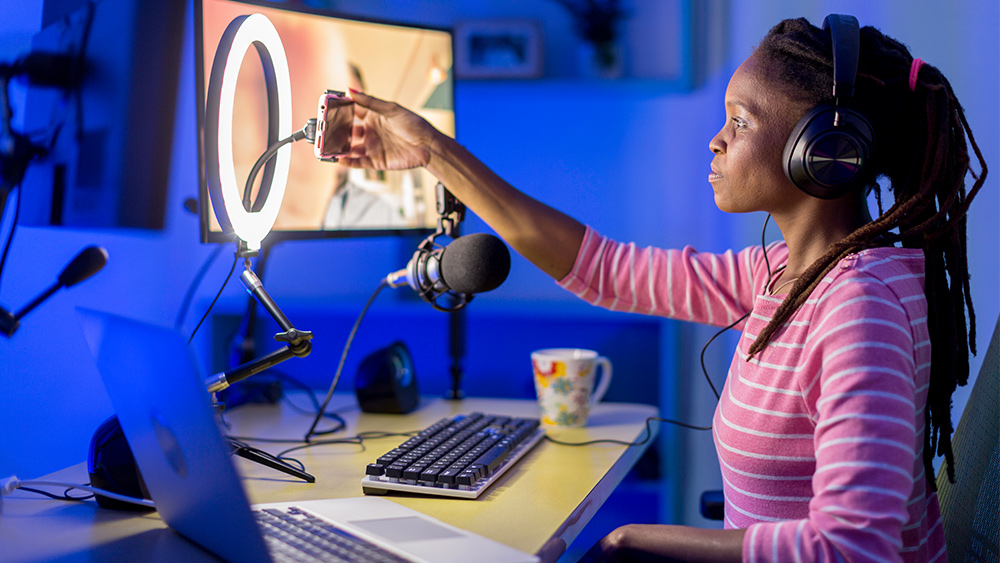
If you're determined to make a go of streaming and want an all-singing, all-dancing channel, you're going to have to invest in some extras. Such as...
- Lights. Want to look good on camera? The big light in your studio isn't going to cut it. At the very least you should consider having one of the best ring lights in front of you, to bathe you in diffused, flattering illumination.
- Green screen. Not blessed with an amazing-looking studio? Fake a more impressive location through the magic of chroma key, which is ready to go in just about every broadcasting package. And as well as delivering swank-looking backdrops, if you put your imagination to work you'll find any number of creative uses for a green screen to boost your stream's impact.
- Capture card. If you're streaming games it's possible to do everything on one machine, but having a PC or Mac that's dedicated to the intensive task of streaming, while you play your games on a separate computer or console, is a much better way of doing things. And for that you'll need to invest in a capture card so that you can get video into your streaming machine. There are some cheap options available, but for best results we'd recommend that you don't pay any less than $150/£150, and look for name brands such as Elgato or Avermedia.
Getting started
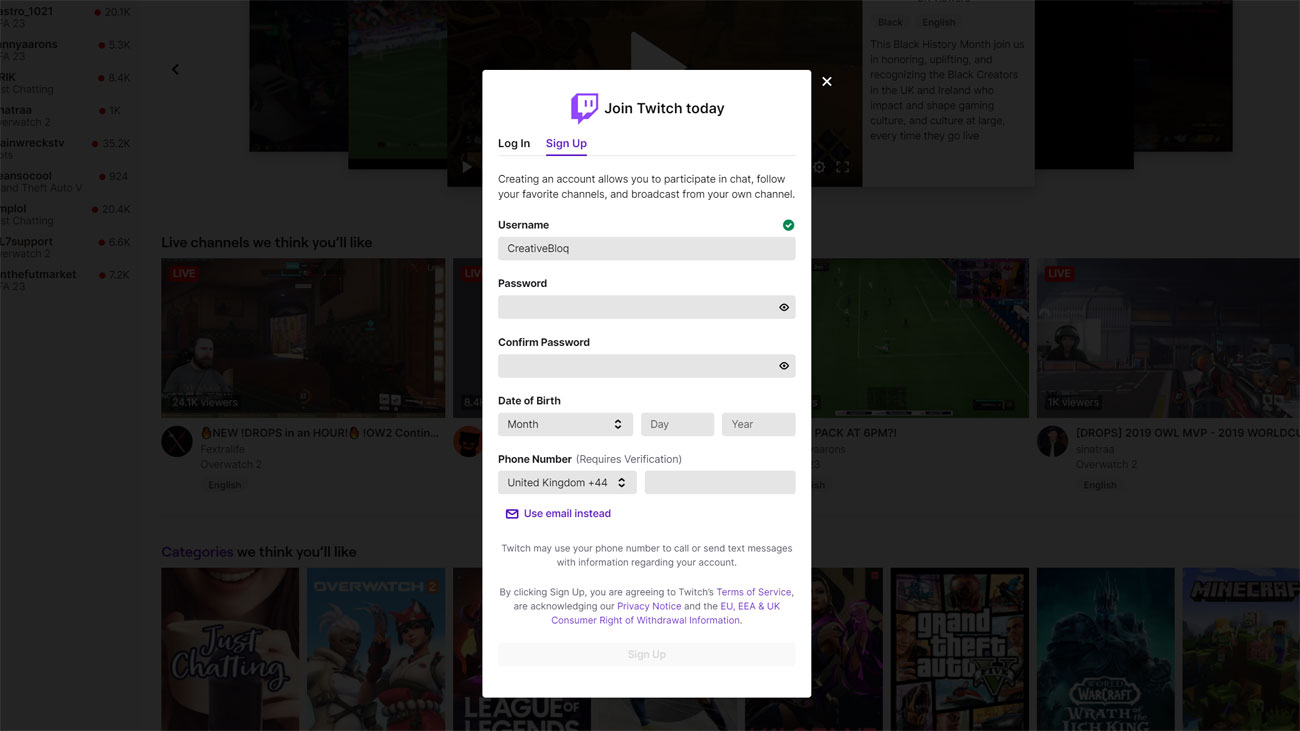
Okay, if you have all the gear you need, the next thing you need to do is get set up to stream on Twitch. First you'll need a Twitch account; the easiest way to do it is to head to Twitch on your desktop and click the Sign Up button in the top right hand corner. You'll need to provide a username and strong password as well as your date of birth and email address. Once you're set up, we'd also recommend activating two-factor authentication to keep your account safe.
Before you start streaming you should also take a look at Twitch's community guidelines and terms of service, just to be sure you don't break the rules and end up with a ban; you're unlikely to fall foul of them but it's good to be on the safe side. And of course before you launch your channel you should customise it with profile photo, banner and bio; later on you can worry about extra customisations such a channel trailer, stream schedule and offline image. Twitch has a handy list of all the branding you're ever going to need here.
Got all that? You're almost good to go. Just a few more hoops to jump through – depending on what platform you want to stream from – and you'll be ready for action!
How to stream to Twitch from a console
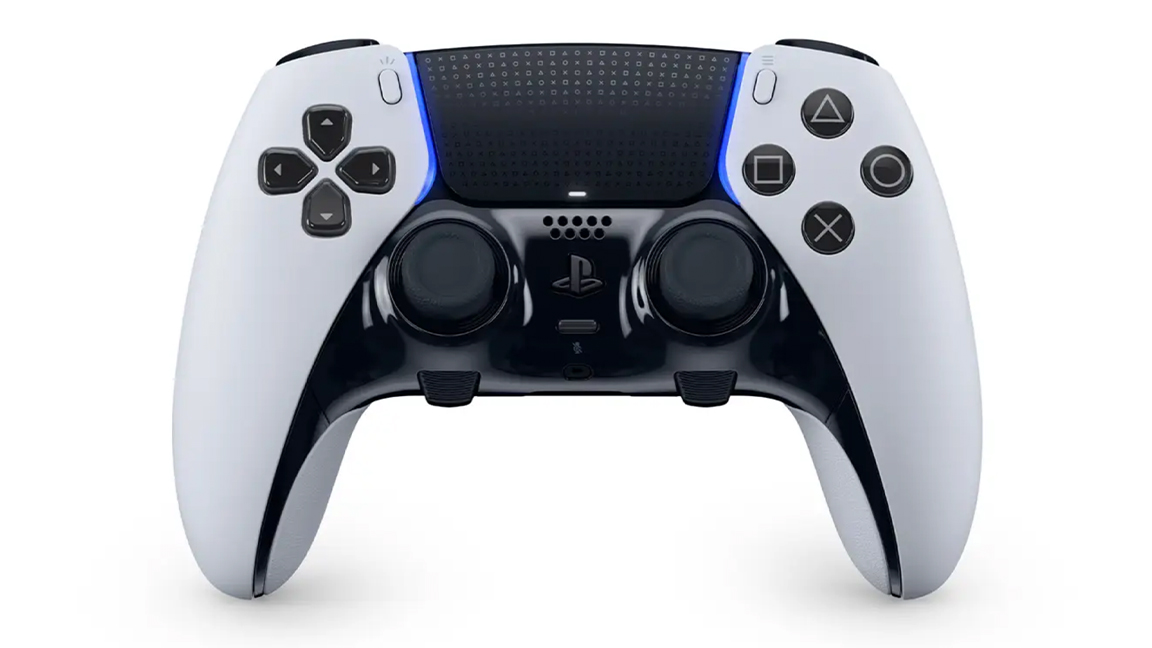
This is, as we've mentioned, the easiest – and the most limited – way of streaming to Twitch, but if you just want to dip a toe in the streaming waters it's the best way to get started.
If you're on PS4 or PS5 you have the easiest deal of the lot. All you need to do is press the 'Share' button in the centre of your controller, select Broadcast Gameplay, and select Twitch as your streaming platform. As soon as you've logged in with your Twitch credentials you can go live whenever you want, although you may want to adjust the quality settings and other layout options first, and if you have a camera attached to your console you can bring that into the stream as well.
With an Xbox One or better, things are a little more involved. As mentioned previously you'll have to grab the Twitch app from the Microsoft store and sign in with your Twitch credentials. Then when you want to stream a game you'll need to load that first, then open the Twitch app and select Broadcast from the main menu. Again you can bring a camera into your stream if you want.
How to stream to Twitch from a PC or Mac
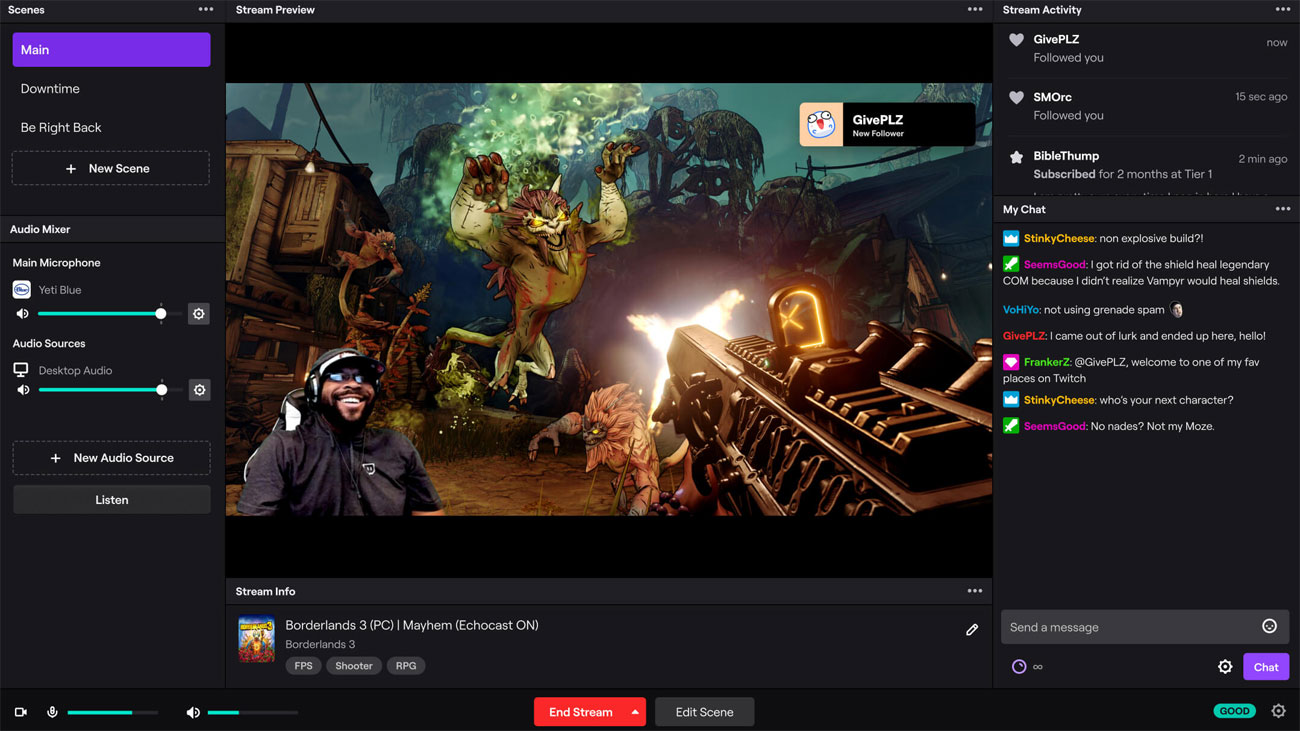
This is the more complex option, but ultimately it's the more rewarding way to go if you're in this for the long term and want to be able to grow your channel and engage your viewers along the way.
For the easiest way to stream from a PC is with Twitch Studio. It's currently Windows-only and still in beta, but it's free and designed to spare you any technical headaches. Because it's a first-party solution it integrates with Twitch from the get-go, and it features guided onboarding that'll automatically detect your webcam, microphone and make it easy to capture whatever else you want to broadcast. It comes with pre-loaded starter layouts to help you give your stream a personalised look, and for interacting with your community it also has built-in alerts and chat.
If you'd prefer to have more control over your stream and don't mind getting your hands dirty, you'll likely want to go with OBS Studio or XSplit. Read on for quick guides to getting started with both.
Streaming with OBS Studio
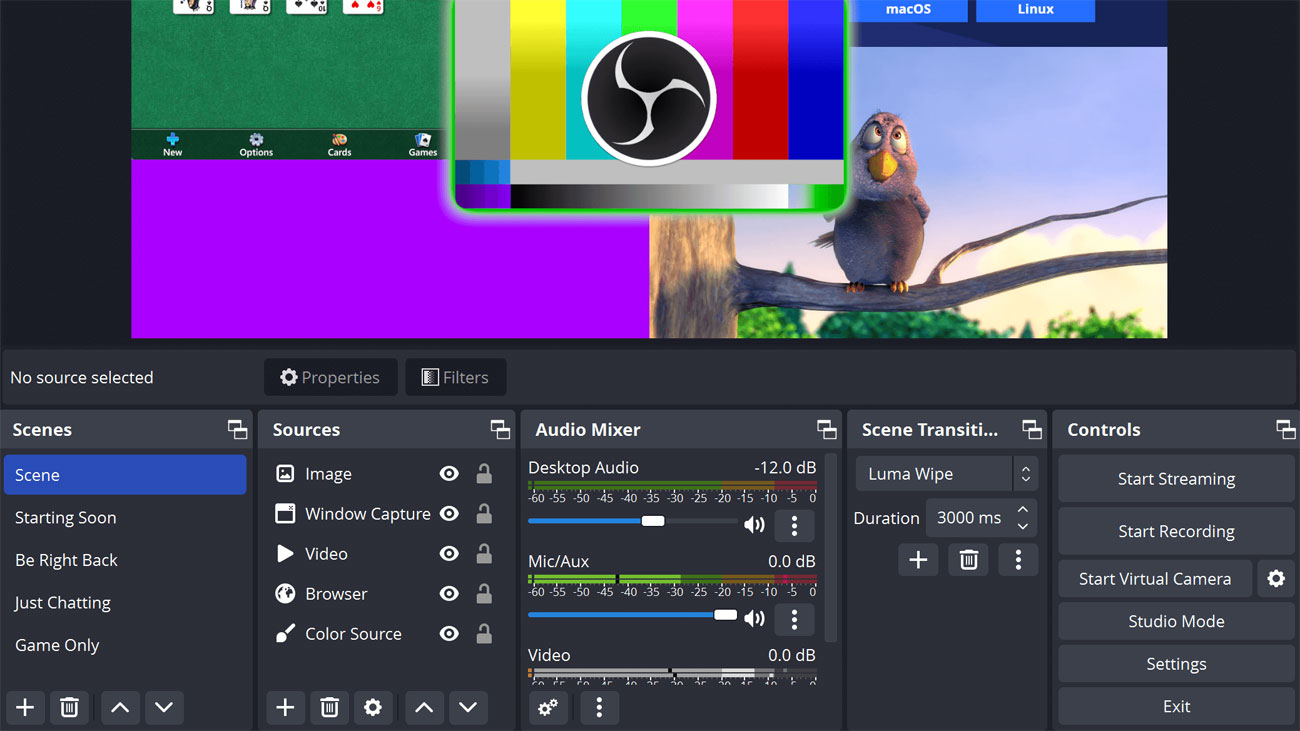
First of all you'll need to download OBS Studio for your operating system from the OBS site. Once it's downloaded and installed, there are a few initial steps you'll need to go through before you're ready to start streaming.
Firstly, open OBS and click File, then select Settings. Select Stream from the left-hand menu, then find Twitch under the Service drop-down menu and select that.
There are two options for what to do next. The easiest option is to click Connect Account in the Stream window; this will bring up a Twitch login window where you can enter your credentials, then you should be ready to set up your stream.
Alternatively if you don't want to connect OBS to your Twitch account directly, there's a way to do that by obtaining a stream key from Twitch. Log into Twitch via your web browser, go to your dashboard and select Stream Key; follow the instructions and you'll be given a unique – and very long – code that you should copy, then paste it into the Stream Key box in OBS' Broadcast Settings menu. With that done you'll be ready for the next step.
Creating your stream is a little more complex, depending on what you want to stream. If you click the Sources box in OBS and select Add, you'll see a list of options; if you want to stream a game you should select Game Capture (you should have the game running in the background at this point), then select your game from the drop-down. You might want to capture your webcam feed too, in which case you should select Video Capture Device, and there are other options you can combine to create the scene you'll be streaming; just click the Sources box to add additional elements such as a background image to tie everything together.
Once you've selected all the bits for your stream, select Preview Stream to see how it all looks; you can then click Edit Scene to organise your elements into something more aesthetically pleasing for you. And finally, when you're happy with the layout of your scene, hit Start Streaming to go live!
Streaming with XSplit
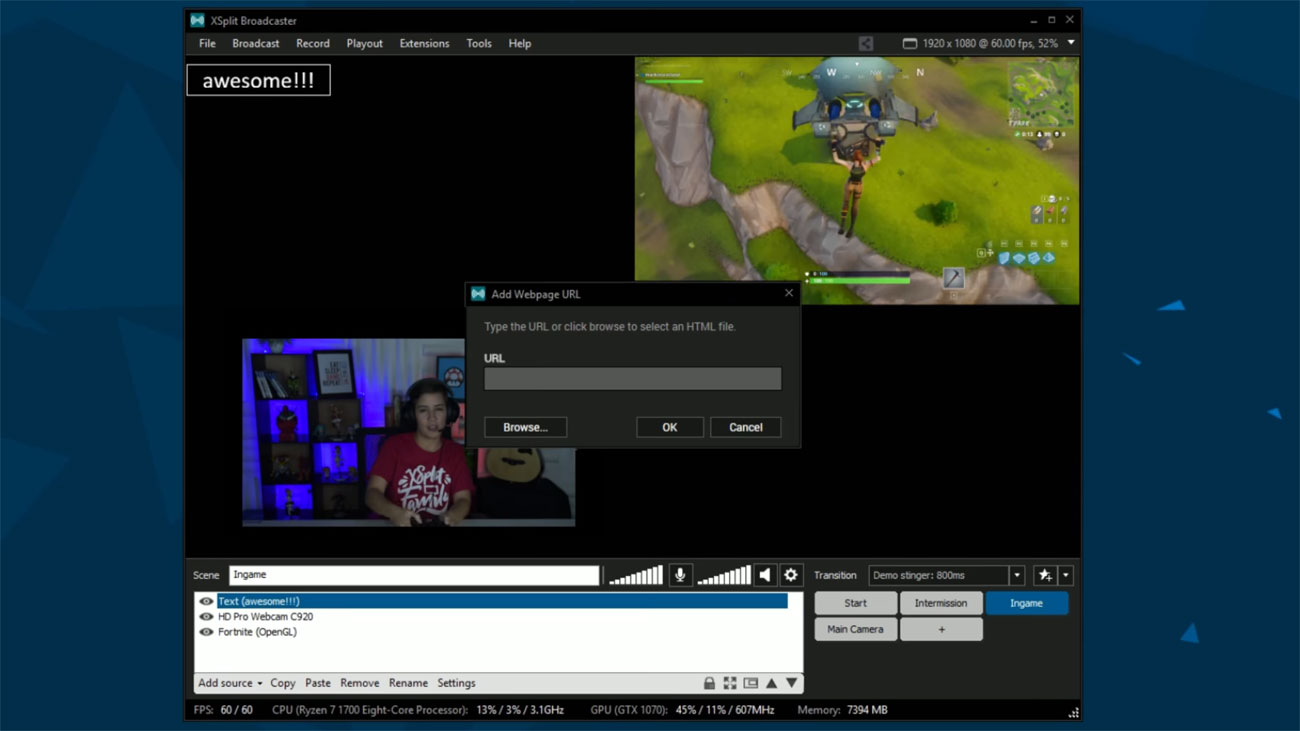
Gettting up and running with XSplit is a little more straightforward, but as we've already mentioned you'll have to pay to get the best, non-watermarked results, so we'd recommend trying OBS first and then, if you really can't get on with it, coming back to XSplit.
First you'll have to download and install XSplit, then open it. From the top menu select Broadcast, followed by Add Channel, and click Twitch. Click Authorize to bring up a Twitch login window and enter your credentials, then hit Login. This will bring up XSplit's channel setup wizard to help you get going; it'll automatically select the best resolution for your stream. Select Finish to go to the stream properties dialogue; again it should select the best options for you, so you can click OK to move on to setting up your scene.
Find the Screen Sources section in the bottom left of XSplit and click Add. For streaming a game, hover the mouse over Game capture and select the game you want to play. For anything else you might want to add, such as a webcam feed, screen capture, images, video or text, select them from the Add section.
Once you have everything you want selected, you can move and resize every element until you have it all looking just the way you want it; that's your cue to select Broadcast, followed by Twitch, and you'll be streaming live to the world.
Taking your Twitch stream to the next level
That's pretty much everything you need to know about how to stream on Twitch; the beauty of it is that once you know your way about OBS or XSplit, if you want to adjust the layout of your stream or add more sources and green screen backgrounds for your webcam feed, you'll find it easy to do so.
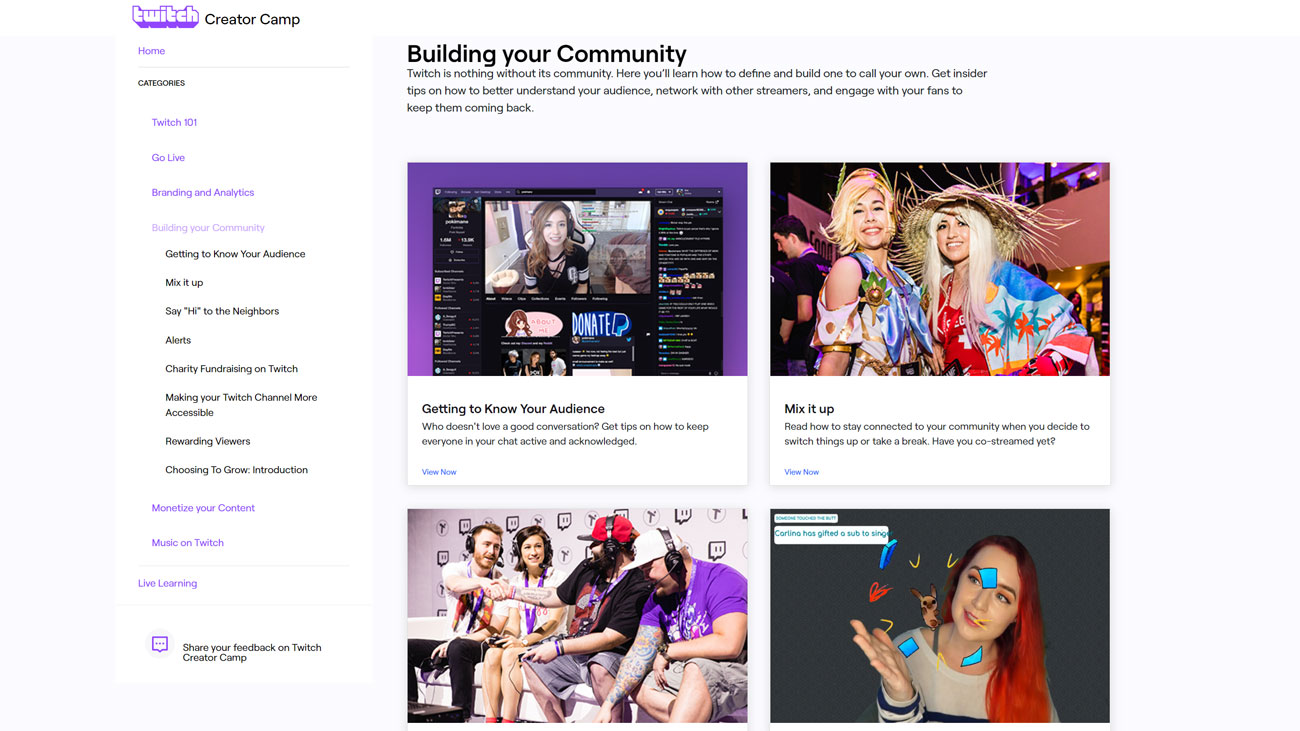
However if you want to engage with your audience, build your channel and even monetise your content, that's a whole other subject. Thankfully Twitch itself is on the ball, and provides a comprehensive guide that's designed to help you make the most of your streaming, from the basics we've already covered here through to advanced subjects such as personal branding, viewer retention, subscriptions, ads and sponsorships.
If your channel's off to a flying start and you want to take things even further, head to Twitch's Creator Camp to discover everything you need to know. Happy streaming!
If you want to learn more ways to optimise your Twitch experience, check out our guide on how to create Twitch Stories or take a look at the Pringles gaming microphone that's been a recent hit with streamers.

Jim McCauley is a writer, performer and cat-wrangler who started writing professionally way back in 1995 on PC Format magazine, and has been covering technology-related subjects ever since, whether it's hardware, software or videogames. A chance call in 2005 led to Jim taking charge of Computer Arts' website and developing an interest in the world of graphic design, and eventually led to a move over to the freshly-launched Creative Bloq in 2012. Jim now works as a freelance writer for sites including Creative Bloq, T3 and PetsRadar, specialising in design, technology, wellness and cats, while doing the occasional pantomime and street performance in Bath and designing posters for a local drama group on the side.
