Create Massive crowd scenes
Learn how to quickly generate a crowd in Massive – the software developed for Lord of the Rings.
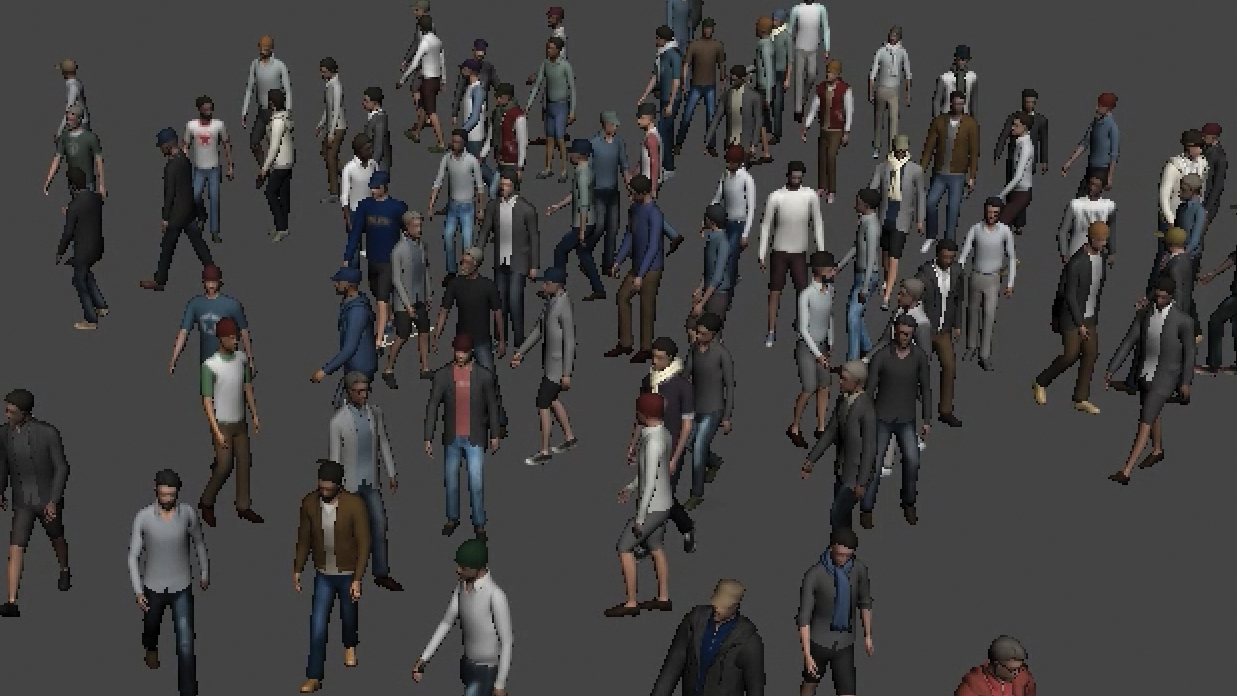
Peter Jackson’s Lord of the Rings trilogy, starting in 2001, heralded several watershed moments in visual effects. It showed off the talents of Weta Digital and Weta Workshop, it kicked off the mocap career of Andy Serkis, and it saw the development of the Massive crowd simulation software.
Massive was the brainchild of Stephen Regelous, who while at Weta Digital built the system to enable armies of hundreds of thousands of soldiers and Orcs to battle it out, seemingly autonomously. In fact, that’s exactly what Massive was designed to do; its fuzzy logic capabilities enabled computer-generated ‘agents’ to respond to their surroundings and other agents, appearing to fight, and sometimes even take flight.
After the Lord of the Rings trilogy, Regelous continued to develop Massive as a product that could be licensed to other visual effects and animation studios. He and his team have added countless features to the software, including, most recently, a ‘horse and rider’ agent function to add to the ‘ready-to-run’ agents already in the program. That required a custom motion capture shoot and several adaptations to Massive itself.
Article continues belowHere Regelous breaks down how to quickly generate a crowd in Massive for Maya by loading agents, adding terrain, running a sim and rendering a result.
01. Load an agent
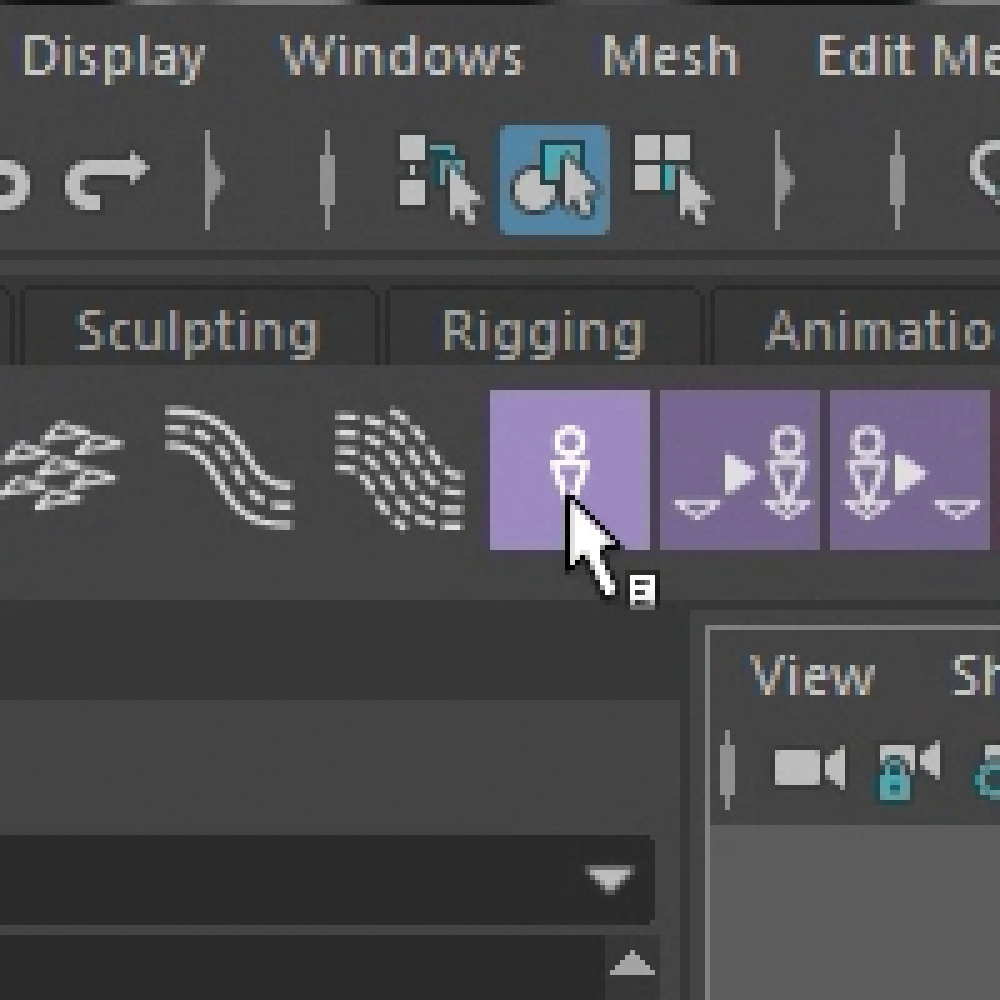
Click on the agent icon in the Massive shelf. This opens the file select browser. Select an agent and click on the Open button. The agent should appear in the viewport, visible as segments, and its group node should appear under the Massive node in the Outliner.
02. Add terrain
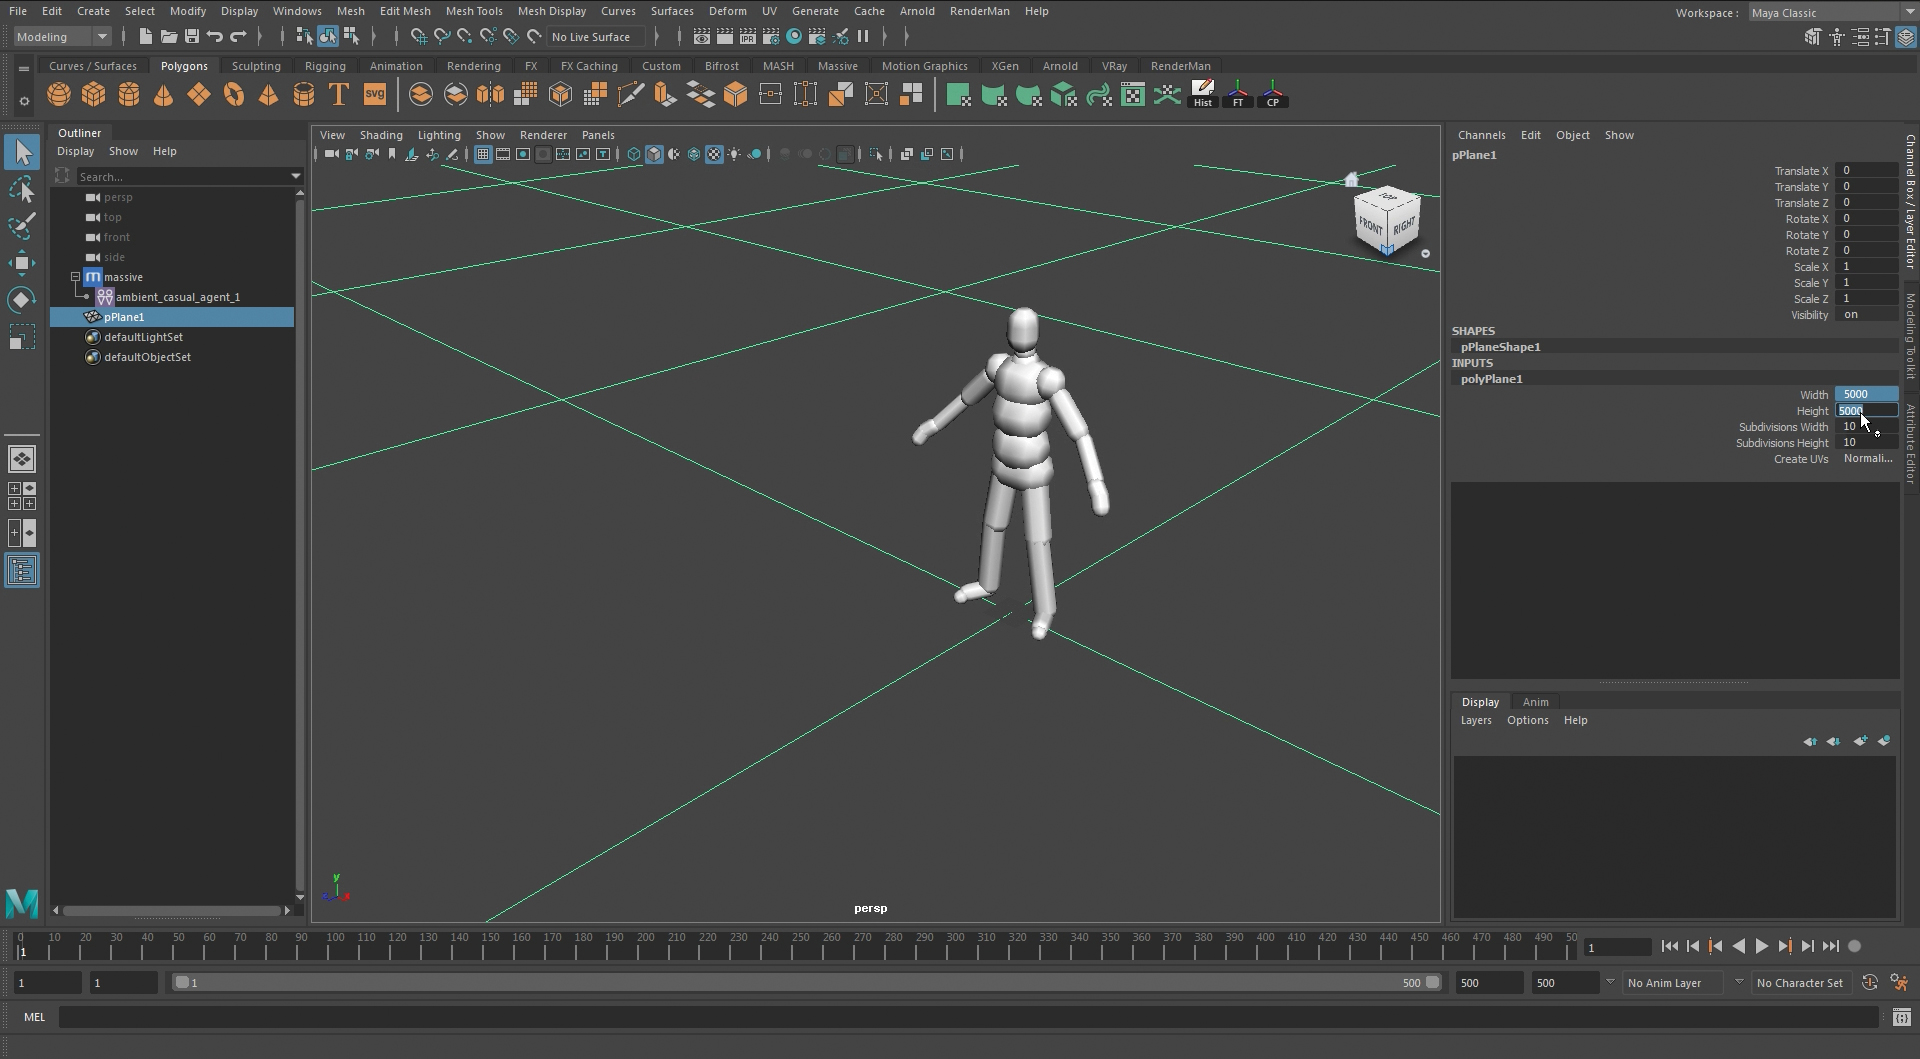
Add geometry to the scene. In this case we have added a polygonal grid. Click on the terrain tool in the Massive tray to make the geometry active terrain in Massive.
03. Place the agents
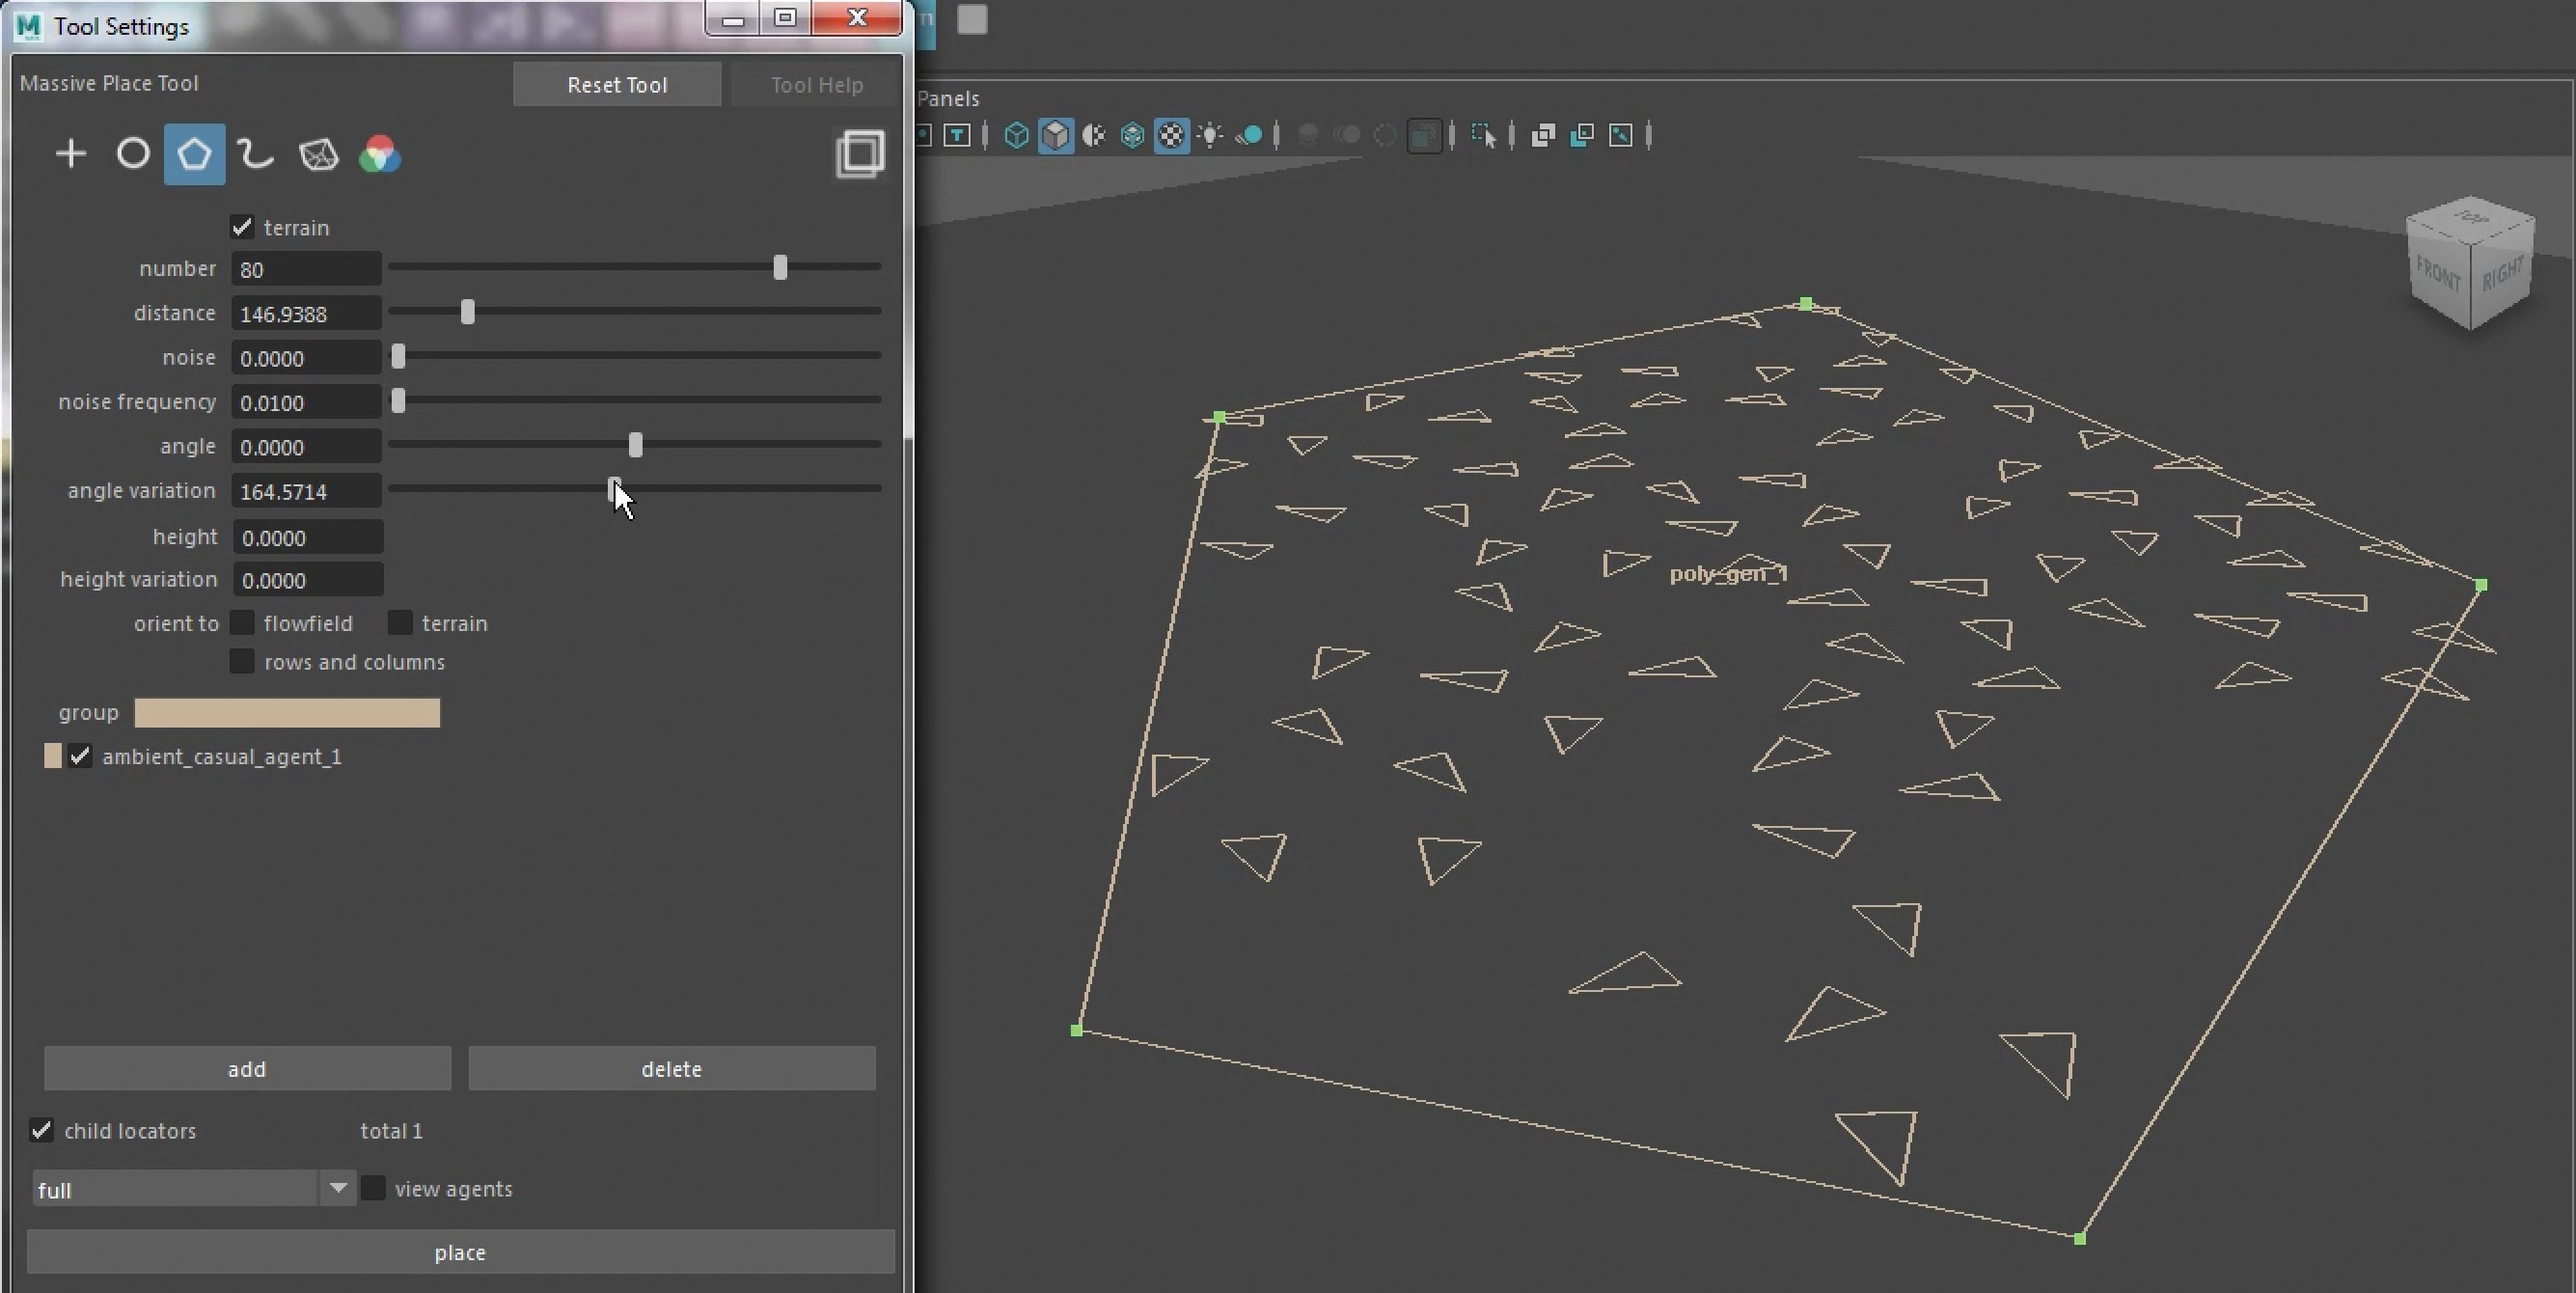
Click on the Place tool icon in the Massive shelf. This opens the Massive Place tool. Select the polygon generator icon in the Place tool. Click on the add button in the Place tool. Add points to the polygon generator by clicking on the terrain in the viewport. Press the enter key to finish adding points. In the Place tool, set number to 80, distance to about 150 and angle variation to about 160. In the Attribute Editor for massiveAttribs, under the view section switch on geometry and switch off skeleton. Click on the Place Agents icon in the Massive tray. The agents should appear, with their geometry and texture maps visible.
Sign up to Creative Bloq's daily newsletter, which brings you the latest news and inspiration from the worlds of art, design and technology.
04. Run the simulation
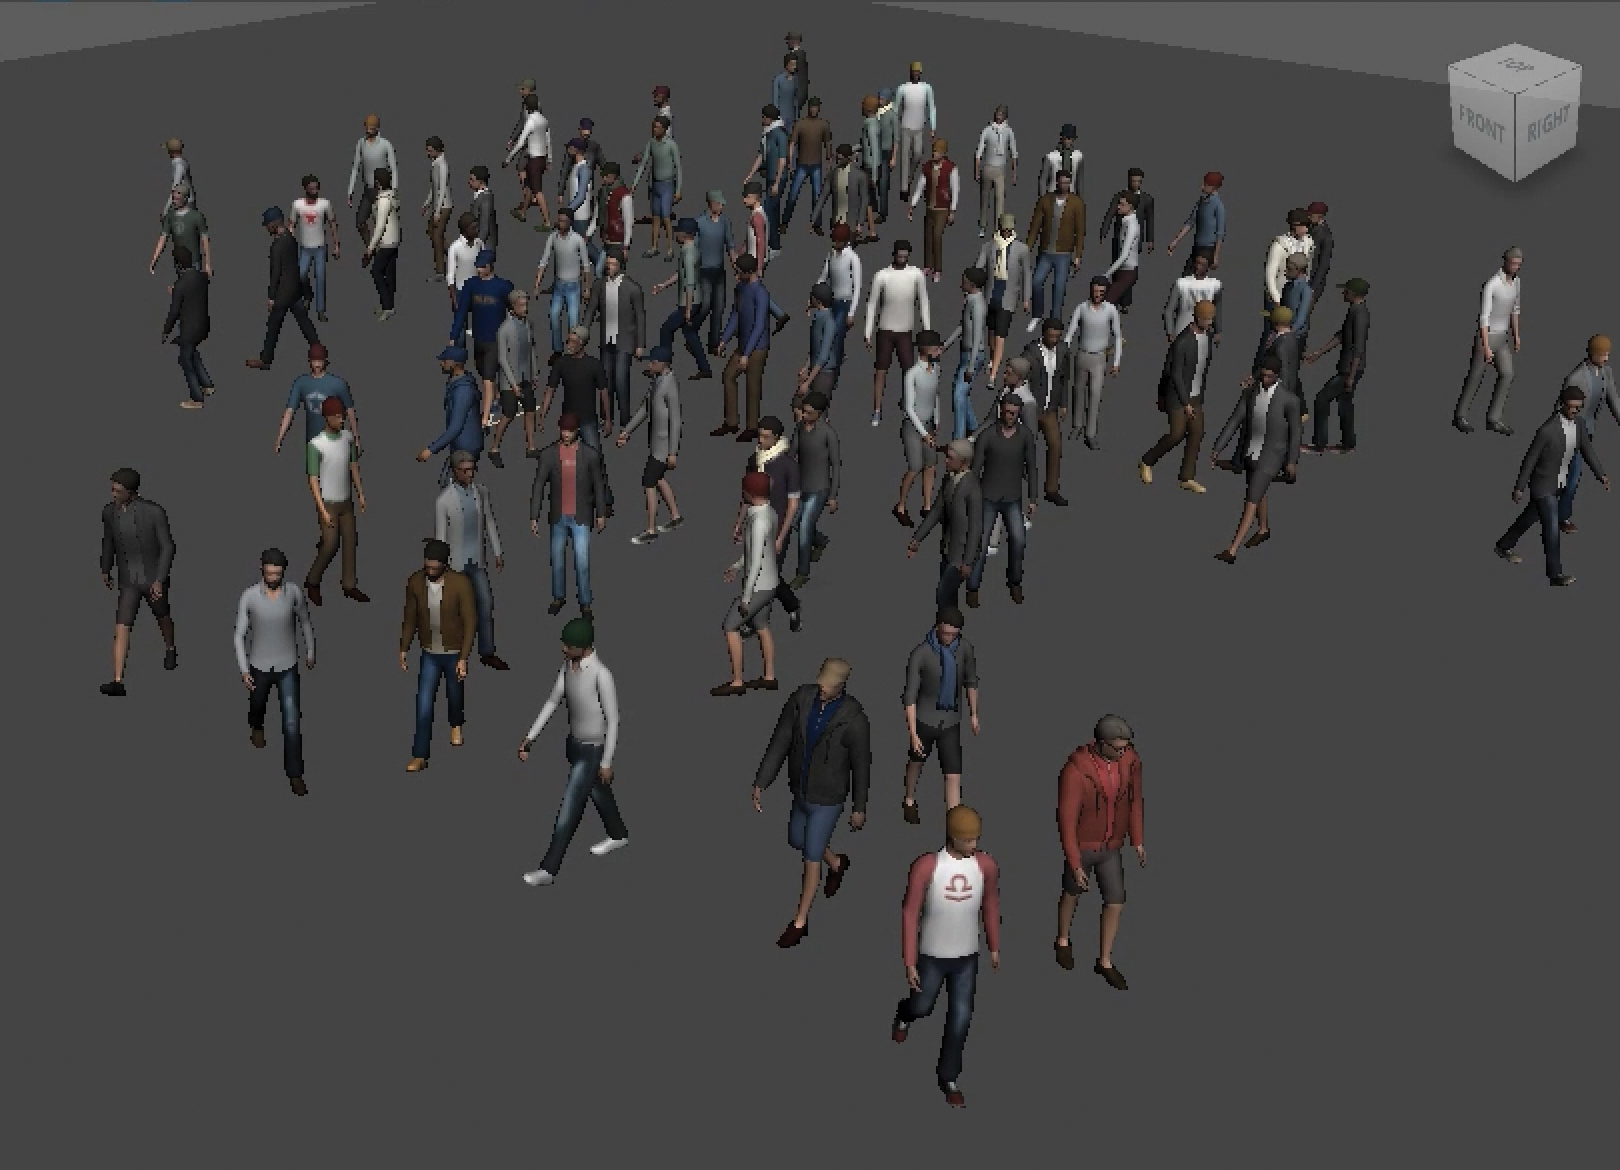
Click on the Maya play button to see the agents move. Click play again to pause it. The agents move much quicker if the skeletons are displayed instead of geometry and texture maps. So switch off geometry and switch on skeleton in the Attribute Editor. Clicking on the play button again we can see the agents walk, avoiding each other but with no preferred direction.
05. Add a lane
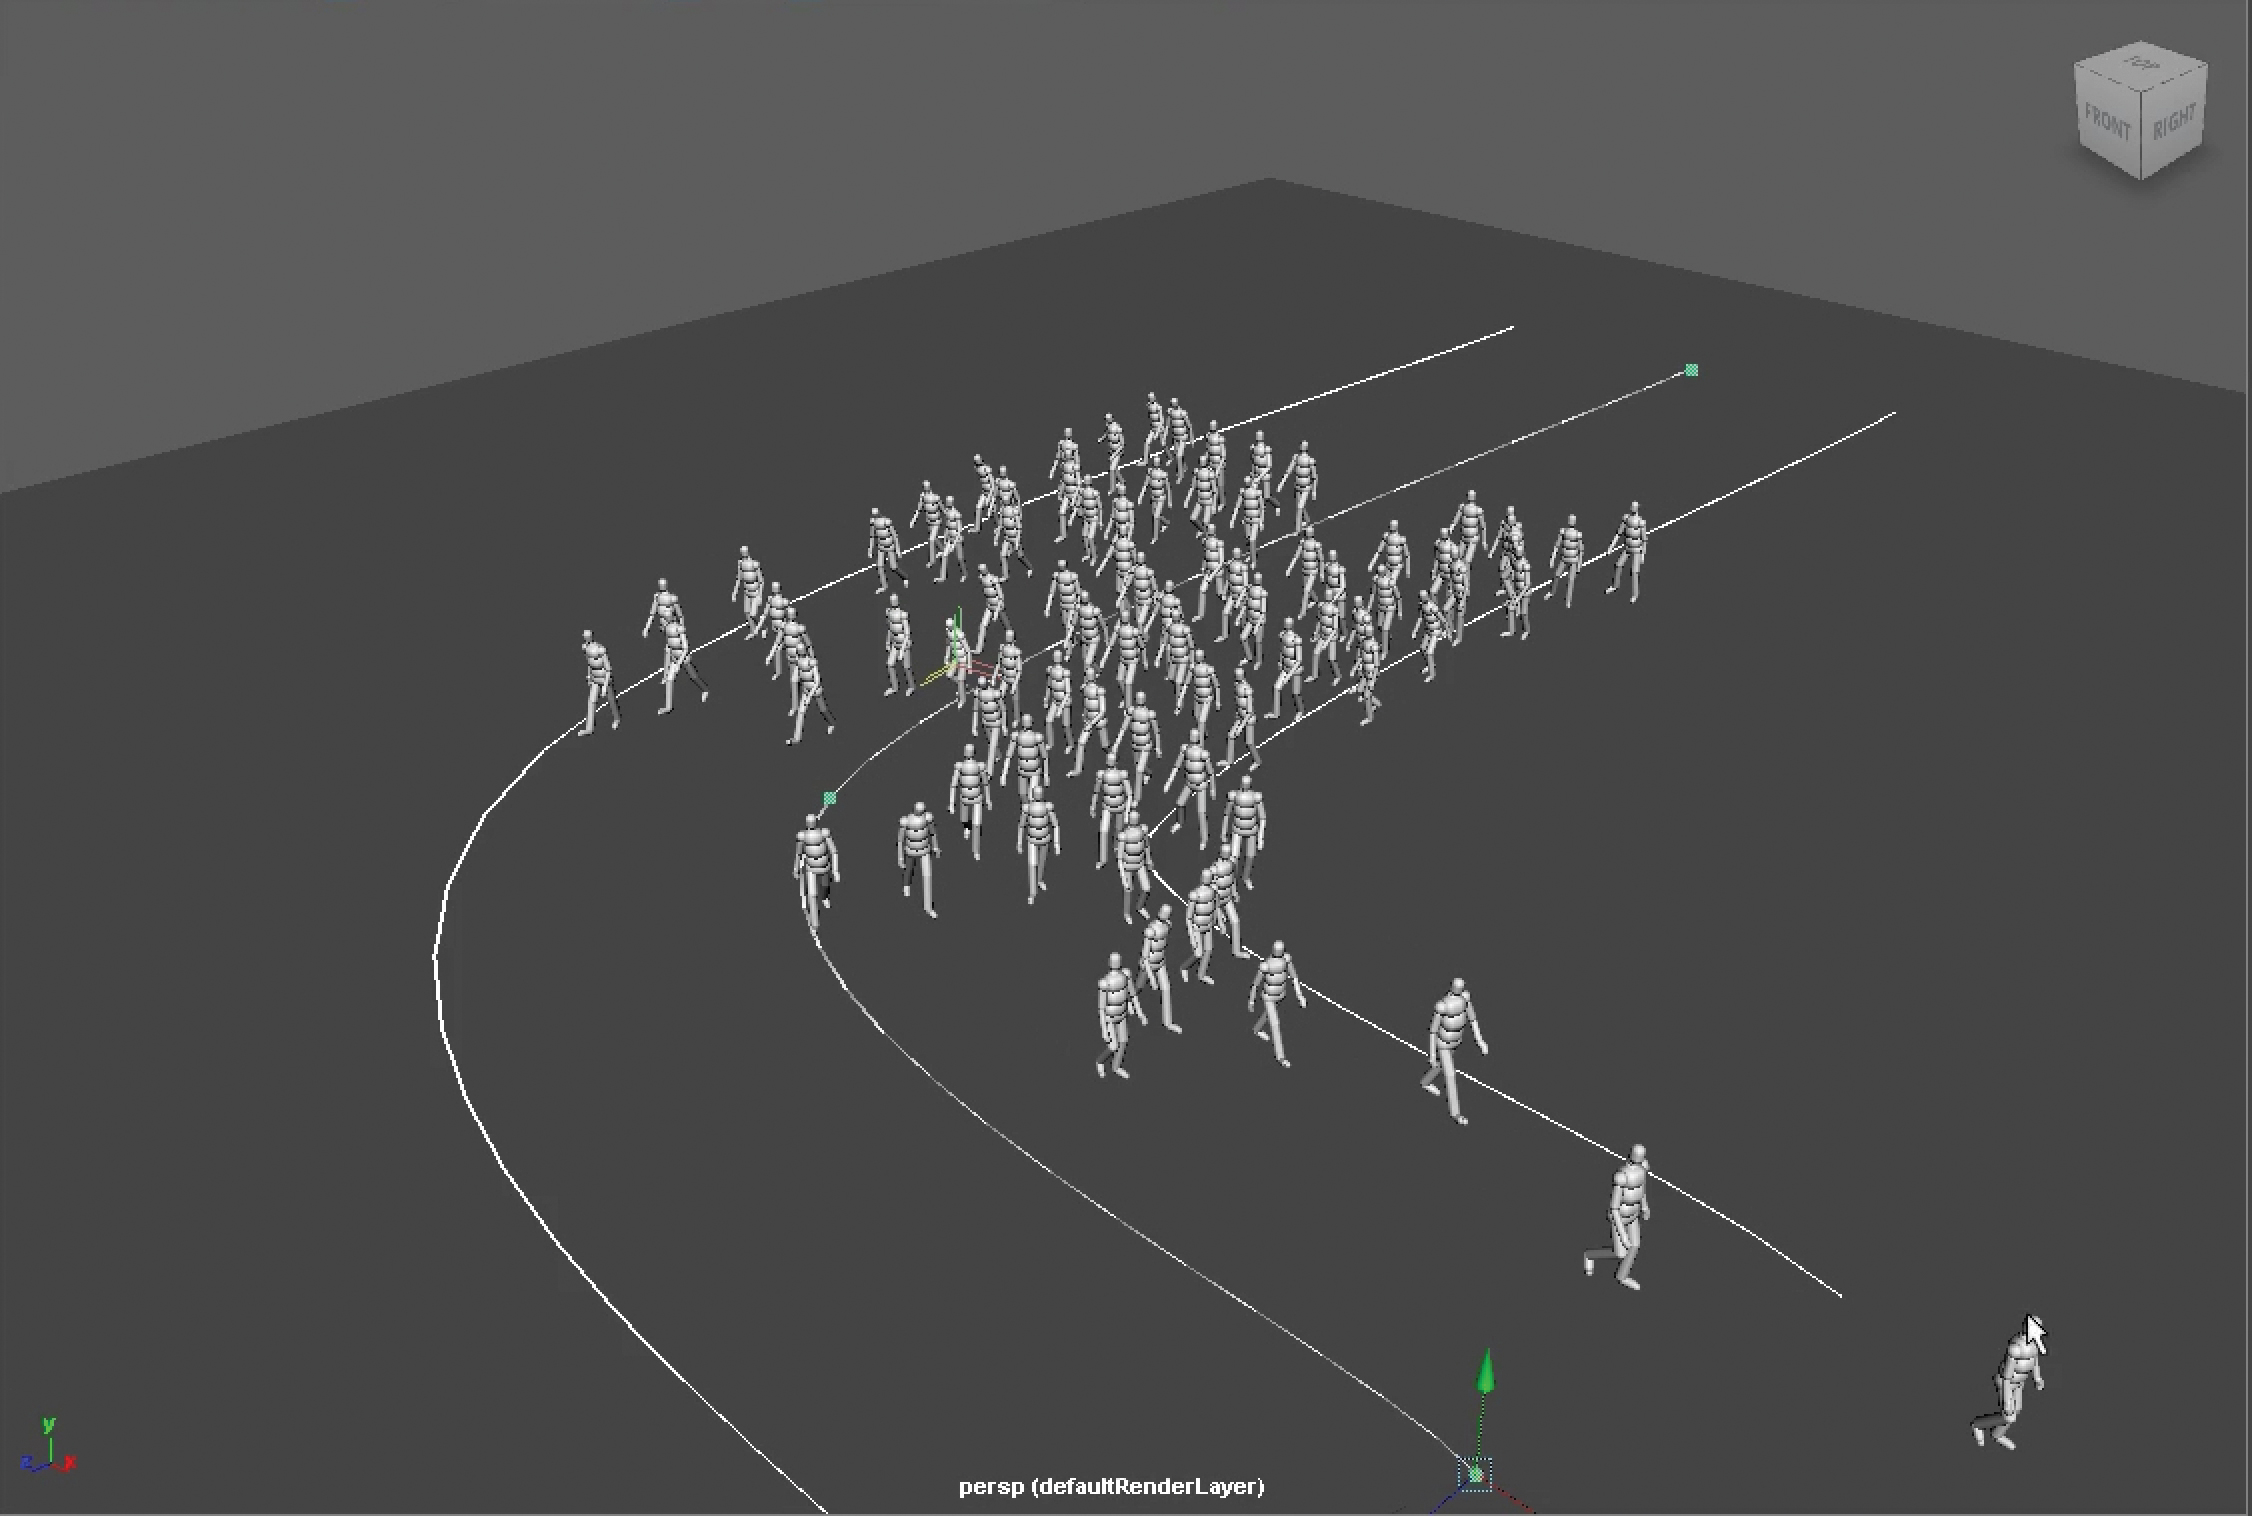
We can add a lane to guide the agents. Click on the Lane tool in the Massive tray to begin adding a lane to the scene. Click on the terrain to add lane points. As soon as the lane is started a lane node will appear in the Outliner. Press the enter key to finish adding lane points. Set the lane width in the Attribute Editor to 1,000. When playing the simulation the agents will follow the lane. Drag a lane point to adjust the lane. This can be done interactively while the simulation is running. Now the agents will follow the new direction of the lane.
06. Record the simulation
In the Attribute Editor for massiveAttribs, under the sim pass parameters section, set End Frame to 200. Next switch on the Sim checkbox under Output, and make sure that the directory shown in the text widget to the right already exists, or change it to one that does. Click on the record button. Click on the play button.
The simulation will now be recorded, and it will stop at frame 200. If we look in the Sim directory we will see the APF files that have been written. Switch on the replay button in the Attribute Editor. This will cause Massive to read back the motion files instead of simulating. Now we can play back the simulation more quickly, and we can scrub the timeline to get to any frame of our recorded simulation.
07. Preview render
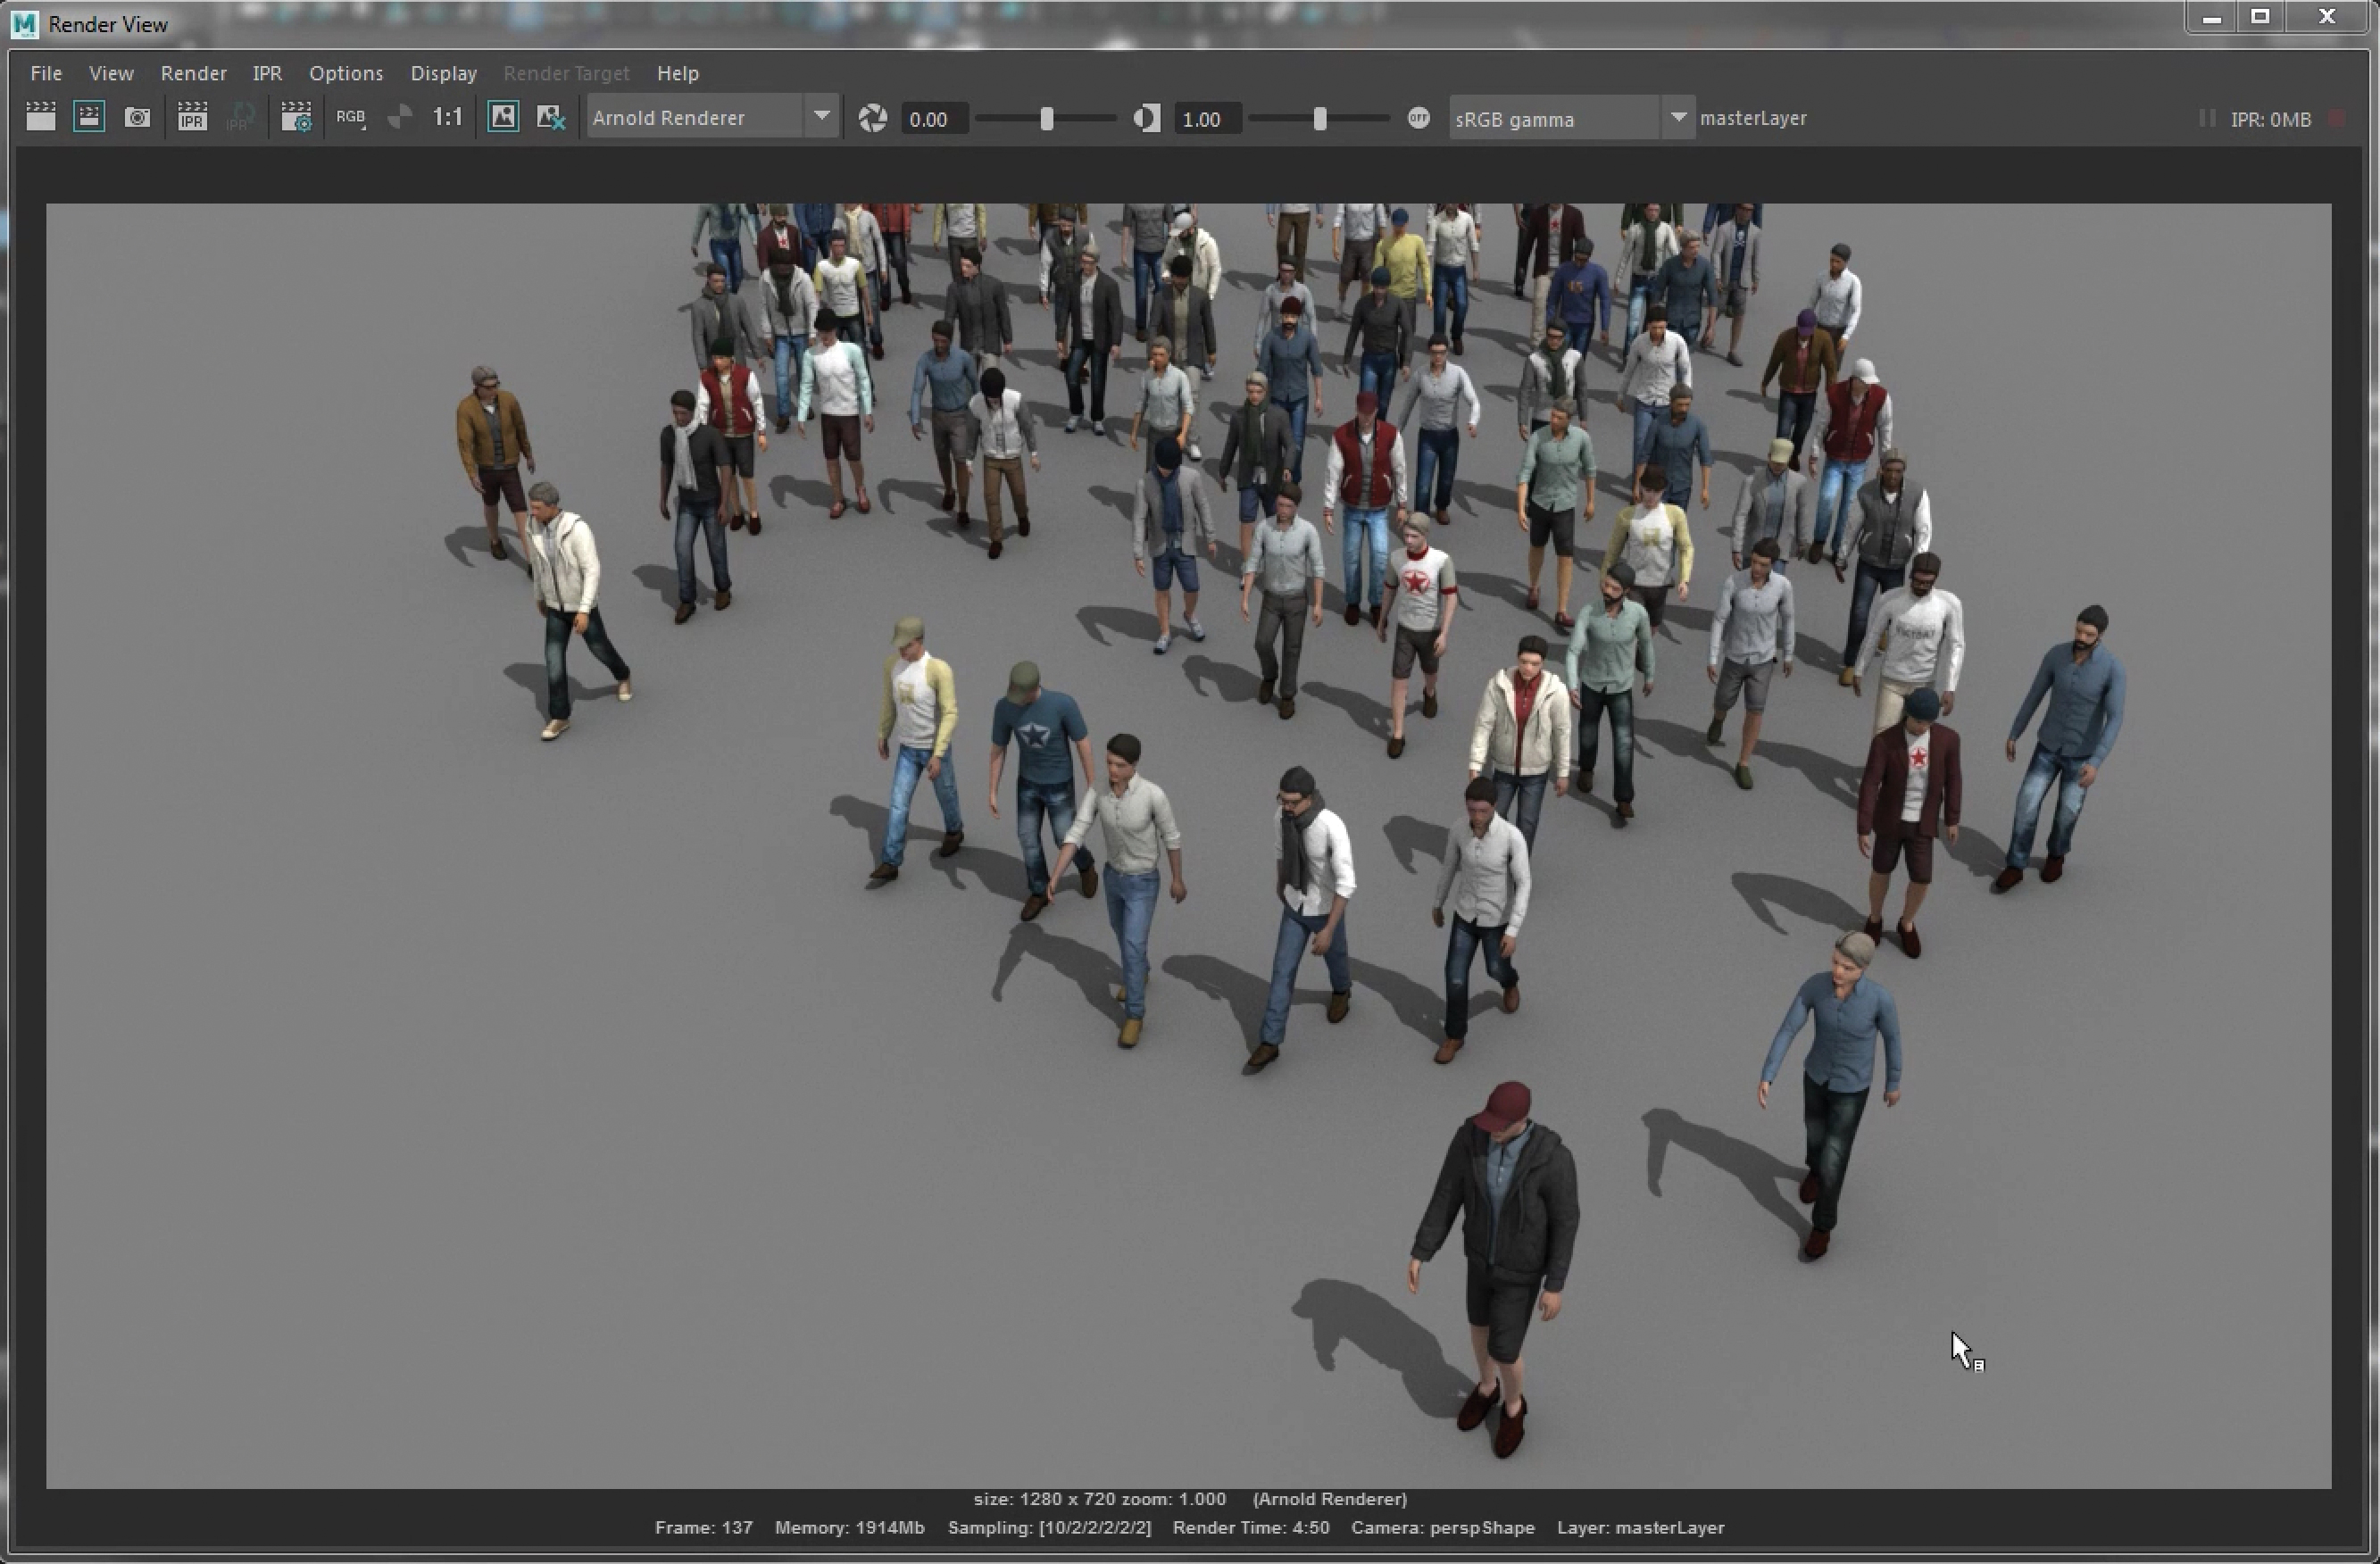
First we add lights to the scene. Here we have added a sky dome light and a directional light. Scrub to somewhere around frame 140, and position the camera in order to better frame the agents. Click on the Massive node in the Outliner. Then in the Attribute Editor, under render passes select the Arnold render pass.
Next select the preview render icon. The render should appear with the agents. Note that it isn’t necessary for geometry to be switched on for it to appear in the render. This can save a lot of memory and processing time when dealing with large scenes.
08. Batch render
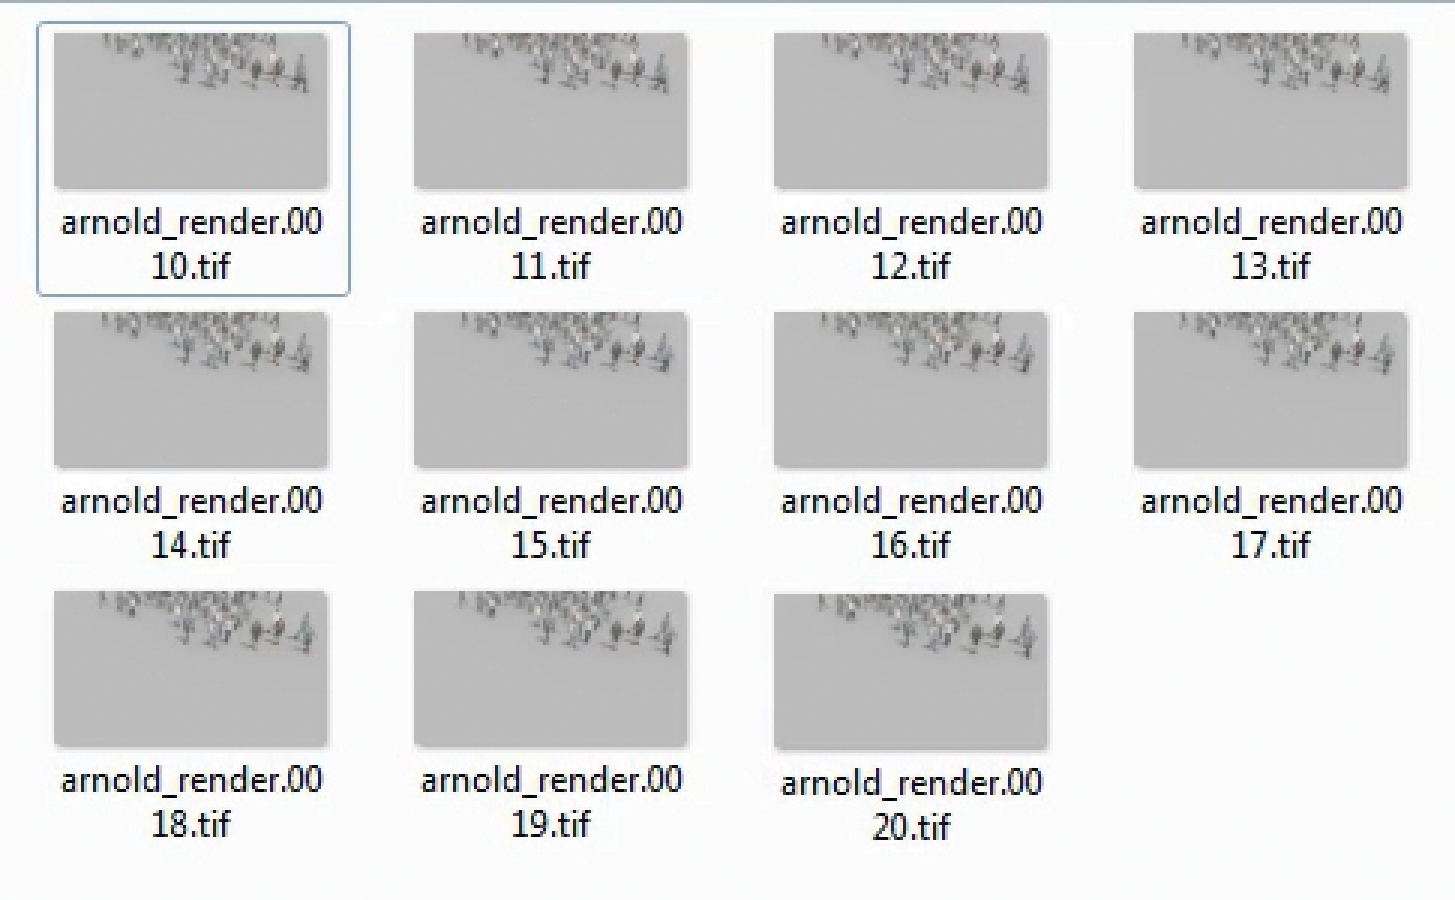
Click on the render settings icon. Set the image format to TIF. Set the filename pattern in Frame/Animation ext. Set the frame range. Change Maya to Rendering mode in the dropdown. Click on Batch Render under the Render menu. Soon we should have our rendered frames.
This article originally featured in 3D World magazine issue 230. Subscribe now.
Related articles:

Ian Failes is a VFX journalist, who has written for a number of creative titles, including fxguide, Cartoon Brew, VFX Voice, 3D Artist, 3D World, Thrillist, Syfy, Inverse, Digital Arts, MovieMaker, Empire Magazine Australia, Develop, Rolling Stone and Polygon. Ian now runs befores & afters, a brand-new visual effects and animation online magazine.
