Behind the scenes of Blade Runner 2049
The VFX experts behind the cult sci-fi sequel explain how they created its environmentally devastated world.
Blade Runner 2049, out now on DVD and Blu-ray, brings back Harrison Ford as Rick Deckard; however, this time around, the government-sanctioned replicant assassin is the one being hunted in a world at the mercy of an egomaniacal scientist. Tasked to find Deckard and bury a revelation that could ignite a civil war is a Nexus-9 replicant named KD6-3.7, a hired killer for the LAPD portrayed by Ryan Gosling.
Blade Runner 2049 VFX supervisor John Nelson spent two years crafting 1,190 visual effects shots and relied on the expertise of Double Negative, Framestore, MPC, Rodeo FX, BUF, UPP, Atomic Fiction and Territory Studio to produce desolate cities, holographic companions and celebrities, drone-projected advertisements, manufactured memories, analogue UI and a replicant cameo.
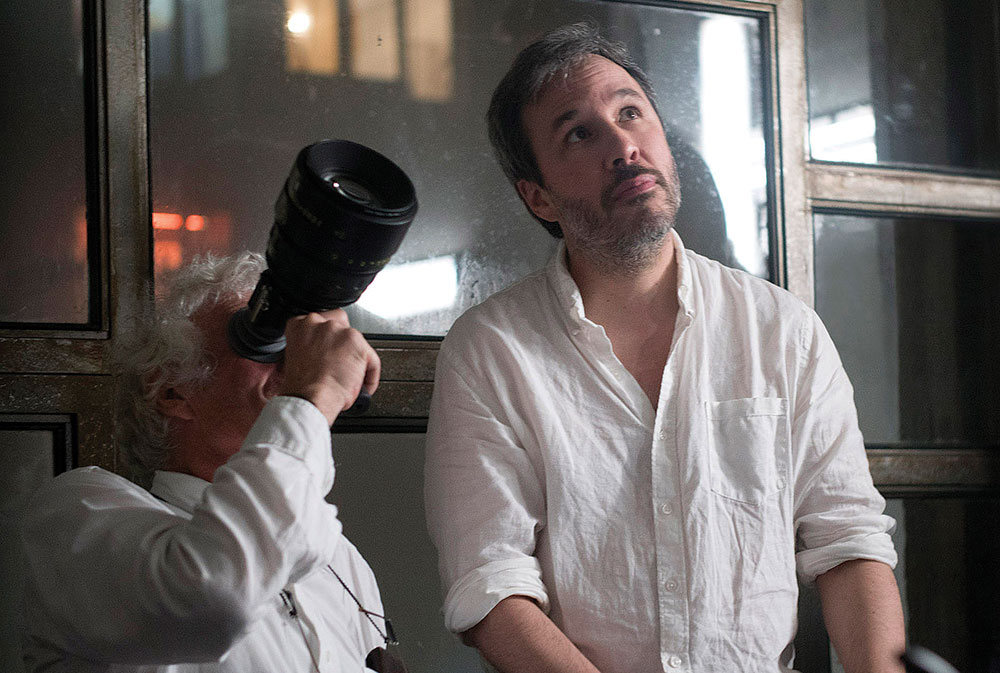
Shot composition was inspired by storyboards drawn by Sam Hudecki under the direction of Denis Villeneuve and Roger Deakins. "The nature of our work was not to have spectacle for spectacle's sake but rather tone it down to make the visuals fit well into director Denis Villeneuve's vision (and the cinematography of Roger Deakins)."
Article continues belowTwo key members of the visual effects team were Double Negative VFX supervisor Paul Lambert and Framestore VFX supervisor Richard Hoover who were on set for the entire principal photography. "The three of us met every Saturday," states Hoover. "We went over all of the work of the week, strategised on how to do things, and who would be responsible for what."
Creating the Blade Runner 2049 world
Brutalist architecture was part of the overall look. "This is a dying world, so we had to paint out all of the cars and any sign of life in the streets," remarks Double Negative CG supervisor Chris McLaughlin. "We removed large factories and added a lot of favela-style buildings to fill up the green spaces as well as some megastructures to give it a sense of scale."
An innovative and efficient approach was taken when populating buildings. "We built and laid out an environment in Maya using simple representations of our buildings," explains McLaughlin.
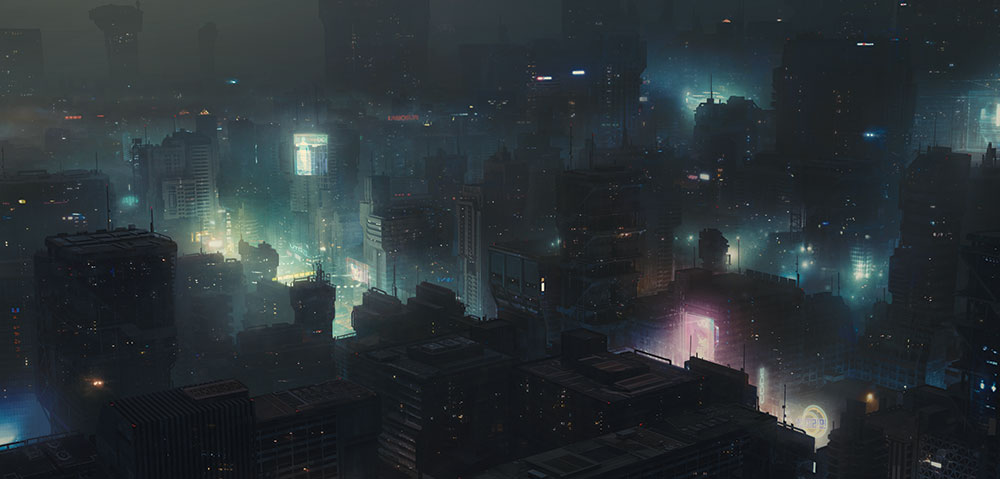
"Using our in-house tools, this is up-resed to a more detailed version then converted to a VDB point cloud, which is then used to instance more complex geometry within Clarisse," he remarks.
Sign up to Creative Bloq's daily newsletter, which brings you the latest news and inspiration from the worlds of art, design and technology.
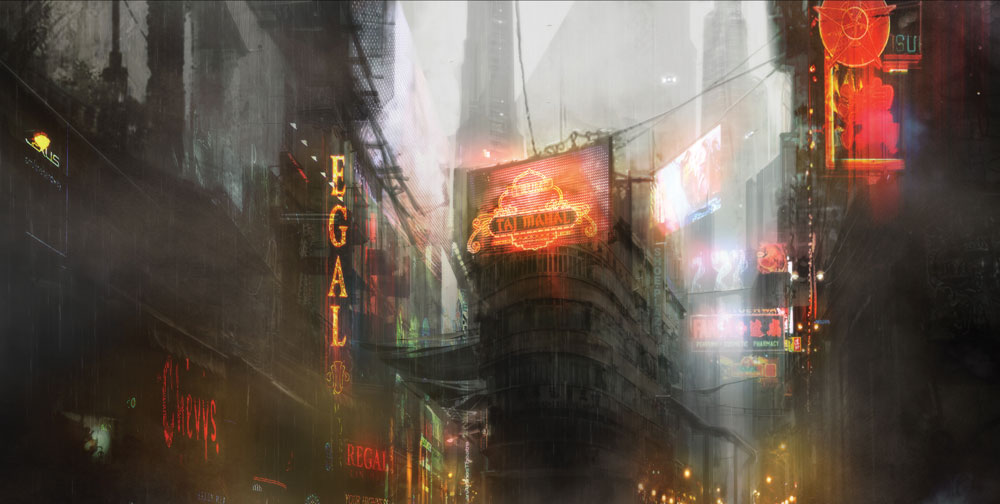
Hundreds of ads projected by drones had to be created, such as one featuring a dancing ballerina. "The ads went through a bit of a design process. We ended up coming up with something that Denis called the 'patented Double Negative advertisement system', where we would take a flat advertisement, break it into several layers, layer stuff in Houdini, add a static flickering effect, output as Alembic caches, and use them as light sources in the scene."
San Diego has become a massive junkyard known as Trash Mesa. "We had helicopter reference footage of the Chittagong, Bangladesh salvage yard with the ships on the beach being dismantled," states Hoover.
The prevailing thematic look of the film is of a tiny man living in a gigantic and oppressive world
"The crash site was a partial set built in Hungary that we extended all the way around. We started by using a particular beach in Iceland as our ground plate. Each shot was custom laid out compositionally with the same pieces: ships, beach, ground and piles of trash."
Photo scans were used as much as possible for the asset builds. "With these scans, we retopologised clean meshes in Maya and prepared UVs for texture projection," remarks Framestore CG supervisor Adrien Saint Girons. "We then project back some details on our default resolution in ZBrush. Texturing was handled in Mari using polarised photography when available and our look development was created using Arnold shaders."
"We started with a USGEO point cloud of actual Las Vegas and all of the buildings that were there," explains Hoover. "The Framestore London art department created a model of futuristic Las Vegas where there are still key buildings in the same location. We put newly designed buildings on top of them or blended the original and current design of the building into a Syd Mead kind of design. It was months of designing different pieces, parts, signage and putting detail in that would give it scale."
The prevailing thematic look of the film is of a tiny man living in a gigantic and oppressive world. "My concept was when this bomb went off there were people outside or in restaurants or out on tables eating. We would dress the street as if they all ran away. There are chairs knocked over. Just to try to give a hint of some human level there."
Difficult scenes and paint jobs
An unexpected difficulty arose in the penthouse sequence when K and Rick Deckard are having a conversation. "Outside in the plates they had a physical backing where there was a printed image of the Las Vegas skyline, but that led to some wrinkles in the backing and there were some issues with depth," remarks Adrien Saint Girons.
"We had to modify the backing in all of the shots and that meant a crazy amount of roto. The compositors spent the time balancing each shot to get that virtual backing to sit in it."
Gas masks were also digitally placed upon the bodyguards accompanying Luv (Sylvia Hoeks), a replicant henchwoman for her maker Niander Wallace (Jared Leto), and K encounters CG bees. "We had to build a pseudo crowd system in Houdini; we had animation do clips of bee behaviour and our effects artists came up with a clever system to switch between those clips and get the bees to behave."
"In a couple shots you see an array of these solar farms," states Adrien Saint Girons. "They shot the main one in Spain at dusk as the weather did not permit to shoot overcast. We graded it to look overcast with some soft sunlight directionality. The main tower had to be replaced with a futurised brutalist version. We had to make sure circular shapes of the lines at the base of the panels stood out that they wanted to tie in with the previous eyeball shot."
The scene is followed by an aerial view of greenhouses which was also captured in Spain. "It was more of a matte painting task to fill in the holes by adding more greenhouses and then a couple of farm vehicles."
Lighting tricks
For the final showdown between K and Luv, a partial set was built of the seawall in a water tank located in Budapest. "That was two weeks of night shooting with simulated rain and wind," recalls Lambert.
"It was absolutely miserable. The limo was on a contraption that allowed it to be pulled into the water. The practical water worked well but there were times that Denis wanted bigger waves, so we augmented with some full CG splashes on the limo. Not having moonlight or a completely lit set was key to the look of this. You could see a few waves out but then it was pitch black."
Roger Deakins deployed a bunch of fantastic lighting tricks. "One of them was to quickly run lights on a cable that gave us interactive light on the inside of the limo as well as on the rain around the limo. We augmented that with the shape of K's Spinner as well as with additional light."
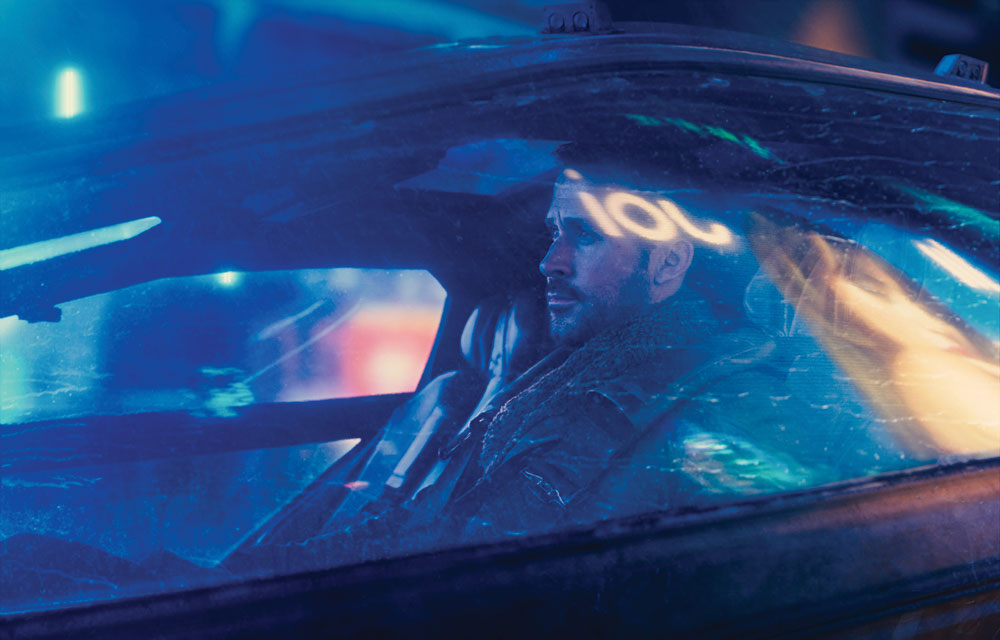
"There are a lot of invisible effects like the layout of the snow at the end scene when K dies," notes Nelson. "All of that background didn't exist. It's all BUF. We had the steps and part of the building but no glass on the front of the building. We shot it with practical snow and added more digitally. That whole city back there was recreated."
The hologram companion of K stands out for Double Negative. "The biggest creative challenge was the idea of Joi because it took a good while; even though the final effect is subtle, it's sophisticated and hard to pull off," states Lambert. "The rain and atmospherics were huge renders so more of a technical challenge."
Dealing with the orange light and the asset management were the major hurdles that Framestore overcame. "As a supervisor and doing this for 35 years," remarks Hoover, "it was inspirational to watch a crew of artists so involved and excited in making this movie work."
Creating Joi the hologram
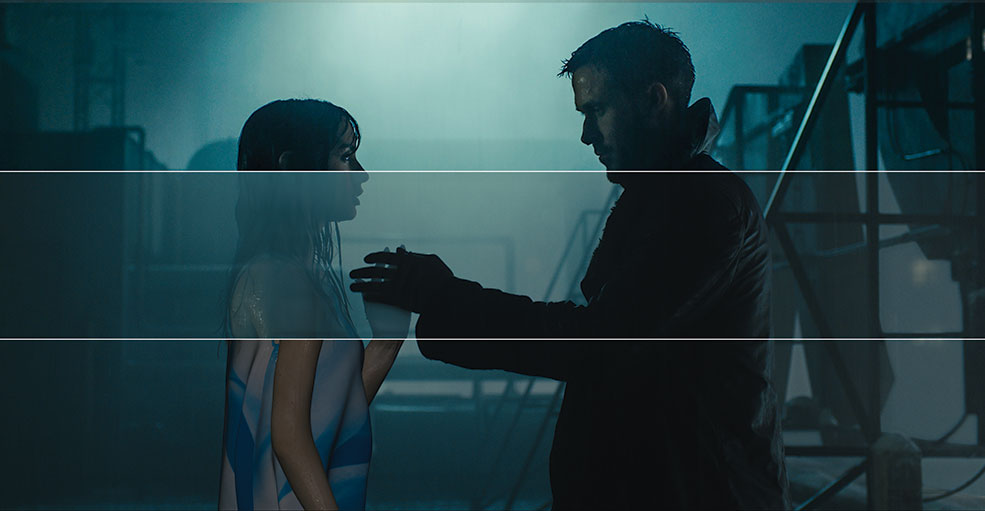
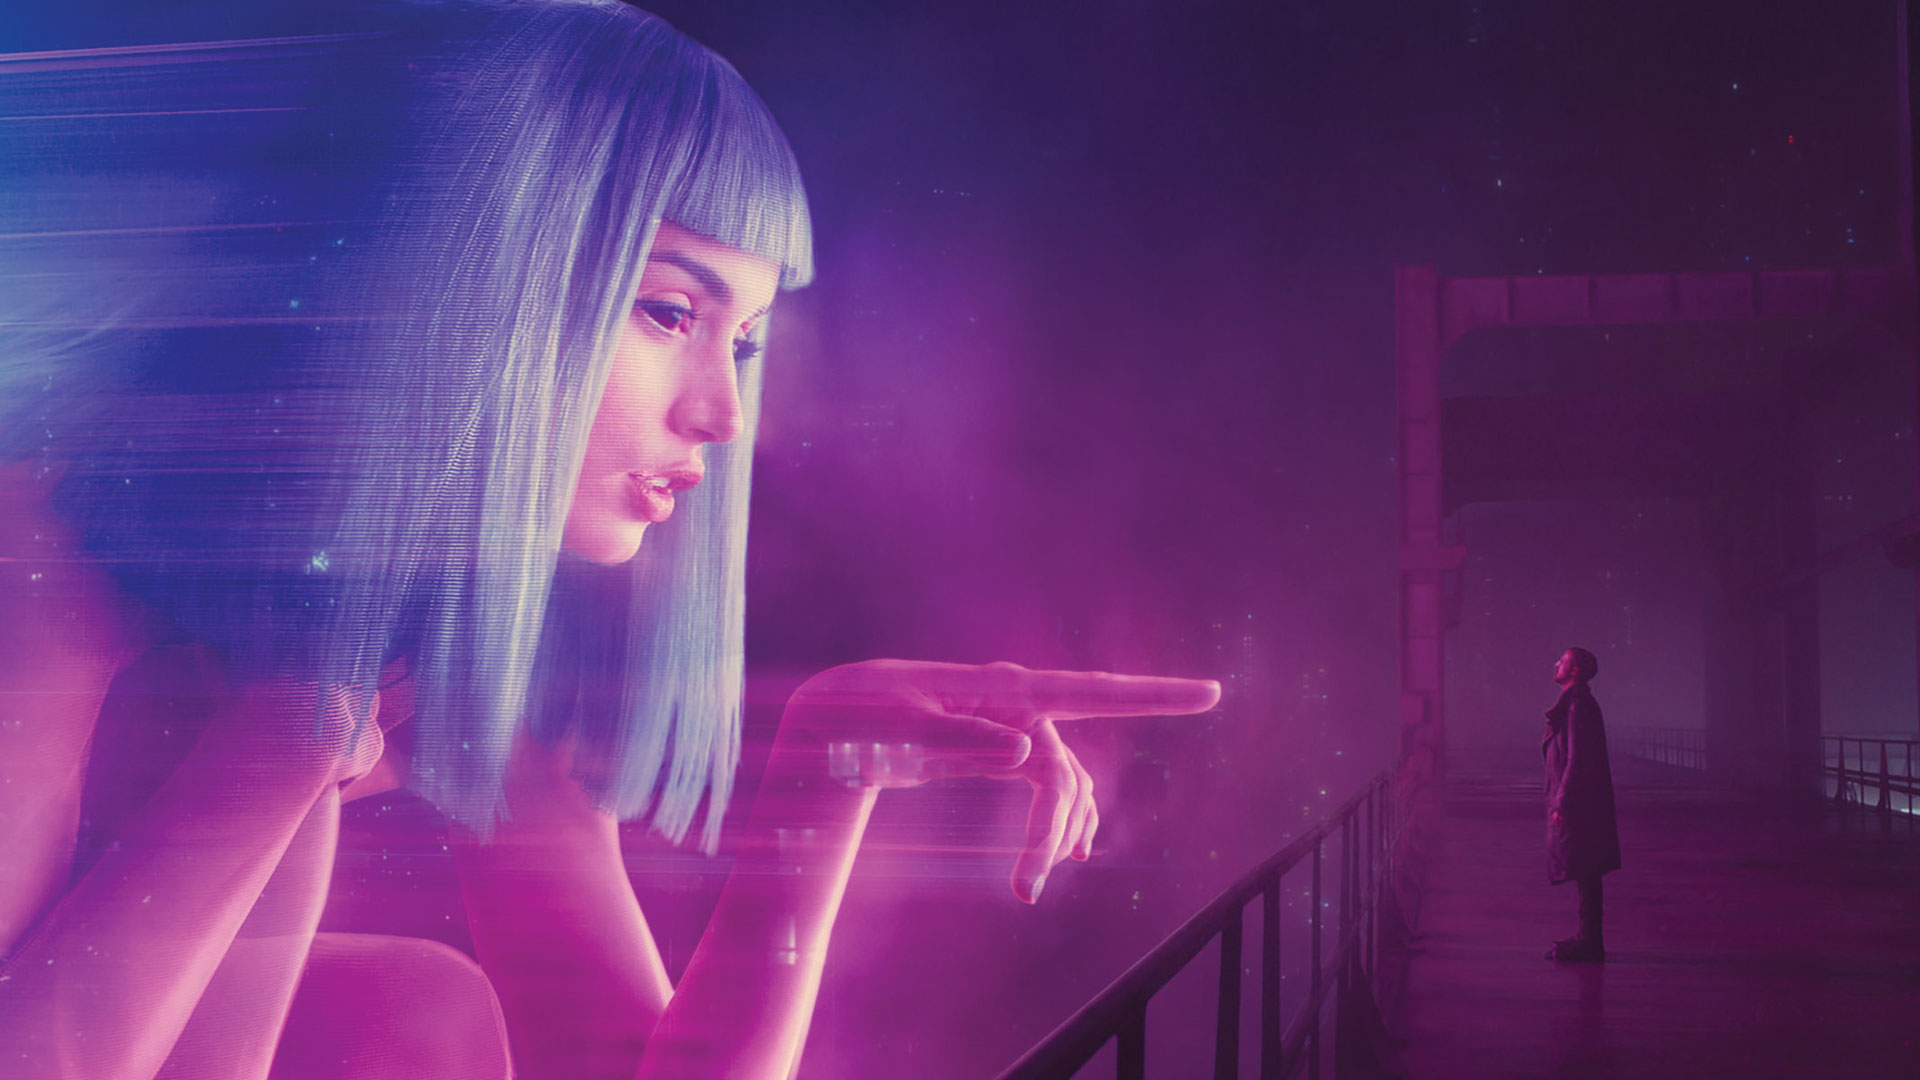
For Joi, Blade Runner 2049 VFX supervisor John Nelson had the challenge of turning a companion hologram portrayed by Ana de Armas into a believable and empathic love interest for K.
K buys a device that allows Joi to step outside his apartment and experience the natural elements for the first time. "The story is that her software has to learn to [react to] the rain," explains Nelson. "Double Negative took away raindrops and digitally brought them back onto Joi."
Wet and dry hair grooms were created for the hologram. "One of the things that underlined all of the Joi work was that in Blade Runner 2049, digital didn't happen," notes Lambert. "It's like advanced analogue. That's why we tried to avoid any form of square compression or any form of wireframes. When you see Joi walking out into the rain there's a painterly feel to it."
The hologram technology experiences severe glitches such as when the Spinner piloted by K crashes and Joi panics. "We had a witness camera on the dash and triangulated her from two angles to body track her," remarks Nelson.
"Denis said to me, 'She should be emotionally flipping out at the same time as her software is corrupted.' He directed Ana to say, 'K! K! K!'. Joe Walker, the editor, removed frames to have it glitchy."

Joi breaks down into a series of volumetric cubes. "Our effects supervisor wrote a program in Houdini where cubes would change size and shape, and glitch based on her physical motion," explains Framestore VFX supervisor Richard Hoover. "When it was more emotional we could dial it up as well as control the transparency of the cubes."
Joi hires a prostitute named Mariette (Mackenzie Davis) with the plan of temporarily merging their two bodies together. "The technique was we would shoot the real women, get them close, and where we needed a more critical lineup we would project one image onto the CG surrogate and then shim it over to line it up," explains Nelson, who placed GoPro witness cameras in the corners of the small apartment to get multiple views for body tracking the women onto CG surrogates.
Mackenzie was treated as the primary with Ana mimicking her timing, actions and gestures with the help of an iPad. Every shot started out of sync and ended in sync. Rigs were produced for Mariette, Joi and their combination, referred to as 'the third woman', so as to deal with the physical differences between the two actresses.
"We never changed the facial portions of Ana," states CG supervisor Chris McLaughlin. "Just the length of her neck and width of her shoulders."
Replicating Rachael
Along with the return of Harrison Ford as Rick Deckard, the film's visual effects supervisor John Nelson also partnered with MPC to create a CG cameo of Rachael, originally portrayed in Blade Runner by Sean Young.
Loren Peta was cast with her hair style, make-up and outfit replicating the look of Sean Young in the original Blade Runner. "We shot Loren coming in and talking to Harrison Ford with markers on her face," explains Nelson. "We also modelled Sean from a life cast of when she was in her thirties. That got us close."
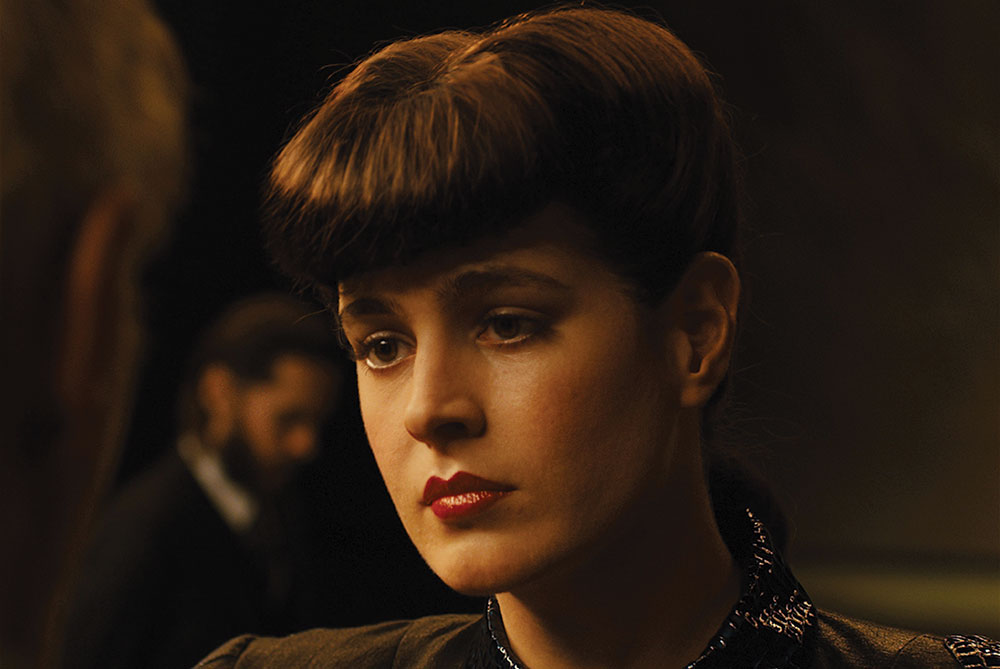
Not only did the CG character need to have the right look, but it also needed to have the correct mannerisms. "I love this little thing Sean does in Blade Runner where she wobbles her head. She's this beautiful nerd who is really smart and knows she is special. She needed to look confident in order to identify with the original Rachael."
A secret facial motion capture session was held for Sean Young. "We shot Sean with DI4D saying the lines being directed by Denis Villeneuve and did the same with Loren."
He wanted Rachael to come across as if she had met someone she hadn't seen for years, couldn't control her emotions, and then feels rejected. "We did these little stray hairs that are unkept in the groom, which adds to the verisimilitude of it."
Witnessed cameras were used on Loren Peta as well as for the moving lights so to know where they were at any one time. "Rachael is entirely CG from the neck up for her face and hair. "We narrowed the body of Loren because she is an athlete while Sean is fashion-model skinny."
The hard part was getting the unique and big eyes of Sean to sit properly in the CG face. "We used a new subsurface scattering renderer on the skin and really worked to get the face and make-up correct."
Weathering the storm
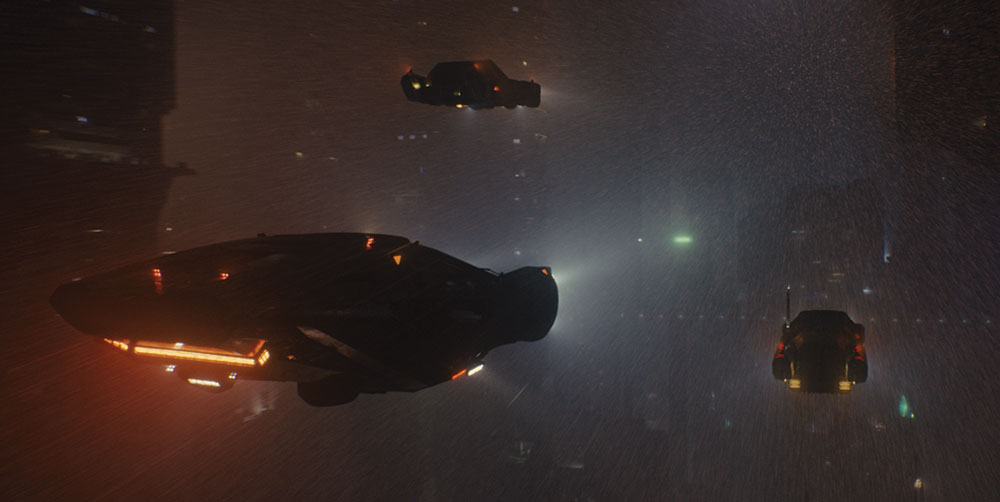
Atmospherics resulting from severe environmental damage is a signature element of the Blade Runner universe, with the sequel further upping the ante by adding overcast skies, snow, sleet and radioactive haze.
"Traditionally with rain you do your foreground, midground, background and you don't think about it," observes Paul Lambert. "On this one, rain took the longest to render because of the amount of light everywhere. We were forever having to tweak the size and how much rain. It just takes for the rain to be slightly off to completely break the scale and we were breaking the scale all of the time."
The number of raindrops incorporated into the wide shots was massive, acknowledges Chris McLaughlin. "We had a lot of versions that had completely maxed out on the particle count and it still didn't look big enough."
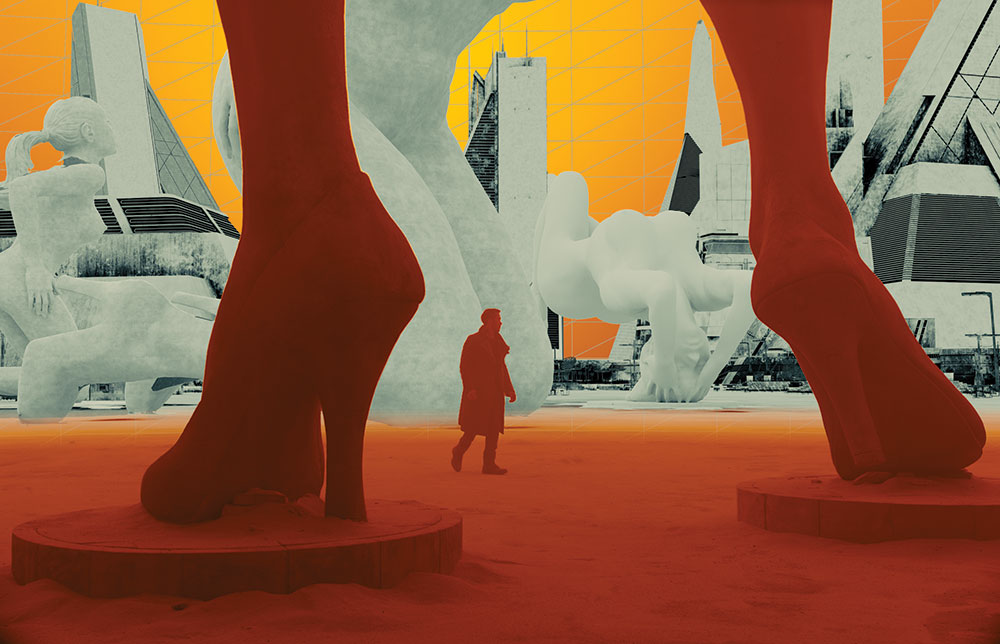
A radioactive orange haze engulfs Las Vegas, which has become a ghost town. "There was an aspect of the particular filter that Roger chose which John and I categorised as a Kodak 23A," states Richard Hoover.
"It's designed to remove all blue light so when you're trying to describe surfaces in that light you've got only two thirds of the spectrum to work with. Roger hand-made that filter specially to give the proper look he desired. I said, 'Lets render everything in white light and if it looks right to us then we'll apply the filter and that's what we get.'"
Atmosphere was used to reveal certain elements at the right time in order to heighten the sense of mystery.
"When K is walking in the statuary we ended up designing each shot as a single-point perspective as if you were looking down a long road on every shot, and then played the buildings shot by shot to be going back in the distance," remarks Hoover.
"Then we would wedge the density of the atmosphere and even create pockets, so that you saw just enough to give a feeling of depth, but not take away from the environment that K was in."
This article was originally published in issue 229 of 3D World, the world's best-selling magazine for CG artists – packed with expert tutorials, inspiration and reviews. Buy issue 229 here or subscribe to 3D World here.
Related articles:

Trevor Hogg is a freelance video editor and journalist, who has written for a number of titles including 3D World, VFX Voice, Animation Magazine and British Cinematographer. An expert in visual effects, he regularly goes behind the scenes of the latest Hollywood blockbusters to reveal how they are put together.
