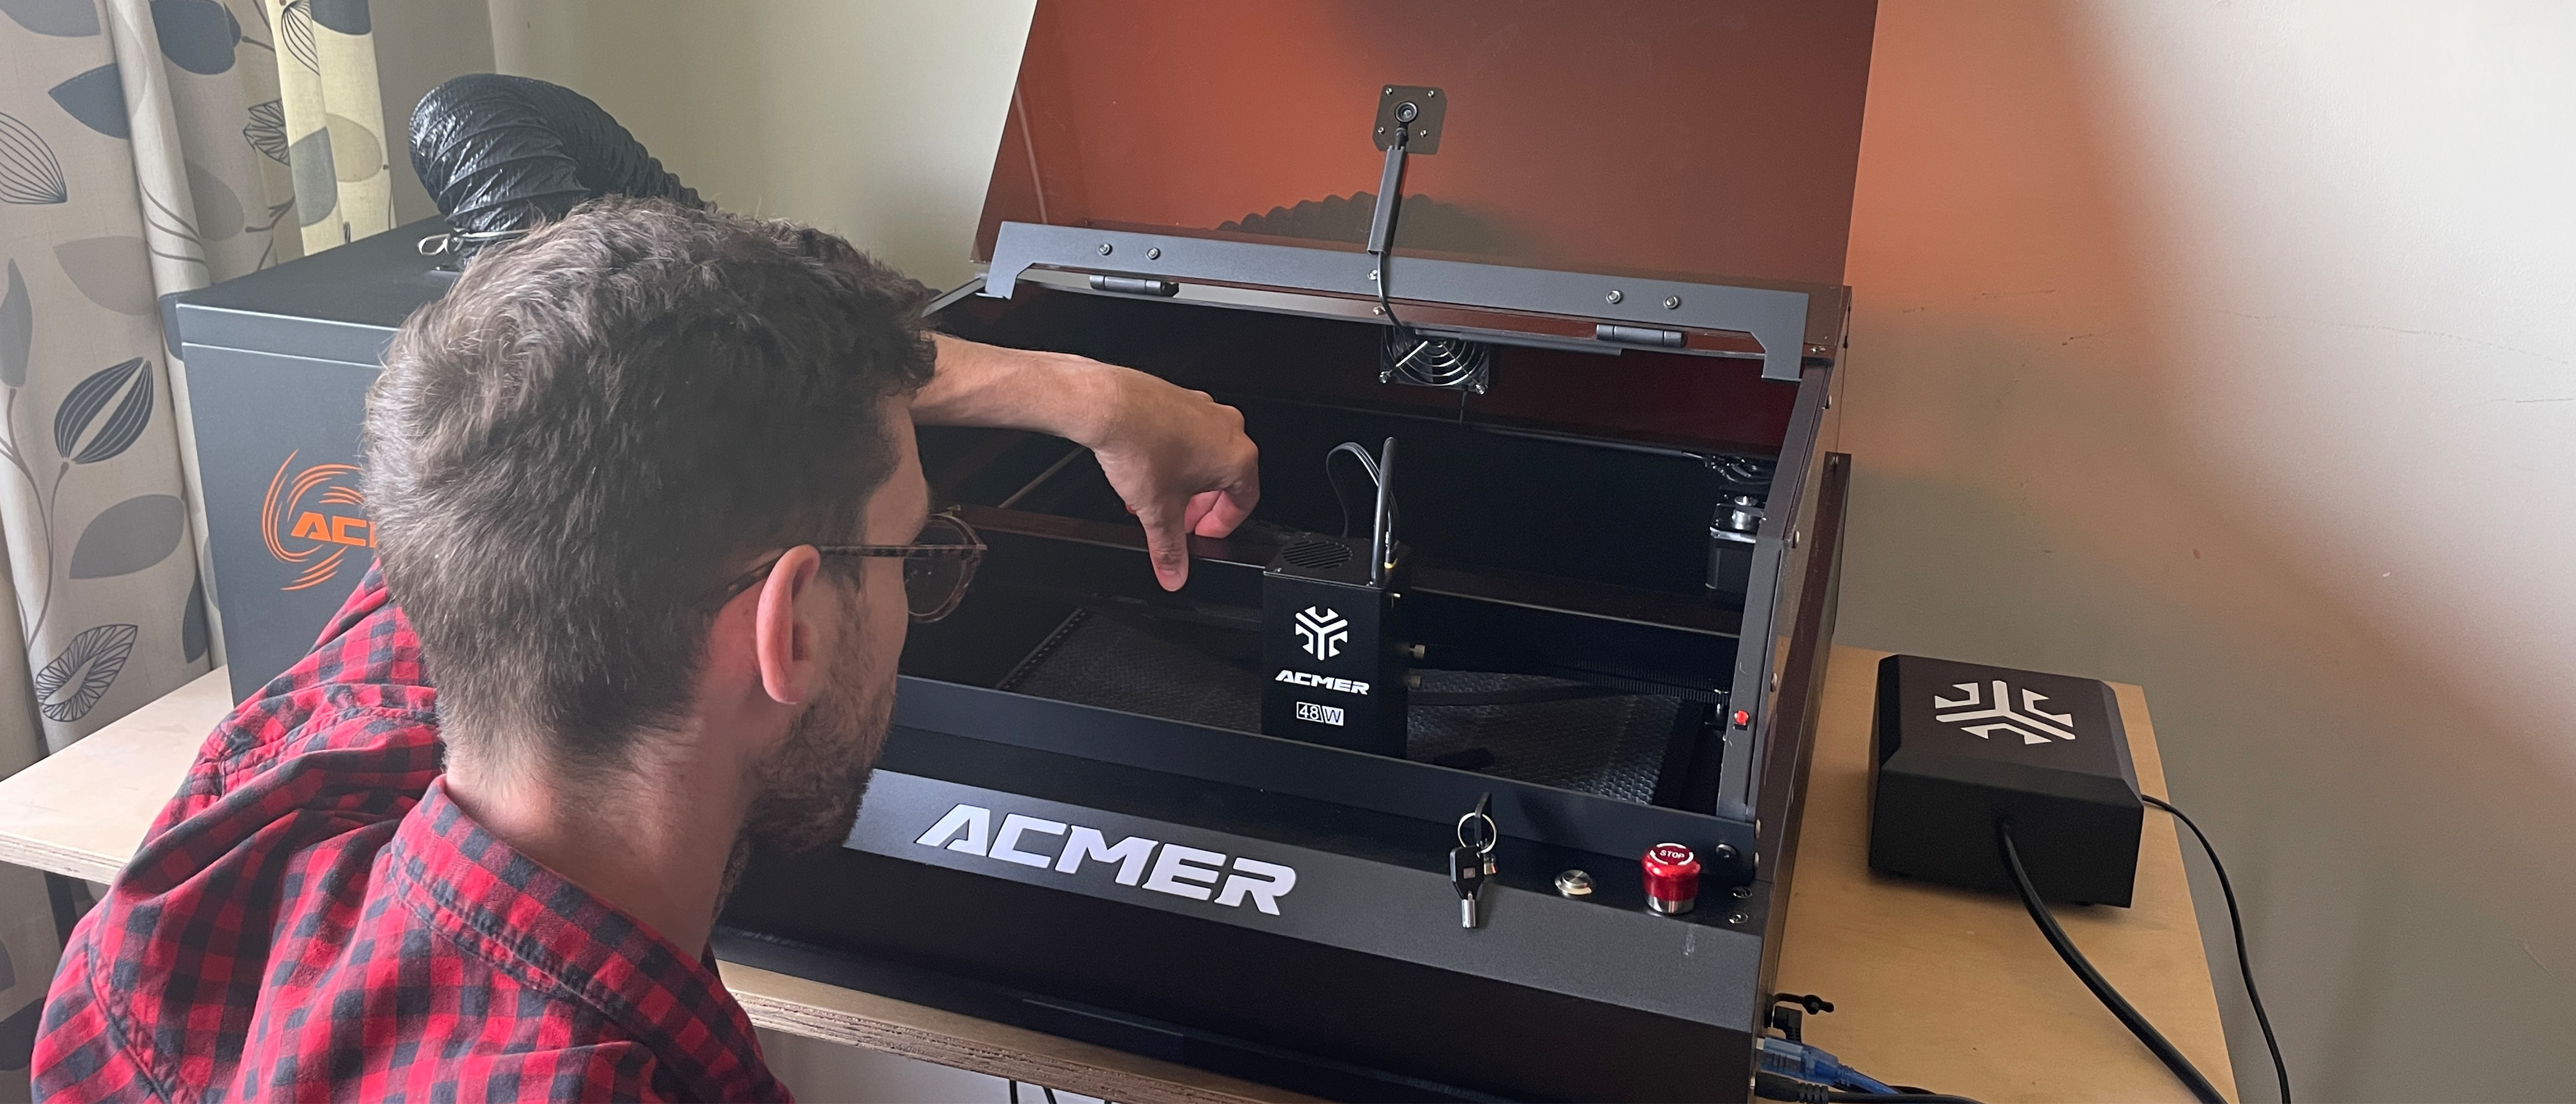
Our Verdict
The ACMER P3 is an ideal laser engraver for professionals and serious enthusiasts. Powerful IR and diode capabilities inside a single module deliver outstanding versatility regarding material types. Calibration was a little arduous, but after that was complete, I had no problems. With a massive work area, the P3 is also able to engrave and cut large objects as well as numerous smaller ones without needing to re-setup the machine. This is the daddy of all engravers and most definitely the one to beat at the moment, and we're seeing prices fall from $2,000 to $1,200 at the time of writing.
For
- IR and diode lasers in one module
- Large working area
- Ships fully assembled
Against
- Complex calibration
- USB-B rather than USB-C computer connector
Why you can trust Creative Bloq
The laser cutter and engraver market is stronger than it's ever been, largely thanks to a number of Chinese companies launching products that are not only affordable for enthusiasts but also incredibly good at producing outstanding results. We have a guide to all the best laser cutters and engravers if you'd like to explore your options.
I've been spending some time with the ACMER P3, which is a dual laser engraver that although retails at $2,000, I'm already seeing discounted over on the Acmer site for $1,200. It boasts a 2W IR laser and a 10W blue diode laser in one single module, which offers a high level of versatility. There are other engravers on the market with this setup, but none with the impressive 400 x 390 mm work area that the P3 has.
This is a laser engraver that enables makers and creatives to engrave and cut materials, including paper, wood, leather, MDF, felt, and more. The price and the size limit the target market to more professional users, but I can imagine the more enthusiastic hobbyists also being tempted by this machine.
Having recently used the LaserPecker 5, I was excited to use the ACMER P3. I've spent a number of weeks with this machine as well as the additional 48W diode laser module upgrade kit, and I was blown away by what it was capable of.
ACMER P3 Dual Laser Engraver review: Unboxing and setup
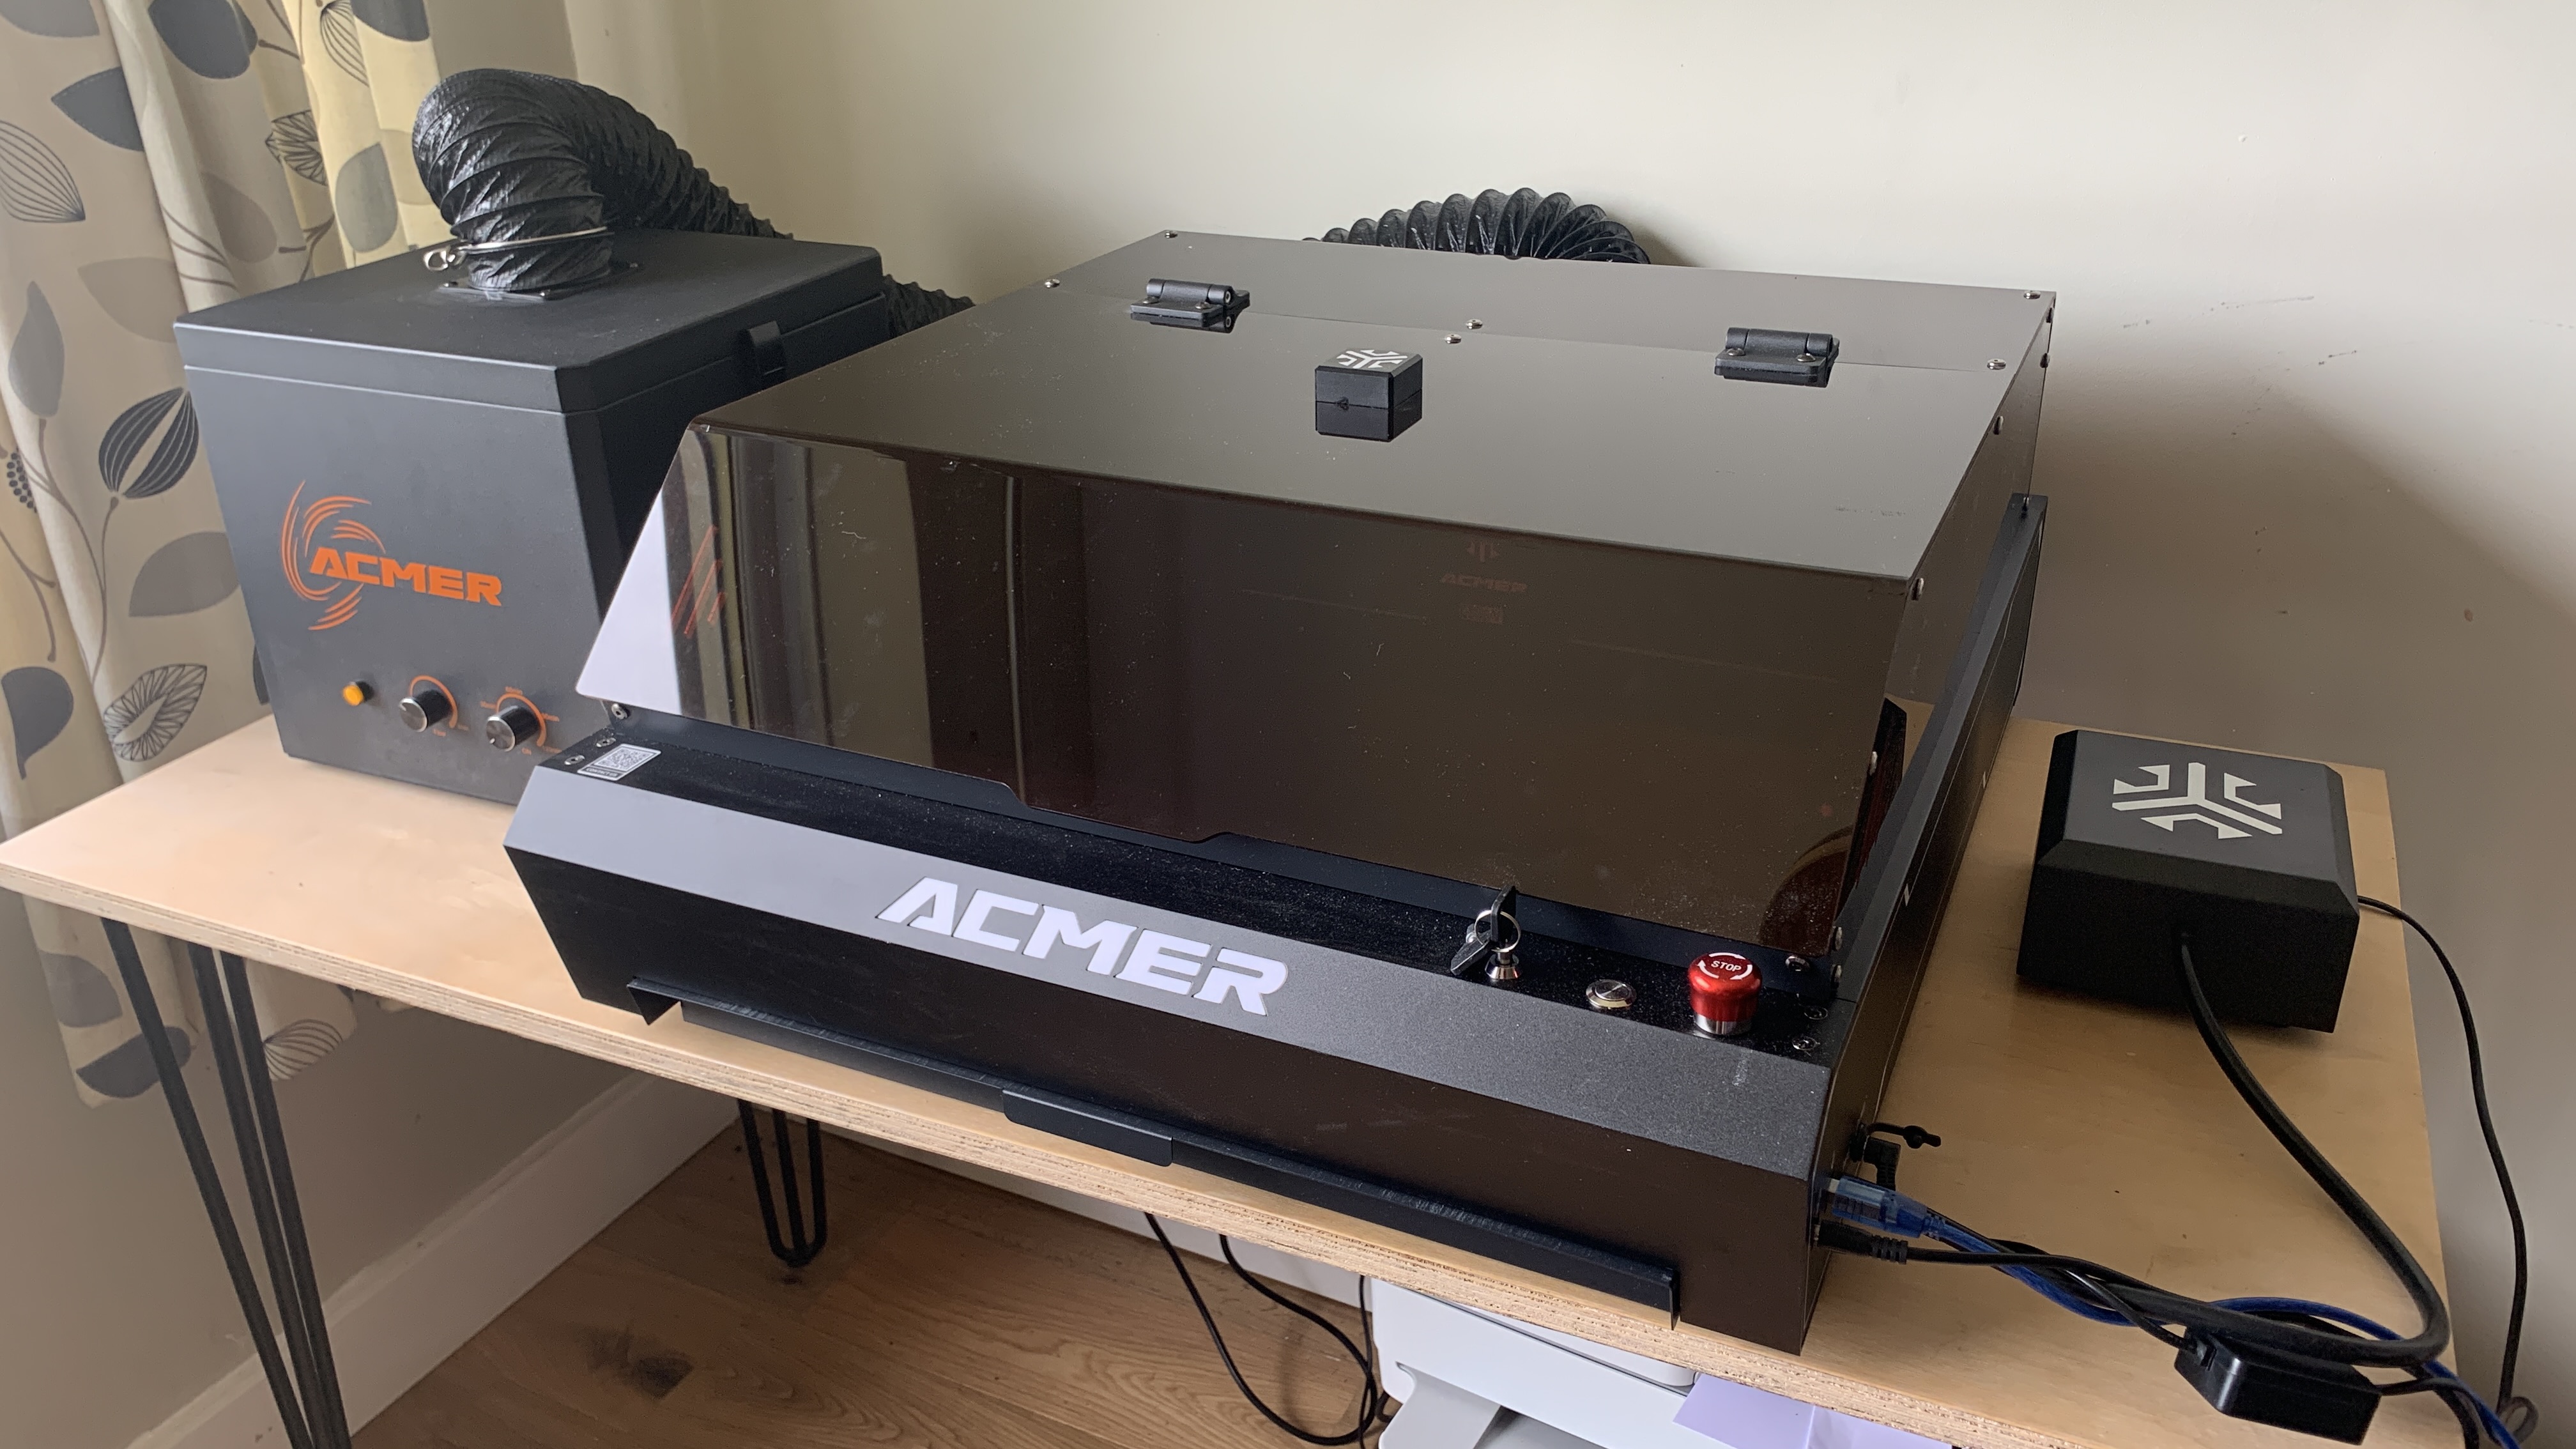
Laser engravers come in all different shapes and sizes, ranging from handheld all the way to an enclosed machine that wouldn't look out of place in a factory setting. The P3 is most definitely the second of these and is by far the most complete and polished of engravers I've ever seen.
When it turned up at my house, I couldn't believe how big it was. Getting it in the house and unboxed was a two-person job. With a working area of 400 x 390 mm, this is without a doubt the biggest setup I've ever seen, and I had to remove everything off my desk just to make room for it.
In the box, you'll get the almost fully assembled laser engraver with the laser module boxed separately. In terms of assembly, all I had to do was remove two plastic blocks that lock the gantry in place and insert the laser module and attach the exhaust pipe.
Sign up to Creative Bloq's daily newsletter, which brings you the latest news and inspiration from the worlds of art, design and technology.
With all the tools provided, I was ready to move on to wiring everything up in a matter of minutes. But first, it's worth noting that the case is covered in a protective film, which you might want to keep in place should you be concerned about scratching any of the surfaces.
It is designed to be removed, if the user wishes, but unfortunately, this was quite a chore. As the film was applied prior to many of the screwed-in parts, I did have to unscrew these before removing the film and then subsequently reinstall those parts. I would definitely like to see ACMER find an alternative solution for this.
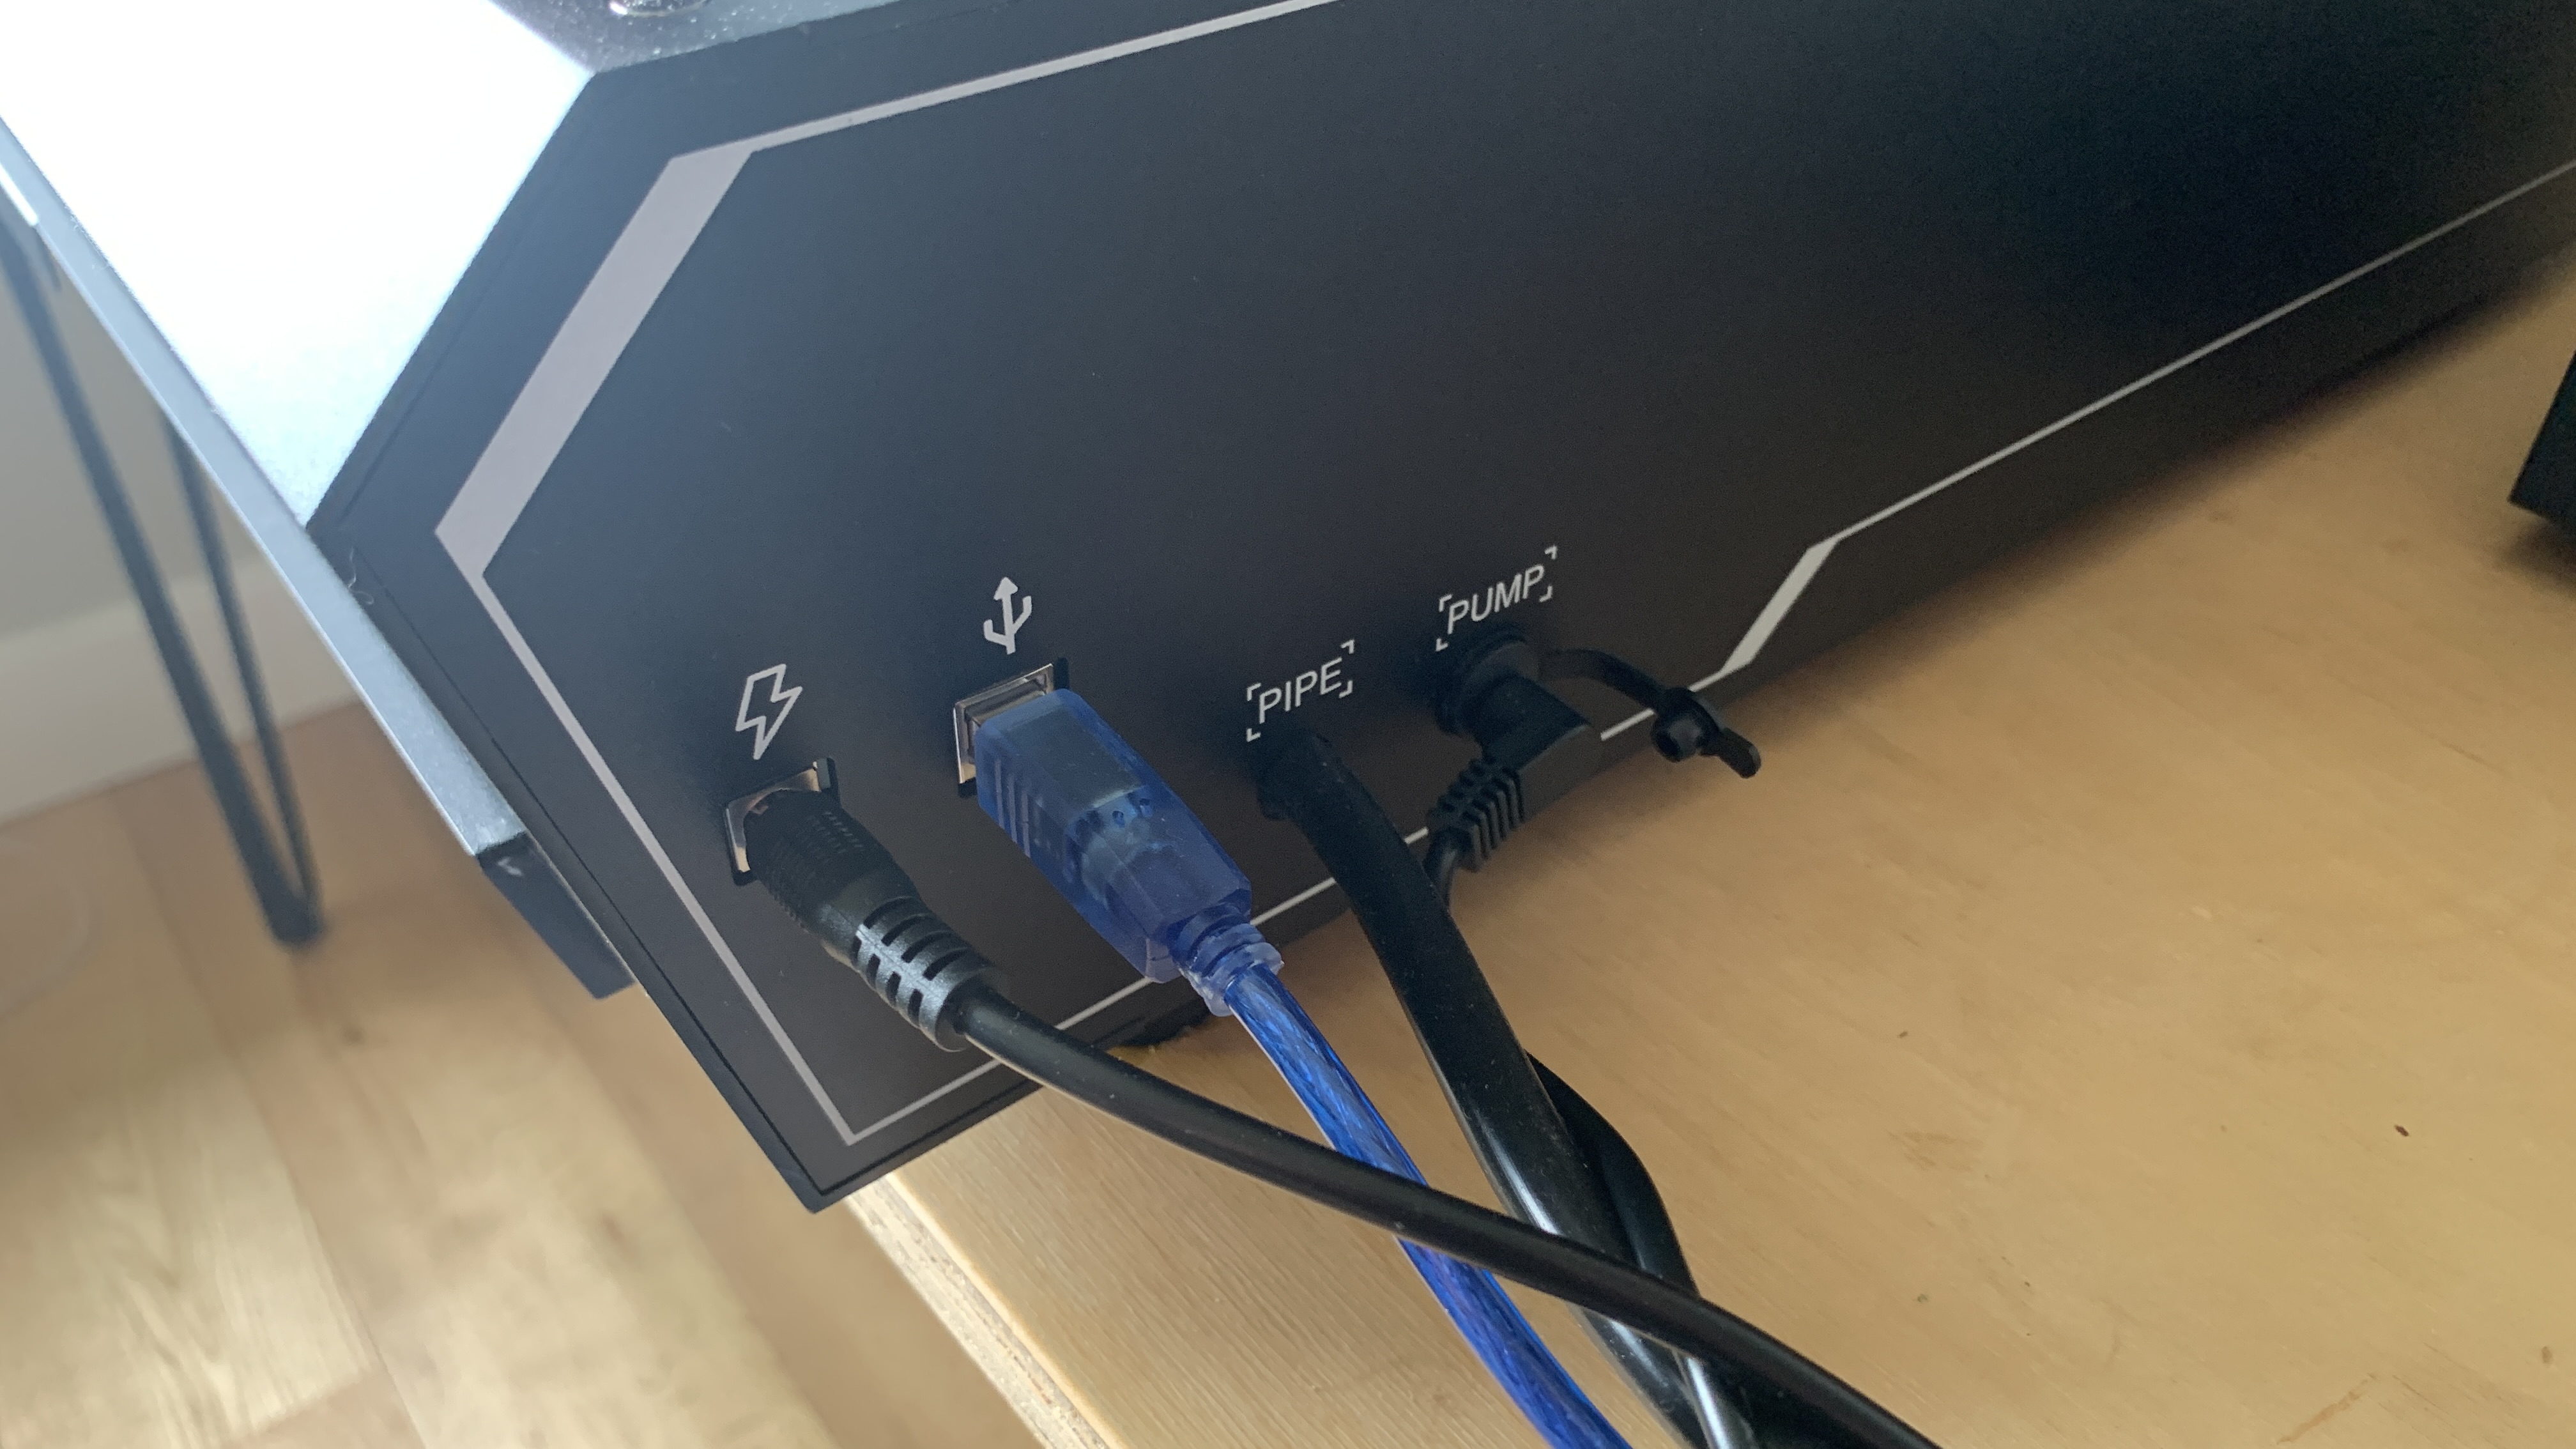
On the front is a key lock, an on/off button, and an emergency stop button. All of the ports are located towards the front of the right-hand side. This includes the main power, USB-B computer connector, air pipe for the pump, and pump power. With all these connected, I was able to use the provided TF card to install the driver followed by the LightBurn software.
The final step was to calibrate the machine. To do this, LightBurn requires users to place objects in specific positions before it utilises the built-in camera to work out where it is in relation to the work area. I found this step rather time-consuming because the camera couldn't pick up the honeycomb pattern accurately.
ACMER support were fantastic, though, and they helped me to identify and rectify the problem. I haven't seen many other people run into this issue though, so I think it was primarily an issue with the focus point of my specific camera. Thankfully that could be adjusted, and the problem was overcome.
That meant I was ready to crack on with engraving. I was also sent the AP220 smoke air purifier, a materials pack, and a 48W laser module kit. This provided me with a complete set of accessories to fully test the capabilities of the P3.
Software
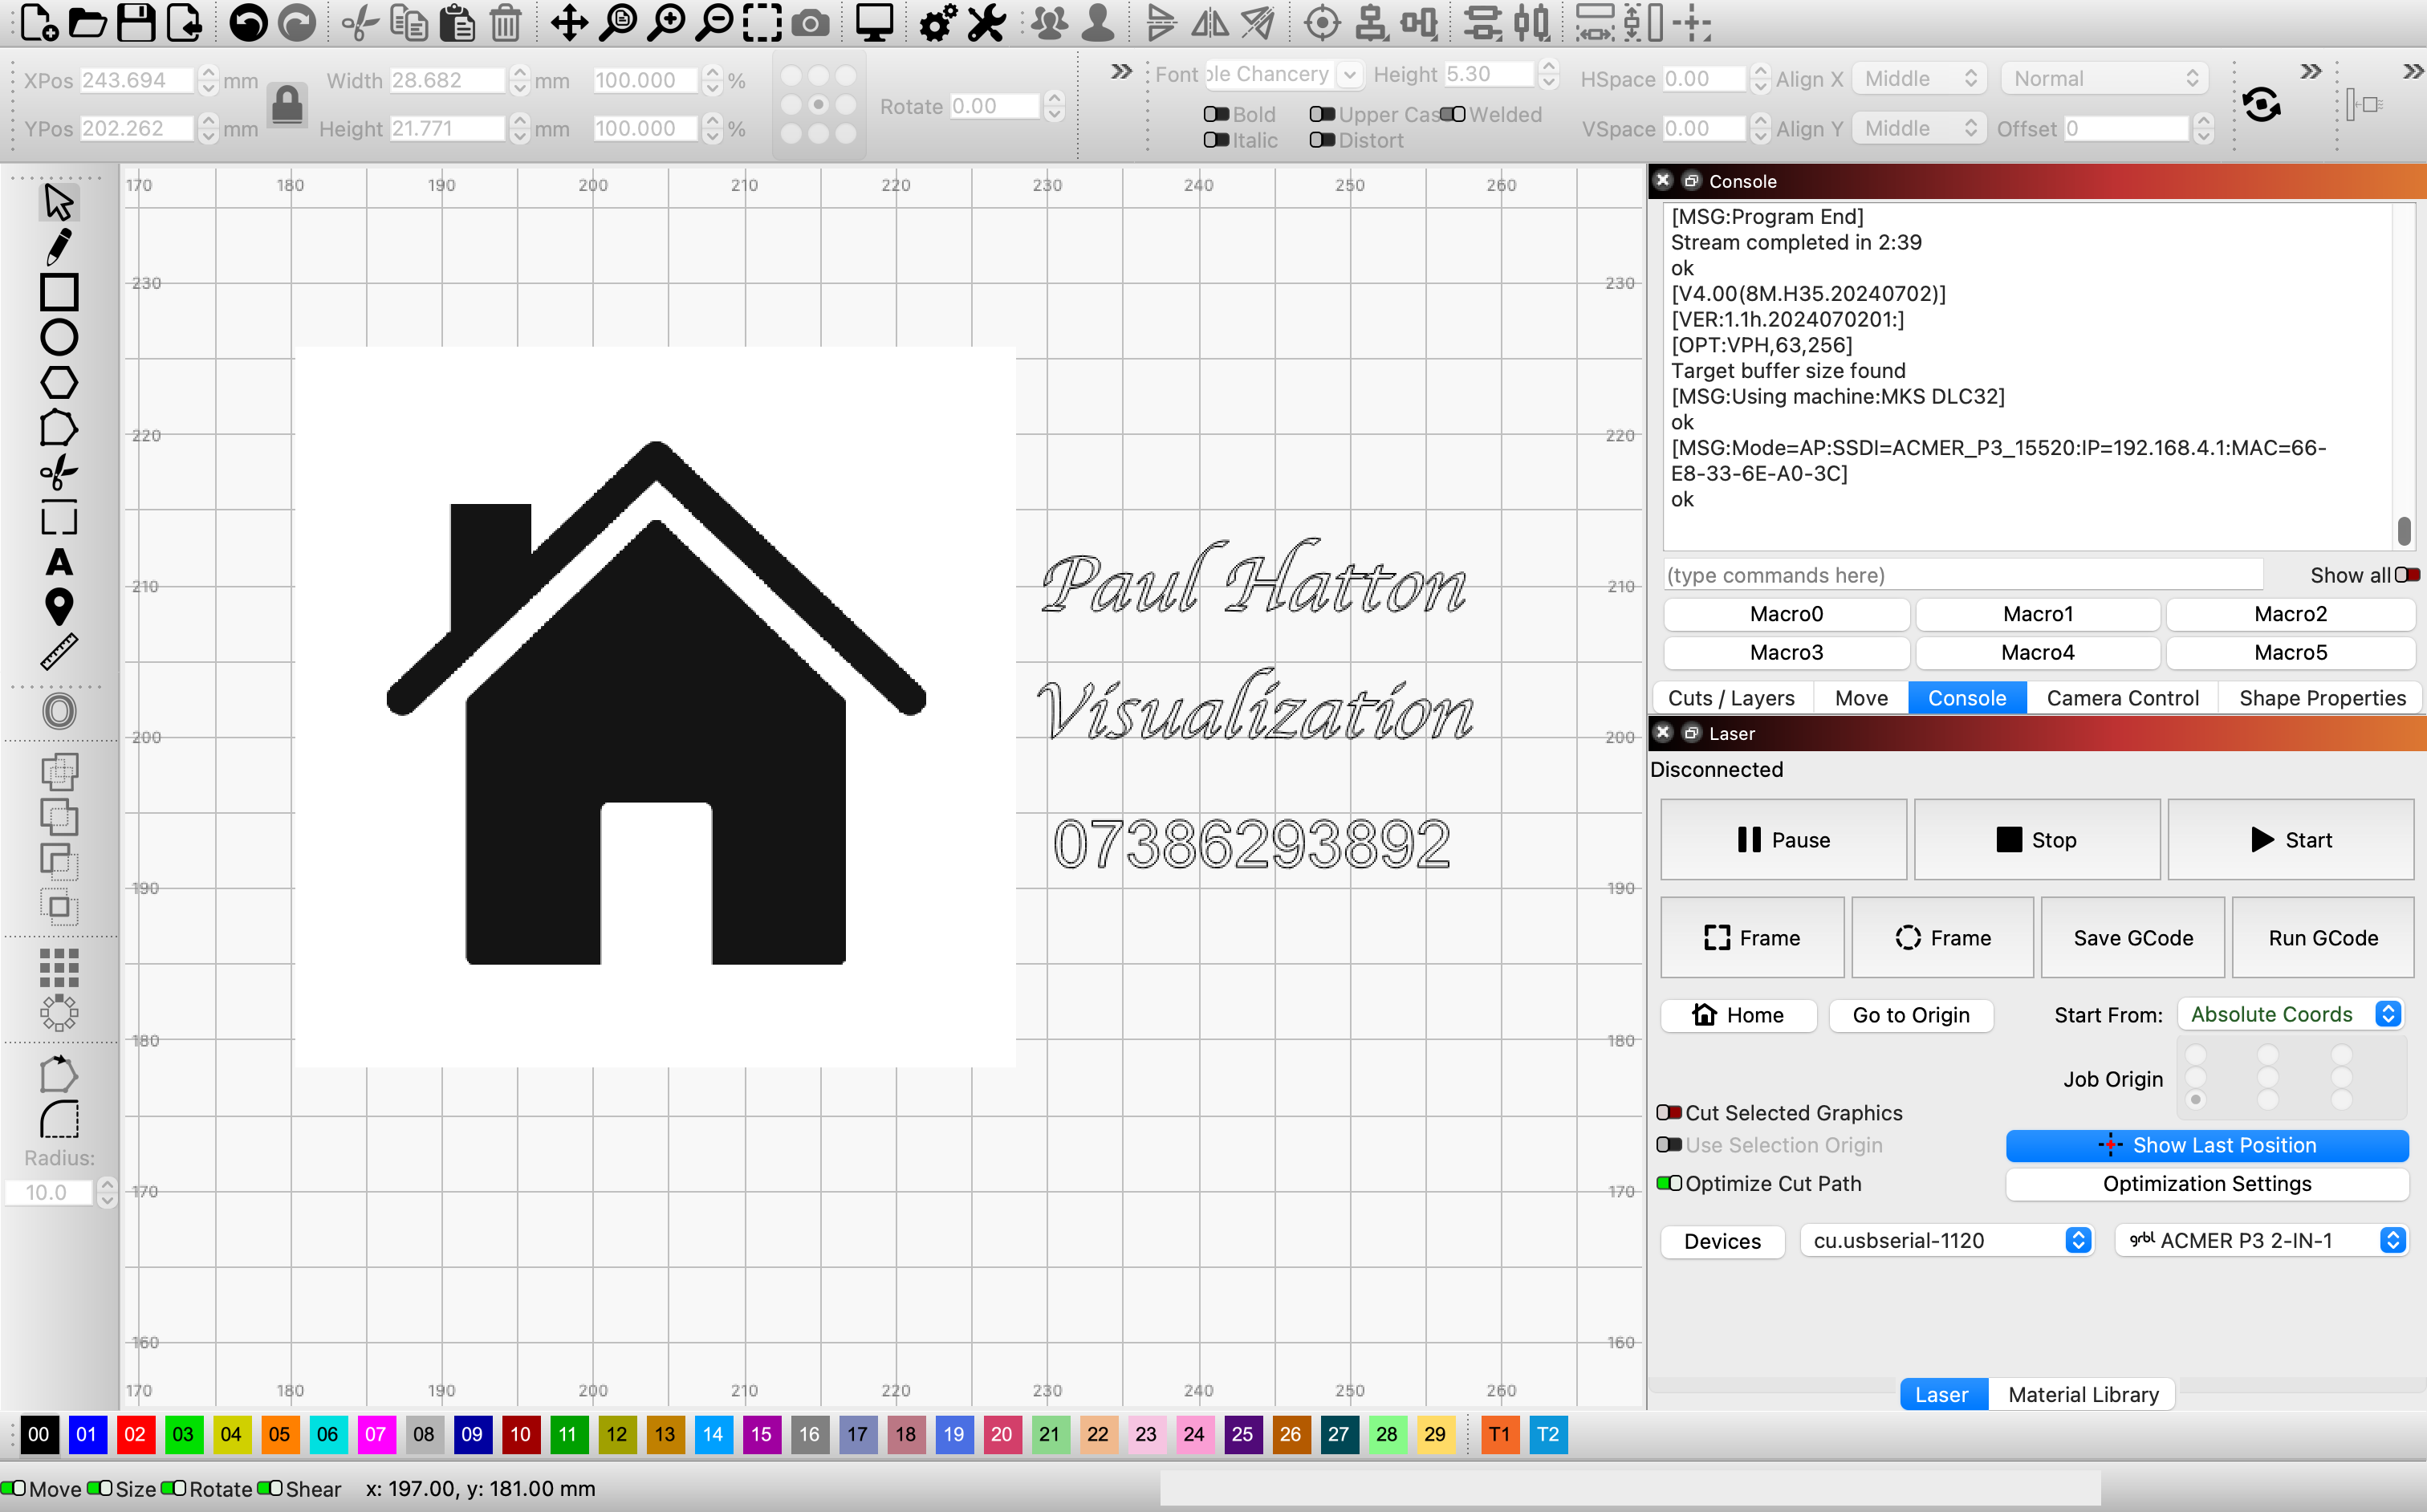
The ACMER P3 is compatible with the ACMER app, LightBurn, and Laser GRBL. Given this is an engraver that is aimed primarily at professionals who would use software like LightBurn, I decided to do the same. This software is one of the most fully featured applications and is more than capable of taking advantage of all of the features found in the P3.
If you'd like a simpler set of tools and an easier-to-navigate interface, then you could download the ACMER app instead. You'll find tools for creating your designs as well as managing materials.
Performance
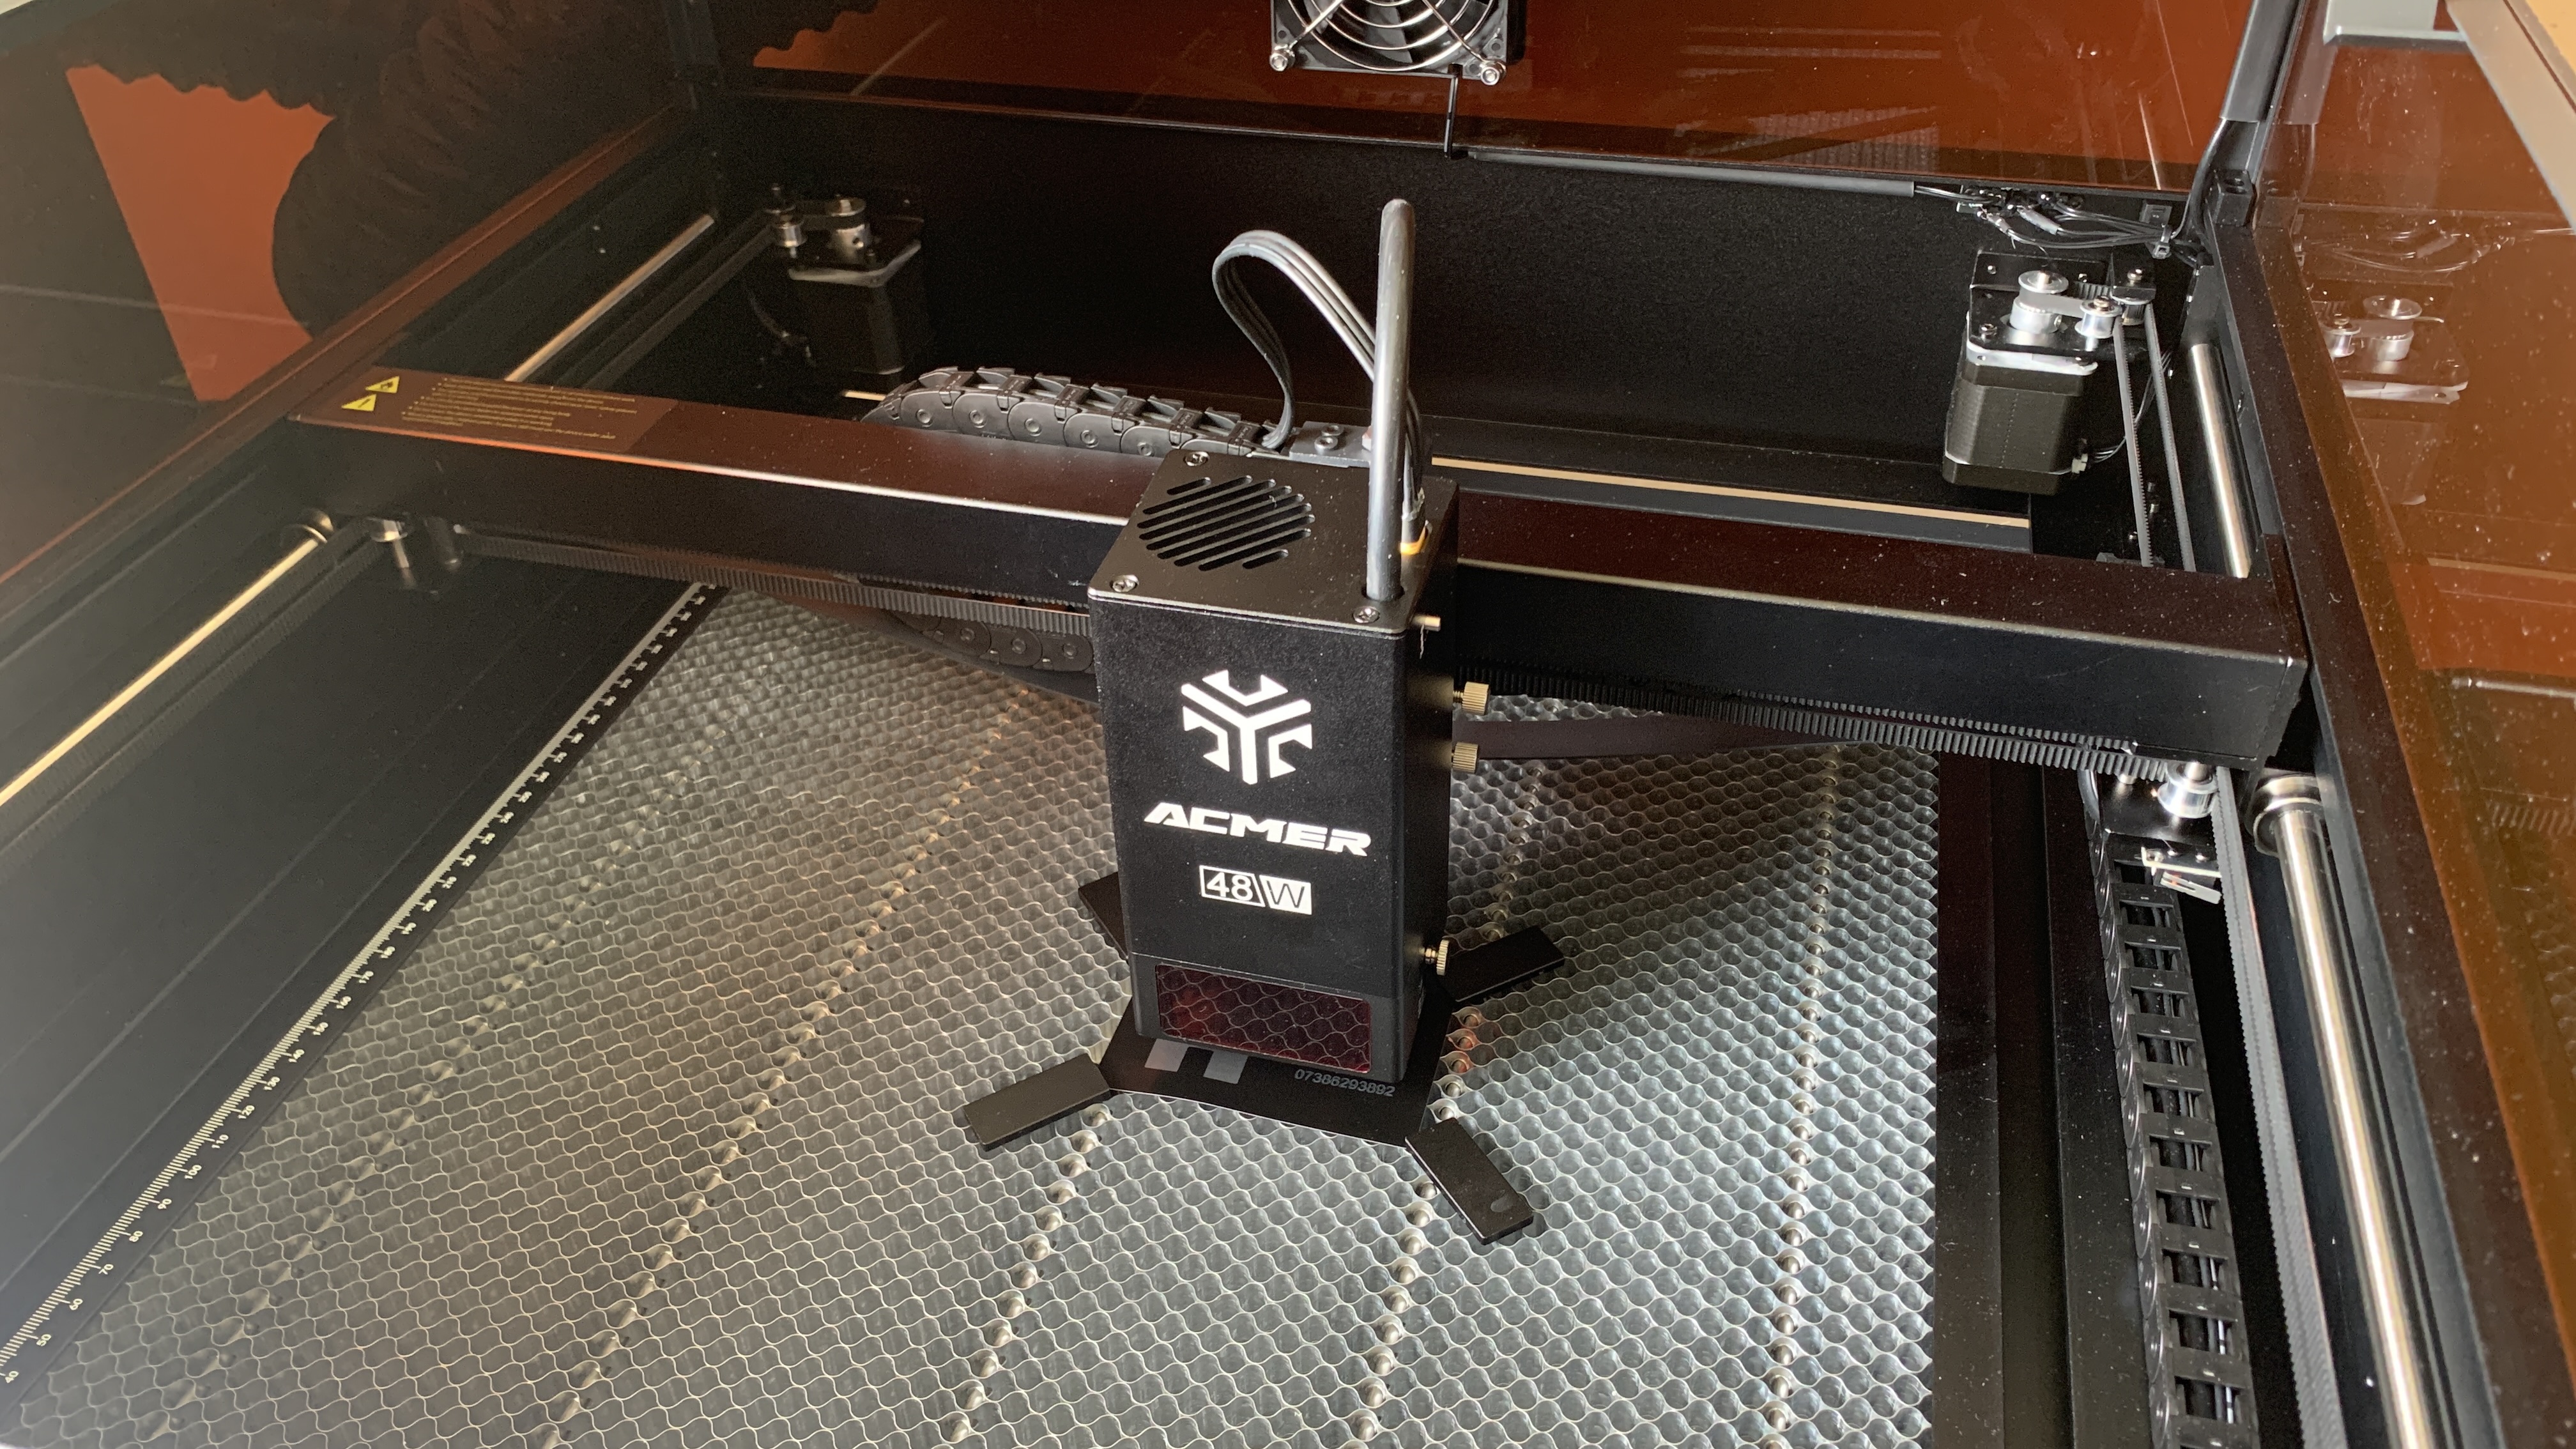
The ACMER P3 is capable of engraving over 300 different materials. I used a number of different options from the pack, including wood and metal. I was grateful for the 'cheat sheet' of settings that had been engraved into wood so I could quickly see the results for different parameters. As every engraver performs differently, having this level of information for this particular machine is incredibly helpful.
The machine is able to engrave at a speed of 800mm/s, which is fantastically quick and ideally suited to successful businesses that need to generate a larger number of products. I didn't personally need that sort of speed, and most enthusiasts won't either, but I know this will be important to anyone working commercially.
These high speeds could have been let down by the supporting materials, but thankfully, the P3 has a strong COREXY structure and industrial guide rails that deliver when it matters most. They're also robust enough to stand the test of time, and I had no concerns that they were liable to damage even after thousands of operations.
Getting set up with my designs was a breeze thanks to the HD camera which is mounted directly above the work area. This feature meant that I was able to use the software to position my designs directly on top of the camera feed. To make it even easier, it was also possible to physically move material around within the work area so it lined up with the designs. All of this is possible in real time, which makes for a beautifully seamless experience.
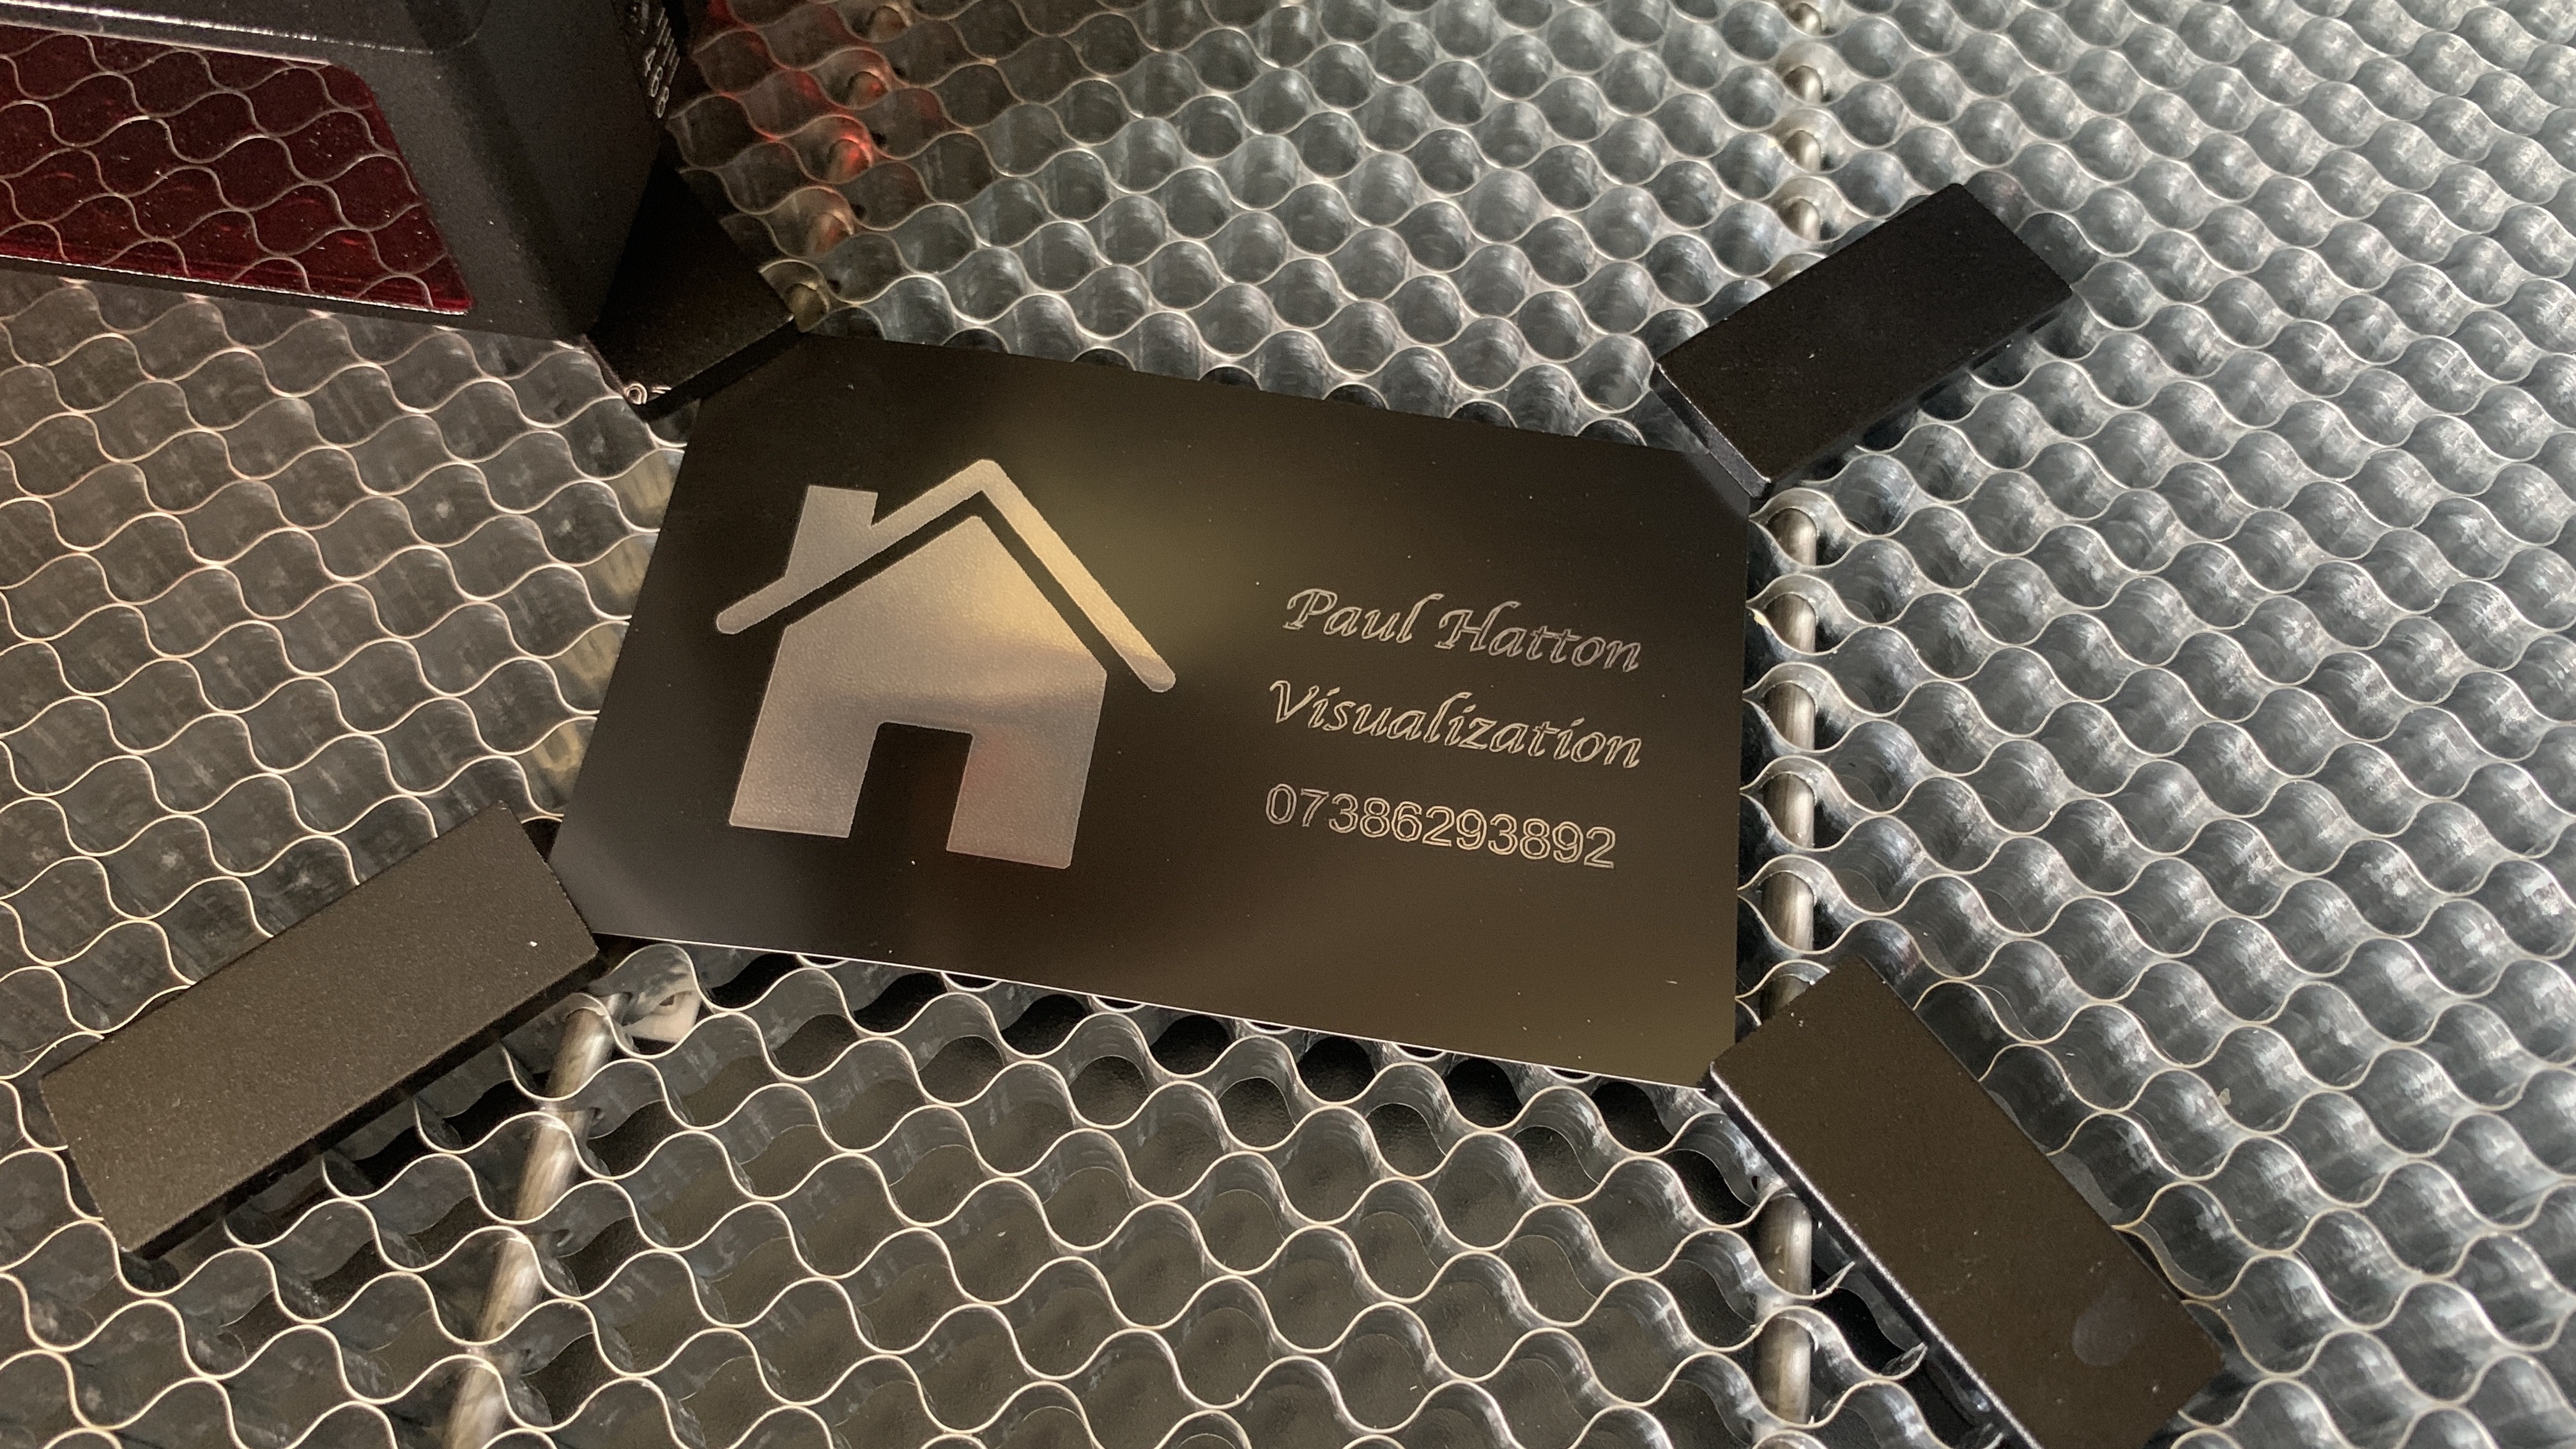
To test out the 2-in-1 laser as well as the 48W laser module, I created a bespoke business card in LightBurn. Before proceeding, I first made sure that the laser module was correctly installed. This involved flicking out and down a simple metal marker, which ACMER says must be flush with the work surface. Once it is, you know that your module is set at the right height.
In my tests, both modules performed incredibly well with little to no scorch marks on any of the engravings that I made. Lines were crisp and detailed on both wood and metal. I was also impressed by how uniform the markings were, especially when engraving block areas.
The 48W laser module was particularly good for creating deeper engravings and is ideally suited to cutting materials. Results benefit from the XY-style gantry, which allows for perfectly straight cuts no matter where the module is located in the work area.
The only problem I had during engraving with the thin metal sheets was that the heat caused them to bend. Making use of the provided clamps was absolutely necessary, although it didn't completely eradicate the problem.
I was very impressed by the gantry operation with parts moving quickly and predictably. There were no stutters or parts stopping when they should have been moving. This is a high-performing and incredibly well-built machine.
I also tested the ACMER AP220 smoke air purifier, which is designed for contexts where you can't put the exhaust pipe out of a window. These types of purifiers are rarely ever 100% efficient, and this is what I found with the AP220. Despite 'purifying' some of the fumes, I could definitely still smell something lingering that hadn't been extracted and dealt with. If you have no choice, then this purifier is a viable option, but if you're able to get the pipe out of a window, then that is a better option.
Safety
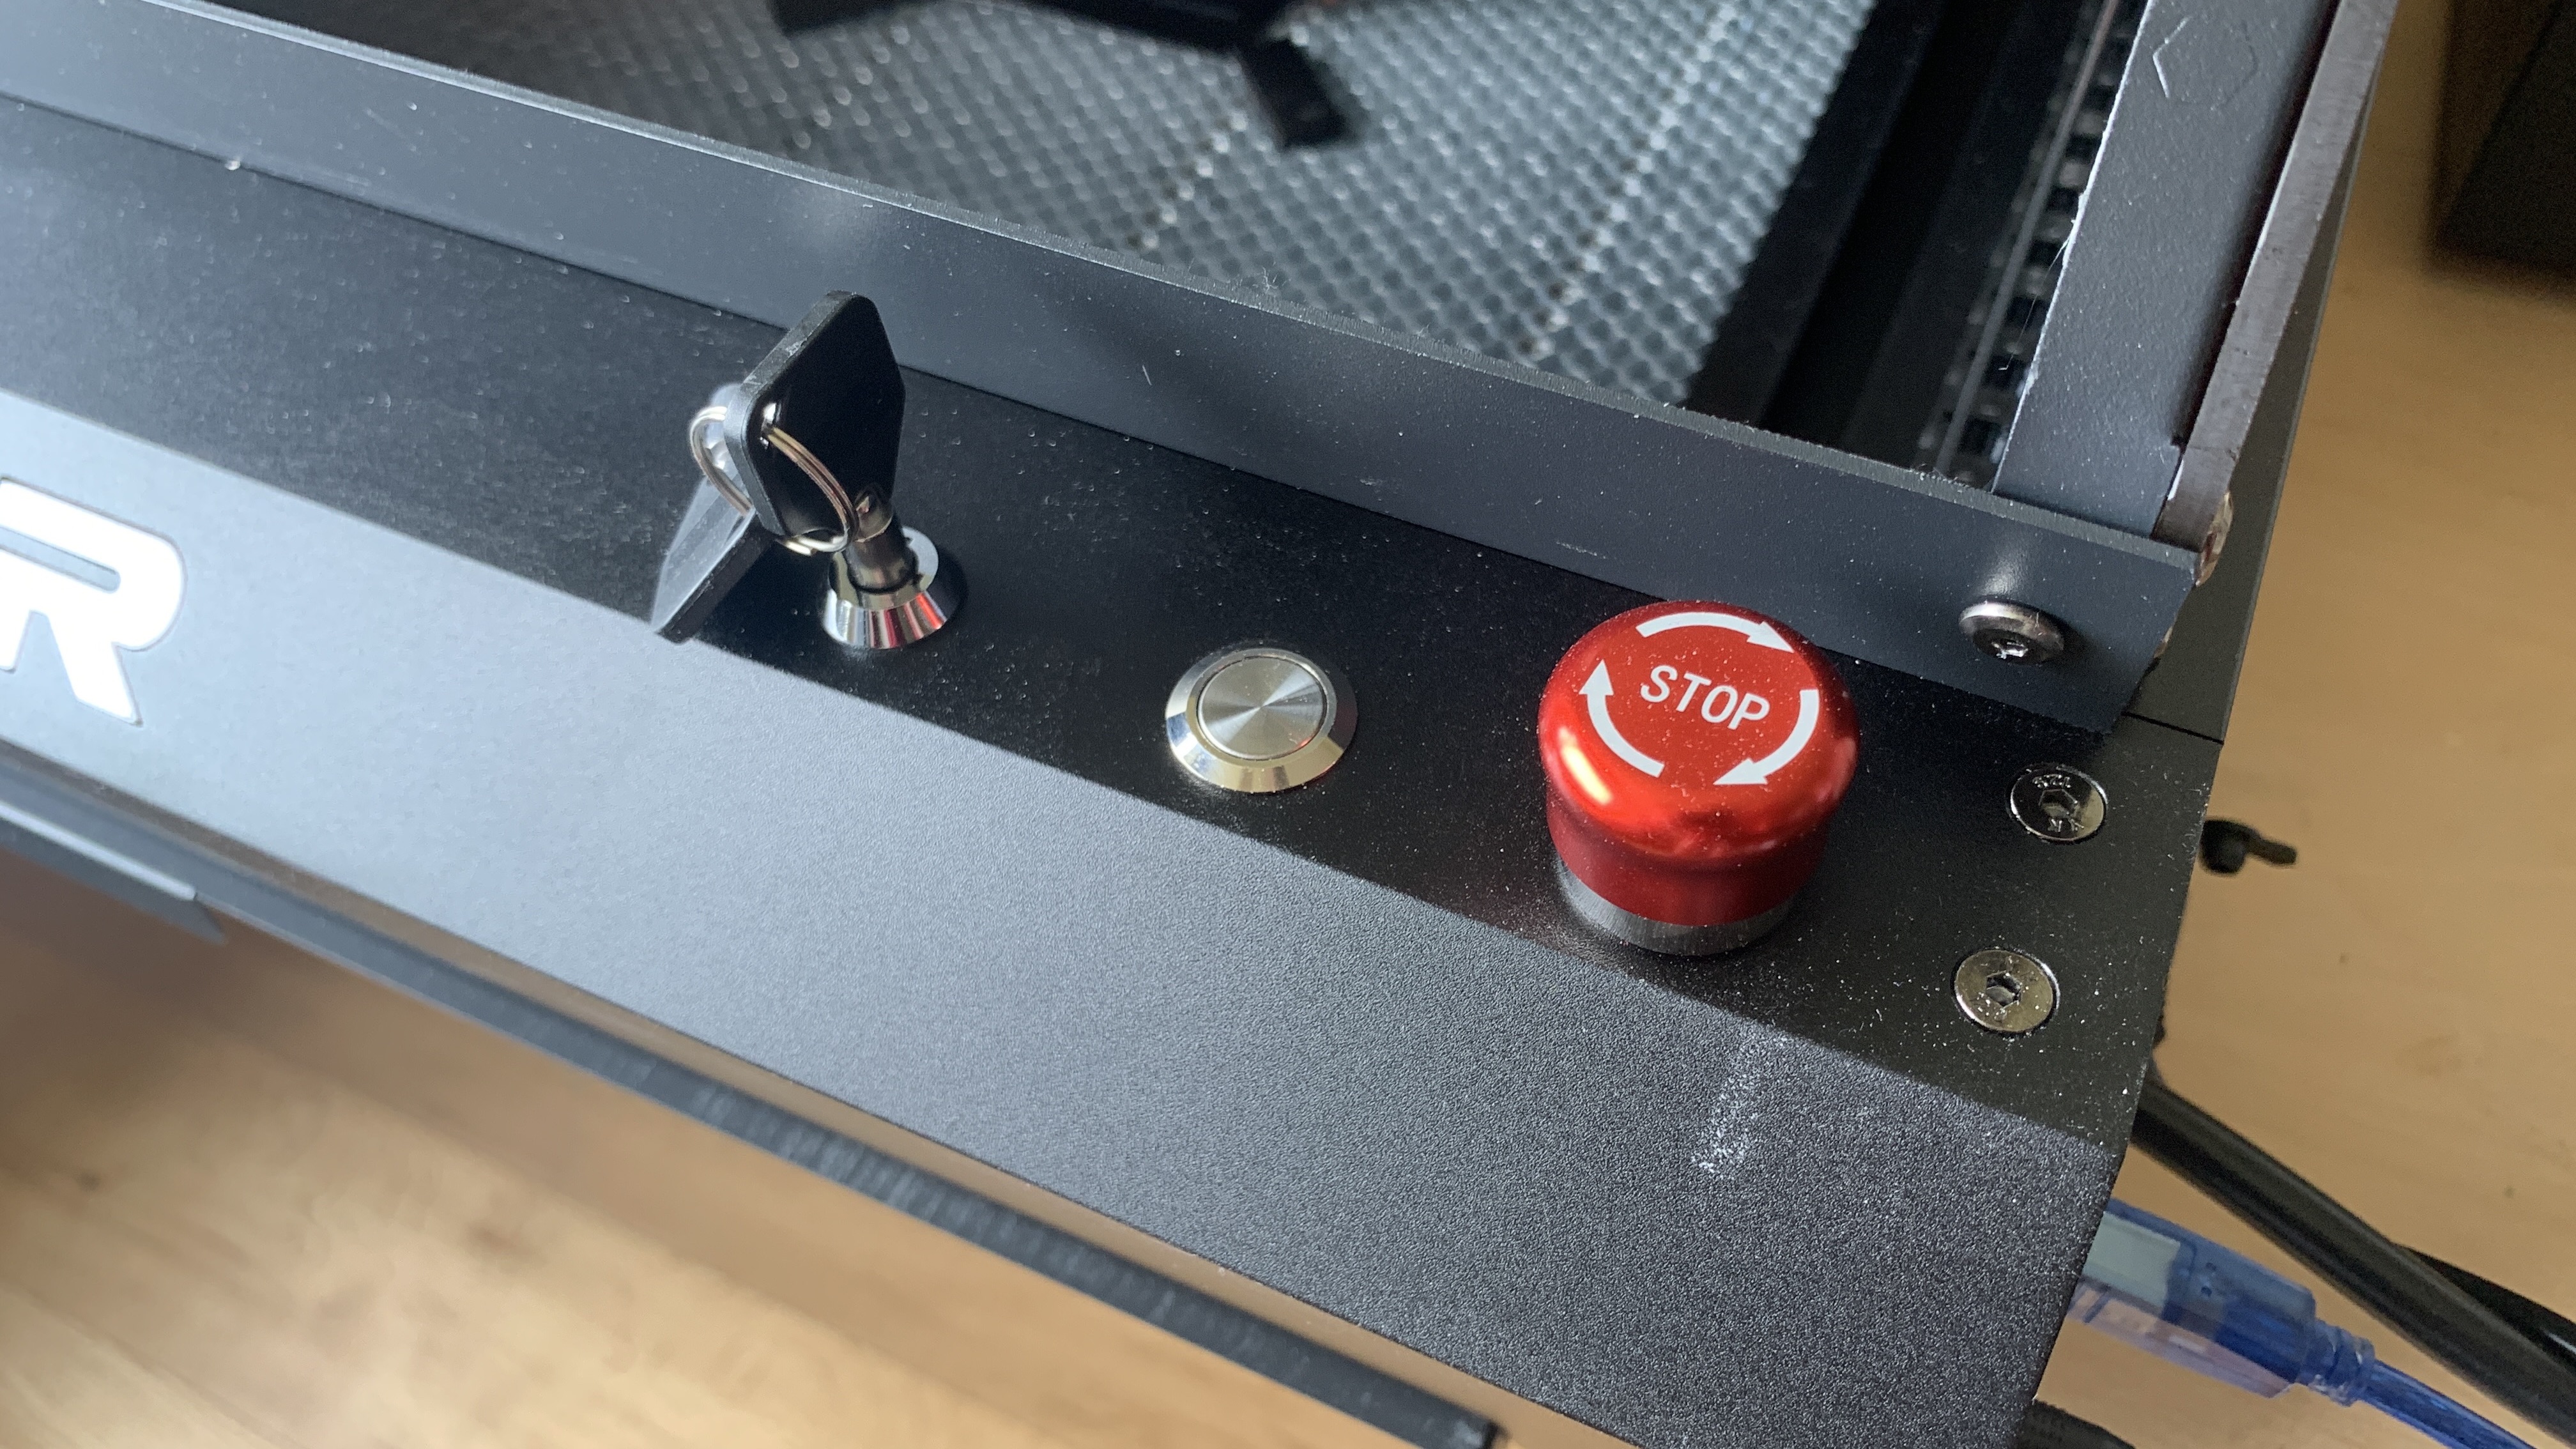
When you're working with lasers, you'll want to make sure you put a few different safety precautions in place. These will help protect you and others against getting hurt from the laser or inhaling any nasty fumes. Thankfully, ACMER has you well covered here with a comprehensive Class 1 safety rating.
The first feature is the full enclosure, which will keep you protected even if the laser did reflect away from the module. They also provide a set of safety glasses, which adds a further level of protection.
The P3 is key-operated, which means you or a child won't accidentally turn the machine on. There's also a large red emergency button that is easily operated if you run into trouble. The machine is also equipped with over-temperature protection, limit protection, tilt protection, and flame detection, so it's very unlikely that you'll have any problems at all.
Fumes are extracted out of the back of the machine down a long tube. You'll want to place this out of a nearby window or purchase the ACMER air purifier if you have nowhere to put the tube.
All in all, I felt very safe working with the P3.
Who is the ACMER P3 Dual Laser Engraver for?
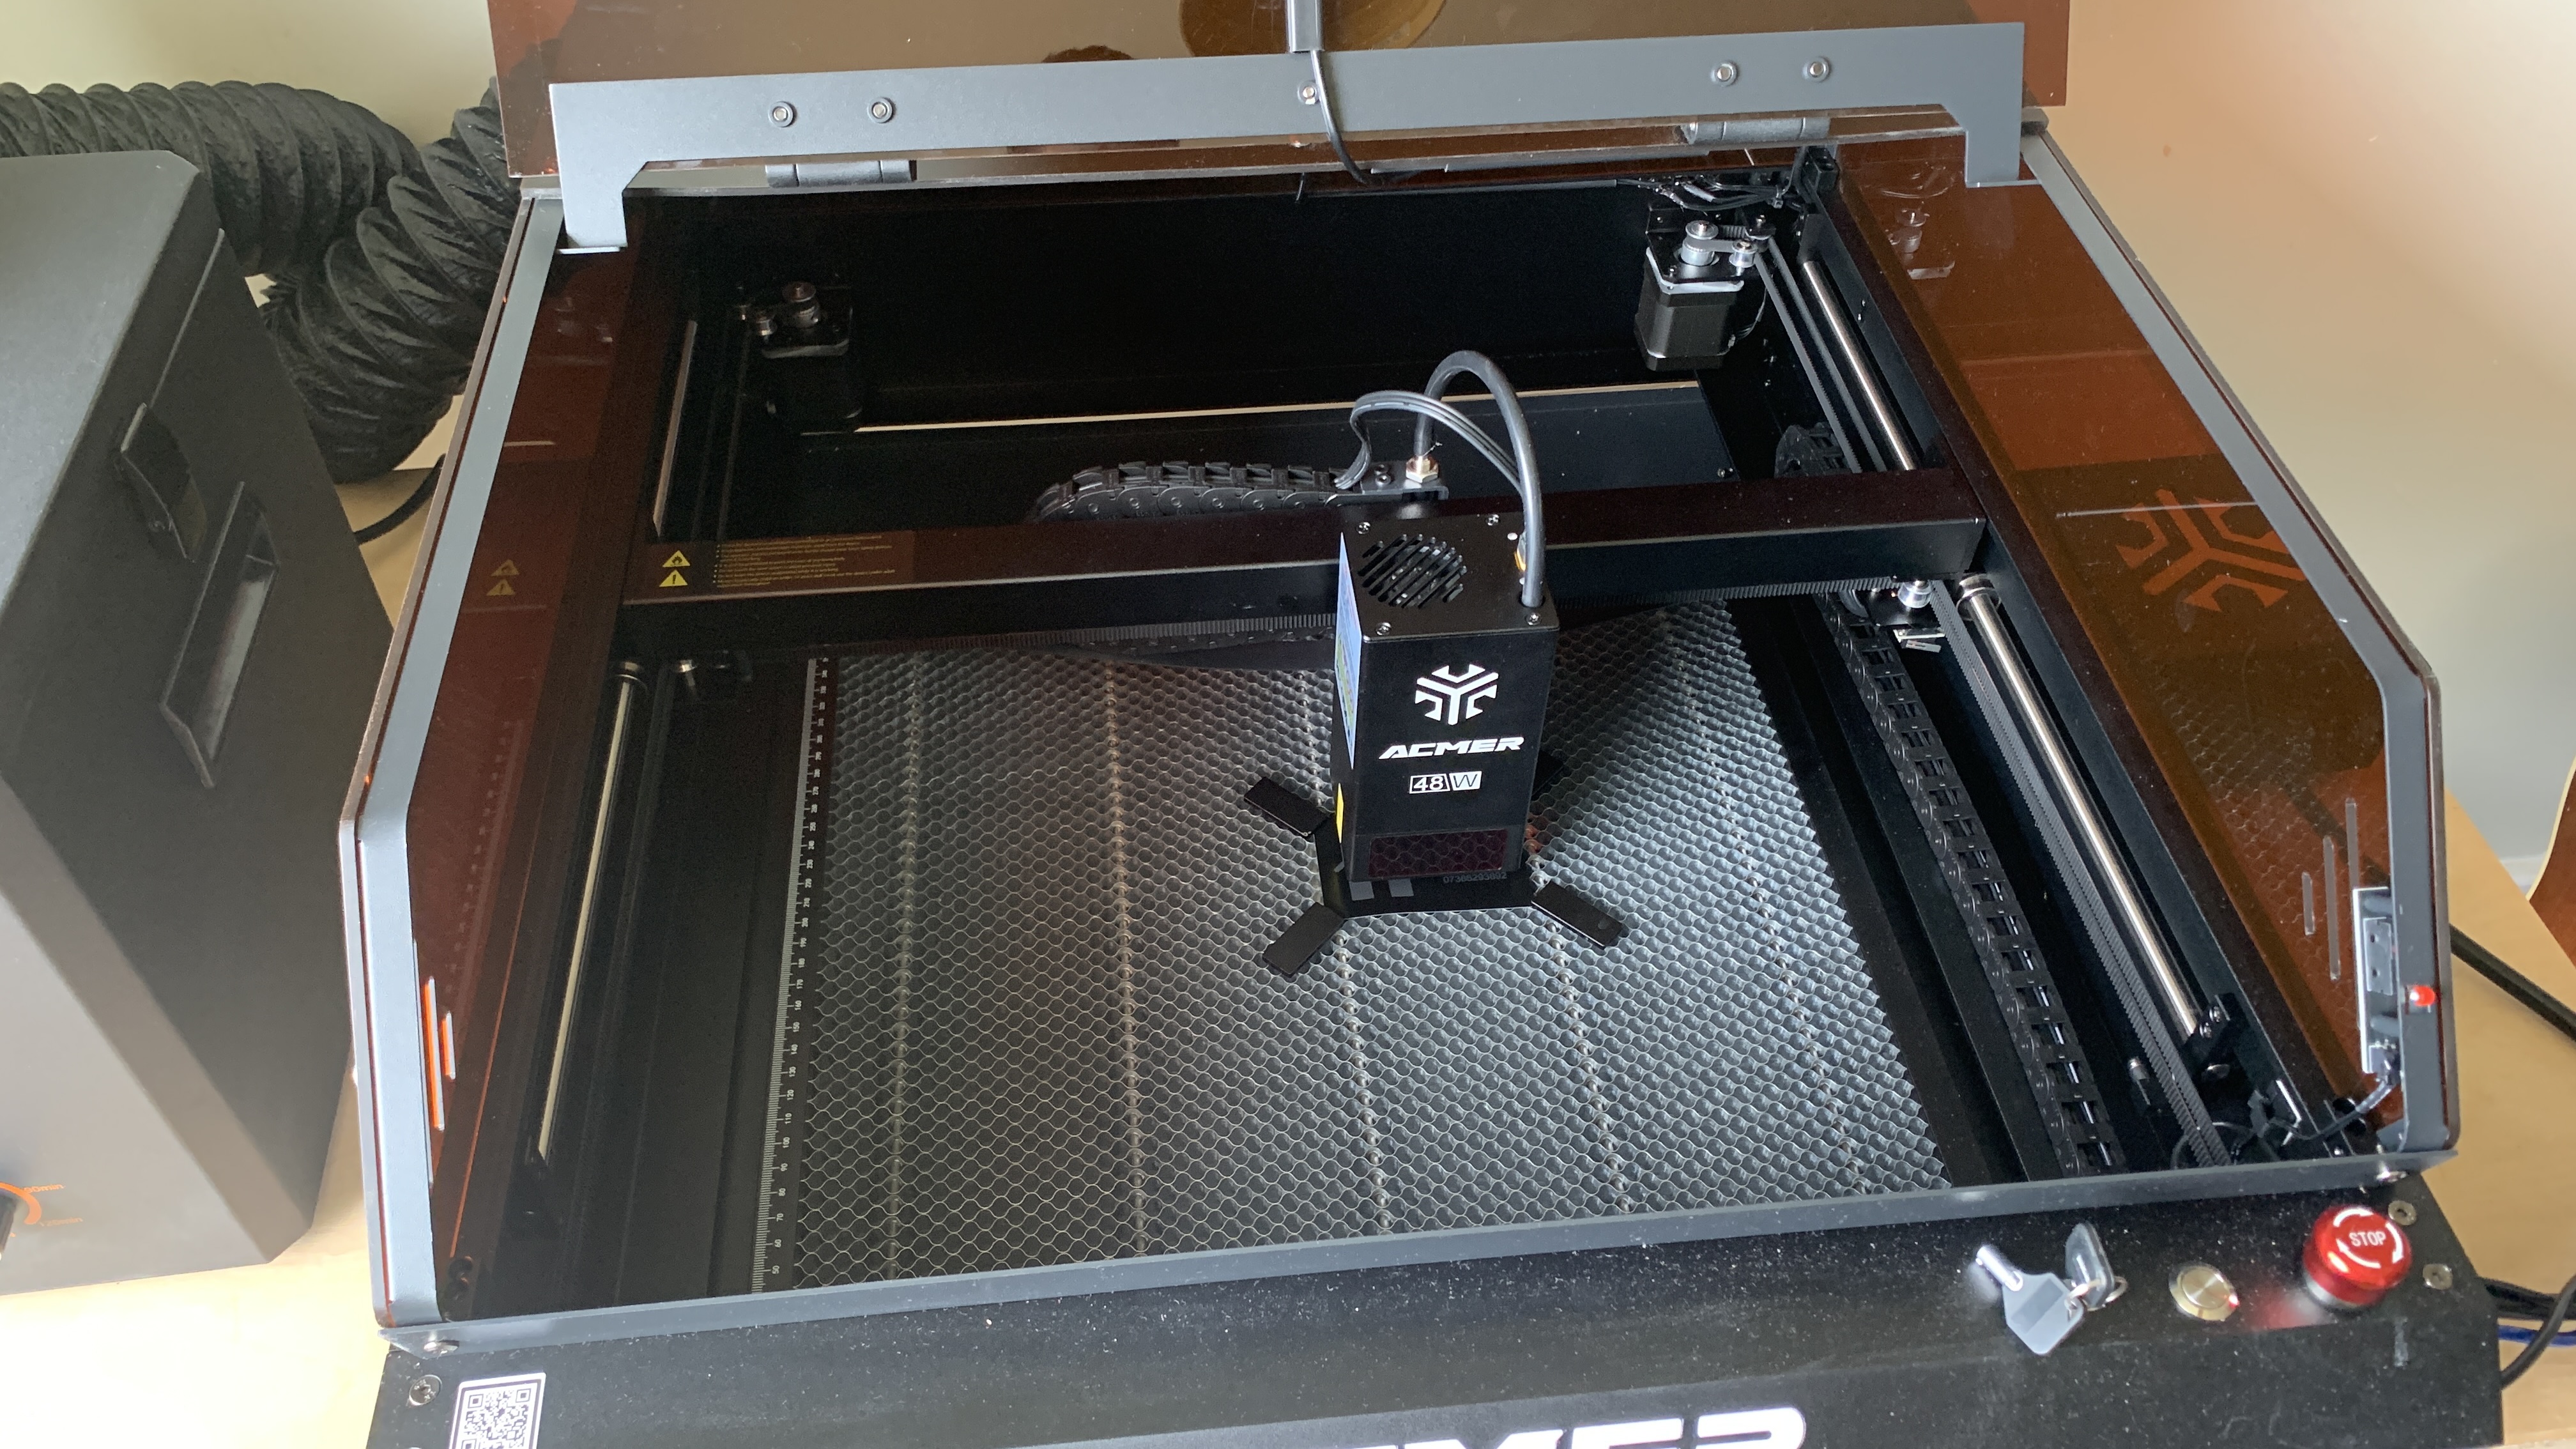
Anyone who needs to engrave and cut larger-scale objects or multiple smaller objects in one step. It's also perfect for people who find themselves needing to engrave a wide range of materials instead of just one or two.
Buy it if
- You need a huge work area
- You engrave and cut a wide variety of materials
- You're a professional engraver
Don't buy it if
- You need a small and portable engraver
- You're on a budget
out of 10
The ACMER P3 is an ideal laser engraver for professionals and serious enthusiasts. Powerful IR and diode capabilities inside a single module deliver outstanding versatility regarding material types. Calibration was a little arduous, but after that was complete, I had no problems. With a massive work area, the P3 is also able to engrave and cut large objects as well as numerous smaller ones without needing to re-setup the machine. This is the daddy of all engravers and most definitely the one to beat at the moment, and we're seeing prices fall from $2,000 to $1,200 at the time of writing.

Paul is a digital expert. In the 20 years since he graduated with a first-class honours degree in Computer Science, Paul has been actively involved in a variety of different tech and creative industries that make him the go-to guy for reviews, opinion pieces, and featured articles. With a particular love of all things visual, including photography, videography, and 3D visualisation Paul is never far from a camera or other piece of tech that gets his creative juices going. You'll also find his writing in other places, including Creative Bloq, Digital Camera World, and 3D World Magazine.
You must confirm your public display name before commenting
Please logout and then login again, you will then be prompted to enter your display name.
