
In this tutorial we will be creating a range of images out of SVG triangles, and setting up an animated transition from one image to another on click. It’ll look something like the Faces of Power website. These animations can really add interest to a site, particularly a landing page, as well as enhance user experience. If you've got a complex site to maintain, you will need a super web hosting service. building something less complicated? A website builder might do the job.
To kick off we are going to start with two arrays: one with the values we’re animating to, and one with the values we’re animating from. Every time a link is clicked, we are going to find the SVG that matches the href of that link and get the points attribute of each of the polygons in that specific SVG.
We’re going to extract all the coordinates in the points attribute, get the fill colour of the polygon and then add these as properties of an object. Then we’ll add all these objects to one of the two arrays: the to array.
<a href="#nat">Nat</a>
<a href="#bwl">bwl</a>
<a href="#kevin">kevin</a>

<svg class="svg-holder">
  polygons for #nat go here
</svg>

<svg id="nat" class="hidden">
 polygons for #nat go here
</svg>

<svg id="bwl" class="hidden">
 polygons for #bwl go here
</svg>
<svg id="kevin" class="hidden">
 polygons for #kevin go here
</svg>
01. Convert images to polygons

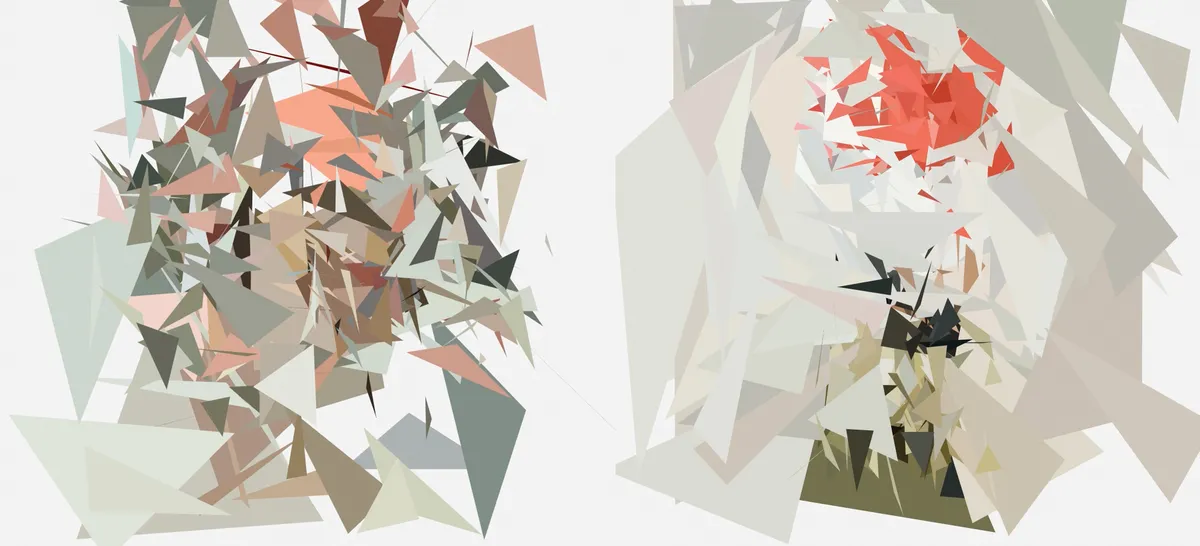
The first step is to actually make the images. For this I used a tool called Primitive (check out the GitHub repo). The images used in the tutorial are personal images of a few friends.
Run your chosen images through the Primitive utility using the command line:
primitive -i input.jpg -o output.svg -n 250 -m 1-n 250 specifies 250 polygons, -m 1 specifies a triangle shape, and -i input.jpg -o output.svg are the input and output. It’s important that all SVGs have the same number of polygons and are the same shape. Output.svg will be a collection of polygons.
02. Paste your SVGs into the HTML
After creating the SVGs paste them into the body of the HTML. Duplicate the first SVG and give one of the duplicates the class .svg-holder.
The .svg-holder is going to be the only one that is technically visible; it will be the holder for all the polygons that are animated in and out of it. Give all SVGs except the holder the class hidden and an id with a unique name. This should match the href in the links. The hidden SVGs will be hidden with display: none;. It’s important to make sure the href of each link matches the id of its respective SVG.
Then declare the variables:
let toPolygonArray = [];
let fromPolygonArray = [];
03. Extract polygon coordinates
Now we have to run through each of our polygons and get the coordinates in the points attribute. We can do this using regex:
const getCoordinates = (polygon) => {
  return polygon.getAttribute(“points").match(/(-?[0-9][0-9\.]*),(-?[0-9][0-9\.]*)\ (-?[0-9][0-9\.]*),(-?[0-9][0-9\.]*)\ (-?[0-9][0-9\.]*),(-?[0-9][0-9\.]*)/);
};
04. Update the polygon arrays

Every time a link is clicked, we’re going to run a function that takes the href of the clicked link as an argument and find the matching SVG, get the points values, animate it, and update the from array.
const updatePolygonArrays = (idToAnimateTo) =>
{
  toPolygonArray = createPolygonPointsObject(document.getElementById(idToAnimateTo).querySelectorAll(“polygon"));

  animatePolygons();

  fromPolygonArray = toPolygonArray;
}
This function calls two other functions – createPolygonPointsObject and animatePolygons.
createPolygonPointsObject converts all the polygon elements into objects that we can animate the values of, and animatePolygons animates the polygons inside .svg-holder.
const createPolygonPointsObject = (polygons) => {
  const polygonsArray = [];

  polygons.forEach((polygon, i) => {
    const coordinates = getCoordinates(polygon);

    polygonsArray.push({
      fill: polygon.getAttribute(“fill"),
      one: coordinates[1],
      two: coordinates[2],
      three: coordinates[3],
      four: coordinates[4],
      five: coordinates[5],
      six: coordinates[6]
    });
  });

  return polygonsArray;
}
This uses our getCoordinates function to get all the coordinates in the points attribute and creates an object with each coordinate and the fill. It returns an array of objects. I decided to make them objects because that data type seems to be easier to work with when you are animating a lot of values at once.
05. Animate the polygons
Let’s use TweenMax to animate the polygons.
const animatePolygons = () => {
  const polygons = document.querySelector(“.svg-holder").querySelectorAll(“polygon");
  fromPolygonArray = createPolygonPointsObject(polygons);

  fromPolygonArray.forEach((obj, i) => {
    TweenMax.to(obj, 1, {
      one: toPolygonArray[i].one,
      two: toPolygonArray[i].two,
      three: toPolygonArray[i].three,
      four: toPolygonArray[i].four,
      five: toPolygonArray[i].five,
      six: toPolygonArray[i].six,
      ease: Power3.easeOut,
      onUpdate: () =>
      {
        polygons[i].setAttribute(“points", `${obj.one},${obj.two} ${obj.three},${obj.four} ${obj.five},${obj.six}`);
      }
    });
  });
}
On every frame of the animation, this loop animates the points attribute of the currently visible polygons in .svg-holder to the new values set above. The onUpdate method in TweenMax.to is called every time the animation updates, so here it’ll get run on every change in the values of obj.one, obj.two, obj.three, and so on. This way, the points values animate and the shape morphs to have different coordinates.
Next we can animate the fill. For each polygon in .svg-holder, set the fill to the fill in the toPolygonArray that is in the same index.
polygons.forEach((polygon, i) => {
    const toColor = toPolygonArray[i].fill;

    TweenLite.to(polygon, 1, {
      fill: toColor,
      ease: Power3.easeOut
    });
});
Now the polygons will animate their coordinates and their fill colours as expected. And you're done! Want to save your pages? Export them as PDFs and drop them into cloud storage.

To improve your web design skills further, head to our conference Generate and experience a packed schedule of industry-leading speakers, workshops and valuable networking opportunities. Don't miss it! Get your Generate ticket now.
Read more:

Thank you for reading 5 articles this month* Join now for unlimited access
Enjoy your first month for just £1 / $1 / €1
*Read 5 free articles per month without a subscription
Join now for unlimited access
Try first month for just £1 / $1 / €1
