Get started with V-Ray
Get to grips with V-Ray for Blender with this expert advice.
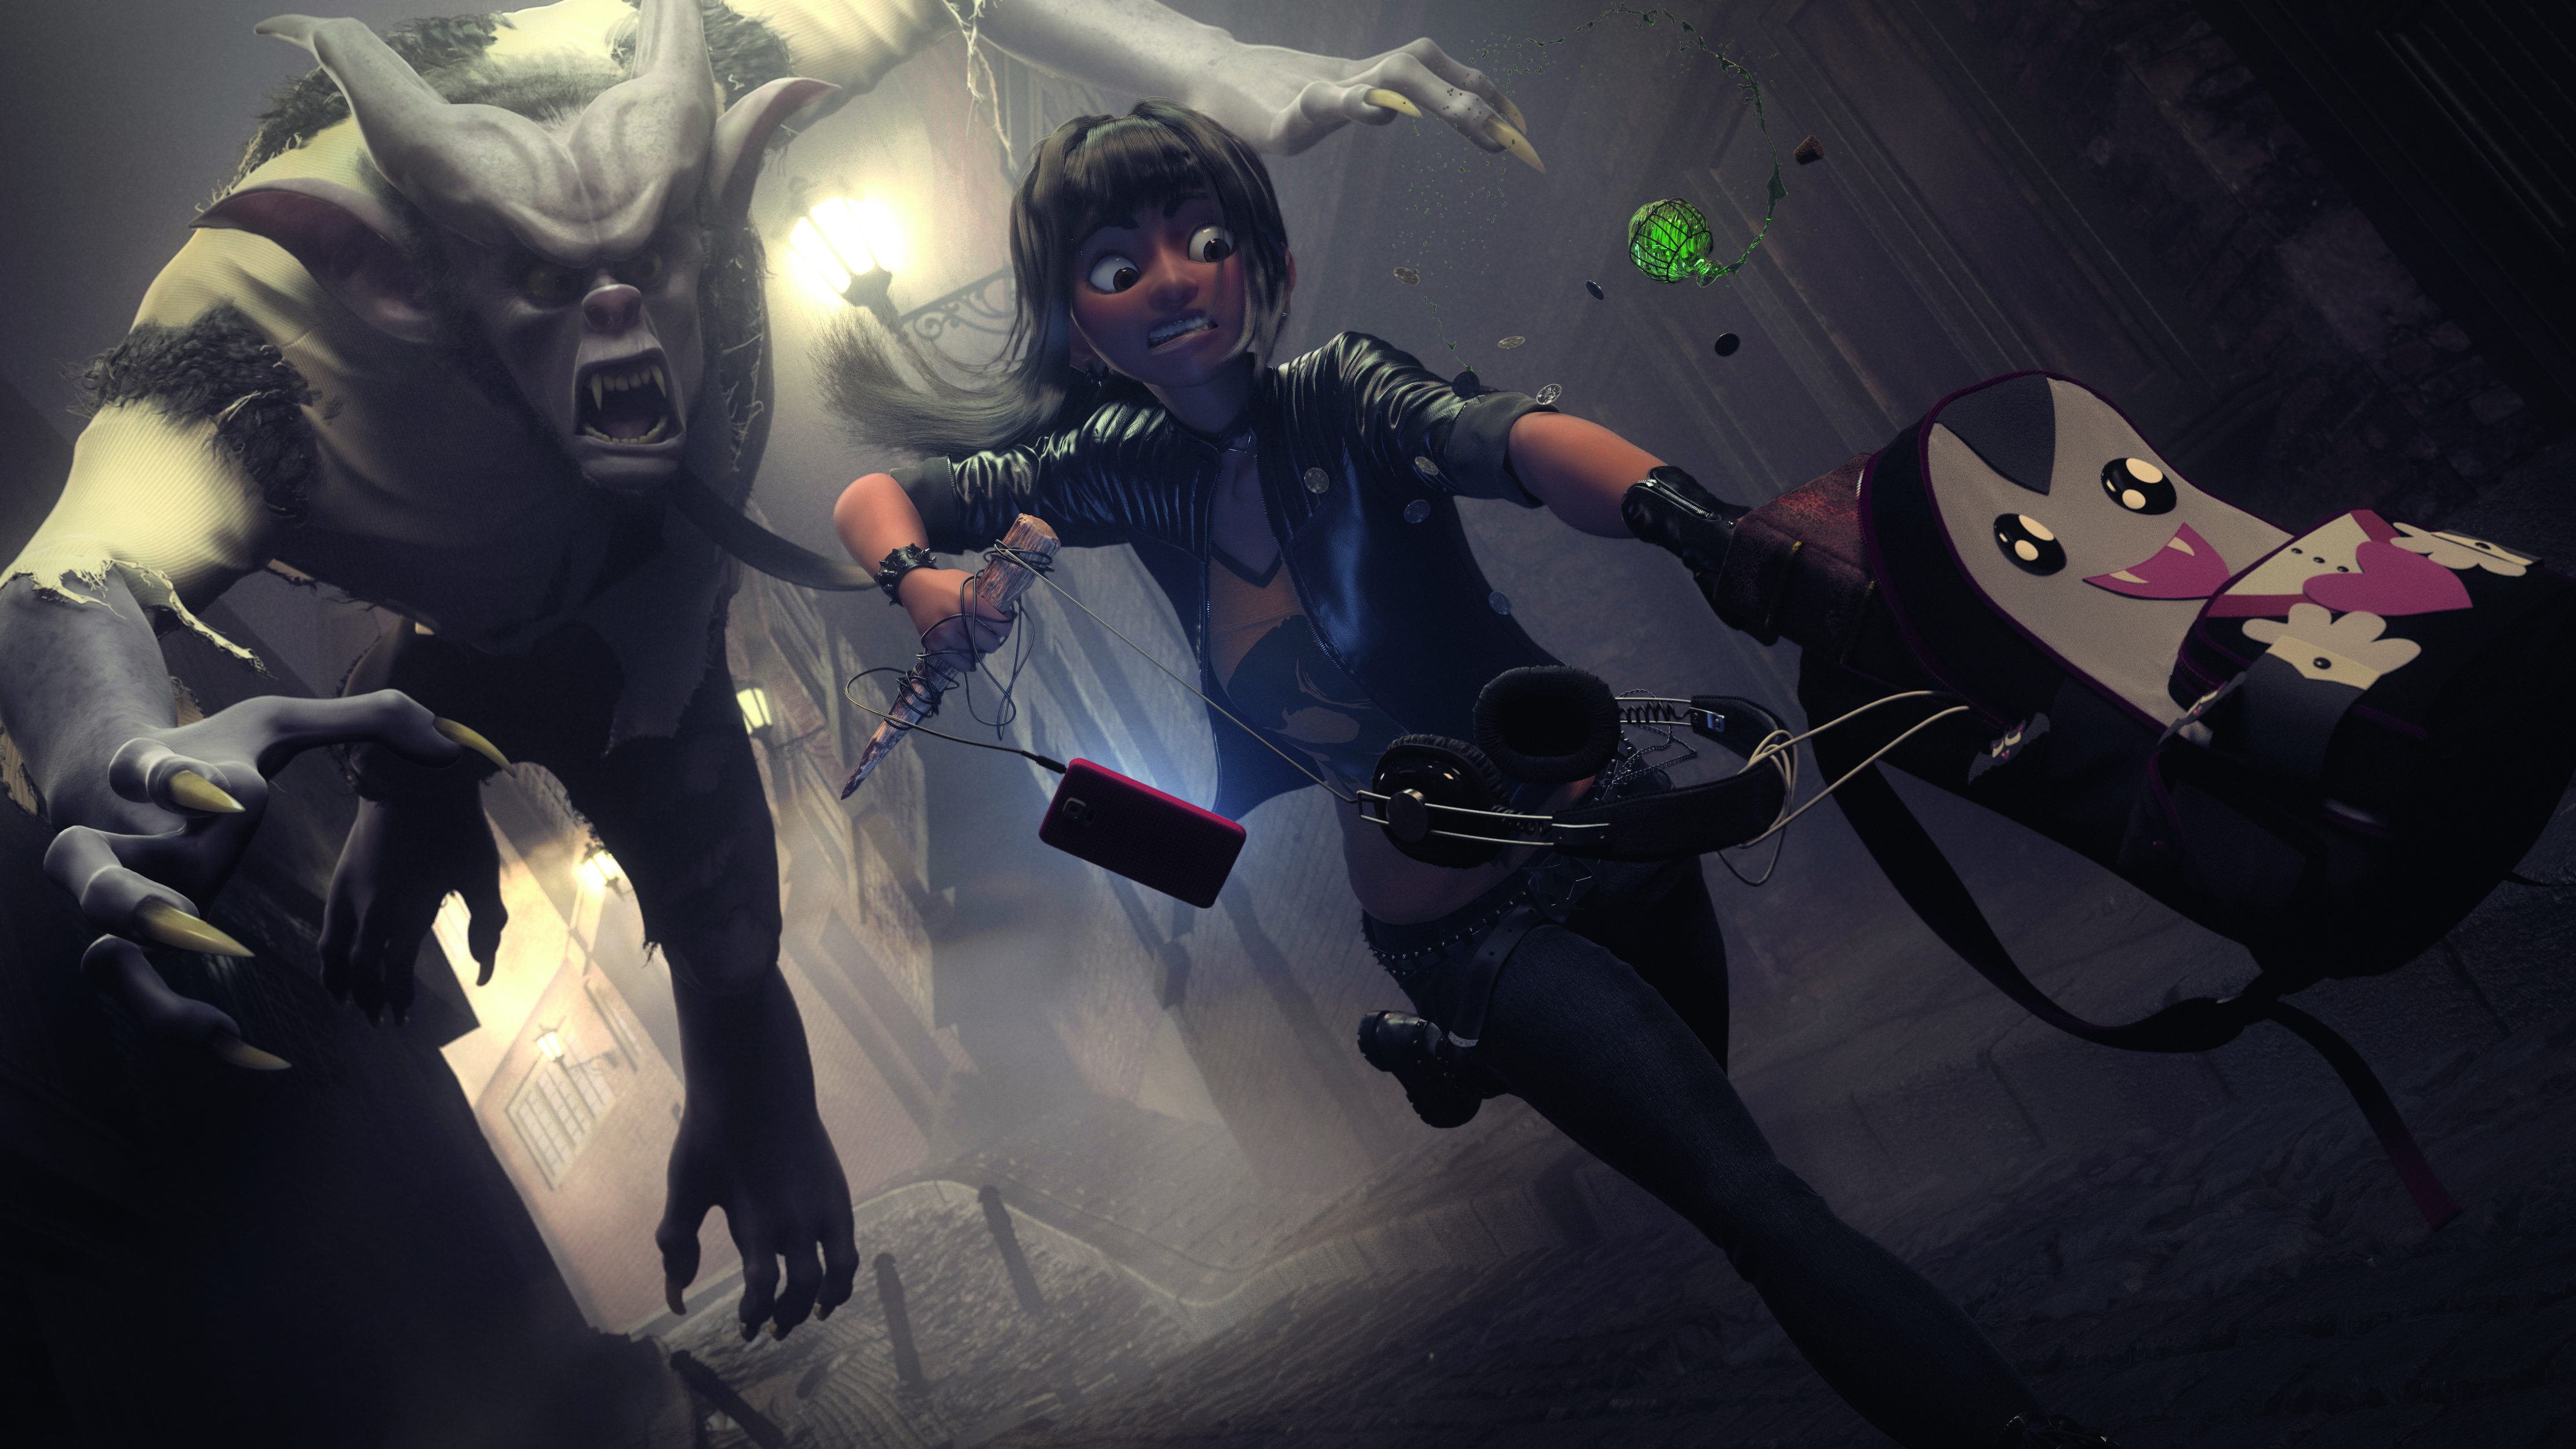
V-Ray for Blender is interesting to me because it is a production-tested, primarily biased renderer. While it is capable of creating realistic images on par with its unbiased competitors, there is always the option of trading physical accuracy in the lighting and materials for much faster render times.
It is worth noting that working with V-Ray is a little different to working with Cycles. In Cycles, the various shader components, such as diffuse, reflection and refraction, are contained in separate BSDFs that have to be mixed together using nodes to create the desired materials. V-Ray uses nodes, but instead of having multiple BSDFs that are mixed together, the nodes are used to texture the attributes of a single BSDF. While layering BSDFs is still possible, it is usually reserved for more complex material effects.
For all the assets you need click here
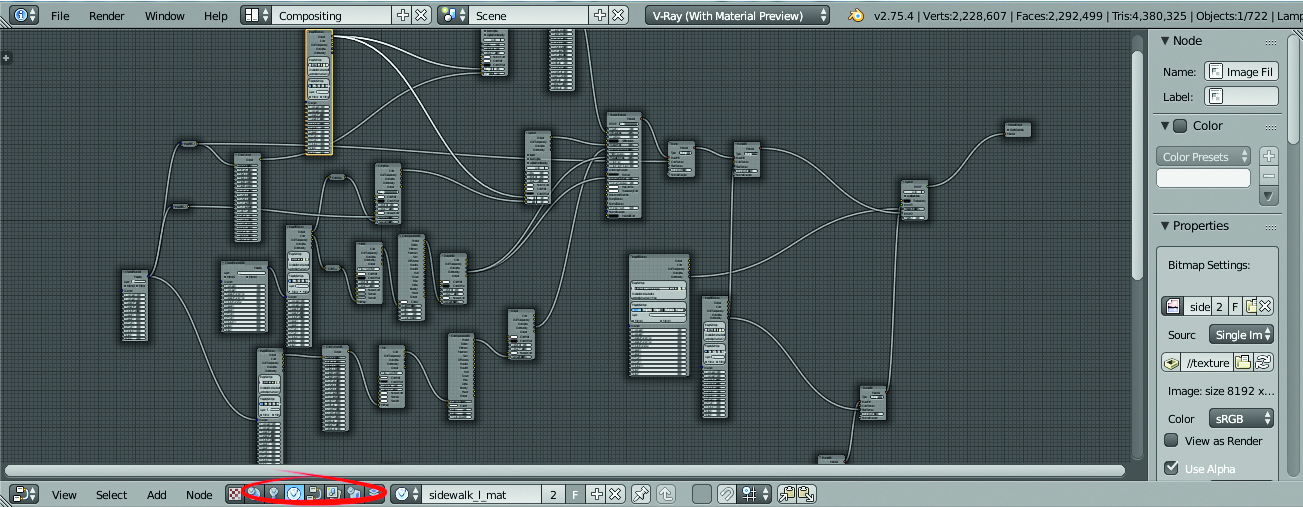
01. Interface Basics
Orientate yourself with V-Ray’s menus: the various settings can be found in the Render Context tab in the Properties window. The Render tab itself has five additional tabs that contain the settings for the render output: Globals, GI, the DMC sampler and System Settings. Customising materials, lights and other aspects of the scene is done through the Node editor. There are five V-Ray-specific node tree types: World, Lights, Materials, Objects and Scene.
02. Working with Nodes
To create a node, press [Shift]+[A] in the Node Editor.
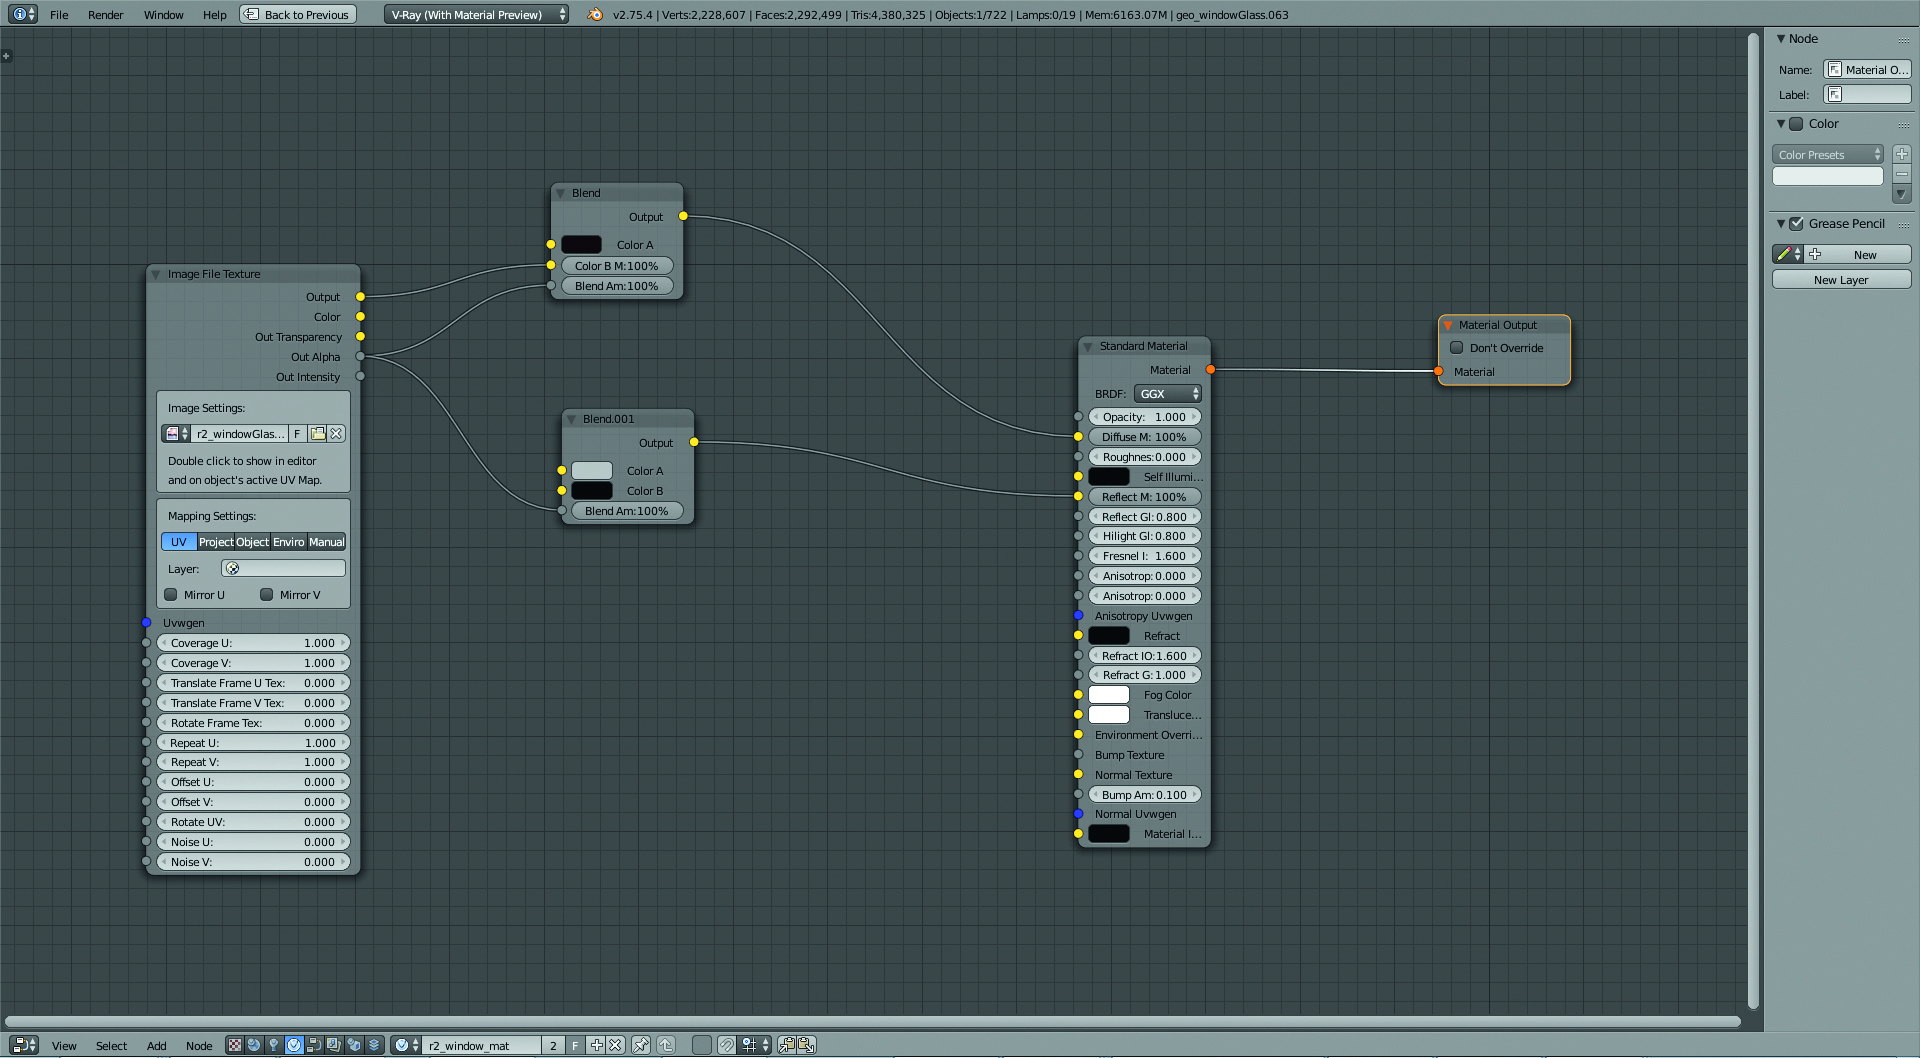
Nodes have various input and output types, and you have to connect these in a specific way. The attributes are colour coded: for materials, the most common types are Float Values (grey), Vector Values (yellow), BRDF (green), Materials (orange), and Mapping (blue).
Sometimes connecting different-coloured attributes is OK. Orange outputs, for instance, can be connected to the green inputs of the ‘layered’ BRDF node.
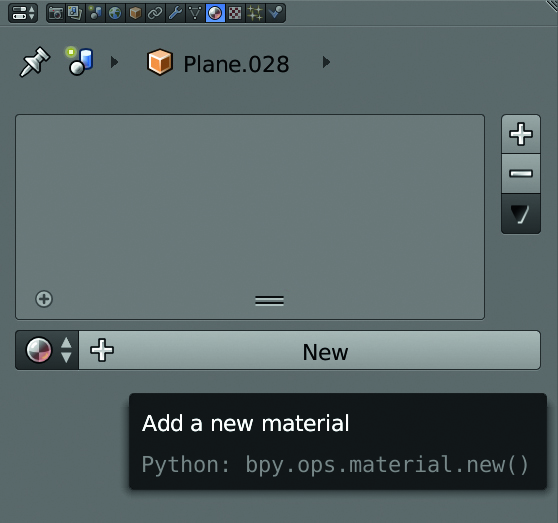
03. Creating Materials
To create a material, select an object, go to the Properties window and select the Materials tab and press New. This will create a Standard Material connected to a Material Output in the Node Editor.
The node network that is connected to the Material Output is the one that will be rendered. To texture your materials, you can load bitmap textures using the Image File Texture node or use one of V-Ray’s many procedural texture nodes.
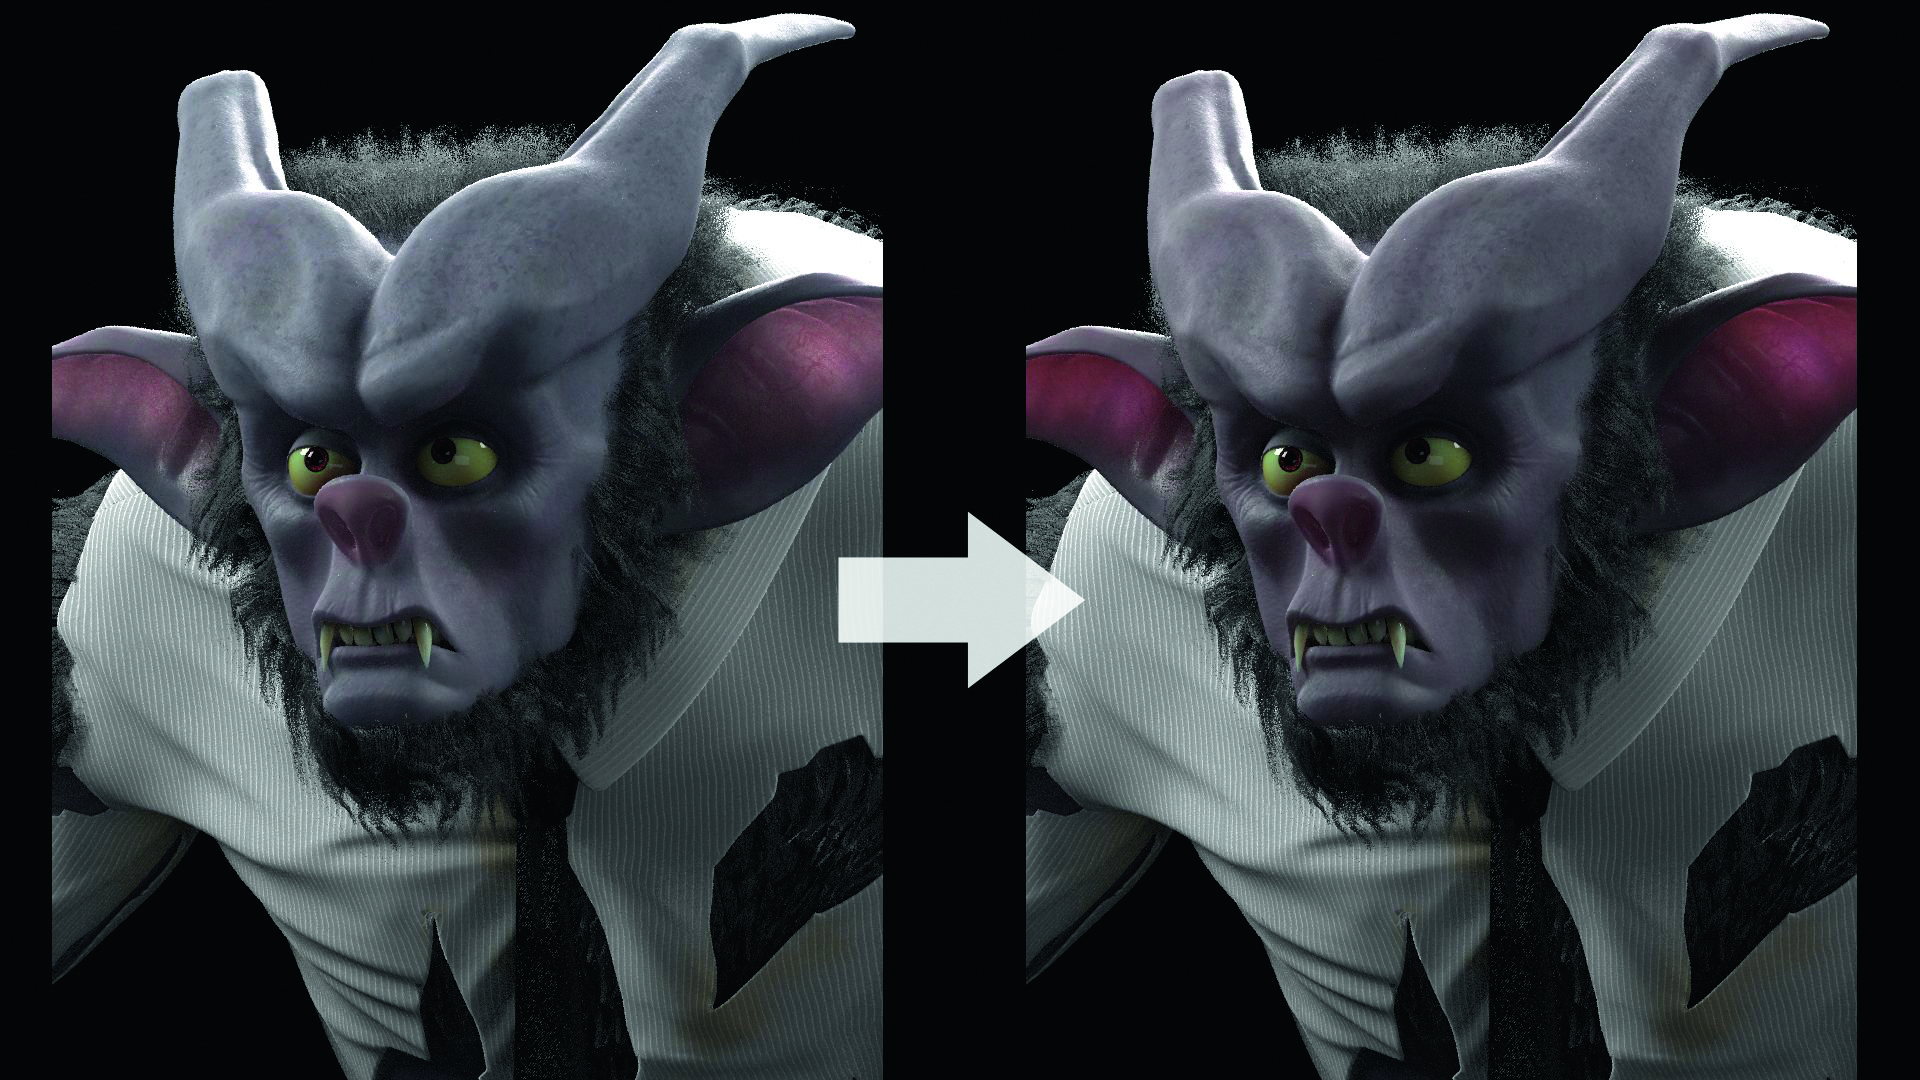
04. Dealing with Textures
V-Ray features a number of nodes that are useful in editing textures. One such node is the Color Correct node, which lets you edit the colours of your textures.
To use this node, you must first go into its properties and check the boxes of the operations you want to use. If you don’t do this, the sliders will not work. You can use the Layered node for combining textures with blending modes or the Mix node to combine two textures using an alpha.
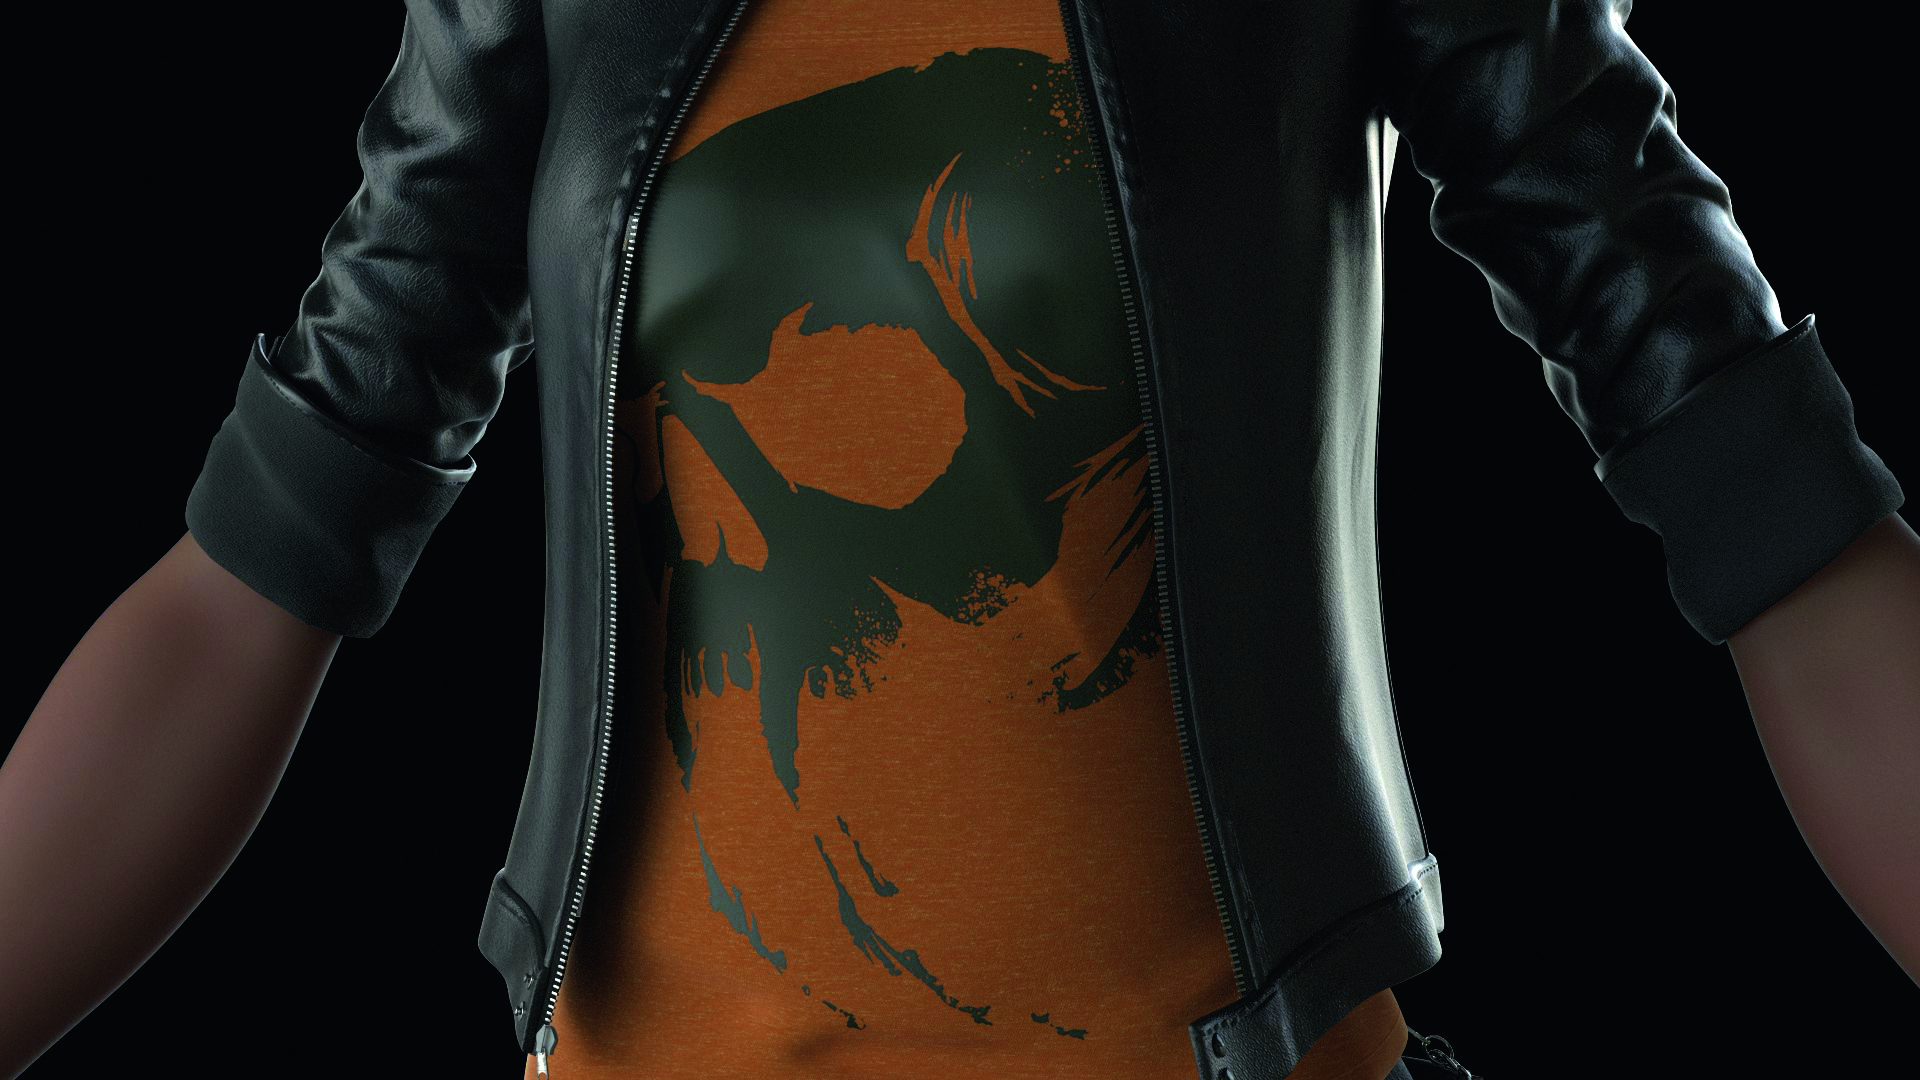
05. Layering Shaders
While texturing attributes can be used to get the effect of different kinds of materials, this can often lead to very complex node networks. If you have multiple distinct material types on the same object, it might be best to layer multiple BRDF nodes using the Layered BRDF node. Each layer has a Weight attribute, which can be textured with a Float value to mask between the different layers.
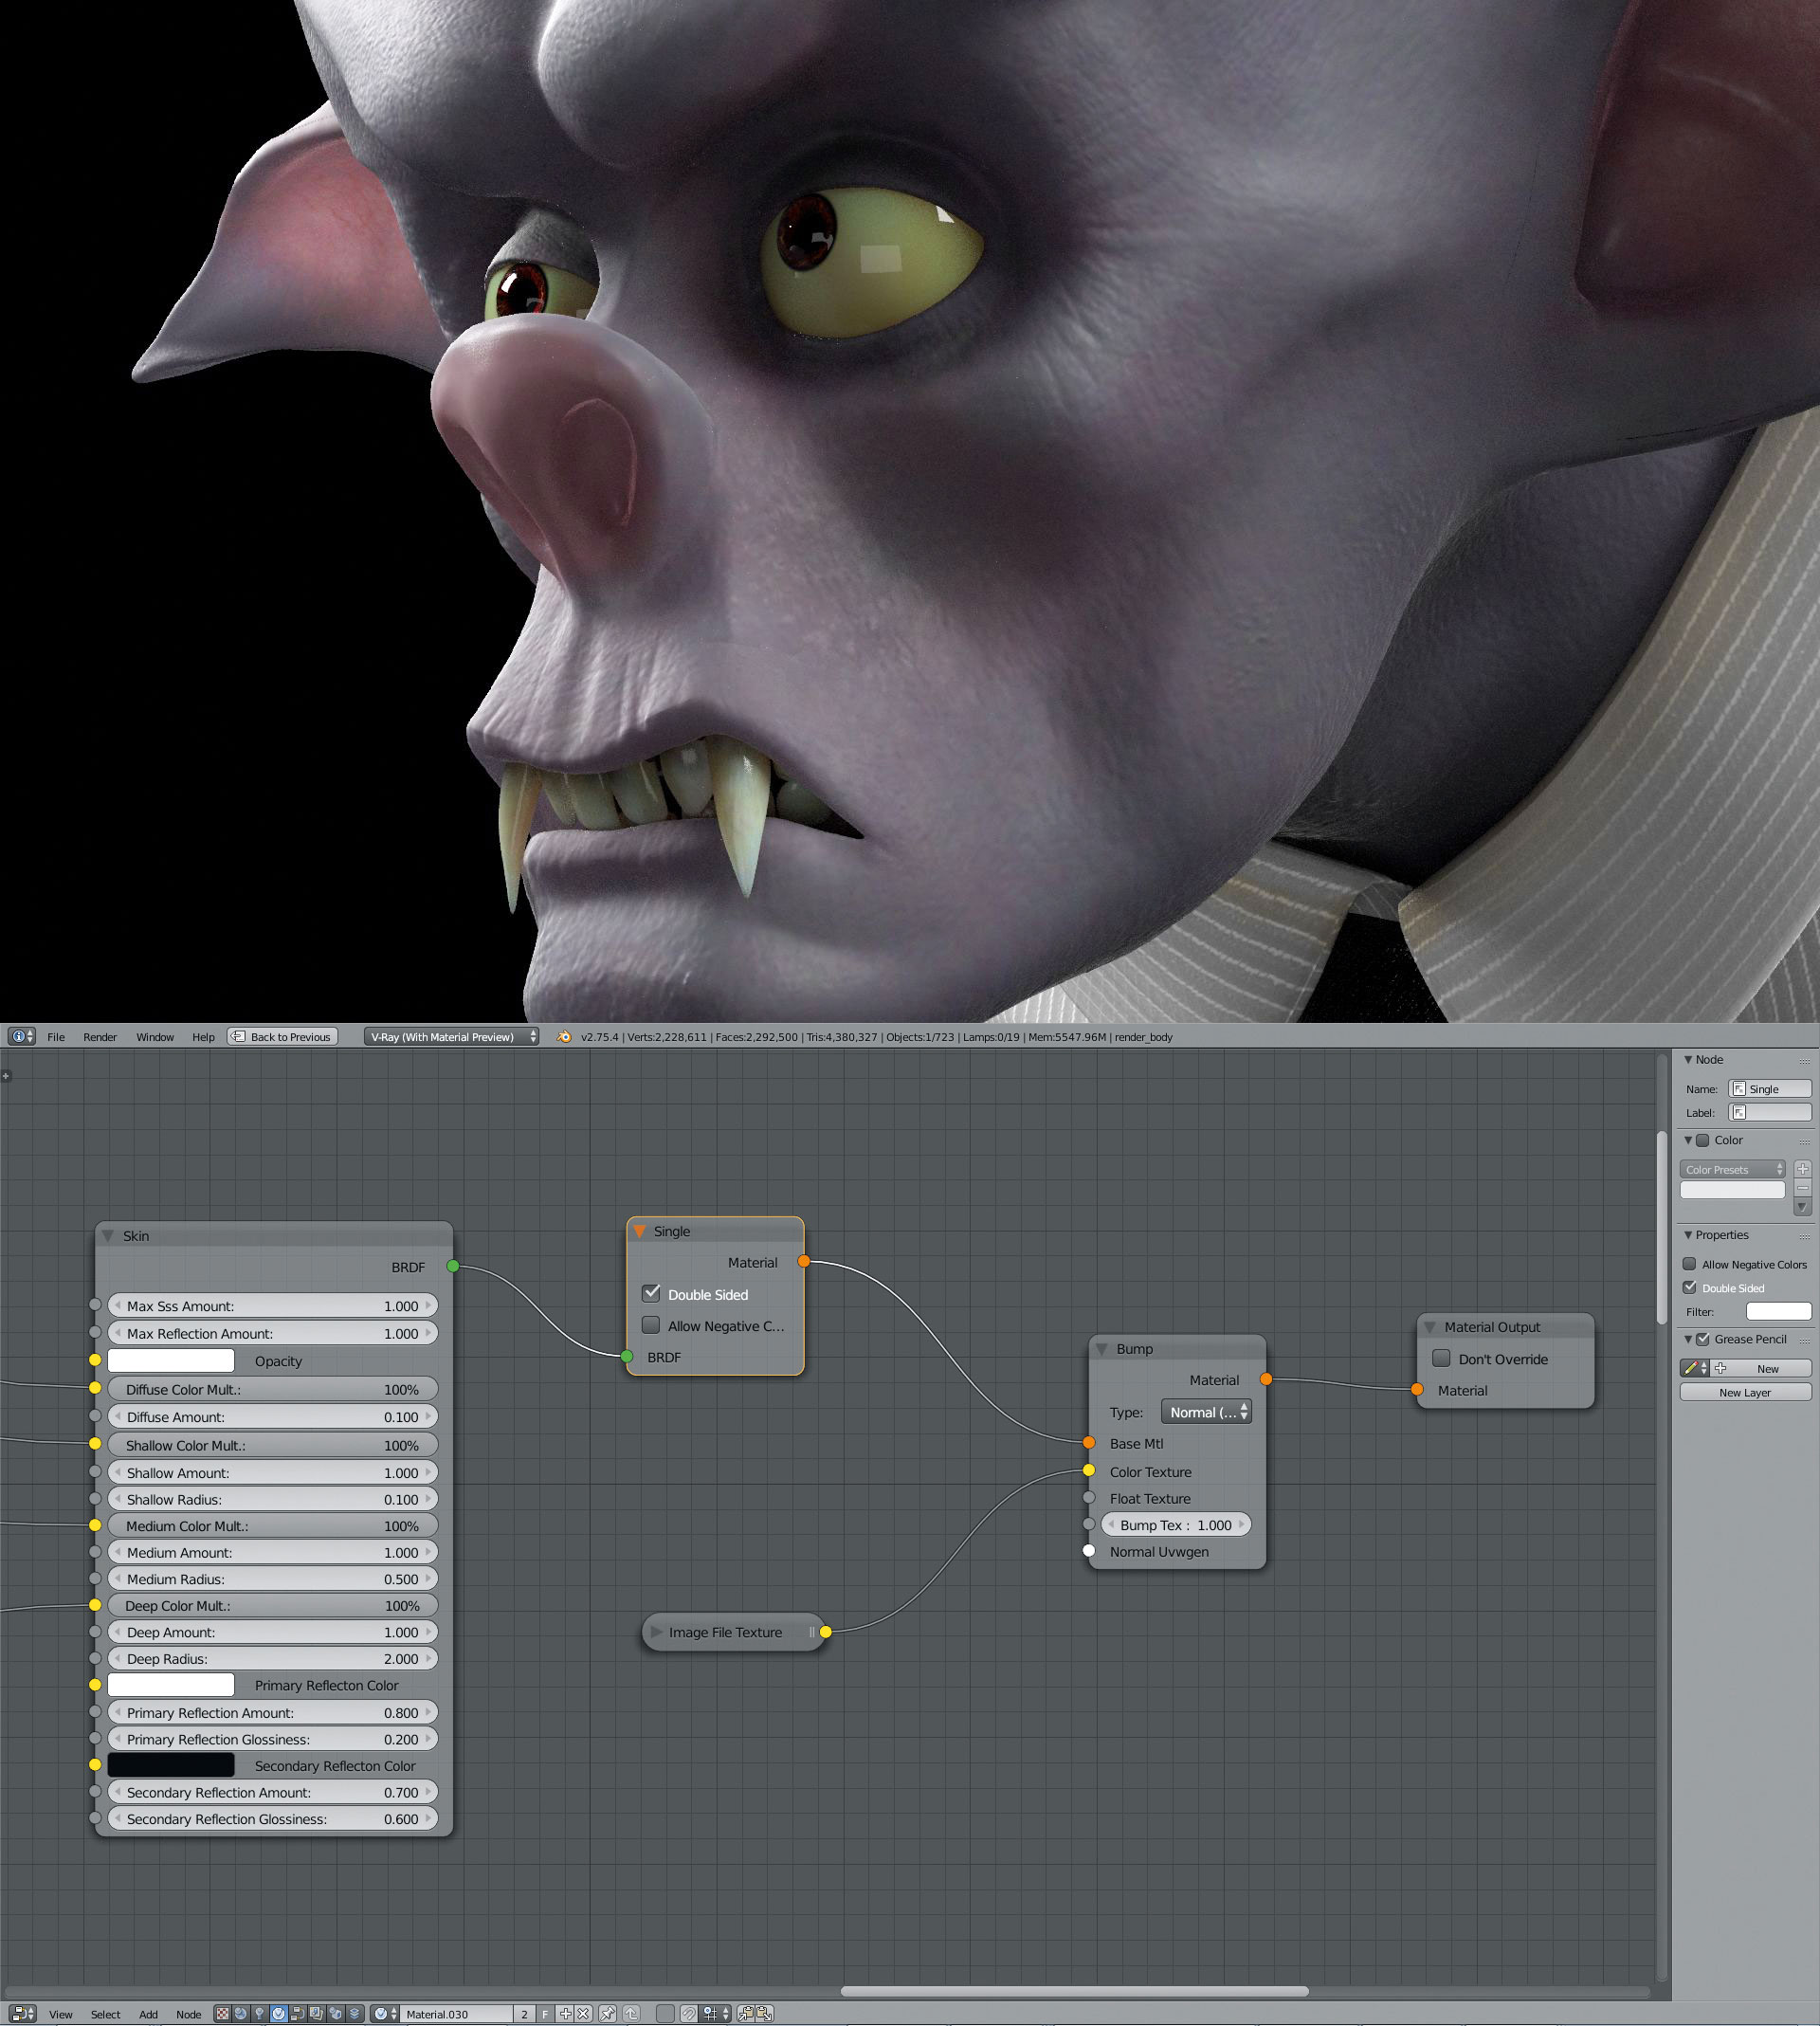
06. The bump node: Bump Maps and Normal Maps
Material class nodes are used to edit the bahaviour of the BRDF nodes connected to them. The most common of this type of node is the Bump node, which enables you to add bump map or normal map effects when using any material. These nodes require an orange input otherwise the object will render black. If the end of your node network is green, use a Single node to bridge between BRDF Class nodes and Material Class nodes.
When working with Material Class nodes, it’s worth noting that the Image File Texture node loads images in sRGB colour space by default. If used as is for normal maps, it will render incorrectly. I recommend setting the colour space of the texture to Linear in the Node Editor Properties, or you can use the keyboard shortcut and press [N] which will bring up the Properties panel in the Node Editor. Here you can change the colour space of the texture.
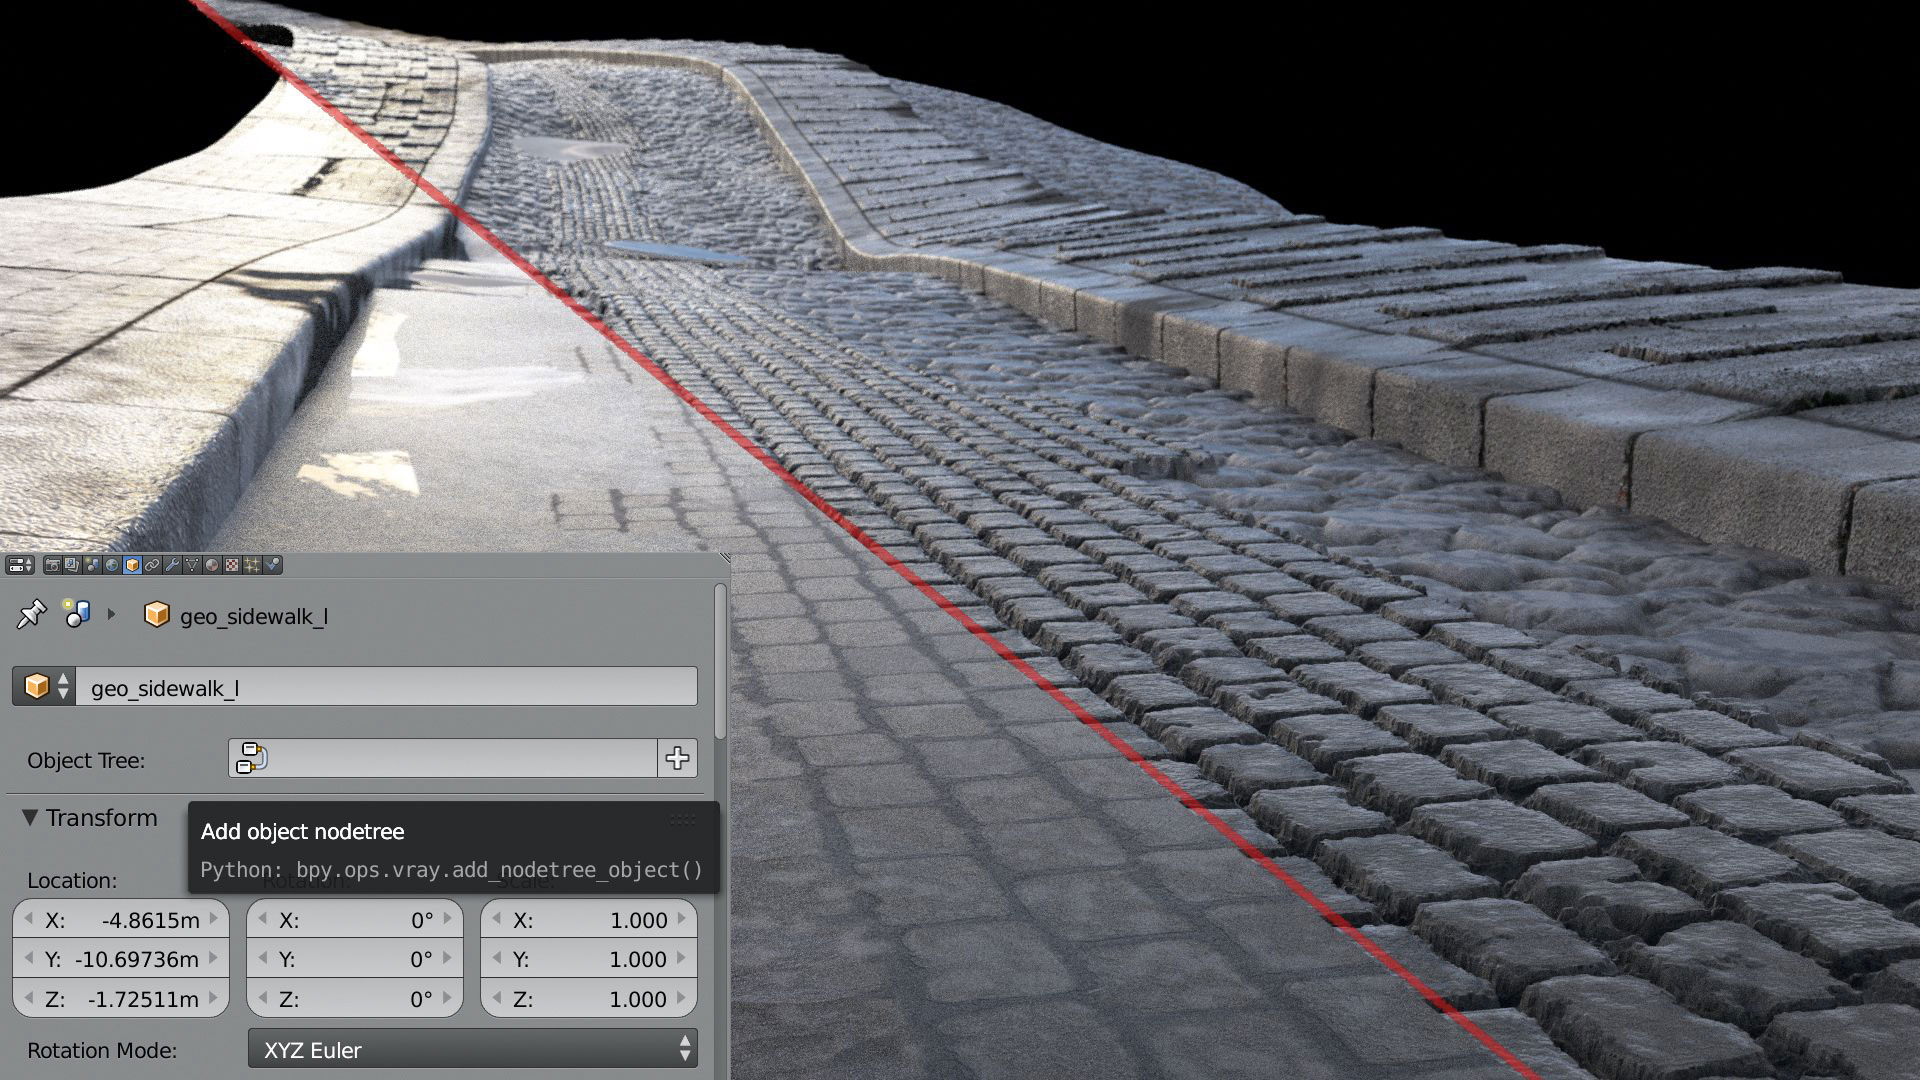
07 Using Displacement Maps
Displacement maps are applied by making an Object node tree. To do this, select the object, go to Properties>Object and click the ‘plus’ sign on the Object Tree text box. Switch to the Object tab of the Node Editor to see the node tree.
To add displacement maps, create a Displacement node and add it between the Geometry node and the Object output. You can then load your displacement map through an Image File Texture node.
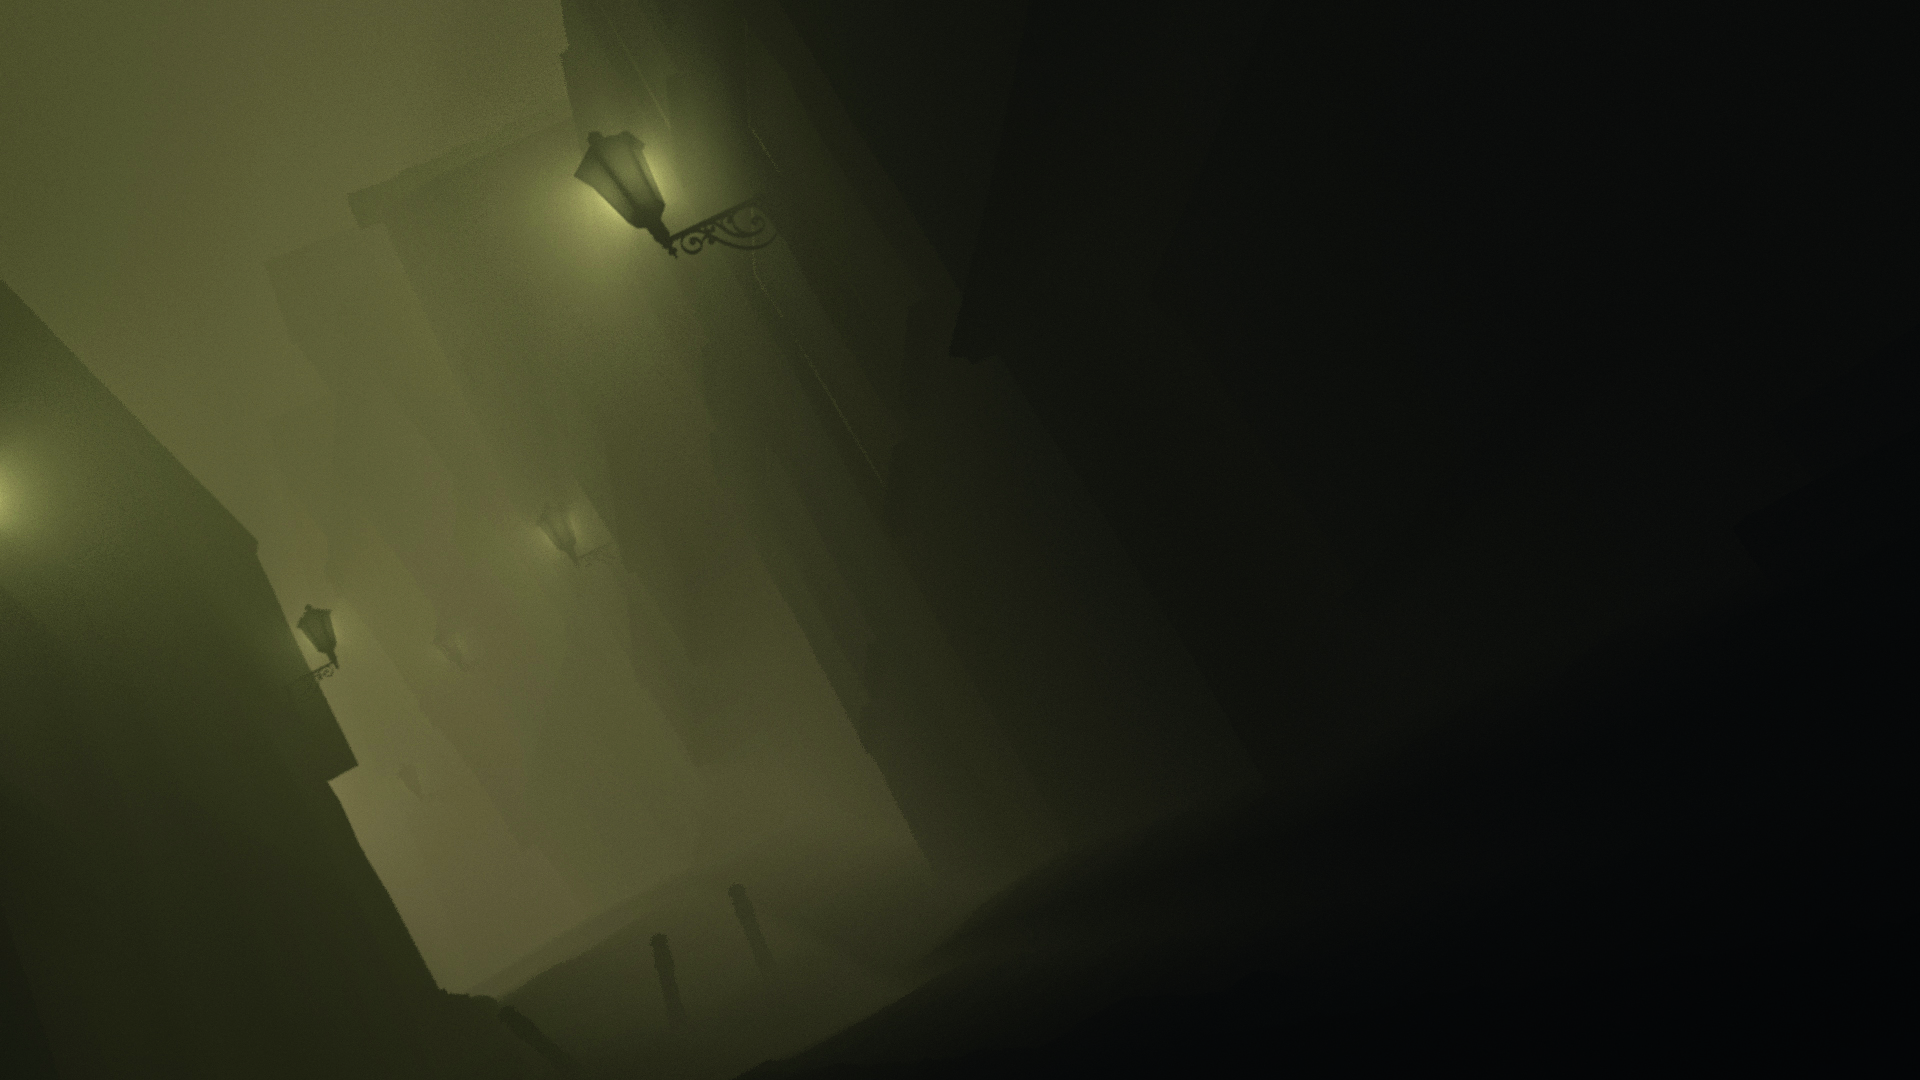
08. Creating Fog
Fog and other effects can be created using a World node tree. To create a World tree, go to Properties>World and press the New button. In the World tab of the Node Editor, create an Effects Container node and connect it to the Effects input of the World output. To create the fog itself, simply create a Fog node and connect it to the Effects Container. This setup is enough to create general environment fog.
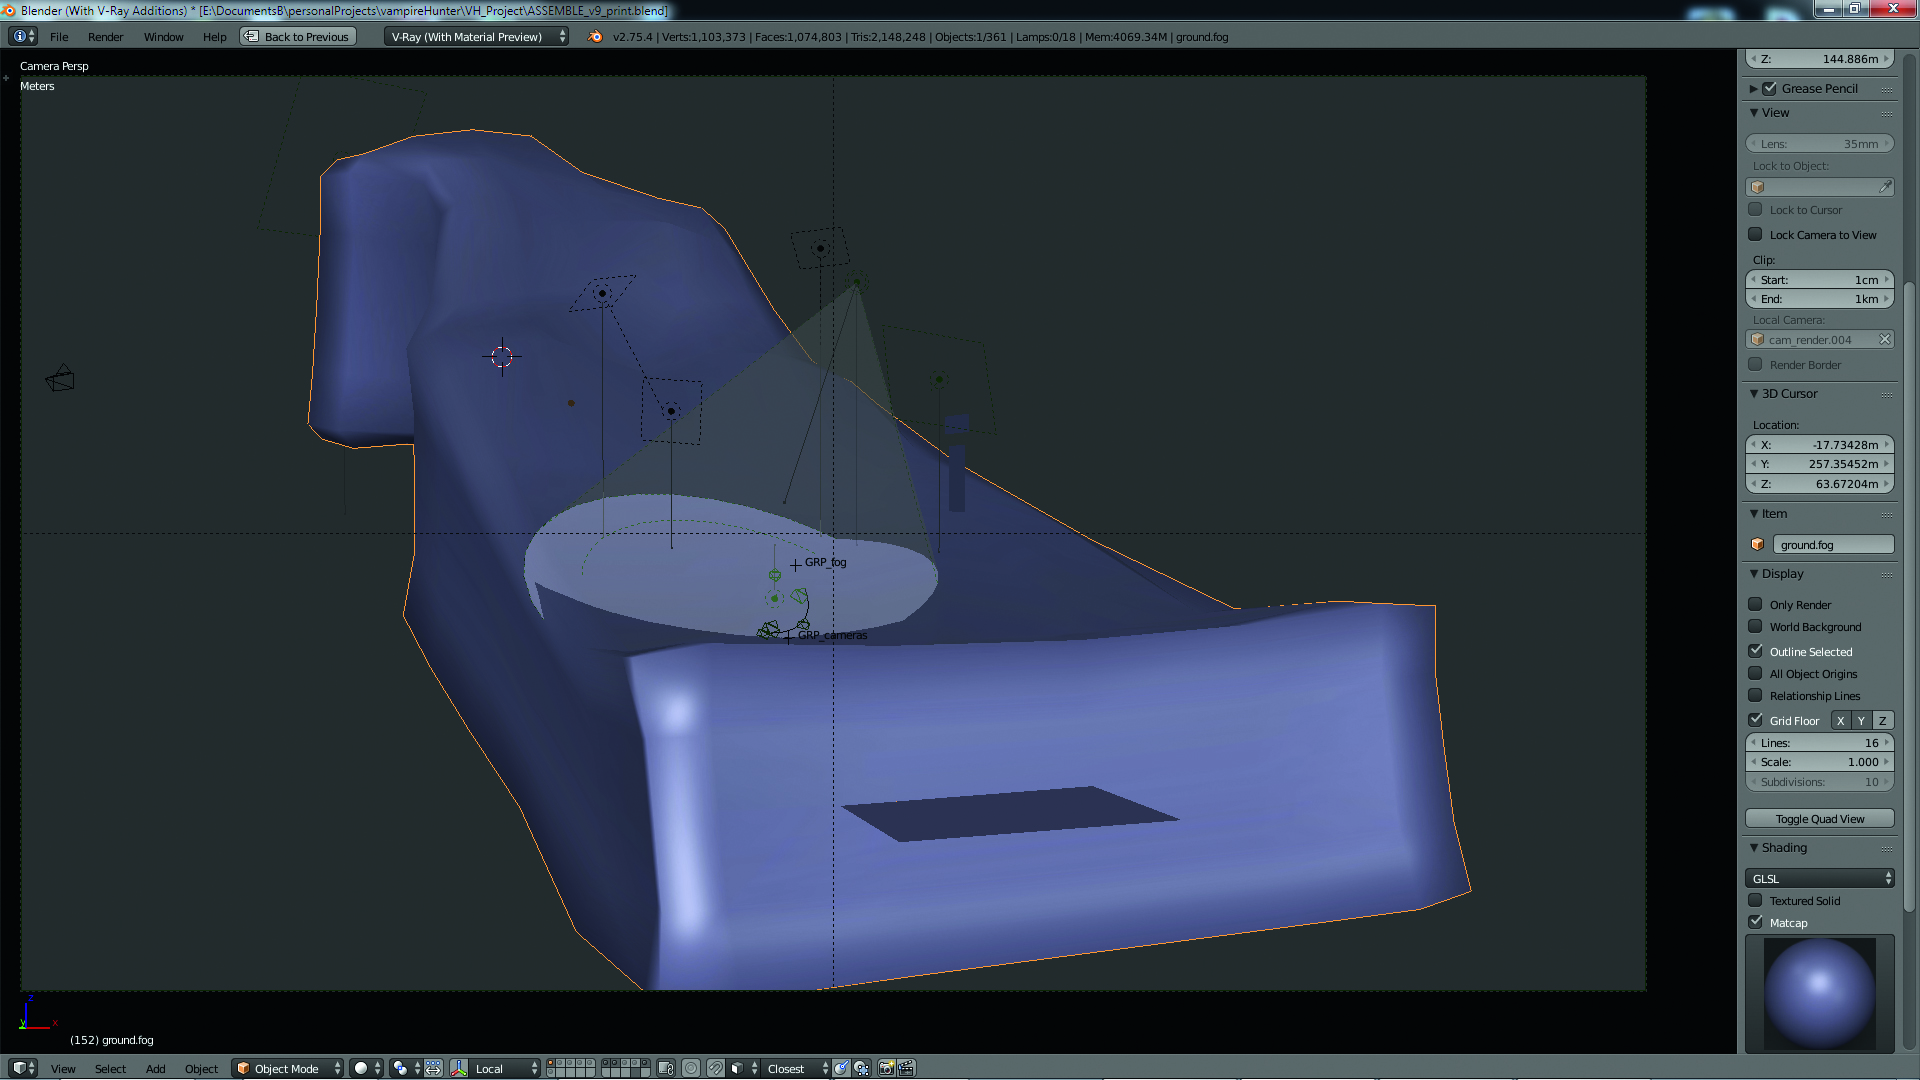
09. Using the Fog Gizmo
To have more control over the boundaries of the fog and which lights affect it, you will need to connect a Fog Gizmo to the Gizmo attribute of the Fog node. The Fog Gizmo has object and light inputs assigned to it; these two inputs accept connections from the Object Select node or the Group Select node.
Object Select is used for single objects or lights and the Group Select node is used for having multiple objects or lights affect the fog. To select a specific set of lights to affect a Fog Gizmo node, you will need to create a group for these lights. To create groups, select the lights and press [Ctrl]+[G], but don’t forget that you have to properly name the group in the Properties>Object tab to get the desired results.
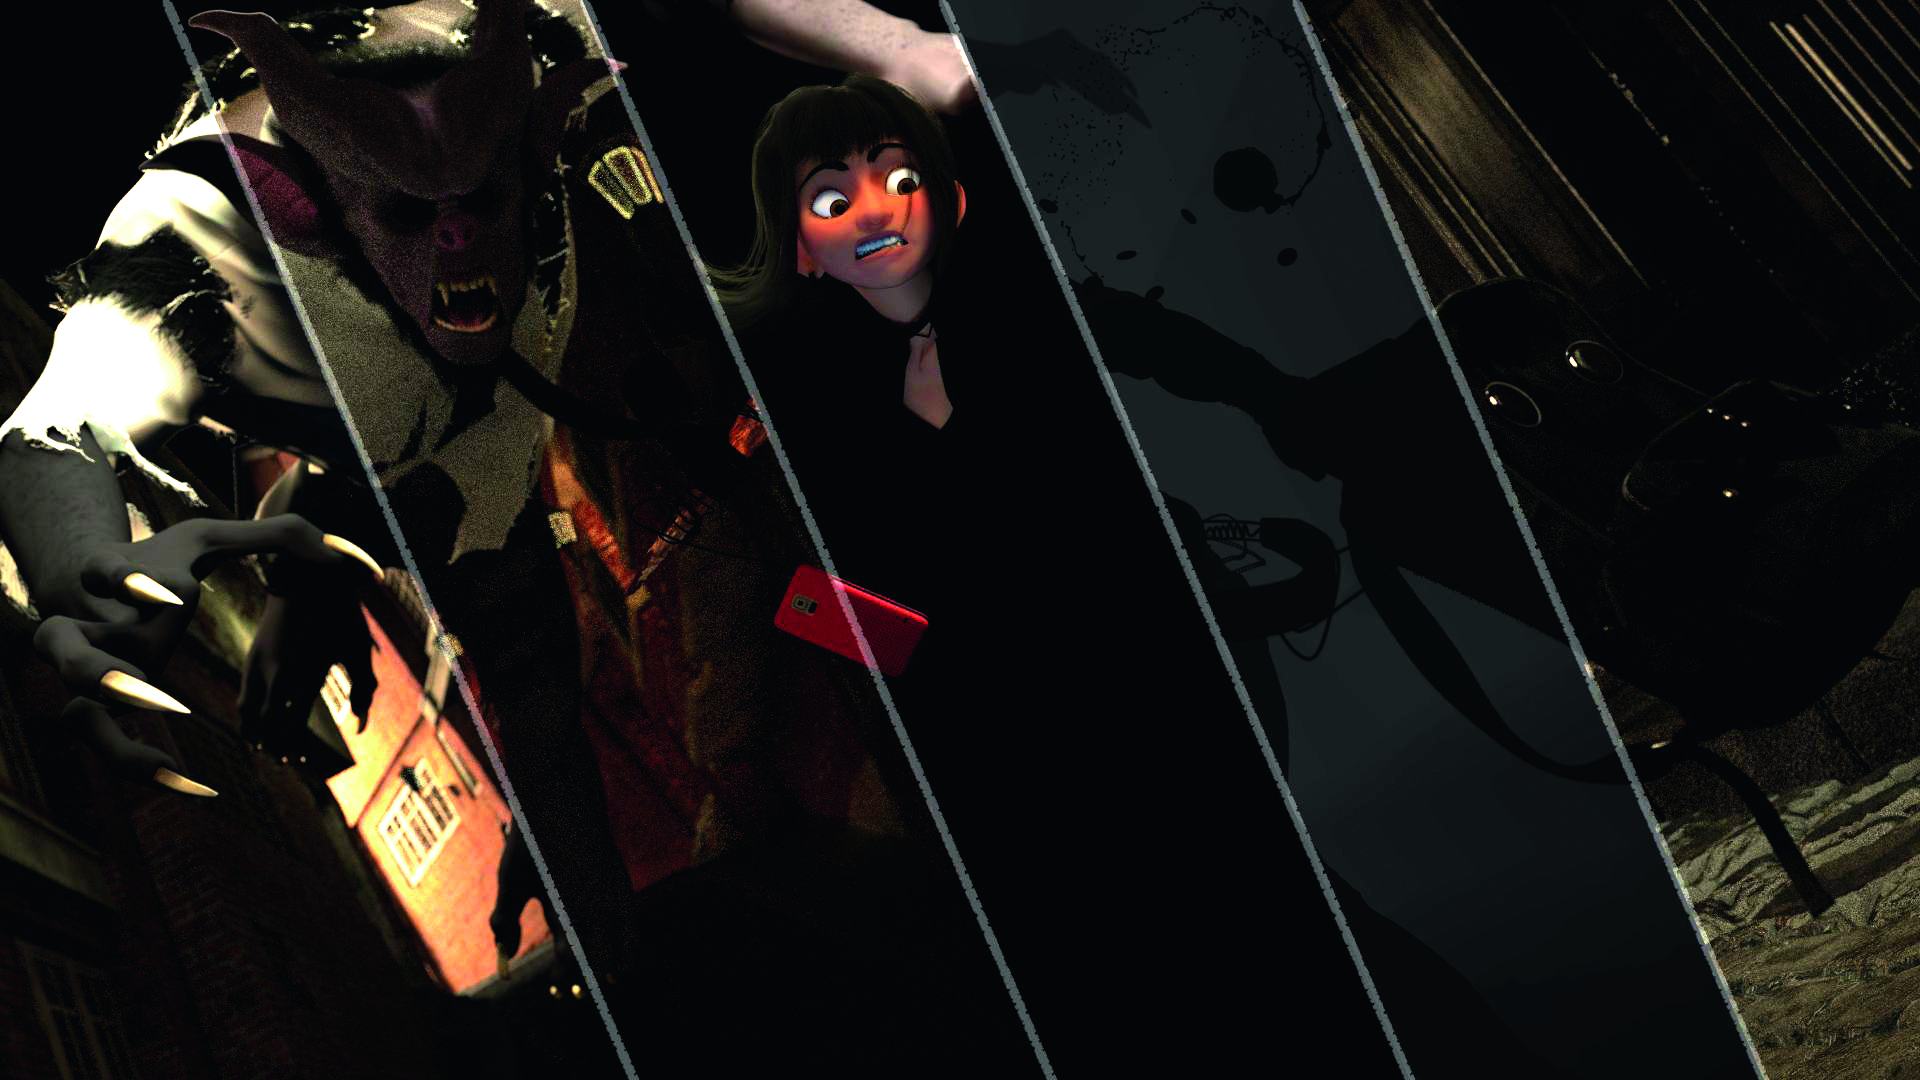
10. Render Channels
To create render channels, go to Properties>Scene and at the bottom, click on the ‘plus’ sign on the Channels Tree text box. This creates a Channels Container node in the Scene tab of the Node Editor that you can connect different channels to.
The most common render channels (diffuse, reflection, refraction, and so forth) can be found in the Color Channel node. You need only to change the Type parameter to select the render channel you want.
11. Fog Render Pass
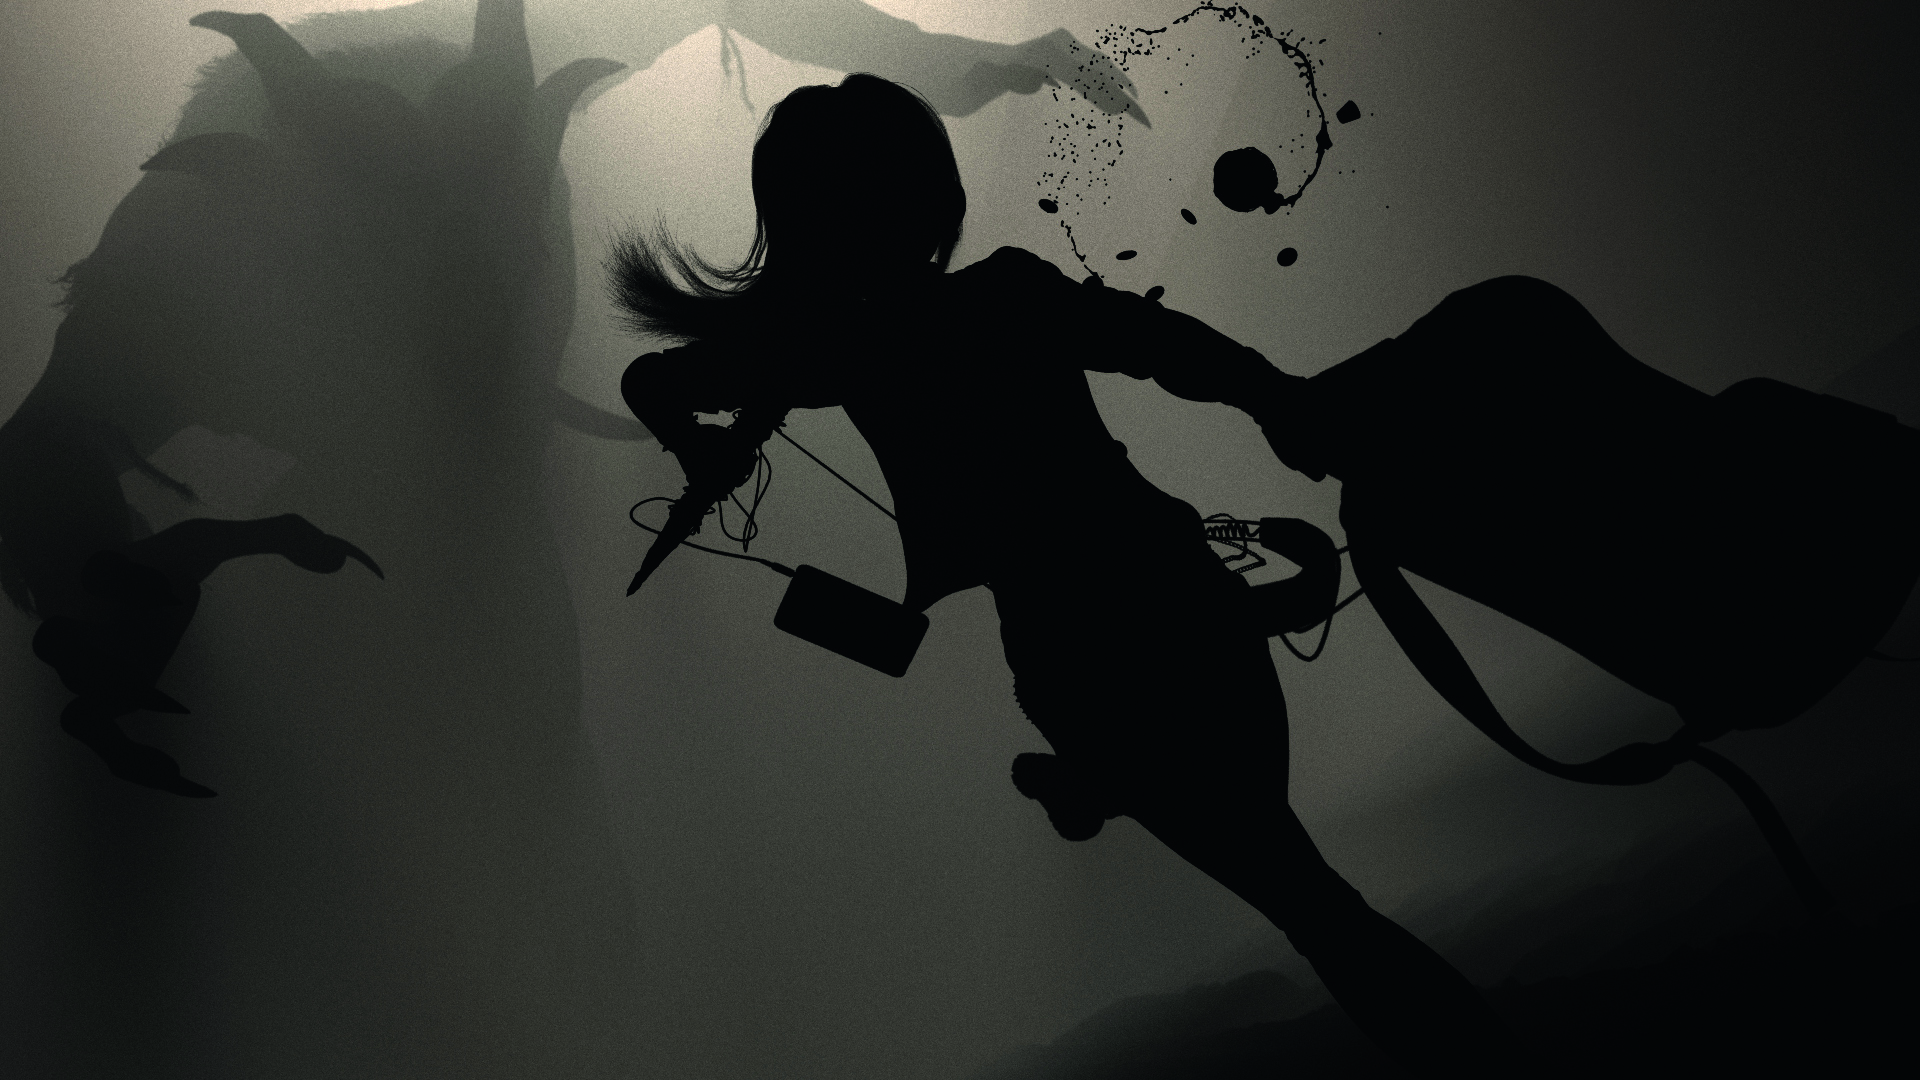
To render the fog separately for compositing, you’ll need a Wrapper material. Create a new material and name it. In this new material, create a Wrapper node and connect it to the Material Output. Go in to the Properties of the Wrapper node and set Alpha Contribution to -1.
Now, go to Properties>Render>Globals and check Override Material. In the text box below, type in the name of your wrapper material.
12. GI and the DMC Sampler
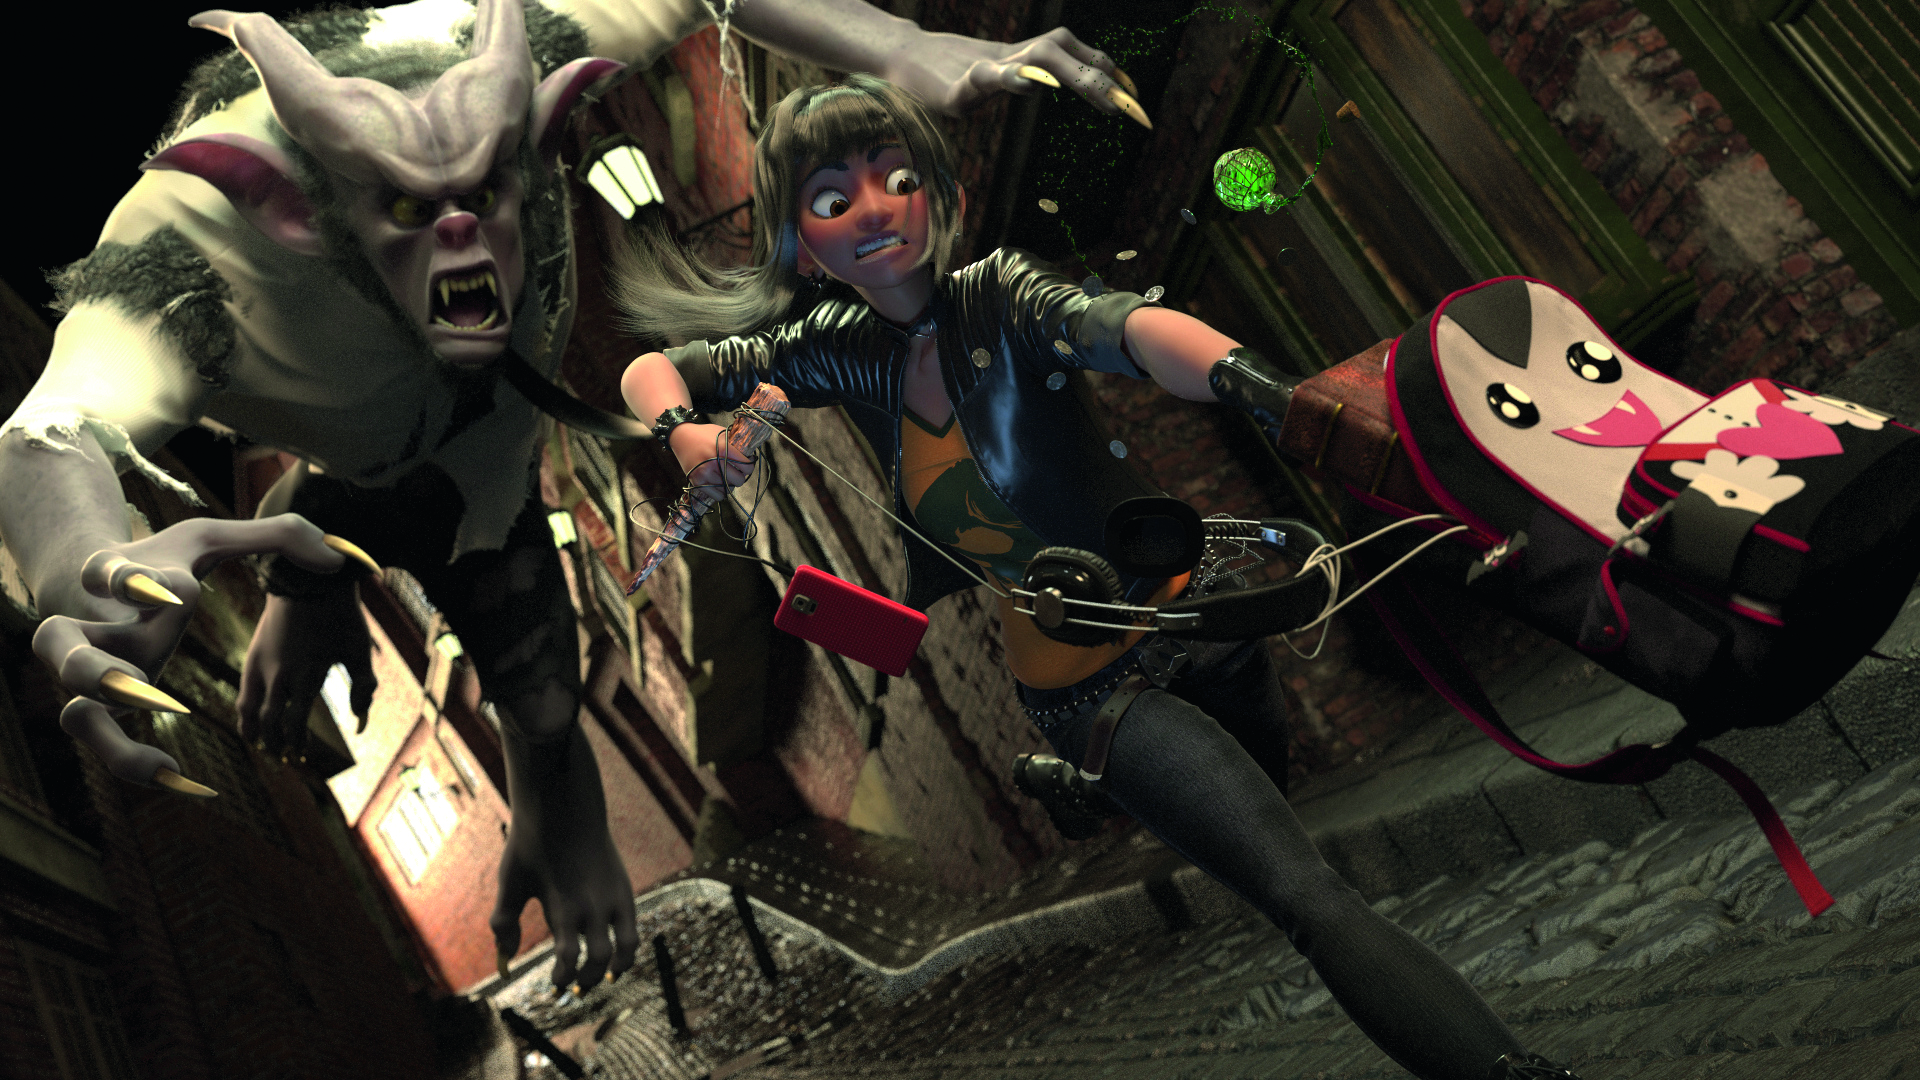
V-Ray for Blender has the same settings and parameters as other versions of V-Ray, so a multitude of resources exist on how to optimise the final render. For the still image of The Perils of Modern Vampire Hunting, I use Brute Force for my primary engine and don’t use a secondary engine. I set the Image Sampler to Progressive and let it render until the image is of acceptable quality.
This article originally appeared in 3D World issue 209; buy it here.
Daily design news, reviews, how-tos and more, as picked by the editors.
