How to paint from life on a Samsung Galaxy tablet
See freelance artist Dave Neale's process for painting a piece of sculpture using an Android app.
Sign up to Creative Bloq's daily newsletter, which brings you the latest news and inspiration from the worlds of art, design and technology.
You are now subscribed
Your newsletter sign-up was successful
Want to add more newsletters?

Five times a week
CreativeBloq
Sign up to Creative Bloq's daily newsletter, which brings you the latest news and inspiration from the worlds of art, design and technology.

Once a week
By Design
Sign up to Creative Bloq's daily newsletter, which brings you the latest news and inspiration from the worlds of art, design and technology.

Once a week
State of the Art
Sign up to Creative Bloq's daily newsletter, which brings you the latest news and inspiration from the worlds of art, design and technology.

Seasonal (around events)
Brand Impact Awards
Sign up to Creative Bloq's daily newsletter, which brings you the latest news and inspiration from the worlds of art, design and technology.
In this tutorial, I want to share a practical approach to how to paint on a Samsung Galaxy tablet. I like to think my work is supported by digital tools, not driven by them. While I’m using the Sketchbook Android app, the focus of this tutorial won't be on the software itself but on how it can adapt to the way you draw. That means it should be equally applicable to any of the best drawing apps for Android or the best digital art software in general.
This method blends some of the techniques I’ve developed in my own workflow, along with adaptations for the unique quirks and limitations of working on a mobile device – in this case, a Samsung Galaxy device with a pressure-sensitive S Pen.
Thanks to the precision of styluses and the responsive feel of today’s drawing apps, sketching on a tablet can come surprisingly close to the experience of drawing in Photoshop on a drawing tablet. And while Sketchbook doesn’t have every advanced feature, it offers an intuitive and robust set of tools that make it a great mobile sketching companion (also see o
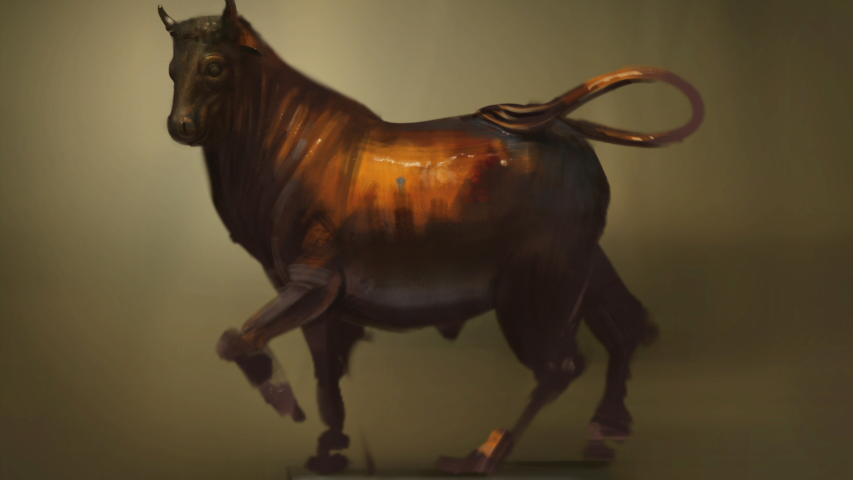
For this study, I wanted to find a subject that would allow for a longer, more observational sketch – something rich in form and colour, and preferably in a warm and comfortable setting.
At the V&A Museum, there's a beautifully curated sculpture section, and right in front of a particularly inviting sofa sits a bronze-lacquered sculpture of a bull. It’s the perfect combination of detail, drama and relaxation. I settle in, stylus in hand, and begin the sketch.
01. Putting down an initial layout
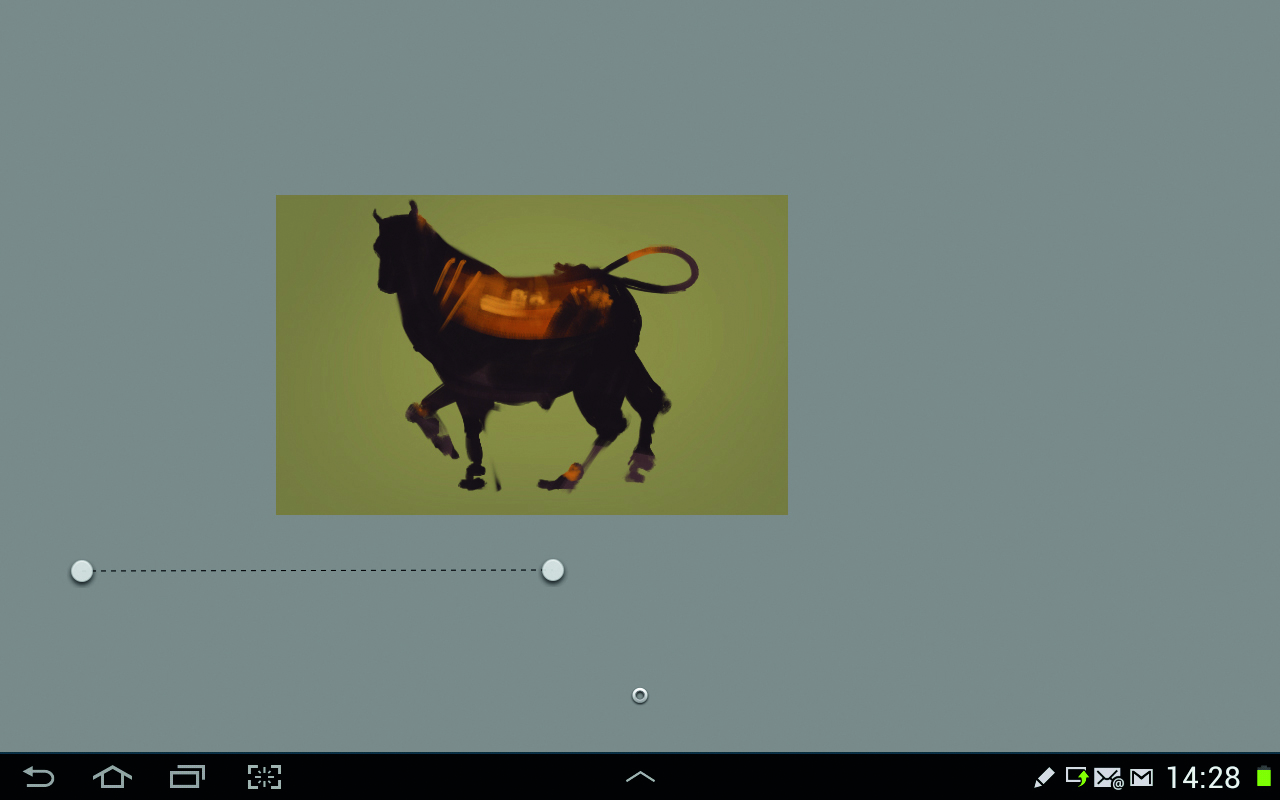
I begin by filling the canvas with the average colour of the background and blocking in an image of the bull on a layer above. Once I’m happy with the silhouette I lock the layer so that I’m then only painting within the silhouette. Then, in order to add the plinth under the bull I use the Straight Line tool which allows you to set an angle and then every stroke you draw is at that same angle (just like a ruler).
02. Blocking in the big shapes
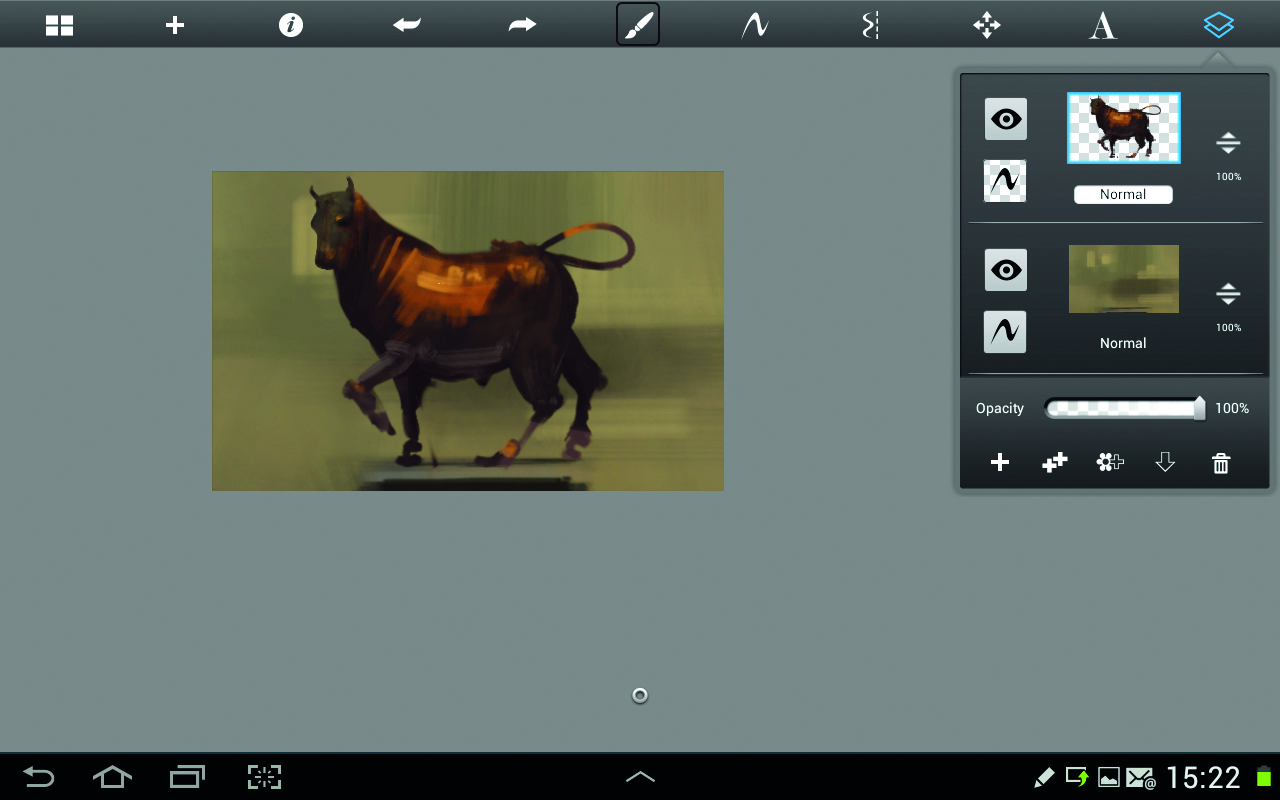
Now, continuing to work within the silhouette, I start to add loose strokes to both the bull and the background. I do a lot of squinting at this stage to enable my eyes to lose the finer detail and concentrate instead on the bigger forms and colours. I find that keeping the brush strokes big and approximating the forms rather than getting lost in detail at this point really helps me keep a cohesive image later.
03: Trying different brush settings
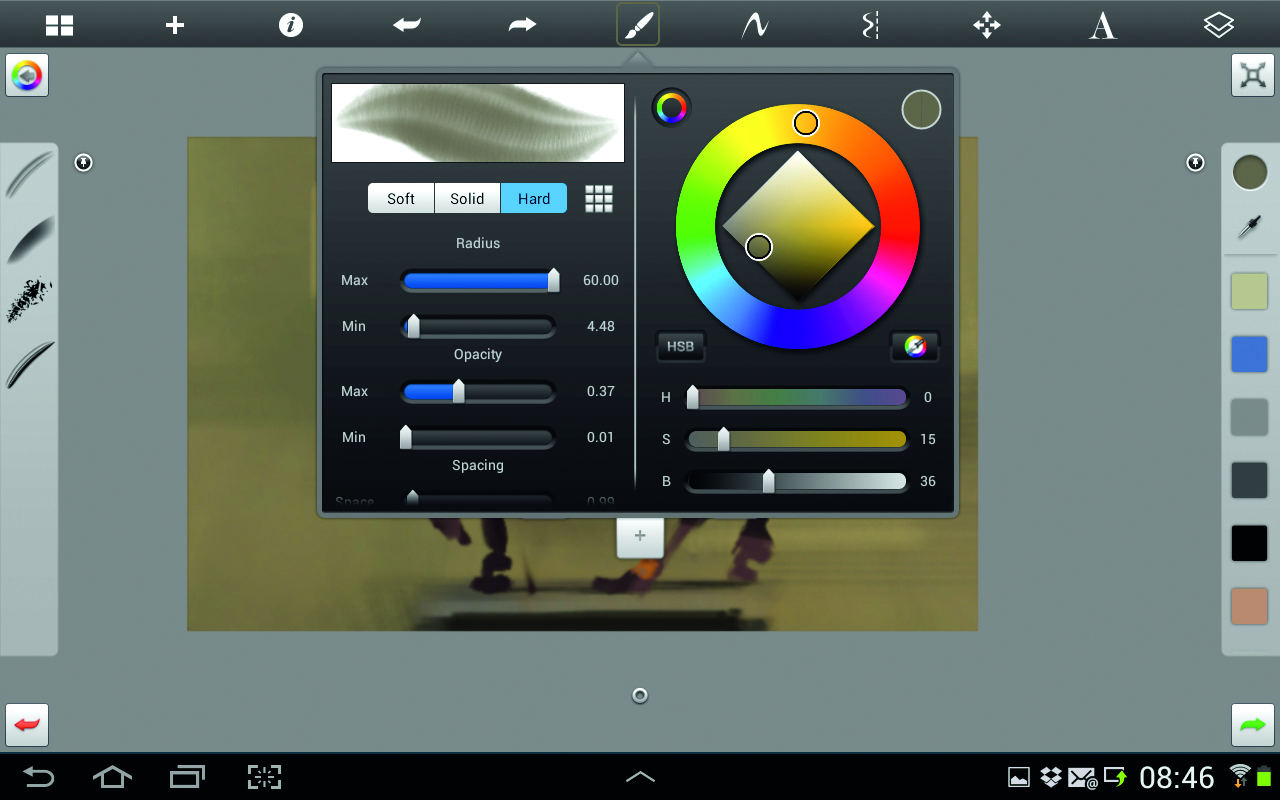
I play around a little with the brush settings and vary the brush size parameters. I find this is something that can be a really great advantage with the Samsung Note due to its pressure sensitivity, unlike the iPad’s capacitive stylus input. It’s nice to have these customisable brushes available in SketchBook Pro, however I find for the most part I tend to keep to just one or two brushes.
04: Starting to add detail
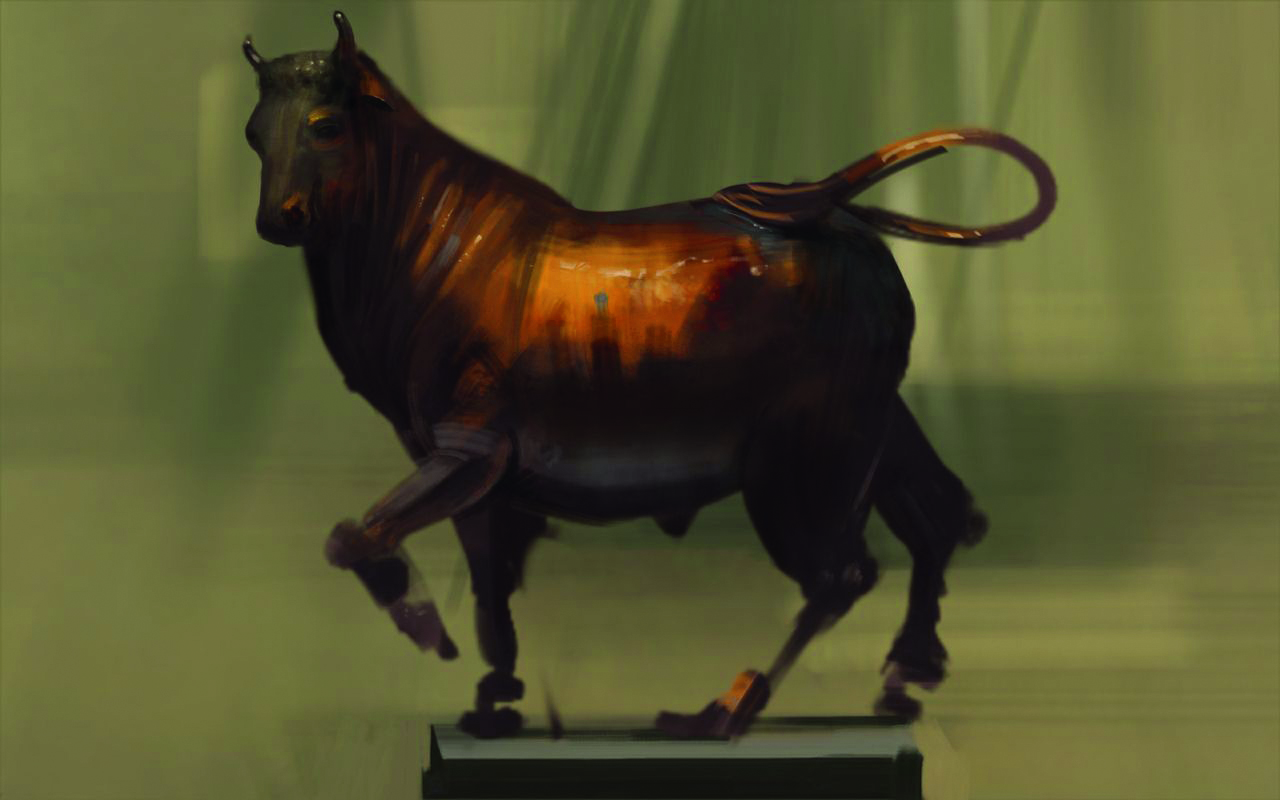
At this point I’ve roughed in a lot of loose information, and now I start adding details. I get a lot tighter with the placements of folds, shadows and highlights but still keeping my brush strokes as large as possible. I sometimes create new layers and merge them down when I’m happy with them, erasing areas that don’t work before I do, and I zoom in and out of the image, something that is intuitive with the pinch movement that is so common now with touch screens.
05: Moving things around
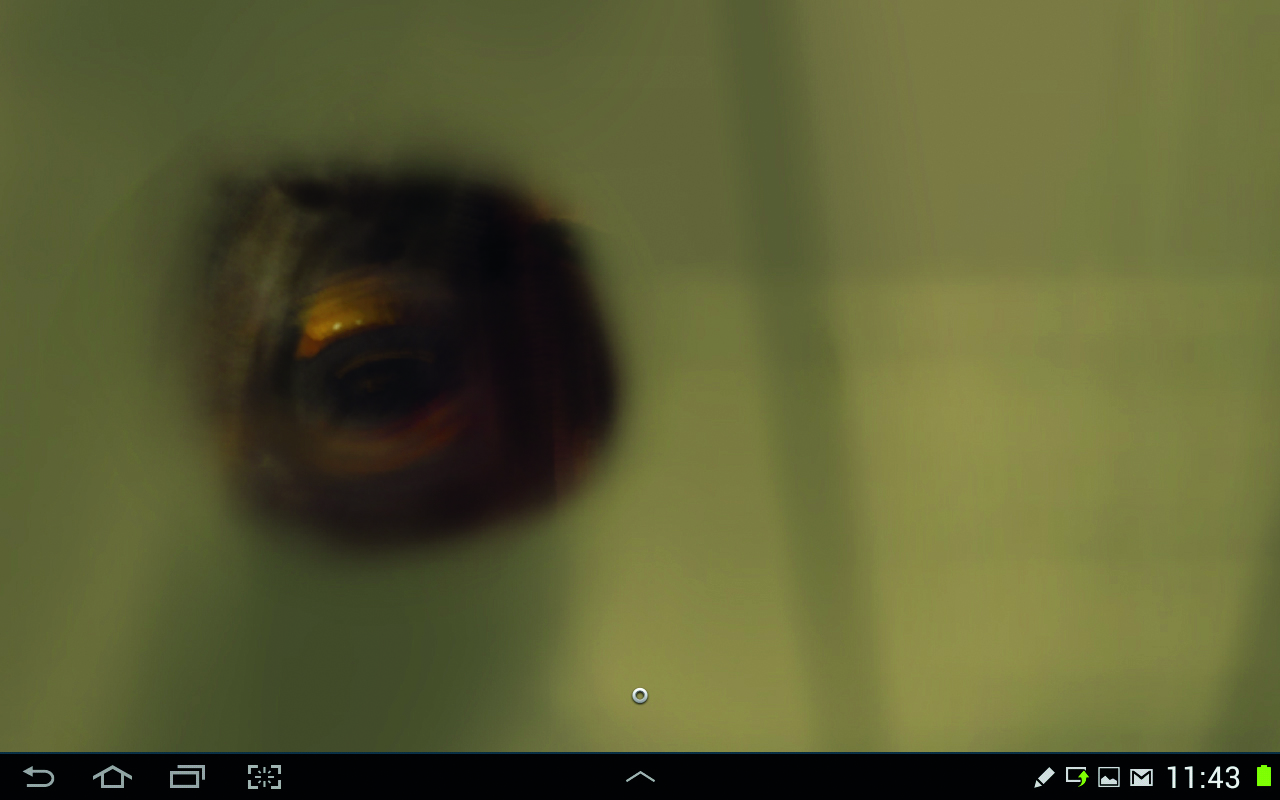
I decide that the eye is in the wrong place and so instead of re-drawing it, I decide to rescale it. Now this isn’t as simple as it would be in Photoshop, but is actually pretty easy. I duplicate the bull layer and then erase all but the eye, I can then use the Transform tool to scale and move the eye into its new position, and merge down the layer once I’ve done this.
06: Photoshop Touch
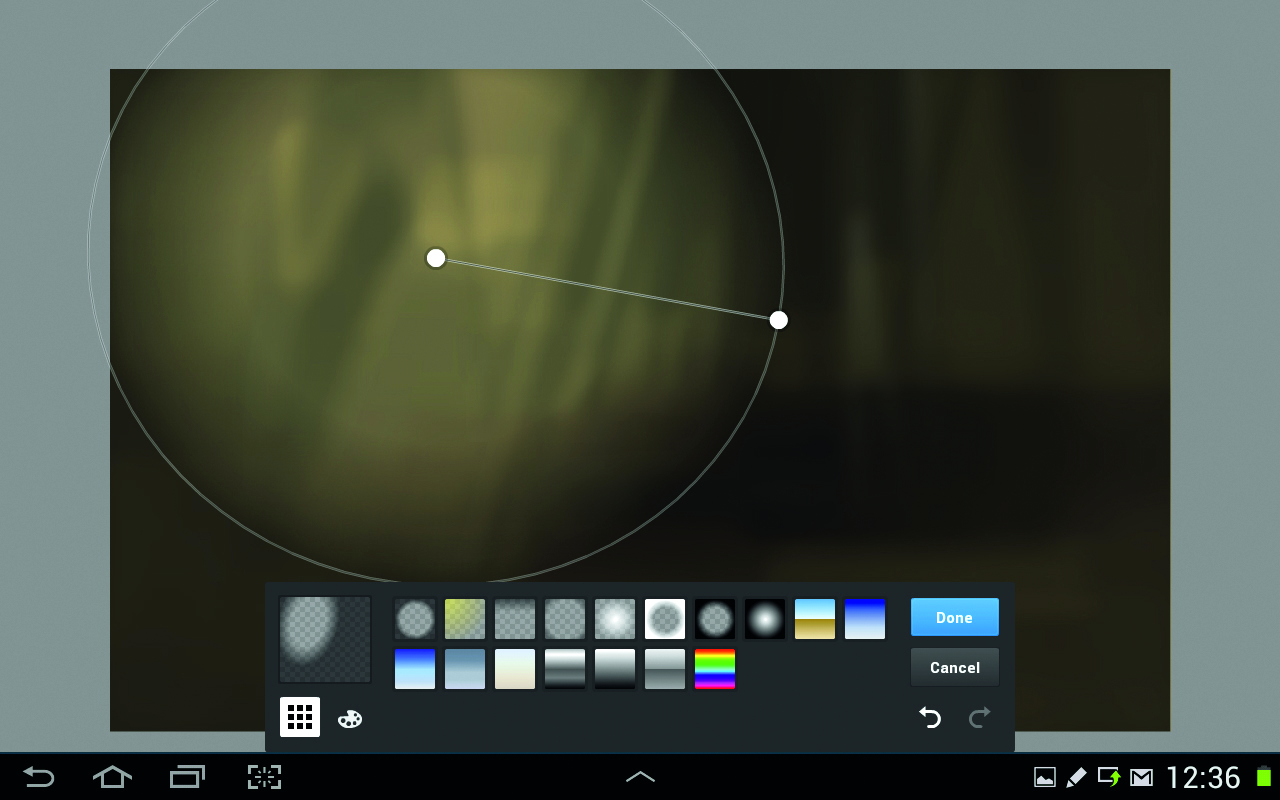
I don’t like the strokes on the background, so I have a play with that. I take the background into Photoshop Touch, which I don’t like for painting, but which does have a better array of editing tools and use the Gaussian blur and Gradient tools to adjust the background and give more focus to the bull’s head, which is my main area of focus.
07. Adding focus
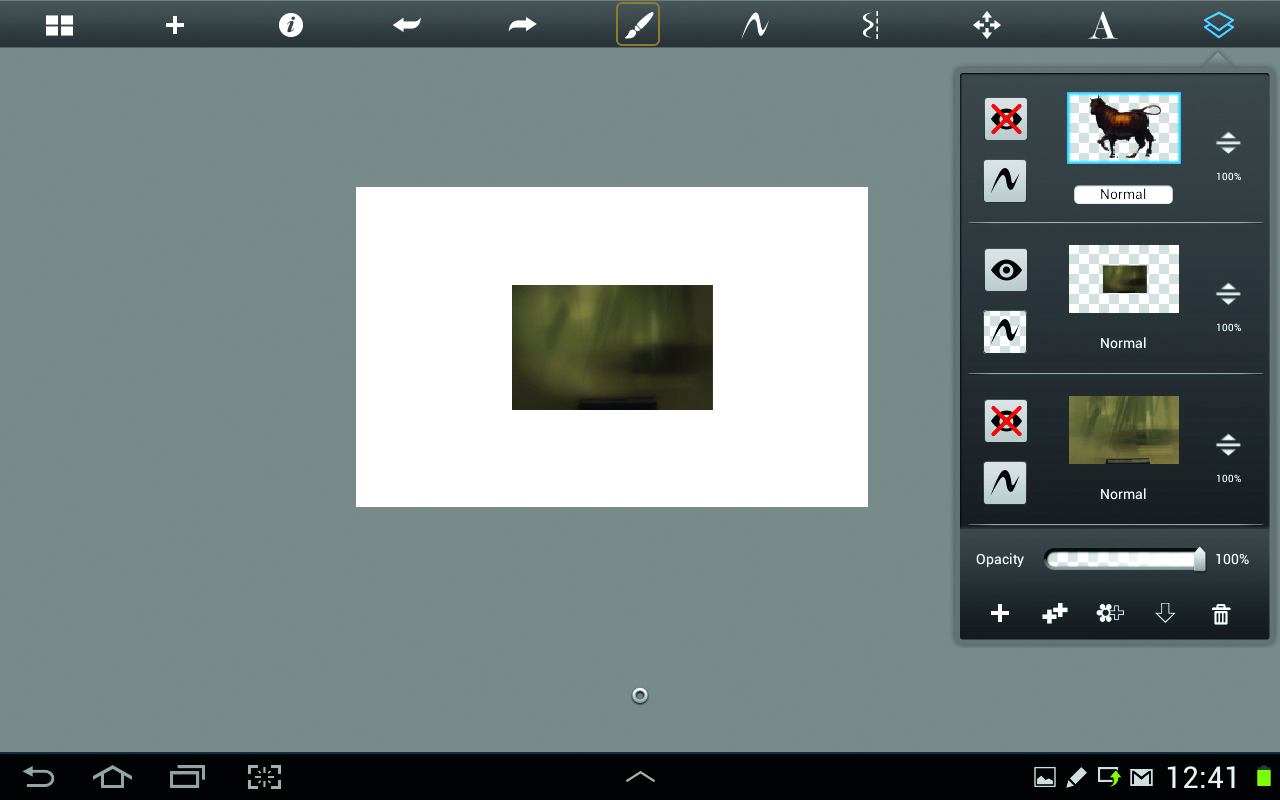
I then take the image back into SketchBook Pro, and keep the layer small so I can apply a lighter area around the head of the bull with the Airbrush. There is a limit to the maximum size the Airbrush will go so keeping the layer small allows me to make a smooth gradient. I then scale the background up and erase the plinth area so that it is still crisp. I feel that this one bit of artistic licence I use really helps the image.
08. Getting tighter
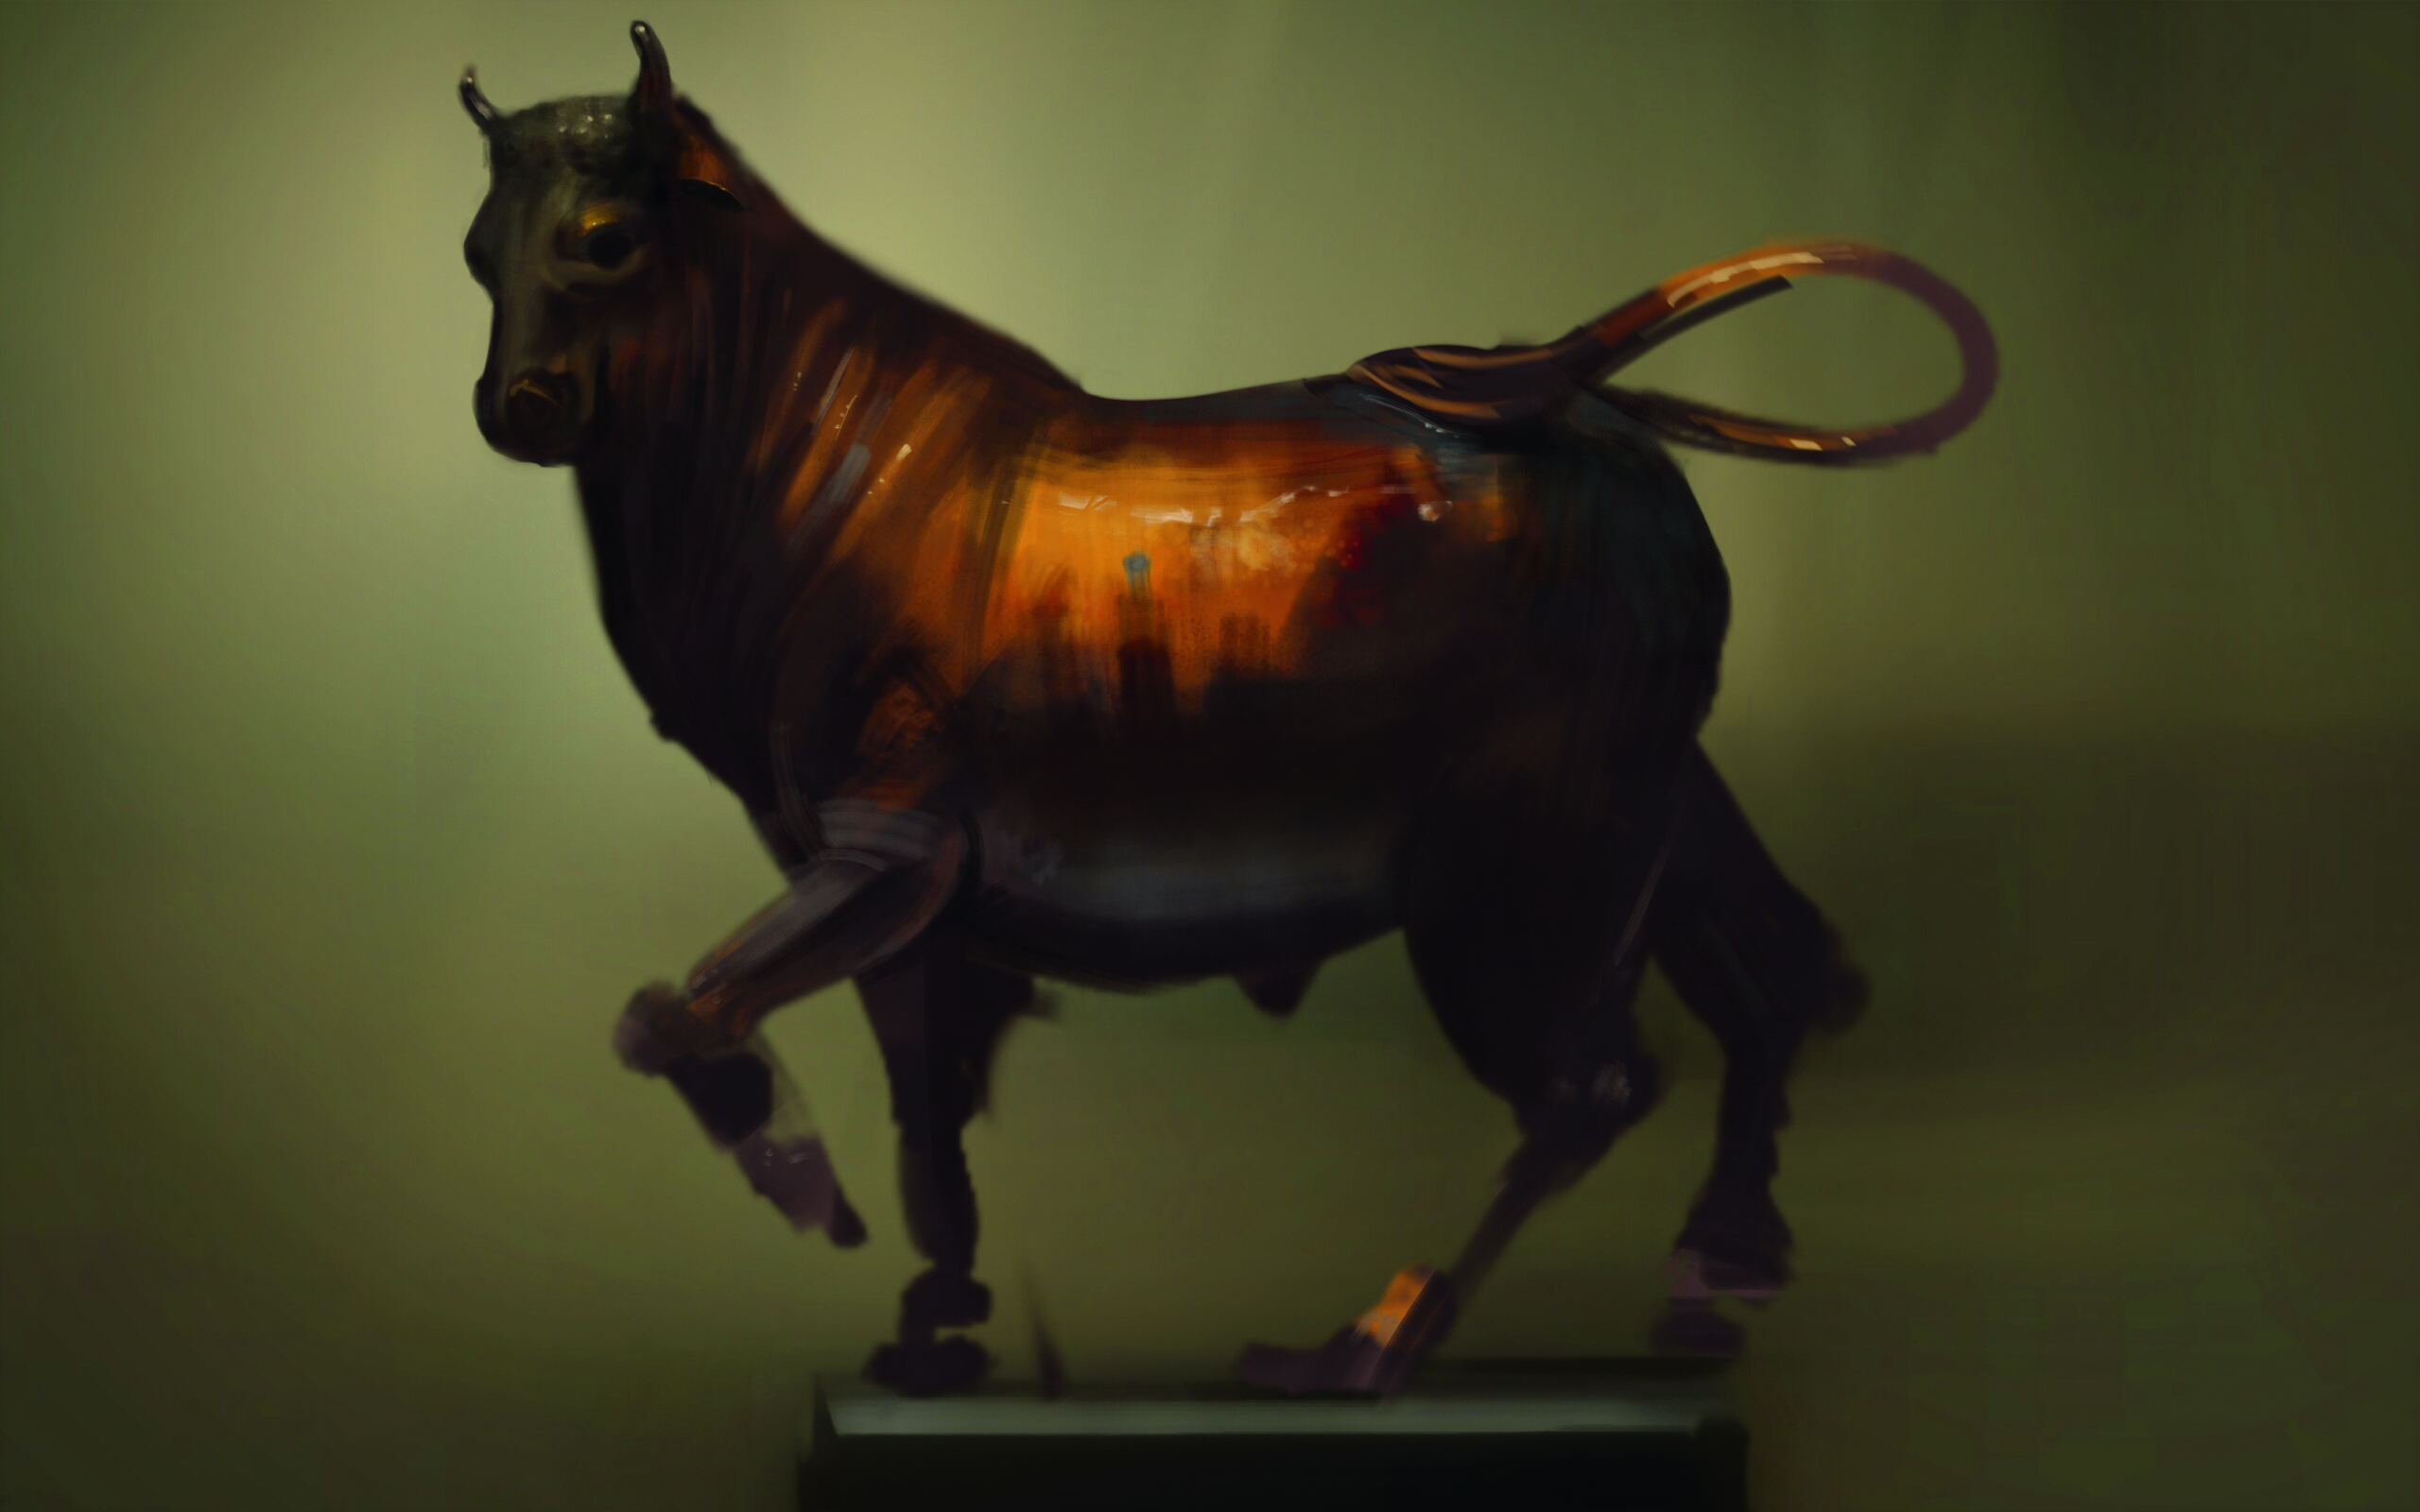
I continue adding details, trying to get the hues and saturation of my colours as close as possible. One of the interesting things I found was that in amongst the very saturate highlights and shadows there were areas of total desaturation. I really like how these isolated areas play against the saturated oranges and reds (in the area where the tail meets the back for example).
09. The head
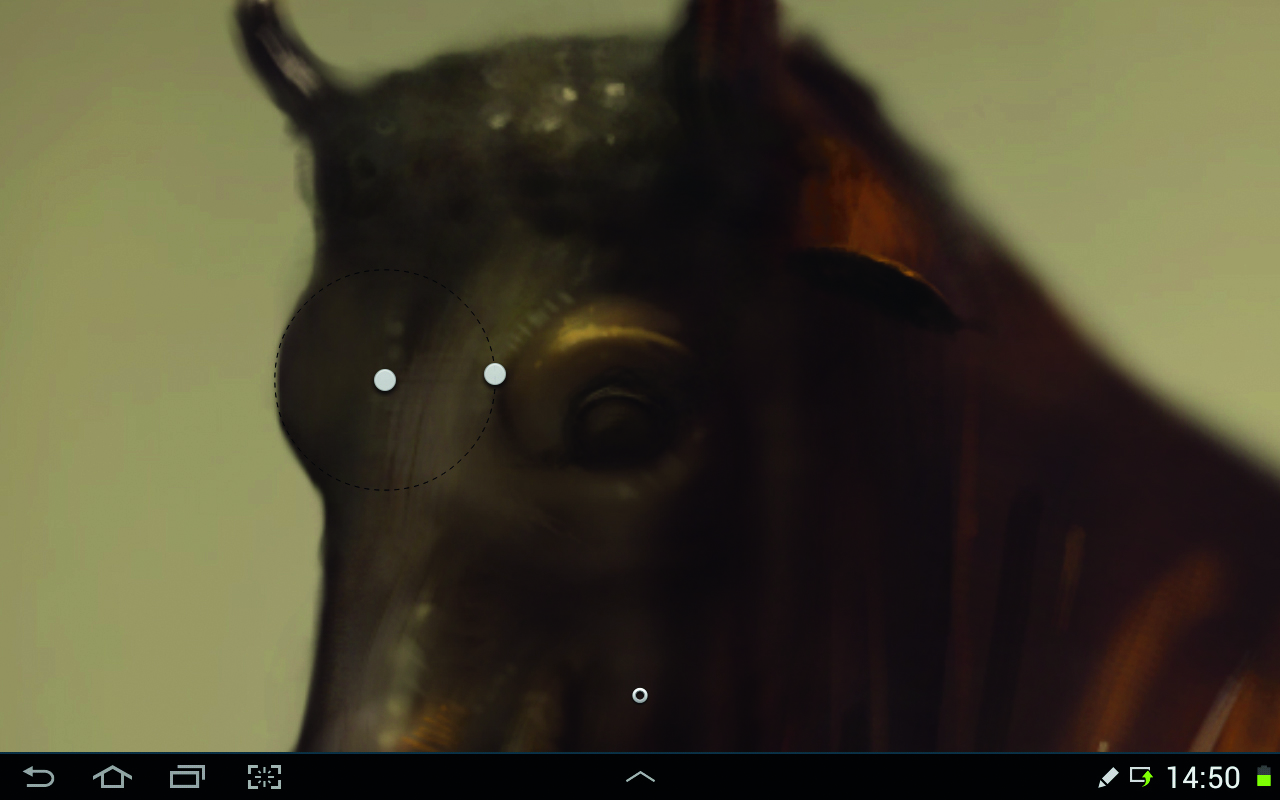
I’m happy with the general direction now, but feel that the head needs a lot of work so I decide to refine it. I use the Circle tool, which is similar to the Line tool I used earlier (this one is like having a compass). It allows you to define the centre point and shape (oval to circular) and you can then paint or erase to that same shape. I think this is a great tool, and use it to round-off the eye with the eraser.
10: Detailing
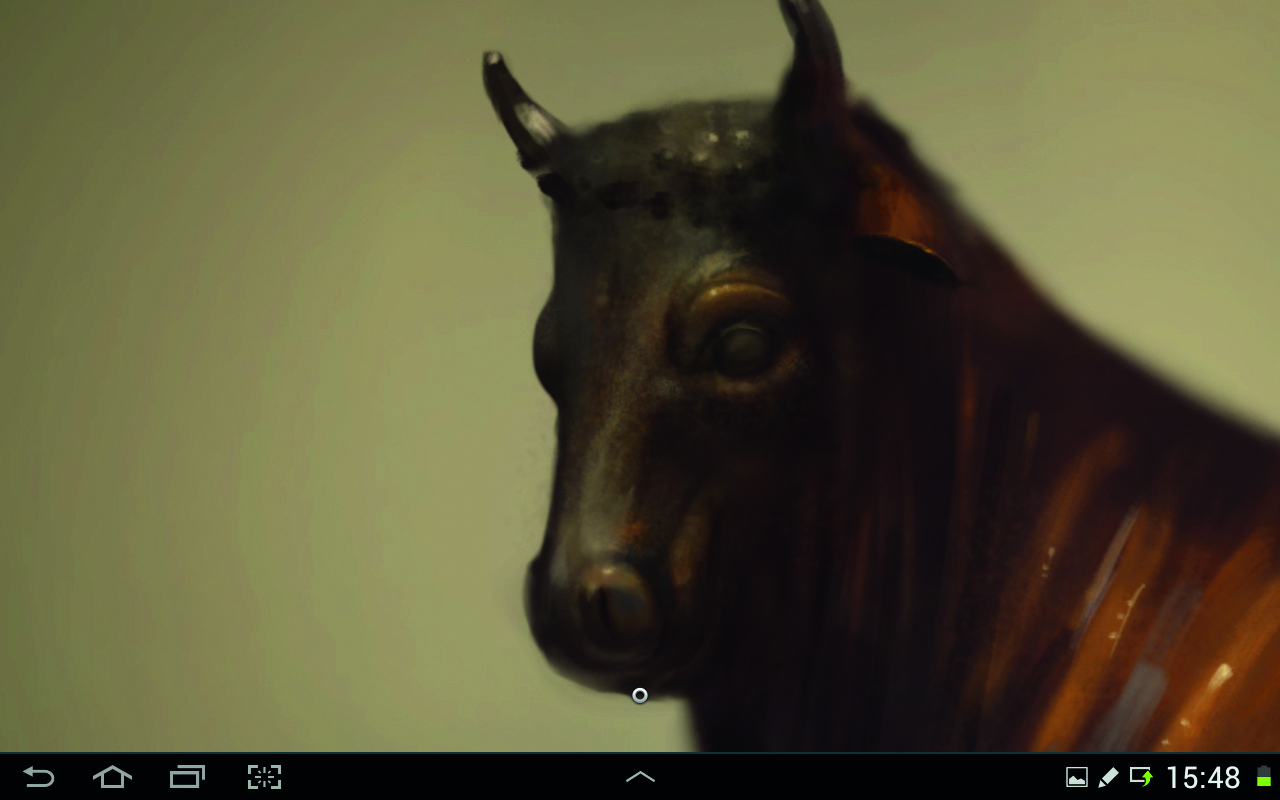
I’ve got to the point where I can’t see enough detail where I’m sitting (I’m around a metre and a half away) so I get one of the stools the V&A provides and sit as close to the sculpture as possible. Close up it’s a lot easier to refine the details of the face. I can see the textures I couldn’t see from further away, as well as the subtle saturation shifts that occur even within the saturated orange areas.
11. Finishing touches

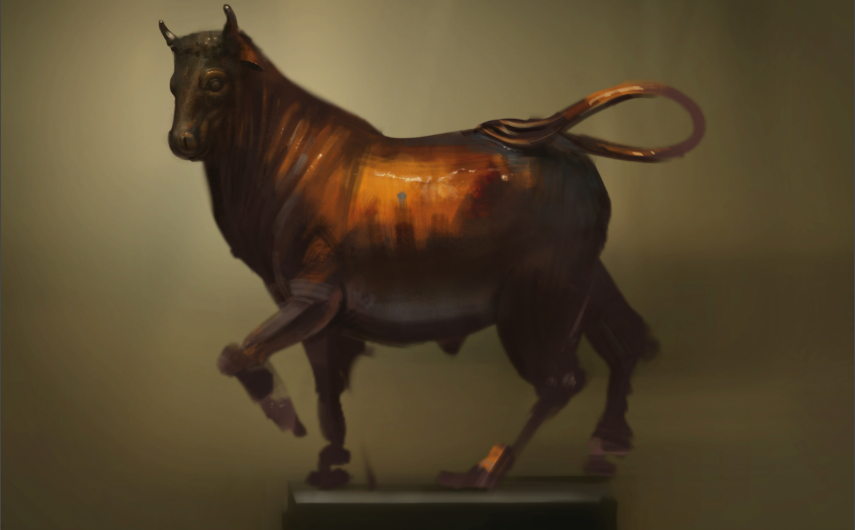
After a little more tweaking, bumping up some of the highlights, with closing time approaching I call it done. I like the fact that the legs are pretty rough and the head is a lot tighter, I often get sucked into rendering everything in an image, but that’s something I’m trying to move away from so this was a good way to do that. I’m fairly happy with this study and hope to go out and do more like it soon.
See below for Samsung Galaxy Tab prices. For more tips, see our pieces on digital plein air painting and on doing life drawing on an iPad
Do you have a digital art tip or piece of advice for painting on a tablet? Share your advice in the comments below.
Sign up to Creative Bloq's daily newsletter, which brings you the latest news and inspiration from the worlds of art, design and technology.
Dave Neale is a freelance illustrator working in games, publishing and advertising, specialising in drawing stylised characters, creatures and environments.
You must confirm your public display name before commenting
Please logout and then login again, you will then be prompted to enter your display name.
