If you want to learn how to draw a rose, this guide is for you. With summer around the corner, outside life feels tangible. And with roses set to bloom soon, there will be a wealth of inspiration all around. But roses are notoriously hard to get right, so we've collated some top tutorials to help you get it right.
Want a speedy overview? Check out the video below. Or keep reading for a more detailed, written guide. And finally, you'l find some additional resources covering how to draw roses for beginners and more advanced artists.
For more drawing advice, take a look at our roundup of tutorials exploring how to draw just about anything, or our guide to various essential drawing techniques.
How to draw a rose
Roses are probably the most popular flowers in the world, so it’s not surprising that they are often found in art as well. However, roses can be complicated and intimidating for two reasons.
First, a rose’s shape continually changes as it blooms making it difficult for the artist to answer the most basic question: What shape is it? Second, a rose is a soft and delicate object; communicating that requires considerable skill and sensitivity.
Follow these pro tips to learn how to draw a rose...
01. Get sketching

Start by sketching the subject from different angles and using a variety of reference pictures. This will give you a good sense of whatever it is you’re drawing and help you gain some insights into how the structure works. Your 100th drawing will always be better than your first one.
Drawing something over and over again is necessary if you want to capture it with power and authority. Also, by drawing something repeatedly, you will become more confident of the subject, which will allow you to take chances. So draw with abandon and don’t worry about how good those initial sketches are. Draw to learn; each drawing is leading you closer to the perfect rose.
02. Find the egg shape in the petals

Successful drawing is more about logical thinking than having a trick up your sleeve. Start by observing your subject and asking the most basic question: What is the shape of this thing I’m drawing? Is it round? Square? Roses are complicated shape-wise because their unfolding petals distract us from the flower's basic shape.
A rose is an unfolding bud, so it’s egg-shaped: wider at the bottom and narrower at the top. So start by drawing the egg-shaped bud and then add in all the petals unfolding and opening around it. Make sense? Now that's an example of great thinking surpassing simply drawing what you see.
03. Establish a strong silhouette

Not all reference is created equal. Sometimes rose pictures that you find might not be helpful to your drawing because they look wilted and not heroic, or are strangely shaped and not very rose-like. Make sure the photo you choose to draw from has a shape that can be instantly recognised as a rose.
Once you get drawing, you can turn your rose into a silhouette to see its overall shape and discern if it effectively communicates a rose. If you’re working from good reference, checking the silhouette will keep you on track.
04. Focus on form

If your drawing has good form, that means it has a three-dimensional quality to it that makes it look real and believable. The best way to render (i.e. draw) form is to make sure you think about what part of the rose you're drawing so that your hand movements follow the same curves of the petal or the roundness of the stem. Making round movements around a round object clarifies form; if something is round, use circular strokes to give the illusion of curvature.
05. Add some flair

You might wonder what 'story' has to do with a rose. Everything! Whereas an amateur artist might draw a stiff stem and leaves (boring), an experienced artist will see the stem and leaves as a chance to tell a story because that’s what will connect them with the viewer emotionally.
You can turn the mundane into something magical through exaggeration. Even though the differences between the two roses (above) are slight, the one on the right is much more interesting than the one on the left. Just by adding a few exaggerated bends in the stem, tilting the bloom, and injecting a little wonder into the leaves, my drawing goes from stiff to lively.
How to draw a rose: Tips for absolute beginners
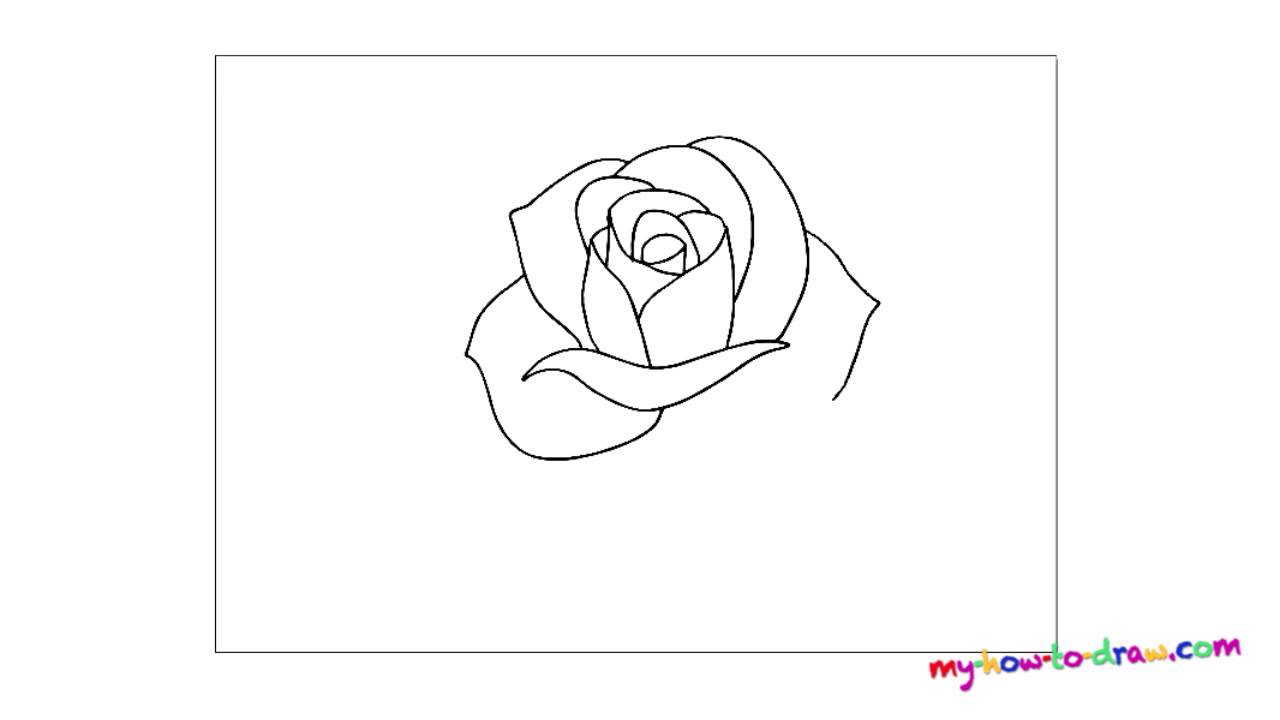
Want to go right back to basics? This super-simple tutorial will show you how to draw a basic line art rose, breaking the process down into basic shapes. This tutorial is aimed at children and beginners – by the end you’ll have a basic grasp of how to draw a rose. Get the essentials right, and then when you're ready, you can take your design further.
How to draw a rose from above
Most of the tutorials here use a side or three-quarter view, but let's say you want to learn how to draw a rose from above. This tutorial shows you how to do just that.
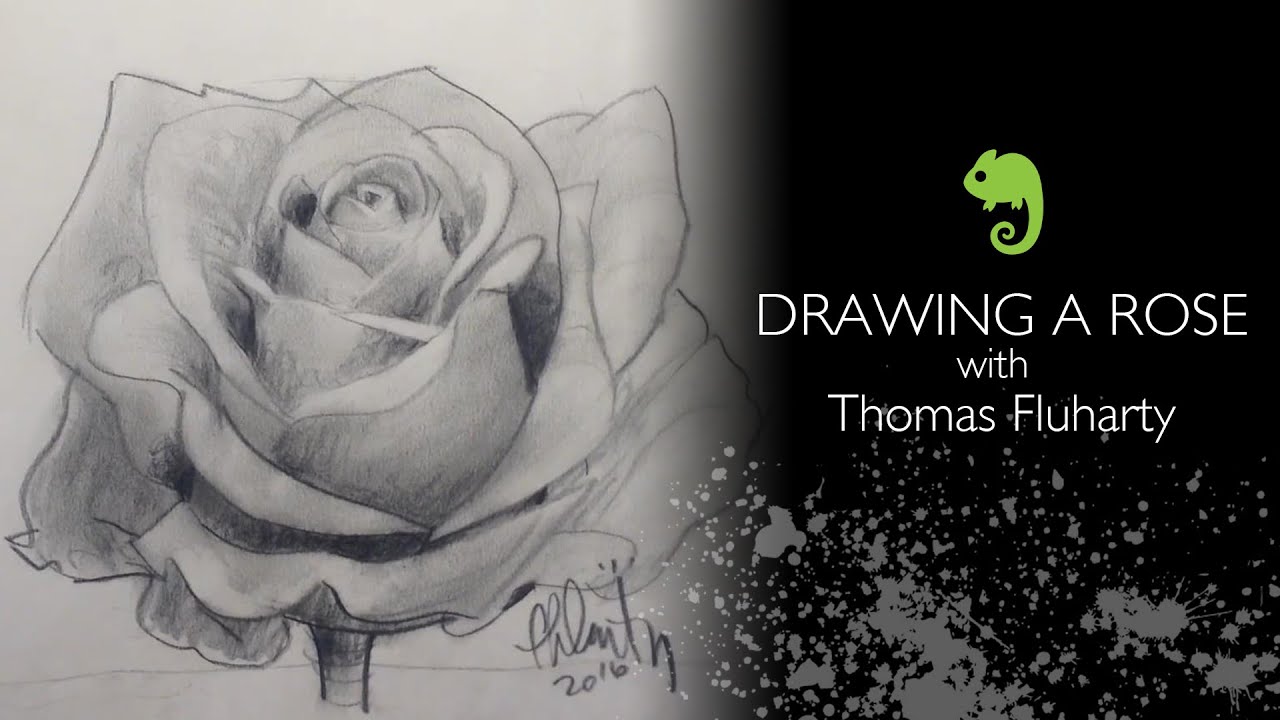
How to draw a rose: Advanced techniques
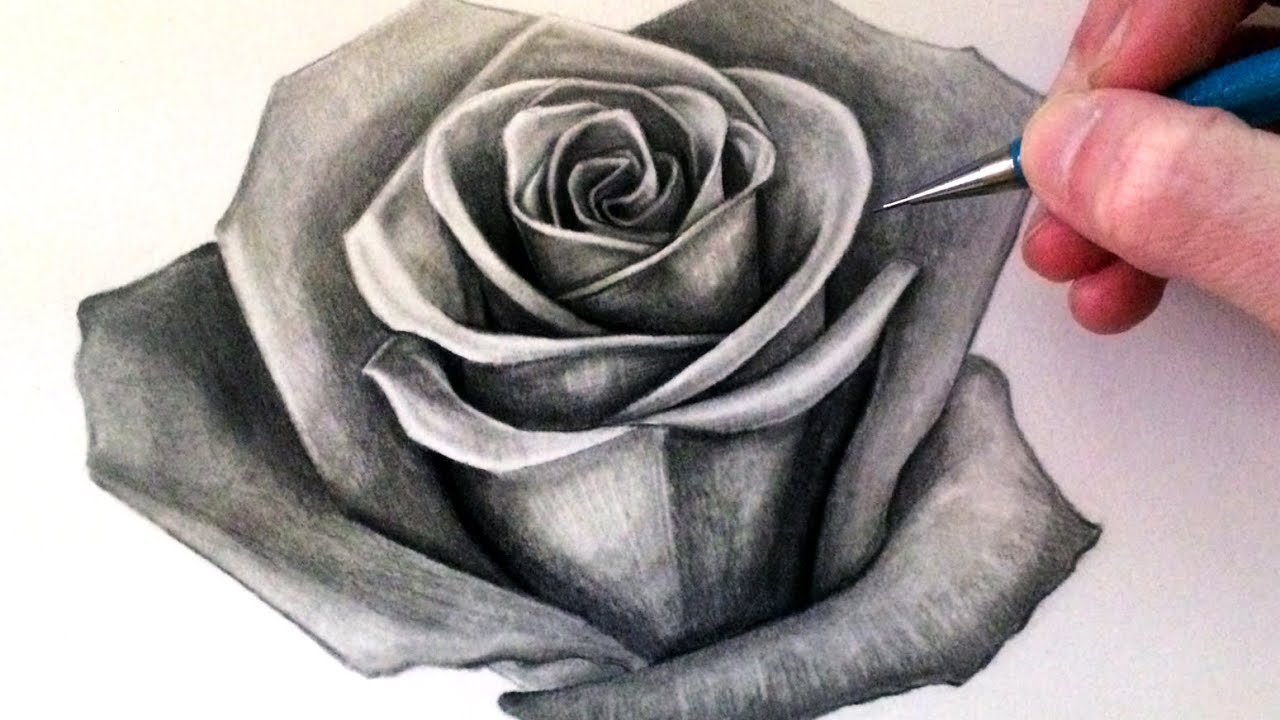
Ready to take things to the next level? For expert insight into how to draw a rose, this six-minute video tutorial provides a masterclass. The result is a realistic, eye-catching rose with crisp petals.
Related articles:
- How to draw an elephant
- Pencil drawing techniques: Pro tips to sharpen your skills
- How to draw perspective
