This tutorial will show you how to remove wrinkles in Photoshop. But before we get started, let's talk about wrinkles for a minute. Wrinkles aren't a negative thing, they convey the long life story of a subject, where the folds and creases have gathered over the years.
Society, though, sees wrinkles negatively, as a sign of ageing. However, we needn't hand over our cash for the latest fancy moisturiser when we have technology on our side, such as the best photo editing software. This tutorial will demonstrate how leaving skin texture alone, but parsing out some choice crows feet and toning down a few deeper lines can enhance your shots.
If you fancy expanding your Photoshop CC skillset even further, check out our Photoshop tutorials roundup for more how-tos.

It’s important not to completely remove all wrinkles, they add depth and dimension to the person, as a good portrait should. Leaving skin pores and facial hair (no matter how small and inconspicuous) is essential for natural-looking portraits. But with gentle use of a few handy tools, you can get portrait subjects looking like they’re well-rested, and maybe, a few years younger.

You can watch the above video for a step-by-step tutorial or read on for a written guide.
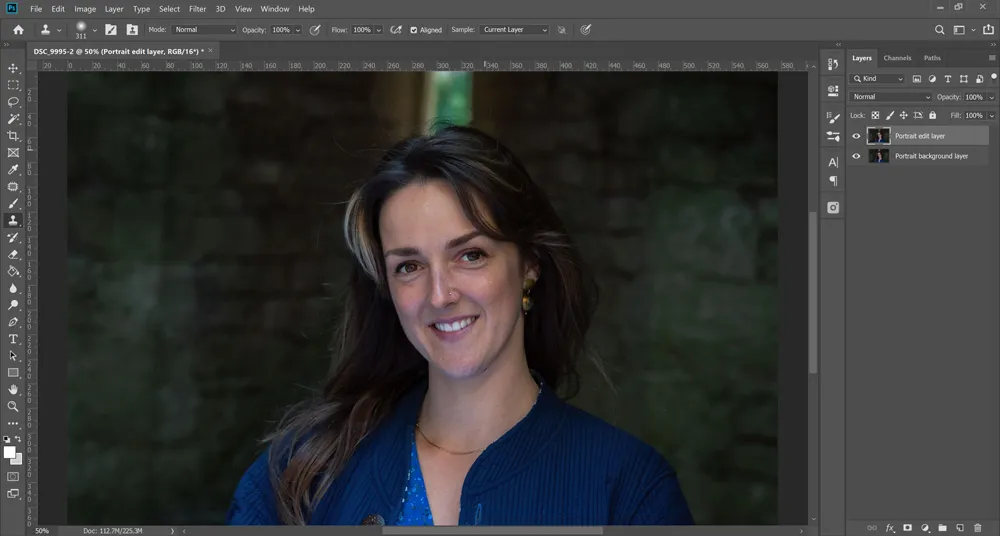
01. Make editing non-destructive

The first step is to make your editing non-destructive. There are a few ways to do this, but the simplest way is to duplicate your photograph layer. In Photoshop it’s Ctrl+J (CMD+J on a Mac). That way, any edits we make can be easily masked out or softly blended in to the unedited layer below.
02. Remove wrinkles with the Patch Tool

The Patch Tool is a powerful and underused tool that works excellently for cutting out existing blemishes in textures but automatically blends in a new texture into the selection. Click and drag to draw around a wrinkle such as around the neck. Then click inside the selection and drag it to another section of skin to replace the wrinkle (use a nearby piece of skin to keep it looking natural as it’ll copy the texture).
03. Softly clone out eye bags

The Clone Stamp Tool paints with areas from another part of your photo. It should be used sparingly with a large, soft brush and lowered opacity. Use this to remove heavy bags under the eyes. Alt+Click to define a point on the upper cheek close to the wrinkles and set Opacity of the brush to 20 per cent. Gently run the brush over the wrinkles a few times until the bags are brightened slightly. Don’t remove them completely because everybody has these lines, from newborns to elders.
04. Banish blemishes

The Spot Healing Spot Tool is a great way to remove temporary blemishes and the wrinkles they can cause without having to do any heavy lifting. This tool automatically eradicates spots, marks, dirt and dust quickly and easily. You can also remove warts, freckles and moles if you so wish, but it's best to leave anything permanent and take away only what is temporary from a subject.
05. Liquify the jawline

This step is a little more advanced. Natural wrinkles form under the chin when we smile, and while almost all of us have this, some people don’t like it. It’s best not to Clone Stamp a new jawline out from your subject because this undermines the subject’s natural beauty and they’ll be able to tell you’ve heavily edited their portrait. Instead, use the Liquify filter to softly persuade this create to join together and thereby reduce its impact in the portrait.
Use the Freeze tool to mask off any areas you don’t want warped by the filter then use a big, soft brush to slowly urge the jawline in towards the face. The big brush helps move the entire jawline simultaneously retaining its structure. Use the Clone Stamp Tool at 20 per cent again to lighten the chin line to draw less attention to this area.
06. Never blur the skin

Bonus tip! The number one key with portrait editing is to never ever blur the skin. If a subject has poor skin, then use the tools above to remove anything unwanted or enhance what’s already there. But blurring the skin makes subjects look plastic and unrealistic – it just isn’t a good look and most photographers and retouchers, even Joe-public can spot this mistake a mile off.

