How to use Photoshop's Generative Fill tool to add or remove unwanted objects
Follow these steps.
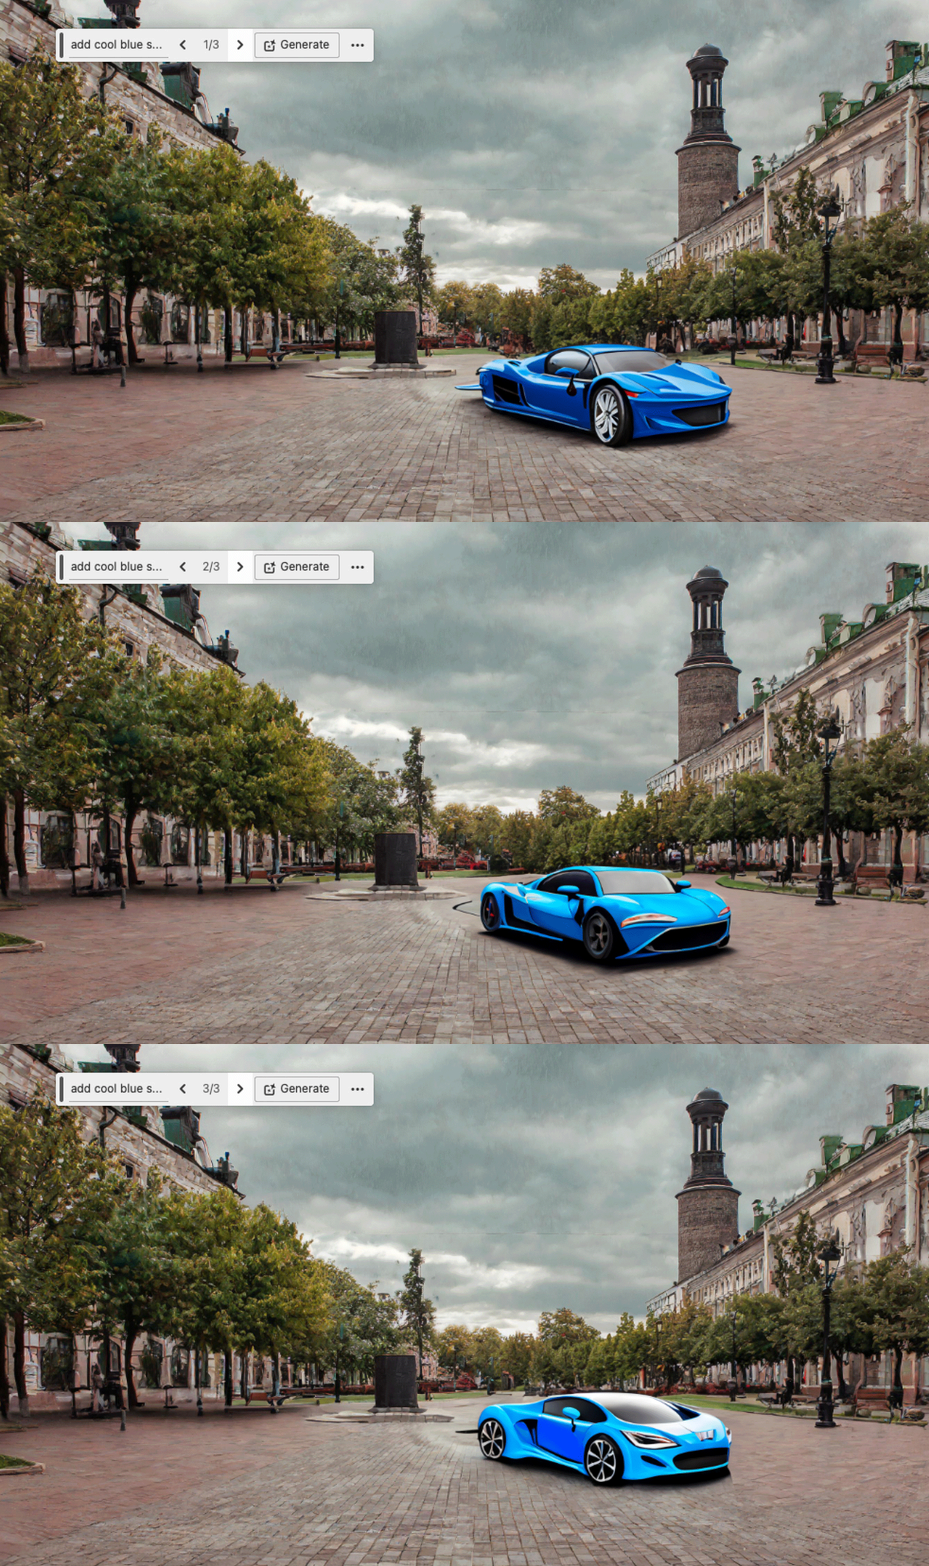
For years, Photoshop fans have relied on Content Aware Fill to remove objects from a scene, with a very limited degree of success. Generative Fill brings the ability to both add and remove content at the touch of a button, with a remarkable level of accuracy (working particularly well when removing). A scene can be quickly transformed into a totally different style with minimal effort.
Below you'll find a step-by-step tutorial to show you exactly how to use this handy tool. Also see our guide to using Generative Expand, and our complete Photoshop tutorial guide.
How to use Photoshop's Generative Fill tool
01. Contextual Task Bar
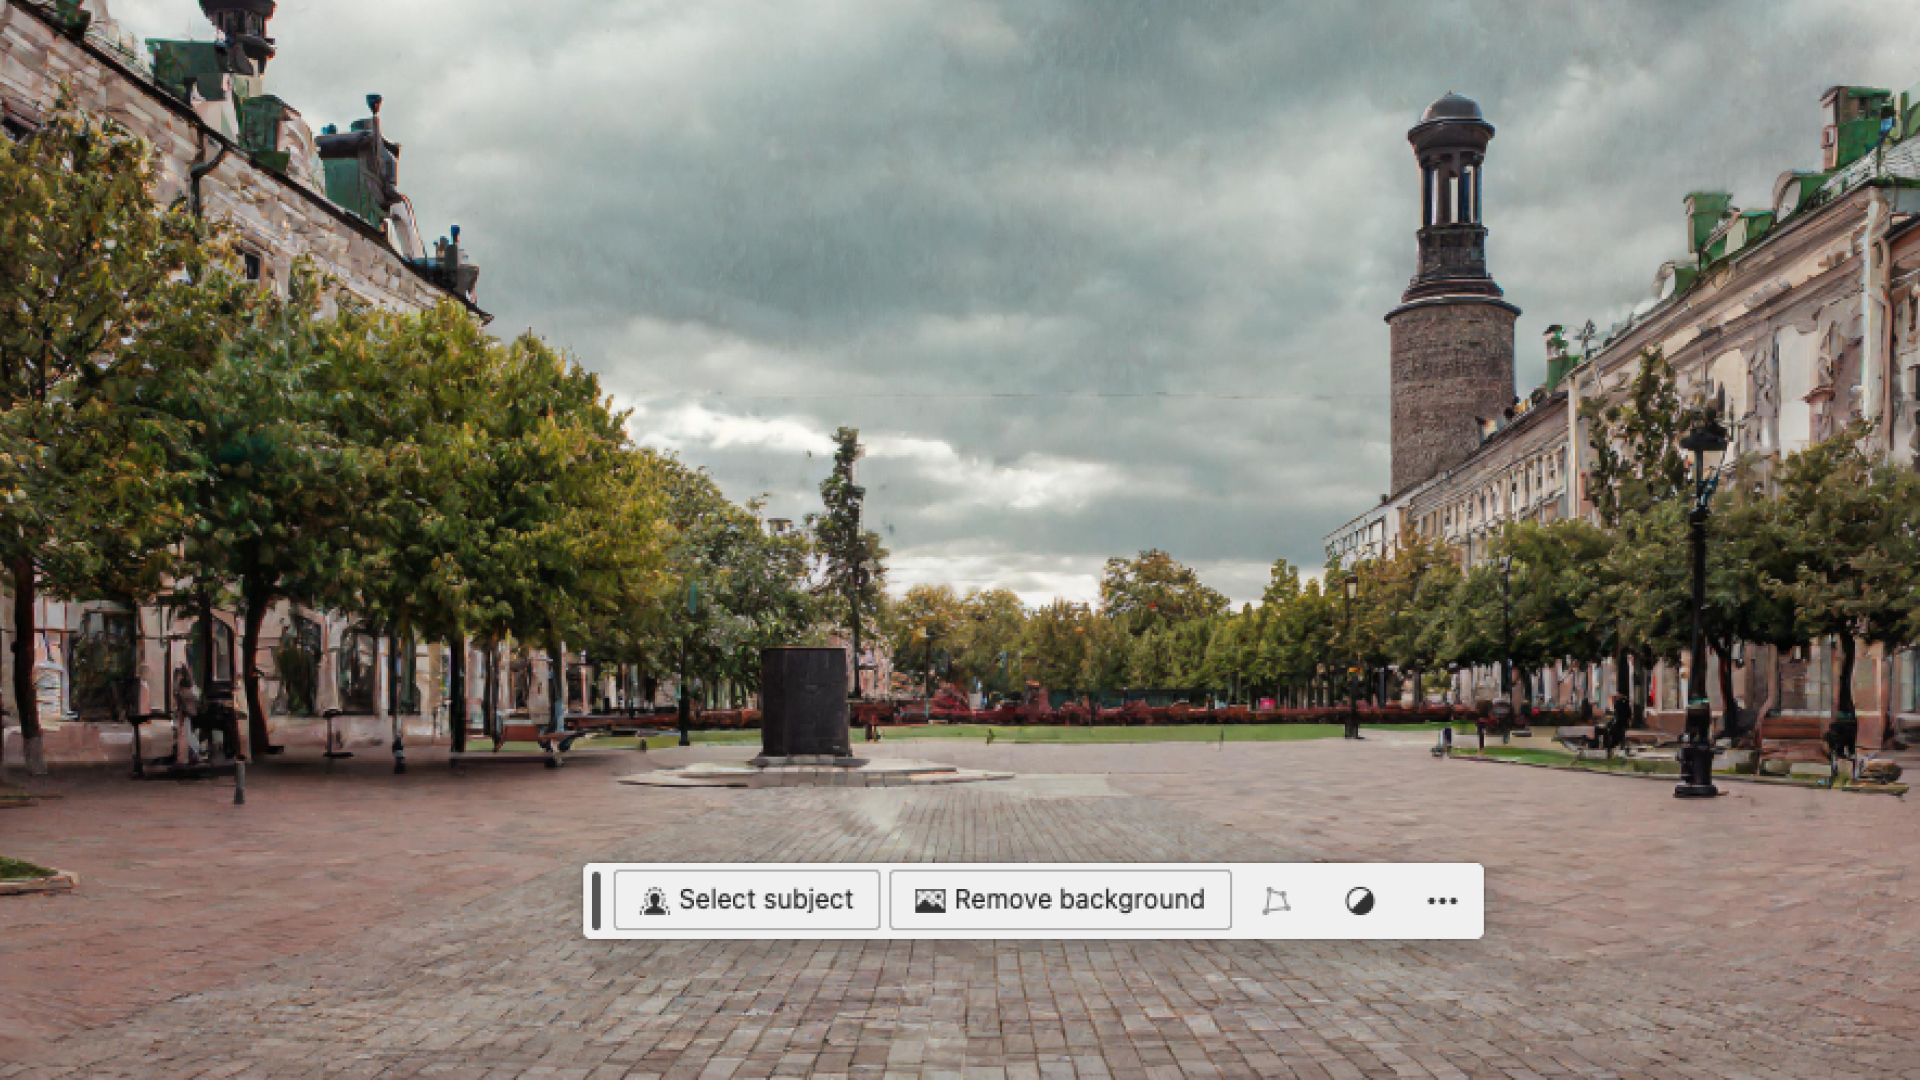
Turn the Contextual Bar on in Window > Contextual Task Bar. It will automatically pop up under the selected object, however you can drag it around the canvas and pin it into position using the extra options (although this resets every time you open a new document).
02. Make area selection
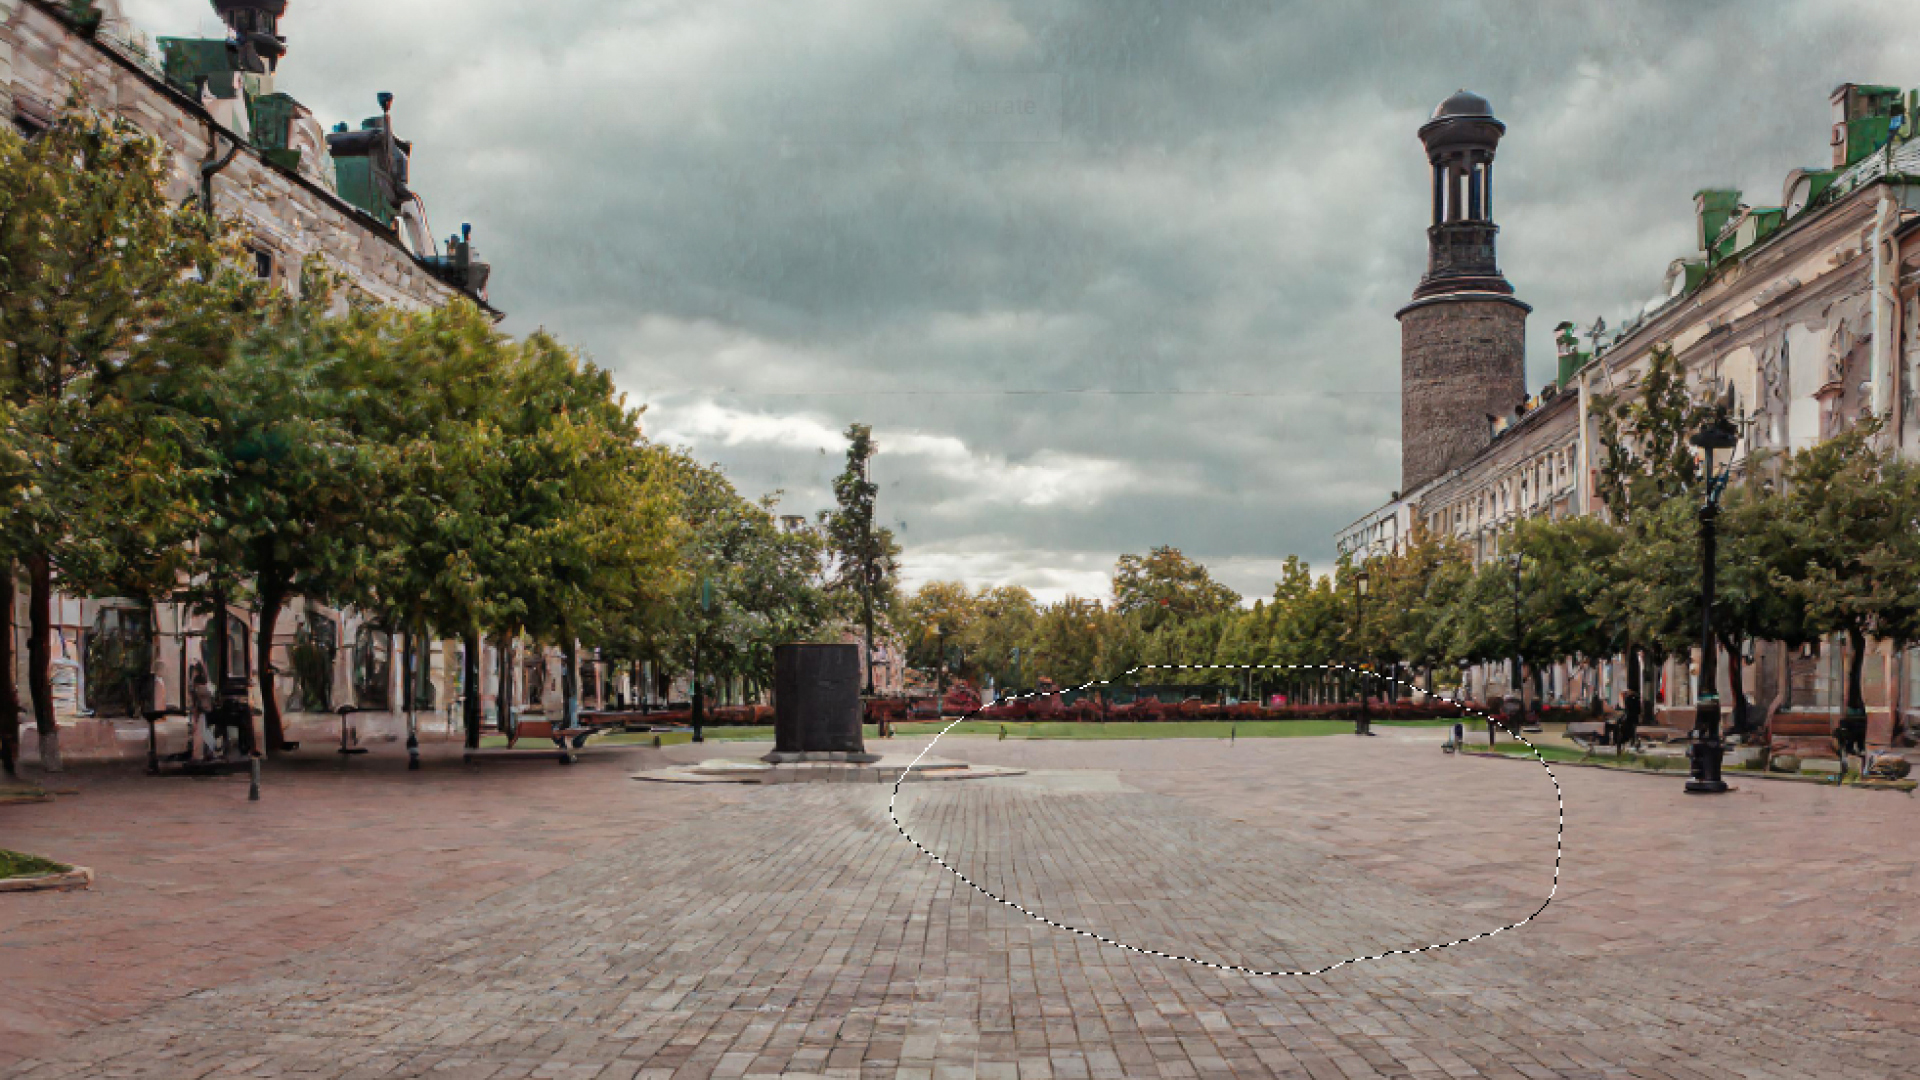
Select the area you want to affect with whatever tool you prefer – Lasso, Pen or marquee. The generative tools are pretty forgiving, so for ease of use I used the lasso tool to quickly draw a rough area. If you don't draw any area then the whole image will be affected.
03. Type prompts
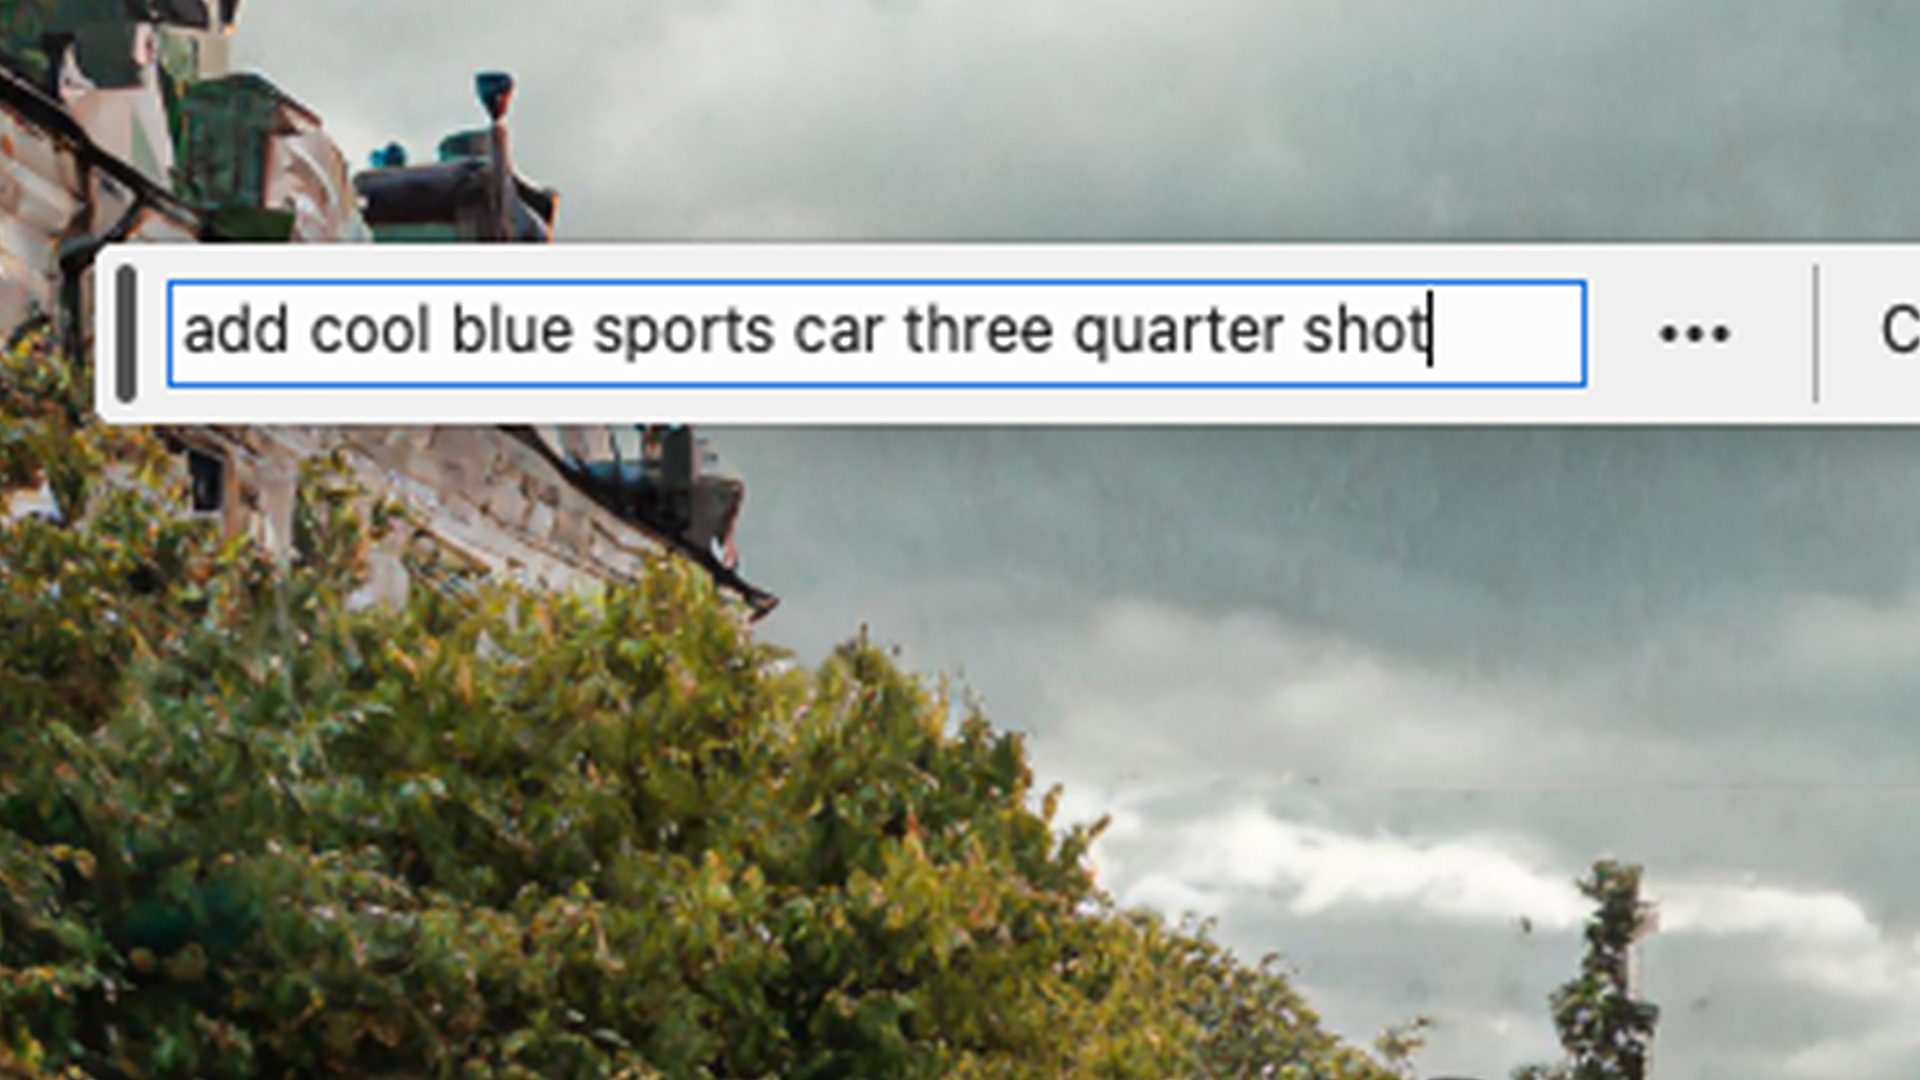
Type your instructions or descriptions of the scene you want to create into the Contextual text bar and click Generate. Photoshop will then use Firefly to create an appropriate image to fill that space, fitting into the pre-existing background.
If you leave the text bar empty then Photoshop will intuitively remove the object you have selected, filling the background as Content Aware Fill might have done in previous iterations, but with much more success. You can also use the Remove Tool in the Toolbar for this. Simply select the tool, draw a rough outline around the object and it will be removed.
04. Select a result

Each Generate click will produce three new results of differing quality and applicability. Cycle through the results and pick the one that suits your image. If none of them work well then you can refine the process with more instructions and prompts. Rate the results as you go.
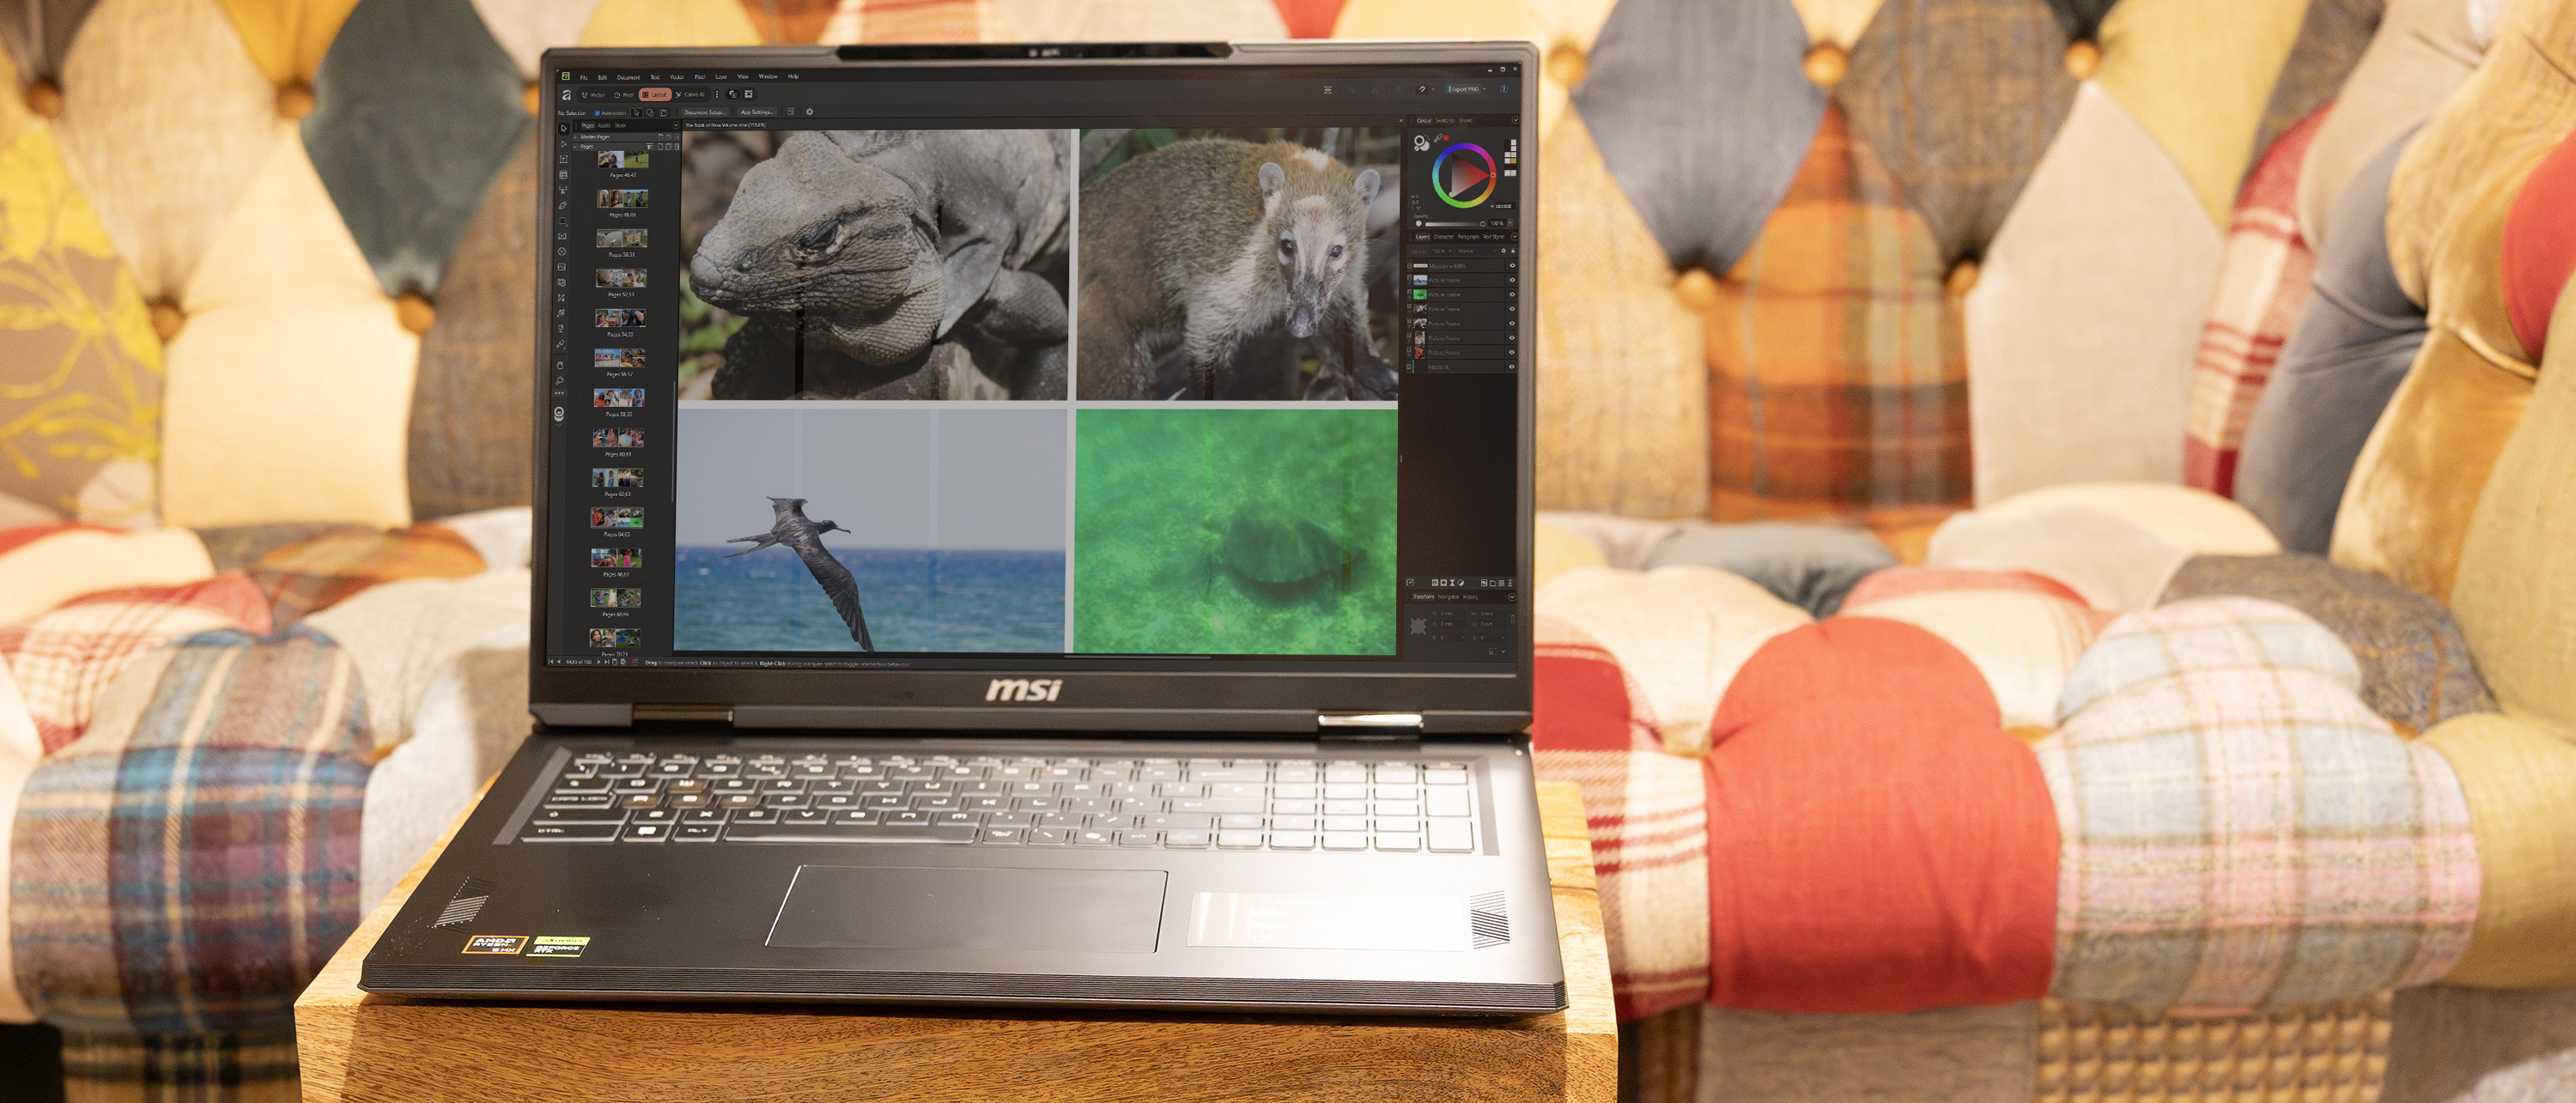
Not sure if Photoshop is your bag? Try these photo editing software options. Or the Adobe deals we've found below. And grab yourself a new laptop for Photoshop while you're at it.
Daily design news, reviews, how-tos and more, as picked by the editors.

Matt has worked for various publishing houses and design agencies, covering studio photography, video production, editorial design, branding, illustration and motion graphics. He currently works for Future PLC with brands such as T3, Woman&Home, Marie Claire, Music Week, TechRadar, Golden Joysticks, Cycling Weekly, Brand Impact Awards, Horse&Hound and Tech&Learning. In the past he has designed titles including Mac|Life, IQ, Bow International, Drummer, iDrum, Acoustic, Clay Shooting, Sea Fishing and GunTradeNews. He has experience across the full Adobe Suite and is currently spending a lot of time creating projects in Blender and After Effects.
You must confirm your public display name before commenting
Please logout and then login again, you will then be prompted to enter your display name.
