How to set up a local development environment
Learn how to build websites on your own computer without having to access the live site.
Sign up to Creative Bloq's daily newsletter, which brings you the latest news and inspiration from the worlds of art, design and technology.
You are now subscribed
Your newsletter sign-up was successful
Want to add more newsletters?

Five times a week
CreativeBloq
Sign up to Creative Bloq's daily newsletter, which brings you the latest news and inspiration from the worlds of art, design and technology.

Once a week
By Design
Sign up to Creative Bloq's daily newsletter, which brings you the latest news and inspiration from the worlds of art, design and technology.

Once a week
State of the Art
Sign up to Creative Bloq's daily newsletter, which brings you the latest news and inspiration from the worlds of art, design and technology.

Seasonal (around events)
Brand Impact Awards
Sign up to Creative Bloq's daily newsletter, which brings you the latest news and inspiration from the worlds of art, design and technology.
A local development environment allows you to use your own machine to run your website, instead of using one provided by a web hosting company. You can customise the setup without worrying that it'll affect your live site, as well as make and test site development before uploading your site. Taking away risk when building something makes the development process much less stressful.
Another benefit of working locally is that you don't have to be connected to the internet. If you have slow wifi, like to work in the garden or are travelling, there is no need to search for a wifi signal all the time.
The time spent FTPing to a staging site and waiting for your site to refresh really adds up over a day of development. A local environment will let you focus on code and the fun bits of building websites.
This tutorial assumes you are on a Mac, and the tutorial for getting started with Valet focuses on this. For a PC alternative, try Homestead.
A basic knowledge of Terminal is good, although you should be able to follow along, as the commands are all fairly simple. They are mainly to get the prerequisite components installed and running.
After completing this tutorial, you will have set up PHP, Homebrew and Composer on your machine, installed Valet and learnt how to set up local sites.
Download the files for this tutorial.
Sign up to Creative Bloq's daily newsletter, which brings you the latest news and inspiration from the worlds of art, design and technology.
01. Install Homebrew
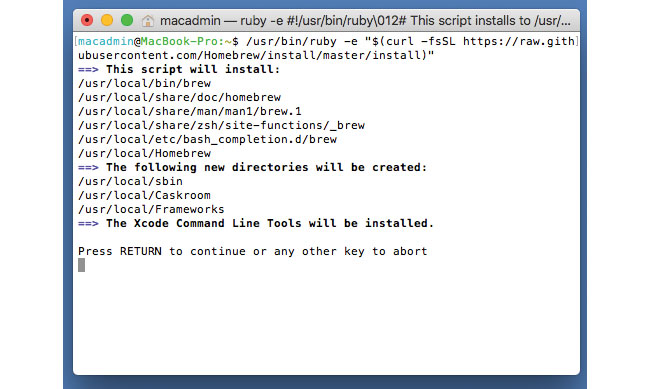
First step here is to install Homebrew. Type the following command in your Terminal.
/usr/bin/ruby -e "$(curl -fsSL https://raw.githubusercontent.com/Homebrew/install/master/install)"02. Install PHP
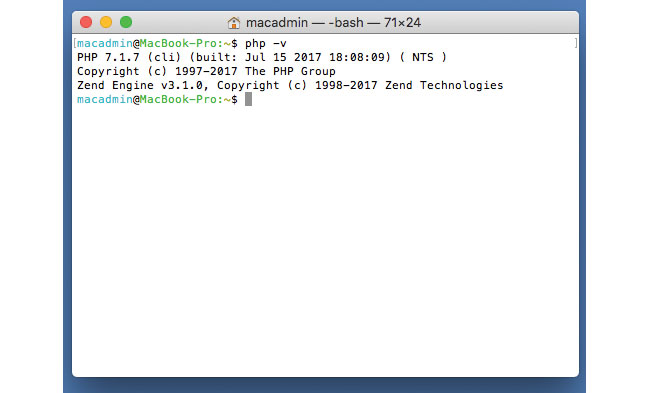
Next we need to install/upgrade to PHP7, so check using php -v. If you need to install you can type:
brew install homebrew/php/php70If you restart your Terminal window now and type php -v again, it should show v7 installed.
03. Install Composer
You will need to download Composer, and then put it in a directory that is part of your PATH.
php -r "copy('https://getcomposer.org/installer', 'composer-setup.php');"
php -r "if (hash_file('sha384', 'composer-setup.php') === '48e3236262b34d30969dca3c37281b3b4bbe3221bda826ac6a9a62d6444cdb0dcd0615698a5cbe587c3f0fe57a54d8f5') { echo 'Installer verified'; } else { echo 'Installer corrupt'; unlink('composer-setup.php'); } echo PHP_EOL;"
php composer-setup.php
php -r "unlink('composer-setup.php');"
04. Move to your PATH
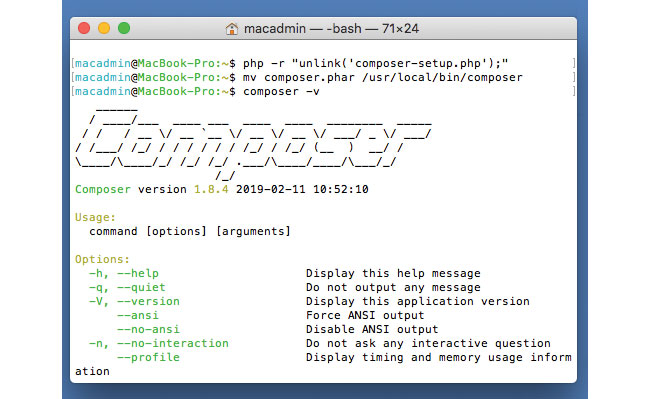
Now move Composer to a directory within your PATH. Once done, you can check your access to it by typing composer-v.
mv composer.phar /usr/local/bin/composer05. Check your PATH
If you type echo $PATH, you will see what it contains. If it doesn't, then type the following to add it.
export PATH=$PATH:~/.composer/vendor/bin06. Require Valet globally
Now we have the pieces installed, we can get on with installing Valet. First. let's check nothing is using port 80. Type the following, and if it returns nothing, we are good to go.
netstat -an | grep "\.80" | grep LISTEN07. Install Valet
We use Composer to install the Valet package for us, and then we can run valet install.
Composerglobal require laravel/valet
valet install
08. Park/unpark directories
Create a directory for your development sites and tell Valet to serve them. Note that folders inside this can be accessed as sub domains.
# move to your projects directory
cd ~/projects/valet/
valet park
09. Forget directories
In a similar way to park, if you no longer want a folder to serve through Valet just use the forget command from inside the directory.
with spaces //
valet forget
10. Link/unlink directories
You can also link to directories. This allows you to choose the name you use.
cd ~/projects/valet/subproject/
# link the subproject directory to make it accessible at HYPERLINK "http://subproject.dev" \hhttp://subproject.dev
valet link subproject
11. Share your site with the world
You can share your local dev url to the outside world. In the directory of your project, type valet share and it will create a URL you can use.
12. Using a database
You will need to install your database of choice – for WordPress, we can go ahead and install MySQL.
brew install mysql13. Choose a database tool
With a database set up, a tool to import and export data is useful, since we don't have phpMyAdmin or similar with Valet as it is so lightweight.
14. Download Sequel Pro
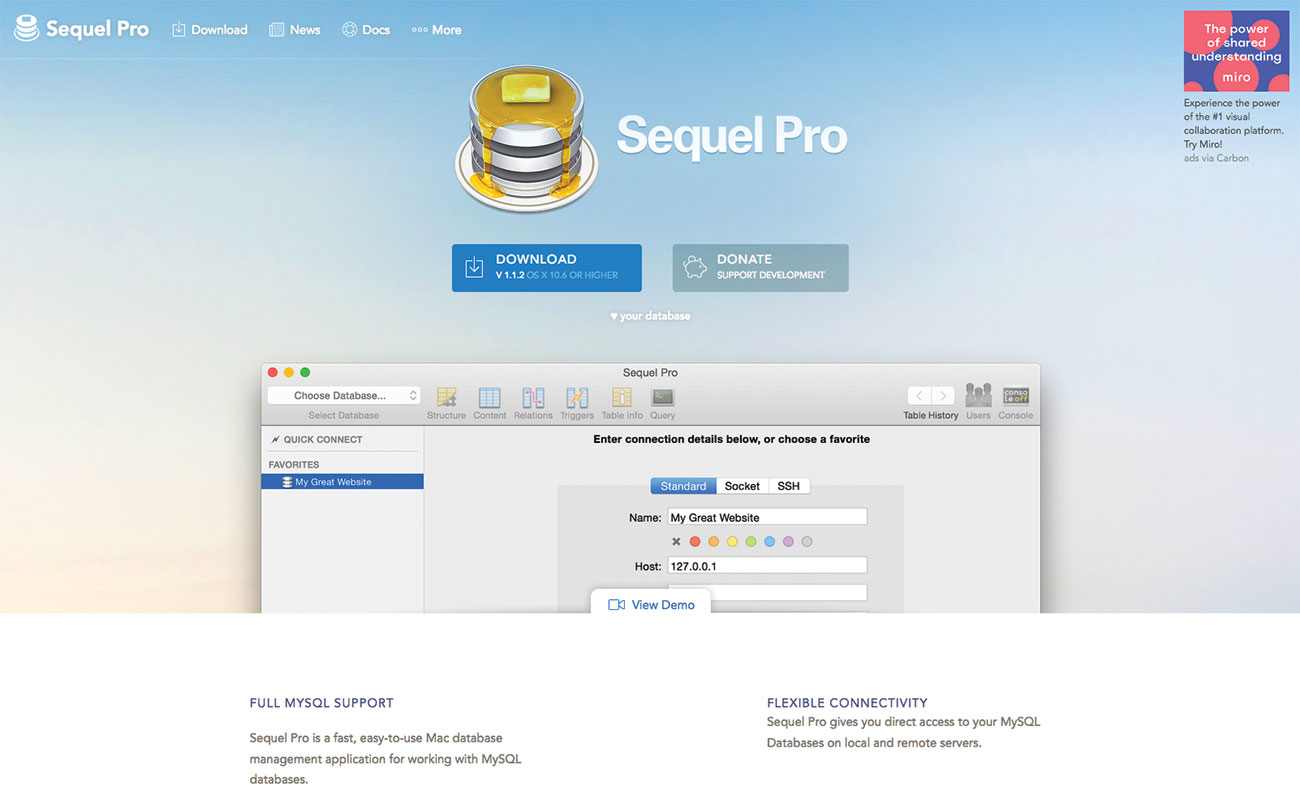
We are using Sequel Pro, as it offers a simple interface. You can download it here.
15. Connect the database
Using the default settings from MySQL, add the following details and test your connection.
Host: 127.0.0.1
Username: root
Password: (leave blank)
16. Set up a WordPress site
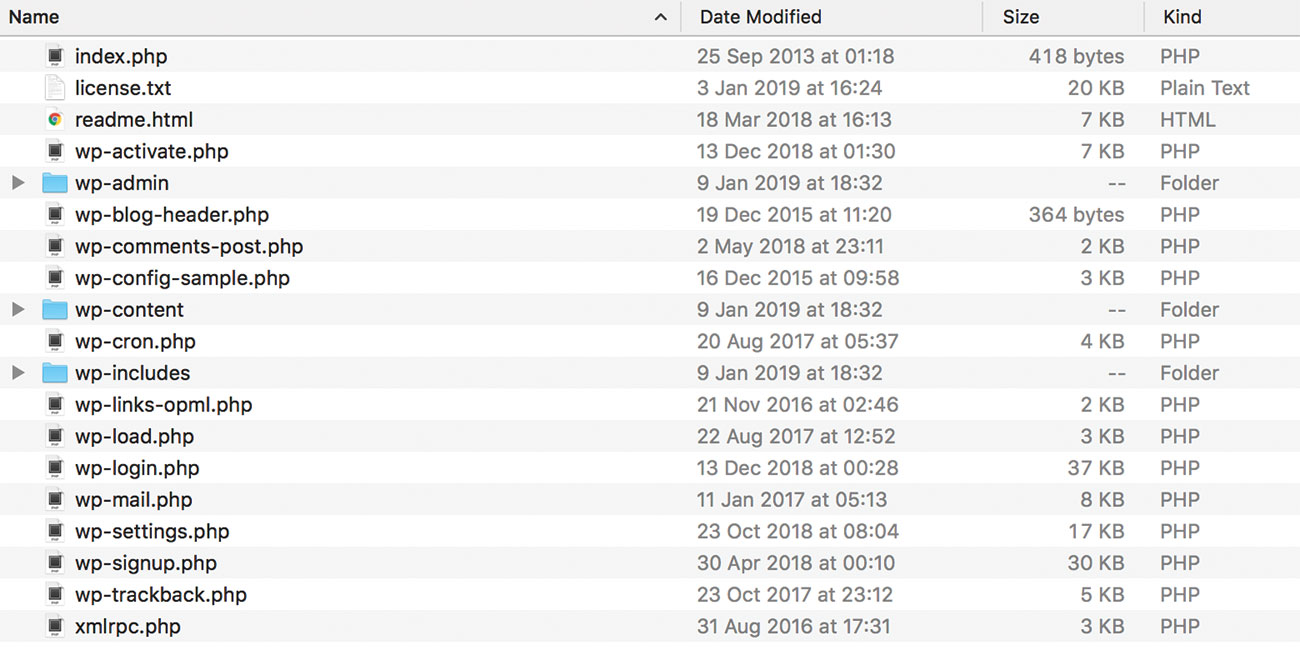
With everything now in place, set up a WordPress site. Create a new folder inside your Valet directory and install the WordPress Core.
17. Add a database
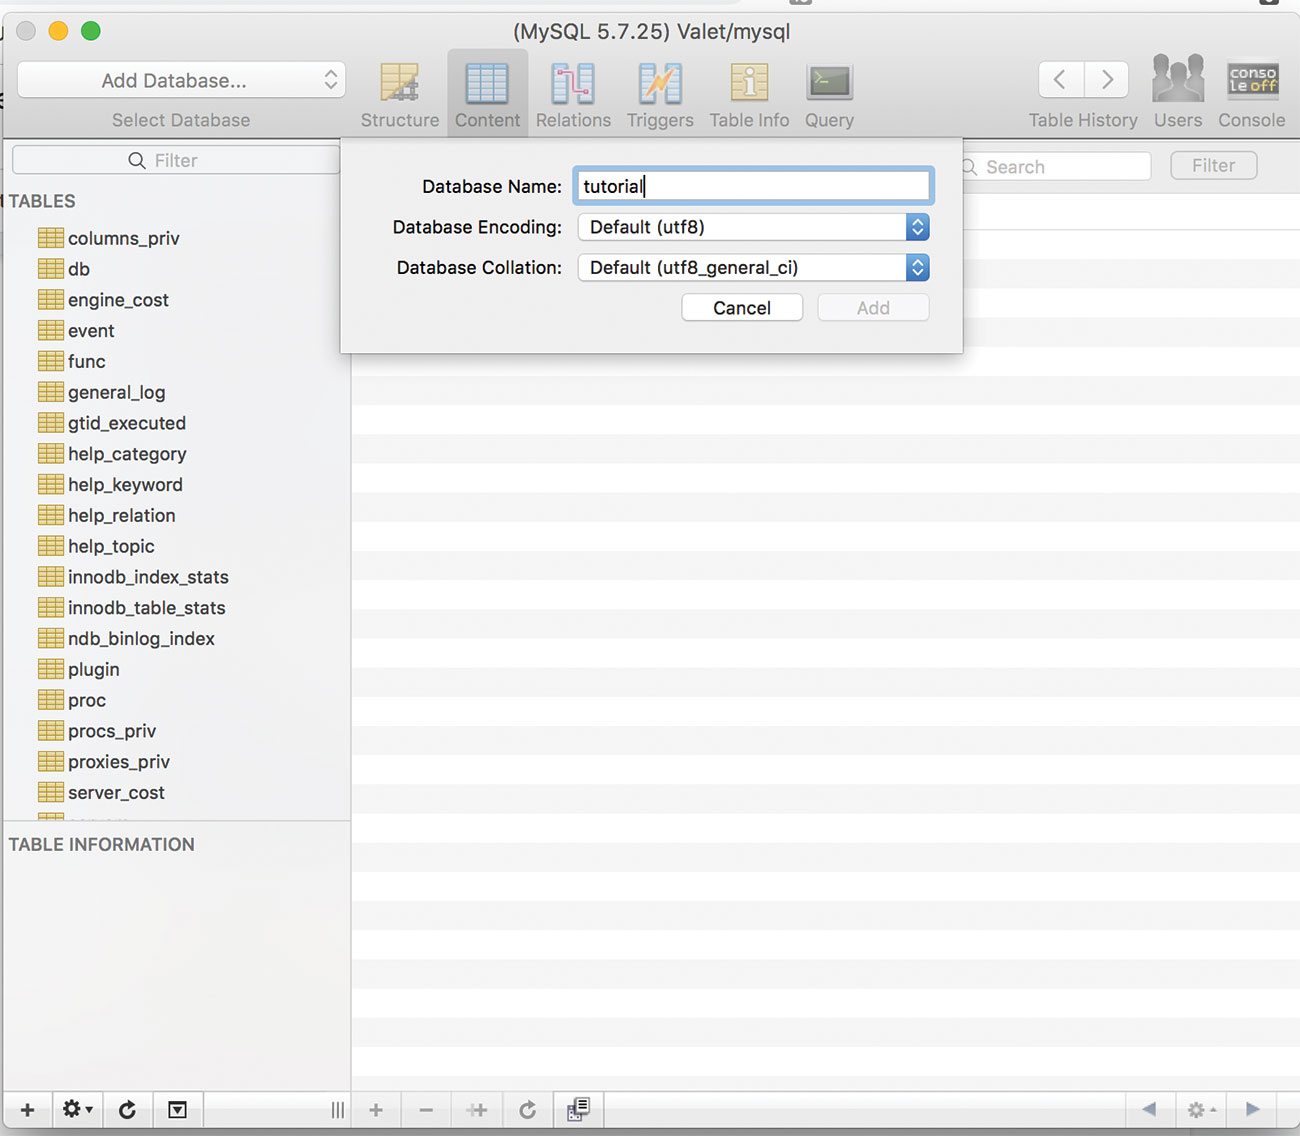
In Sequel Pro, create a new database with the same name as the folder you created. Update the wp-config file to suit.
18. Test it's all working
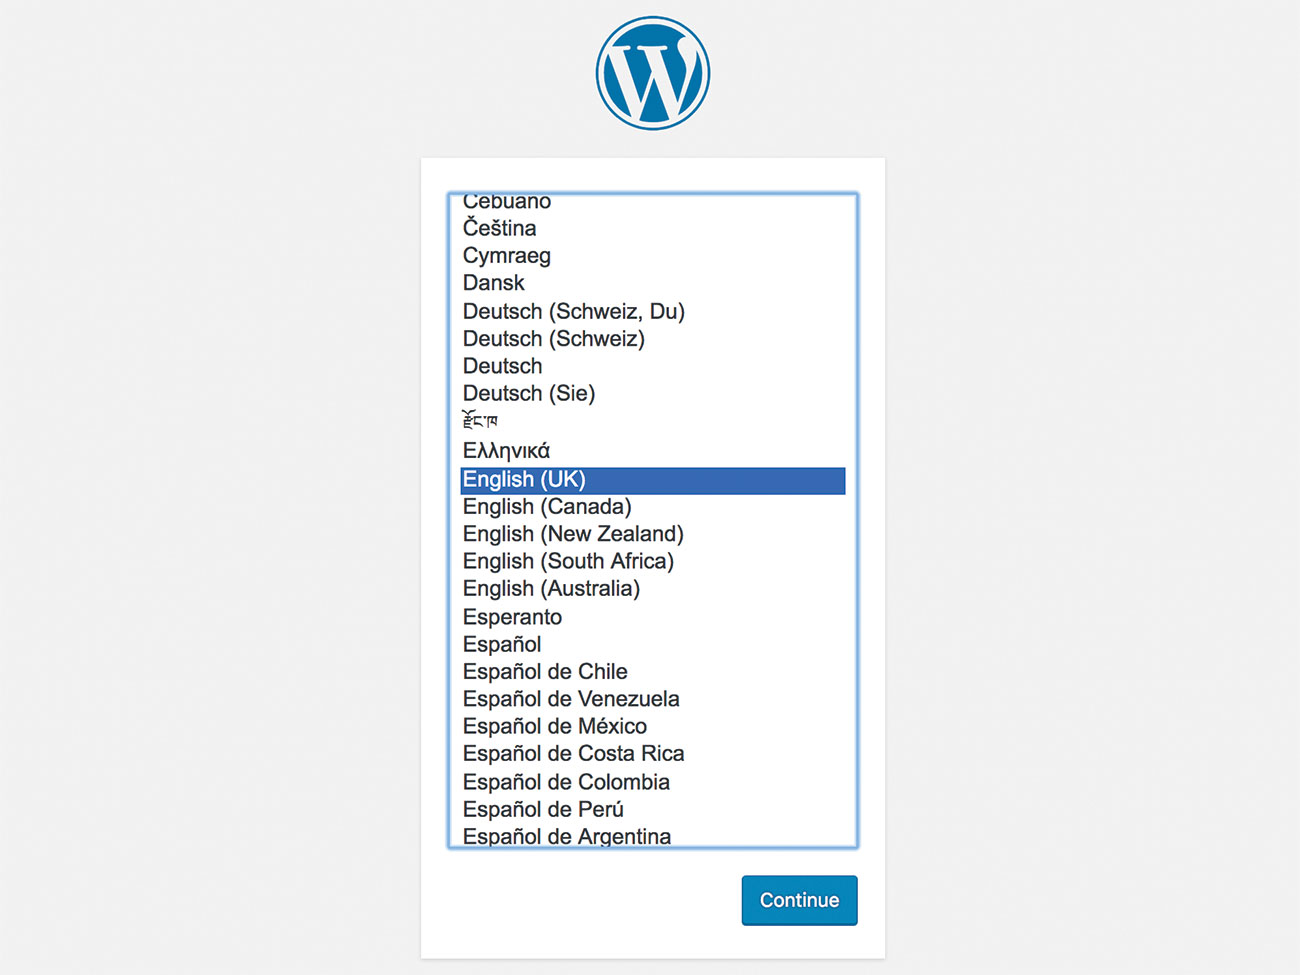
Now if you open your browser, and navigate to (your-folder).test you should see the WordPress install screen. Follow this through as normal.
19. Taking it further
Valet is not just for running WordPress installs on, it was actually originally created for Laravel development. Whether you are building something bespoke in PHP or using a framework, you can easily create a new site by creating a new directory for it in your root folder.

Join us on 26 September for Generate CSS, a bespoke conference for web designers brought to you by Creative Bloq, net and Web Designer. Save £50 with an Early Bird Ticket when you book before 15 August 2019.
This article was originally published in issue 287 of creative web design magazine Web Designer. Buy issue 287 here or subscribe to Web Designer here.
Related articles:
