How to set up an iPad VPN
To help you browse safely and securely on your iPad, we run through how to set up an iPad VPN.
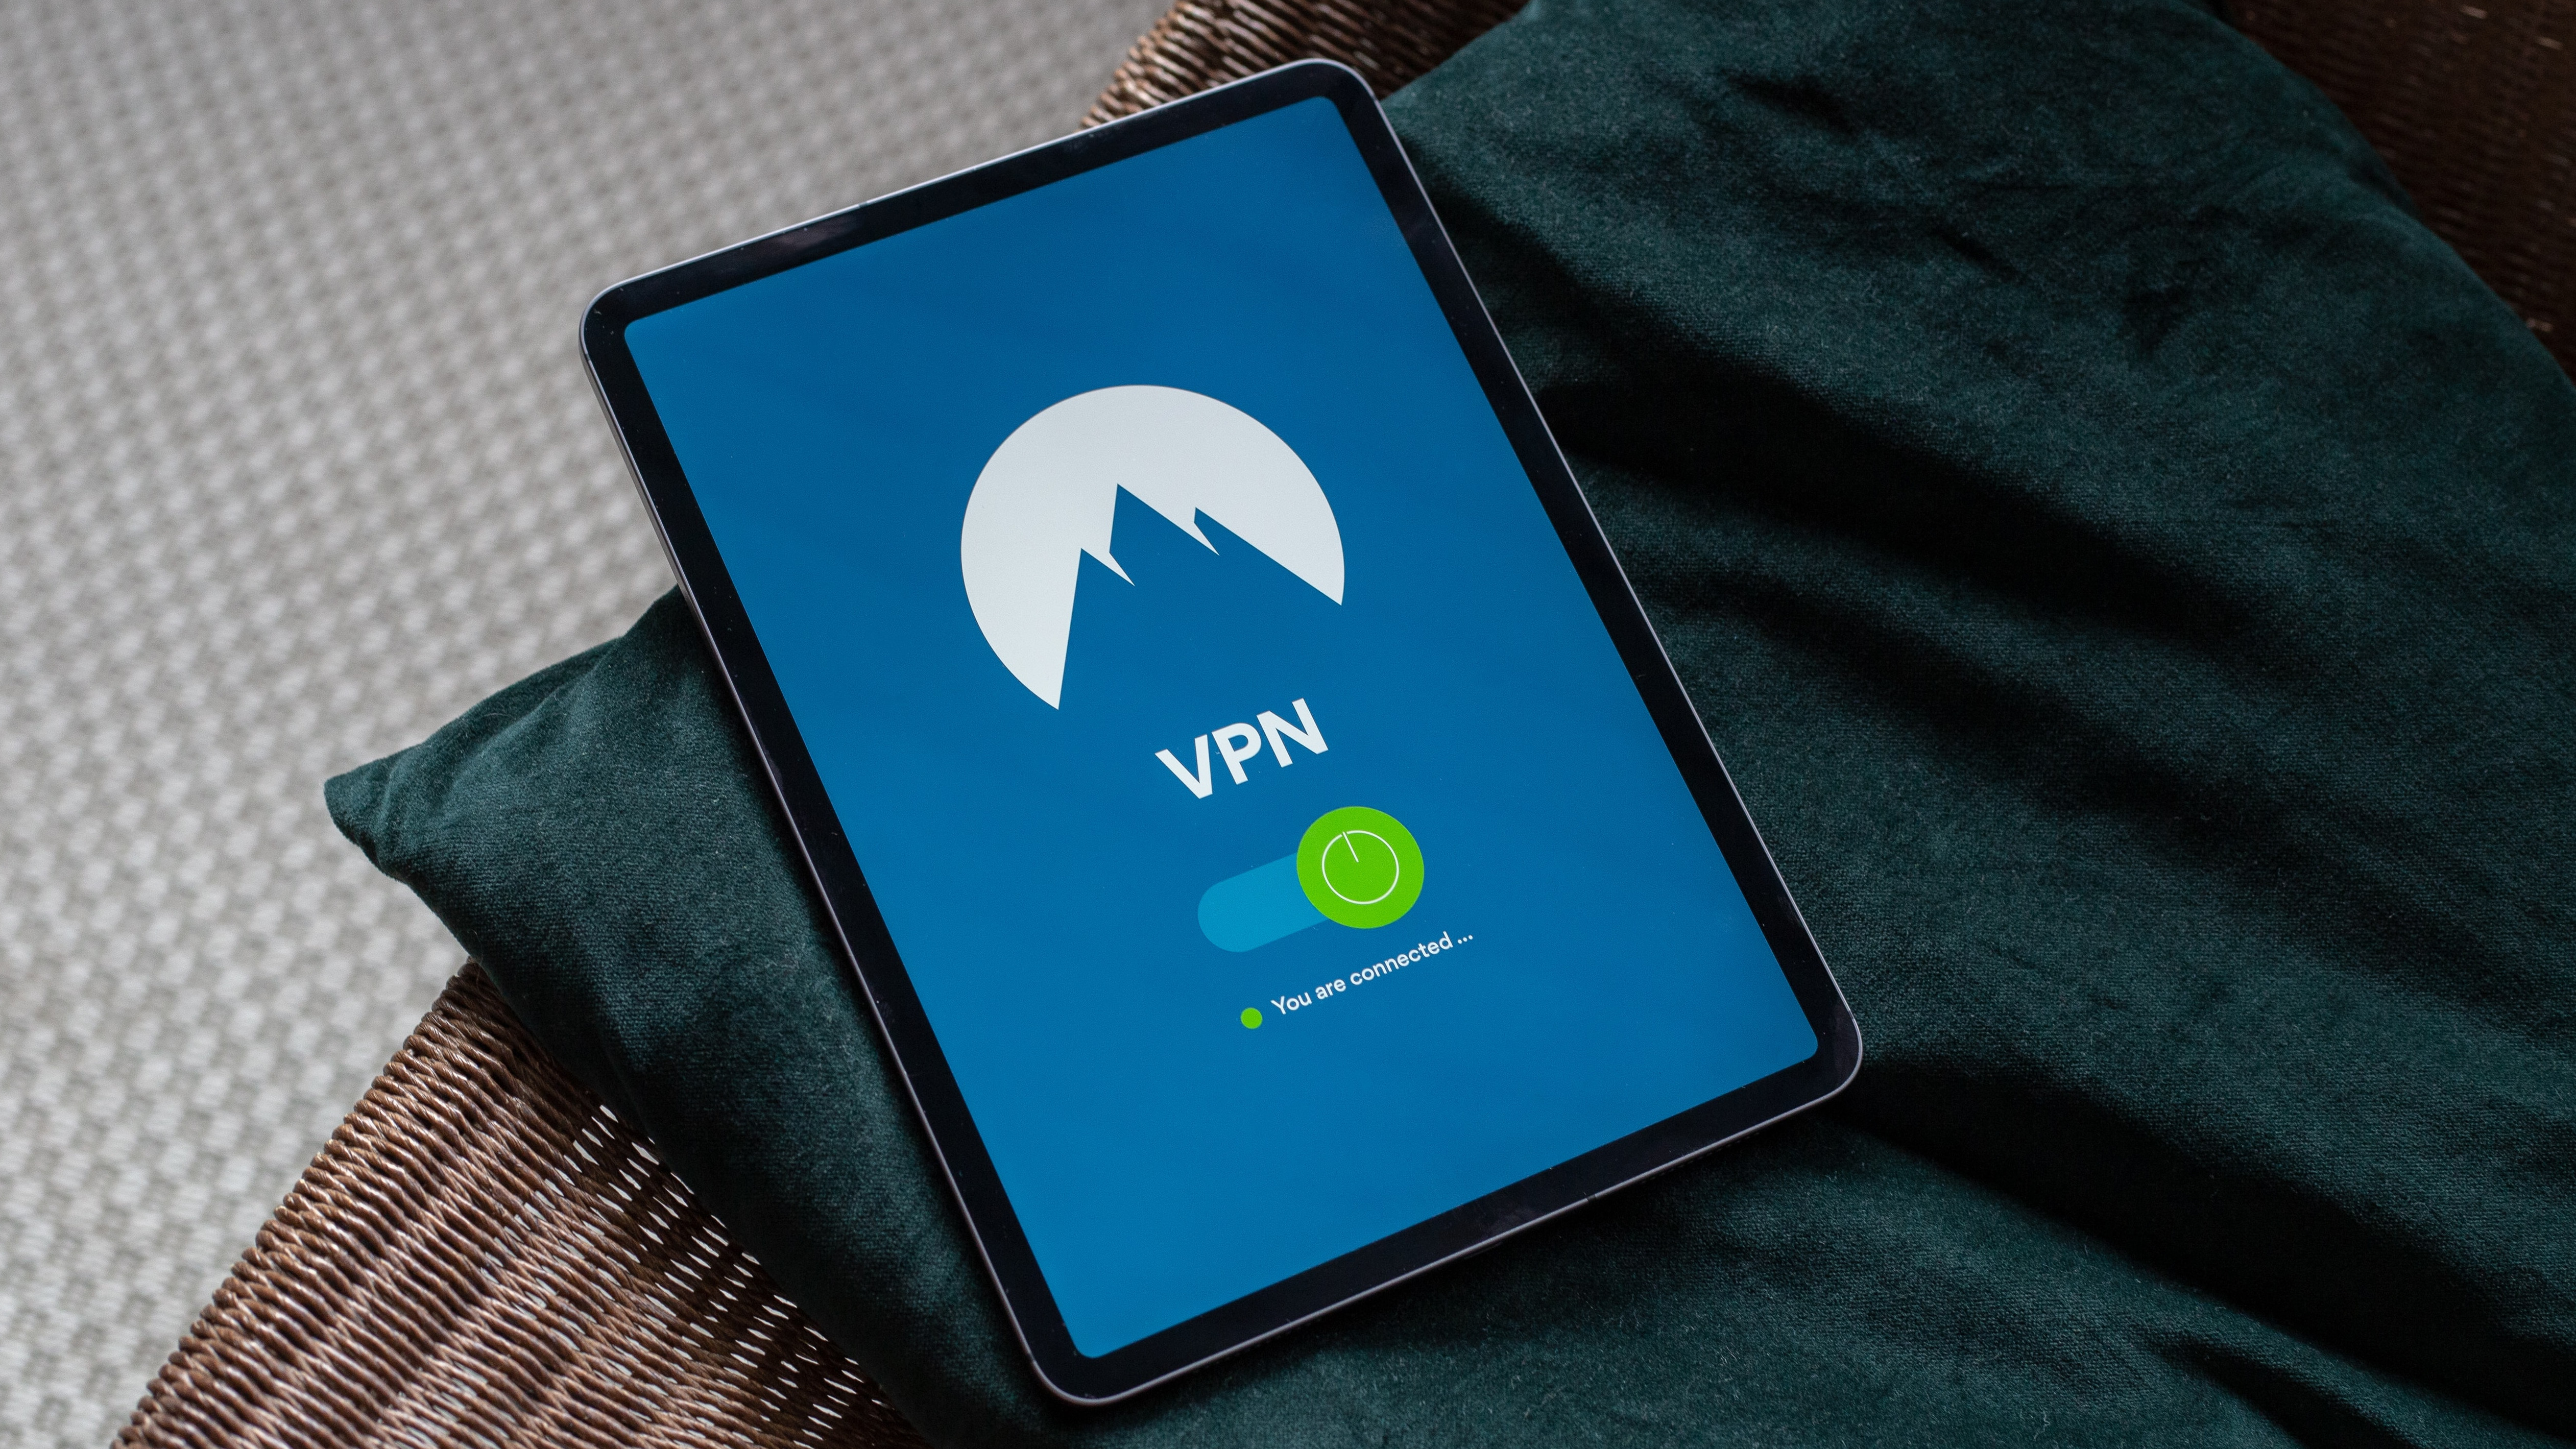
Learning how to set up an iPad VPN is one of the best ways to protect your identity online – even when browsing on your tablet. In this quick guide, we’re going to take you through the basics of VPNs, why they’re beneficial to use on an iPad, and how to go about setting one up.
VPNs, put simply, are a way to hide your online activity. They’re a way to protect yourself against hackers, particularly when you’re out and about and using a public network in somewhere like a café or a coworking space.
You don’t need to be some kind of computer genius to set up a VPN on your iPad – it’s actually very easy to do, and only requires a few simple steps. You should be able to use a VPN no matter which iPad you’re using, whether it’s one of the newer models with M1 chips, or an older iPad from a previous generation. Check out our guide to the iPad generations if you want to know more about all the different iPads available.
How to set up an iPad VPN – what is a VPN?
VPN stands for 'Virtual Private Network'. It’s essentially a service that creates an encrypted connection (sometimes referred to as a “tunnel”) between your device and a server in a different location, essentially setting up an intermediary step between you and the network. This server can be anywhere, and will generally be many miles away from you – possibly even on a different continent.
Why use an iPad VPN?
A VPN serves two main purposes – one, it masks your true IP address and location from anyone who may be attempting to view it on the network. This keeps you anonymous when you’re browsing, even on public networks. It makes it harder for websites and internet service providers to access, store and sell your data.
A VPN doesn’t make you completely untraceable – trackers such as cookies in websites are another way your movements online can be followed. Nevertheless, a VPN is a good easy step to take in order to make your browsing more secure.
The second principal purpose, and one that has become increasingly popular in recent years, is the fact that a VPN masks your browsing location, and can make you appear as though you’re browsing from somewhere else entirely. This can be hugely useful for accessing geo-locked content, such as streaming websites that can only be accessed from certain places. For example, if you're an American travelling who wants to watch Hulu or US Netflix outside of the US, you can set up a VPN that tunnels via a US-based server, and you’ll have no problems.
Daily design news, reviews, how-tos and more, as picked by the editors.

How to set up an iPad VPN
There are a few quick steps to getting a VPN running on your iPad.
First, choose a VPN service. There are a number of trustworthy, reliable VPN providers that offer a good option for iPad – in fact, we’ve collected our top recommendations into a handy guide to the best VPNs for iPad. Choose whichever you like, but bear in mind that VPNs tend to come with a subscription fee. Some will offer a free trial or a money-back guarantee, and you can generally get a lower rate if you’re willing to commit to a longer subscription.
Once you’ve picked your VPN service, sign up and create an account, choosing your preferred payment plan.
Next, download the service’s iPad app from the App Store – they’re pretty much always free, though will generally include in-app purchases.
Log in to the app, using the account details you obtained when you signed up to the VPN service. You may have to agree to a privacy agreement before you can use the VPN – happily, it should say that the service does not collect or log your data, so there shouldn’t be a whole lot to consent to.
Follow the instructions to set up your VPN – this should be the first thing the app asks you to do. The major input needed from you at this point is that you need to grant the app permission to configure VPN connections. You’ll get a prompt from your iPad saying something to the effect of “ExpressVPN Would Like to Add VPN Configurations.” Tap “Allow”. You may need to use Touch ID or enter your passcode to confirm this.
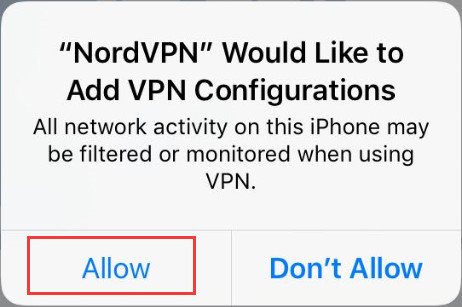
From there, you should be all set to use a VPN with your iPad. Many VPN services allow you to use multiple devices with a single subscription, so you can also connect your phone and computer as well if you want – just remember to keep tabs on how many devices you’ve got connected, in case you hit the limit.
How to use an iPad VPN to spoof location
Once you’ve got your iPad VPN set up, you can use it to spoof a specific location in order to get around geo-blockers. Depending on which app you use, this may be in a different place, but it shouldn’t be too difficult to find.
Using IPVanish, for example, you can select the preferred country and even city for your VPN server in the app’s main dashboard. On ExpressVPN, it simply requires tapping the connection symbol at the top, which then allows you to select the country you want to use a server in.
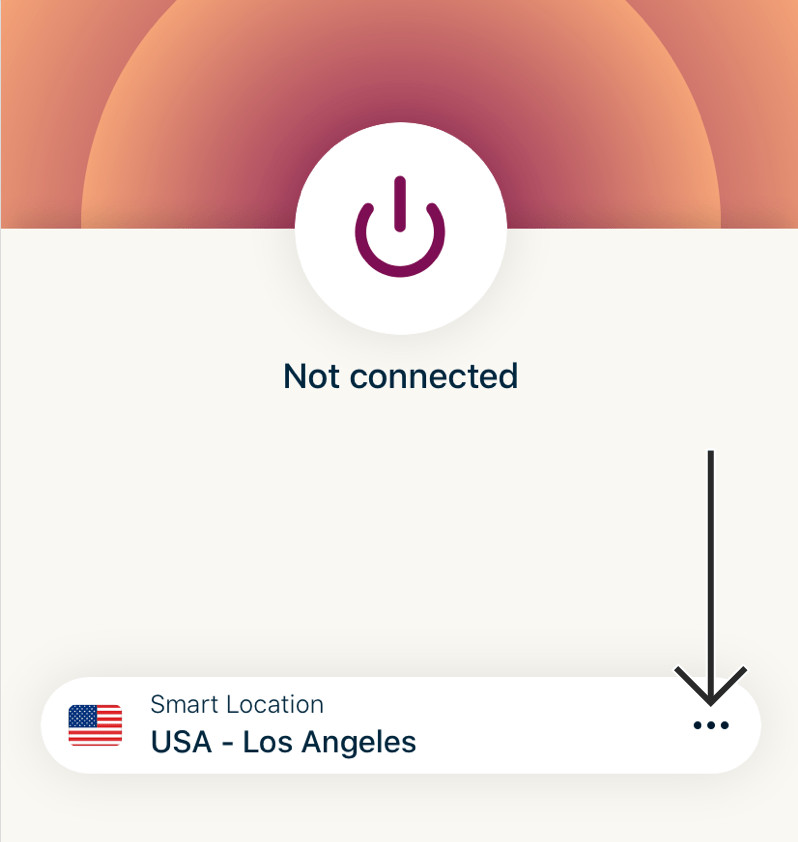
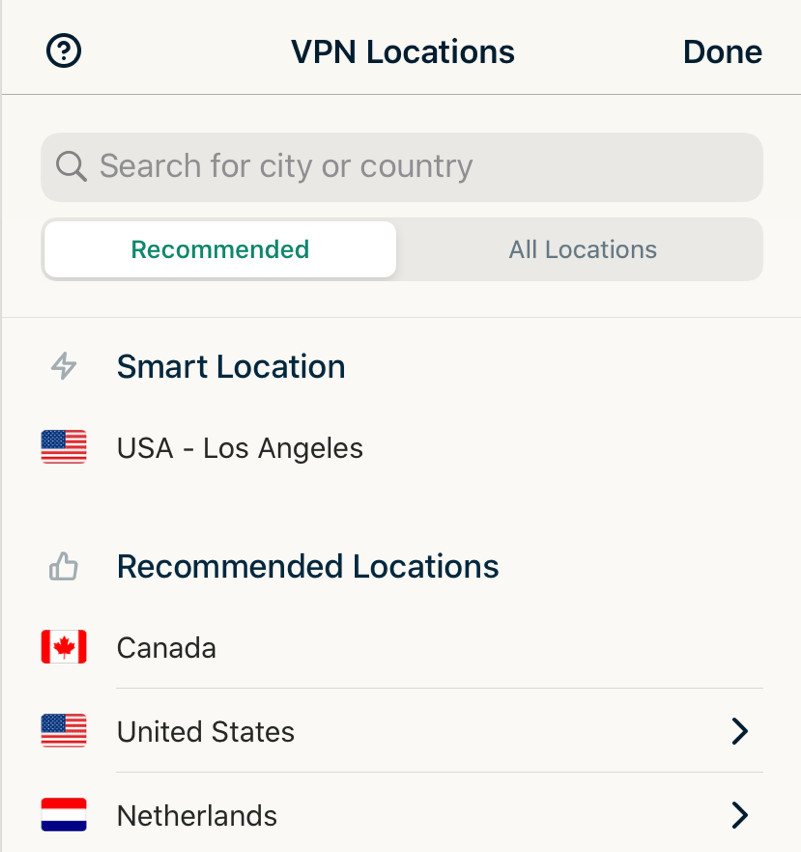
Once this is done, you’ll be able to spoof your location as being from any country that your chosen VPN service has servers in. VPN services will provide a list of their server locations, probably on their website, so if there’s a specific country you’re after, it’s best to check before signing up.
Read more:

Jon is a freelance writer and journalist who covers photography, art, technology, and the intersection of all three. When he's not scouting out news on the latest gadgets, he likes to play around with film cameras that were manufactured before he was born. To that end, he never goes anywhere without his Olympus XA2, loaded with a fresh roll of Kodak (Gold 200 is the best, since you asked). Jon is a regular contributor to Creative Bloq, and has also written for in Digital Camera World, Black + White Photography Magazine, Photomonitor, Outdoor Photography, Shortlist and probably a few others he's forgetting.
