Video editing is so much easier with AI: I explain the power of the right setup
With the right rig, AI-powered video editing can be genuinely transformative – here's how AI makes editors’ lives easier.

If you’re not using any AI at all in your video editing workflow, you might be missing a trick. Even if you’re not interested in the flashier functions like image generation (and I’ll tell you upfront that I’m not), there are plenty of productivity hacks and timesavers that AI can provide to make a real tangible difference to your editing.
However, it does require the right setup. Many AI video-editing tools like Topaz AI have quite high system requirements for their products to work effectively, and if you’re someone who has been getting by for years editing on a creaky old rig, you may have dismissed them for this reason. But putting a bit of money into a PC upgrade that enables AI functionality could give a real boost to your editing speed – allowing you to earn that money back by taking on more projects.
Here, I explain six ways that the right computer setup can allow you to make the most of AI to transform your video editing. Obviously every editor is different, and all of these points may not apply to your work – but I have a feeling at least a few of them will.
1. Save time
This is the one that underpins all the rest of the points here, but it bears underlining – a proper video editing setup, with plenty of RAM, a high clock-speed CPU and a discrete GPU, is going to make your video editing life so much easier in terms of the sheer time it saves. Being able to move multiple large clips around your timeline without the software freezing and crashing, being able to render and export projects in a matter of minutes, being able to use powerful automated functions like auto colour grading – all of it makes you a faster editor, and a faster editor is one who can take on more projects, and make more money.
2. Rescue seemingly unsalvageable footage
Footage that might once have been a candidate for immediate junking – shots that are out of focus or severely compromised by camera-shake, for instance – can now potentially be rescued, thanks to clever AI-powered tools.
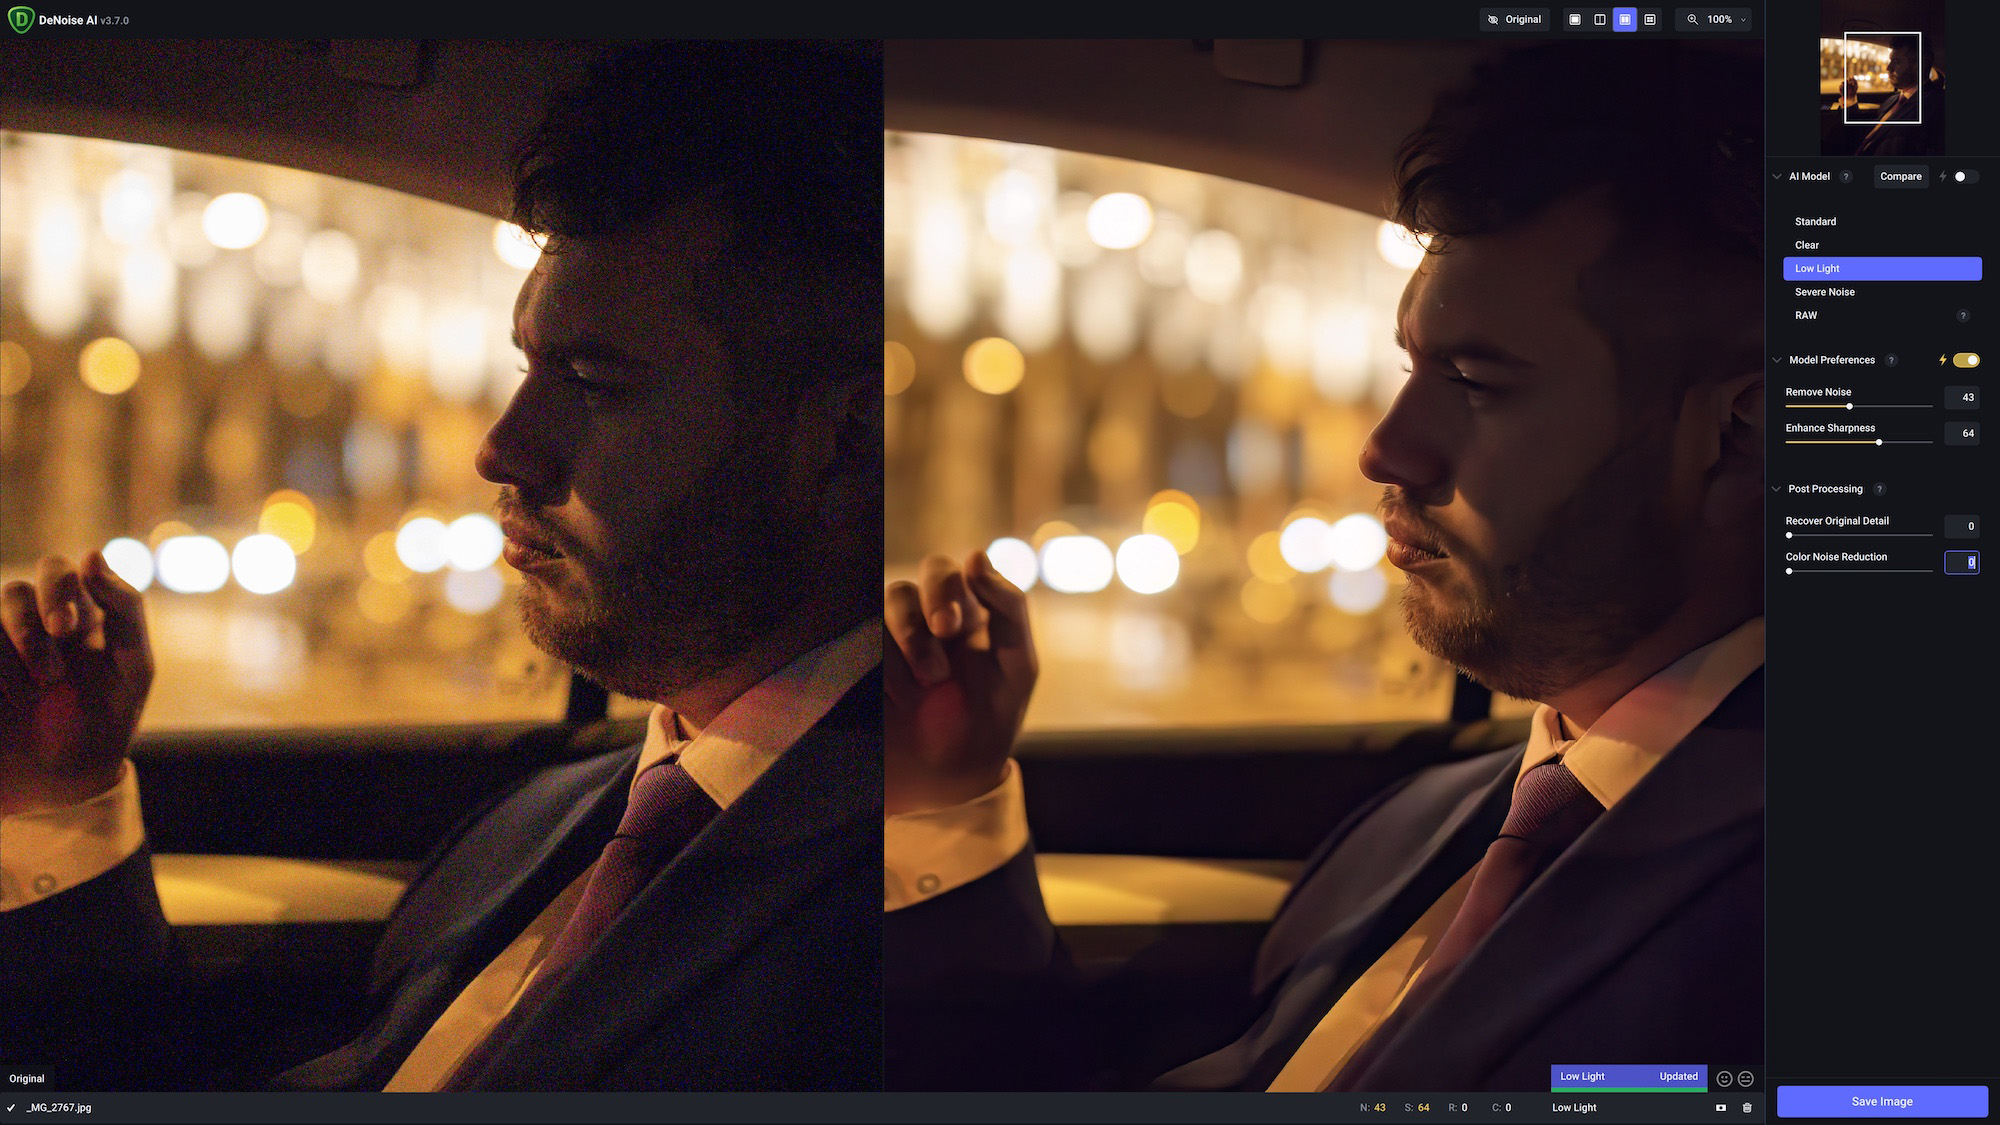
With a fast enough setup, you can take advantage of editing tools like Topaz AI’s denoising, which can intelligently distinguish between noise and detail to clean up and sharpen footage that you might previously have junked for being shot at too high an ISO. However, Topaz’s system requirements for the software recommend that you need a discrete graphics card with at least 6GB VRAM – an integrated GPU won’t cut it. So you can see how important it is to have the right setup.

Or, there’s the stabilisation functionality in programs like DaVinci Resolve, which can rescue handheld footage shot without a gimbal, and can iron out the kinks in extremely jerky camera movements to make them look like smooth, intentional transitions. Giving you more useable clips gives you more options in your edit – and more options are always a good thing.
Daily design news, reviews, how-tos and more, as picked by the editors.
3. Auto subtitle and voiceover
Video for social media is always expected to be subtitled, as many people watch it on mute – and for accessibility reasons, you should always be able to provide the option of subtitles for any video you publish.
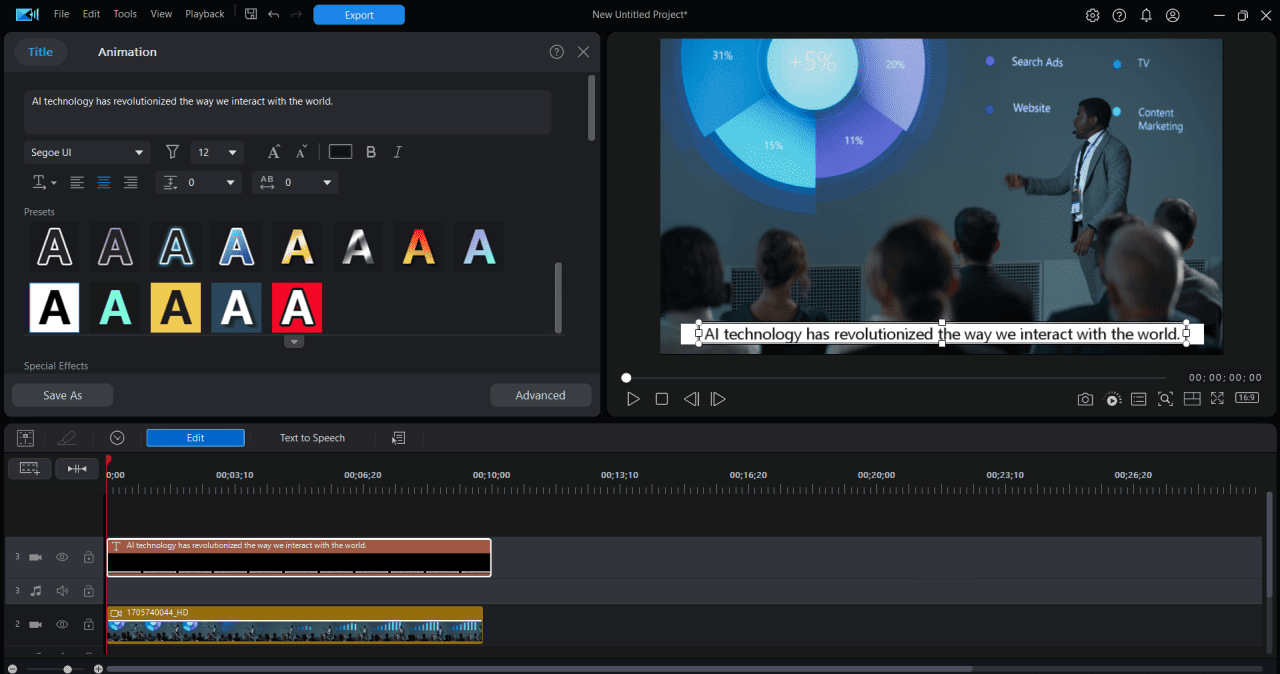
AI tools have made subtitle production much easier, with the ability to automatically transcribe speech and auto-generate the subtitles ready for adding. While these will never be perfect, and you always need to check them, the process is much faster than manual transcription.
Things can also run in the other direction – you can use AI to turn speech into voiceover, with for example Canva’s AI voice generator. While I wouldn’t use this tool to replace a human voiceover, it can be a great way to again improve the accessibility of your video by providing an option for audio description.

4. Upscaling and speed change
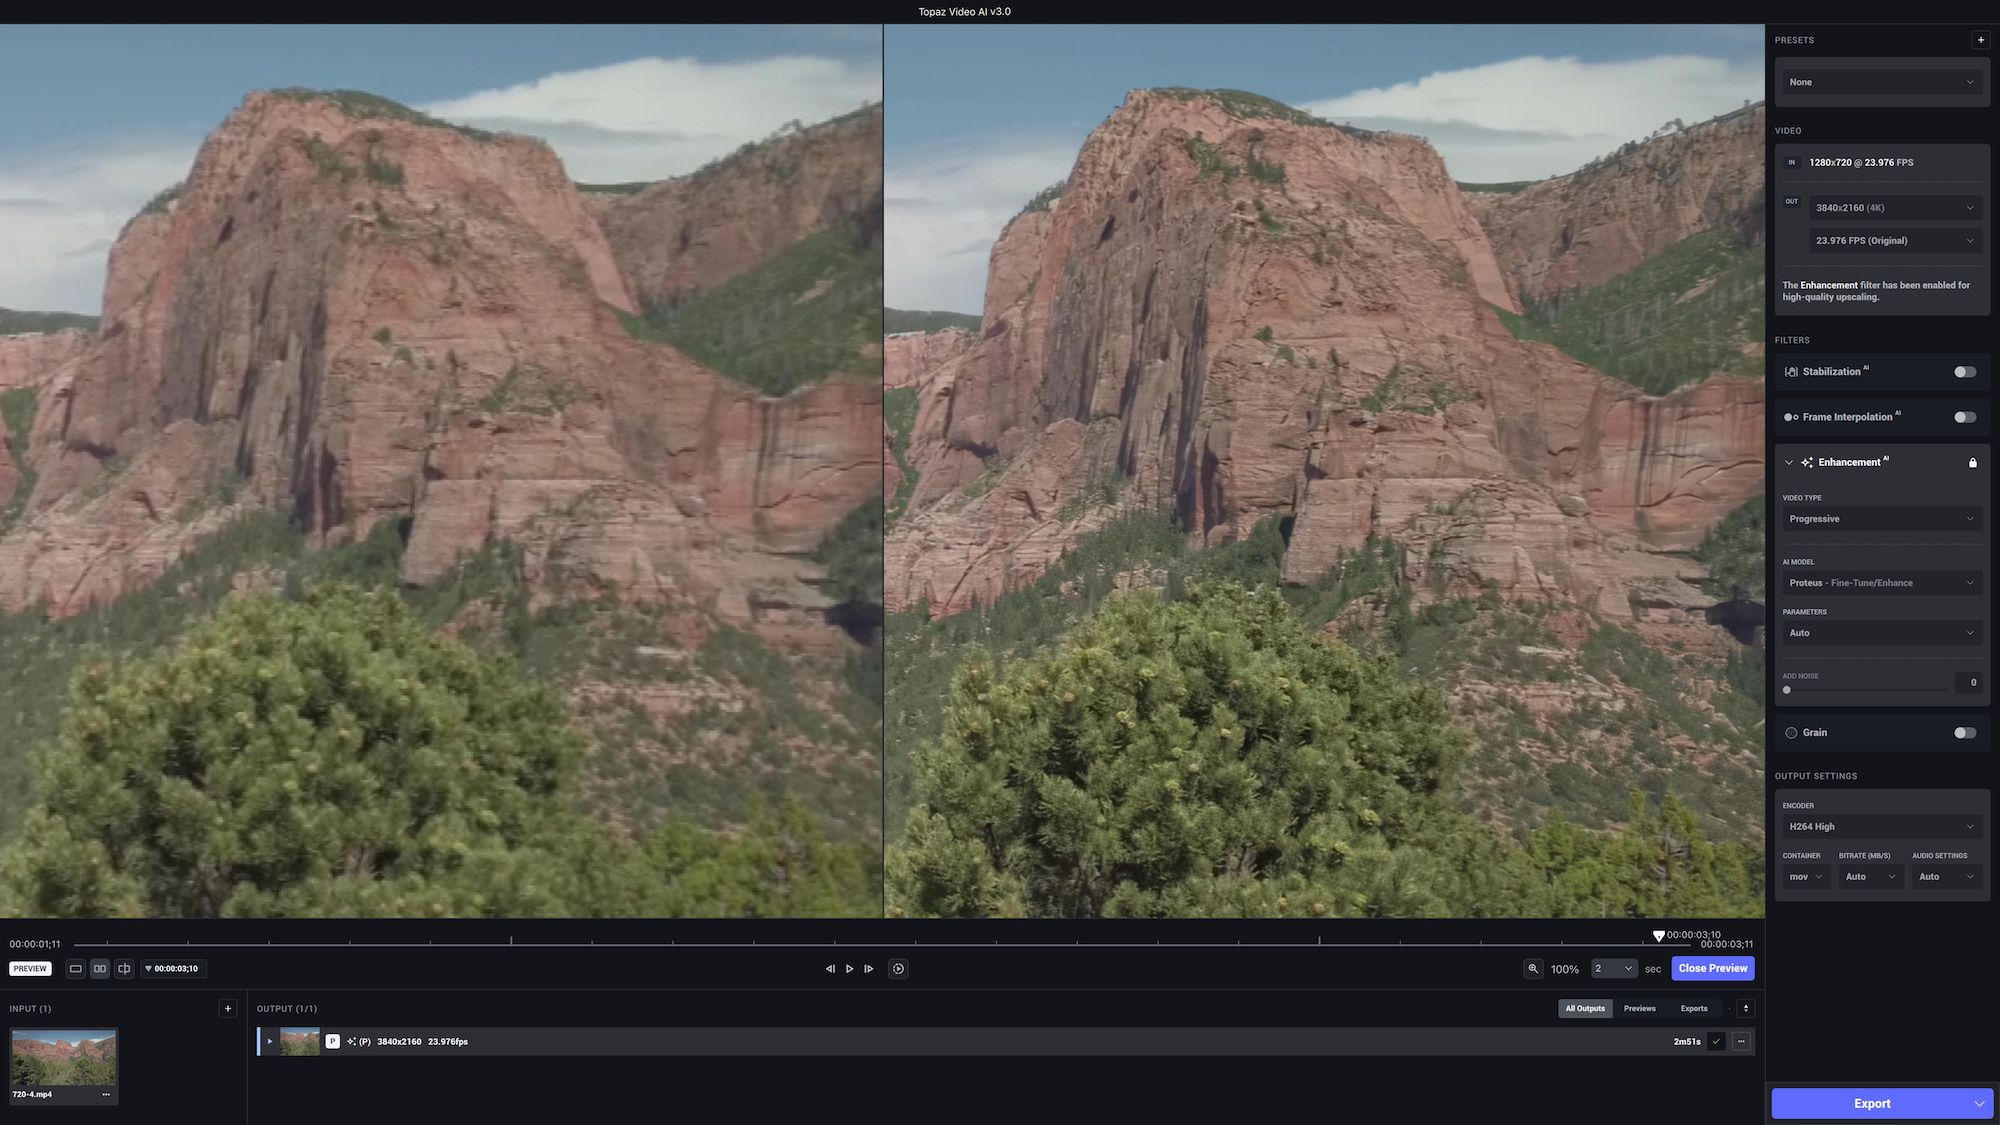
Upscaling – i.e. increasing the resolution of content – was the sort of thing that until recently seemed like science fiction (“Enhance!”). However, AI has made it into a reality, with tools like Topaz AI being able to improve the resolution of footage by generating additional pixels.
Modern video is expected to be at a minimum resolution of 1080p, with 4K being preferable, and if you’ve got footage that’s beneath that threshold, AI upscaling can help it reach the required standard. DaVinci Resolve’s SuperScale has also recently been upgraded to deliver 3x or 4x enhanced upscaling of footage.

Using similar tech, AI can also be used to convert footage to slow-motion. Slow motion video is simply video shot at a higher frame rate, after all, and AI can be used to generate additional frames in between the existing ones to slow things down. Many modern editing programs now have this functionality, including downloadable programs like CyberLink PowerDirector, or online editors like Veed.
5. Auto masking
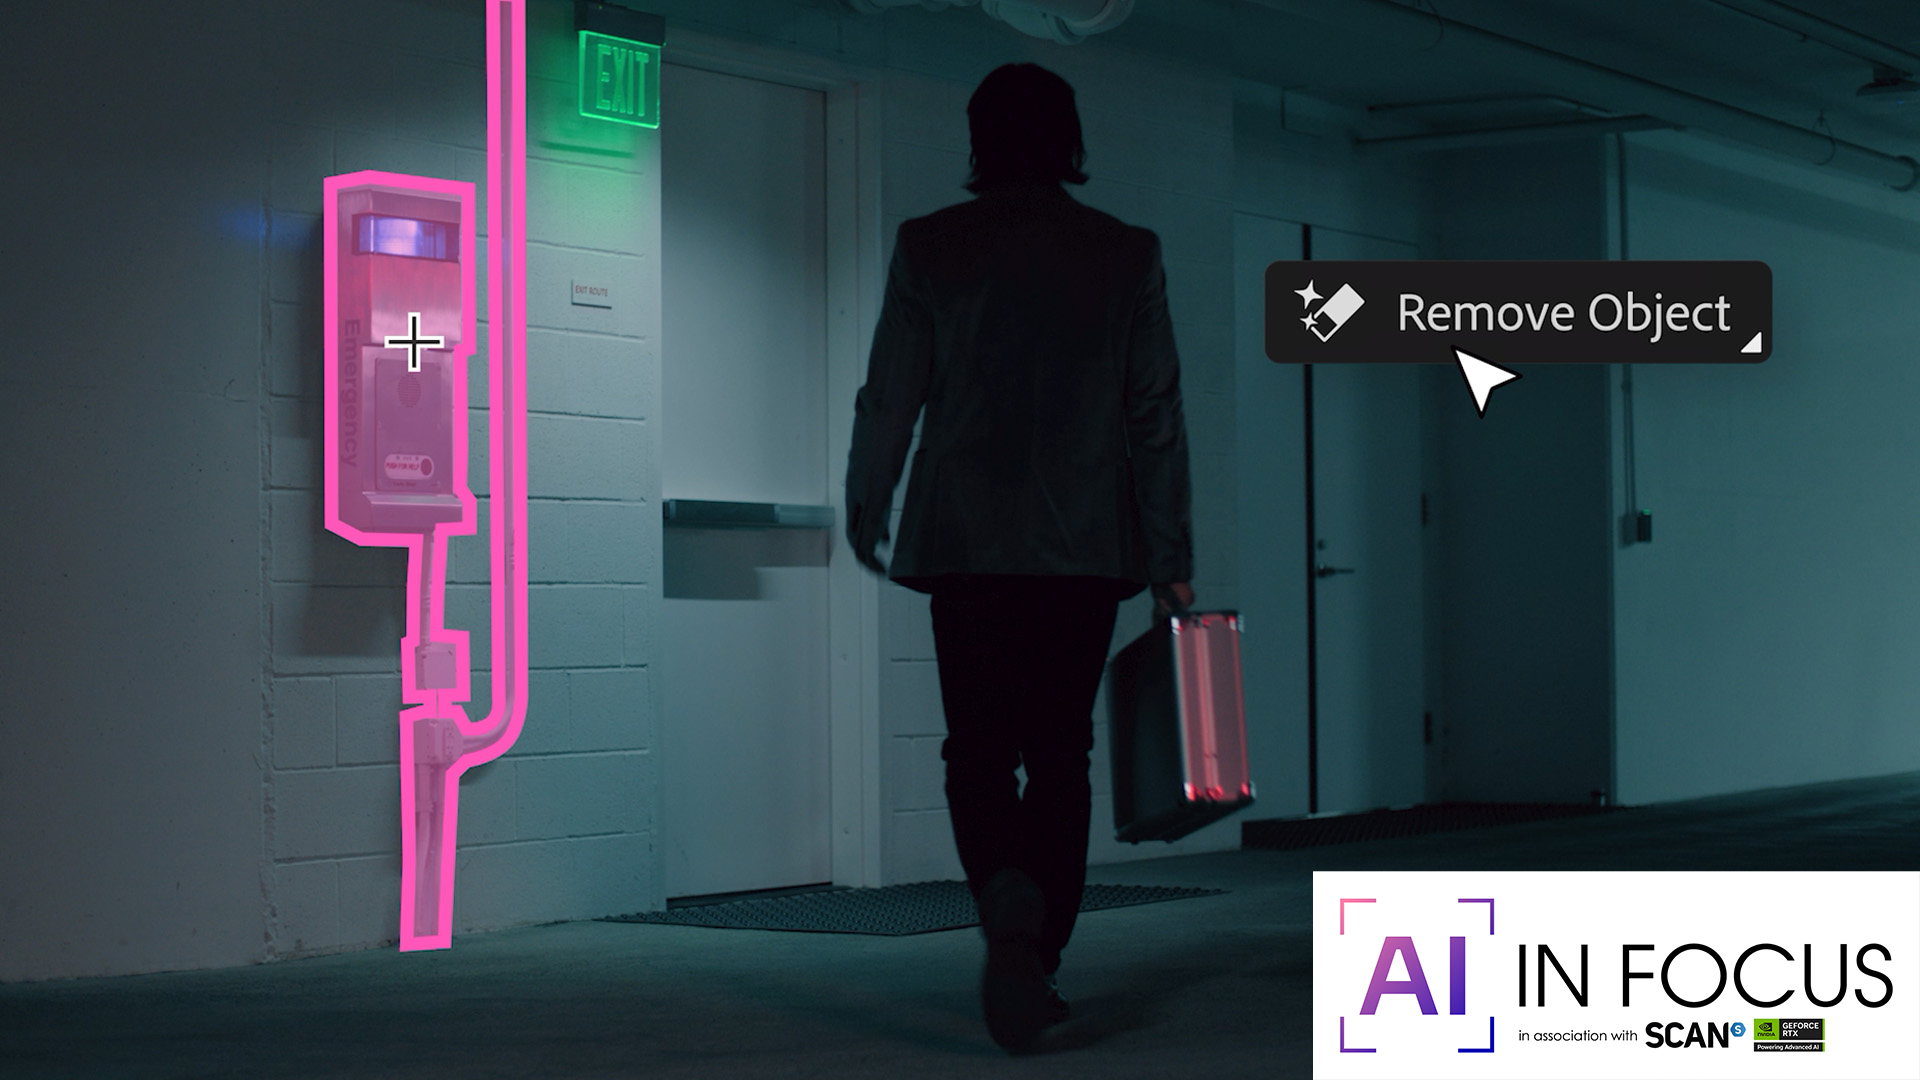
Masking is the technique used in video editing to select the specific area in a clip that you want to edit with a visual effect. For instance, if you wanted to blur out a person’s face, you’d likely use an ellipse mask to select the face, then blur it. This is simple enough, but masking can be much more complex and time-consuming – which is why it’s so exciting to see AI-powered auto masking tools starting to take shape.
Programs like PowerDirector, Premiere and Resolve now incorporate intelligent masking tools that can identify and select specific objects or subjects for masking, even in a busy scene. This makes it easy to add an effect to a specific person or object, even if they move throughout the clip in a complex manner.
6. Smart reframe
A common part of a video editor’s job nowadays is cutting the same video for different aspect ratios. TikTok video needs to be vertical, longform YouTube video needs to be horizontal – it’s all easy enough, but it can be time-consuming. An intelligent AI-powered tool like DaVinci Resolve’s Smart Reframe takes a huge amount of the work out of this, as it can detect the subject of your clip and automatically position them in the centre of the frame.
If they move, it’ll follow them, which is hugely useful for vertical video especially as you have quite a narrow field of view to keep your subject inside (not to mention an audience looking for any excuse to swipe away). You can also manually set your own reference point rather than relying on the auto-detection – useful if it’s something unusual.

Jon is a freelance writer and journalist who covers photography, art, technology, and the intersection of all three. When he's not scouting out news on the latest gadgets, he likes to play around with film cameras that were manufactured before he was born. To that end, he never goes anywhere without his Olympus XA2, loaded with a fresh roll of Kodak (Gold 200 is the best, since you asked). Jon is a regular contributor to Creative Bloq, and has also written for in Digital Camera World, Black + White Photography Magazine, Photomonitor, Outdoor Photography, Shortlist and probably a few others he's forgetting.

