
You need an area of negative space in your image for the dappled light to play. If your composition is very busy, it's hard for this lighting effect to be a focal point. So having a relatively nondescript surface, whether the ground or something else, creates a canvas for this lighting effect to play out on.
In this case, I compose a jungle scene and deliberately leave a chunk of rock for the light to play on that's low on detail and also low in value – it’s very light so I can easily apply shadow to it to begin establishing my dappled illumination.
The leaves and branches of the trees act in the same way that a gobo does on a stage light. This is an opaque mask that, when placed over the lens of a stage light, makes the light create a specific shape. Here, it's a group of shapes that are created by light passing through the trees.
Watch the full tutorial
It's vital to note that there's plenty of light bouncing around in this type of environment and lighting scheme, so the shadows in your dappled light should never become too dark; there will always be secondary light sources flooding your areas in shadow.
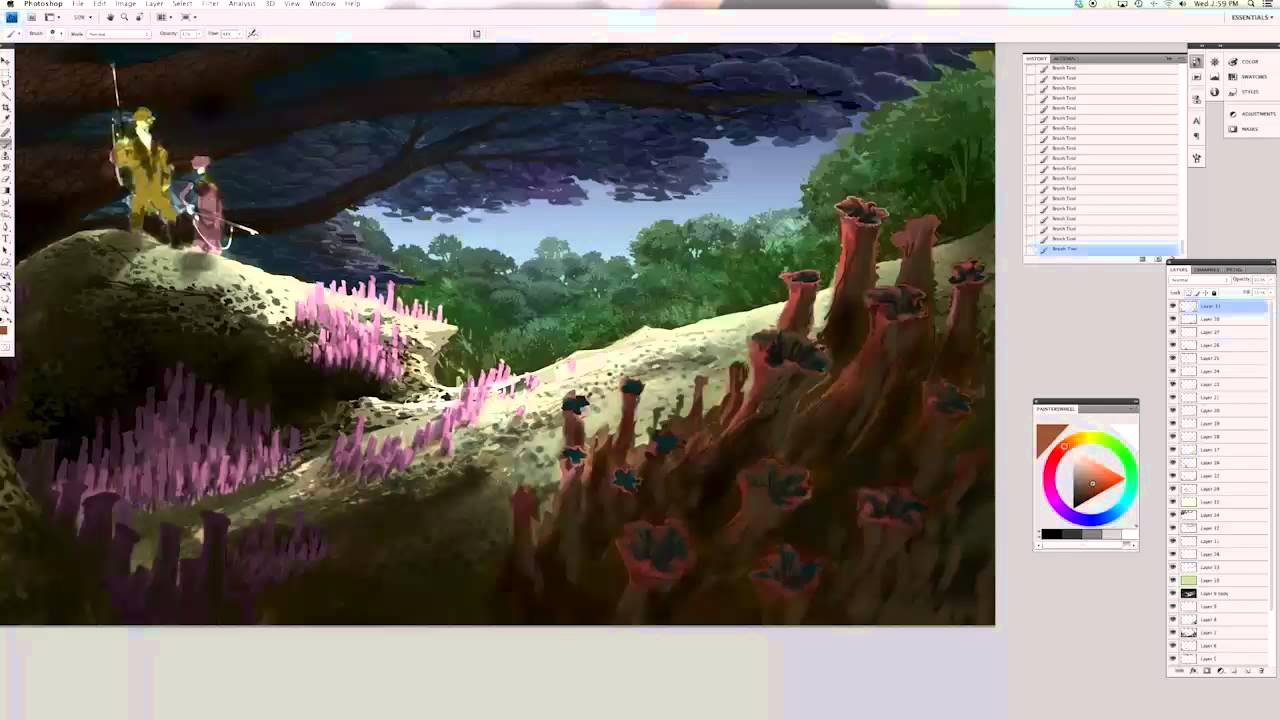
01. Use the multiply tool

I begin by using a Multiply layer to create a mottled group of shadows that more or less create the effect of light shining through vegetation and hitting the ground; this establishes the shadows in the scene quickly without a huge amount of brushwork. It's also another opportunity to give the ground plain contour, texture and shape.
02. Work subtractively

I use the Eraser tool to work subtractively. To make the shapes of the shadows and the highlights that they contain more interesting, I knock more negative shape into them and remove some of the shadow shape. I soften some edges so that the pools of light are more diffused; the objects casting the shadows are far away from where they're falling.
03. Develop highlights

By selecting the contents of my Multiply layer and then inverting my selection, I develop a selection of the corresponding highlights. And by painting some lighter tones and colours into a hard light layer, I boost the brightness of these hot spots and create more contrast between light and dark and, subsequently, more visual interest.
Words: Jonathan Standing
Jonathan Standing is an illustrator and concept artist. This article originally appeared in ImagineFX magazine issue 118.
Like this? Read these!
- How to get started with ink drawing
- Get the best free vector art for your projects
- Stunning examples of geometric patterns
- Top examples of experimental design
- Want print perfection? Get these InDesign tutorials

