3D rigging: all you need to know to get started
Get your head around 3D rigging with these key elements.

Daily design news, reviews, how-tos and more, as picked by the editors.
You are now subscribed
Your newsletter sign-up was successful
Want to add more newsletters?

Five times a week
CreativeBloq
Your daily dose of creative inspiration: unmissable art, design and tech news, reviews, expert commentary and buying advice.

Once a week
By Design
The design newsletter from Creative Bloq, bringing you the latest news and inspiration from the worlds of graphic design, branding, typography and more.

Once a week
State of the Art
Our digital art newsletter is your go-to source for the latest news, trends, and inspiration from the worlds of art, illustration, 3D modelling, game design, animation, and beyond.

Seasonal (around events)
Brand Impact Awards
Make an impression. Sign up to learn more about this prestigious award scheme, which celebrates the best of branding.
3D rigging, like other CGI techniques, can be confusing to newcomers. This guide aims to break it down so that every artist can learn how to rig a 3D model.
A lot of time creating 3D art is spent on how the shell of an object looks. This is great for stills, but when animating, it is just as important to concentrate on where the movement comes from. For most objects, creatures and characters, this is from within.
There is no getting around the fact that rigs are one of the most complex systems in CGI, and like most tools in CGI there is not, unfortunately, a unified workflow between the major applications (see our list of the best 3D software).
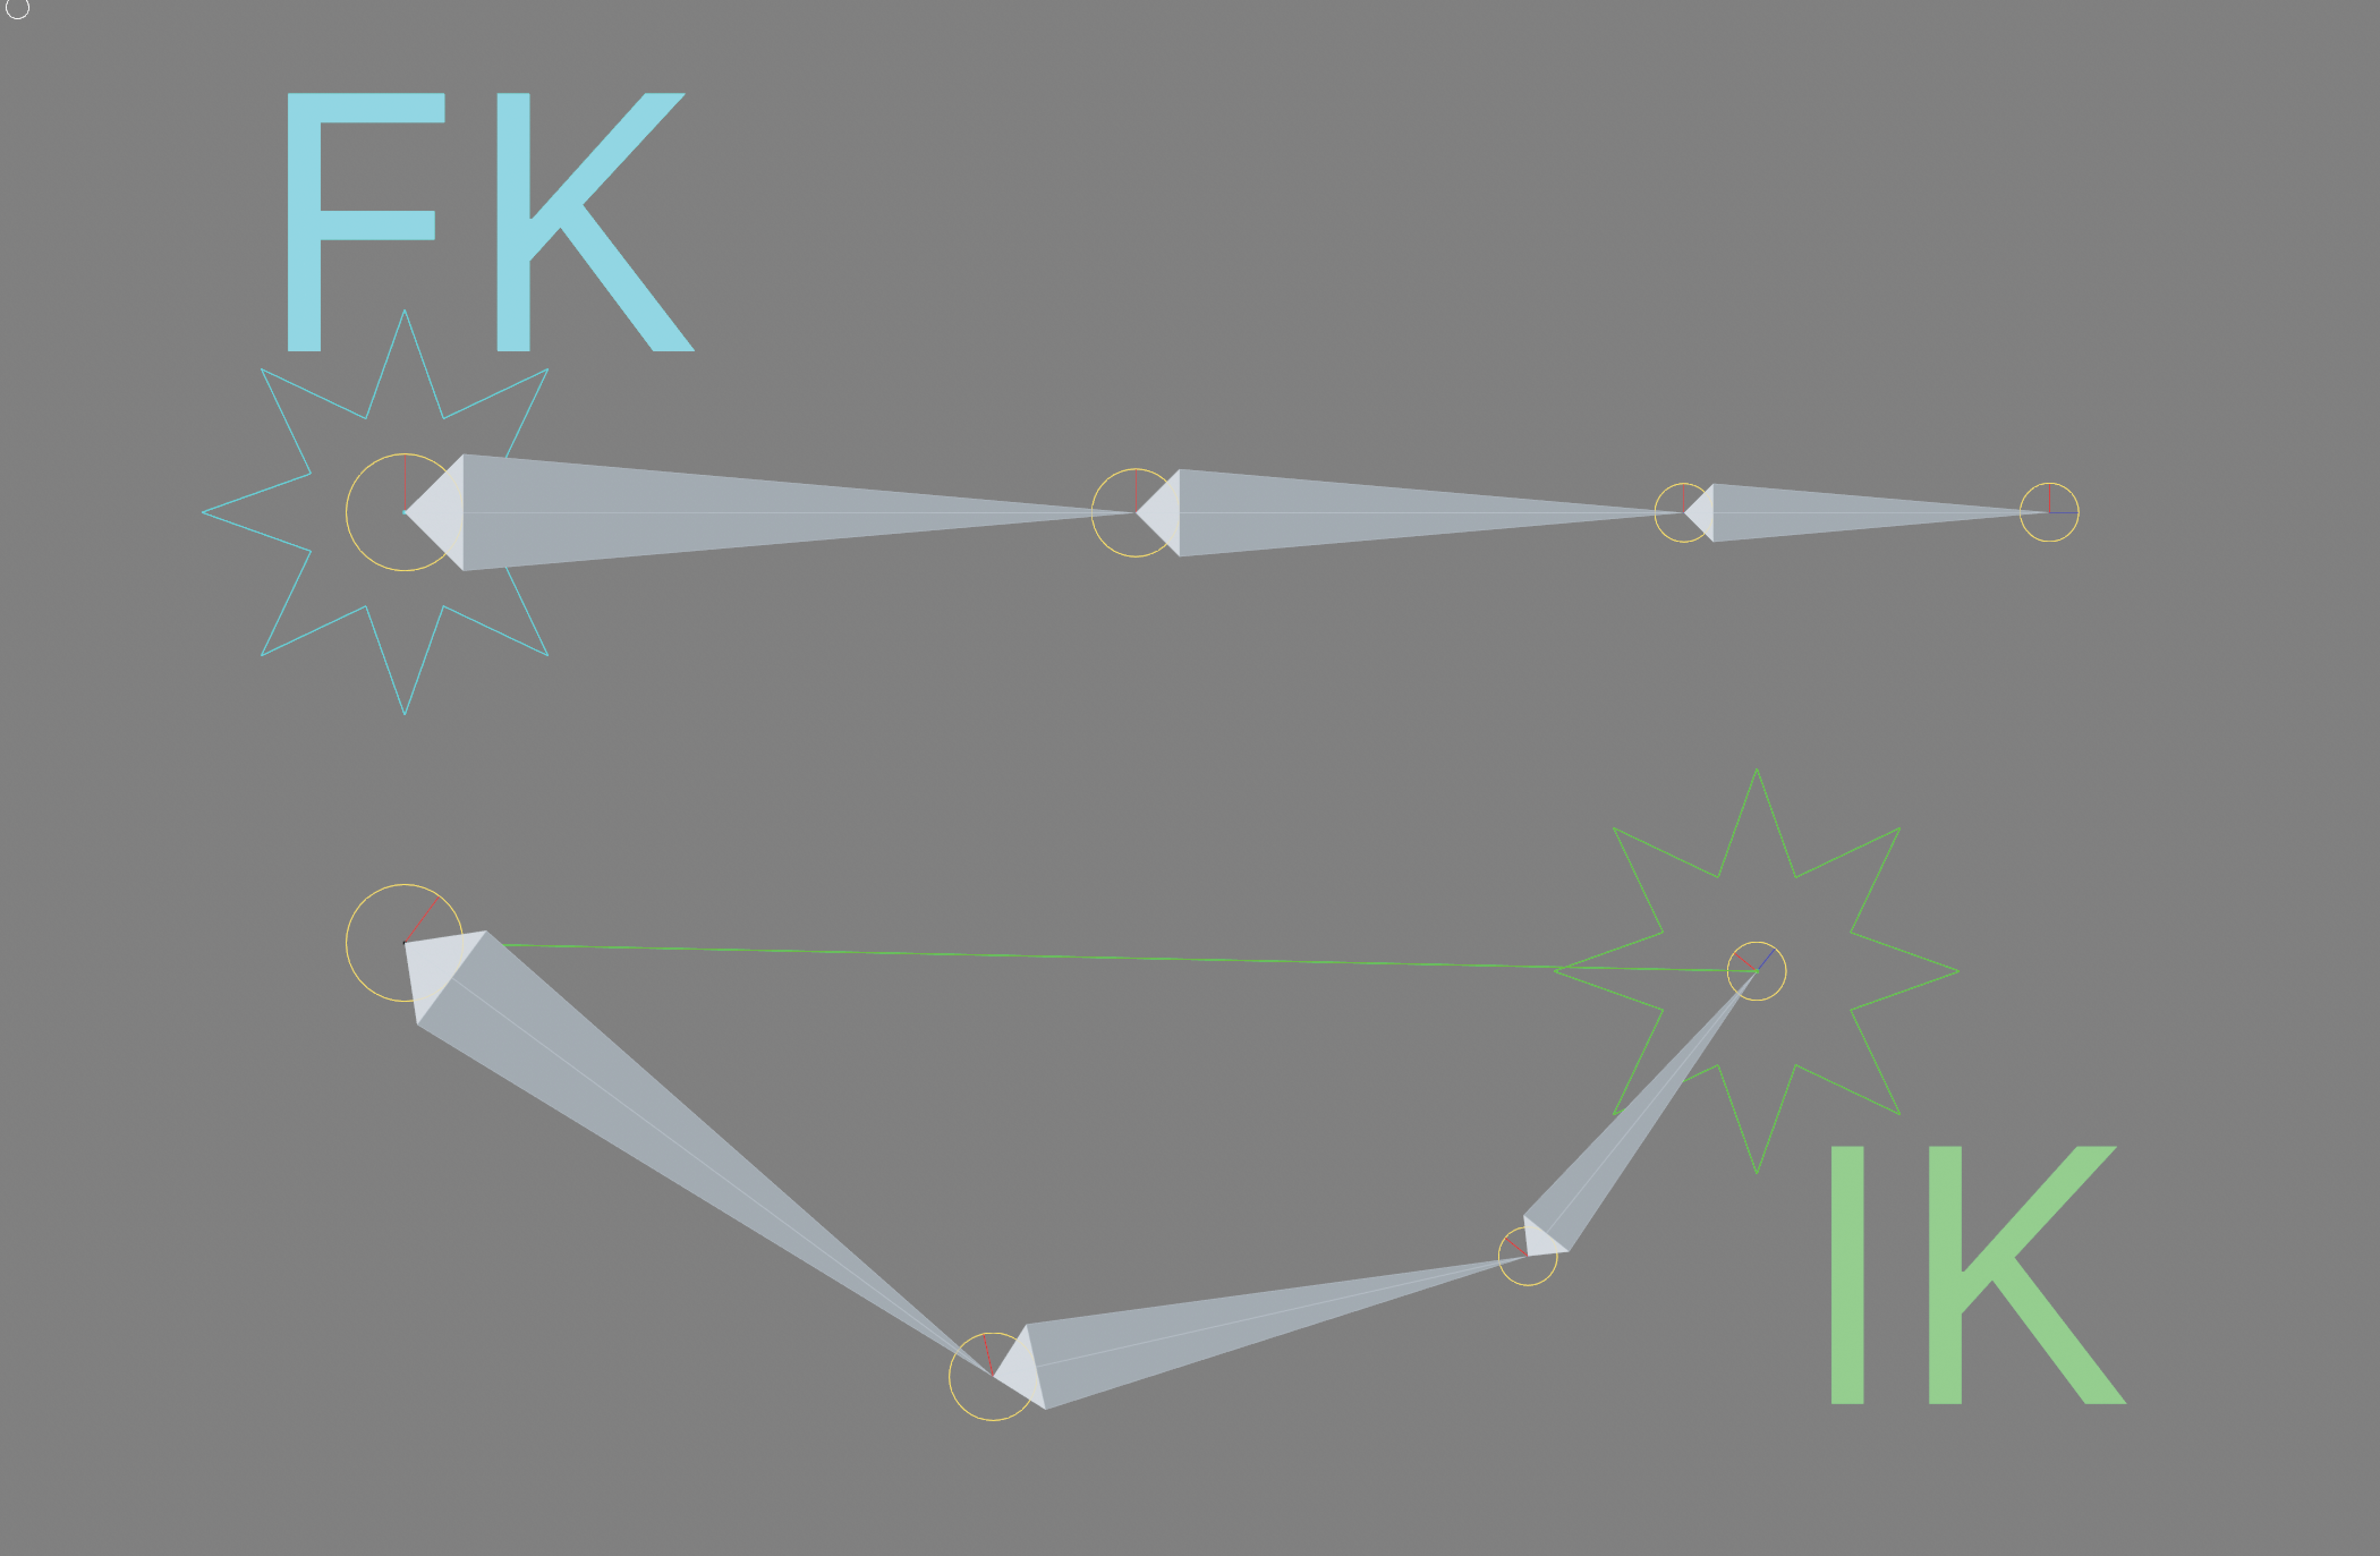
That being said the principles of animating a rig are reasonably similar, and processes like forward kinematics (FK), where a joint chain animation originates from the base joint (such as the shoulder of an arm), and inverse kinematics (IK), where the animation of an arm would originate from the tips of the fingers, are universal principles that can be applied across applications.
Let’s take a look at some more of the basics of 3D or animation rigging.
What is 3D rigging?

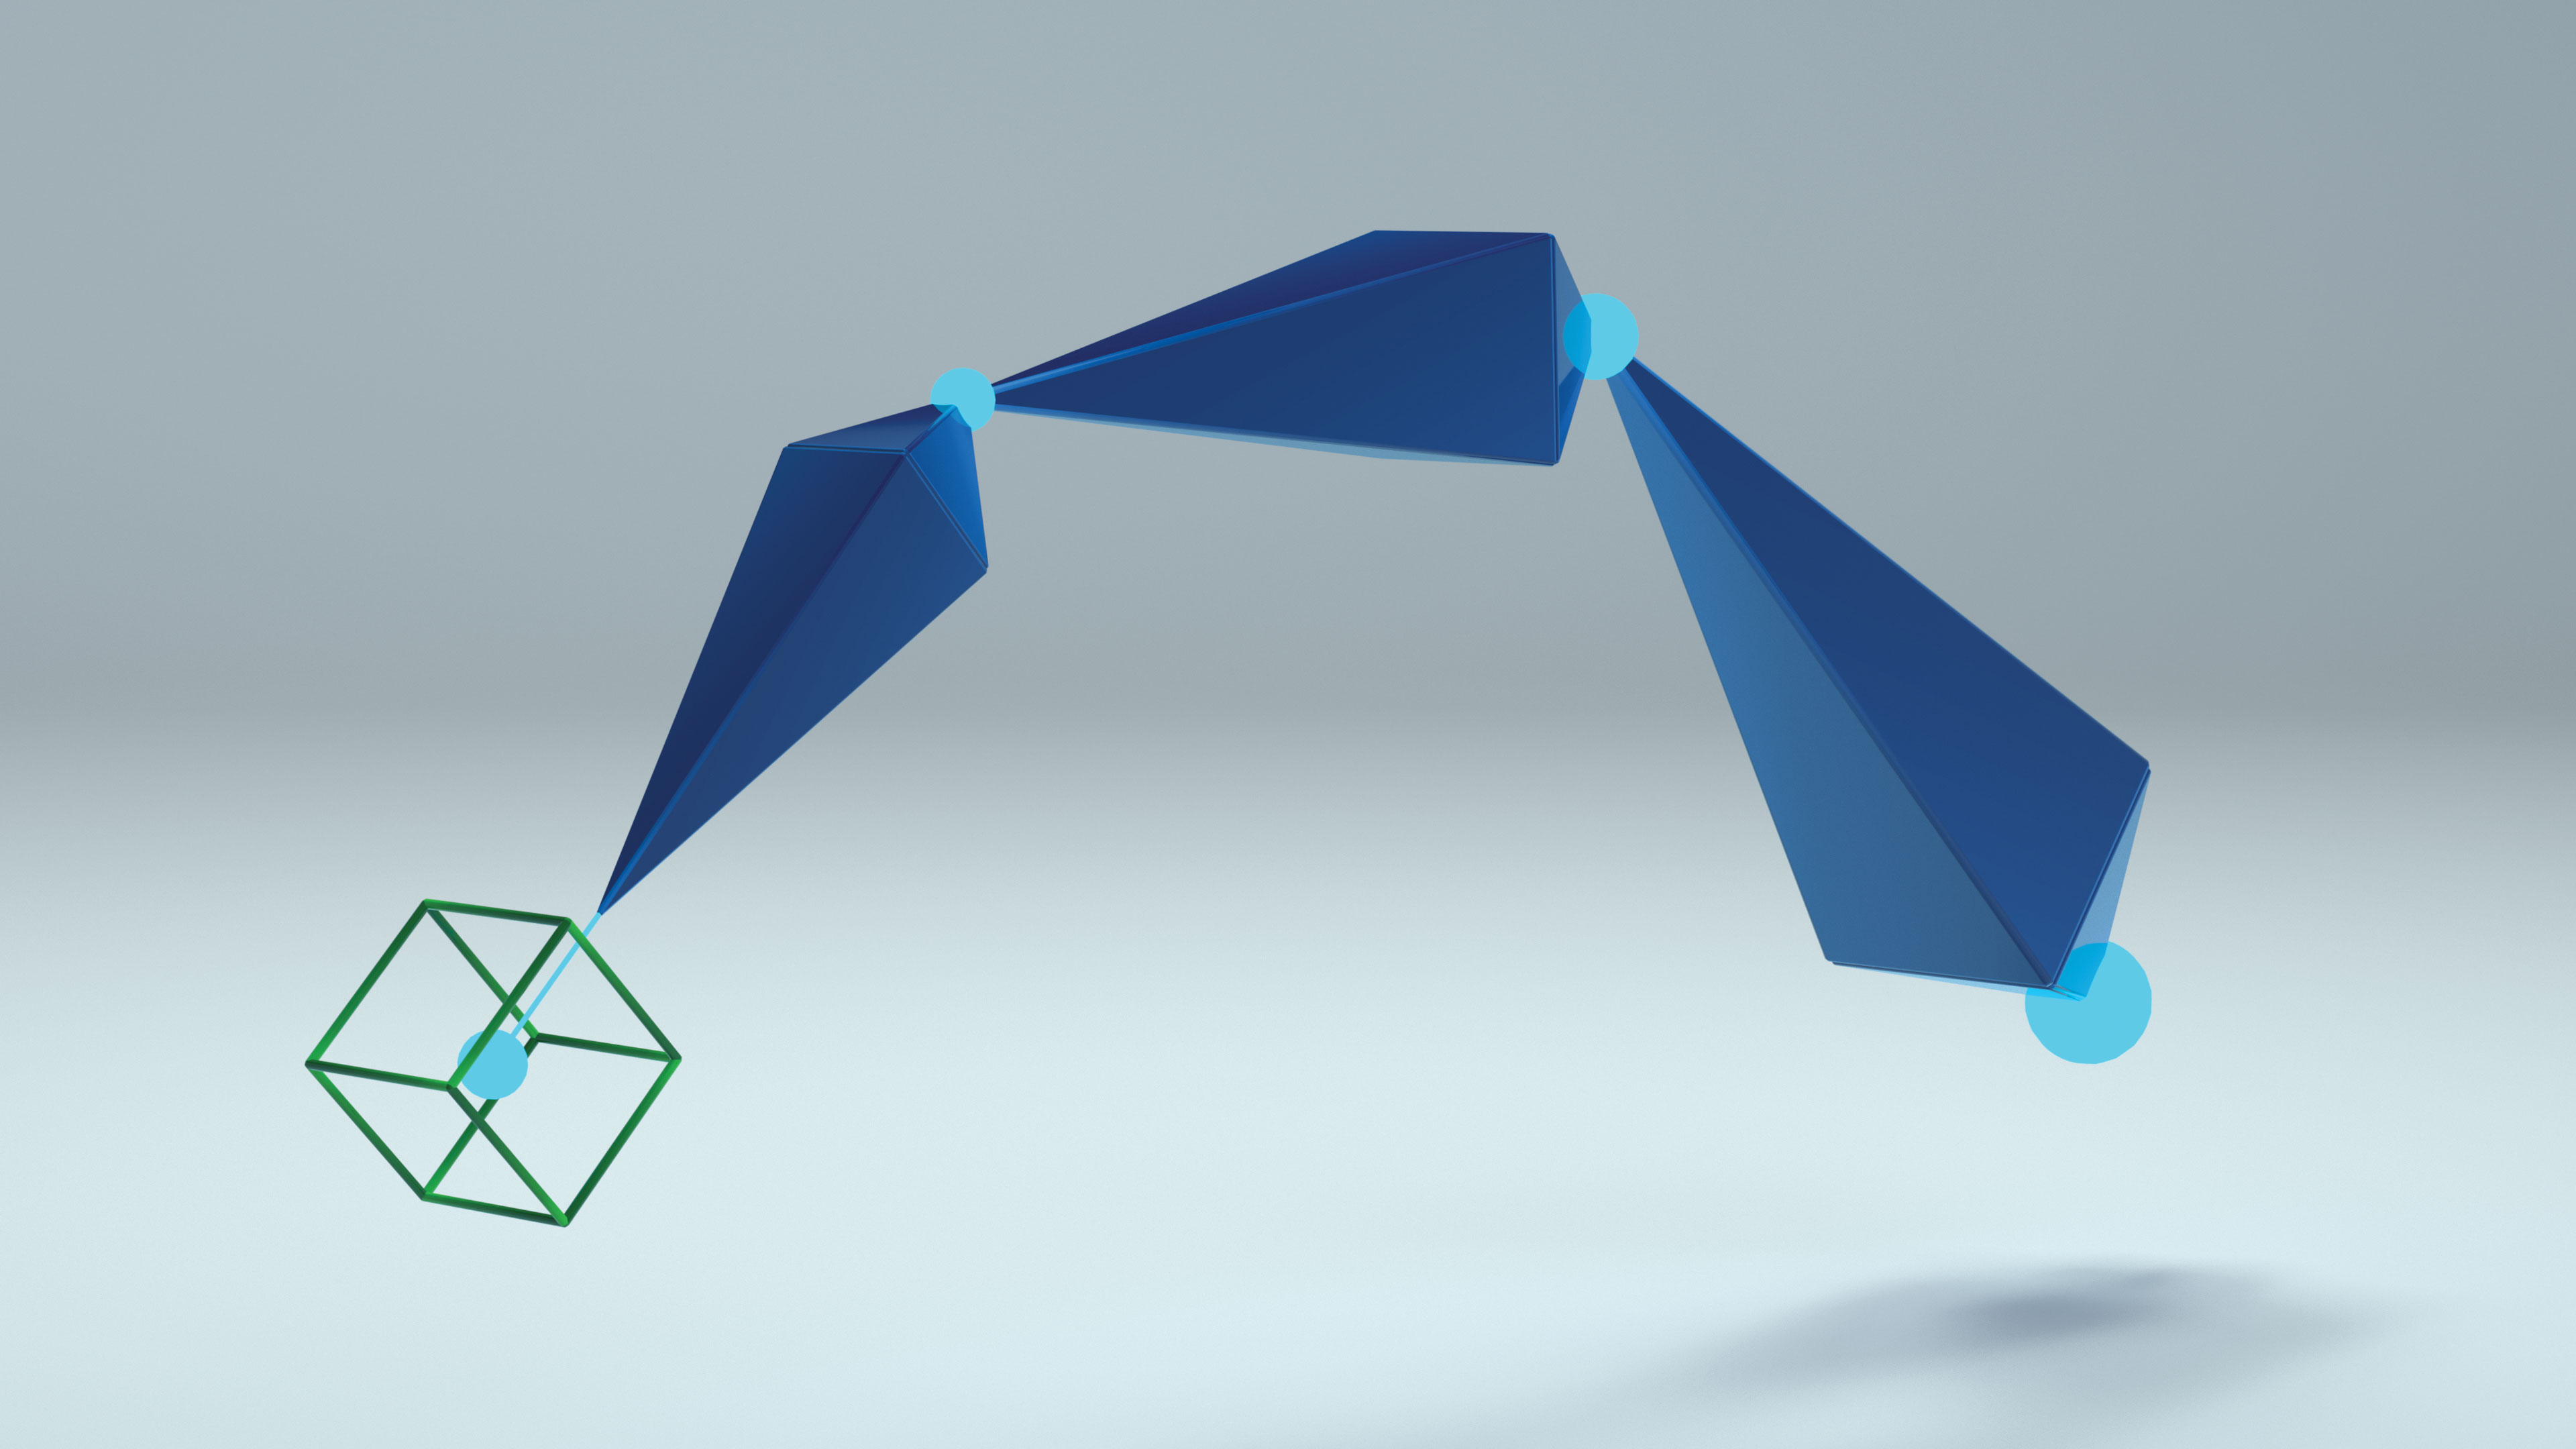
3D rigging is in effect the process of creating an invisible skeleton that defines how an object moves. An animation or 3D rig usually comprises a system of ‘invisible’ objects that can be seen in a 3D viewport but not in a final render.
At the most basic level, these objects are nulls/groups and joints. Joints are objects that essentially act as the bones of the skeleton, where the nulls/groups/ targets act as the cartilage to define the range of movement. Nulls can also create controllers that are tied to specific objects within a skeleton, to allow an artist to move and control elements much more easily than actually trying to select the specific points themselves.
Daily design news, reviews, how-tos and more, as picked by the editors.
When parented correctly, a joint and null system creates a logical way of moving elements, and when this system is bound to an organic mesh it can create a convincing range of movements. 3D rigs can work just as well with hard-bodied systems such as cars, where controllers can be an invaluable part of an animation setup.
Rigging a character
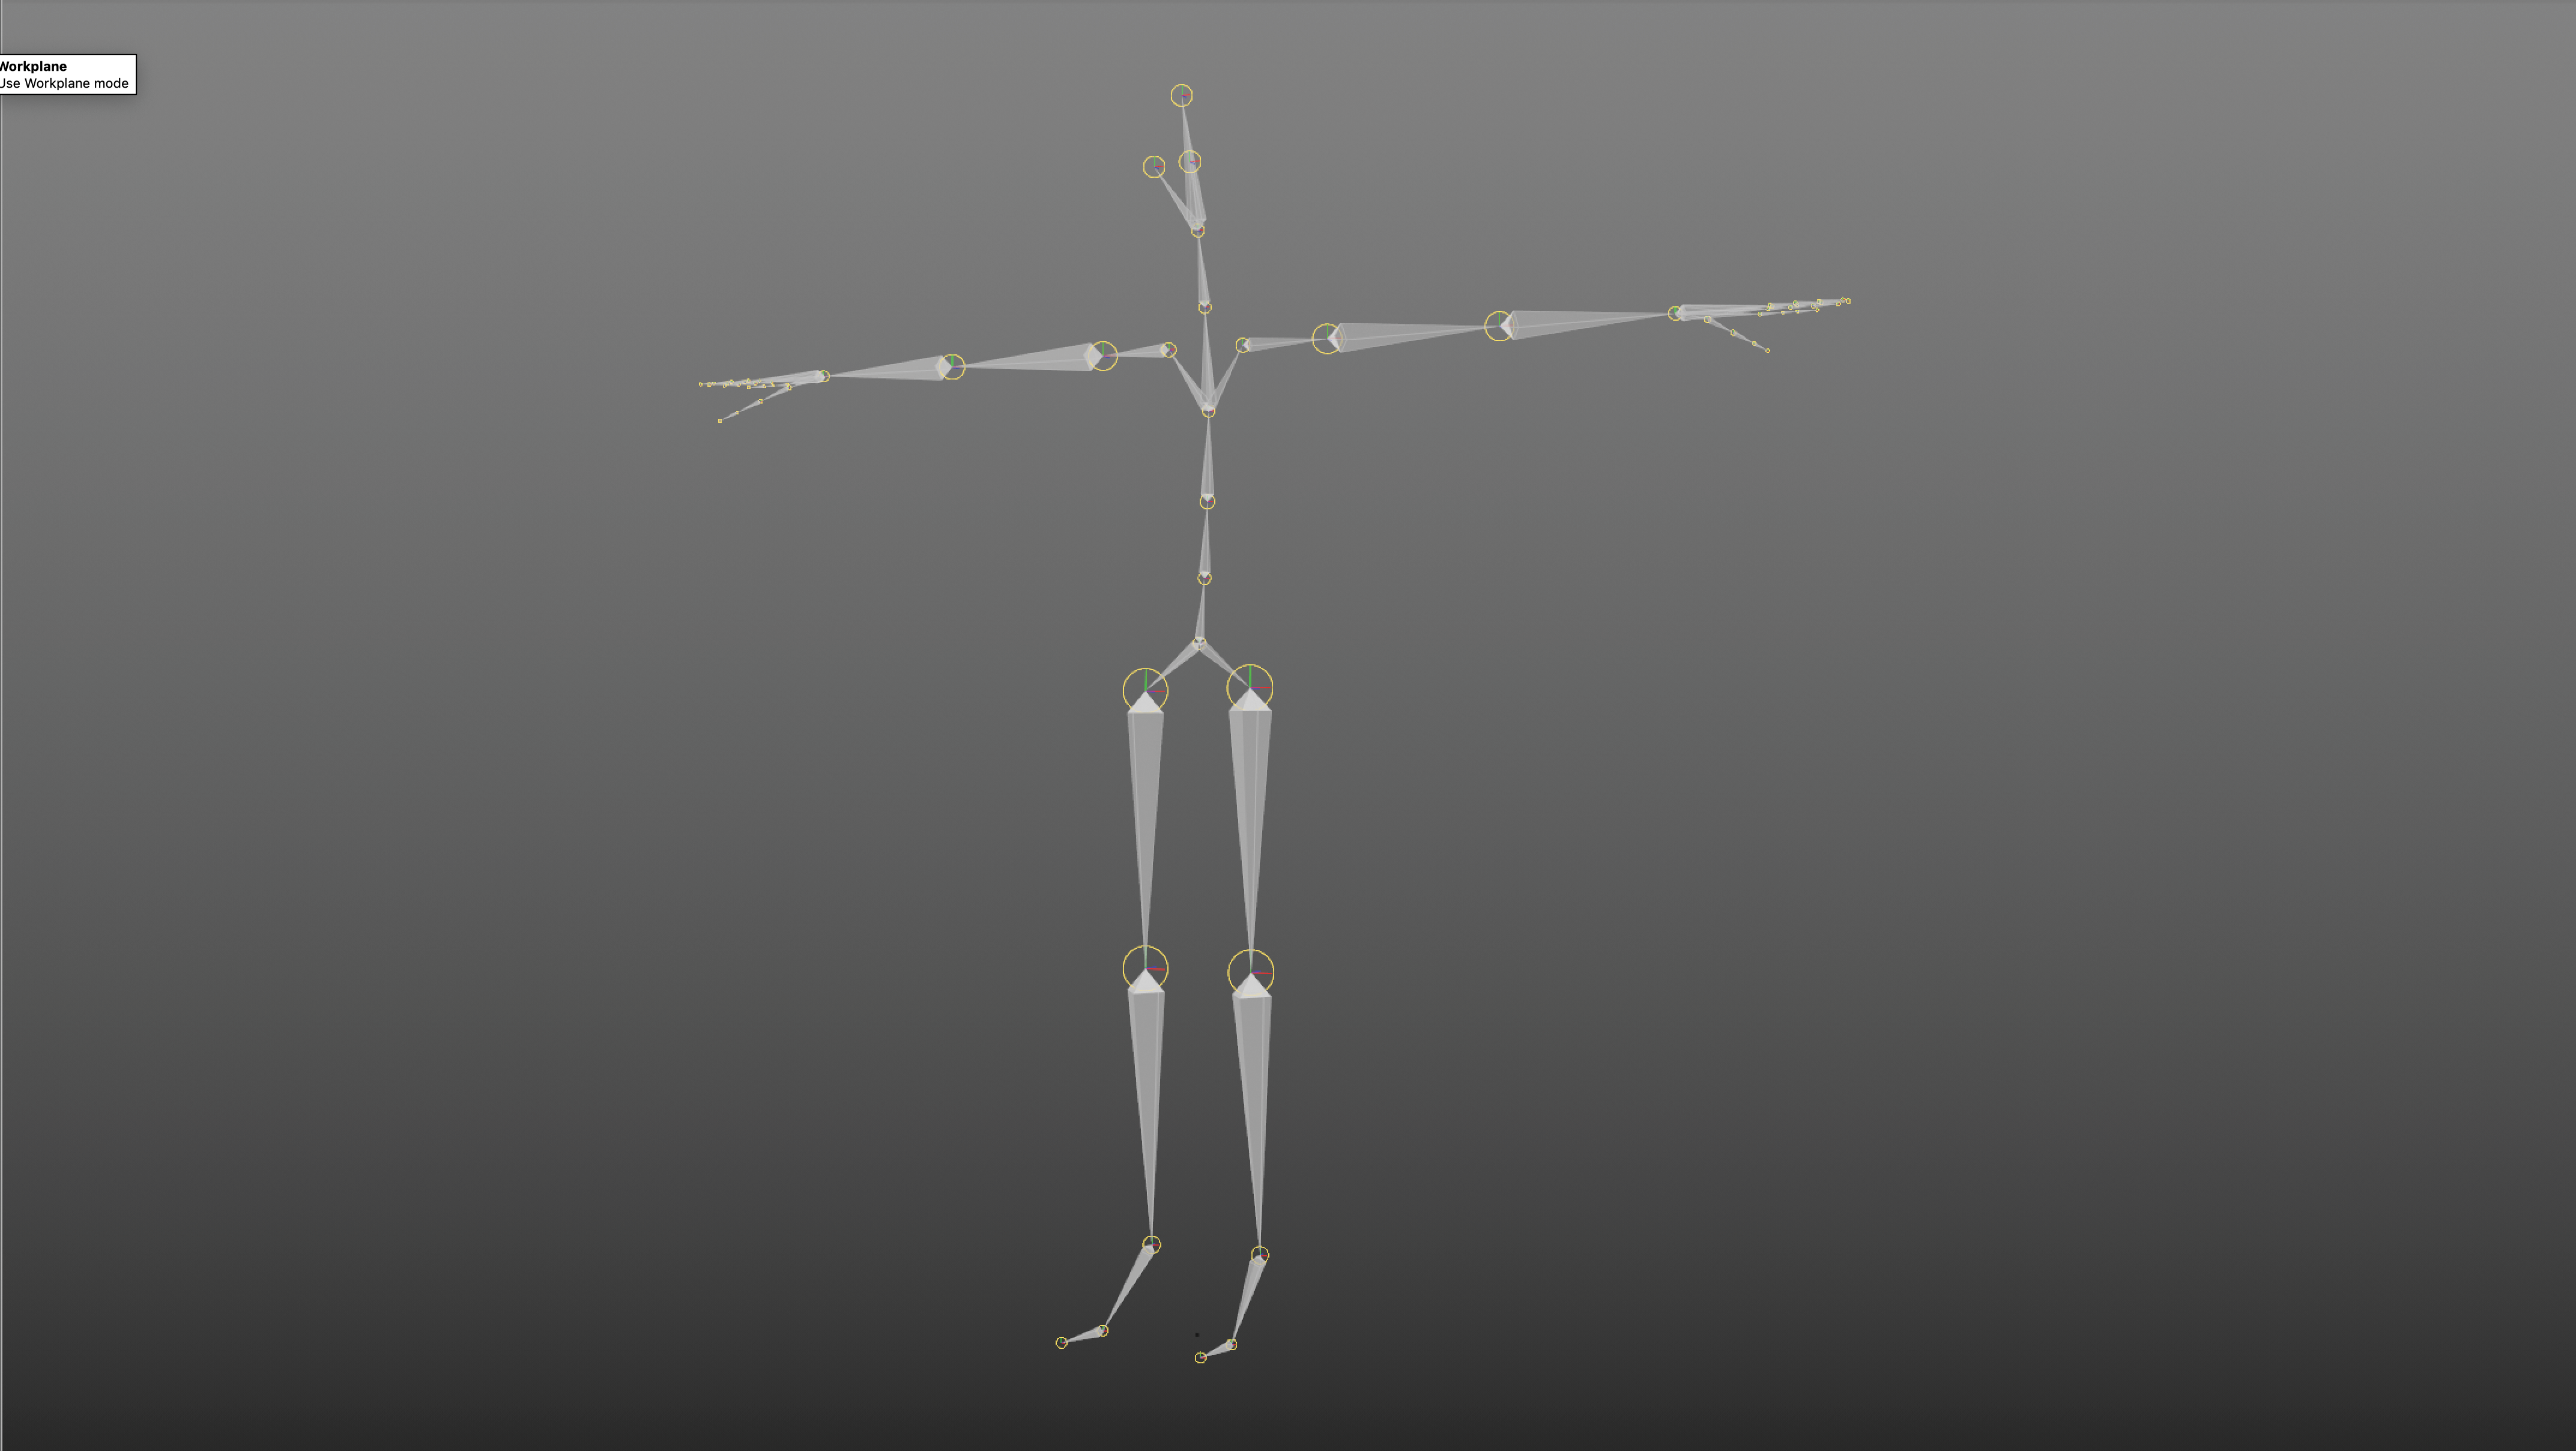
A typical animation/3D rig for a humanoid form will consist of parented joints or bones, which act as a basic skeleton.
These joints are controlled by a series of nulls that allow an artist to manipulate the model in a more logical fashion than by animating each joint. Always remember when rigging characters to have the model and rig in a neutral pose, such as a T-pose.
Creating hard-body rigs

Hard-bodied objects can be animated with a rig as well, but this depends on a logical parenting of objects and control nulls. While joints can be used, they tend not to be used as much in hard-bodied rigs.
A good example of a hard-bodied rig is a car rig, such as the one shown for Cinema 4D by Ahmed El-Hofy (above) that provides a single control for steering and spins the wheels at the correct speed. These sort of rigs can be as complex or as simple as required by the need of the shot.
Binding a mesh

After creating an animation rig, it is not always obvious how to connect it to the geometry that needs to be animated.
This is not achieved by just parenting an object, the mesh needs to be attached via a binding process where the 3D applications apply the rig to various elements throughout the rig, which can be modified after the binding process through weights and constraints. These controls differ between each application, but the underlying process is the same.
Inverse and forward kinematics

These define the direction a rig works in when it is being animated. Forward kinematics are the most logical for newcomers, controlling the movement of the rig from the base joint in the process, such as the shoulder or hip joint.
Forward kinematics can require a lot of work if a character needs to sit, whereas with inverse kinematics creating a sitting animation is easy – the rig is controlled by the end points such as the feet or hands, and works backwards through the rig.
This article was originally published in issue 247 of 3D World, the world's best-selling magazine for CG artists. Buy issue 247 or subscribe to 3D World.
Related articles:

Mike Griggs is a veteran digital content creator and technical writer. For nearly 30 years, Mike has been creating digital artwork, animations and VR elements for multi-national companies and world-class museums. Mike has been a writer for 3D World Magazine and Creative Bloq for over 10 years, where he has shared his passion for demystifying the process of digital content creation.
