Tips for creating 3D clouds
Learn how to create 3D clouds with a realistic shape and texture with this artist's advice.

Daily design news, reviews, how-tos and more, as picked by the editors.
You are now subscribed
Your newsletter sign-up was successful
Want to add more newsletters?

Five times a week
CreativeBloq
Your daily dose of creative inspiration: unmissable art, design and tech news, reviews, expert commentary and buying advice.

Once a week
By Design
The design newsletter from Creative Bloq, bringing you the latest news and inspiration from the worlds of graphic design, branding, typography and more.

Once a week
State of the Art
Our digital art newsletter is your go-to source for the latest news, trends, and inspiration from the worlds of art, illustration, 3D modelling, game design, animation, and beyond.

Seasonal (around events)
Brand Impact Awards
Make an impression. Sign up to learn more about this prestigious award scheme, which celebrates the best of branding.
The first step is to create the model for the clouds, and it’s a good idea to make it an irregular shape, as this will look more realistic. However, that depends on what effect we want the 3D art to achieve.
After we have created the model, we can create the cloud material. To do this, we have to open the Node Editor panel and the shaders: Texture Coordinate, Mapping, Image Texture (or a default texture), Hue Saturation Value, Invert, Volume Absorption, Volume Scatter, Add Shader, Emission, another Add Shader and at the end, the Material Output.
After that, we have to connect them. We can start from the Texture Coordinate; here we have to connect the term Window with the Vector Mapping. In Mapping we have to change the values of the Scale X and Y; this value depends on the texture that we use for this material. In my case, I used the default texture in Blender, Wave Texture, as this is perfect for giving more imperfections to our clouds.
So, now we have to connect the Mapping with the Image Texture (or a default texture), and then connect the latter with the Hue Saturation Value and change the value Saturation to 0. Now we can connect this one with the Invert and insert a value of 0.400.
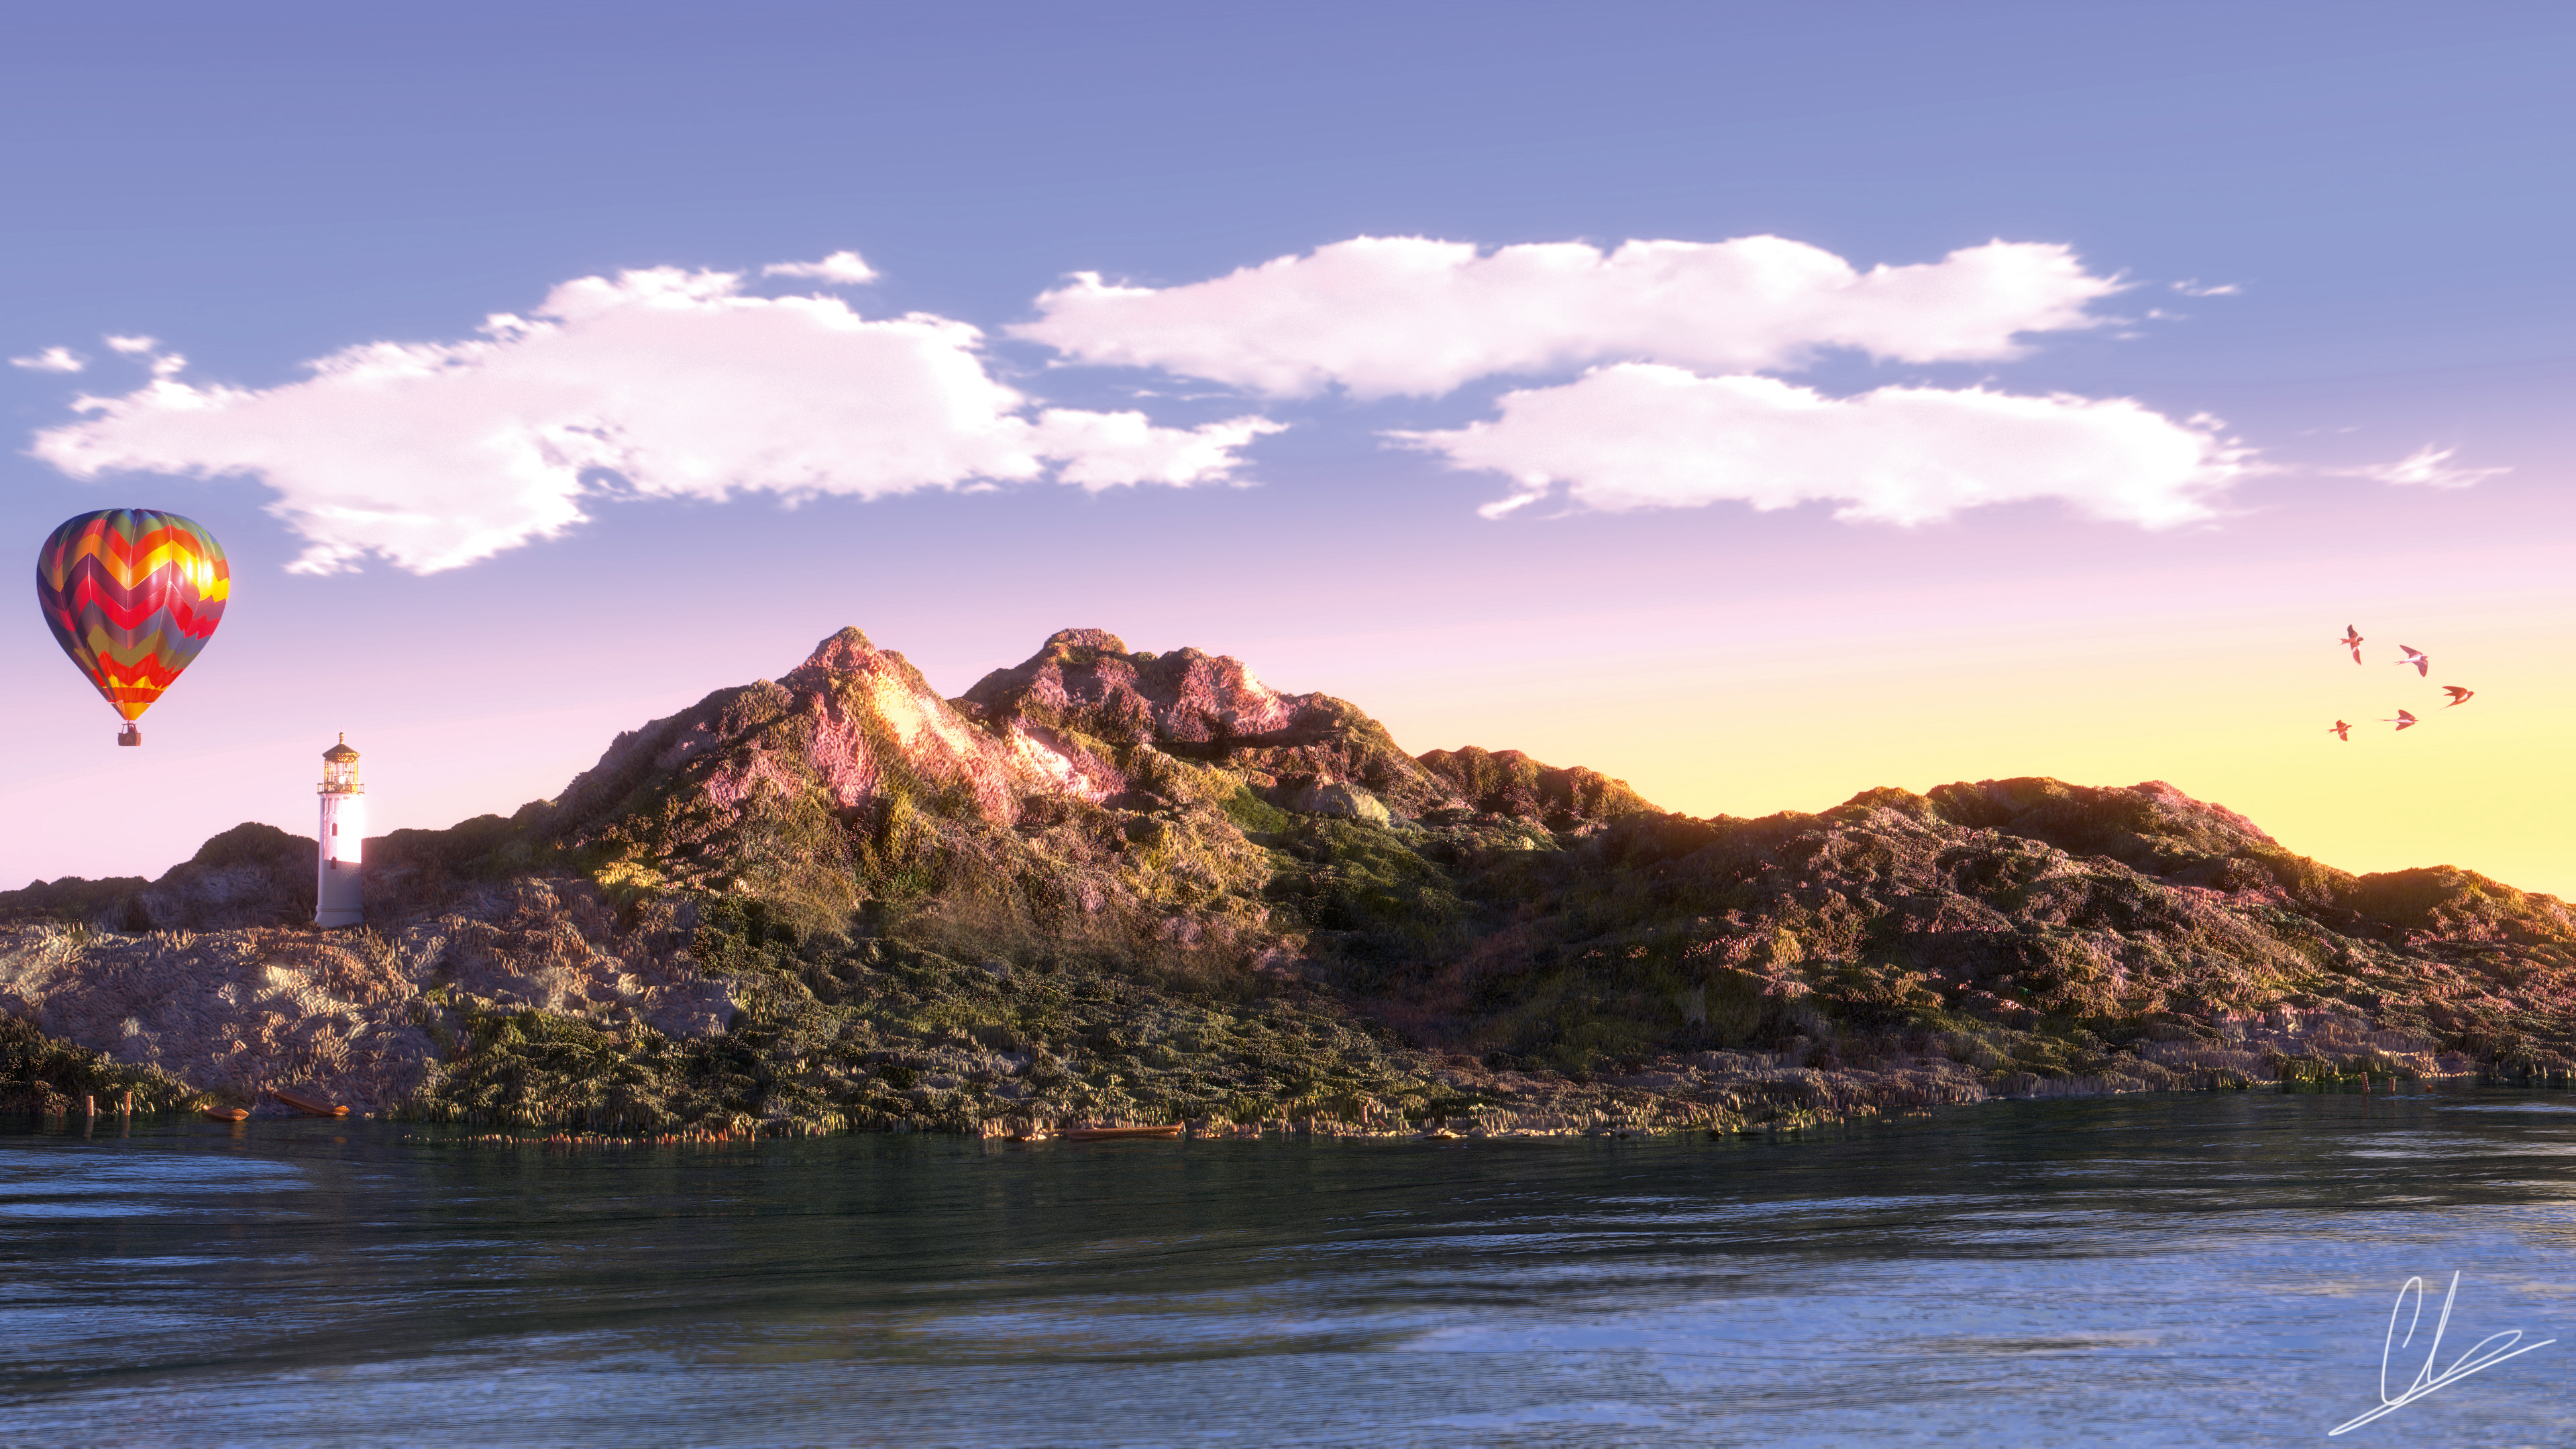
After that we have to connect the Invert with the Volume Scatter, in the point Anisotropy of the Shader. Then connect together the Volume Absorption with the Volume Scatter (to do this we use the Add Shader). Now we have to connect the Shader Emission with the Add Shader, and to do this, we can use another Add Shader. To the Emission we can insert a Strength value between 1.000 and 2.000. After this value, we can finally connect the last Add Shader with the Material Output, in the point Volume. This creates the cloud material you see in this image.
This article was originally published in 3D World magazine issue 210. Buy it here.
Daily design news, reviews, how-tos and more, as picked by the editors.

Pietro is a freelance 3D artist and YouTuber with more than 10 years of experience in different fields of 3D production, from animated movies to VFX and game production. He shares many of his creations on his YouTube channel @PietroChiovaro.
