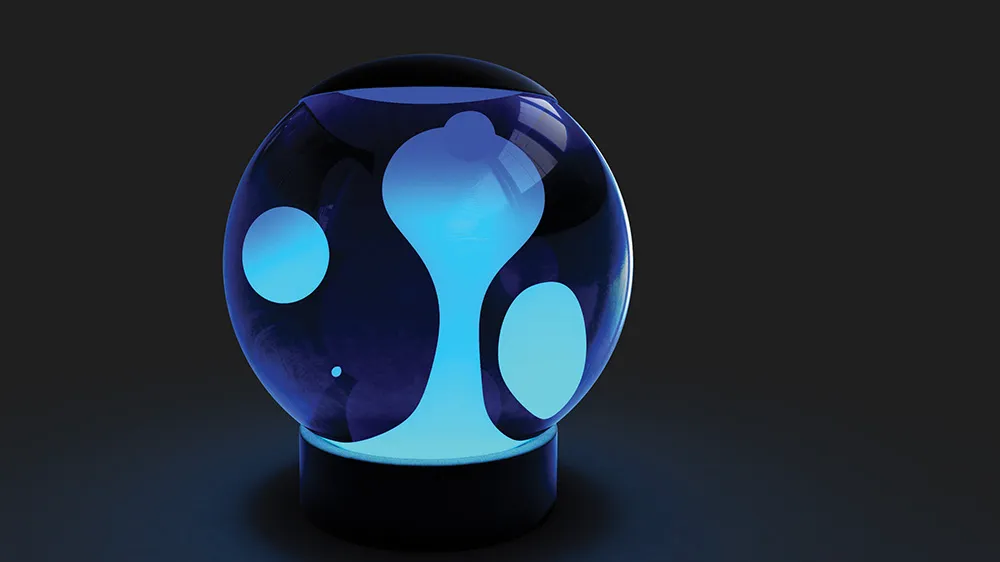
There is something oddly satisfying about lava lamps. A soothing, colourful light and mesmerising waxy blobs raising and descending due to temperature changes.
It almost makes me want to touch and play with it. When it comes to achieving that beautifully looking material for a lava lamp model, you might find yourself stuck at first. It seems as though it should be an easy thing to create, but to achieve that realistic look it can be a bit of a hassle if you do not know much about materials.
I will show you how to make a very simple KeyShot material for the blobby lava floating inside of the lamp. It will leave some room for improvement depending on how far down the path of realism you wish to take it, but it will be enough to satisfy the eye.
Of course, there are lots of different types of lava lamp, e.g. waxy, metallic or even glittery. Let’s just focus on the most basic and best-known one, which is wax, and try to re-create that look. You may ask, what is so special about the wax material that you cannot just apply it to the part and move on with the rest?
Well, if it were just wax for a candle model we were working on, it would probably be fine to do so, but this is a completely different case. The lava lamp wax should emit some of the light we are going to fake and give us control over the colour transformation, to blend and behave within the set scene. I assure you it is all there, we just need to know what settings to apply.
01. Base texture

Once your model is ready for textures, go to Library>Materials>
Miscellaneous, grab the Infrared Gradient material and drop it onto the model. In Project>Material, locate the Material Type setting and set it to Emissive.
02. Feeling blue

In the Textures tab change the reds and yellows to different shades of blue; light (left) to dark (right). Below, set the Gradient Type to Spherical. Changing the scale of the texture will give you control over the texture spread on your model.
03. Adjustments

Set the Centre On to either Model or Part, whichever works best with the mesh. Now it is time to move the texture down to where the source of light should be. Go back up to the Material Properties and adjust the Intensity slider.
04. Surrounding materials

Apply the Glass (Solid) White material to the sphere. Sometimes the liquid that surrounds the lava has a very delicate tint to it, so let’s set the glass diffuse to a very light shade of blue (R254; G255; B255).
Expert tip

Add a light source emitting from the centre of the lamp to light up the scene. Try other colour combinations for more dramatic looks. Changing the background colour and HDRI can make the colours pop out even more.
Learn more from Maya Jermy at Vertex

Maya Jermy is a regular contributor to 3D World magazine and has years of industry experience, working across various fields.
She will be at Vertex 2018 taking part in our panel discussion, along with other industry veterans including Chris Nichols and Brett Ineson, where the future of digital humans is the topic.
Make sure you get your chance to be there for the discussion, as well the workshops, recruitment fair and all the other activities we have throughout the day. Visit the Vertex site to book your tickets, from the free expo ticket, to the access all areas passes.
We look forward to seeing you there!
Related articles