Create a tiles material in Substance Designer
Make gorgeous tiles in Substance Designer with just four steps.

Sign up to Creative Bloq's daily newsletter, which brings you the latest news and inspiration from the worlds of art, design and technology.
You are now subscribed
Your newsletter sign-up was successful
Want to add more newsletters?
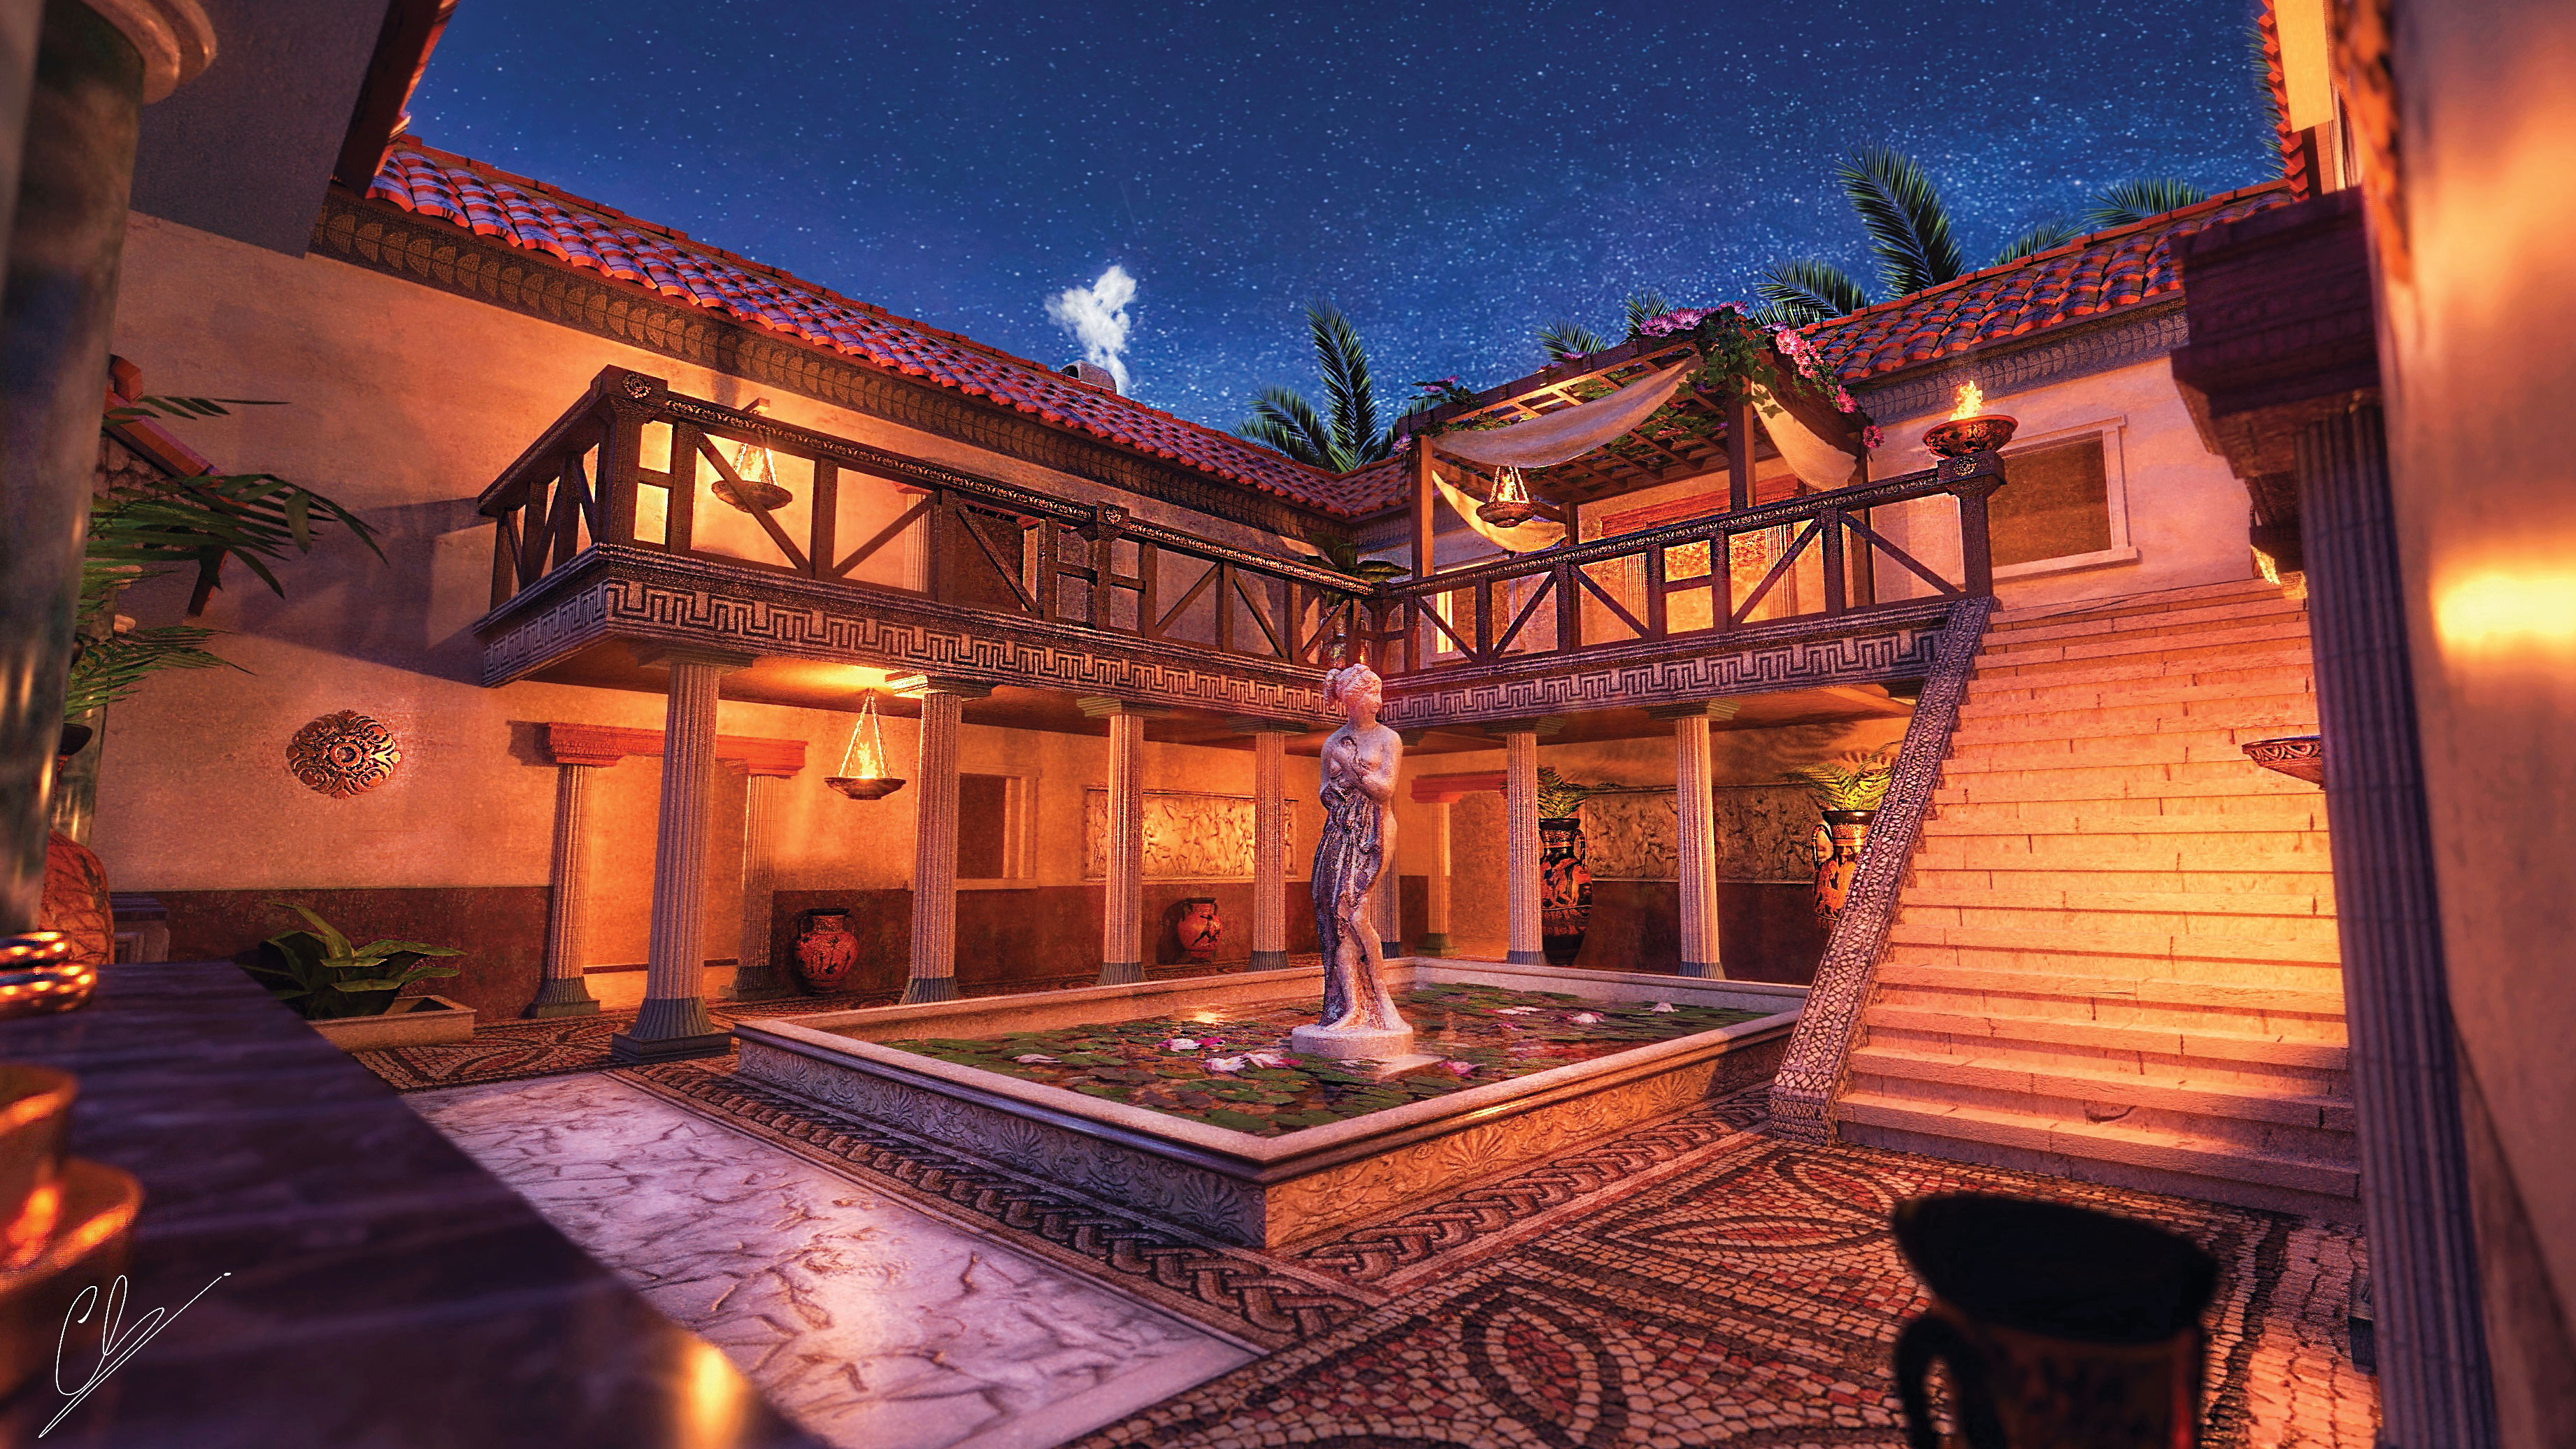
Substance Designer is an excellent tool for creating all sorts of materials for your 3D art. Here, I'm going to explain how to create a tiles material in Substance Designer, this material can be used in scenes such as the one above.
If you're looking for more objects to add to your scene, check out our list of free 3D models.
01. Set-up
For this type of material, I select the Physically Based (Metallic/Roughness) Graph Template and delete the metallic output since it isn’t necessary for this substance.
Article continues belowAt this point we can start to add these nodes from the Substance Designer library: the Brick Generator pattern (the main elements of the substance), the BnW Spots 2, BnW Spots 1 and two Cells 3 noises, the Height to Normal World Units filter, five Levels filters, two Blur filters, three Blend filters, a Warp, an Invert Grayscale filter and last but not the least the Gradient Map filter.
02. Link the elements
Now it’s time to link these elements, starting with the Brick Generator that will be placed at the beginning of the graph. This one will be linked with the Warp filter, in which we will connect the BnW Spots 1 followed by the first Blur.
Now we can connect the Warp to the first Levels filter and this one to the Background/Opacity of the Blend filter. In the Foreground we have to connect the BnW Spots 2 noise followed by the second Blur. Then we have to connect this Blend with the Background/Opacity of the new Blend, with the only difference being that in this case we will link the Cells 3 noise to the Foreground of the Blend.
After that we can connect the Blend to the Gradient Map and this one directly to the Base Color output.
Sign up to Creative Bloq's daily newsletter, which brings you the latest news and inspiration from the worlds of art, design and technology.
03. Make more connections
Now we can continue with the nodes for the creation of the Normal Map. Connect the Blend filter to another Levels filter, which will be linked to the Background of the third Blend filter. Unlike with the previous links we have to make a middle connection between the Levels filter and the Opacity of the Blend filter. In this case we have to place an Invert Grayscale filter.
In the Foreground of the Blend we have to connect the second Cells 3 noise generator followed by the fourth Levels. Now we can connect the last Blend filter to the Height to Normal World Units filter, and consequently we can link it to the Normal output. The last two connections we need to do are between the two Levels filters that will be linked respectively to the Roughness and Height outputs.
04. Set the parameters
For this material we only have to fix the Intensity parameter with a value of 3.5 for the first Blur filter and 2.5 for the second. For the Warp the Intensity should be 0.15. For the first Cells 3 noise the Distance should be 14, while for the second one it should be 128.
At the end we have to change some parameters of the Brick generator. For the Offset we have to set a value of 0, for the Smoothness and Round Corners a value of 1 and 0.35 for the Bevel X and Y. All the other parameters for the Levels and the Gradient Map filters are arbitrary but I advise you not to exaggerate.
This article originally appeared in issue 235 of 3D World, the world's leading magazine for 3D artists. Buy issue 235 or subscribe here.
Related articles:

Pietro is a freelance 3D artist and YouTuber with more than 10 years of experience in different fields of 3D production, from animated movies to VFX and game production. He shares many of his creations on his YouTube channel @PietroChiovaro.
