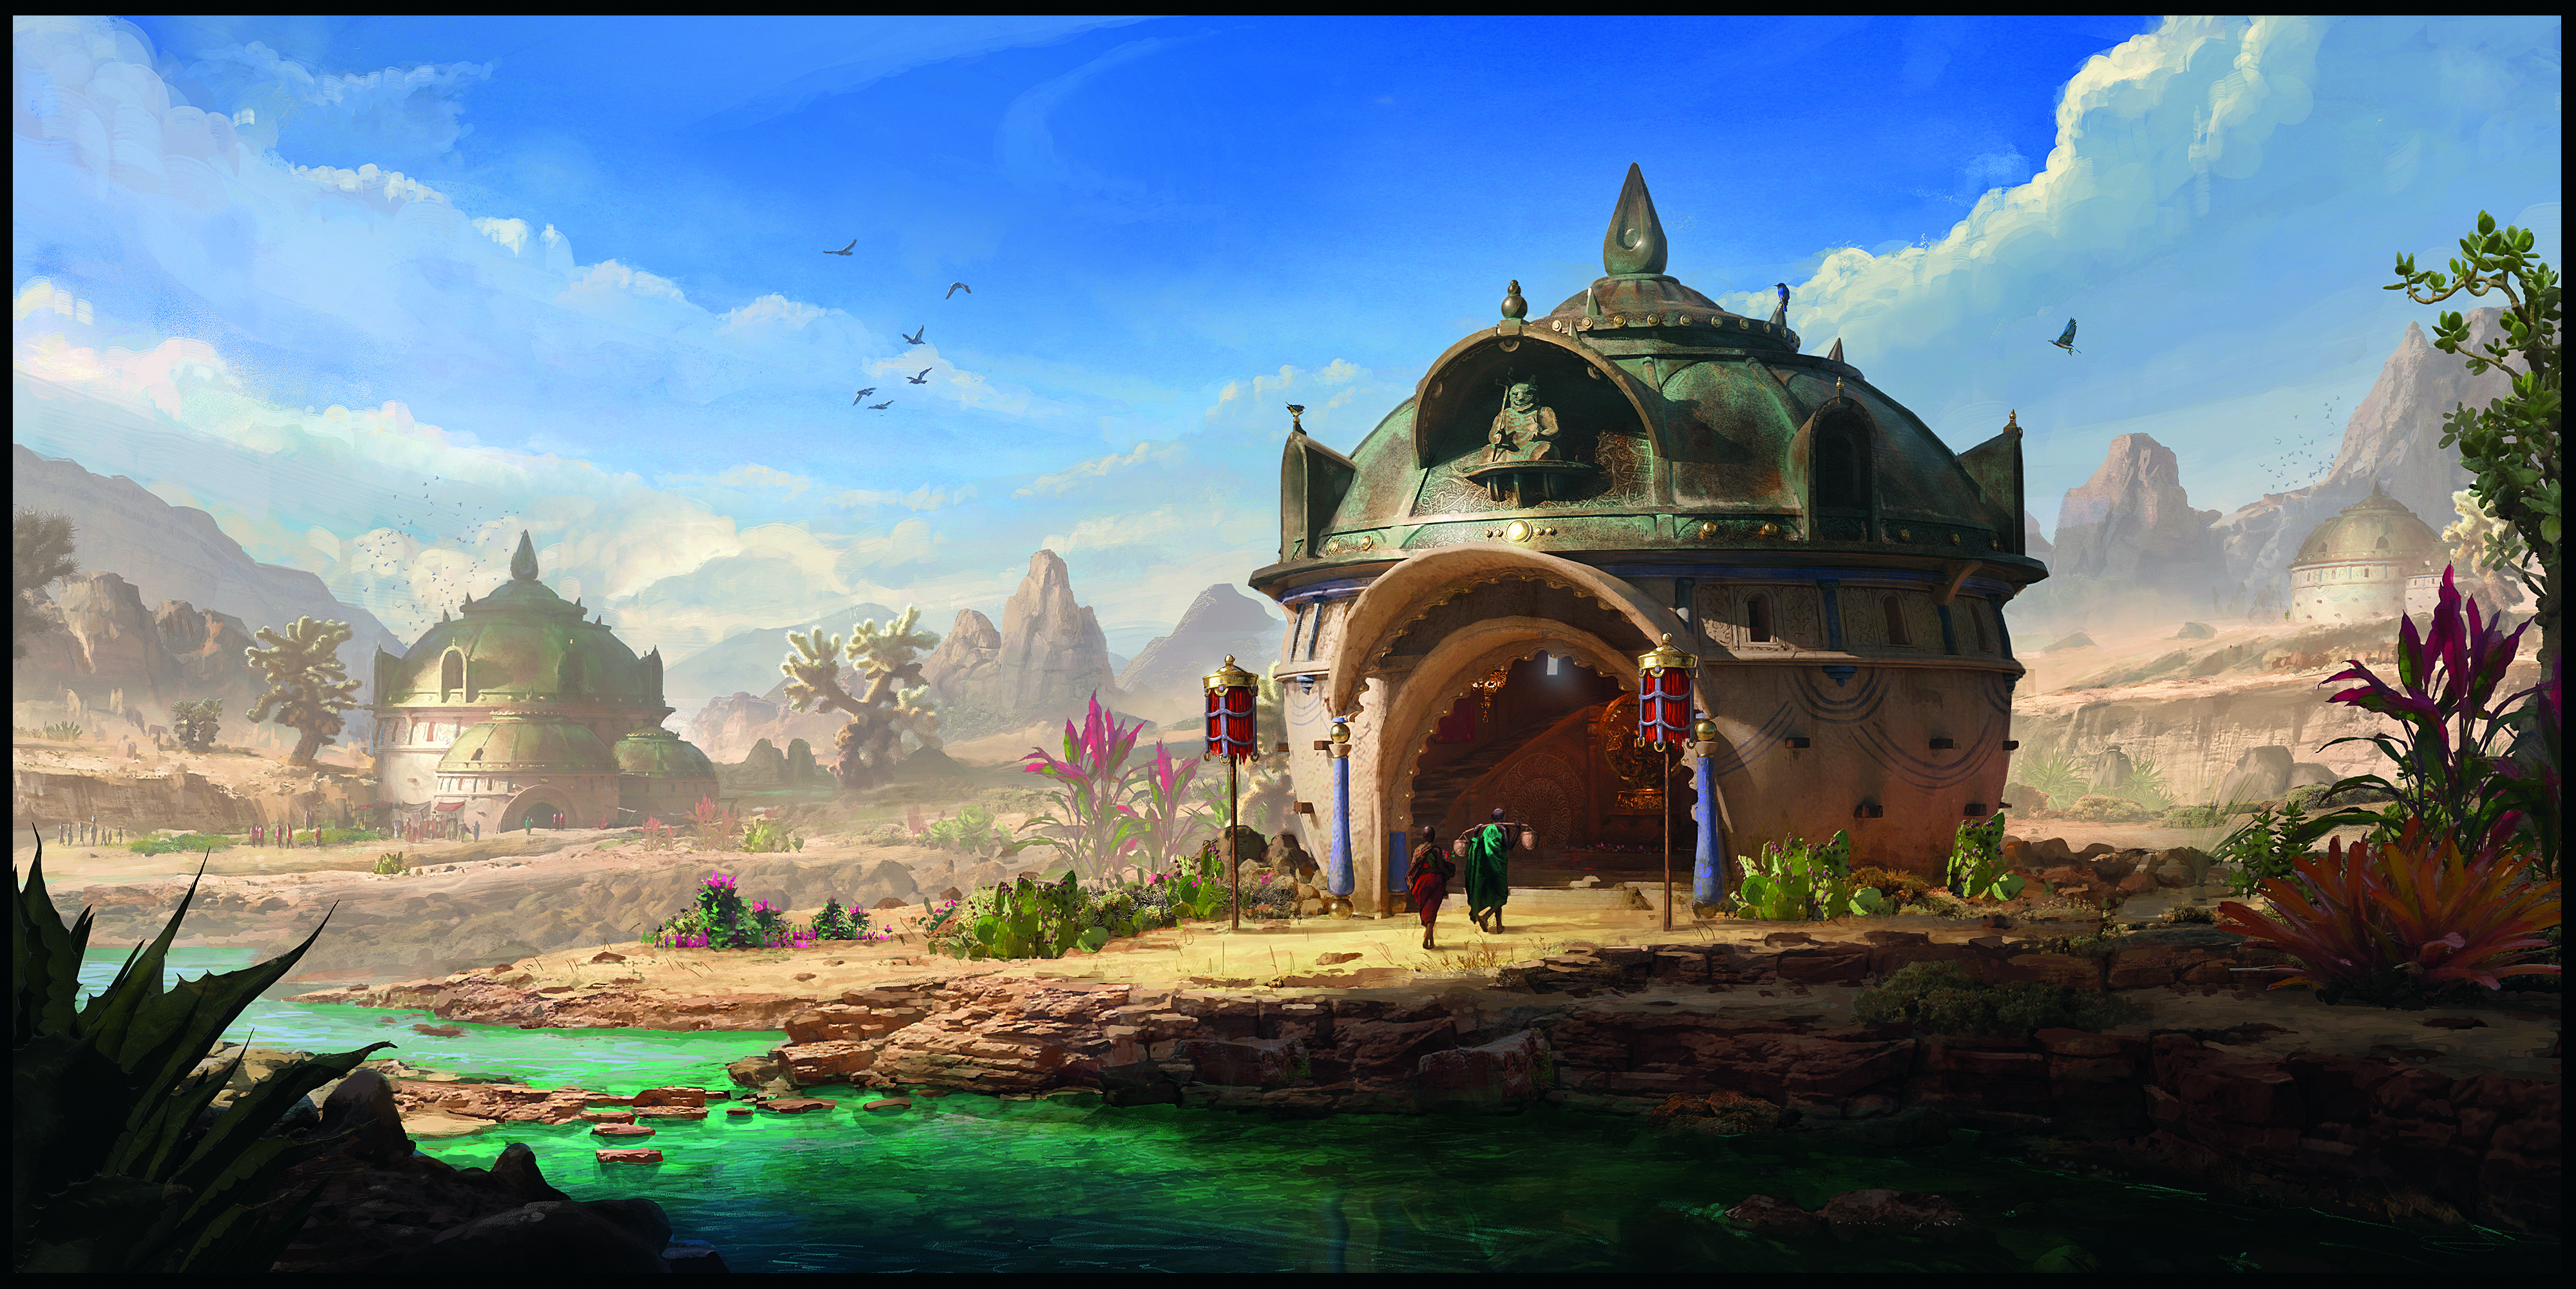
How to paint believable environments for concept art using Photoshop and Blender
Concept artist Edward Barons breaks down his process for building convincing details into a scene.
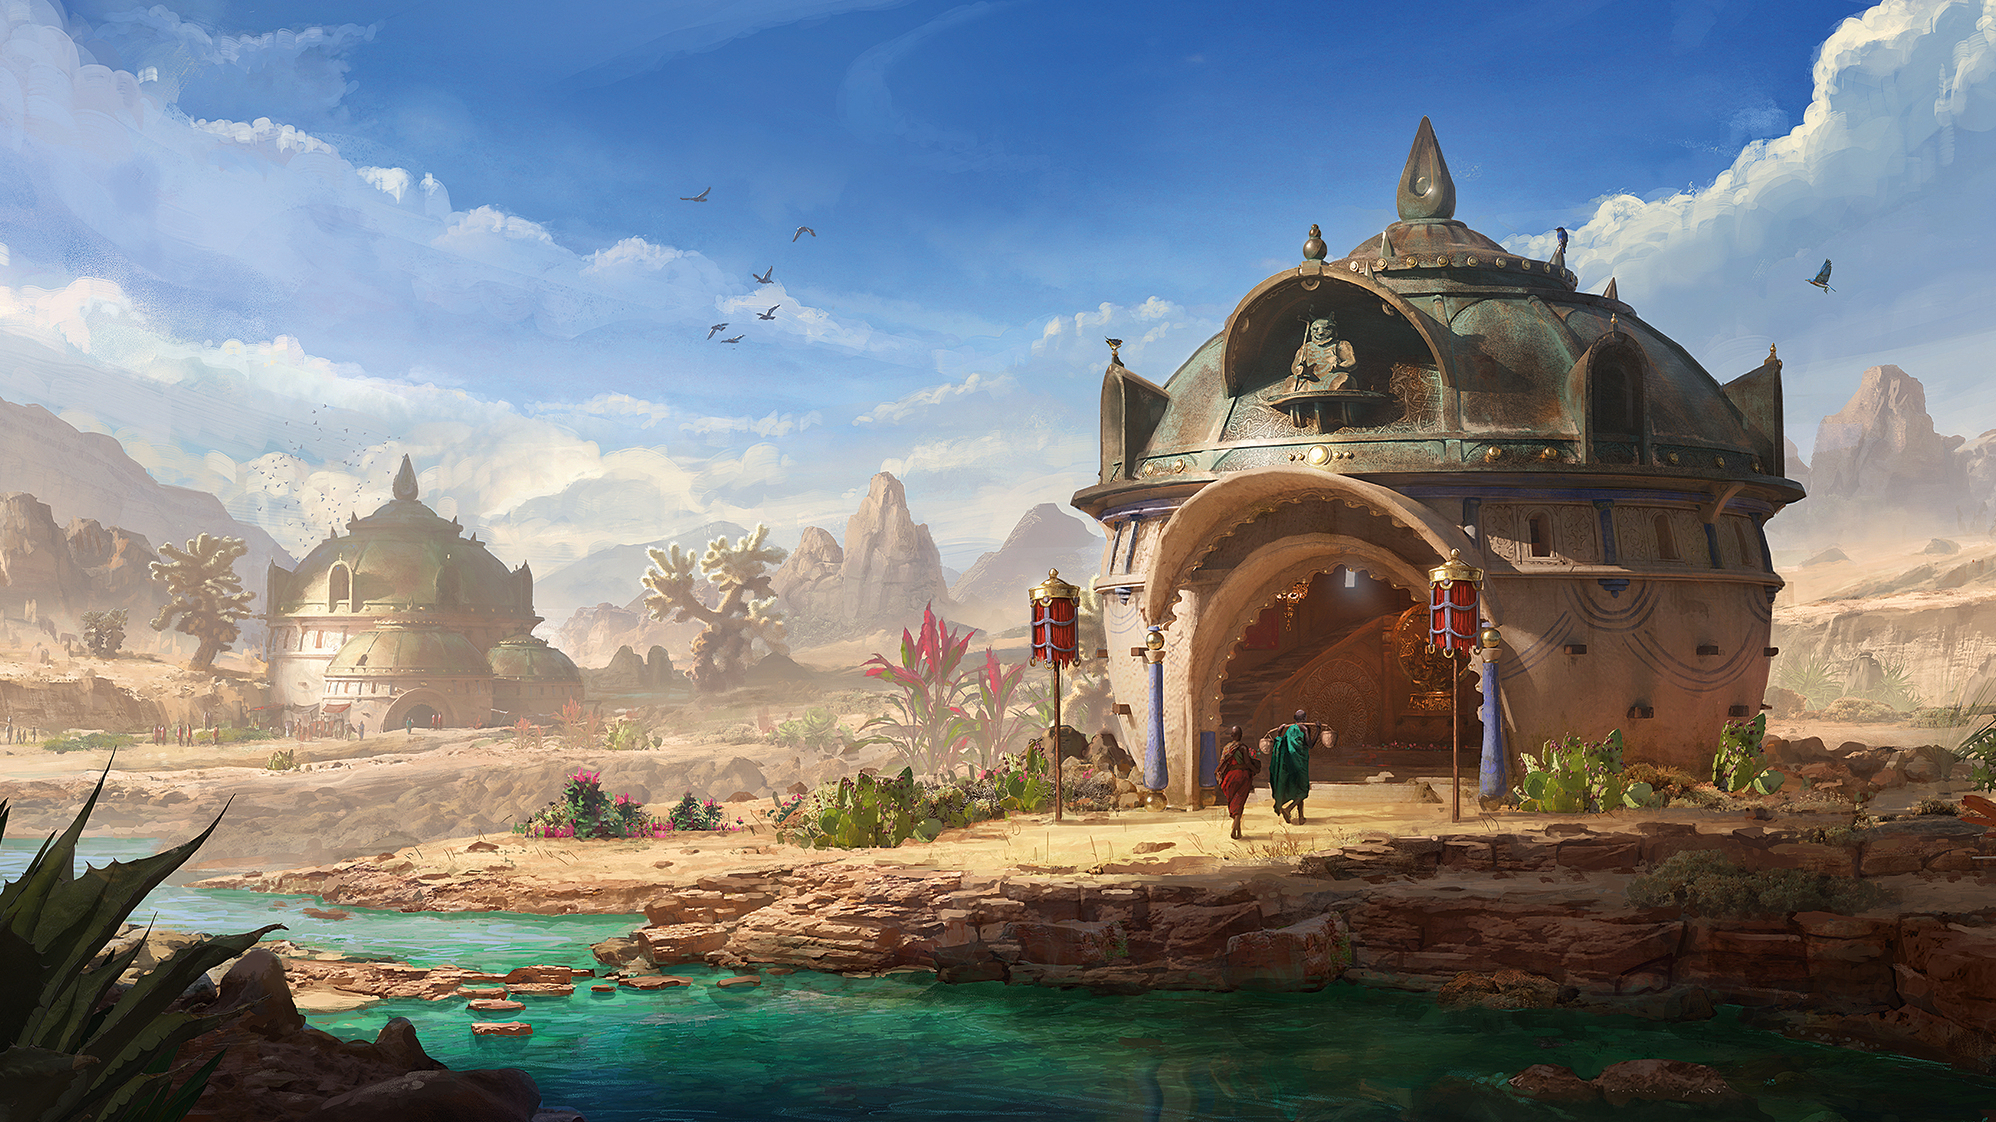
Everything around us tells a story, from the scuffs left on a house wall when someone was moving in, to the worn-away sections on famous statues that everyone touches as they walk past. Painting an environment concept that feels like a believable place, no matter how outlandish the setting, often comes down to capturing these small details and placing yourself in the world.
In this tutorial, I’ll share the steps I took in approaching a detailed personal project, how I keep my concepts moving and avoid getting stuck, and the thought process I go through to add life to the scenes by trying to capture a human element. Hopefully this will demystify the design process. I’ll also share some small tricks and tips that help me manage detailed scenes.
For the 3D portion of this work, I used Blender (see our guide to 3D modelling software) with Sanctus Library, and Physical Starlight and Atmosphere, plus scans from Poly Haven as a base, which I highly recommend. Even when I use little or no 3D in the process, with more stylised pieces for example, the ideas remain the same.
Article continues belowThe lighting and composition are both done in thumbnail form, and ideation for level of detail around the focal point from the early stages are the same, they’re just inverted so I add details rather than take them away.
01. Consider the who and why
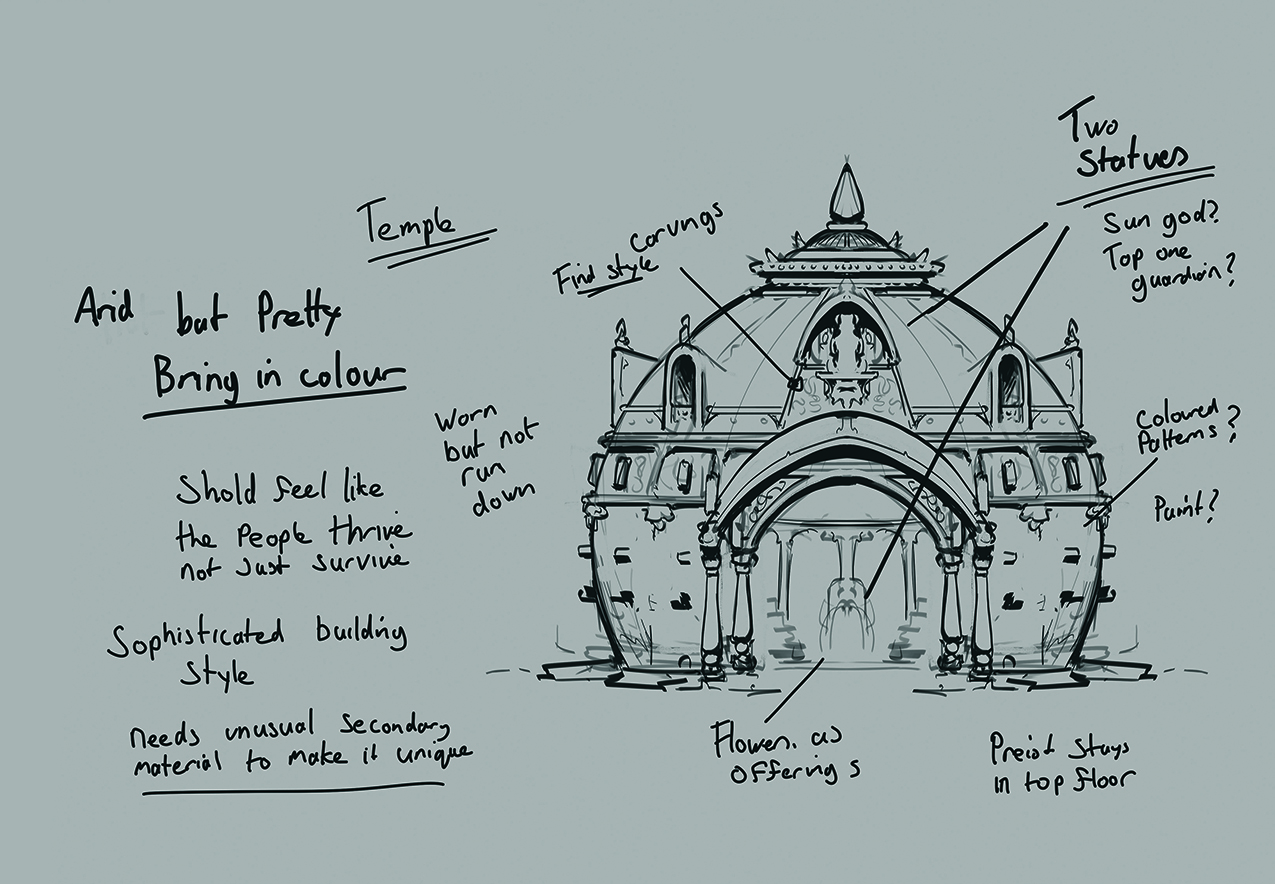
I often think a good concept comes from the head more than the hand. Throughout the process, ask yourself questions about the world, who the people are, and what’s happened there. Look to add details to support these ideas, even if we never explain them to anyone else, it will make your designs much richer and more believable as everything will have a reason for being.
02. Design sketches
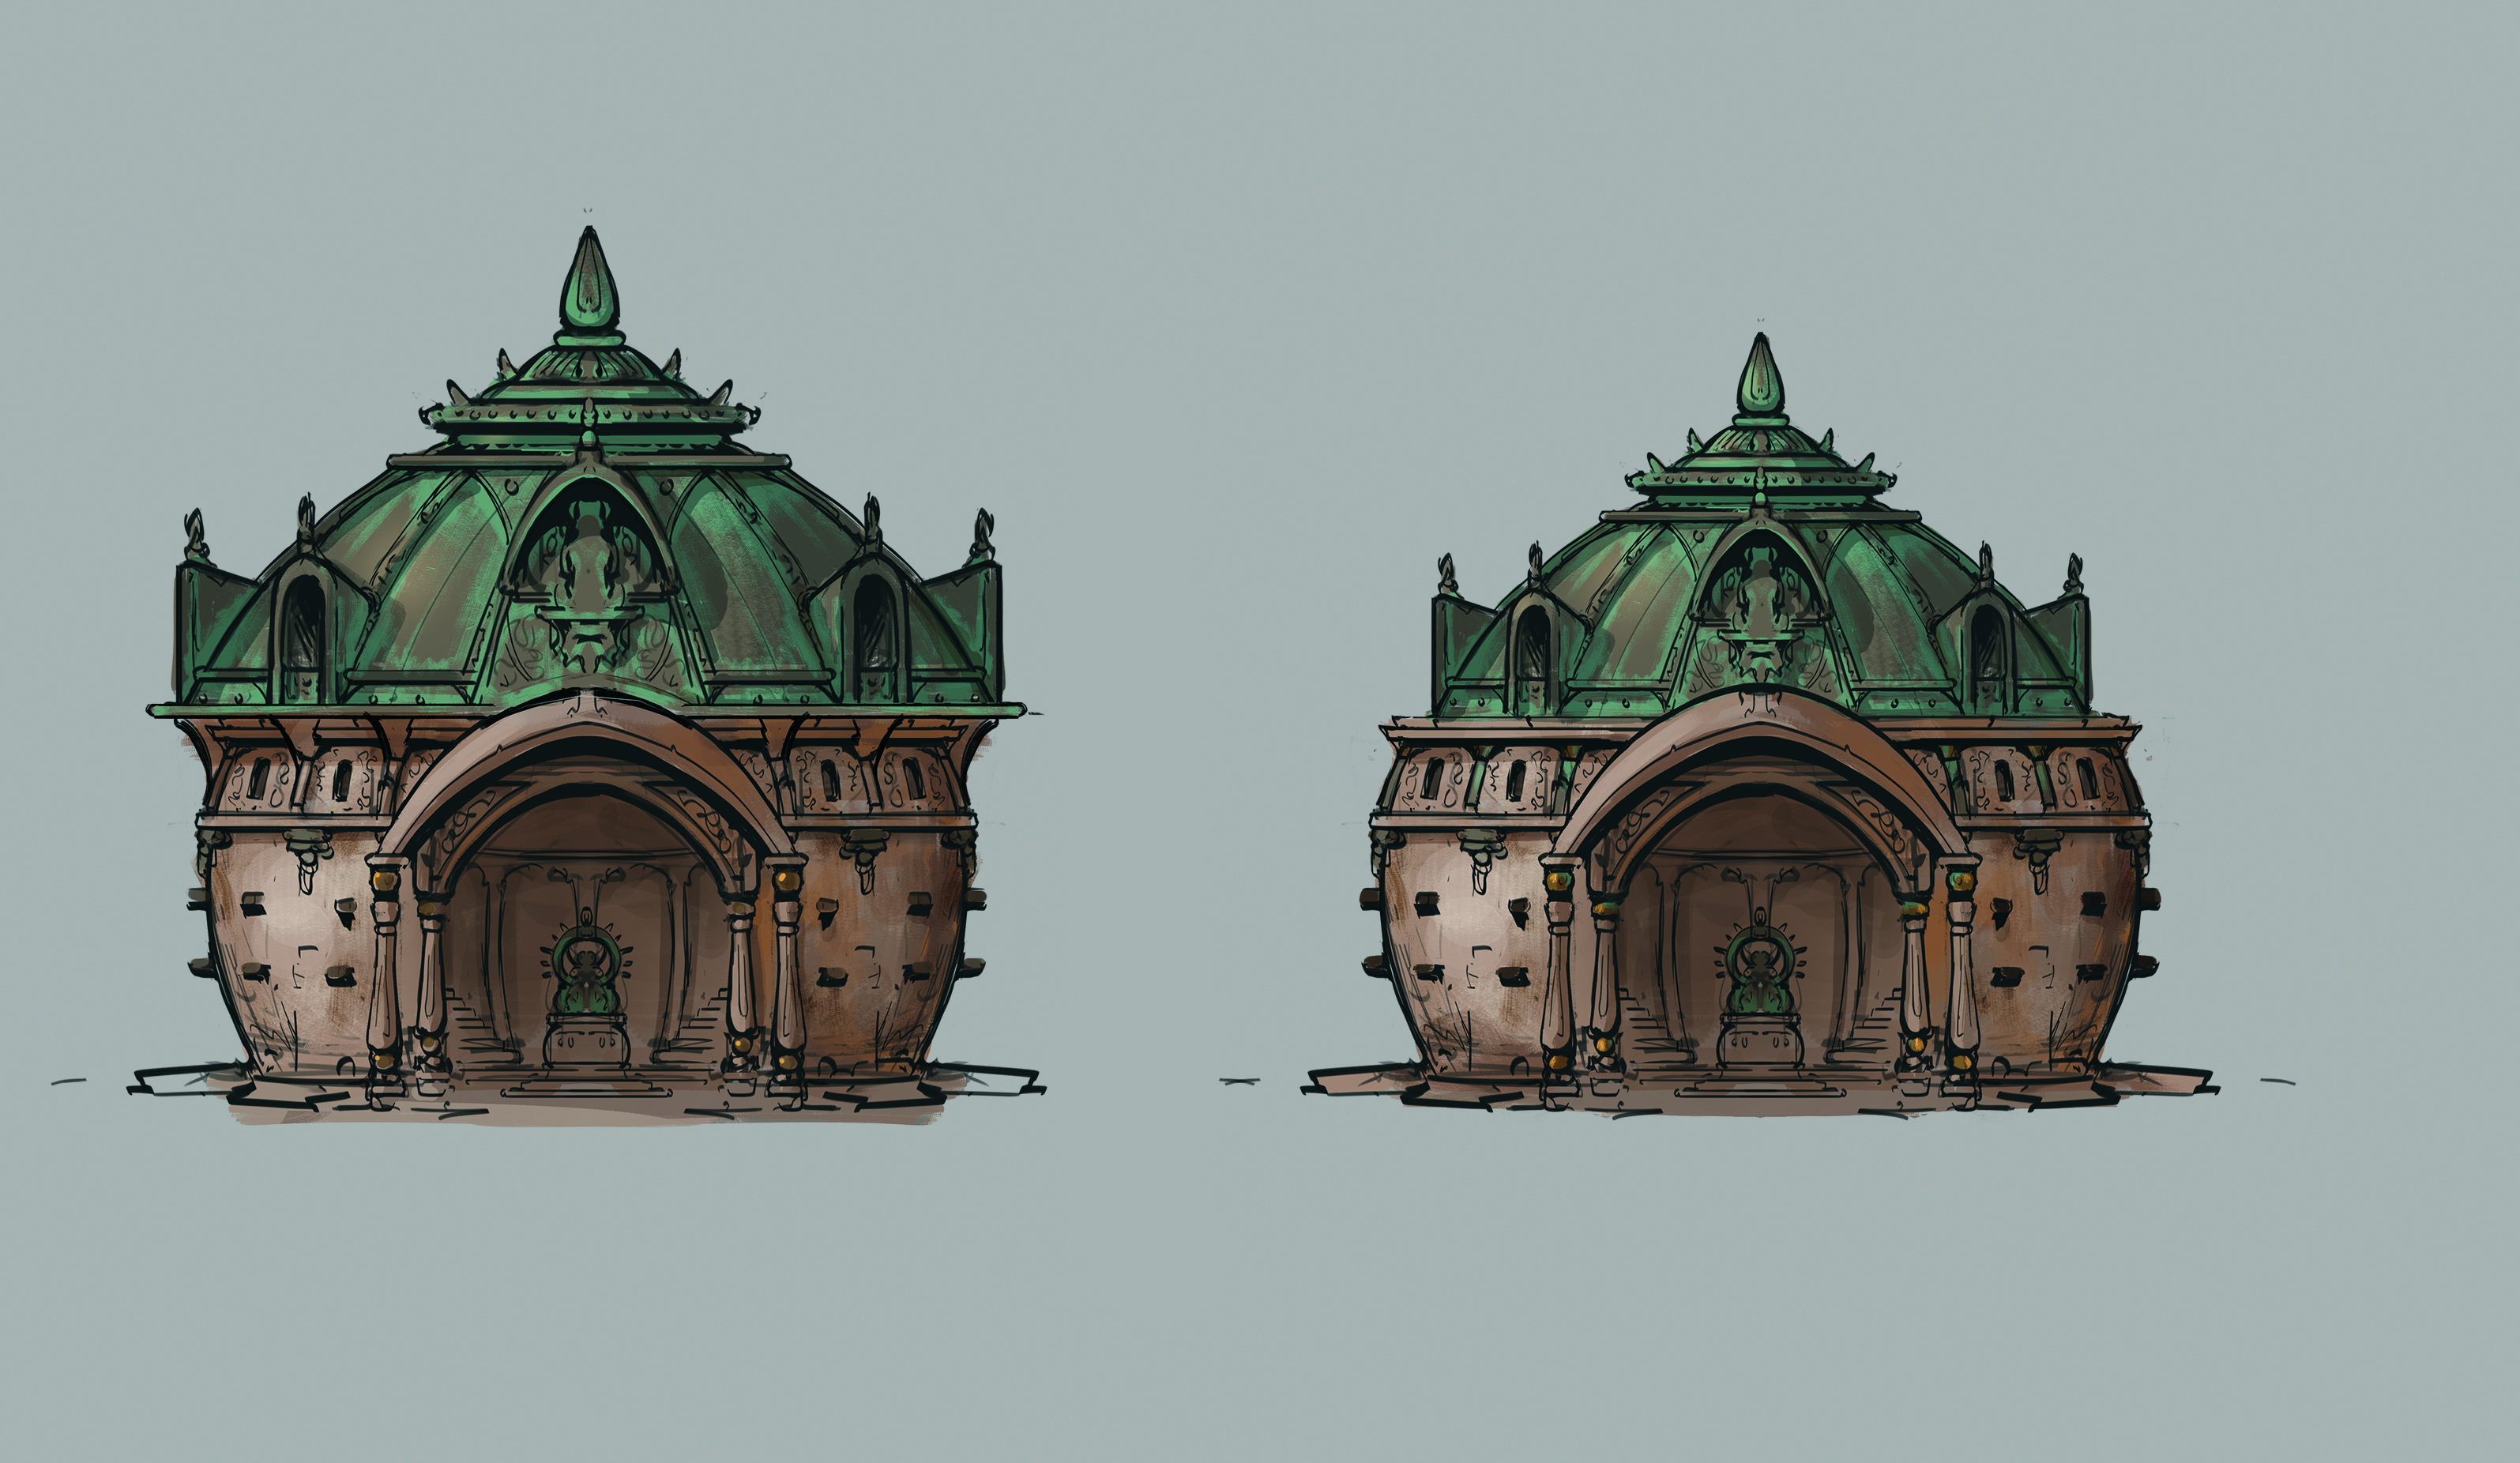
For me, the first stage is always done in 2D. Keep these sketches fast and loose, as this stage is supposed to be messy – that way you can experiment with different shapes and levels of detail without becoming tied up in making something pretty. Cut up the sketches, move some areas and scale others. Spending the time here lays the foundations for everything that comes after.
03. Build a basic 3D blockout
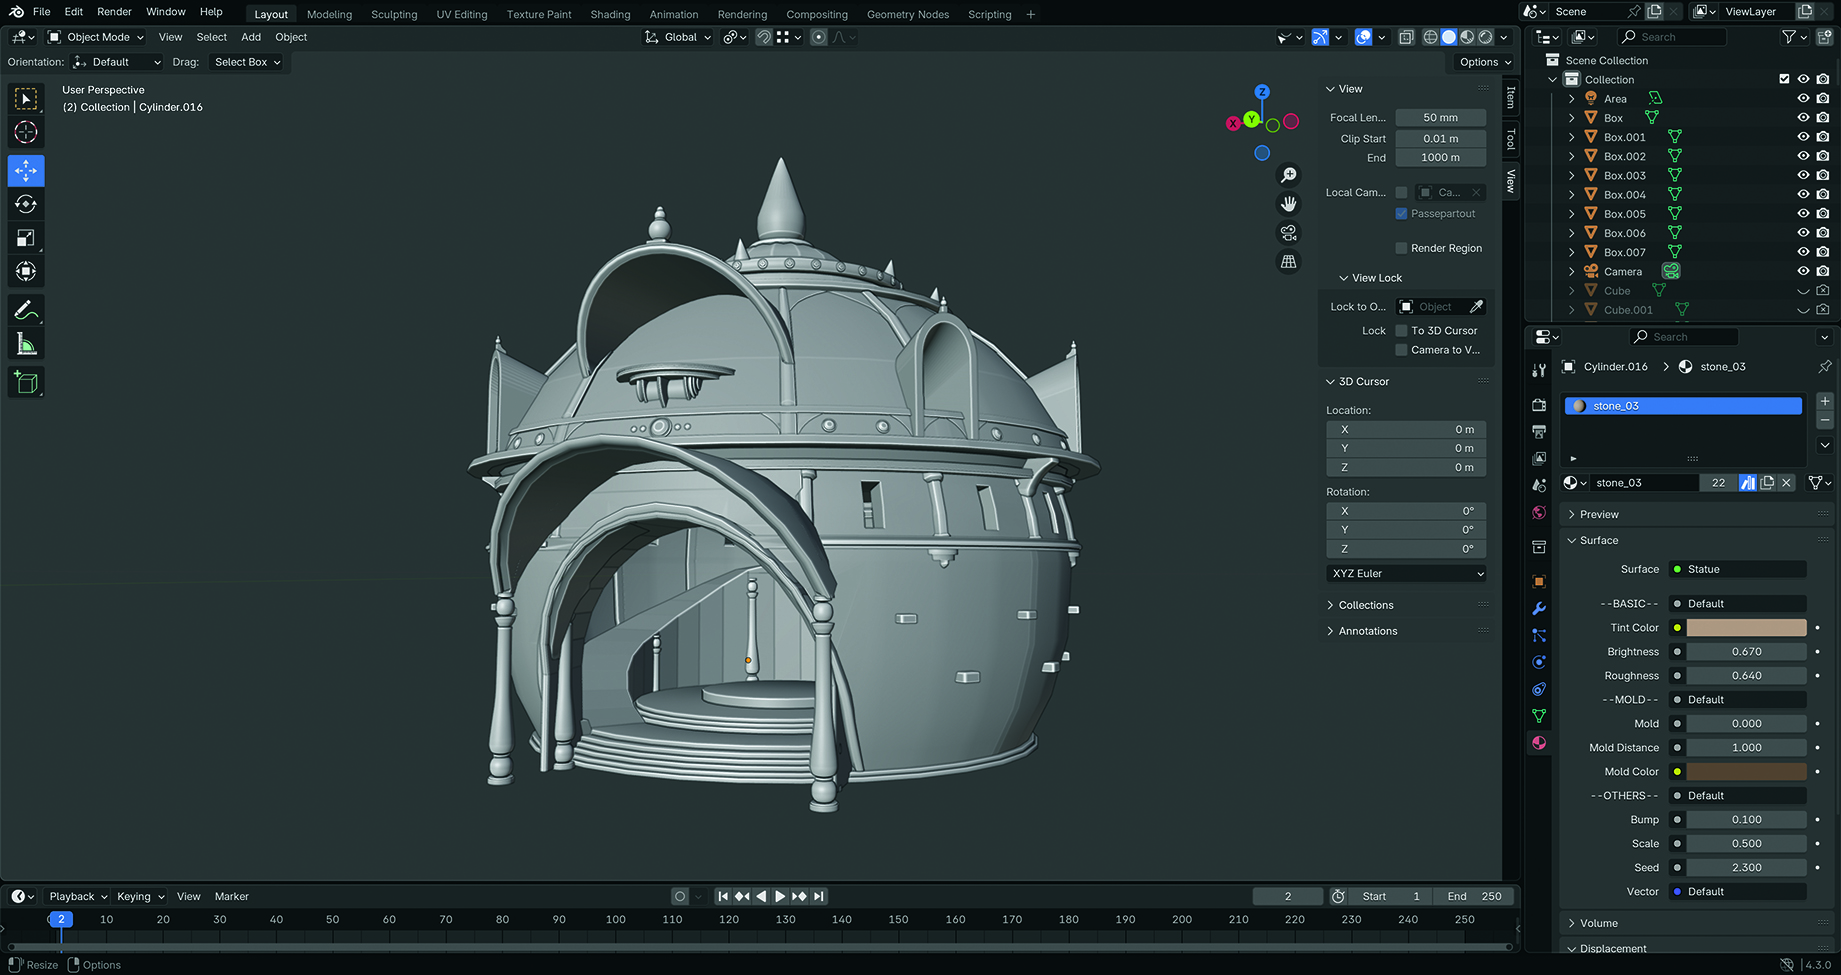
This stage can feel slow, but it will save time down the line. You don’t need to be amazing at modelling to create the basic shapes and proportions for your buildings.
If you use your design sketch and make sure that your shapes work in 3D before moving further along the pipeline, the 3D artists will be thankful! During production, we can even pass these models on to the artist, giving them some helpful extra context.
04. Create 3D details
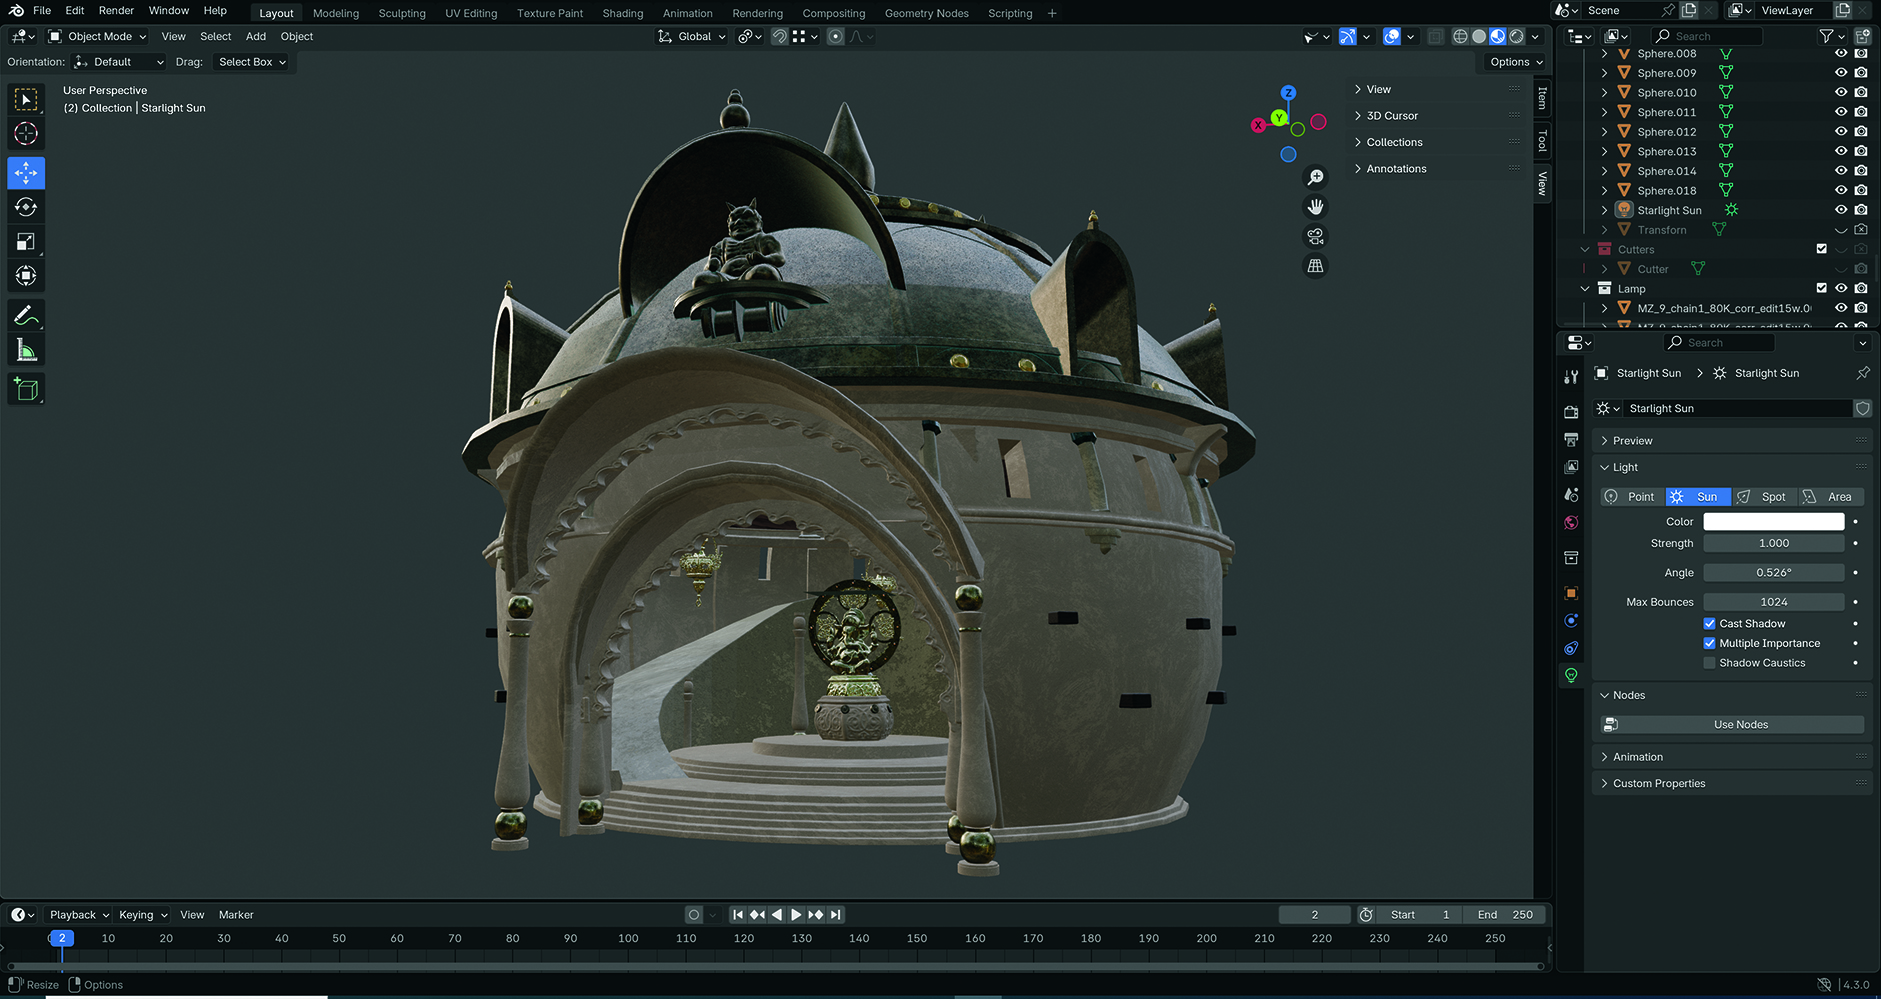
I’m not the best modeller, so sometimes I find museums that upload 3D scans of their collections under free licences for added details. Make a note of these elements and make sure that they’re painted over, as they are just placeholders for your own details.
05. Add colour and texture
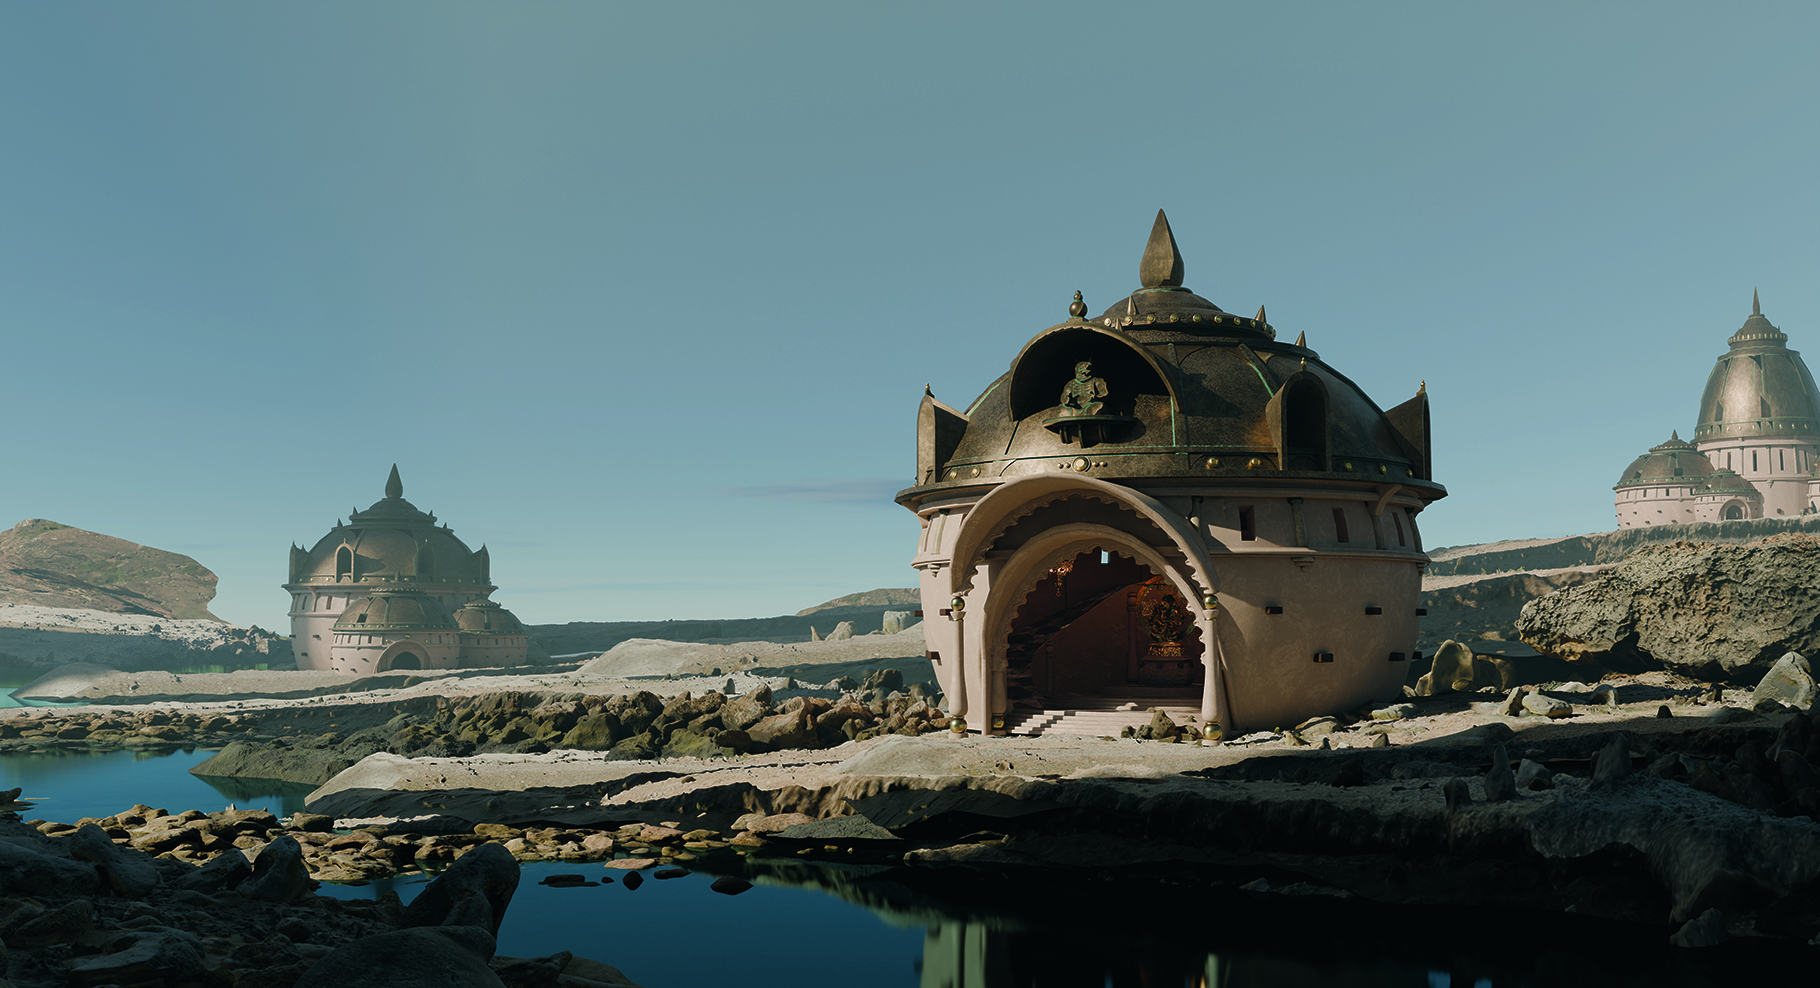
Let’s apply some basic textures or colours. The Sanctus library add-on for Blender is a lifesaver if you’re not great at texturing like me. After that, add in some basic land masses for the main areas. These models and land masses can then be lit. Design your lighting to highlight your focal point – I’ll use floating geometry off camera to get the shadows and light to fall where I want.
06. Begin painting in Photoshop
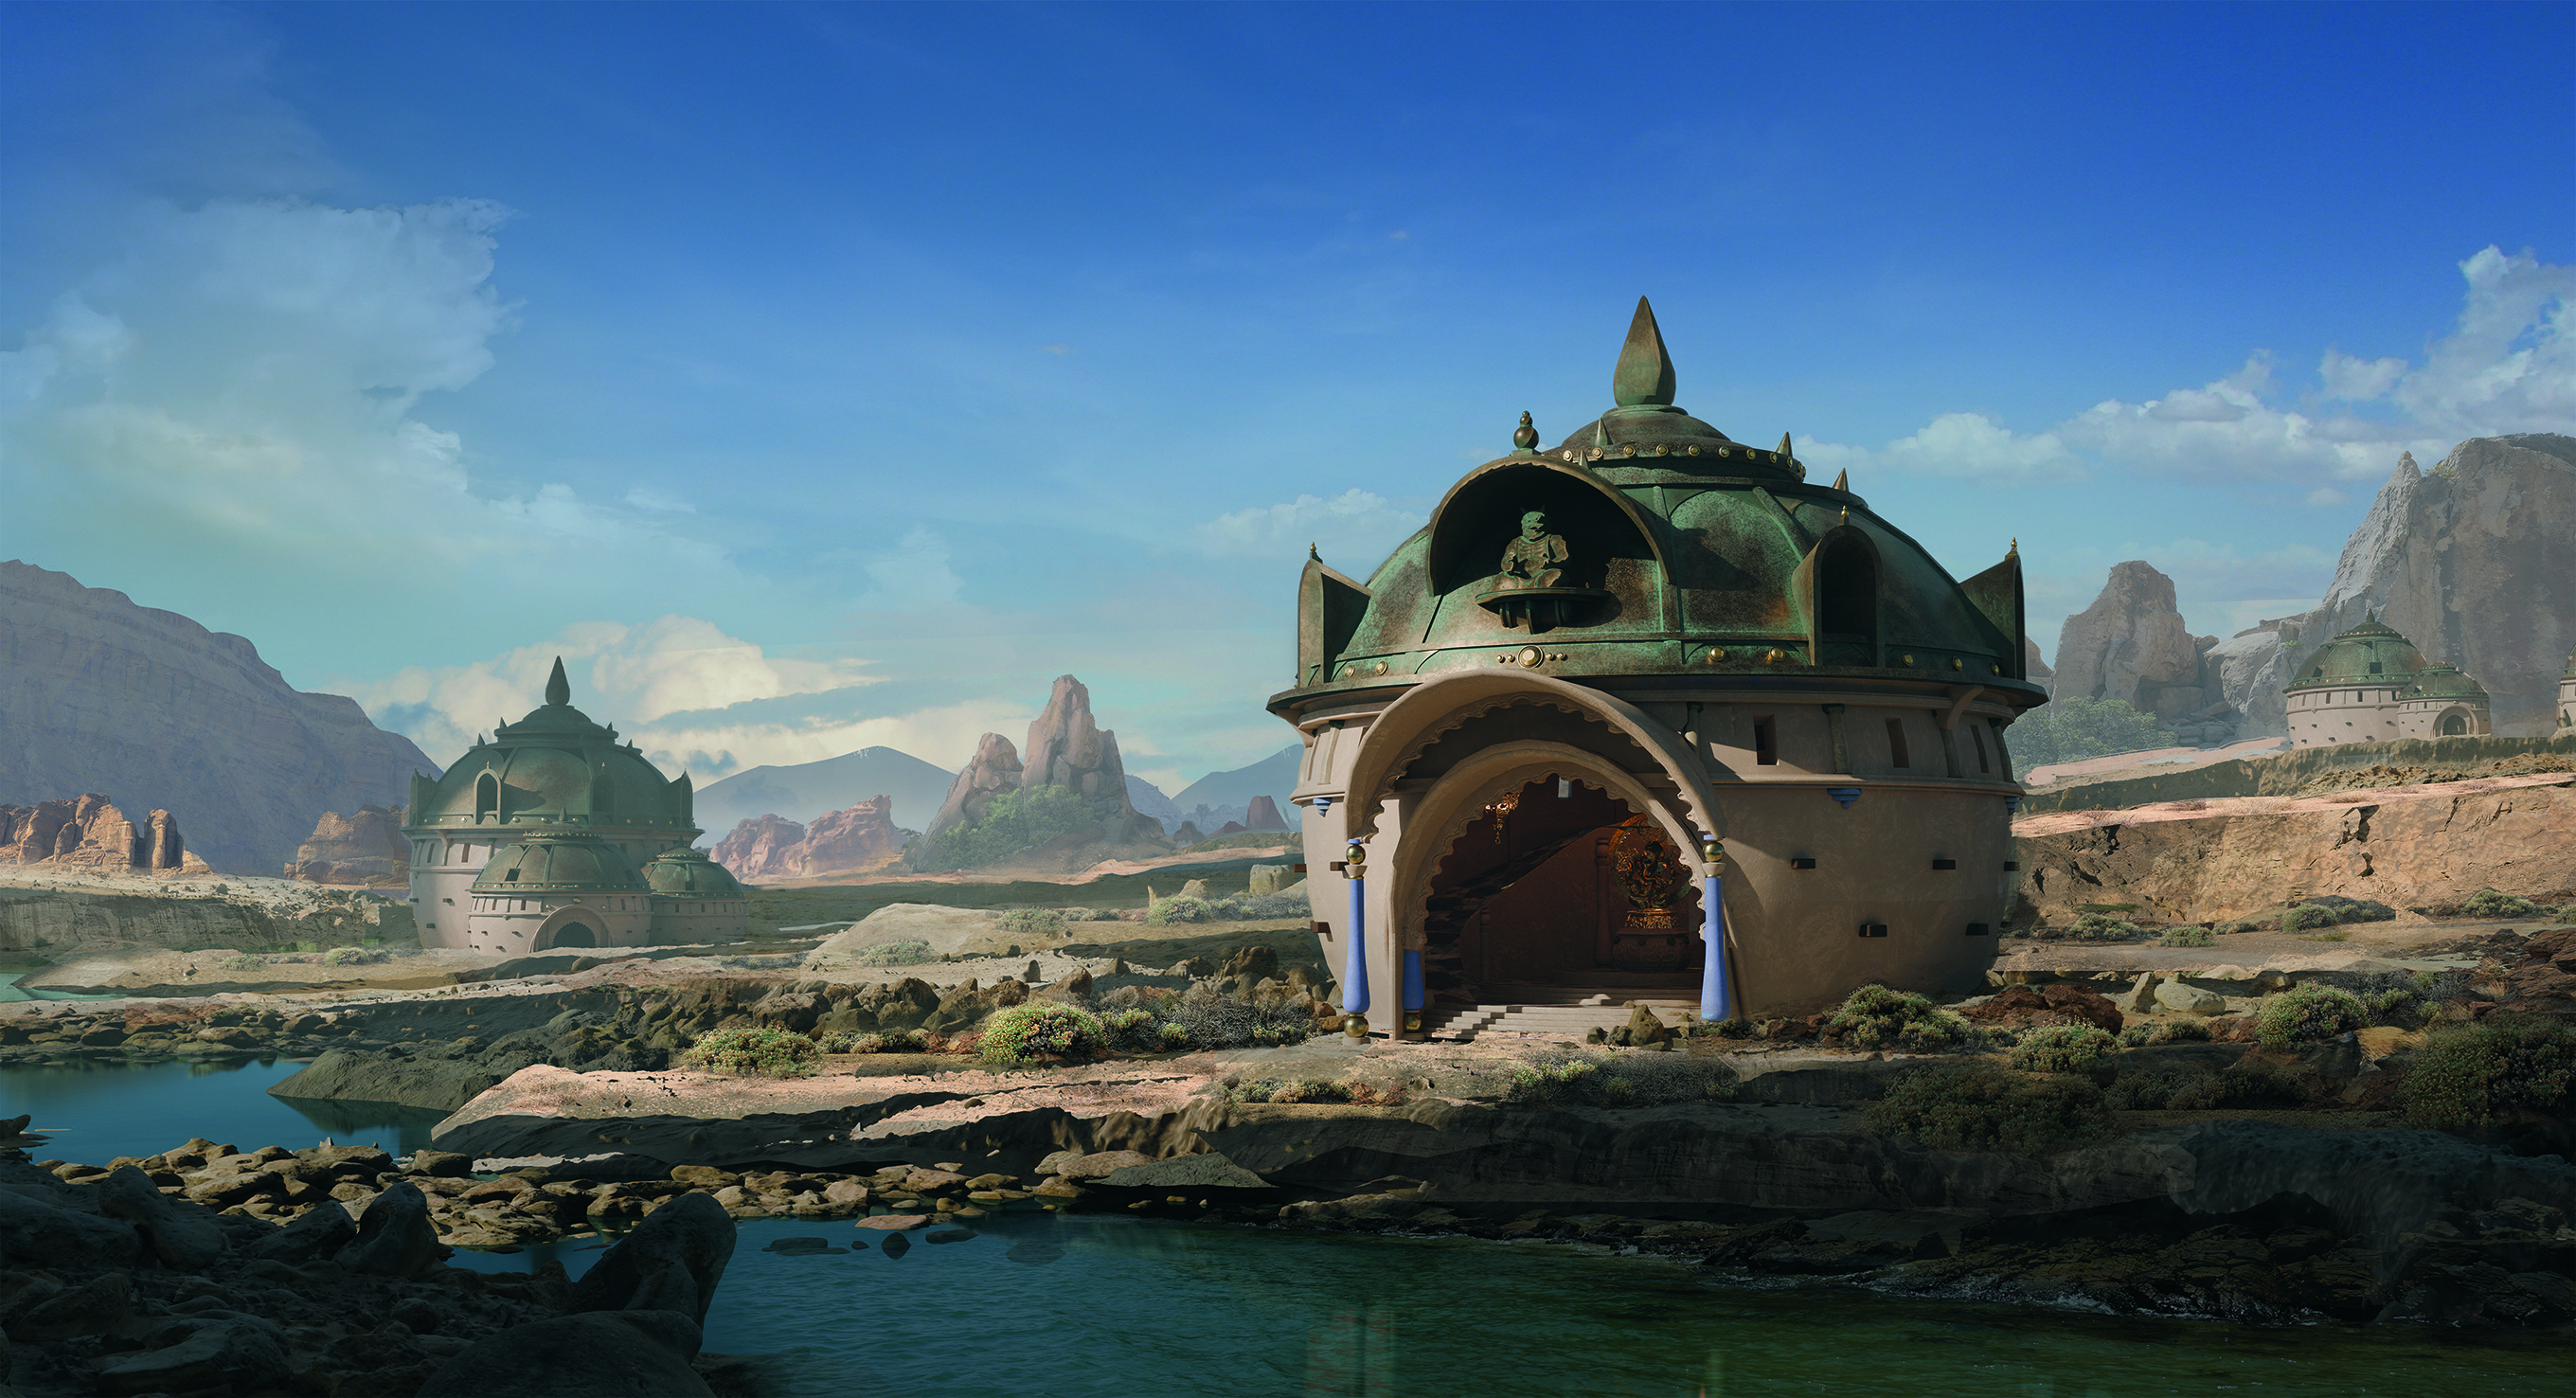
My first stage is always to replace the sky with a placeholder and add background elements. The sky sets our mood, and clouds are a fantastic tool to lead the eye to our focal point later on. Unlike painting from scratch where we add detail, we want to eliminate details in any areas that we don’t want the viewer to focus on, while having high-detail areas around our focal point.
07. Get yourself unstuck
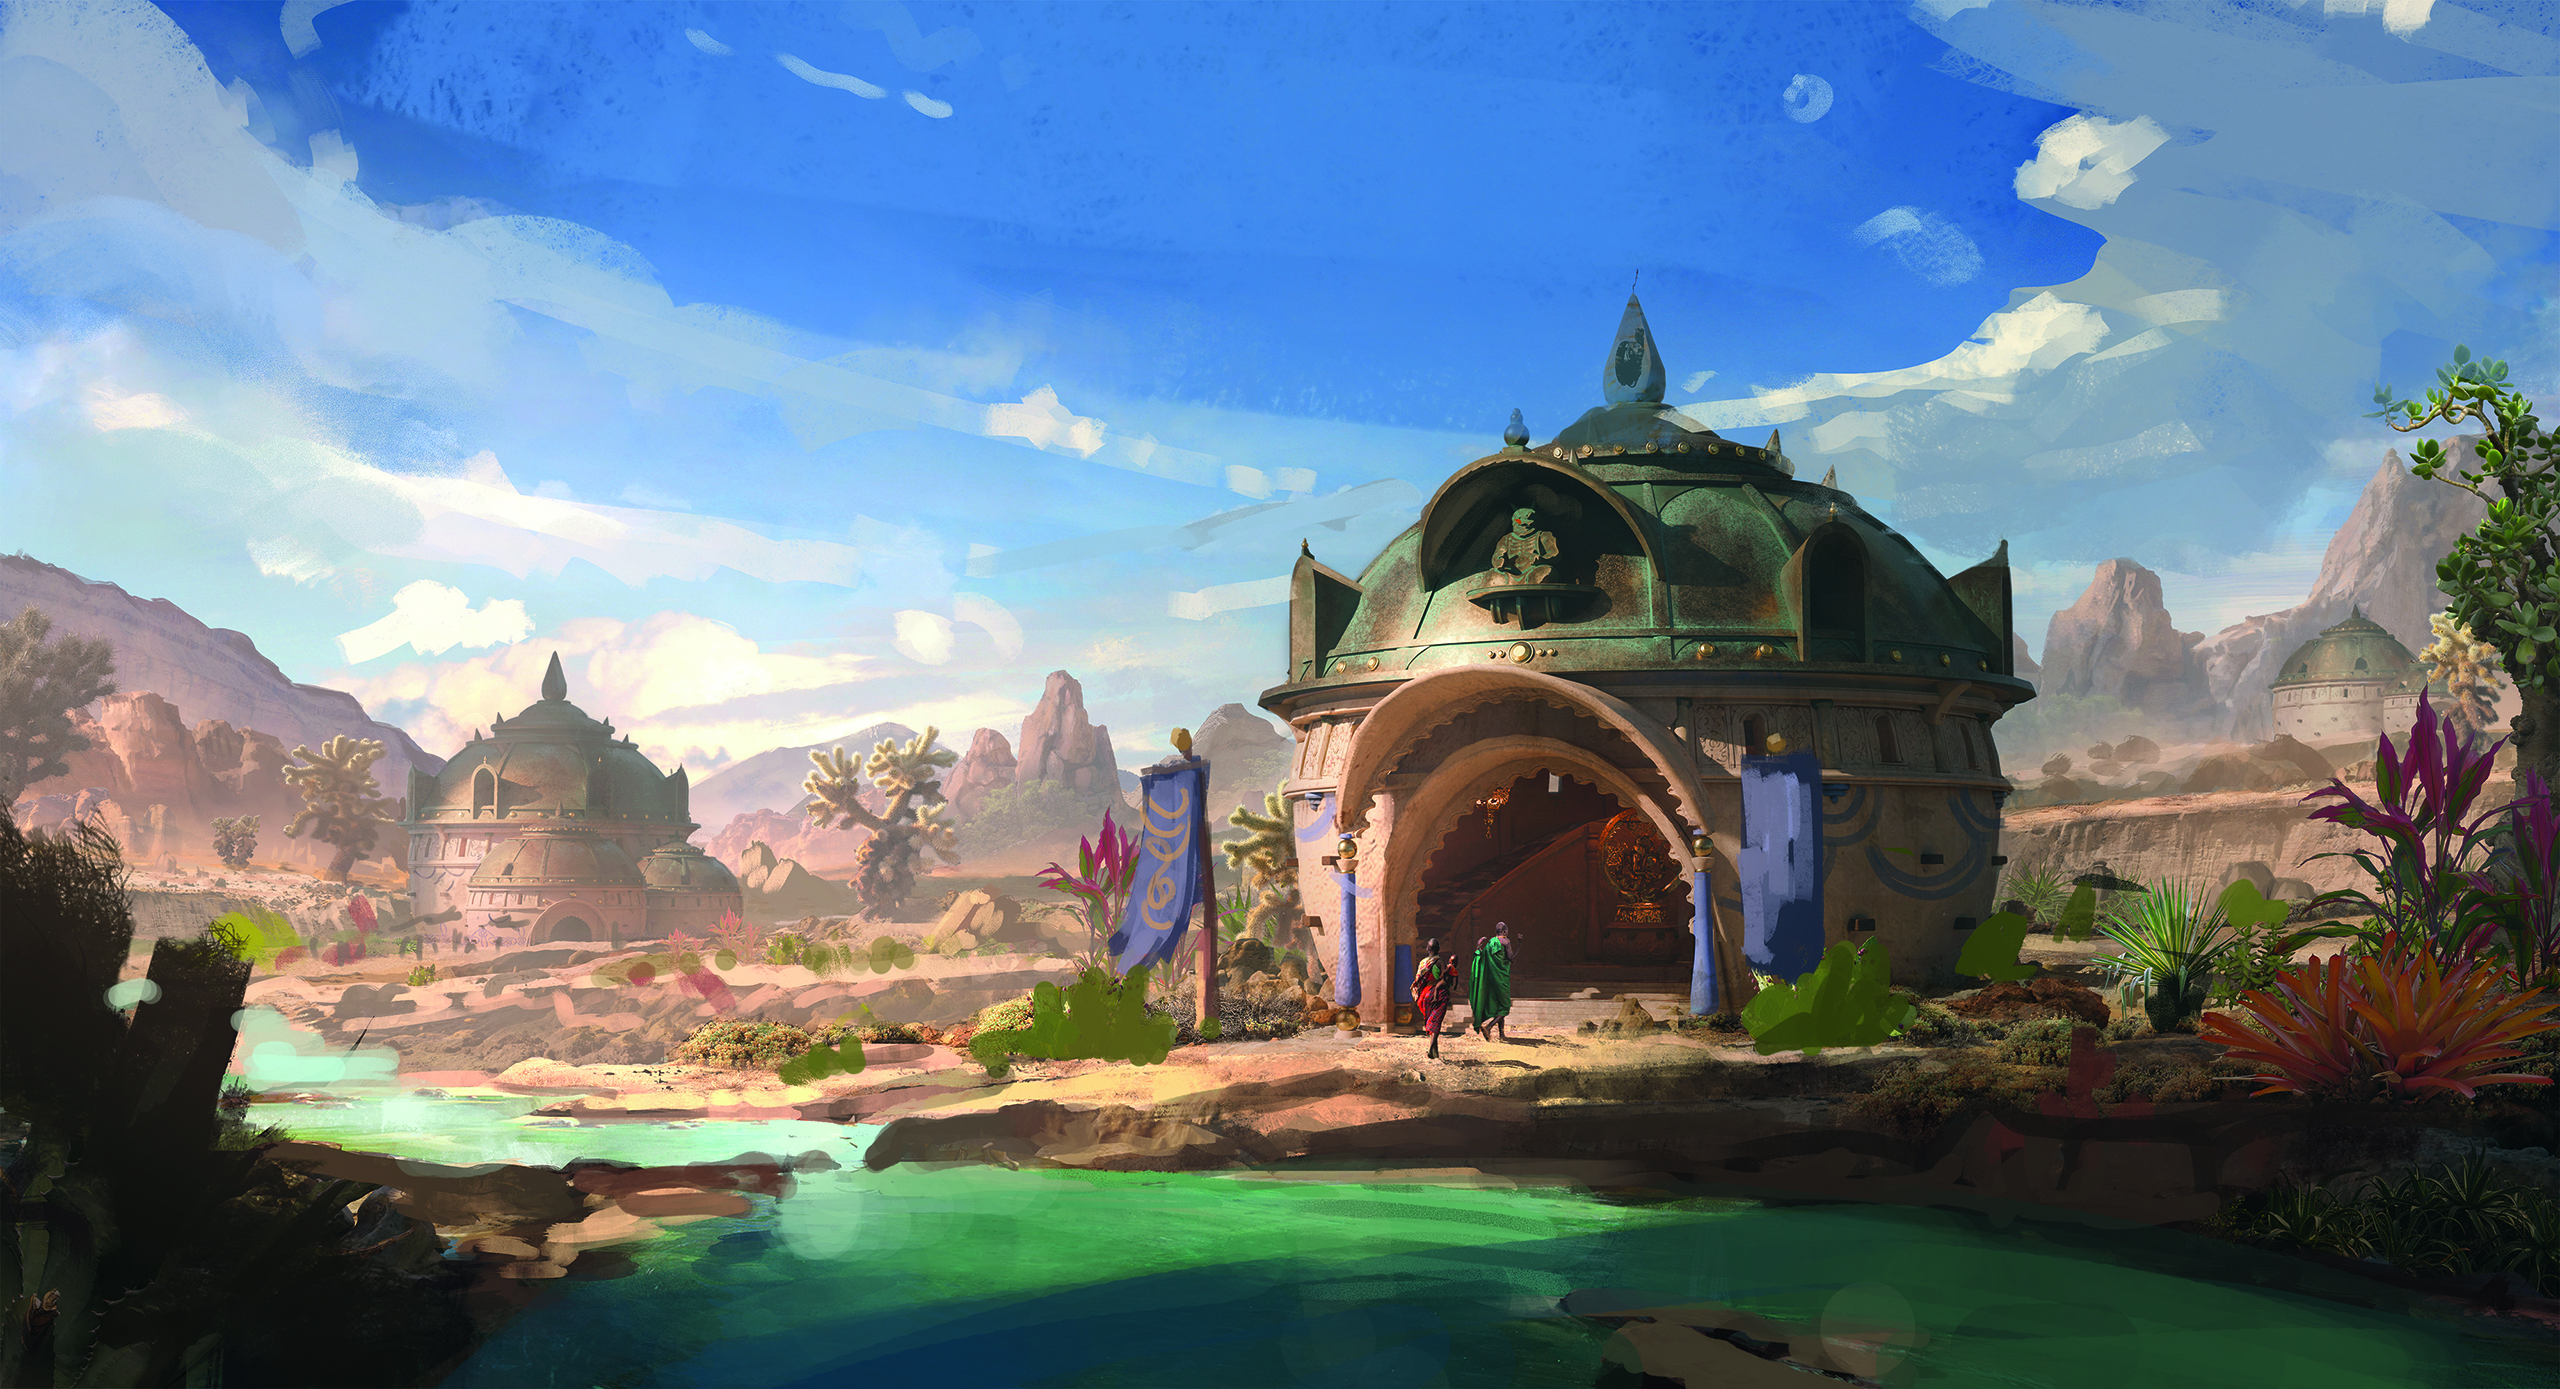
With large and detailed concepts, it’s easy to get lost and not know what direction is best when you’re working on it day after day. To beat this, every now and again I’ll paint over my work as if I was giving feedback to another artist, adding in some rough versions of the extra details, lighting effects and any colour adjustments, and then use that to guide my own next steps.
08. Develop the extra details in your scene
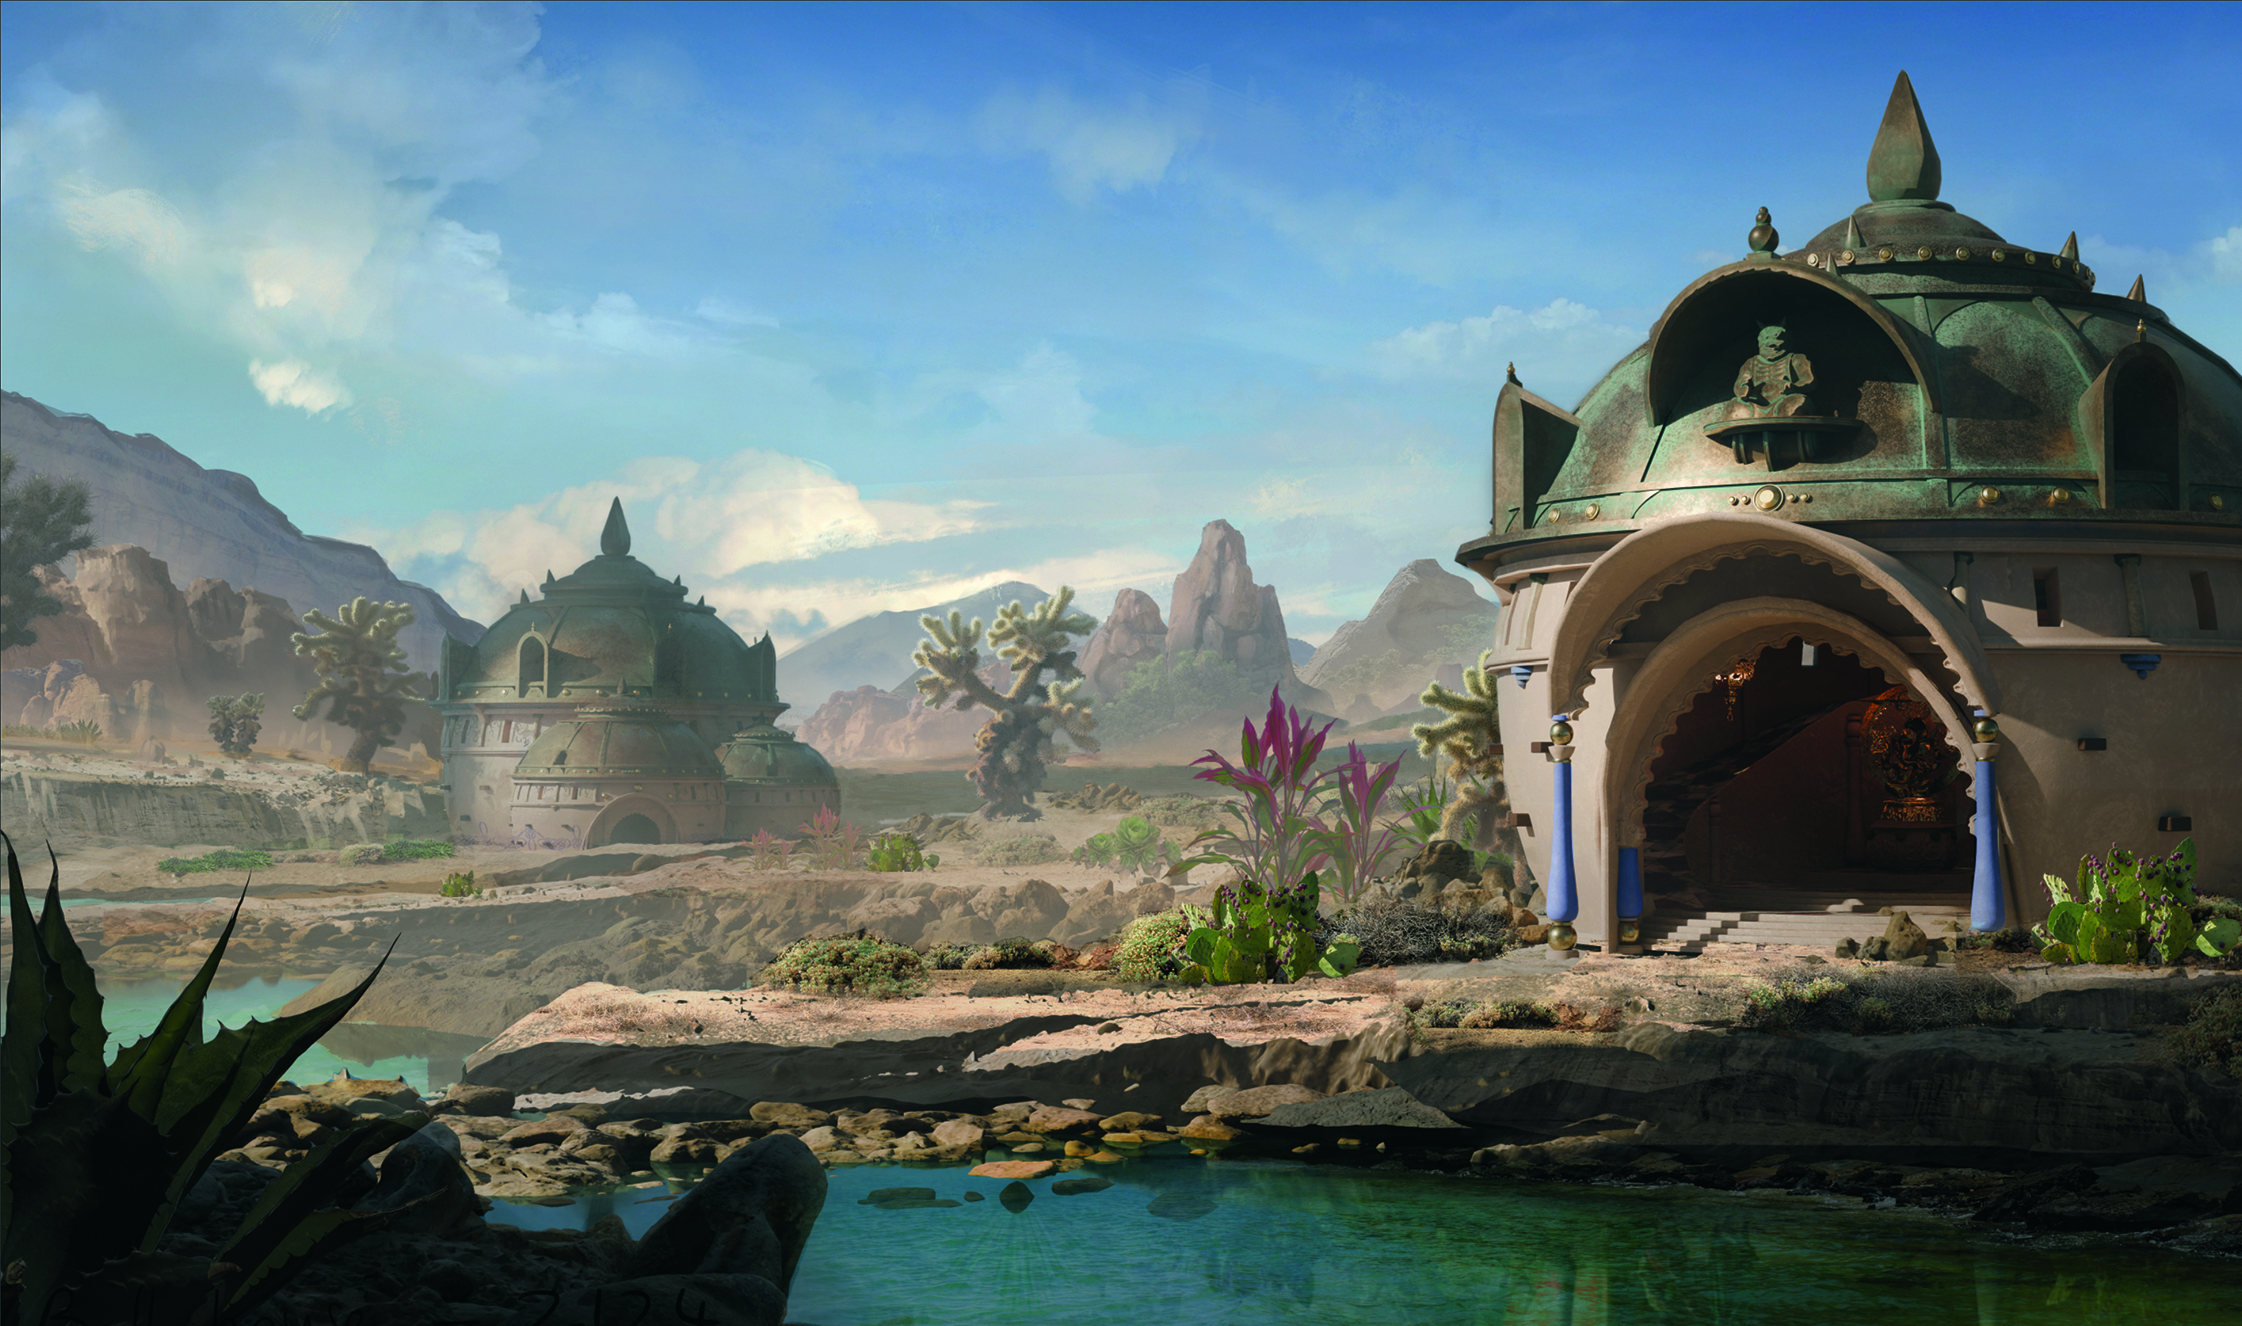
Now we can start adding in smaller rocks and plant life to make the world feel more alive and grounded. If you photobash, this is a good stage to bring those elements in, but remember to control the values and amount of detail so they don’t stand out. If your piece is more painterly, go to Filter>Noise>Median and then use the radius to precisely control the amount of photo-like detail.
09. Check the values
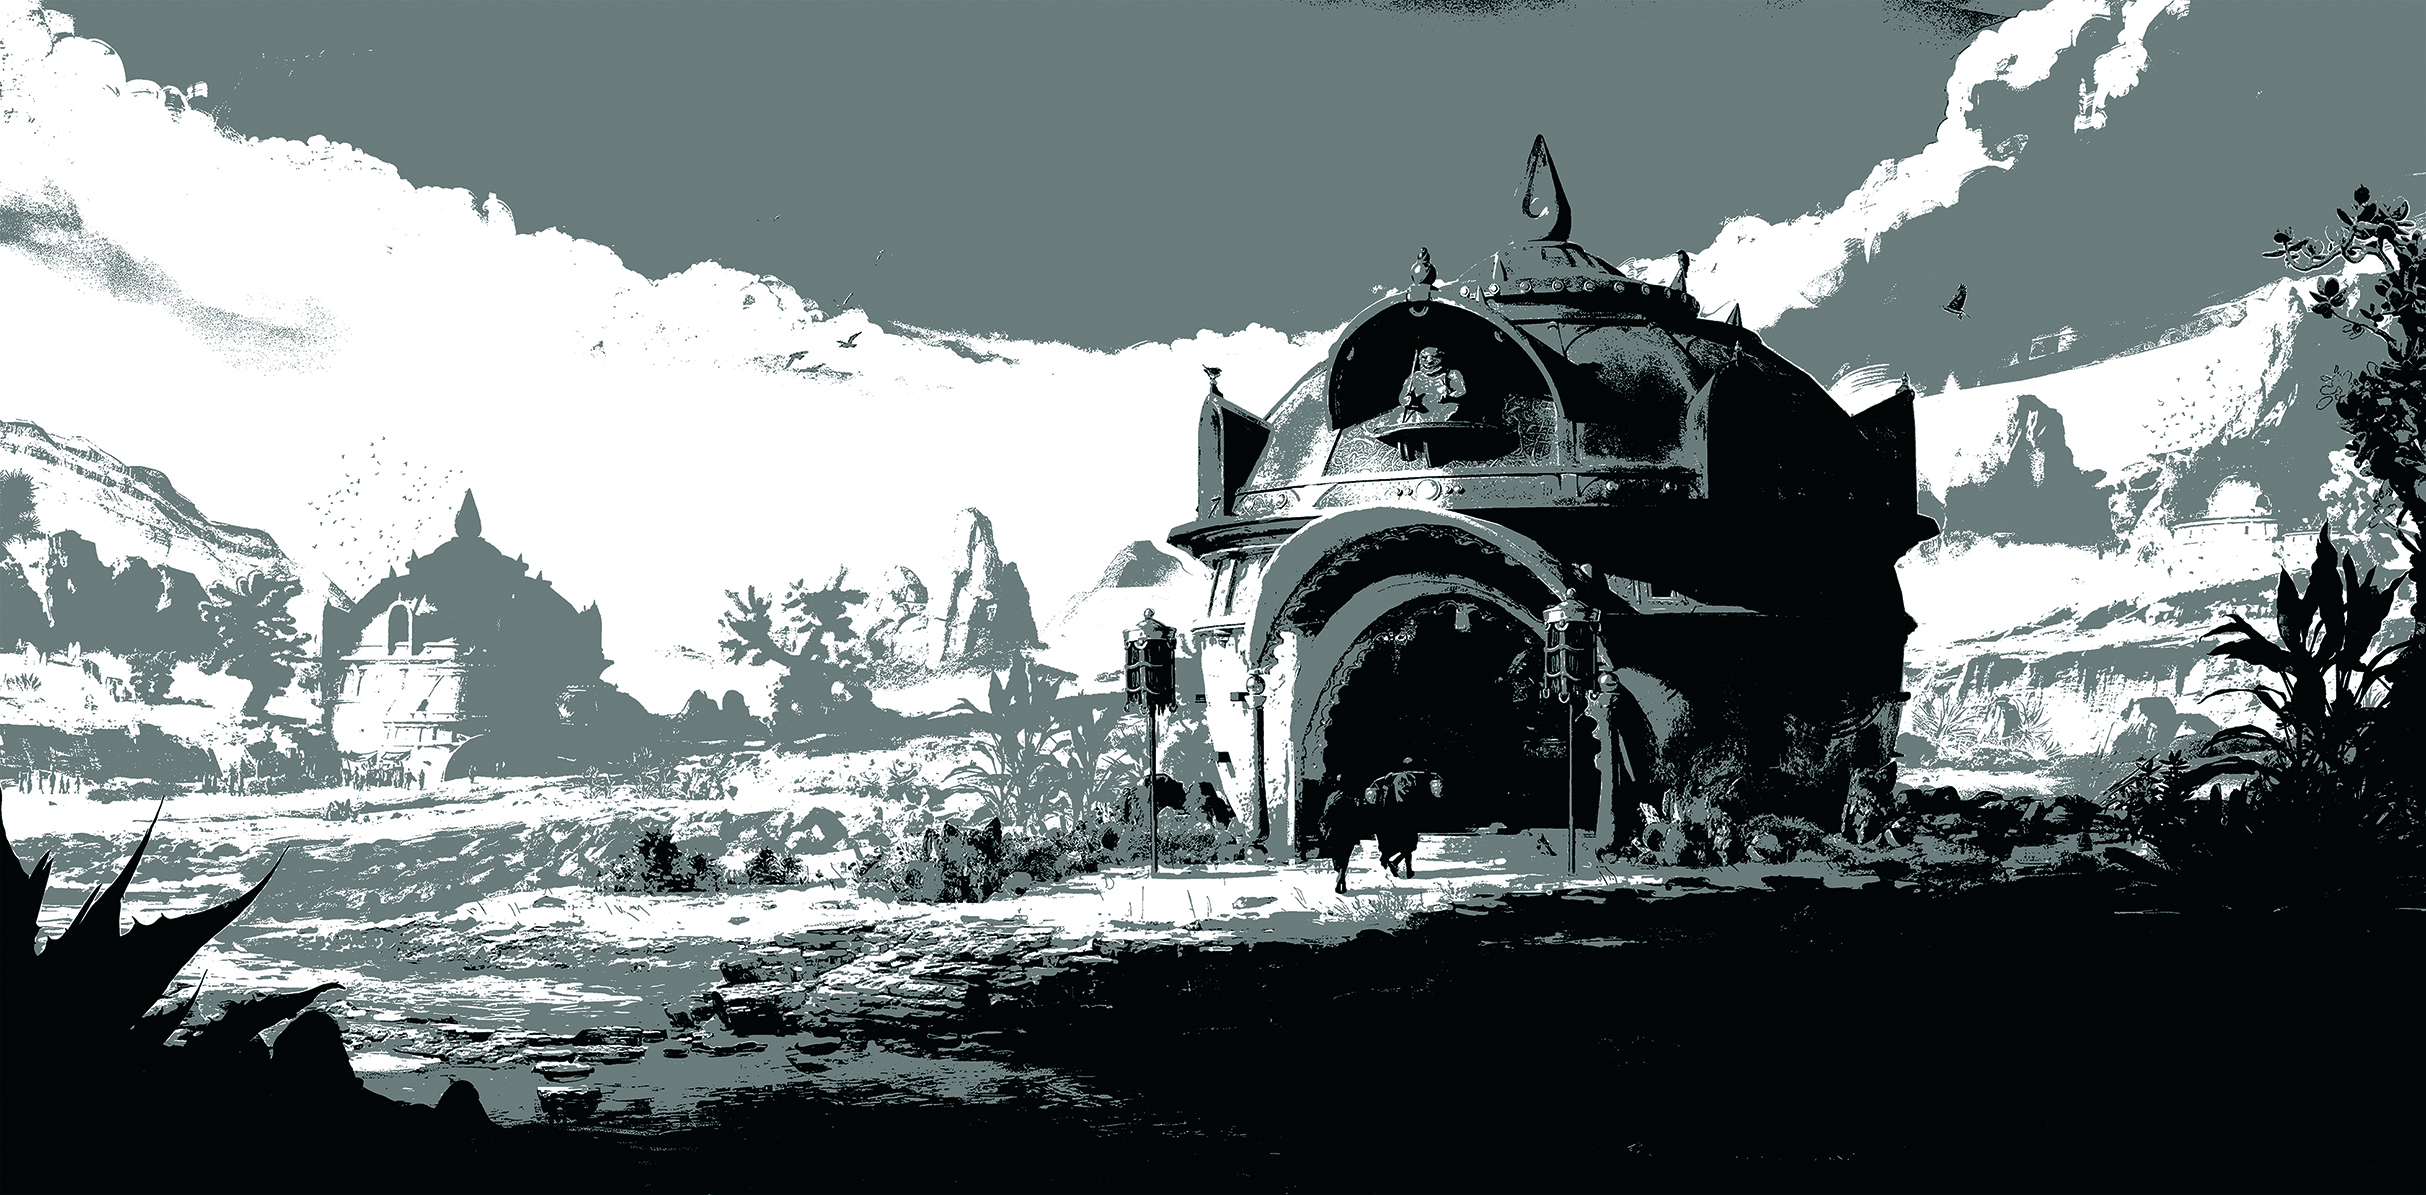
We have lots of elements to balance, so to make sure the values work, create a group with a black filled layer set to Colour mode, and a Posterize adjustment layer set to three levels. If the piece doesn’t read at 2-4 values, no amount of detail will help as the foundation isn’t there. Periodically check by unhiding this group.
10. Add atmosphere
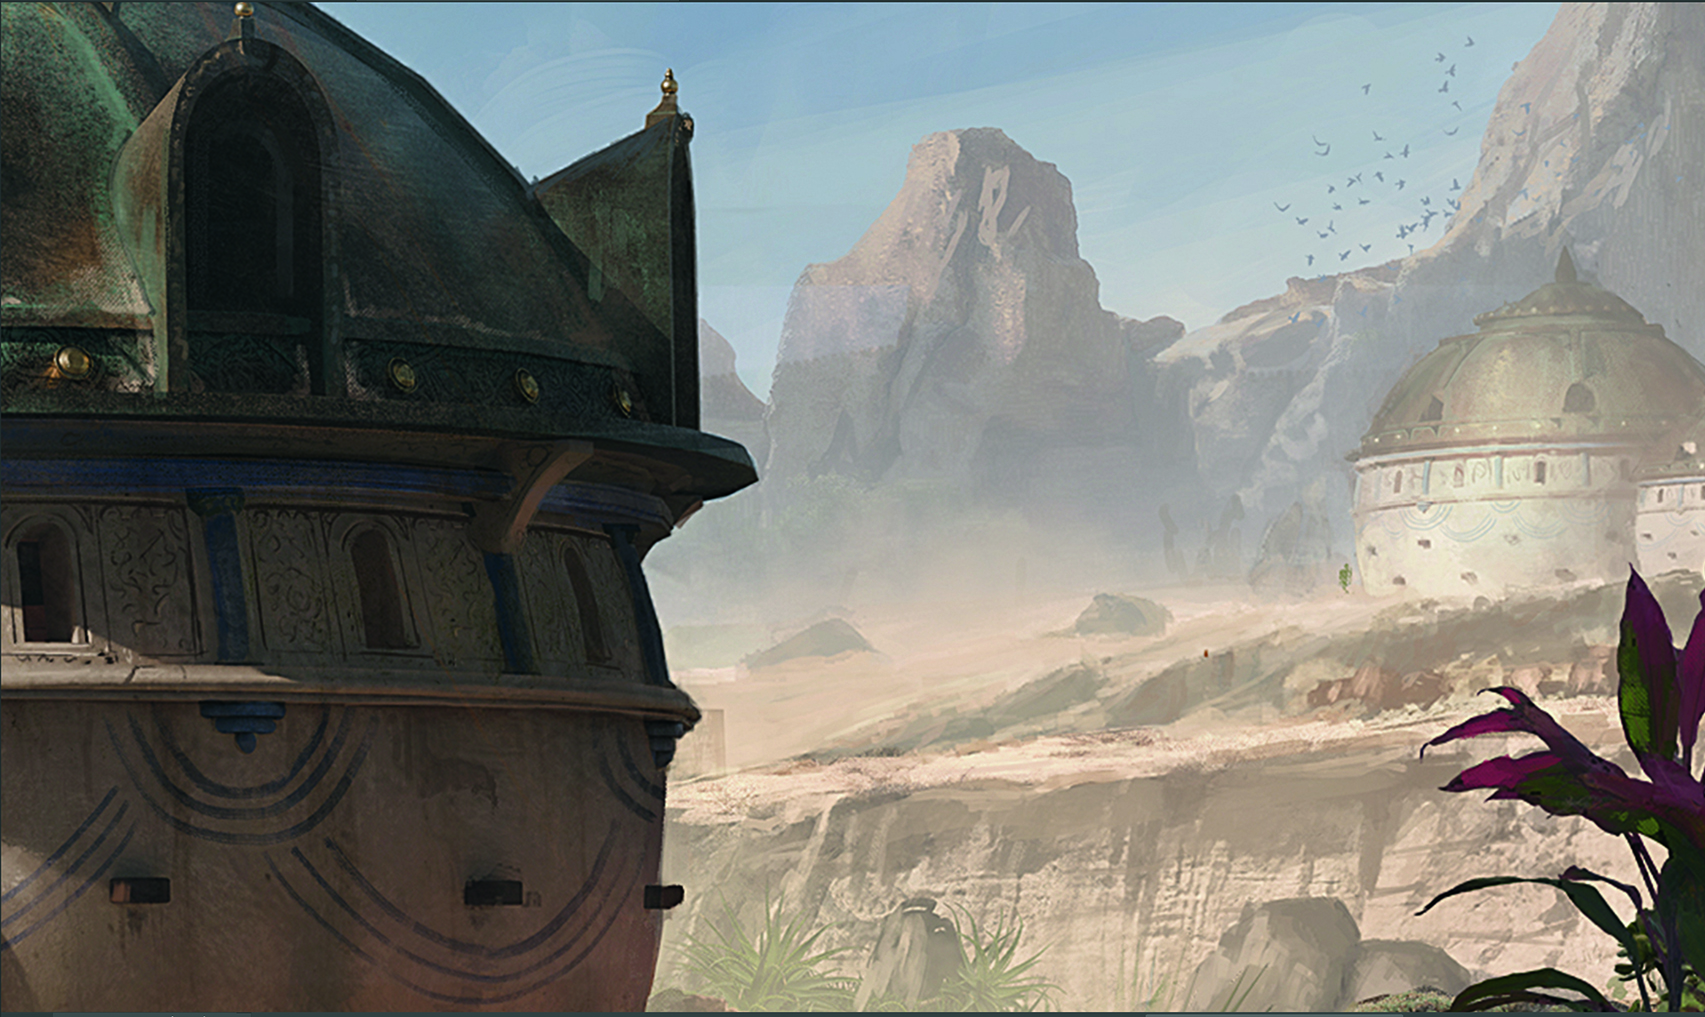
One of the best ways to control values is through atmospheric perspective. If your scene isn’t naturally hazy, dust clouds, steam or smoke can be great ways to push back areas you don’t want your viewer to focus on while enhancing your focal point. If it’s logical, it doesn’t need to be realistic – you have artistic licence, so use it!
11. Wear and tear
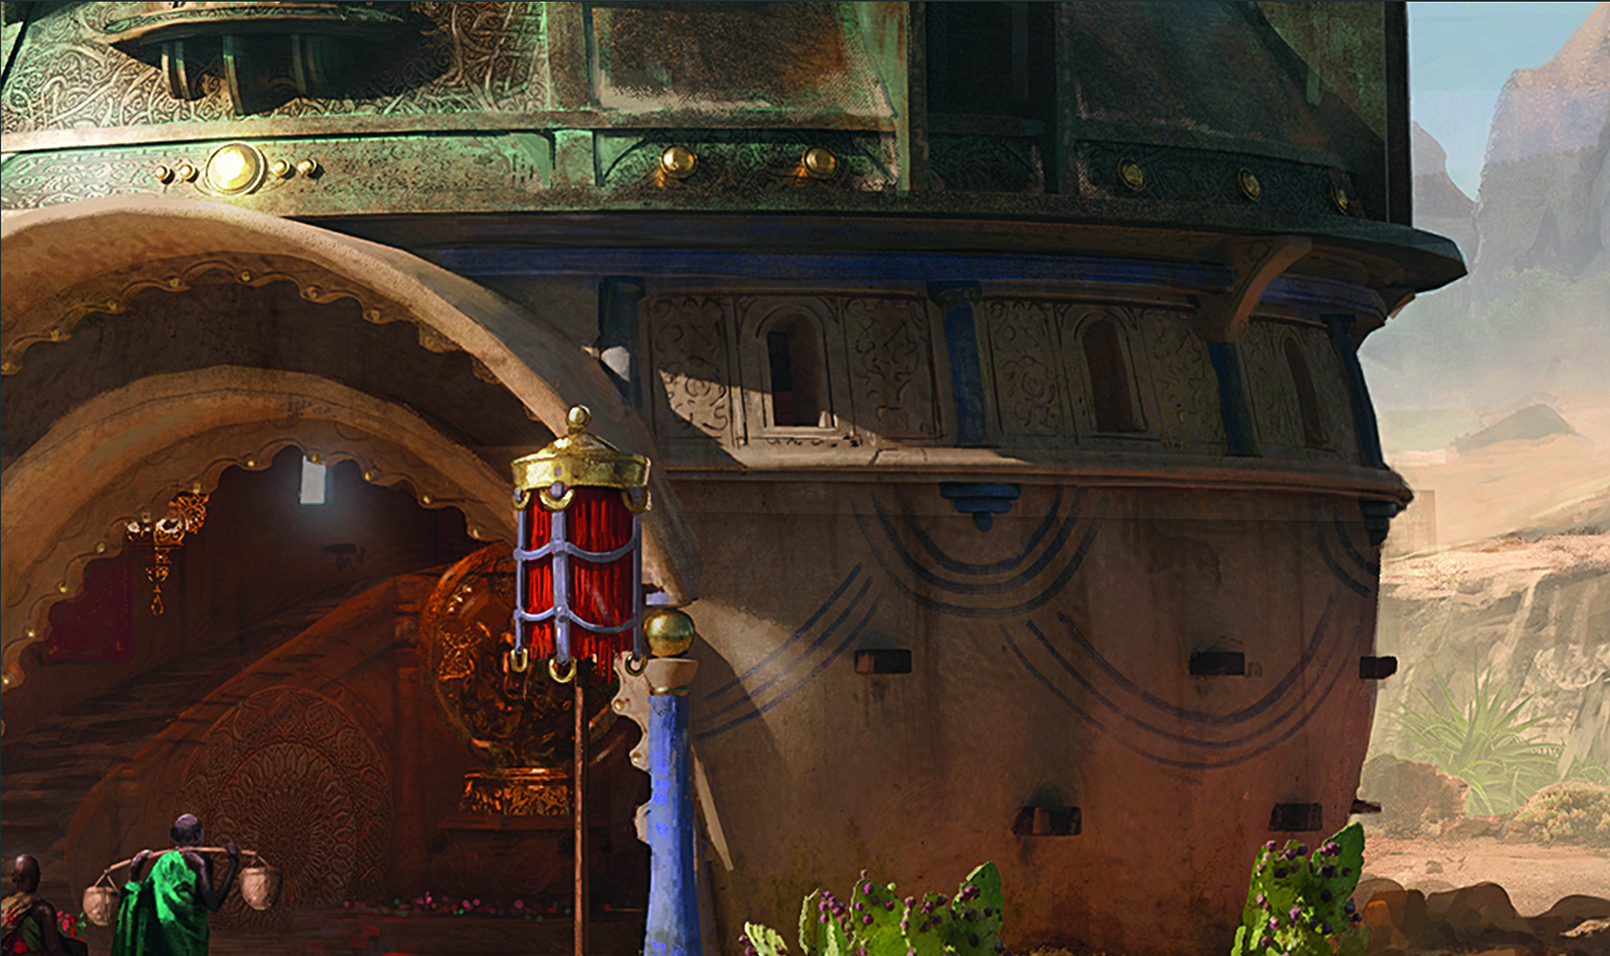
Adding in some wear and tear to objects near the end of the piece will ground your concept in the real world and make it feel more lived in. But don’t add it thoughtlessly; tell a story. What happened 100 years, 10 years, 10 minutes, or 10 seconds ago? Use these answers to guide what and where you add your damage and details, and don’t forget environmental conditions.
12. Use humans for scale
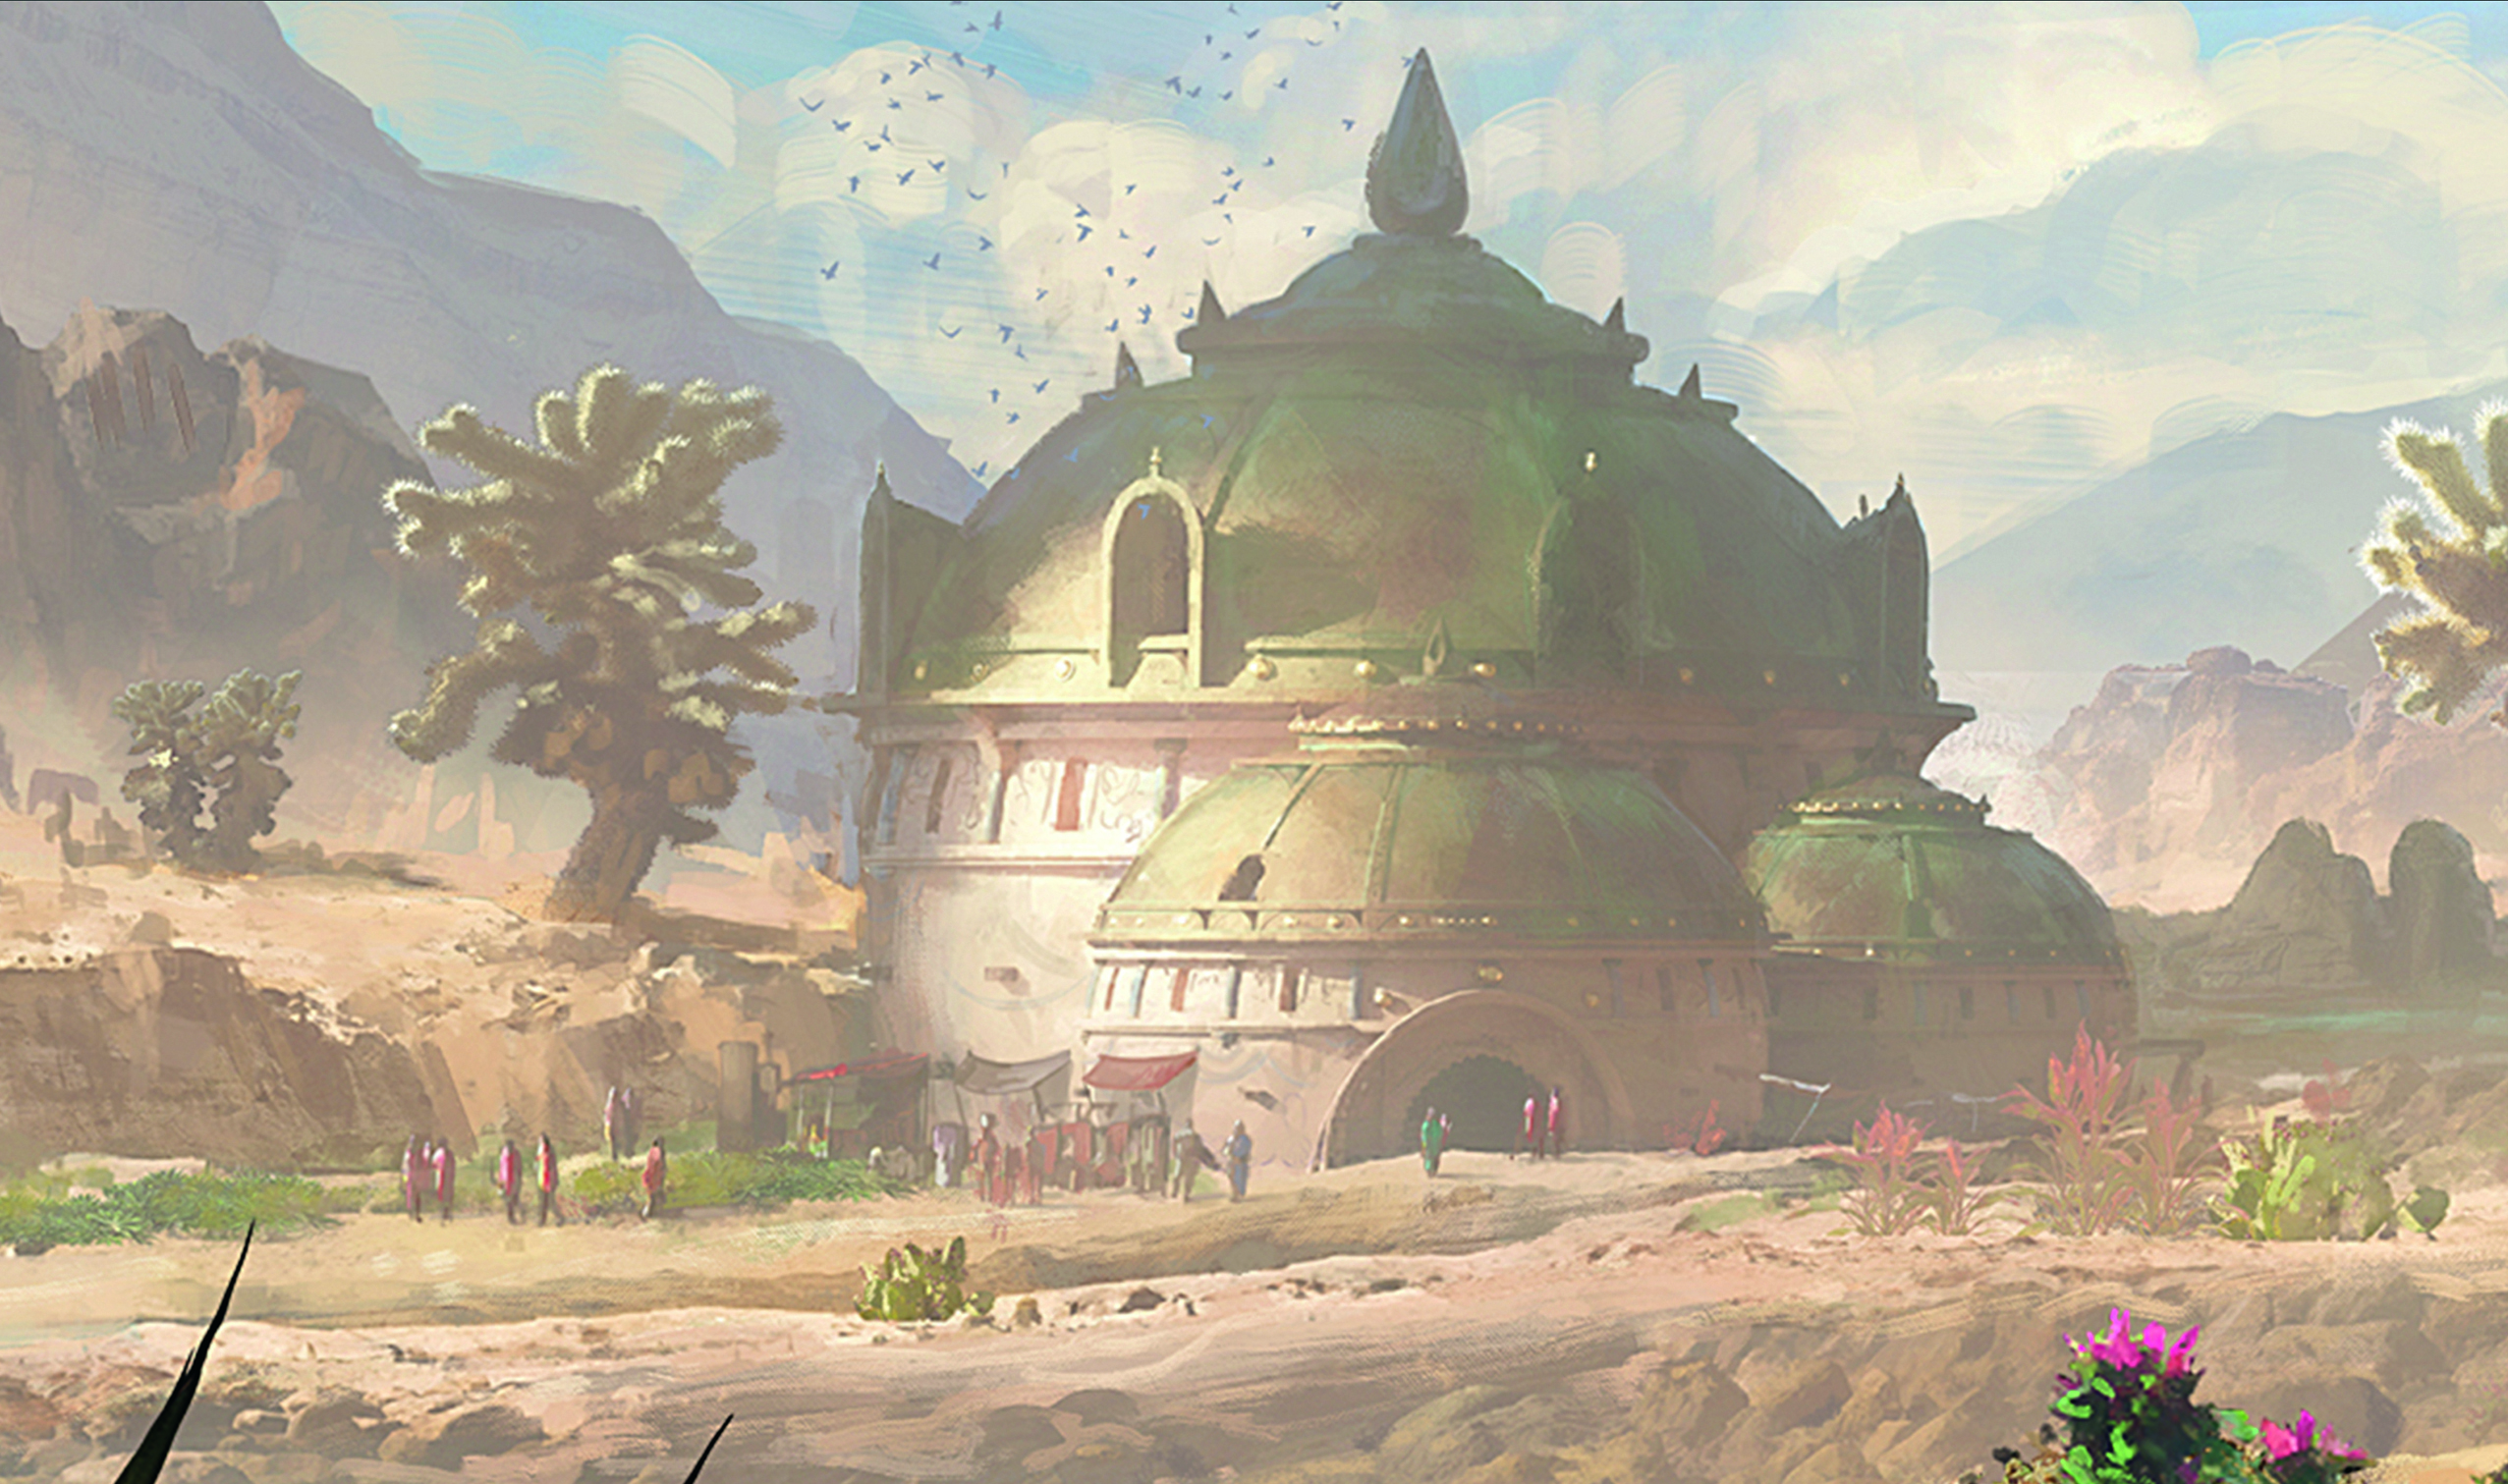
We all love the simple image of a guy with his stick, but you can use the people in your scene to make it feel more like a slice of life and tell a story. Ask yourself, what you would be doing in this environment. Making food? Sheltering from the weather? Sitting around while waiting for a friend? In my scene, people are carrying flowers to the shrine, collecting water, and going to the market.
13. Final adjustments
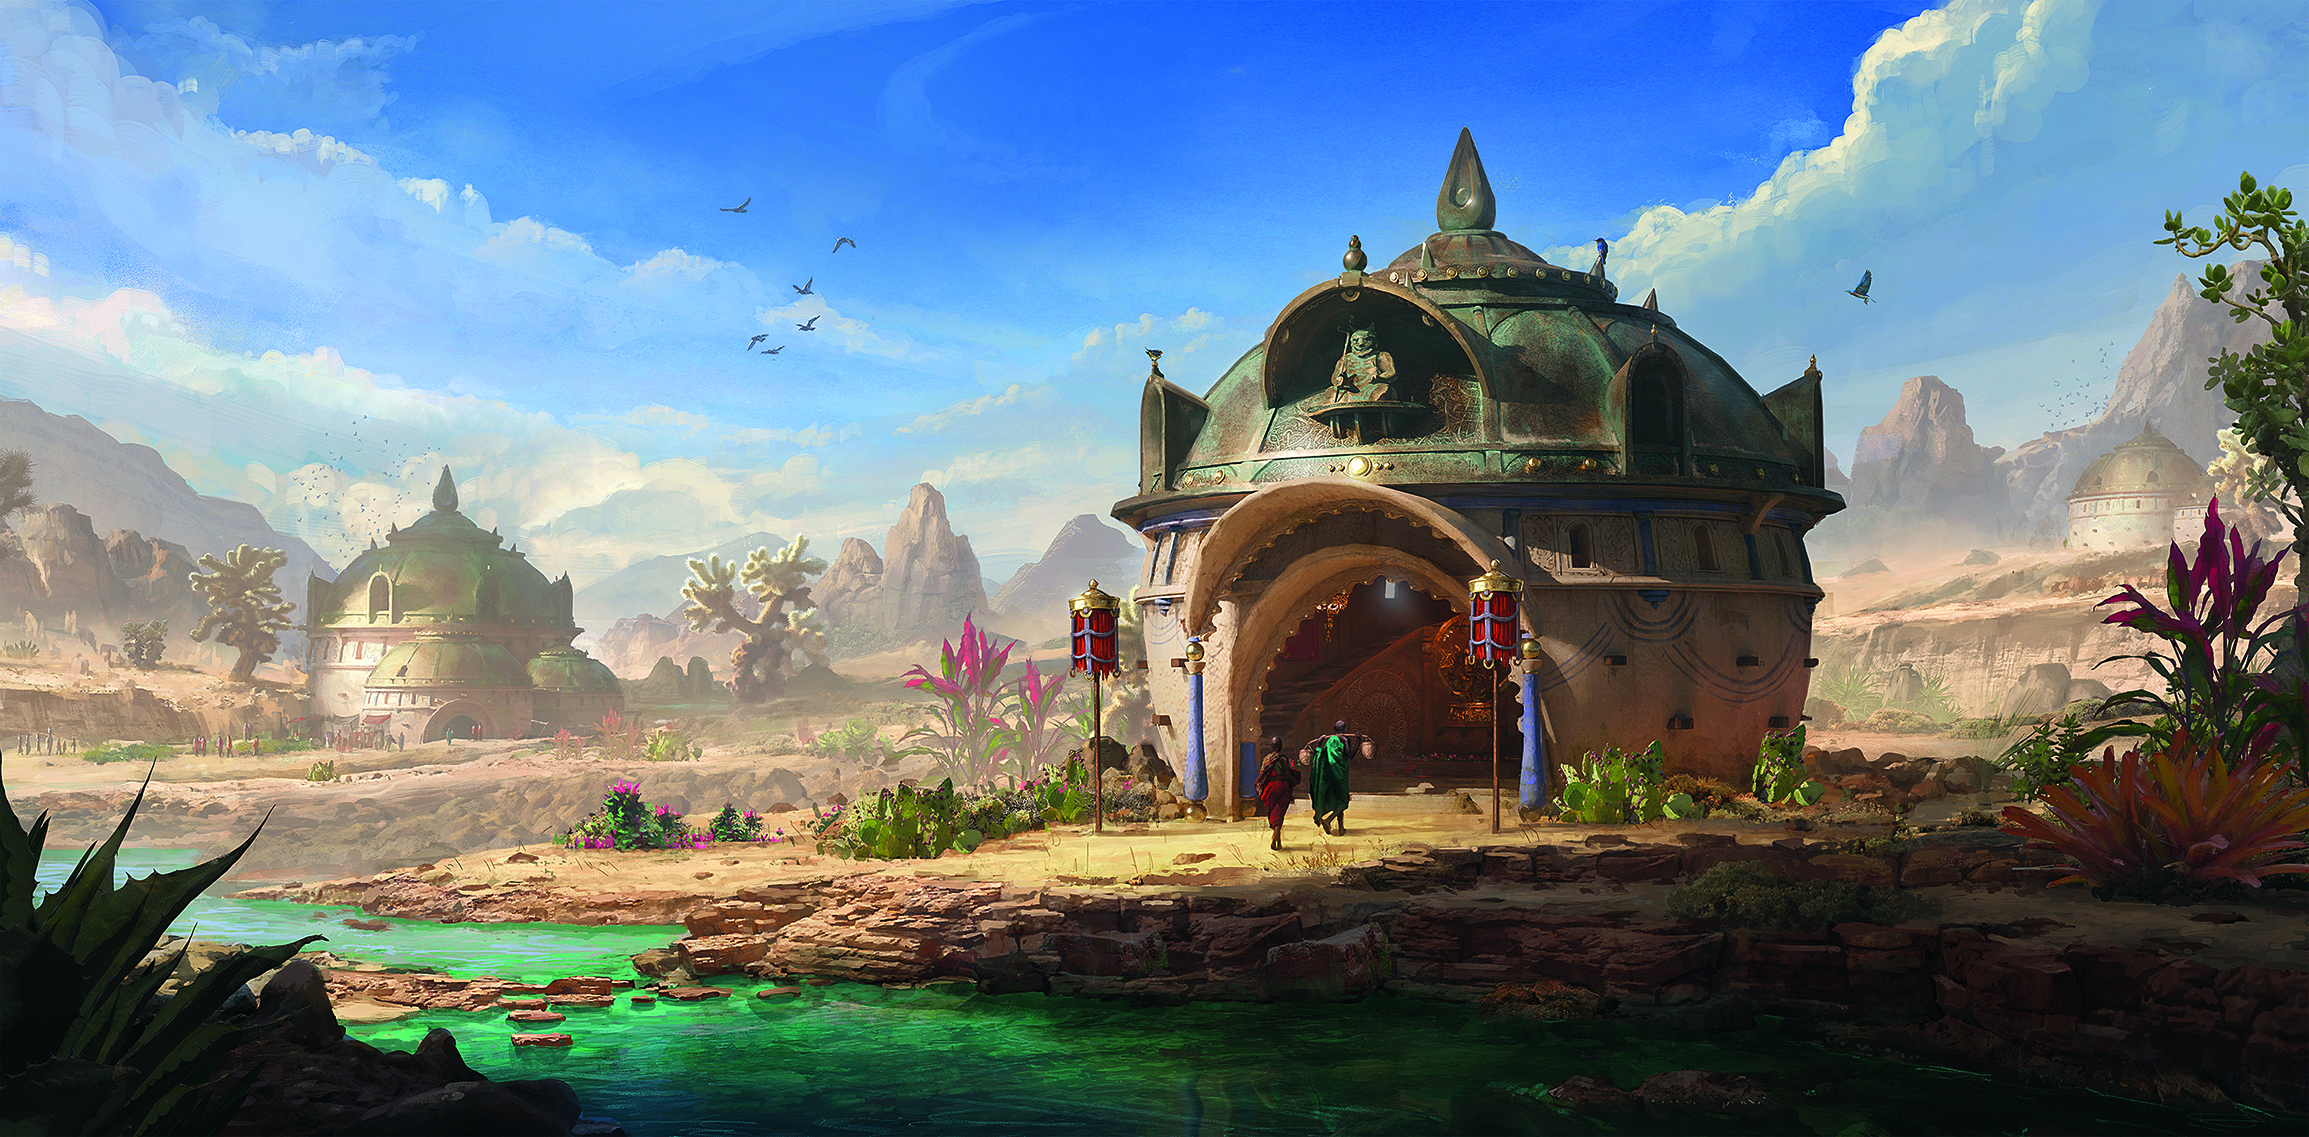
To enhance the lighting effects, we’ll add a Levels adjustment layer to make the highlights pop, and only fill the mask and paint back in where we want those highlights. Colour Dodge and Linear Dodge can also add bloom to your reflected highlights, fire or magic. Use these sparingly however, as it’s easy to make it look cheesy. Layer opacity of around 10% is your friend here.
14. Don’t forget the callouts
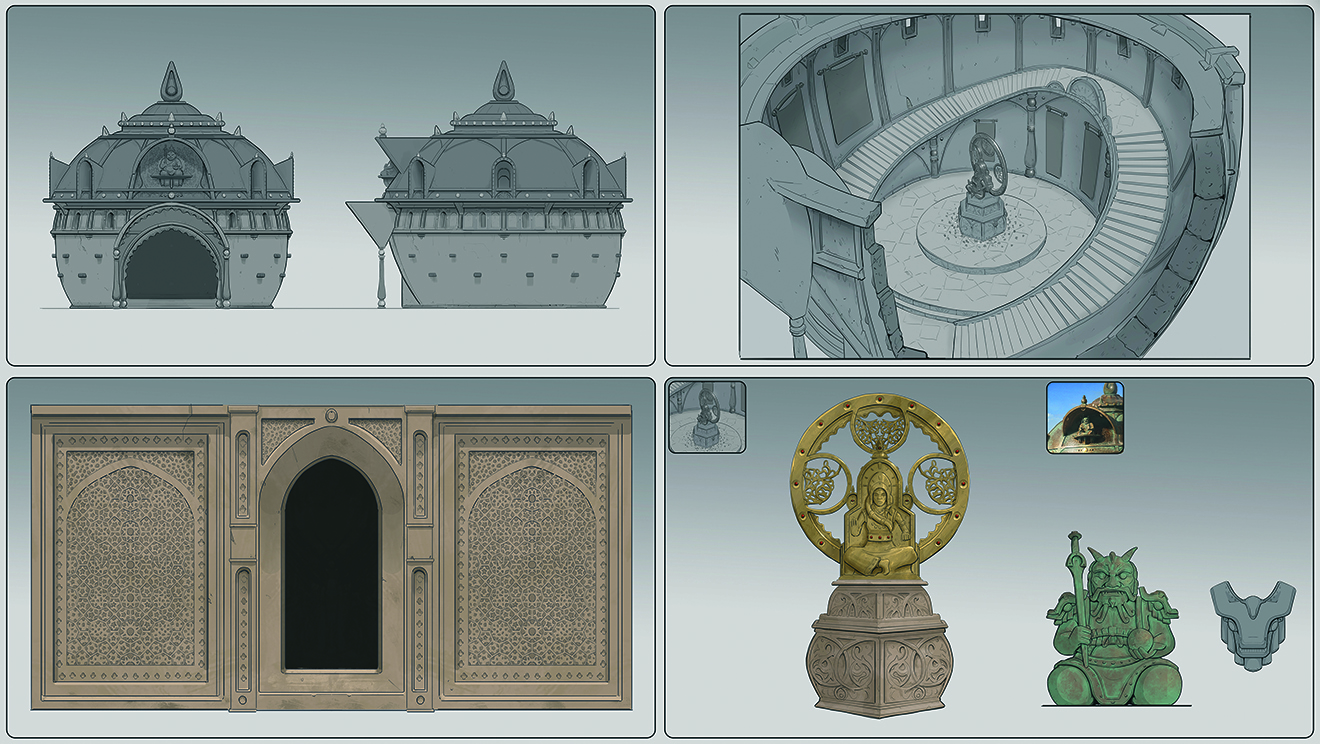
Callouts turn your piece from a pretty illustration into a usable concept, but are so often forgotten in junior artists’ portfolios. These will be the blueprint for the 3D artist to work from, so providing this clarity is key.
If you’re looking for a concept artist role, don’t ignore these; they’re almost more important than the main piece and show that you understand the task.
Final image
For inspiration, see our roundup of the best indie game developers. For more tips, see our piece on concept art fundamentals. We also have tutorials on how to design ships and vehicles for concept art and how to create an anime cyberpunk style.
This content originally appeared in ImagineFX magazine, the world's leading digital art and fantasy art magazine. ImagineFX is on sale in the UK, Europe, United States, Canada, Australia and more. Limited numbers of ImagineFX print editions are available for delivery from our online store (the shipping costs are included in all prices).
Sign up to Creative Bloq's daily newsletter, which brings you the latest news and inspiration from the worlds of art, design and technology.
Edward is a concept artist who primarily works on video games. He’s currently part of the team developing a variety of AAA games at Flix Interactive.
You must confirm your public display name before commenting
Please logout and then login again, you will then be prompted to enter your display name.

