How to paint fabric and metal textures that bring clothing to life in digital art
Enhance your art with 16 pro tips on painting materials for clothes and accessories.
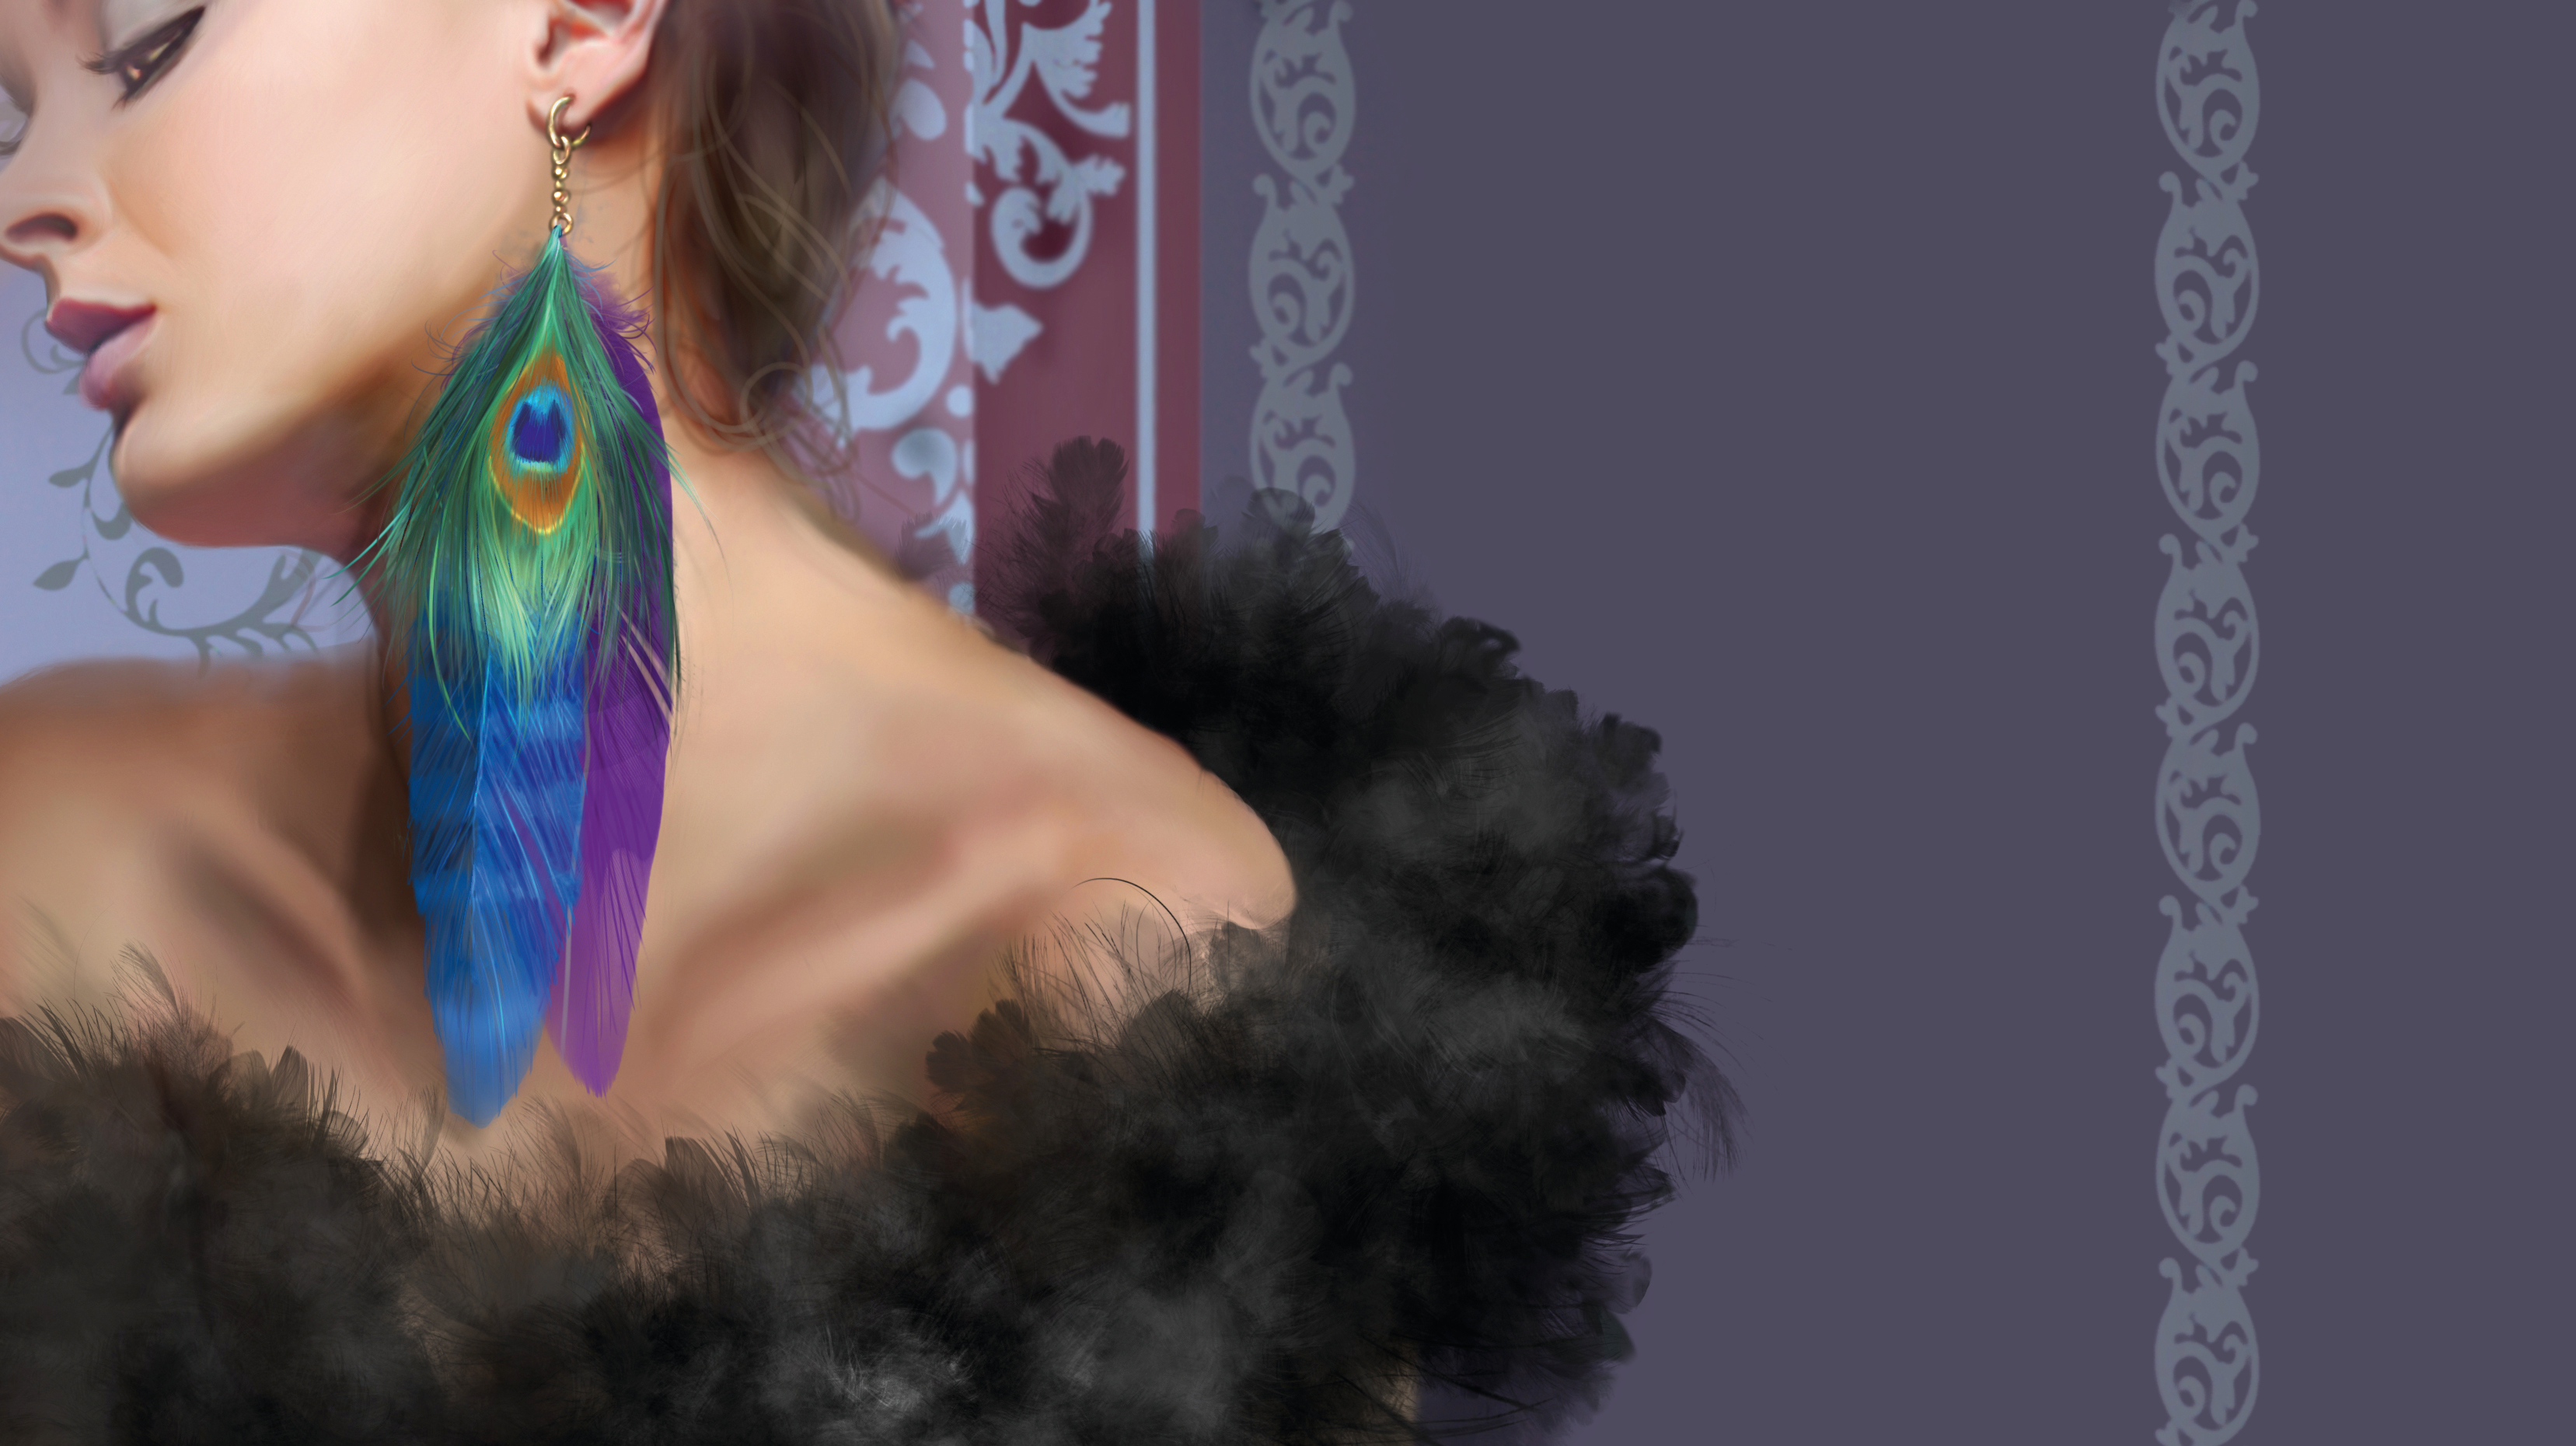
Details breathe life into artwork, making a scene feel immersive and believable. Every object you paint has weight, texture and purpose, and capturing those qualities is the key to strong visual storytelling.
In this tutorial, I'll guide you through illustrating a range of materials, including how to paint fabric and metal textures – both organic and man-made – so you can depict realistic clothing and accessories in your digital art. We’ll explore how texture, colour, and shading help distinguish materials, and how patterns interact with form and light.
You’ll learn how fabric folds reflect weight and structure, from soft, flowing chiffon to structured denim, and how metal’s reflectivity and surface behaviour enhance realism, especially in accessories or armour.
If you need new software to use the tools I mention, see our guides to the best digital art software and the best drawing tablets. As you incorporate these materials into your scene, keep in mind their narrative function. Materials aren’t just aesthetic – they can suggest a character’s status, the setting’s time period or cultural context. Every visual detail should have intent.
01. Satin
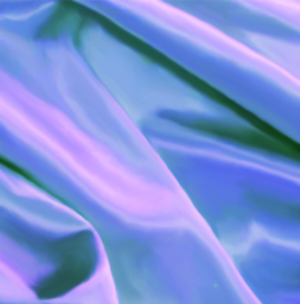
This material is easily recognisable by its glossy surface and dull back. It’s a heavy fabric and drapes very well. Paint soft, curvy folds with the highlights at the top of each fold. Due to its lustre, the material will absorb some colour from its surroundings, so use variation of shades while painting satin. Make the most of smooth blending techniques – the fabric has to appear smooth. For best results, use low opacity airbrushes.
02. Velvet
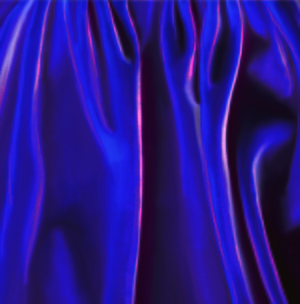
The smoothness and shininess that velvet is well known for is caused by the tiny fibres that stick out of the fabric. I find that using a speckled brush during the finishing stages enables me to mimic this fibrous texture. The smoothness and shininess that velvet is well known for is caused by the tiny fibres that stick out of the fabric.
I find that using a speckled brush during the finishing stages enables me to mimic this fibrous texture. The best way to recreate velvet on the canvas is to paint the shiny parts on the outside of the fold, rather than the top of the fold as you would for silk or satin.
03. Feathers

There are many shapes, sizes and colours of feathers, depending on the bird that they came from. Feathers used for writing are large and thick stemmed, with a well-defined shape. Begin by painting the general shape first followed by the stem (it’s thicker at the base, becoming slimmer towards the tip).
At the end, define the inner and the outer barbs in uniformed fashion. Ostrich and peacock feathers are mostly used as fashion accessories because of their softness and elegance. Use an airbrush to paint the base, and small Hard round brushes to paint the long curved strands.
04. Fur

Even though fur can be organic or synthetic, it still resembles human hair. To paint fur, you can use a speckled brush and paint one area at the time, following with a small, Hard Round brush for individual strokes. You can also use custom fur brushes to speed up the process. Here, I’ve used a custom fur brush followed by a Hard Round brush for fine strokes at the top. Make sure to alternate your colour shades in the process, depending on the type of fur that you’re trying to mimic.
05: Plaid
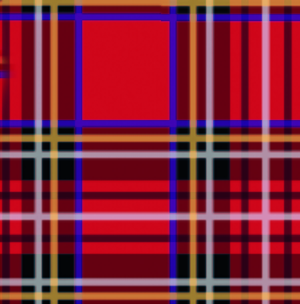
This woven cloth has a tartan pattern, consisting of criss-crossed horizontal and vertical thick lines in a myriad of colours. The fabric appears somewhat fuzzy due to the texture of the wool fibres. For the best result, work on one section at a time rather than all of it at once. Paint this material using soft brushes with light strokes; pattern lines should always follow the lines of the folds.
06: Chiffon
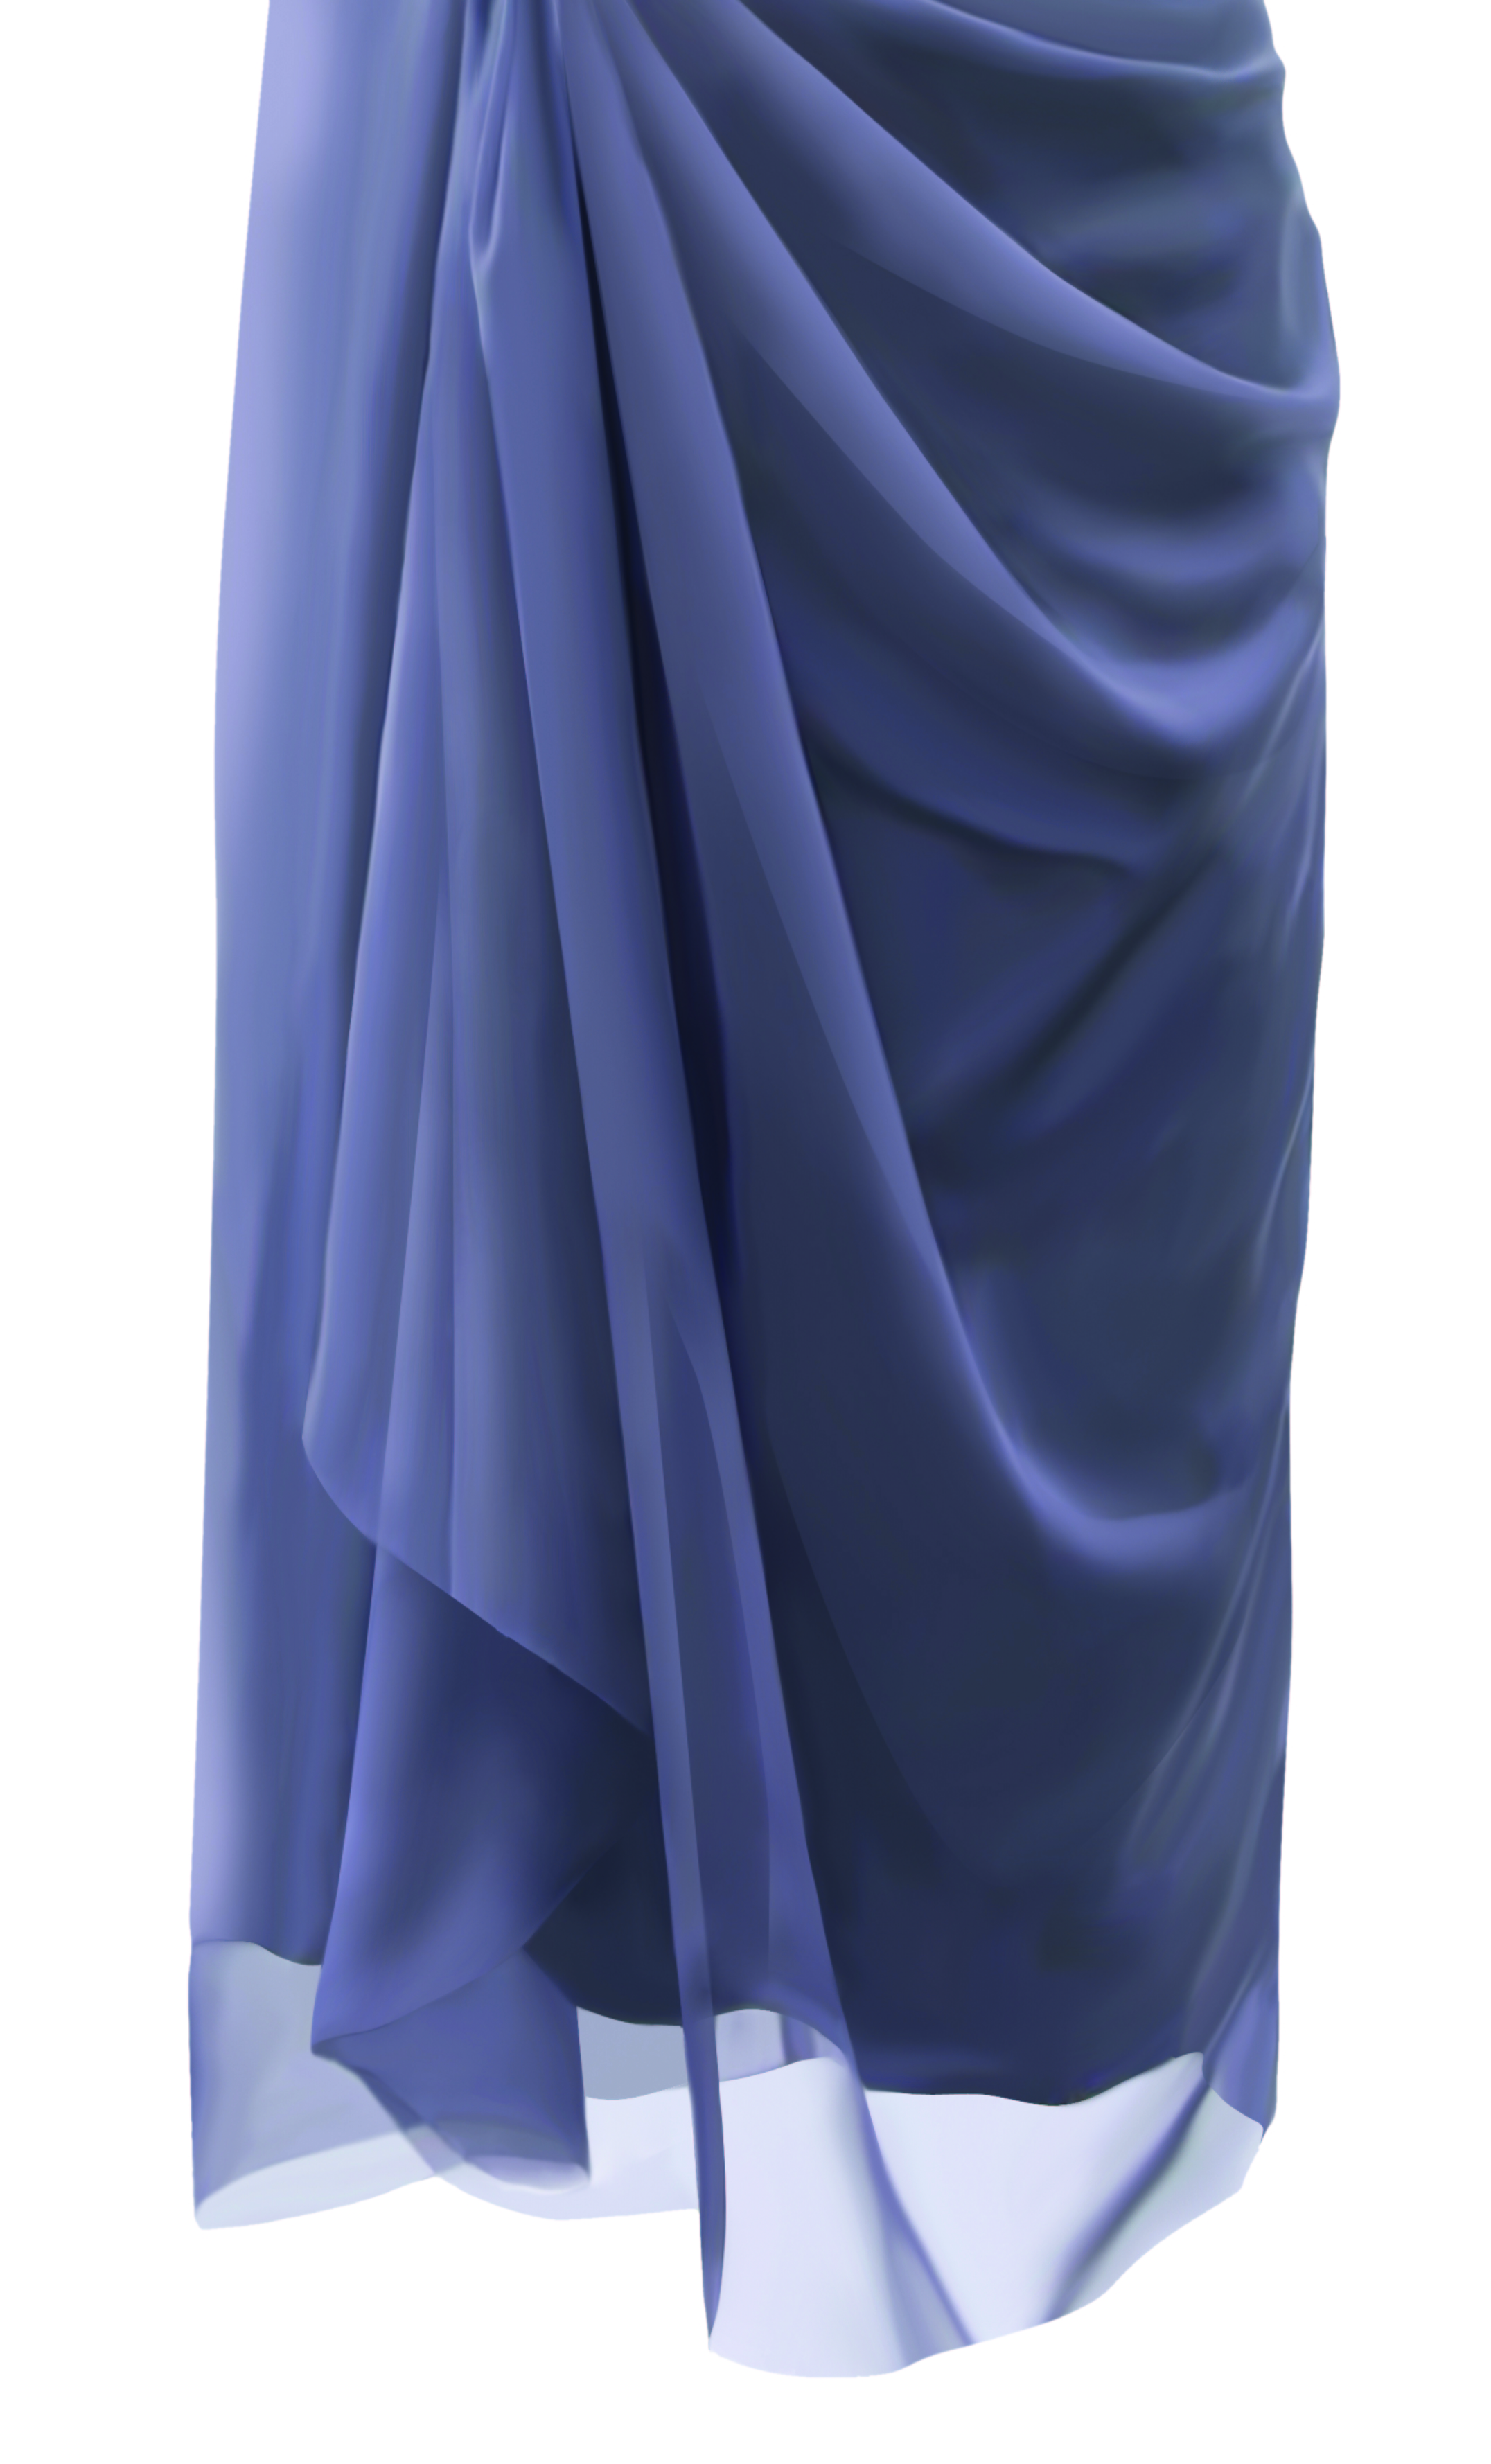
This fabric is woven into a very fine mesh, which appears smooth to the eye. Its lightweight and sheer structure makes this fabric resemble foam. To paint this material, use brushes set to between 30 and 40 per cent Opacity and utilise a lot of layers.
Retain more transparency in the centre and less on the edges. When overlapped, the transparency of the fabric will give the impression of depth. If you’re unsure of how the fabric will overlap to create folds, check out some reference photos while you paint.
07: Denim
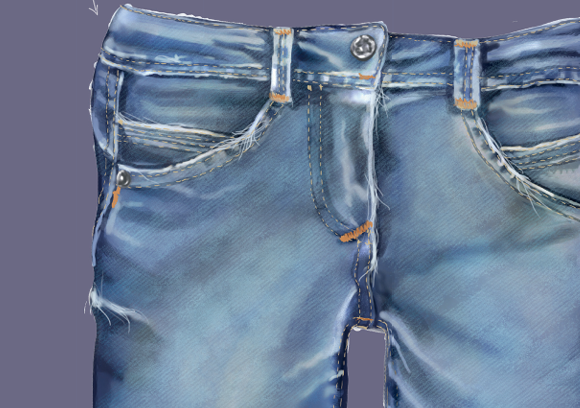
When you paint denim, you have to remember that this material is made out of woven yarn, which creates diagonal groove lines across the fabric. It’s dull in appearance and usually quite thick. For greater realism use variations of colour and tone during the painting process to mimic faded areas. This is a great opportunity to use custom texture brushes to paint the grooves, and small brushes to paint the wear and tear.
08: Latex
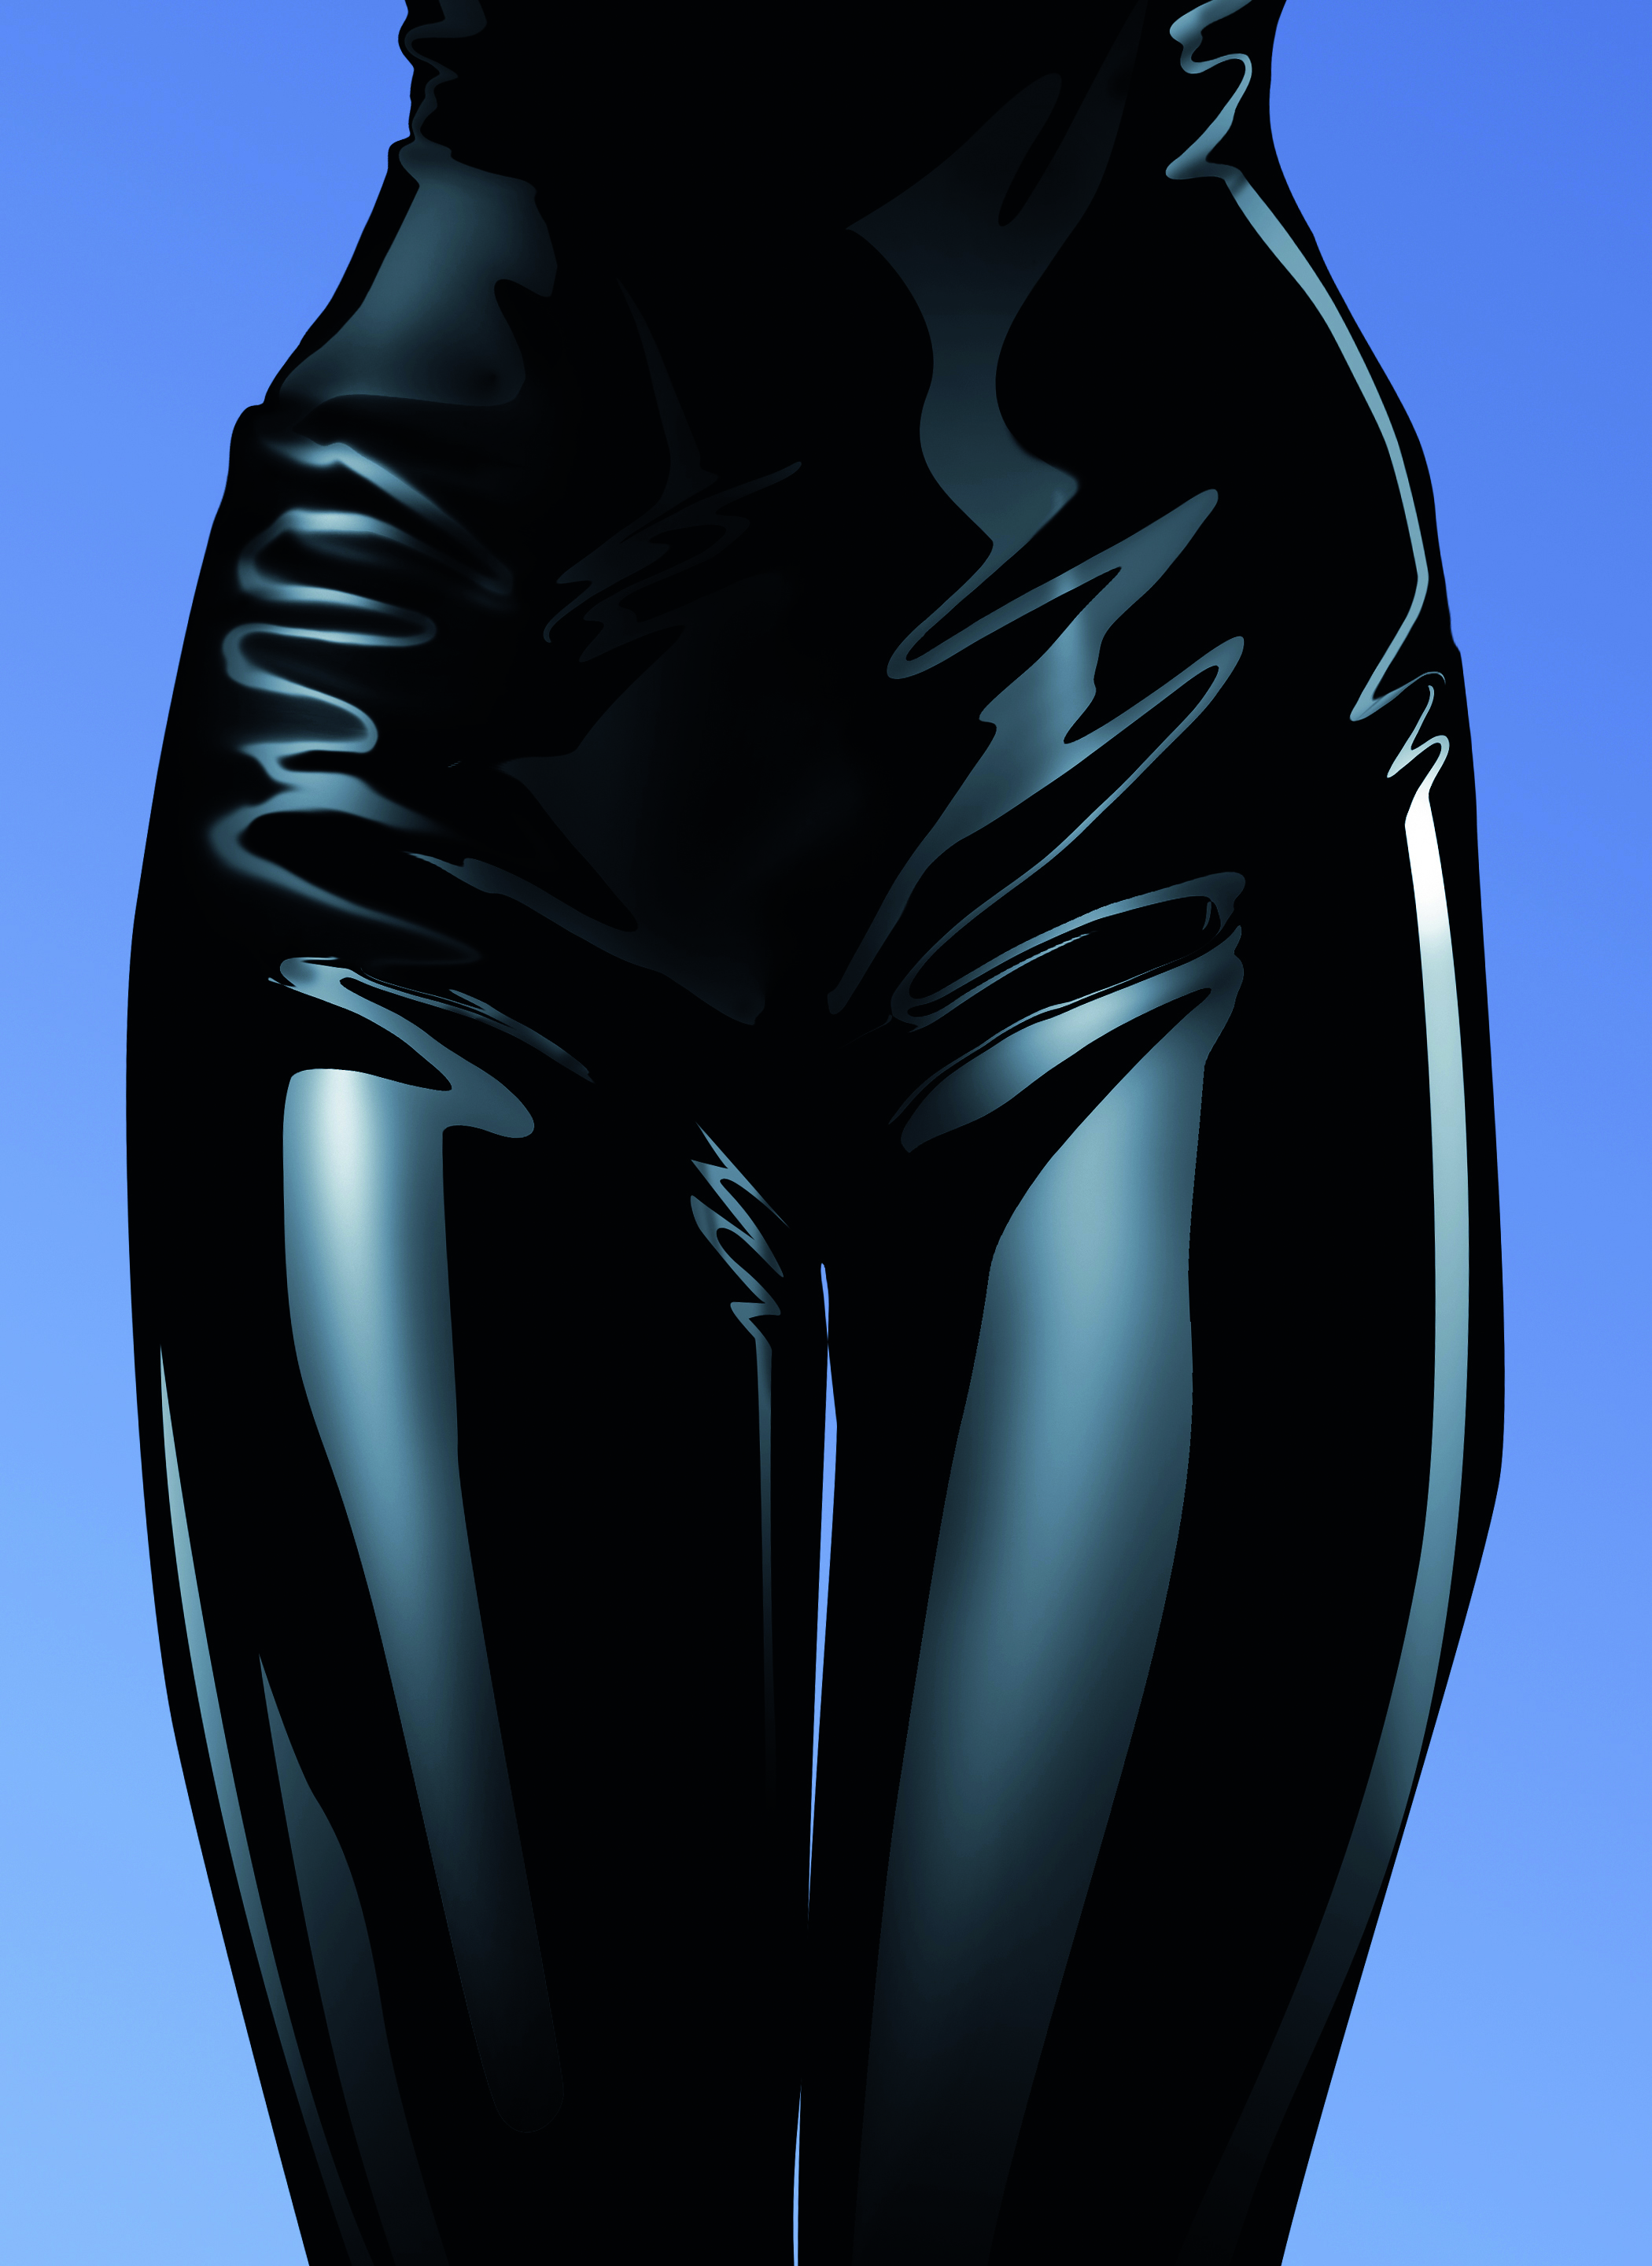
Depending on its use, this material can either be highly reflective or have a matte finish. It’s stretchy and closely conforms to the shape of its wearer. When stretched over a surface, it creates a great numbers of folds, which are somewhat flat and small. Use a Pen tool for the reflective parts, in combination with gradient filling.
To make the material appear to stretch over the surface, use either the Liquify filter or the Smudge tool, but do so sparingly.
09: Wool-knitted textures
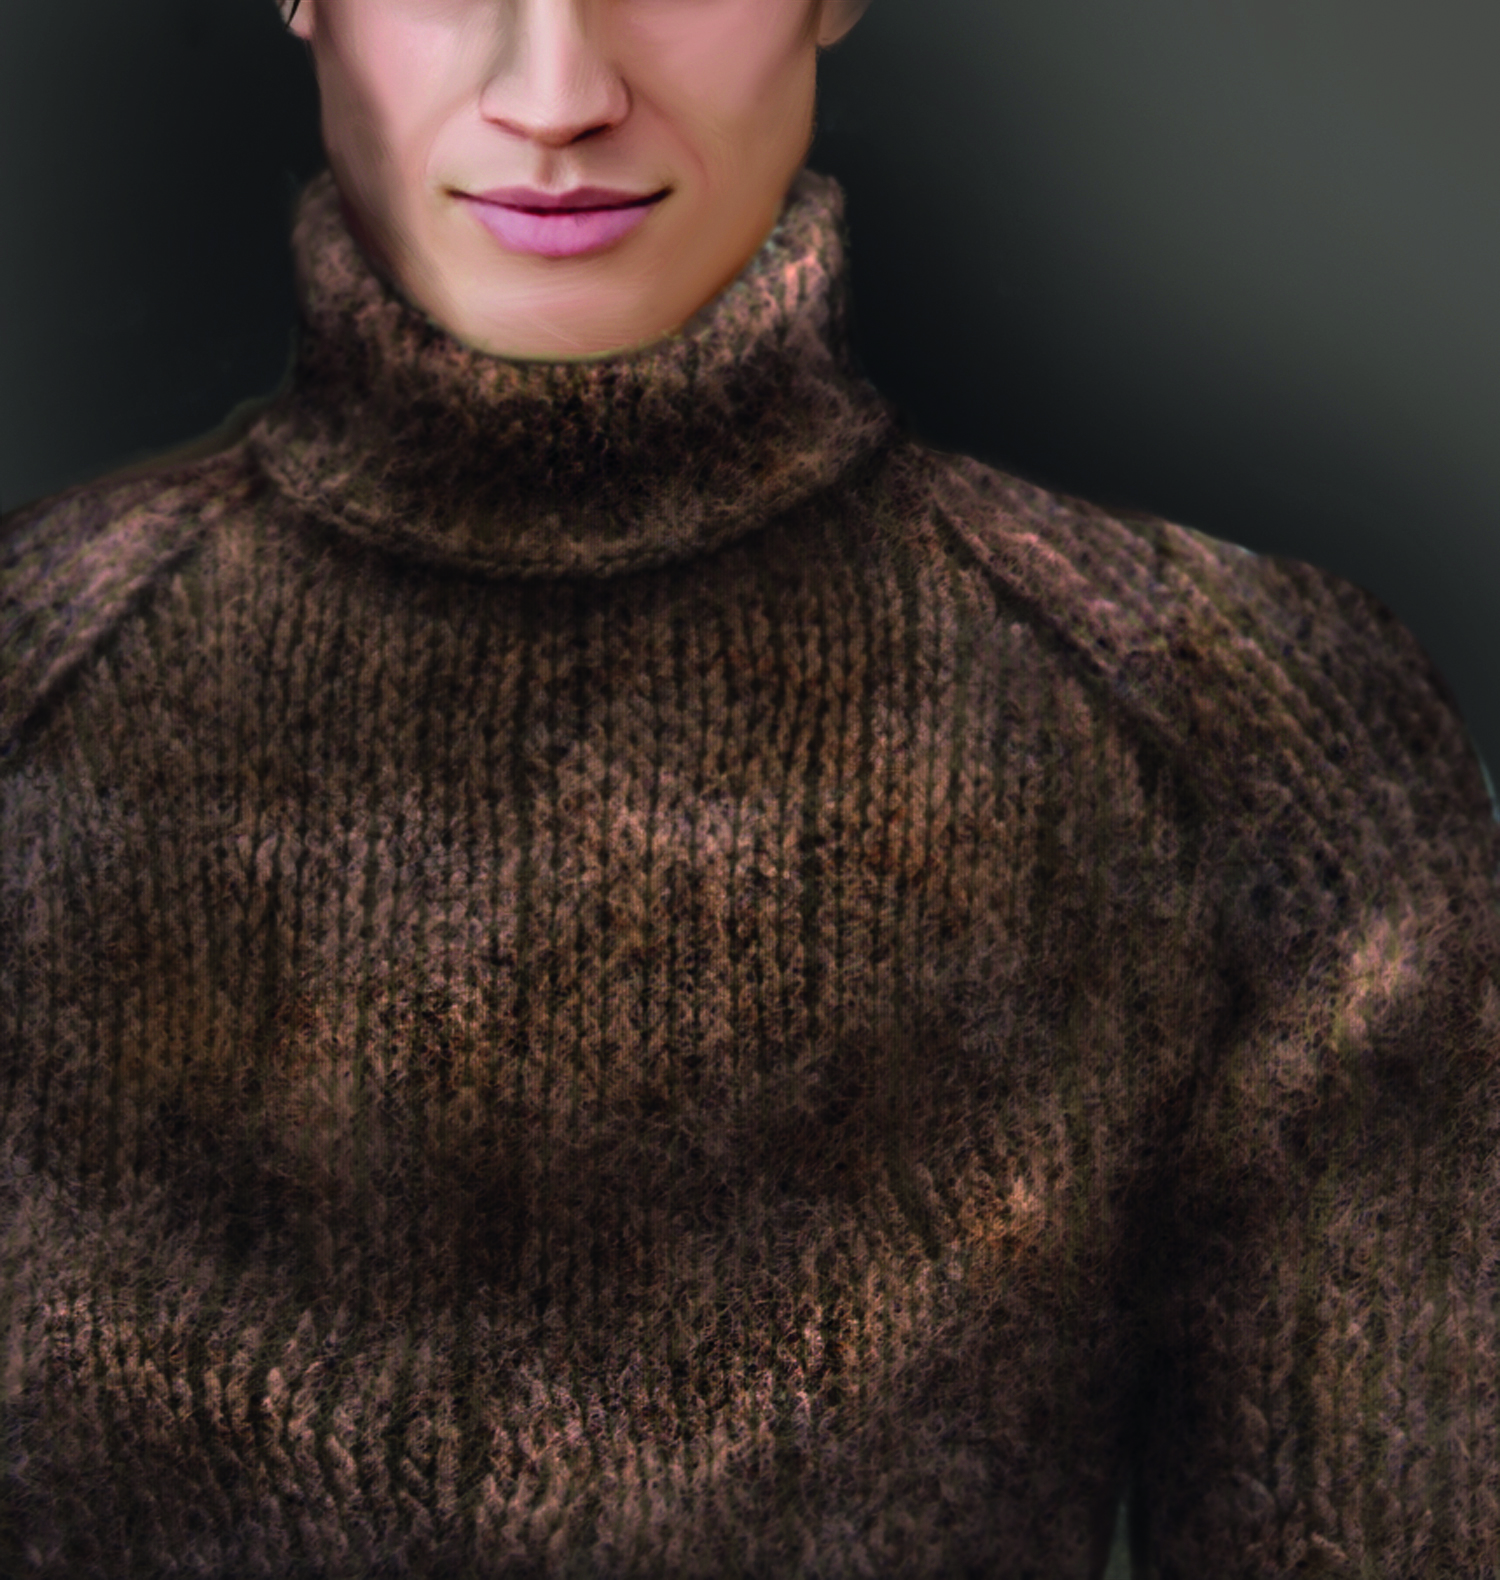
Wool is a warm, natural fiber obtained from sheep. When you examine the yarn closely, it resembles strands of hair—essentially, it is the sheep’s fur. Knitted wool yarn creates a texture that looks like rows of tiny braids. To paint this type of textile effectively, it’s helpful to create custom brushes that mimic the braided pattern.
Work in multiple layers: start with a base layer for the overall color and shape, then use your custom braid brush on a top layer to add texture and detail. For less detailed or distant views, photographic textures can also be a great alternative.
10: Armour
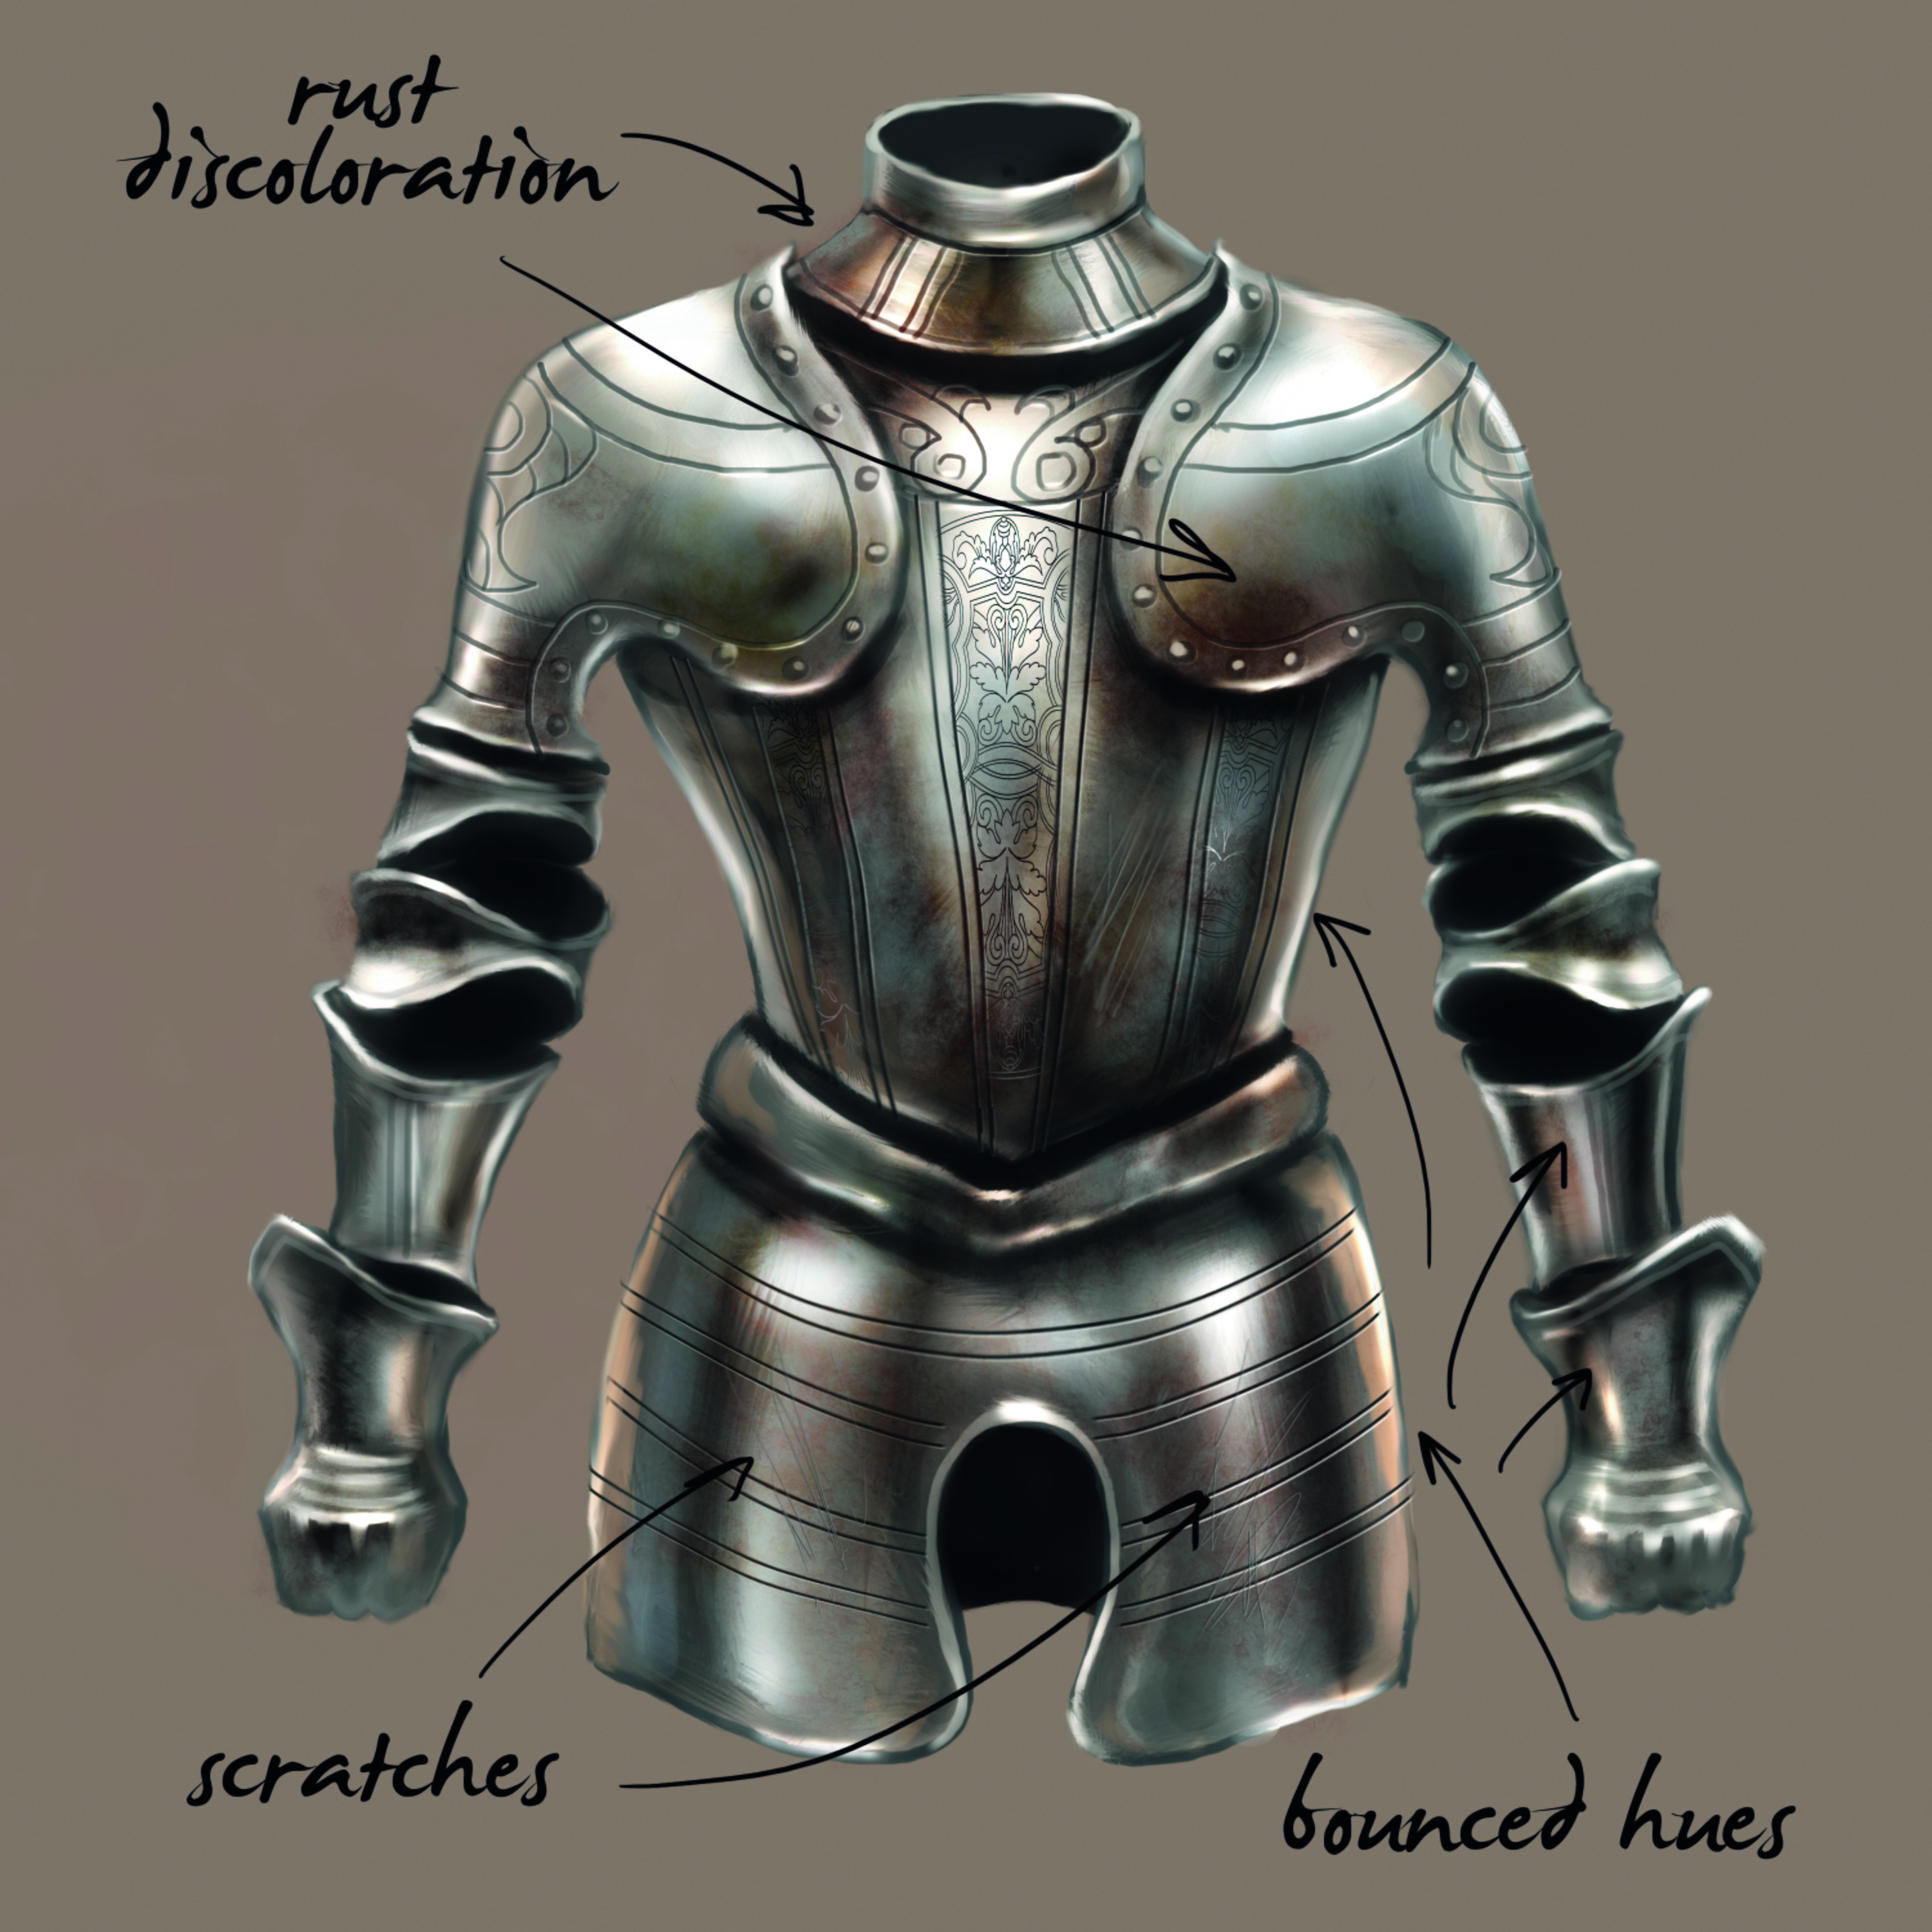
Painting signs of general wear and tear on a full suit of armour, such as dents, scratches, rust and dirt, is a good way to tell a visual story about the character who’s wearing it.
A full suit of armour comes in many layered, segmented plates to accommodate a knight’s movement, especially in the arm, leg and hand areas. I’d advise painting the plates as separate layers, overlapping the parts where needed. Engravings and patterns using different coloured metals are an extra touch that will ensure your character stands out from the crowd.
11: Lace
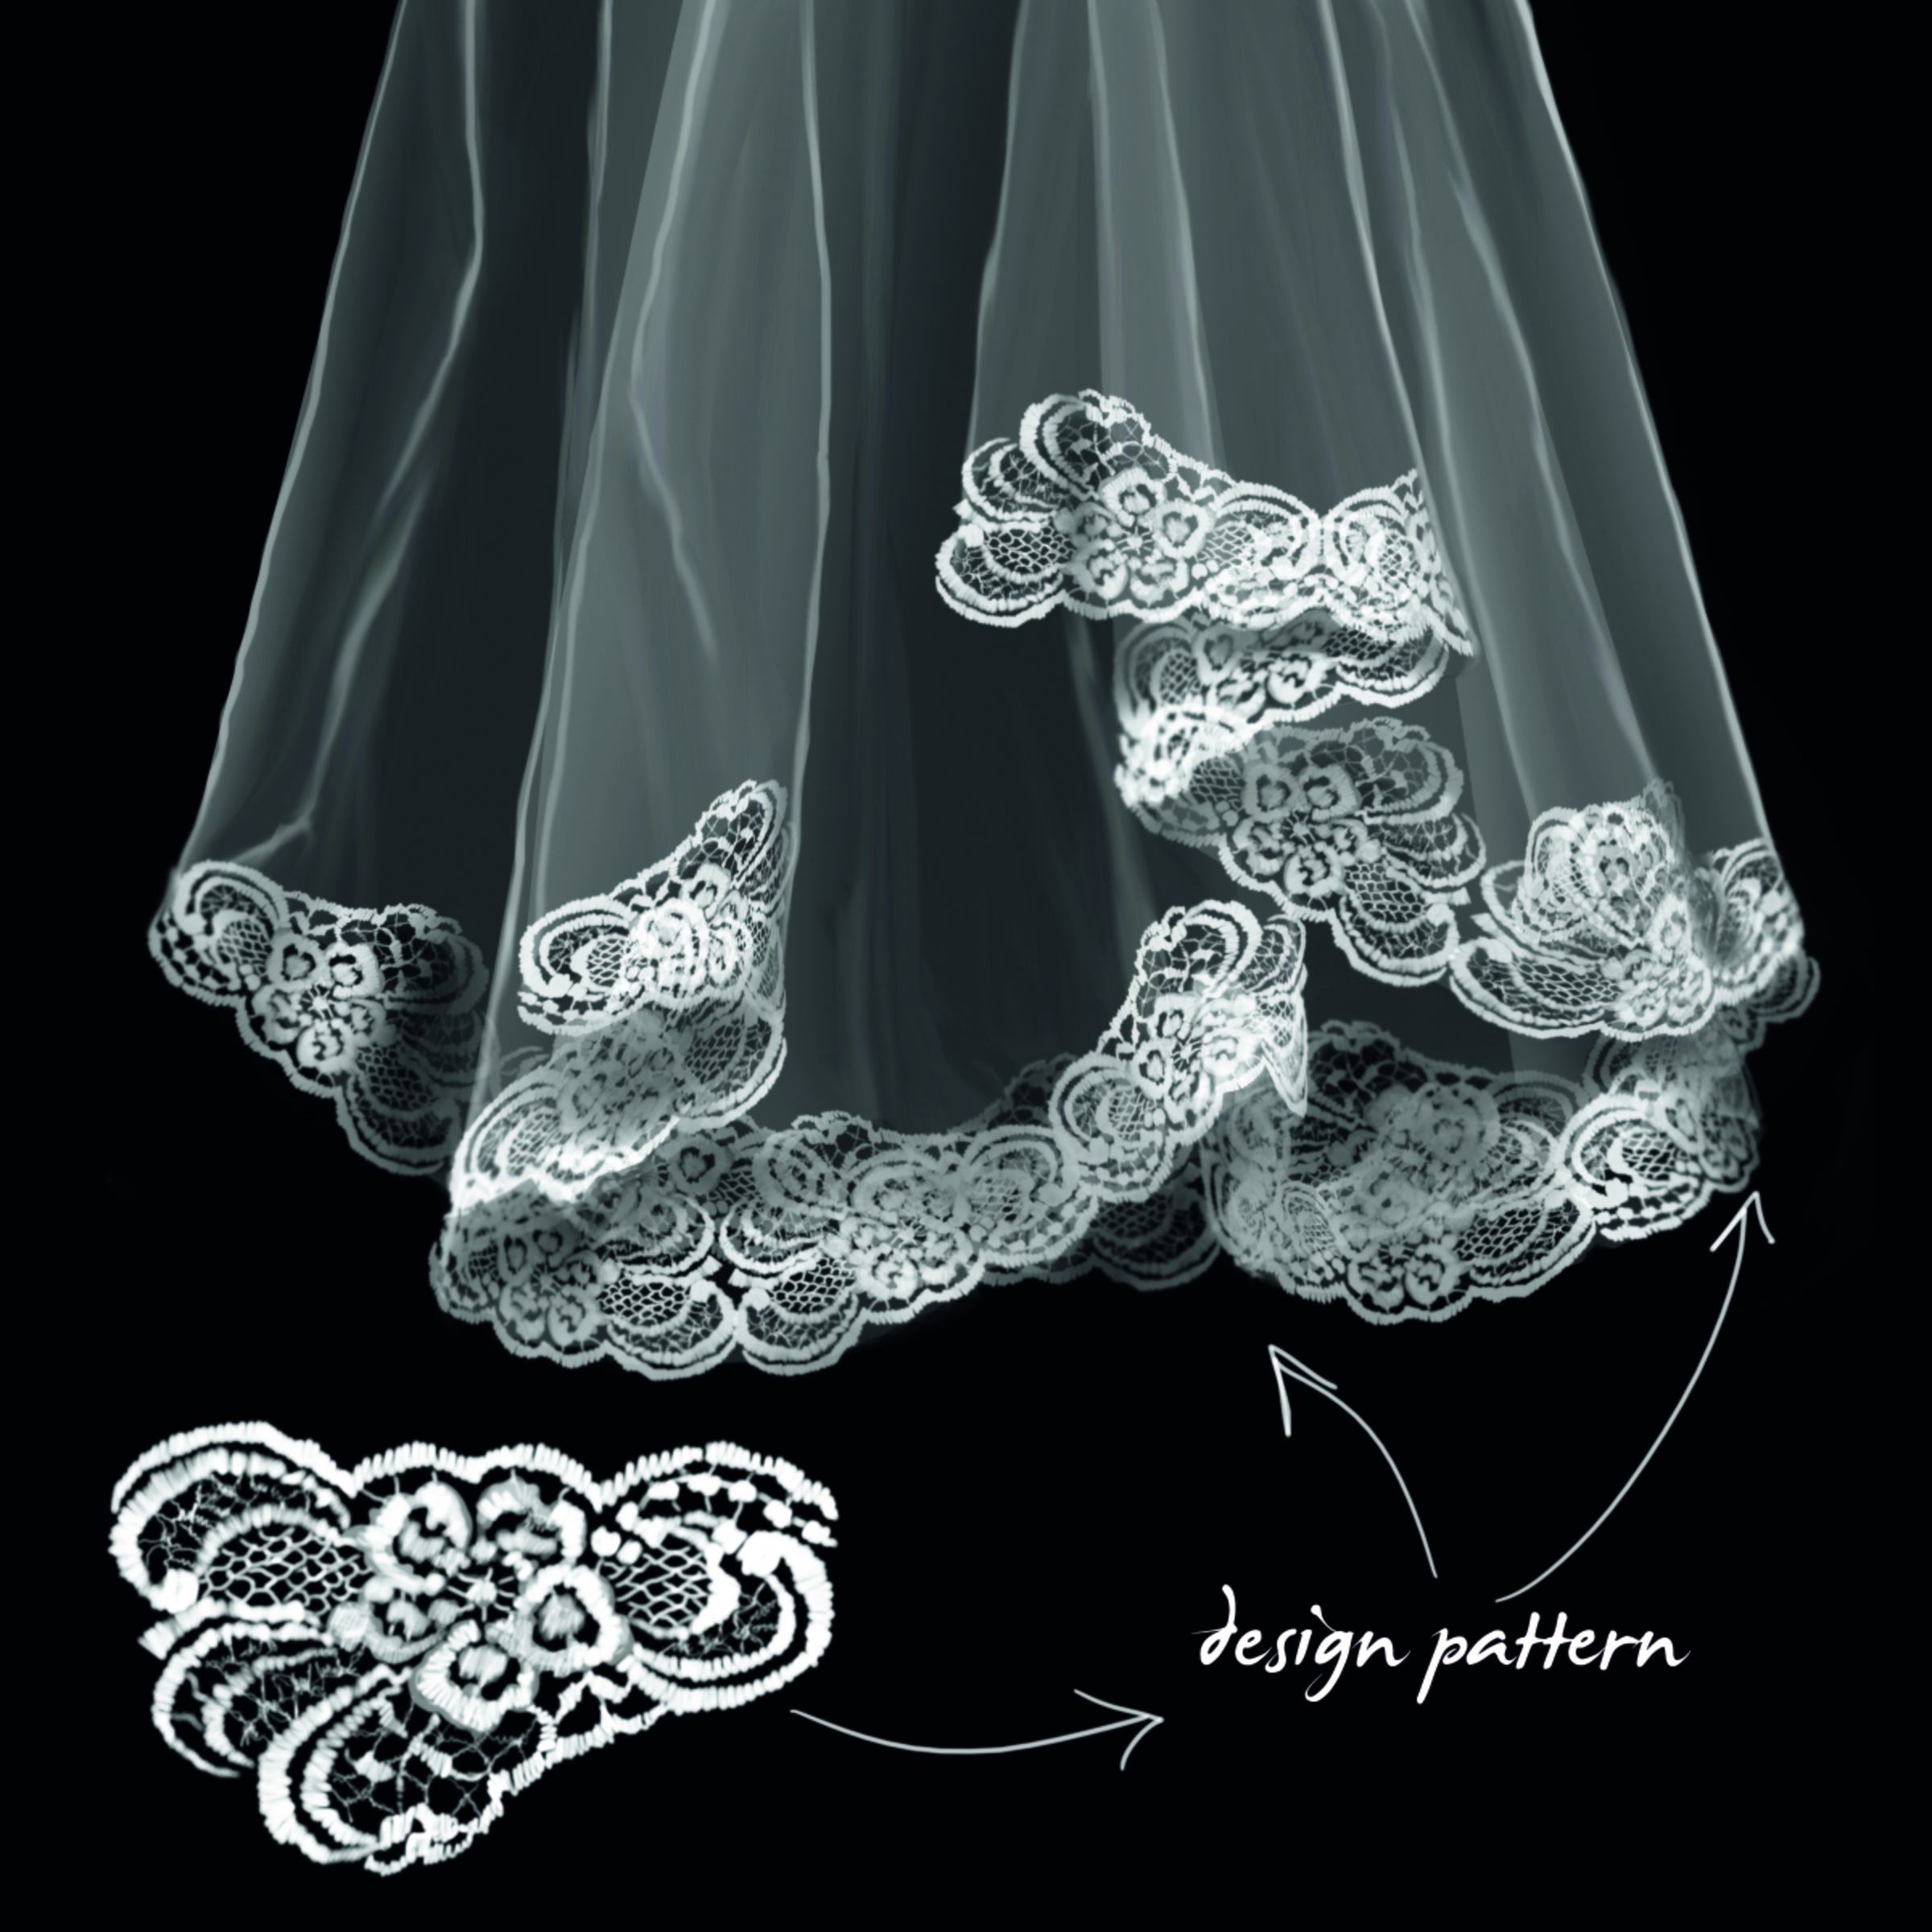
A small, Round Hard brush is sufficient to do the job of drawing lace. If you use reference photos when painting lace you can easily follow the pattern and make it look realistic.
Should you decide to include large areas for lace, draw a pattern, and copy and paste it repeatedly. Connect the design pattern with tiny lines resembling treads. In a similar manner to chiffon, use many layers to overlap the pattern, but don’t change your layer settings in the process. Keep everything uniform.
12: Gold
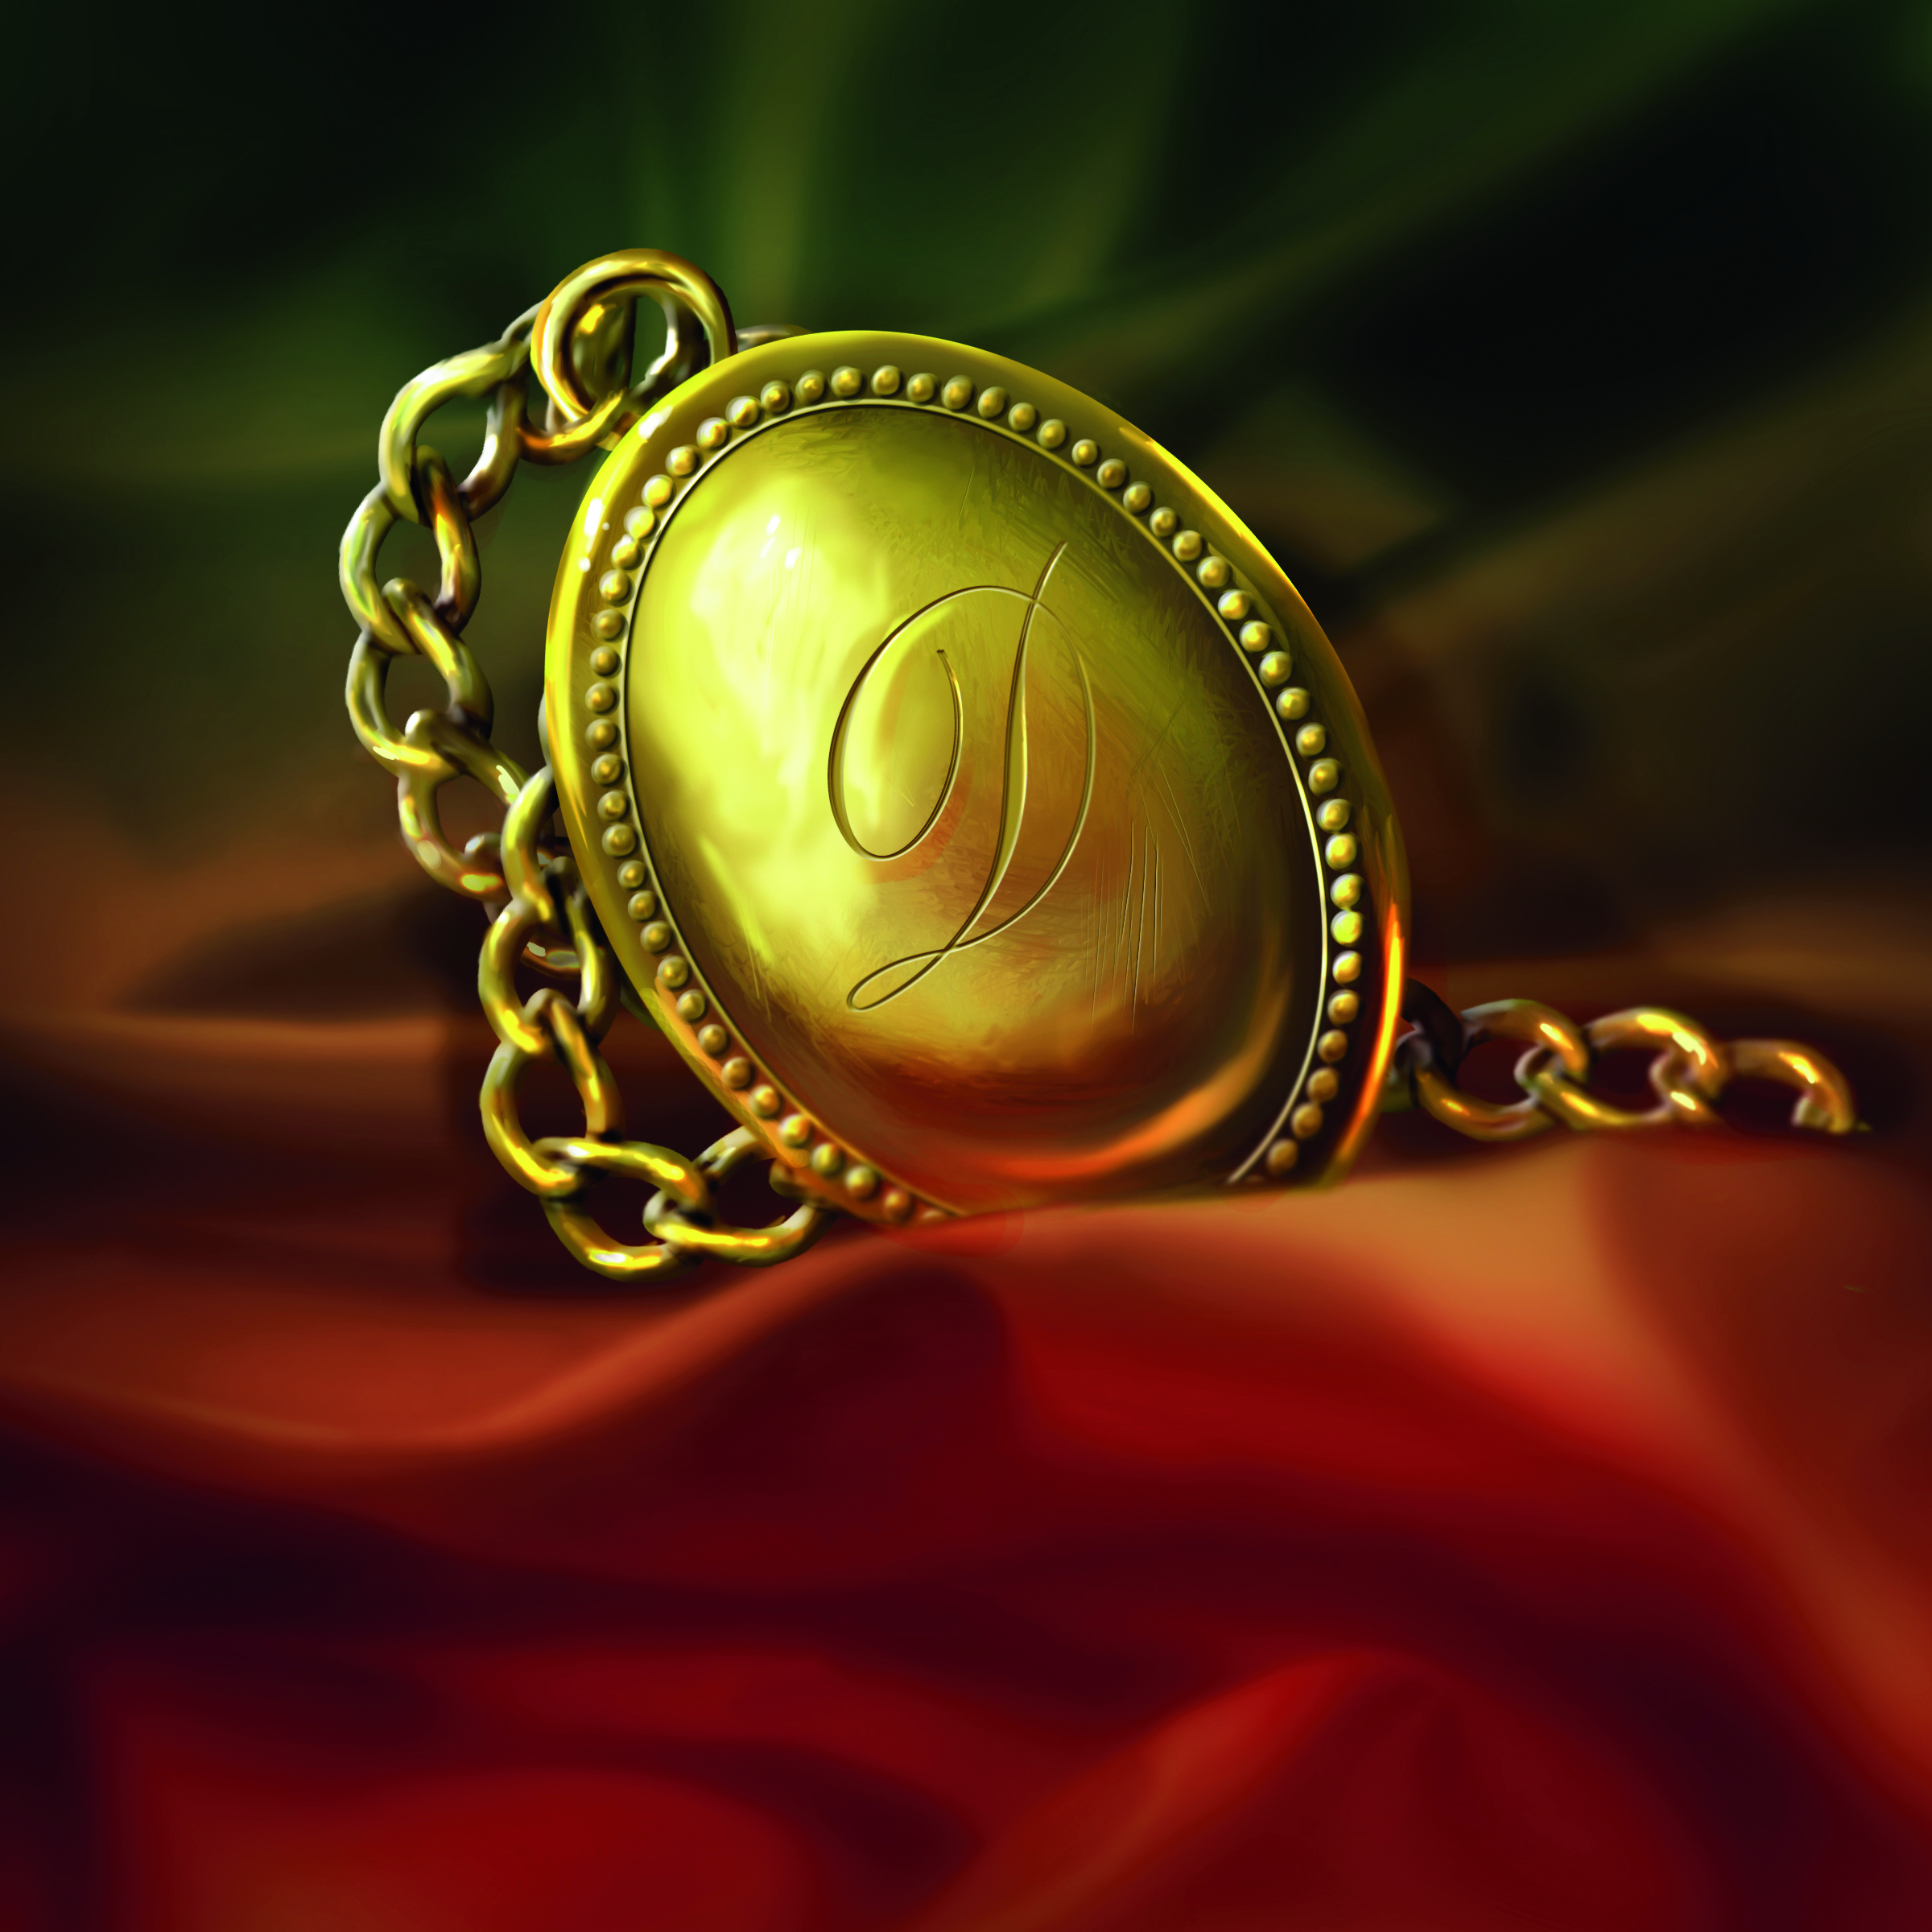
Pure gold, by its very definition, is bright yellow and very shiny. However, painting gold using just one shade of yellow isn’t going to do the job. Because the metal is shiny, its surface will bounce reflect the colours in the immediate environment.
To paint realistic gold you need to use yellows and whites for the highlights, mustard greens and oranges for base colours, and browns for shadows.
13: Silver
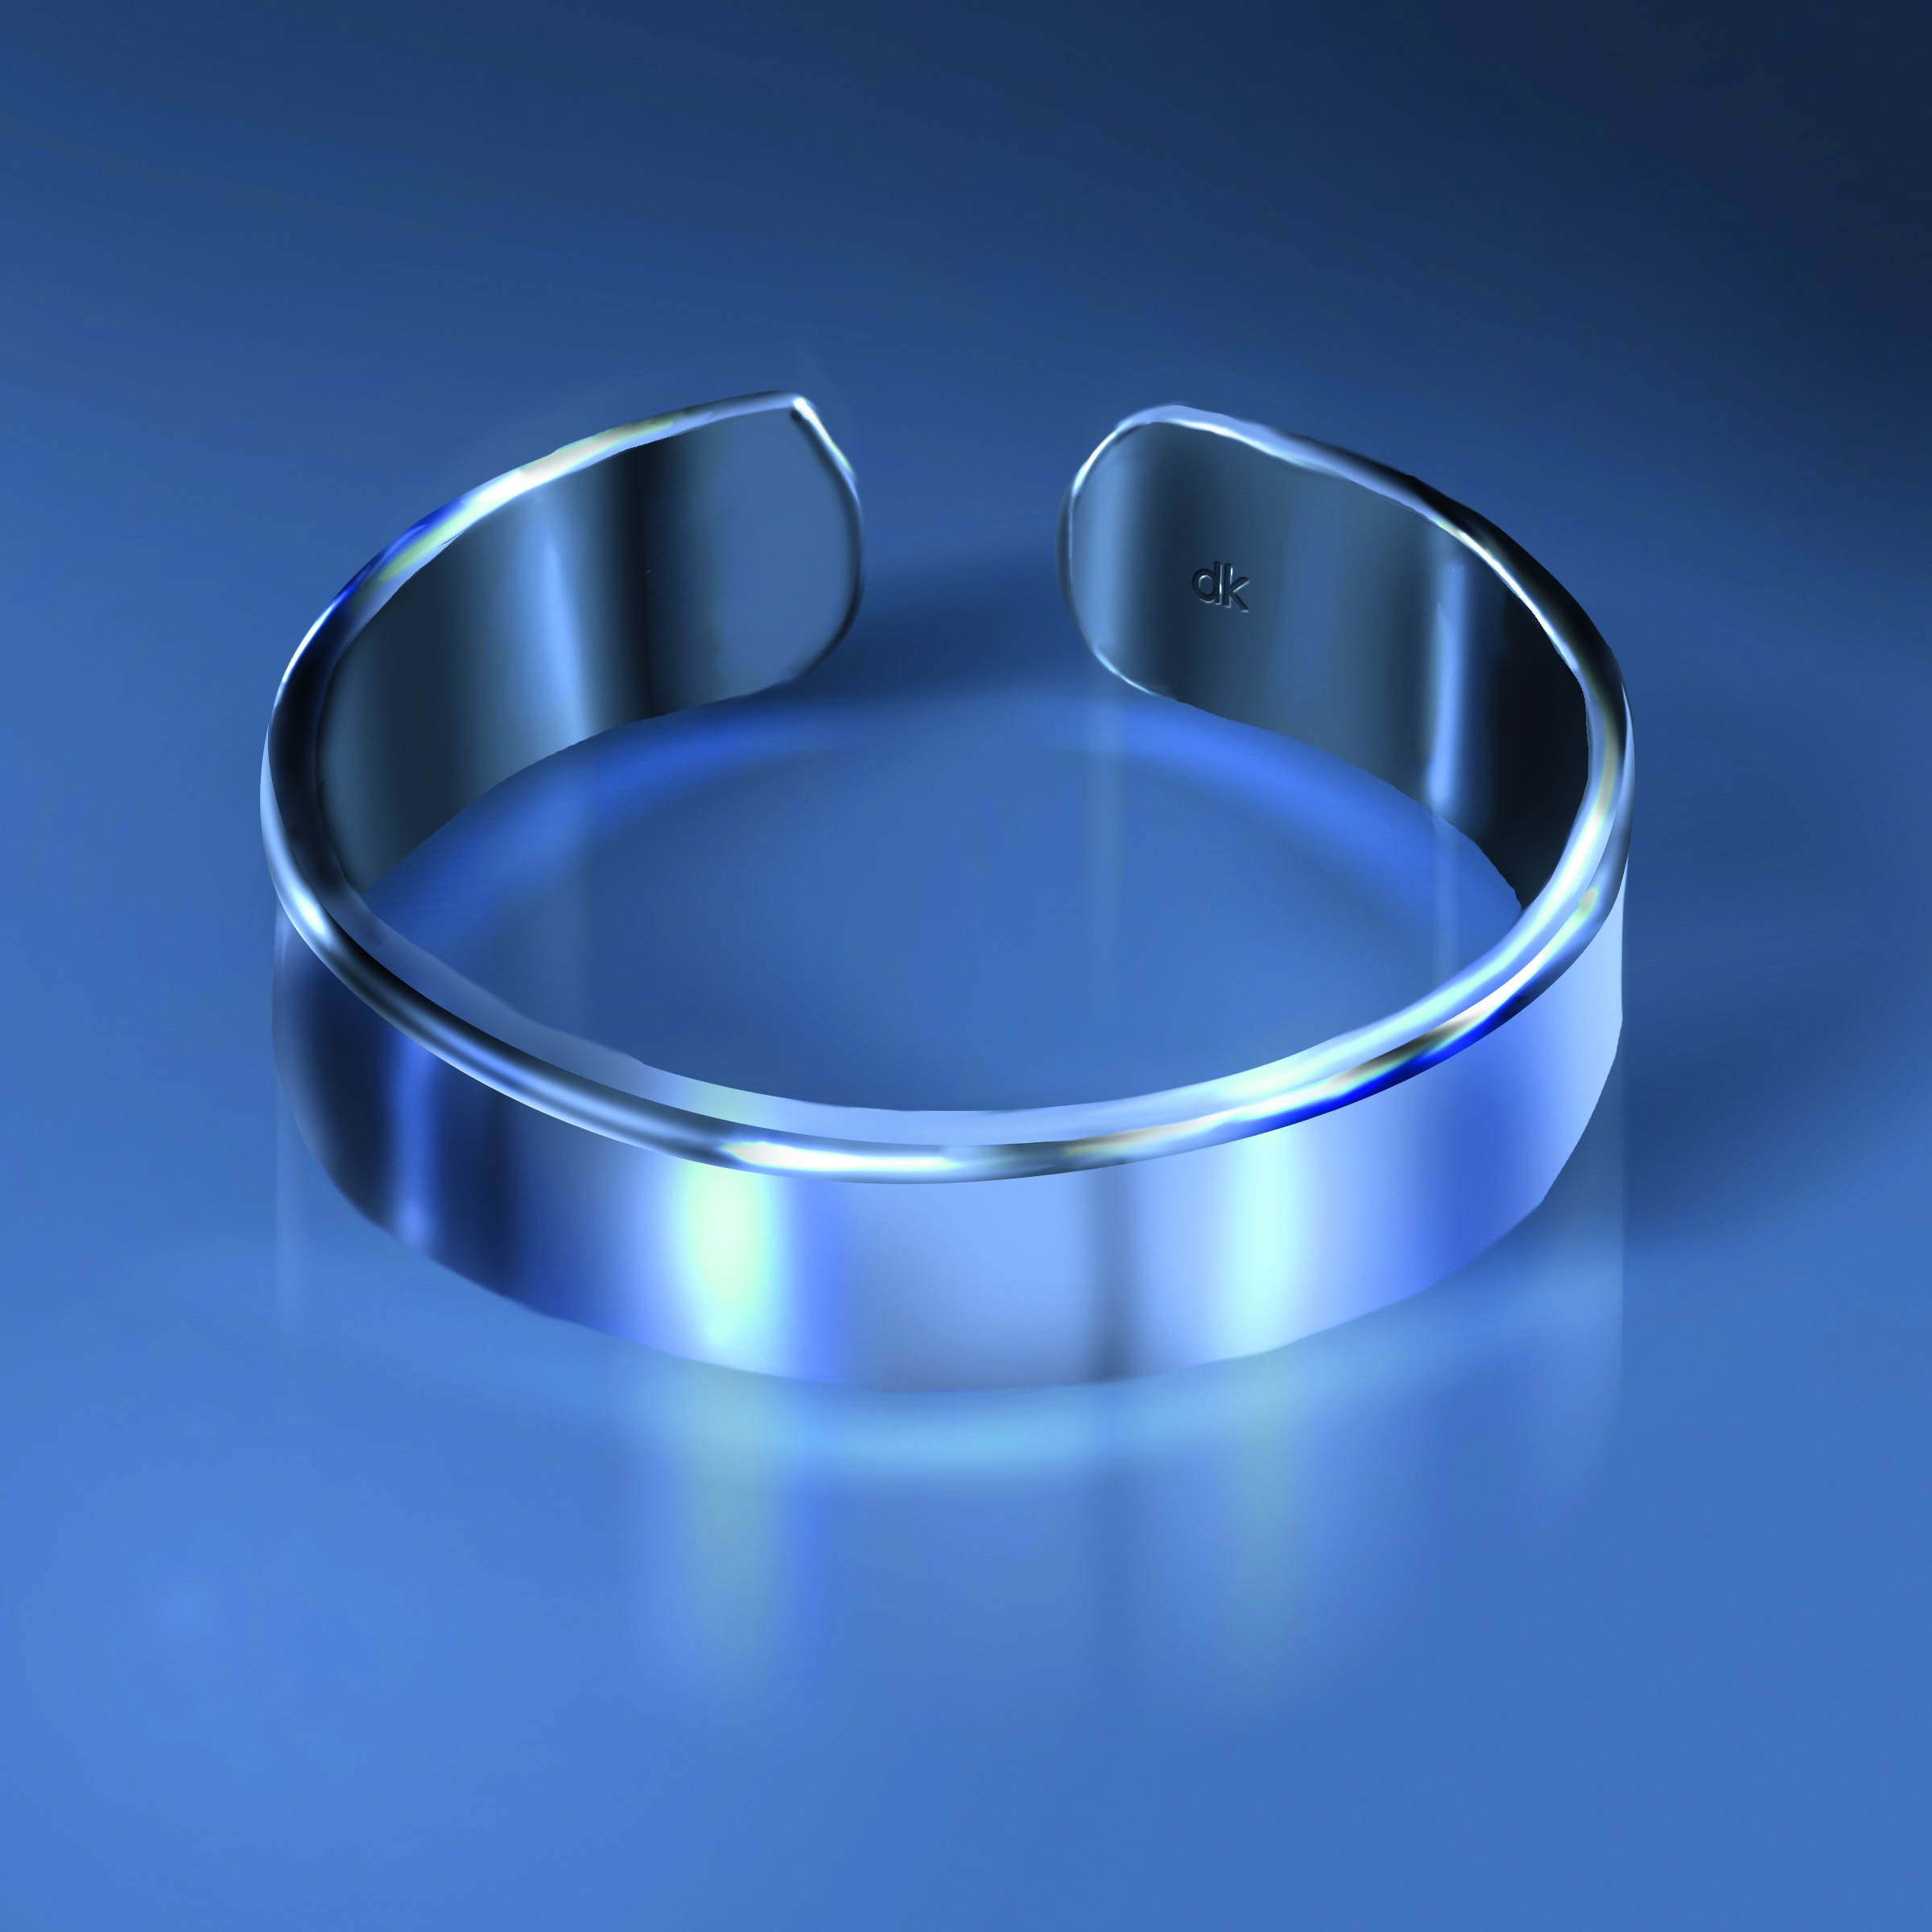
This is a highly reflective metal and appears grey in its original state. When placed in an environment this metal will absorb the surrounding colours. Painting silver can be a challenge.
The best way to start is by using darker shades of grey for the base colour, lighter greys and whites for highlights, and dark grey and black for shadows. Having said that, don’t forget to pick up the shades from neighbouring objects.
14: Gemstones
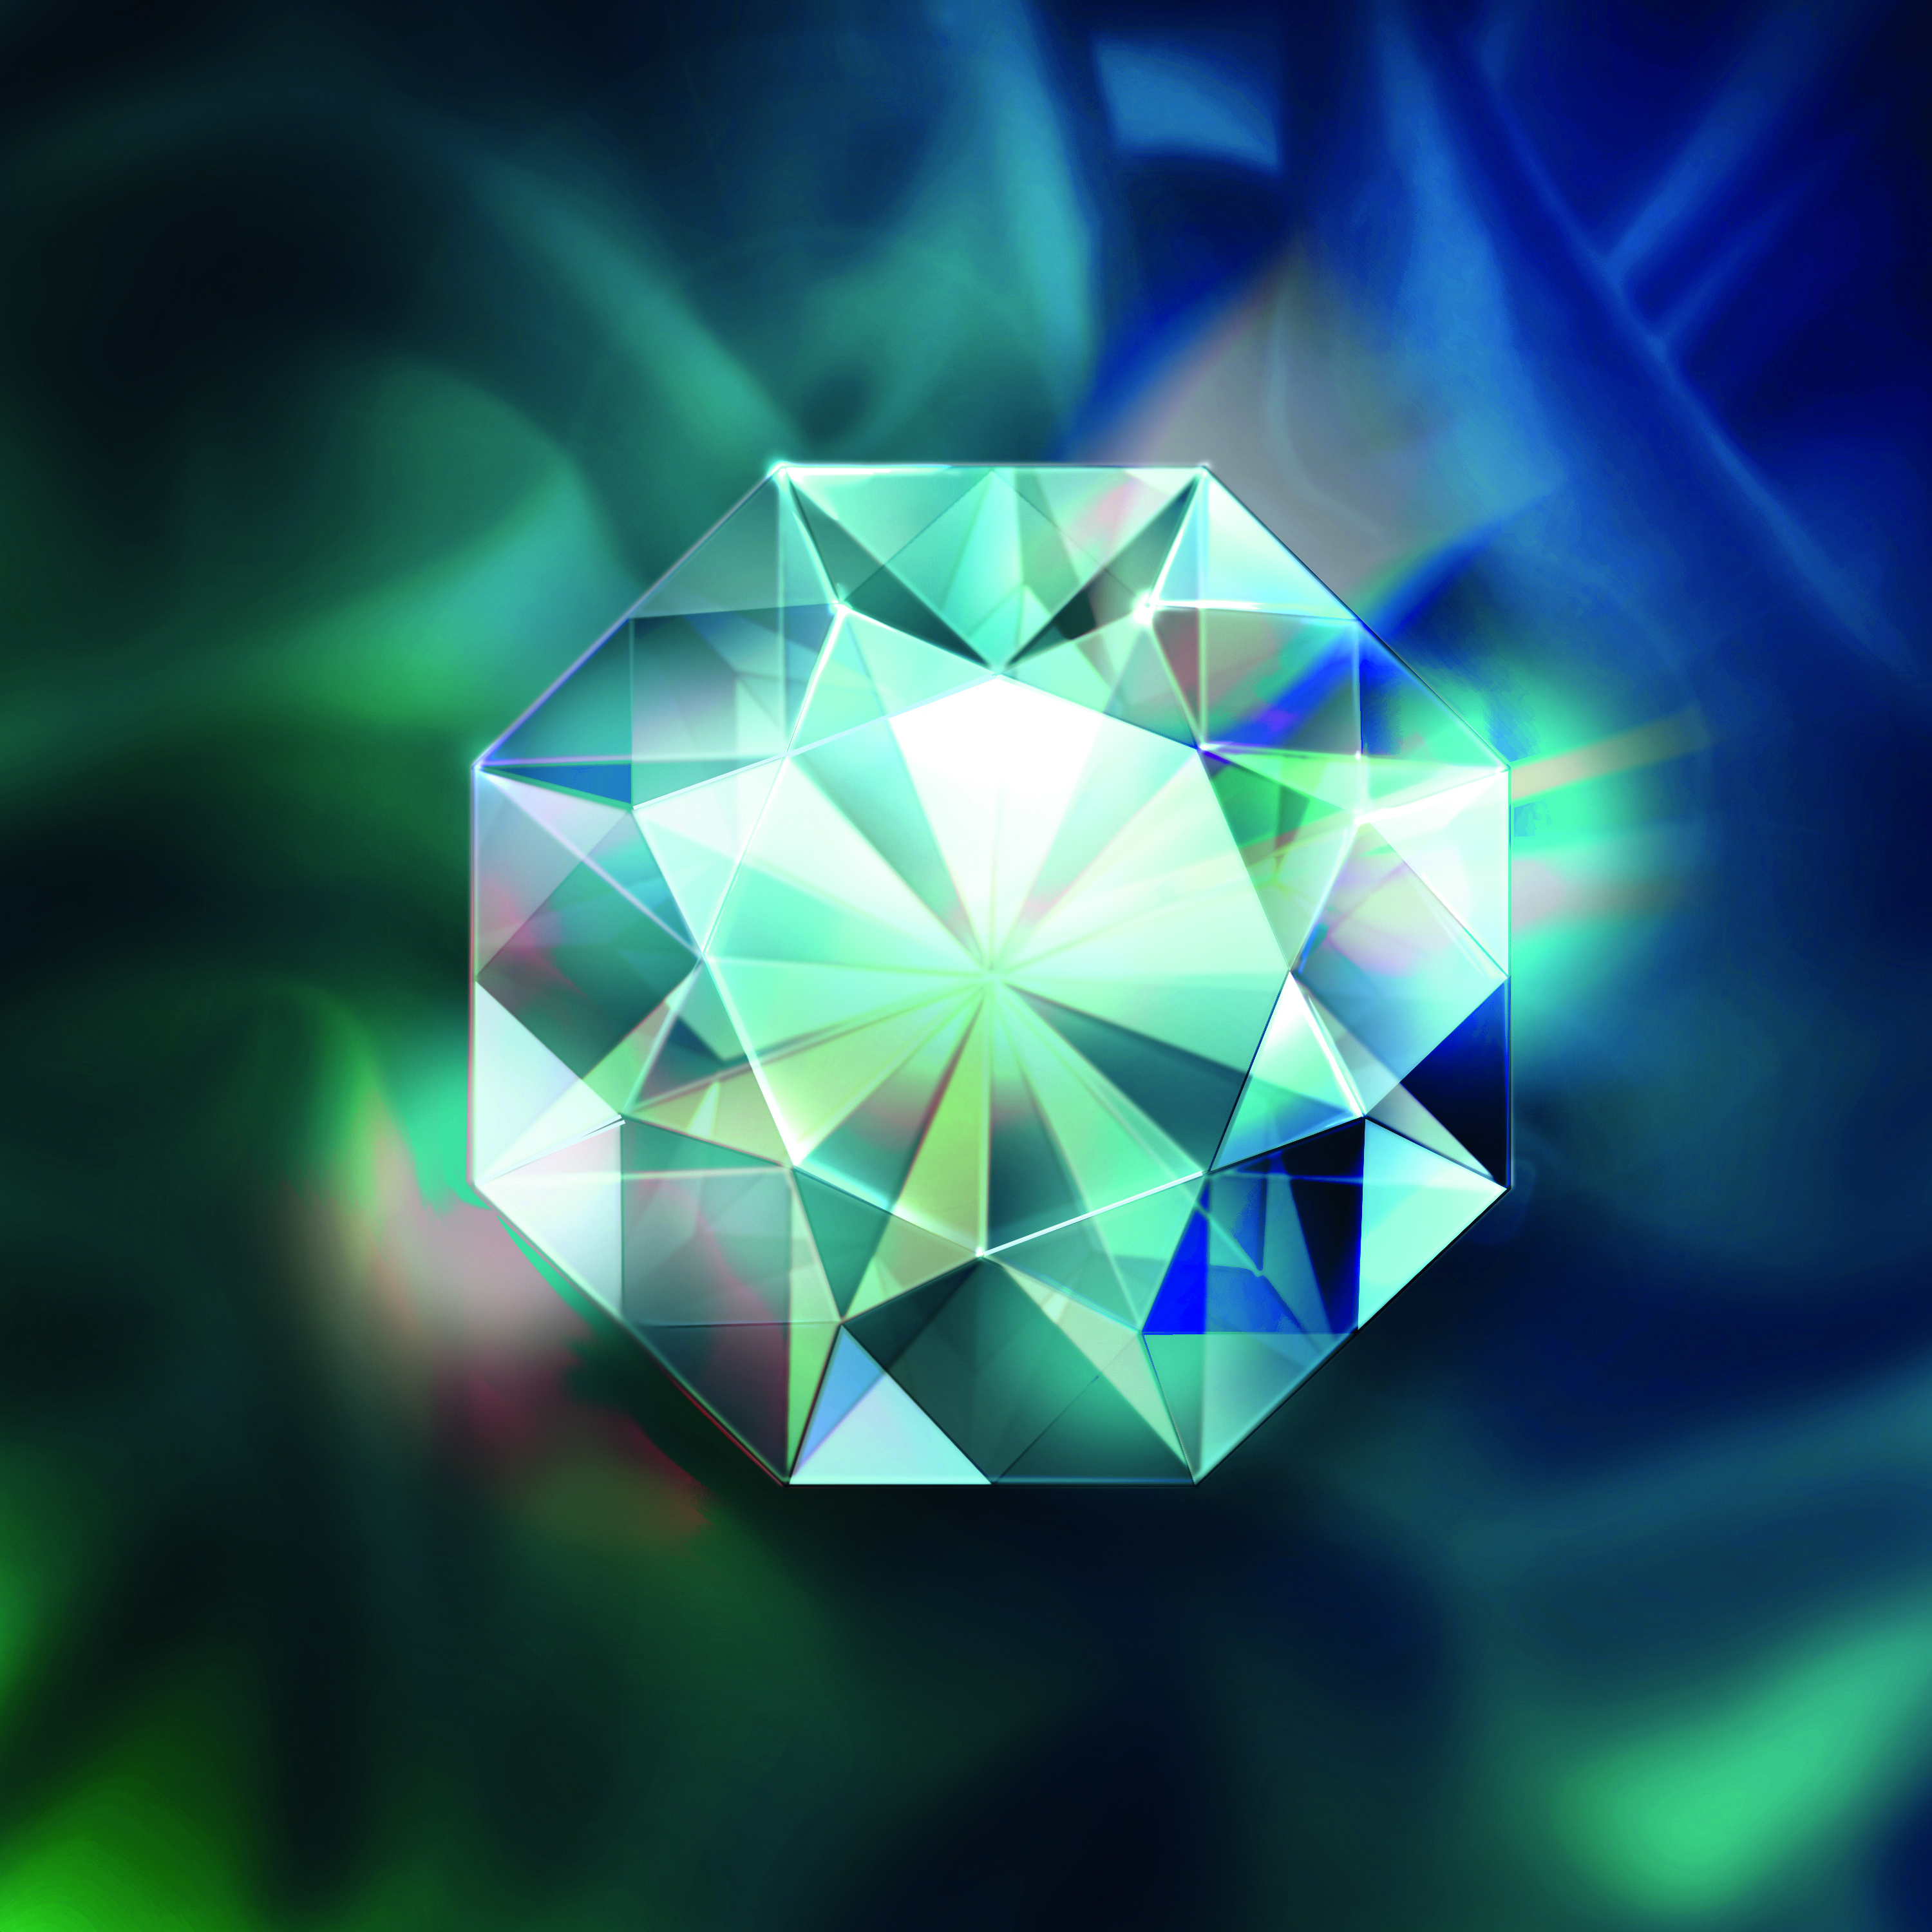
When cut and polished, gems display brilliant lustre and shine. Start by creating the structure of the cut. First draw the outline skeleton of the wireframe, using one layer for the top and another layer for the bottom. This is important because the translucency of the stone reveals the shapes beneath.
The wireframes should resemble a number of triangular shapes. Paint each shape separately, using gradient filling. If the stone is a ruby for example, don’t just stick to reds – utilise shades of orange, violet and pink. The same goes for other types of gemstones.
15: Eyelet design
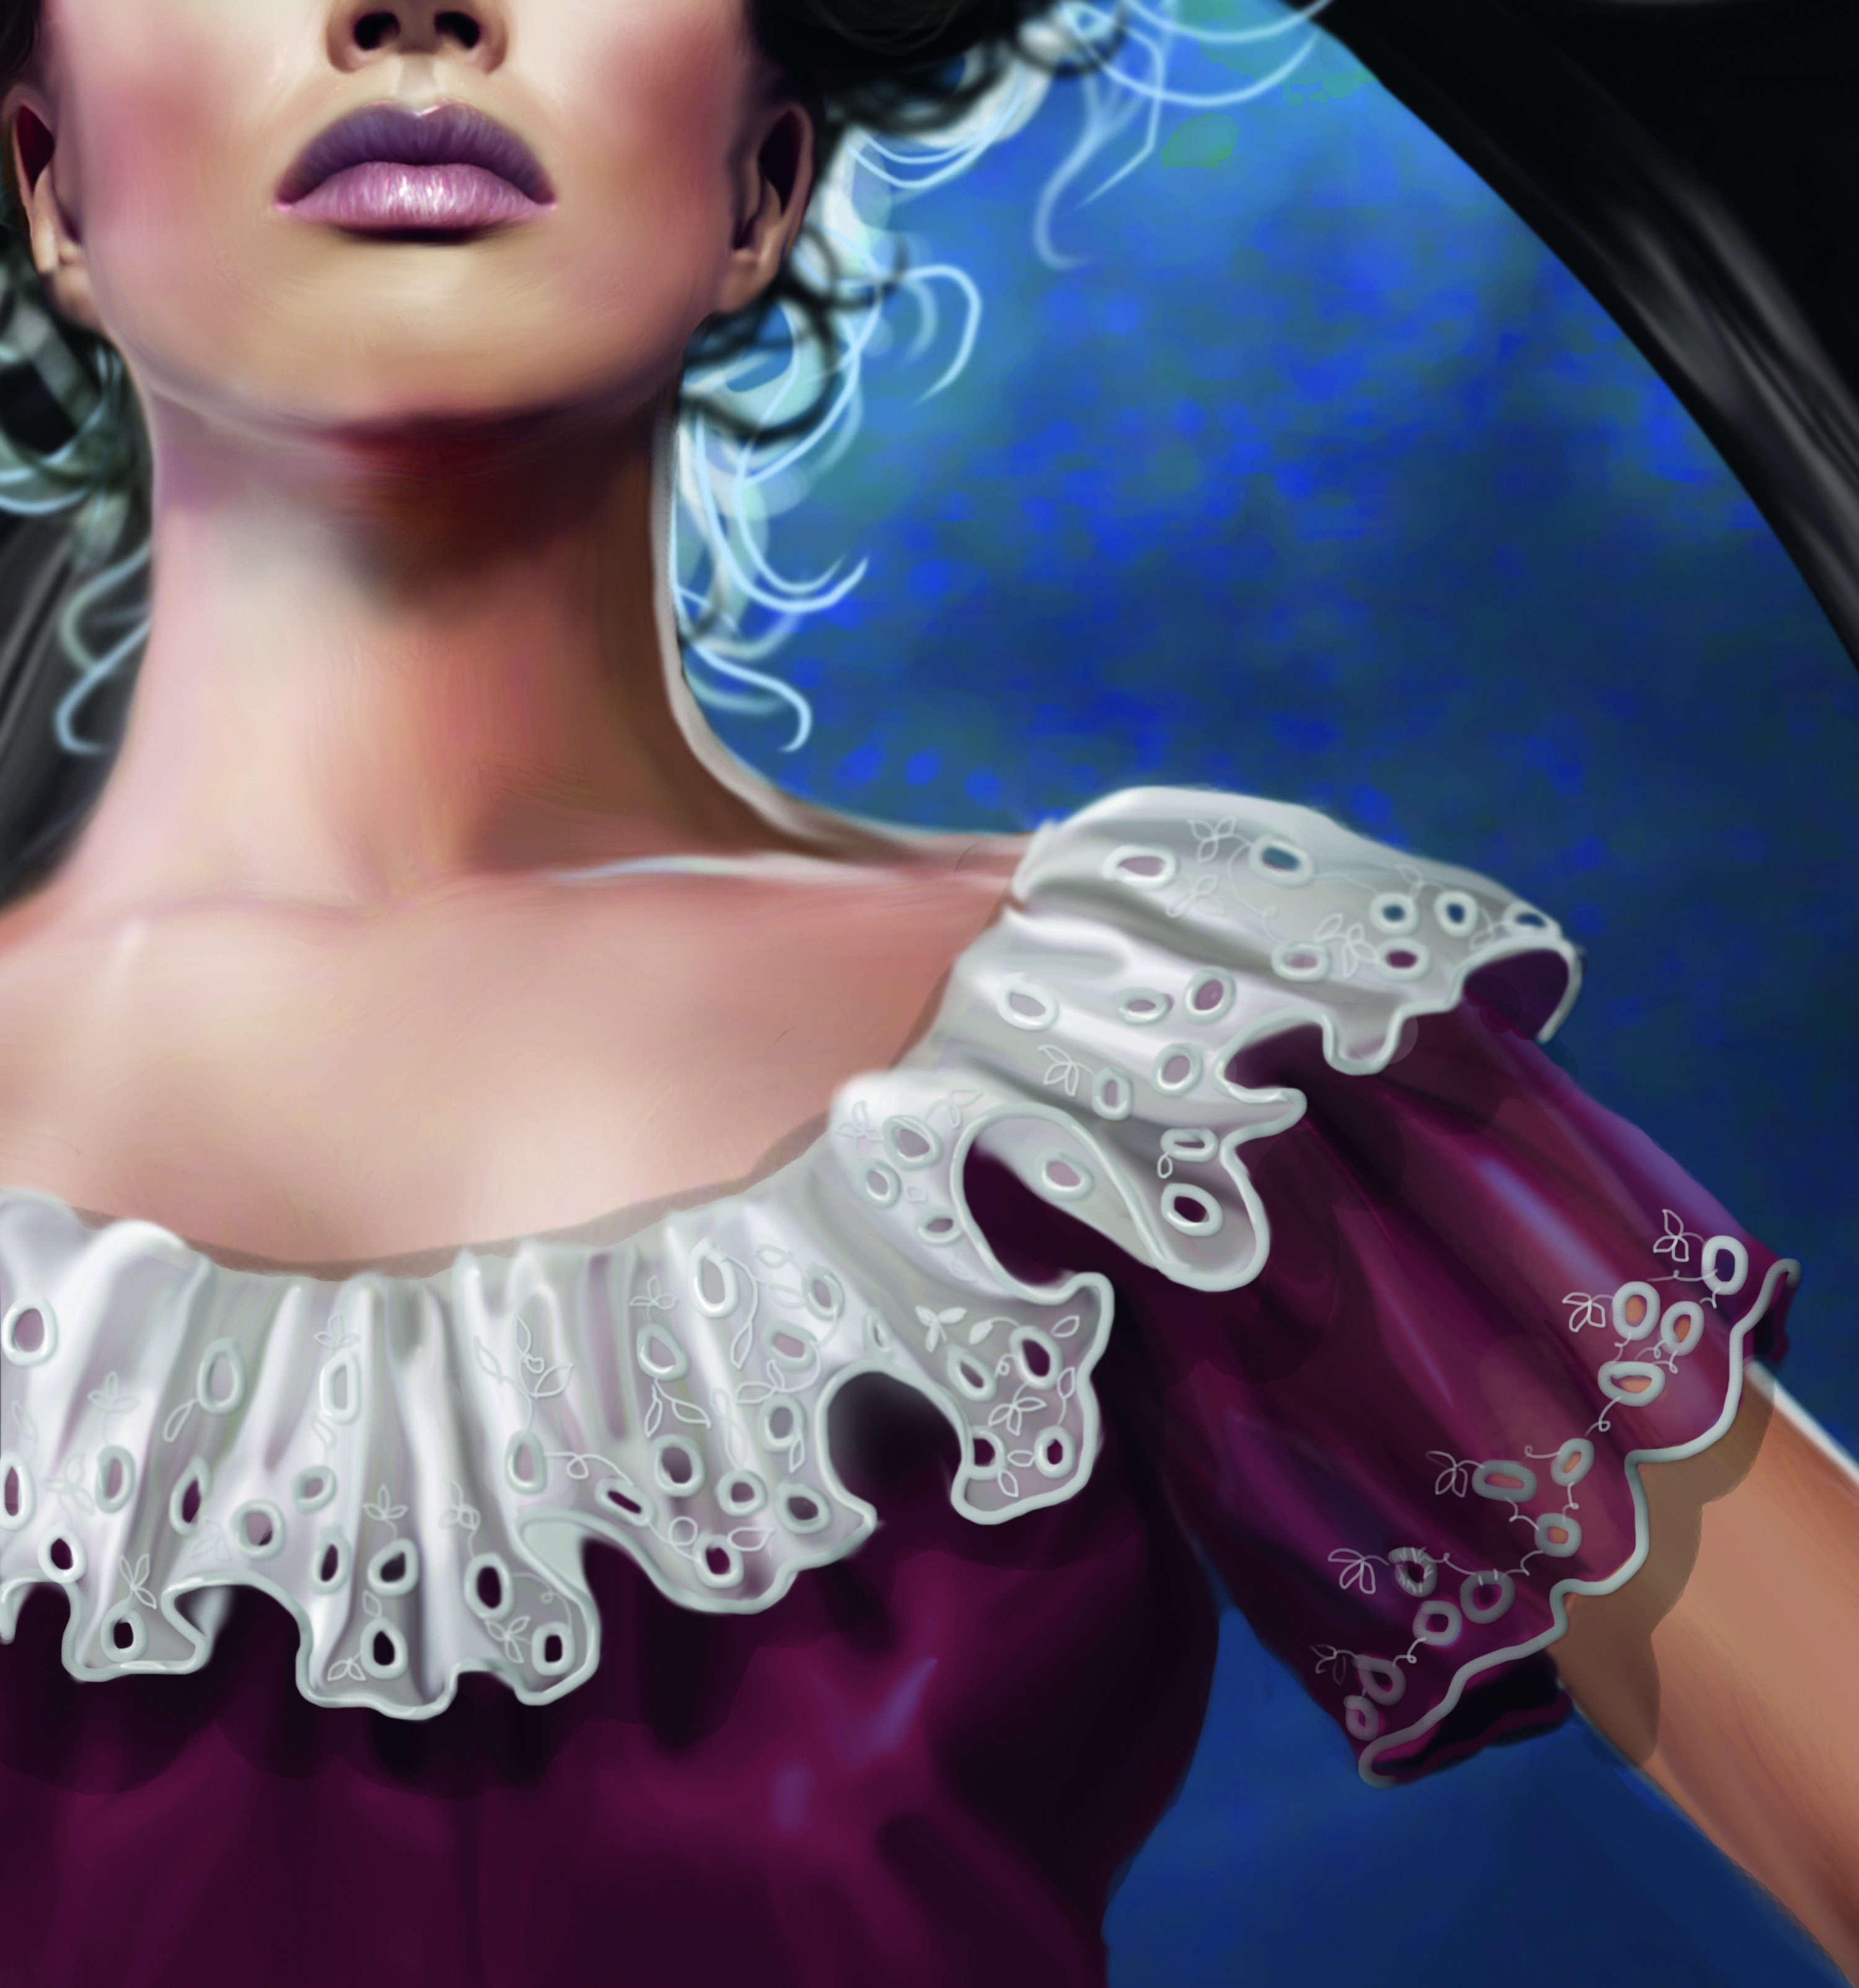
This is a type of lace made by a plethora of holes edged out by stitching. Cotton is the most common fabric for eyelet designs. Note that this pattern features a relief, because it’s raised from the surface by the stitching treads.
For that reason you have to paint the shading around each hole accordingly. The weight and the way the fabric folds will greatly depend on the number of holes in the design.
16: Brocade
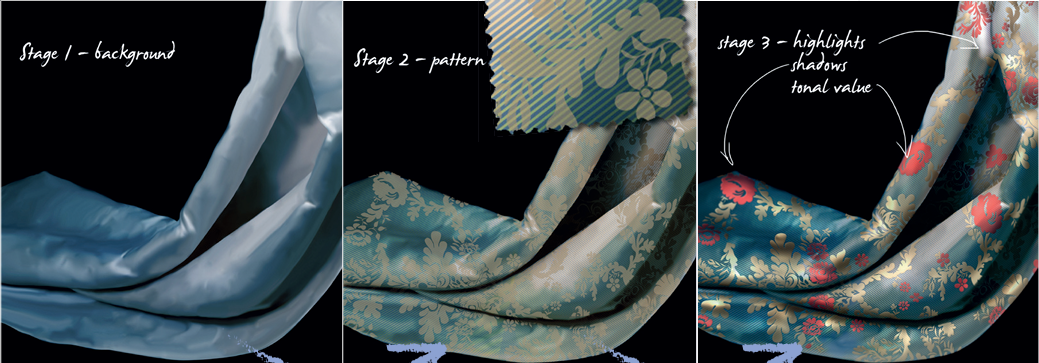
This decorative fabric is known for its embossed design pattern and sheen. Brocade is woven, so fibre lines will be visible. Paint this fabric using a couple of layers: one for the solid textured surface and another for the patterned design.
Make the decorative design look as if it’s embossed by painting highlights and subtle shadows. To add refinement, create the design by using different colours.
Do you have a 3D trick or hack? Share your advice in the comments below.
Daily design news, reviews, how-tos and more, as picked by the editors.

Draženka is a freelance illustrator. Her style is often influenced by Victorian and Pre-Raphaelite painters. She’s provided artwork for gaming, comic and publishing companies.
You must confirm your public display name before commenting
Please logout and then login again, you will then be prompted to enter your display name.
