How to code an augmented reality marker
Explore augmented reality in the browser.
11. Lights, camera, action!
With the lights added to the scene, the next part to set up is the camera. As previously with the lights, once created it has to be added into the scene to be used. This camera will auto align with the position of the webcam or phone camera through AR.js.
camera = new THREE.Camera();
scene.add(camera);
12. Set up AR.js

Now AR.js is set up so that it takes the webcam as its input, it can also take an image or a prerecorded video. The AR toolkit is told to initialise and if it's resized it will match the same as the renderer on the HTML page.
arToolkitSource = new THREEx.ArToolkitSource({
  sourceType: 'webcam',
});
arToolkitSource.init(function onReady() {
  arToolkitSource.onResize(renderer.domElement)
});
13. Keep it together
Because resizing is something that happens a lot with mobile screens, as the device can easily rotate to the point that it re-orientates, the browser window is given an event listener to check for resizing. This resizes the AR toolkit.
window.addEventListener('resize', function() {
  arToolkitSource.onResize(renderer.domElement)
});
14. AR renderer
The AR.js needs a context set up, calling the Three.JS extension to do so. Here it takes the camera data file, which is included in the data folder, and detects at 30 frames per second with the canvas width and height set up for it.
arToolkitContext = new THREEx.ArToolkitContext({
  cameraParametersUrl: 'data/camera_para.dat',
  detectionMode: 'mono',
  maxDetectionRate: 30,
  canvasWidth: 80 * 3,
  canvasHeight: 60 * 3,
});
15. Get the camera data
The AR toolkit is initialised now and the camera in the WebGL scene gets the same projection matrix as the input camera from the AR toolkit. The AR toolkit is pushed into the render queue so that it can be displayed on the screen every frame.
arToolkitContext.init(function onCompleted() {
  camera.projectionMatrix.copy(arToolkitContext.getProjectionMatrix());
});
onRenderFcts.push(function() {
  if (arToolkitSource.ready === false) return
  arToolkitContext.update(arToolkitSource.domElement)
});
16. Match the marker
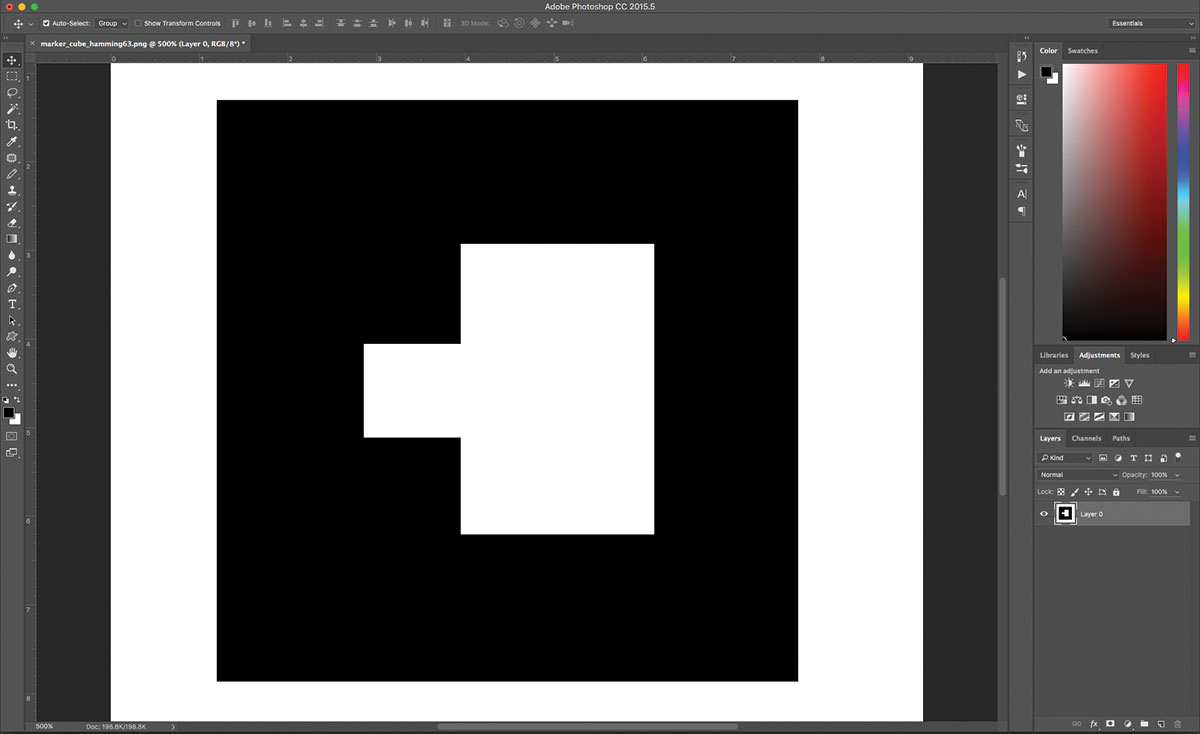
The markerRoot is a group that will be used to match the shape in augmented reality. It's first added to the scene, then this is used along with the AR toolkit to detect the pattern, which is also located in the data folder.
markerRoot = new THREE.Group
scene.add(markerRoot)
artoolkitMarker = new THREEx.ArMarkerControls(arToolkitContext, markerRoot, {
  type: 'pattern',
  patternUrl: 'data/patt.hiro'
});
17. Add the model

Back in the early steps a model was loaded and stored in the variable of the model. This is added to the markerRoot group from the previous frame. The model had some specific elements within it that are going to be animated every frame. They are also pushed into the render queue.
Daily design news, reviews, how-tos and more, as picked by the editors.
markerRoot.add(model);
onRenderFcts.push(function() {
  tube1.rotation.y -= 0.01;
  tube2.rotation.y += 0.005;
  mid.rotation.y -= 0.008;
  details.position.y = (5 + 3 * Math.sin(1.2 * pulse));
});
18. Finish the init function
The renderer is told to render the scene with the camera every frame by adding it into the render queue, which is the array set up in step 9. The animate function is called, and this will render every frame to display content. The closing bracket finishes and closes the init function.
  onRenderFcts.push(function() {
  renderer.render(scene, camera)
  });
  lastTimeMsec = null;
  animate();
}
19. Just keep going
The animate function is created now and uses the browser's requestAnimationFrame, which is a call to repaint before the screen is drawn. This continues to call itself, and the browser attempts to call this function at 60 frames per second.
function animate(nowMsec) {
  // keep looping
  requestAnimationFrame(animate);
20. Timing issues
Mobile browsers sometimes find it difficult to reach 60 frames per second with different apps running. Here timing is worked out so that the screen is updated based on timing. This means if frames drop, it looks much smoother.
lastTimeMsec = lastTimeMsec || nowMsec - 1000 / 60;
var deltaMsec = Math.min(200, nowMsec - lastTimeMsec);
lastTimeMsec = nowMsec;
pulse = Date.now() * 0.0009;
21. Finish it up

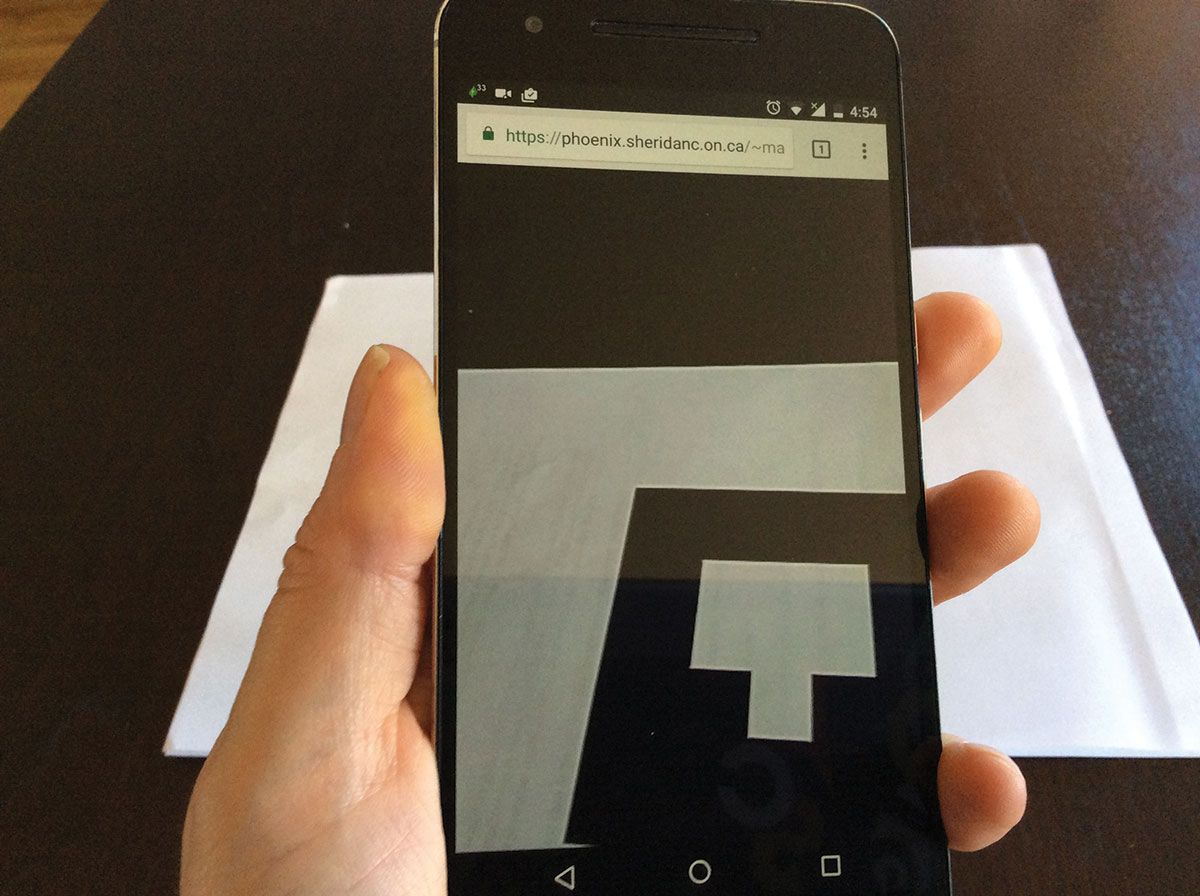
Finally each of the elements in the render queue are now rendered to the screen. Save the page and view this from a https server on mobile or a regular http server on desktop, print the supplied marker and hold it in front of the camera to see the augmented content.
onRenderFcts.forEach(function(onRenderFct) {
  onRenderFct(deltaMsec / 1000, nowMsec / 1000);
  });
}
This article originally appeared in Web Designer issue 262; buy it here!
Related articles:

Mark is a Professor of Interaction Design at Sheridan College of Advanced Learning near Toronto, Canada. Highlights from Mark's extensive industry practice include a top four (worldwide) downloaded game for the UK launch of the iPhone in December 2007. Mark created the title sequence for the BBC’s coverage of the African Cup of Nations. He has also exhibited an interactive art installation 'Tracier' at the Kube Gallery and has created numerous websites, apps, games and motion graphics work.
