How to draw a nose
Even seasoned artists can struggle with noses. This step-by-step guide shows you exactly how to draw a nose.
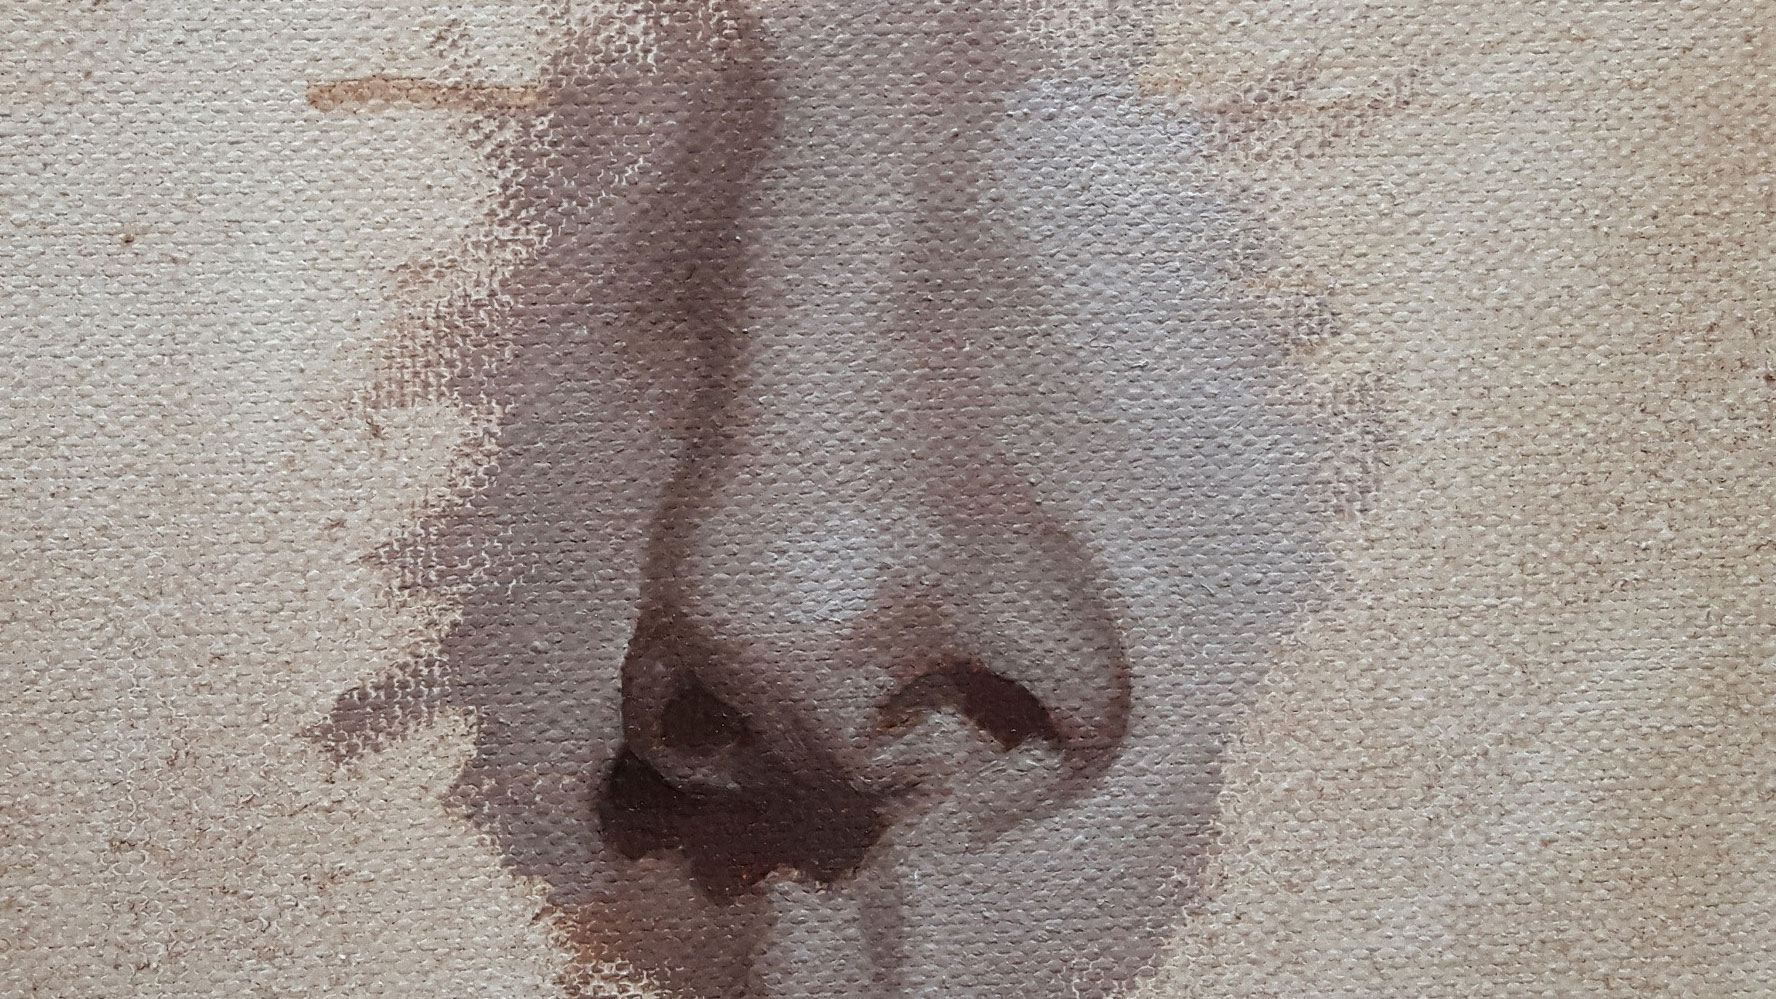
Mastering how to draw a nose is one of the trickiest parts of drawing a face. Perhaps it's the diversity of shapes we see every day that makes it difficult, or maybe it's to do with the way those shapes sit on the face.
This tutorial gives a quick step-by-step guide to drawing a nose. Though oil paints are the medium used here, the focus is on the core drawing techniques you need to know in order to draw a nose using any material. After this, you might want to move onto the rest of your person, and our how to draw guide contains all the tutorials you'll need. You can brush up on other techniques, too, with these fundamental drawing techniques.
01. Start with basic shapes
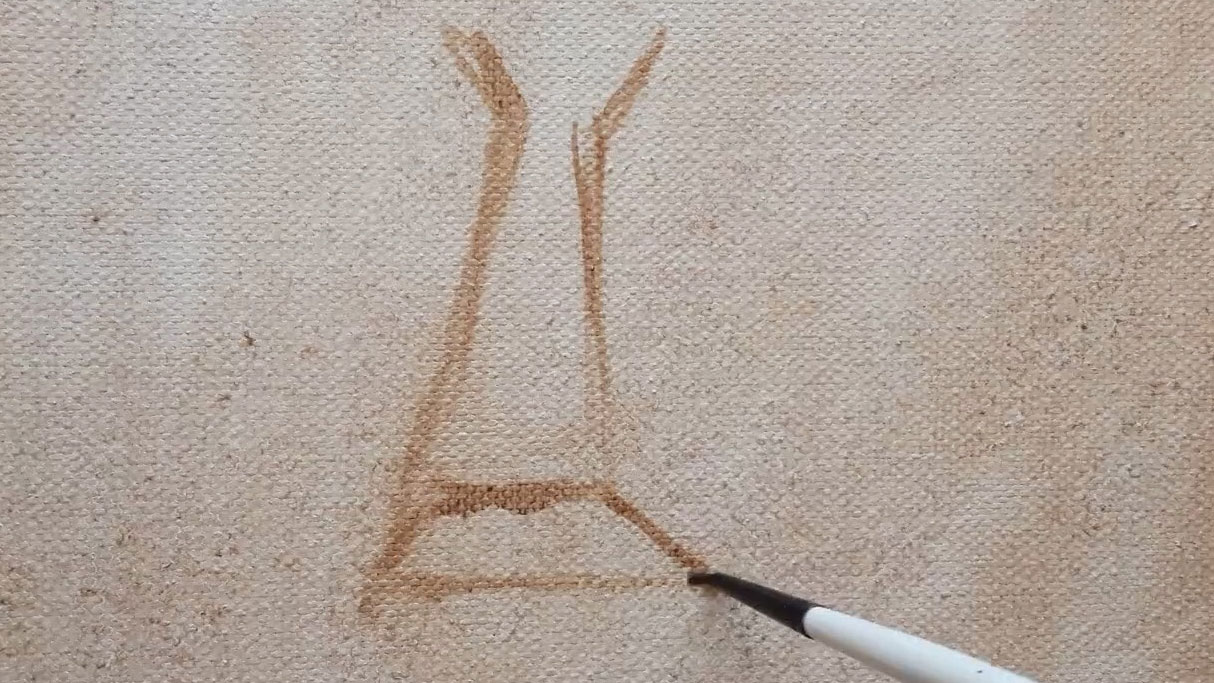
First, try to establish the very basic anatomical shapes of the nose. At this point, don’t think about all the intricacies of the shades and highlights. Just focus on basic shapes: triangles, trapezoids and circles.
If you're painting, it's helpful to start by tinting your canvas with burnt umber thinned with odourless thinner – this will help you judge the values of the painting better. Then use a small brush to add in your basic shapes.
02. Make the shapes more realistic
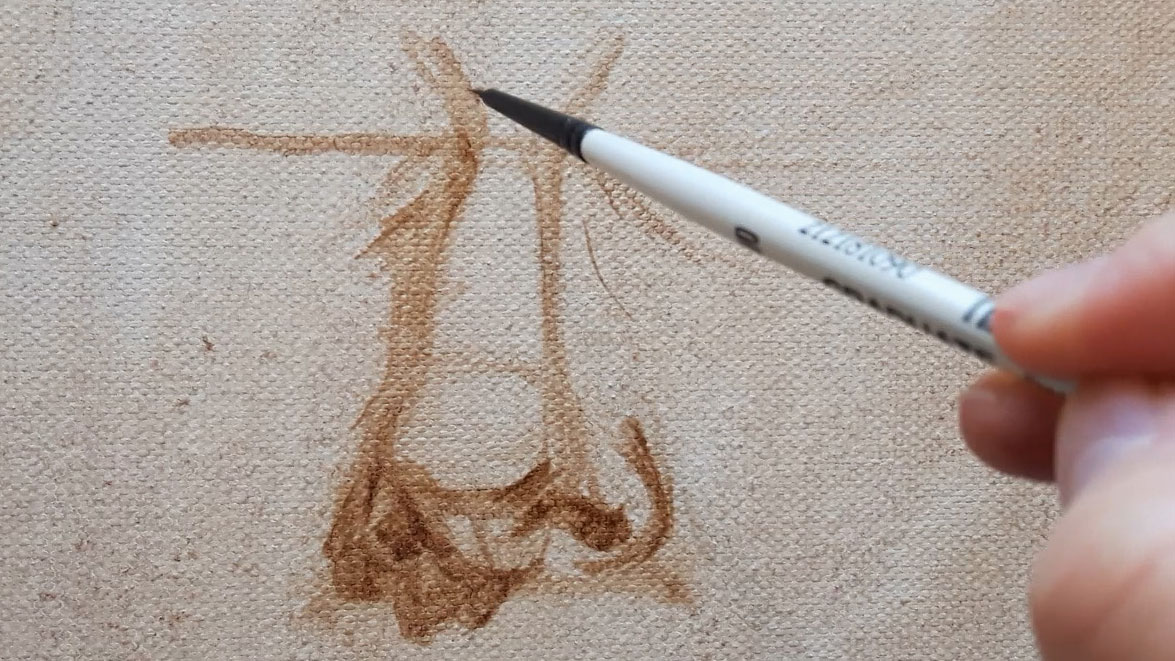
You can now make use of the basic shapes you’ve sketched and build on top of them. Looking at your reference, sketch in the tip of the nose and nostril wings. Keep in mind that the nose is predominantly made of skin resting upon cartilages or is made of dense connective tissue – therefore it has a very firm structure.
03. Introduce the main colour values
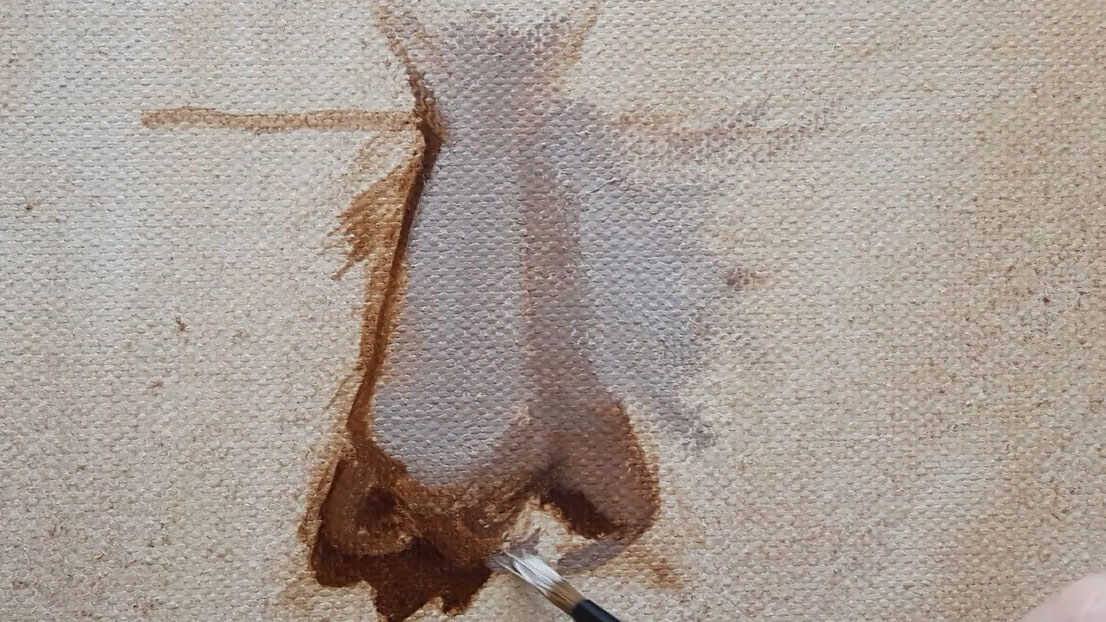
Block in the main values of the nose – this example is titanium white and burnt umber. Try and think back to the initial shapes you drew in step one and observe the direction of the light and placement of the shadows. Again, don’t get lost in details. In this step, focus on the basic shapes and values. Remember, however, that the nose openings are not just dark round holes – they have a structure.
04. Move on to the details
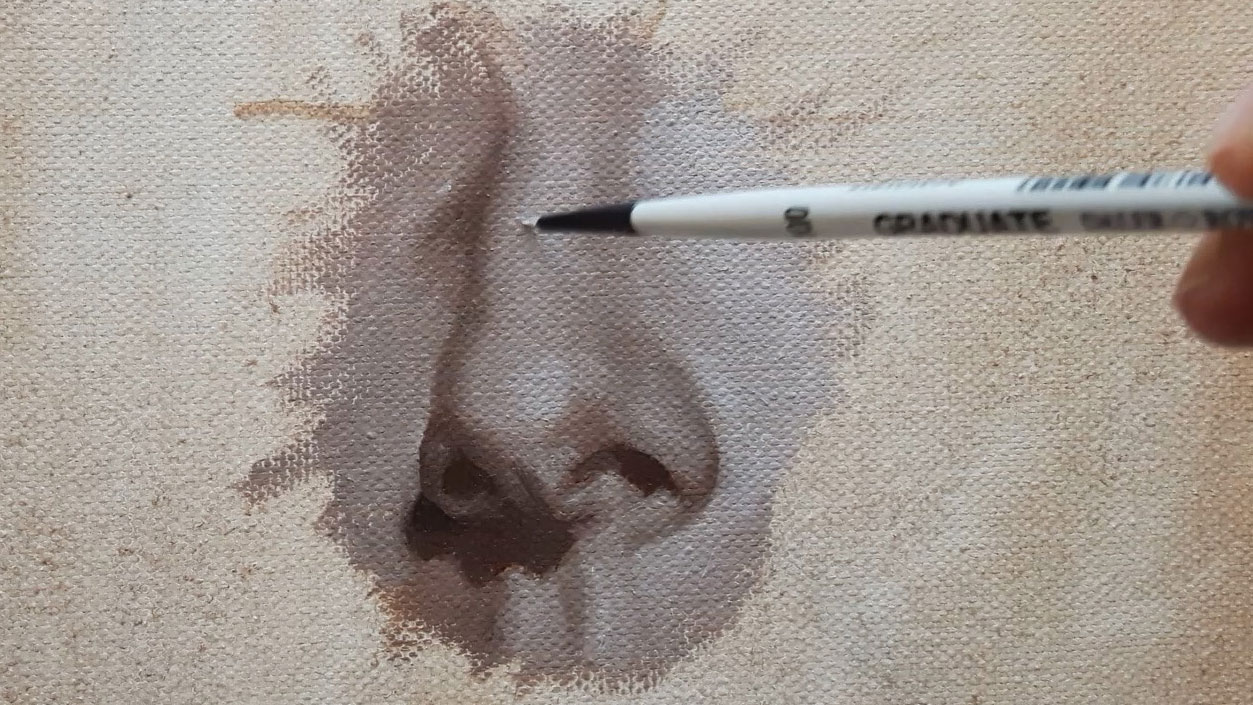
Once the block-in is done, move on to adding details. Now is a good time to observe all the things you have deliberately omitted. Look at the details that are a part of the nose’s shadows, as well as the highlights, and make sure you don’t make the nose 'too perfect'. Pay particular attention to the cartilage below the tip of the nose as this can easily be overlooked.
Daily design news, reviews, how-tos and more, as picked by the editors.
Read more:

Kate is an artist specialising in portraits and pet portraits. She mainly works in oils, charcoal and pencil.
Most recently her artwork, Serenity, has been accepted and shown at the Royal Society of Portrait Painters Annual Exhibition in London . Her painting"Portrait of an Artist" was shown at the Royal Institute of Oil Painters 125th Annual Exhibition in London in 2017. The painting was also selected as a finalist in the prestigious International ARC Salon Competition in 2019 .
The International ARC Salon Competition is the most far reaching and influential competition for Contemporary Realism in the world.
