Master negative painting in watercolour
Negative space works differently in watercolour.
Sign up to Creative Bloq's daily newsletter, which brings you the latest news and inspiration from the worlds of art, design and technology.
You are now subscribed
Your newsletter sign-up was successful
Want to add more newsletters?

Five times a week
CreativeBloq
Sign up to Creative Bloq's daily newsletter, which brings you the latest news and inspiration from the worlds of art, design and technology.

Once a week
By Design
Sign up to Creative Bloq's daily newsletter, which brings you the latest news and inspiration from the worlds of art, design and technology.

Once a week
State of the Art
Sign up to Creative Bloq's daily newsletter, which brings you the latest news and inspiration from the worlds of art, design and technology.

Seasonal (around events)
Brand Impact Awards
Sign up to Creative Bloq's daily newsletter, which brings you the latest news and inspiration from the worlds of art, design and technology.
Negative painting refers to painting the negative space that defines positive shapes. This is especially important with traditional watercolour, where painting things as light-against-dark means the white of the paper must be preserved (rather than using white paint as is done with opaque media). So, instead of painting the object, you paint the object's background. Here's how to do it.
01. Wash and dry

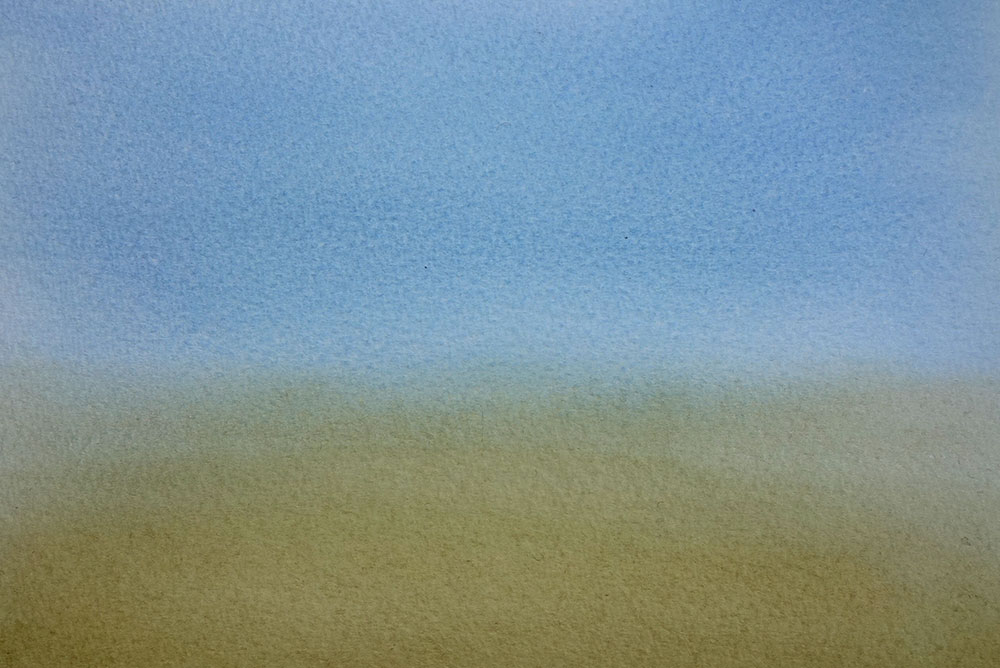
First, paint a rectangular section of paper with a two-colour wash, blue at the top and a pale hay colour at the bottom. They can blend together for a soft-edged join. Don't worry about perfection, but aim for half of each colour. Now let the paper dry completely.
02. Paint in the hedgerow

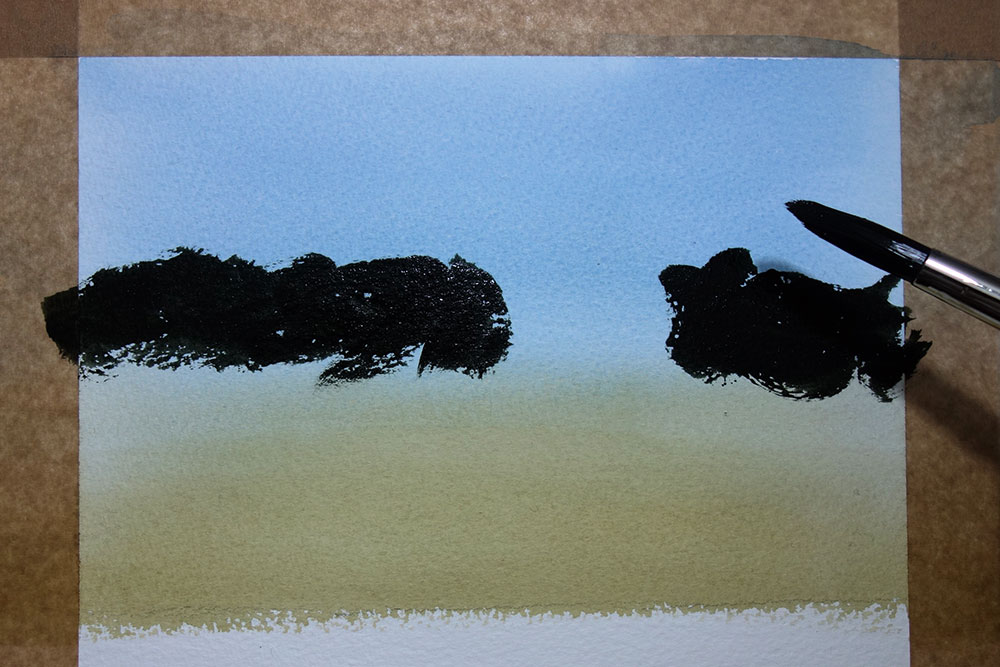
Using a thick dark-green mix and a large synthetic brush (which will enable you to work quickly), paint in two bits of hedgerow. These overlap where the background colours merge.
You can draw the main shapes in pencil first if you like, but here I'm just 'drawing with the brush', which is good practice for mark-making.
03. Add some definition

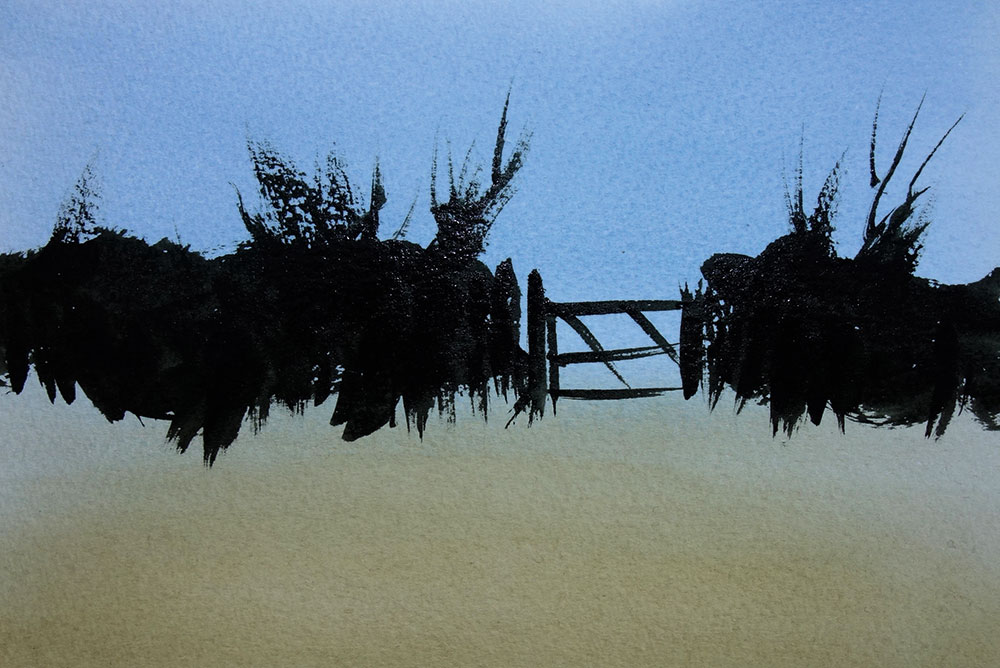
Now use a combination of downward and upward brush strokes at the bottom of the hedge. Here you're defining the long grass and weeds in front of the hedge, and you have to think negatively while being quick! In addition, paint a gate, posts and some growth on top of the hedge. You need to do all this while the paint is still wet.
04. Scrape out some lights

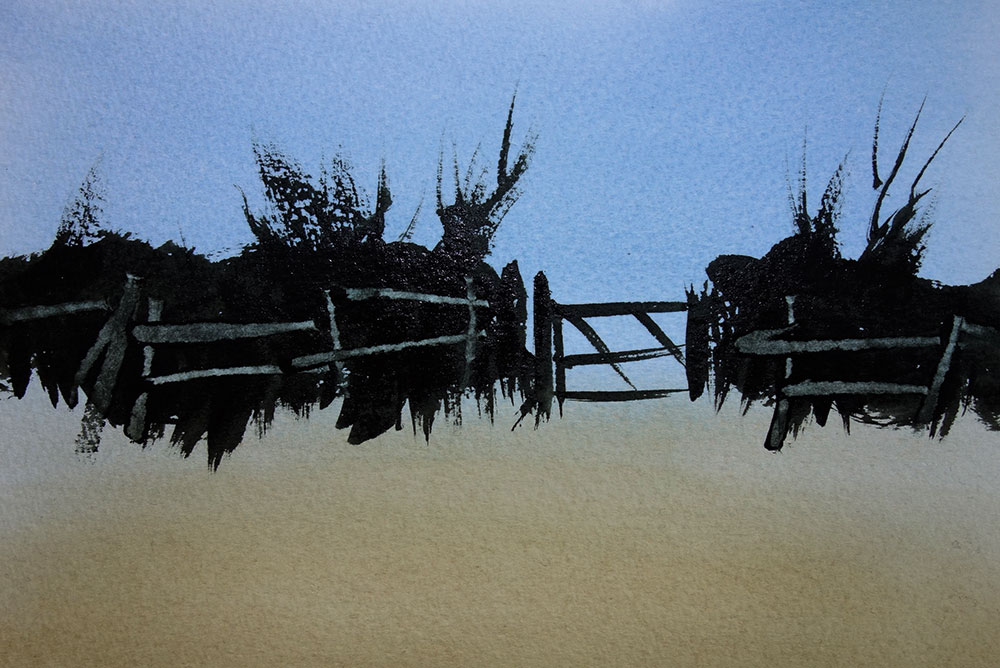
Here's another negative-painting method for some fence posts. First, briskly make horizontal and vertical scrape marks in the still-damp hedge. I find a fingernail works well for this, but you could try anything hard, such as a matchstick. The relatively thick paint will lift off to reveal the underlying wash, and voilà – you have your lights-against-darks!
This article originally appeared in Paint & Draw issue 7; buy it here!
Sign up to Creative Bloq's daily newsletter, which brings you the latest news and inspiration from the worlds of art, design and technology.
Related articles:
