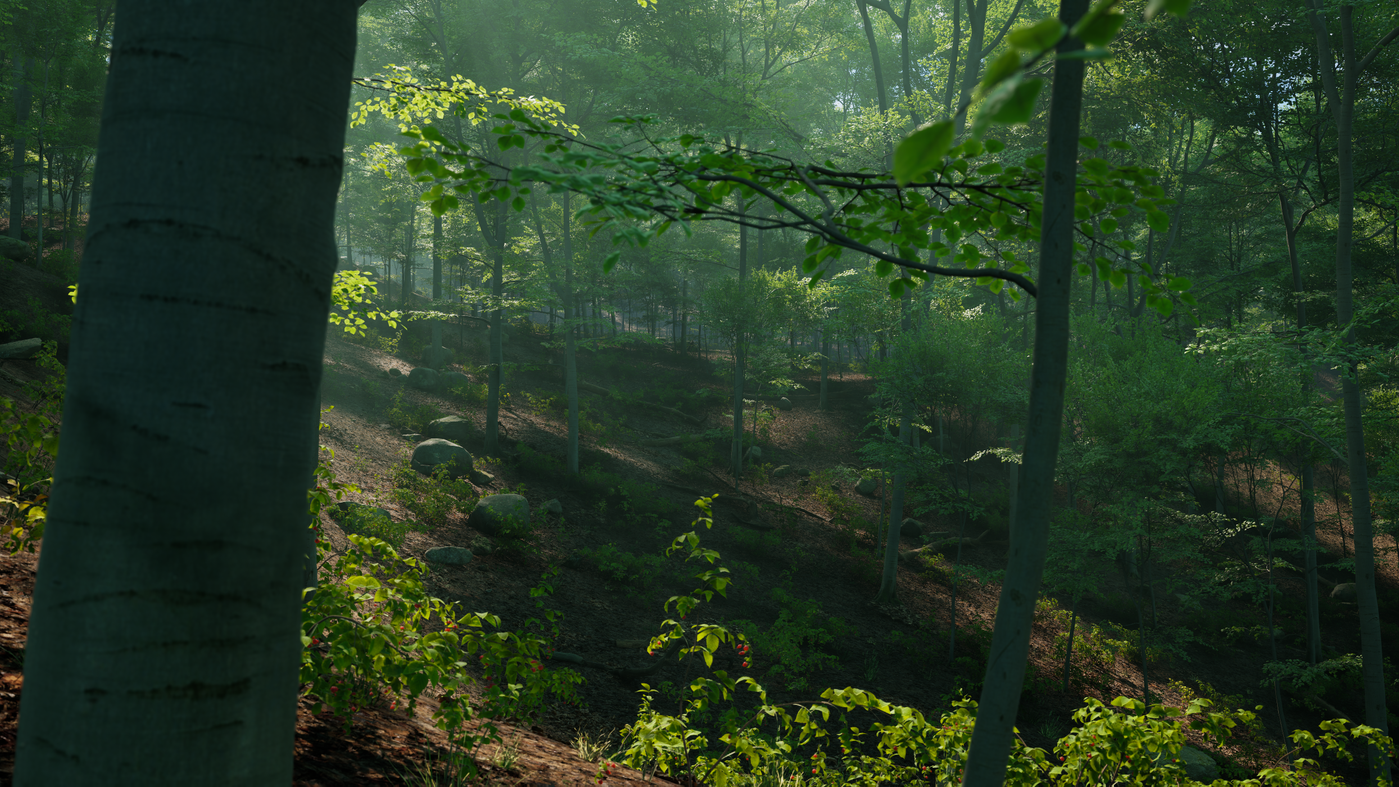
Video tutorial: Complete the vintage toy camera aesthetic
Use textures to grunge up your images – Ben Secret shows you how
Daily design news, reviews, how-tos and more, as picked by the editors.
You are now subscribed
Your newsletter sign-up was successful
Want to add more newsletters?

Five times a week
CreativeBloq
Your daily dose of creative inspiration: unmissable art, design and tech news, reviews, expert commentary and buying advice.

Once a week
By Design
The design newsletter from Creative Bloq, bringing you the latest news and inspiration from the worlds of graphic design, branding, typography and more.

Once a week
State of the Art
Our digital art newsletter is your go-to source for the latest news, trends, and inspiration from the worlds of art, illustration, 3D modelling, game design, animation, and beyond.

Seasonal (around events)
Brand Impact Awards
Make an impression. Sign up to learn more about this prestigious award scheme, which celebrates the best of branding.
To complete the analogue toy camera look from last month, we’ll use three superb free textures from SkeletalMess. We’ll work with a bubbly light effect, some interesting graduated light streaks and a grungy border.
We’ll mix the bubbly light texture in with our image using a Light blending mode, to add a double-exposed film effect. Then for the light streaks we’ll use Screen blending to selectively lighten and fade parts of our image, creating an old Polaroid effect. Finally, we’ll mix the grungy border in using the Blend If sliders.

01 Our first texture adds a bubbly light effect to our phone box image. Once we’ve resized our image to fit the frame, this kind of texture is perfect for the Soft Light blending mode, which uses the light and dark pixels of the texture to lighten, darken and exert a subtle colouring effect on the image underneath.
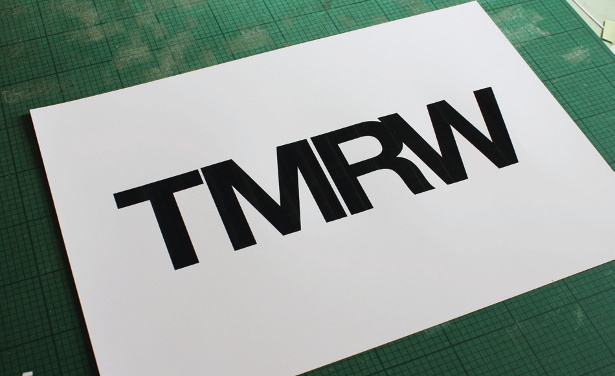
02 We can control the strength of this texture effect with the Opacity slider – here I turned it down to 50%. However, while the bubble effect seems to work for most of the image, there are areas around the middle where it might be distracting. So here we’ll just use a black paint brush on the layer mask to rub out any areas of the texture that we don’t want to see.
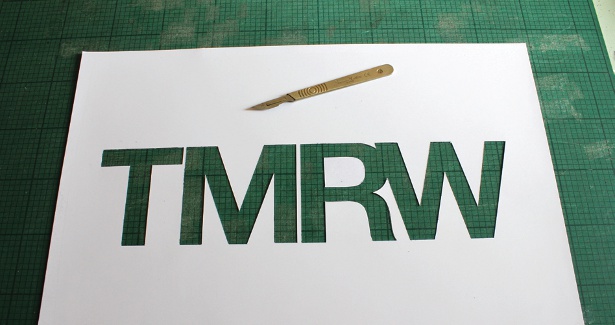
03 Our next texture is a series of light streaks. We can use these to introduce a kind of faded analogue print look to our image. For this we’ll use the Screen blending mode, with a lightening effect and the opacity turned down to 57%. Again this effect works in some parts of the photo better than it does in others, so mask out any unwanted area with a black brush.
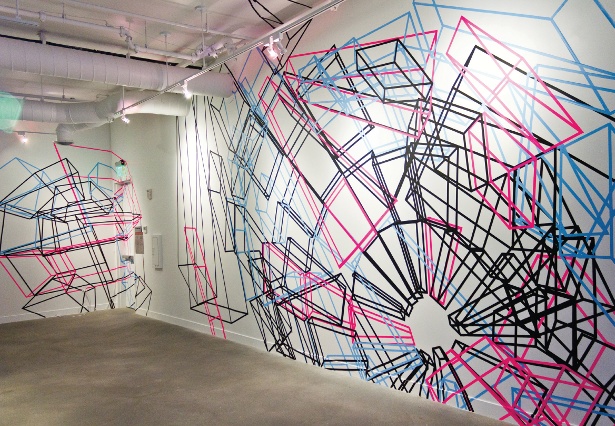
04 With our border texture, we must import it then resize it – which we can do with Photoshop’s Free Transform tool. I’ll keep this effect simple by using the Normal blending mode, but turning the opacity down to 88% just to enable the image to burn through and bleed a little into the borders. Now Ctrl/right-click on this border layer, in the Layers panel, and bring up Blending Options.
05 To blend this texture in, we’ll use the Blend If sliders. Using the This Layer sliders, bring the highlight pointer down to about 8. Now anything in our border texture with a luminosity value of more than 8 will be invisible. To make this effect smoother and bring some more of the border’s texture in, Opt/Alt-click the highlight slider to split it apart and bring the right slider up to 114.
Daily design news, reviews, how-tos and more, as picked by the editors.

The Creative Bloq team is made up of a group of art and design enthusiasts, and has changed and evolved since Creative Bloq began back in 2012. The current website team consists of eight full-time members of staff: Editor Georgia Coggan, Deputy Editor Rosie Hilder, Ecommerce Editor Beren Neale, Senior News Editor Daniel Piper, Editor, Digital Art and 3D Ian Dean, Tech Reviews Editor Erlingur Einarsson, Ecommerce Writer Beth Nicholls and Staff Writer Natalie Fear, as well as a roster of freelancers from around the world. The ImagineFX magazine team also pitch in, ensuring that content from leading digital art publication ImagineFX is represented on Creative Bloq.
