The secrets of matte painting: 10 top tips
What exactly is matte painting and how is it done? Leading experts share their tips.
Daily design news, reviews, how-tos and more, as picked by the editors.
You are now subscribed
Your newsletter sign-up was successful
Want to add more newsletters?

Five times a week
CreativeBloq
Your daily dose of creative inspiration: unmissable art, design and tech news, reviews, expert commentary and buying advice.

Once a week
By Design
The design newsletter from Creative Bloq, bringing you the latest news and inspiration from the worlds of graphic design, branding, typography and more.

Once a week
State of the Art
Our digital art newsletter is your go-to source for the latest news, trends, and inspiration from the worlds of art, illustration, 3D modelling, game design, animation, and beyond.

Seasonal (around events)
Brand Impact Awards
Make an impression. Sign up to learn more about this prestigious award scheme, which celebrates the best of branding.
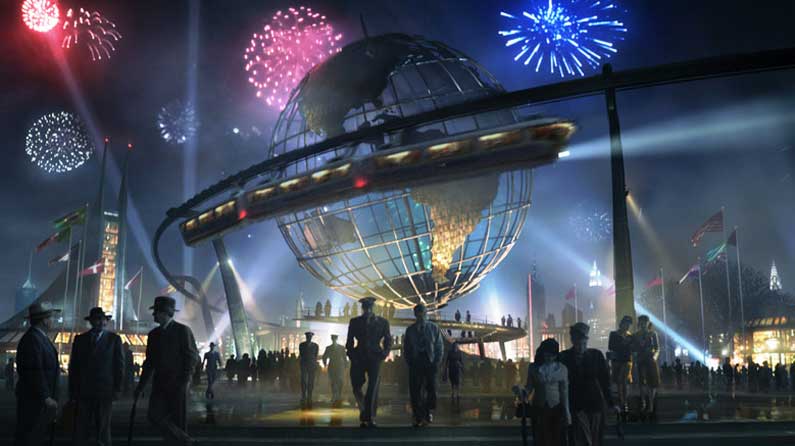
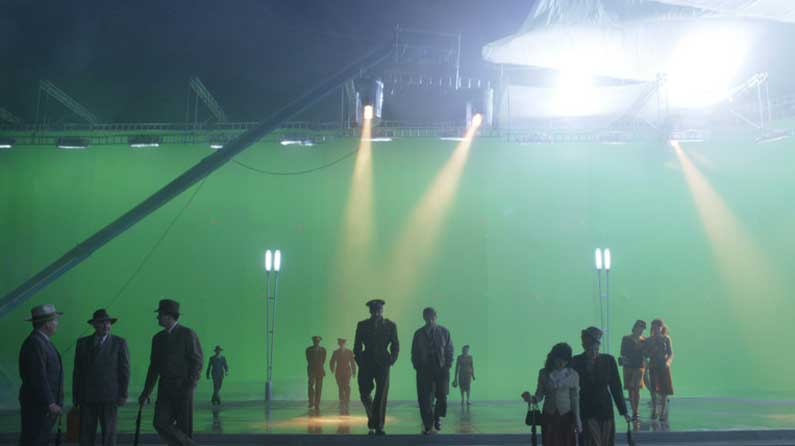
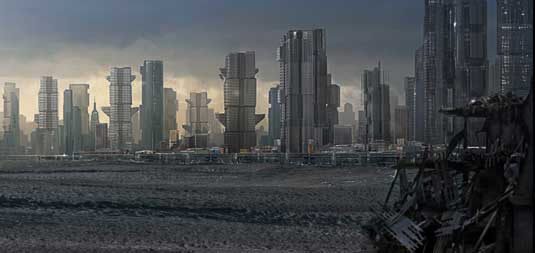
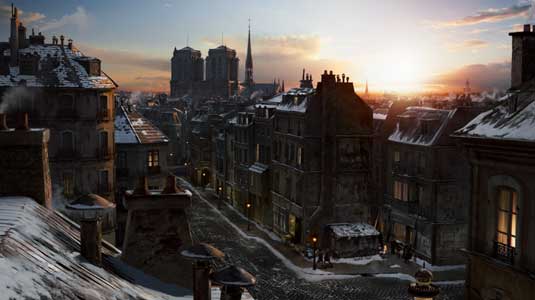
A matte painting is a painted representation of a landscape or other distant location used in movies to create an environment that would be either too expensive or impossible to build - such as alien worlds or fairytale lands.
In traditional cinema, matte paintings were painted onto large sheets of glass and integrated with the live-action footage, famous examples including Dorothy’s approach to the Emerald City in The Wizard of Oz and the tractor-beam set of the first Star Wars movie.
By the mid-1980s, new technology allowed matte painters to work in the digital realm. The first-ever digital matte shot was created by painter Chris Evans in 1985 for Young Sherlock Holmes in a scene featuring a CGI knight leaping from a stained-glass window. Evans first painted the window in acrylics, then scanned the painting into LucasFilm’s Pixar system for further digital manipulation. The computer animation blended with the digital matte.
Since the turn of the century, paint has been pretty much superseded by digital images created using photo references, 3D models, and drawing tablets. Matte painters combine their digitally matte painted textures within computer-generated 3D environments, allowing for 3D camera movement.
Design process
Most matte paintings begin life as a verbal brief communicated by the film’s director: eg "A cold and bleak environment, not too alien in its feel" or "a historically accurate view of the Southampton Docks, circa 1912."
If the brief hasn’t already been visualised by the art department, the concept sketch becomes the digital matte painter’s first job. Vital as a development tool for exploring the composition of the final painting, and also as a method of communicating the look to the director, it’s only when the concept image has been signed off that work should begin on the actual matte painting.
Here we've pulled together advice from some of the profession's leading experts on how to master matte painting....
Daily design news, reviews, how-tos and more, as picked by the editors.
01. Don't rush the design process

If you’re involved in designing the matte painting, spend your time wisely and don’t rush your work. While the majority of matte painters produce concept art digitally (with Photoshop or Painter), others work in whichever medium is appropriate. Ensure that the colours, composition and lighting are signed off, and that the perspective is accurate before you move to the next stage and begin work on the details.

02. Present only your best work
Since you’ll probably be working on several variations of ideas in your concept drawings, use your own judgement when choosing which to present. Although most directors like to have choices when considering how elements of the matte painting will work with the story, never present more than three images or you’ll inevitably be asked to take elements from each and end up with a composition that doesn’t work.
03. Sell your design
When presenting your concept work, point out which of your images work well and provide good explanations as to why. Knowing how to sell your work is an essential part of the process. Point out the strengths of the images, and explain how you’ll address any weaknesses. If you’re convinced that one of your images represents the perfect composition, show a couple of alternatives where one element is clearly wrong. Don’t fail to underestimate the importance of a psychological sell.
04. Brush up your art skills

Even with the best knowledge of Photoshop in the world, you won’t be a great matte painter without a fair degree of natural artistry. You’ll need to understand perspective like an expert. If you’re still unsure about constructing multiple vanishing points, now’s the time to pick up any of the numerous books on the subject and hone those skills.
05. Learn to love the cloning stamp
It may sound straightforward, but learning how to clone well is an important trick of the trade. Good cloning is invisible cloning. Practice removing a tree from a digital image of a landscape, or a lamppost from the front of a brick building.
06. Collect reference data
Most matte painters build up their own reference libraries of images by shooting digital stills wherever they can. Keep a digital camera with you and jump at opportunities to go out on location. Shoot all the stills you think you’ll need, including general views, textures and lighting conditions.

Capturing images in RAW format retains the most data, and bracketing images around a central exposure will provide more information about the highlights and shadow areas.
07. Don't force photographs to fit
While photographic images are often the best starting points for a digital matte painting, don’t force the wrong photographs to fit. A good matte painting isn’t simply a collage of photographs bound together with a few painted pixels.
08. Use layers sensibly
Be structured, label all of your layers clearly and sort them into folders. When you’re up against a deadline and trying to tweak the roof tiles on the fifteenth building from the right, you’ll appreciate a good working method. Work like a painter from background to foreground. Start with the sky, then move on to the clouds, mountains, background atmosphere and subsequent layers of buildings. You may end up with about 50-100 layers, grouped into about 10 folders for easy colour grading.
09. Keep your elements live
Never flatten or merge a layer unless you’re sure you’ll never need to tweak that element in isolation. Changes may be requested until the moment before delivery. If you’re unable to shift a background element to make way for the new positioning of the CG, you’re in for a lot of unnecessary paint fixes that could have been avoided by keeping more elements live.
10. Work with the compositor
Discuss with the compositor which layers they would like to work with, and whether they have any special requirements, particularly if they’re blending the matte painting with live-action elements. Layers that are typically required include atmosphere, highlights, shadows and various mattes. Elements that need to be animated should be created on their own separate layer, and elements which may become foreground to live-action should also be split off into a new layer.
Where to learn more
- The basic principles of digital matte painting
- Digital matte painting essentials
- How to create a matte painting inspired scene
- 25 outstanding matte painting tutorials
With thanks to Alp Altiner, Dylan Cole, Charles Darby, Dave Early and Lubo Hristov.
Delivered in conjunction with ZED!
This content was produced in collaboration with HP & Intel as part of ZED - a Pop-Up Studio for the Creative Community held in Soho, London. For more information about ZED and any future events see here.

The Creative Bloq team is made up of a group of art and design enthusiasts, and has changed and evolved since Creative Bloq began back in 2012. The current website team consists of eight full-time members of staff: Editor Georgia Coggan, Deputy Editor Rosie Hilder, Ecommerce Editor Beren Neale, Senior News Editor Daniel Piper, Editor, Digital Art and 3D Ian Dean, Tech Reviews Editor Erlingur Einarsson, Ecommerce Writer Beth Nicholls and Staff Writer Natalie Fear, as well as a roster of freelancers from around the world. The ImagineFX magazine team also pitch in, ensuring that content from leading digital art publication ImagineFX is represented on Creative Bloq.
