Get to grips with layer groups
Ben Secret explains how to dramatically boost your image processing with groups
Daily design news, reviews, how-tos and more, as picked by the editors.
You are now subscribed
Your newsletter sign-up was successful
Want to add more newsletters?

Five times a week
CreativeBloq
Your daily dose of creative inspiration: unmissable art, design and tech news, reviews, expert commentary and buying advice.

Once a week
By Design
The design newsletter from Creative Bloq, bringing you the latest news and inspiration from the worlds of graphic design, branding, typography and more.

Once a week
State of the Art
Our digital art newsletter is your go-to source for the latest news, trends, and inspiration from the worlds of art, illustration, 3D modelling, game design, animation, and beyond.

Seasonal (around events)
Brand Impact Awards
Make an impression. Sign up to learn more about this prestigious award scheme, which celebrates the best of branding.
Layer groups (originally known as ‘layer sets’) were introduced in Photoshop CS2. Accessible from the Layers palette, groups can be added to your Layers palette with the ‘Create a New group’ button or binned by dragging them over the bin icon in much the same way as working with any other kinds of layer.
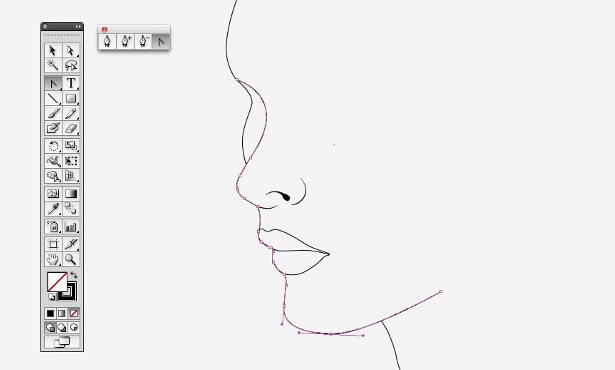
A group acts as a folder for layers. At their simplest, groups enable complex projects with multiple layers to be neatly organised and easily navigable. For example, a typical retouching job might involve making numerous localised colour adjustments – these typically being performed with a sequence of curves or colour balance adjustment layers, each with its own carefully defined layer mask. But, as the layers start piling up, we can soon find ourselves with an almost unmanageable amount in our palette.
To solve this, create a group and label it ‘Colour’. Drag all your colour adjustment layers into it and then collapse the group to save space, or expand it only when you need to edit or examine any of your colour layers. If things get more complicated, you can even have groups within groups. You might have a colour adjustments group, say, and within it a global group for colour changes you’re making to the whole image, and a local group for anything using layer masks to confine effects to specific regions (01).
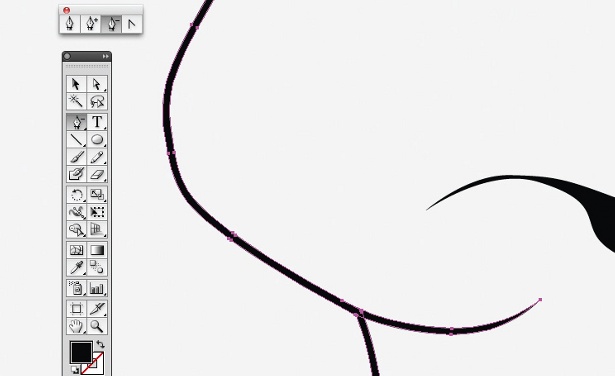
Complex projects will often involve using multiple image layers and combining them into one perfect composite image. In this case, you might want to group a project by image regions as well as, or instead of, by effects. You might give each subject in an image its own group, for example, which will contain any image adjustments and effects it uses. And, because groups have their own visibility and opacity controls, you can use them to selectively toggle on or off sets of image or adjustment layers, or to change the strength of sets of grouped effects.
But groups are potentially much more powerful than this, and can be used to take your image processing itself much further. Groups can be assigned their own blending modes so you can create more complex, self-contained sequences of image and adjustment layers, and then use Photoshop’s powerful blending tools to blend the resultant compound images into your source image (02).
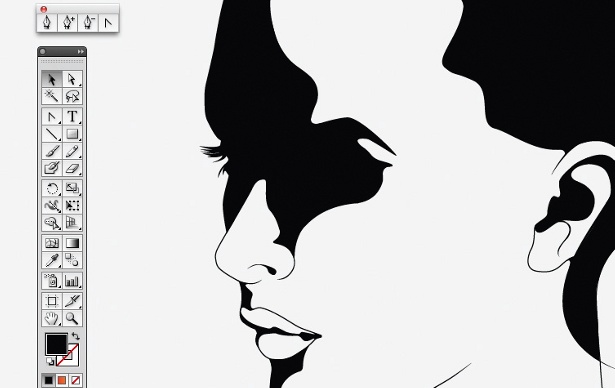
A good example of when it can be useful to move parts of your image processing into a group is when you’re performing image processing effects that require a chrominance map (03). In essence, a chrominance map is the colour information from an image separated from the luminosity. Using chrominance maps can enable you to perform some interesting – and sometimes extreme – saturation effects in your work.
In this example, you’d have your source image loaded into Photoshop as the background layer. You’d then make a copy of it by pressing Ctrl/Cmd+J. Next, create a solid colour adjustment layer, and set its RgB values to 128, 128, 128, for 50% grey. Now you can create a new group and place both the copy of your source image and the solid colour layer in it – with the copy of the source image on top. Lastly, change the top layer’s blending mode to Colour.
Daily design news, reviews, how-tos and more, as picked by the editors.
You should now have a mostly grey image with just the areas of colour showing as faint pastel-like blotches. You’ve got this effect contained in a group, so you can mix it in and out using the group’s opacity control, and you can also change its blending mode, and mask it, by adding a mask layer to the group in much the same way as you’d mask an image or adjustment layer (04 and 05).

The Creative Bloq team is made up of a group of art and design enthusiasts, and has changed and evolved since Creative Bloq began back in 2012. The current website team consists of eight full-time members of staff: Editor Georgia Coggan, Deputy Editor Rosie Hilder, Ecommerce Editor Beren Neale, Senior News Editor Daniel Piper, Editor, Digital Art and 3D Ian Dean, Tech Reviews Editor Erlingur Einarsson, Ecommerce Writer Beth Nicholls and Staff Writer Natalie Fear, as well as a roster of freelancers from around the world. The ImagineFX magazine team also pitch in, ensuring that content from leading digital art publication ImagineFX is represented on Creative Bloq.
