Make better images: Perspective
Put your artwork into perspective with this top advice.
01 Single-point perspective
The most common type of perspective is single point. Here there is only one vanishing point, usually on the horizon, and all lines converge at this single point. Choose a point and draw straight lines out from it to create your perspective grid.
02 Two-point perspective
Two-point perspective means different sides of a face move towards different vanishing points. When using two-point perspective, either your vertical lines or your horizontal lines will remain parallel and not converge. Extreme two-point perspective creates dynamic composition.
03 Three-point perspective
Three-point perspective works like two-point but adds a third vanishing point that distorts the straight lines in two-point perspective. This means that all parallel lines in your image should appear to converge towards the vanishing point for that plain.
04 Foreshortening
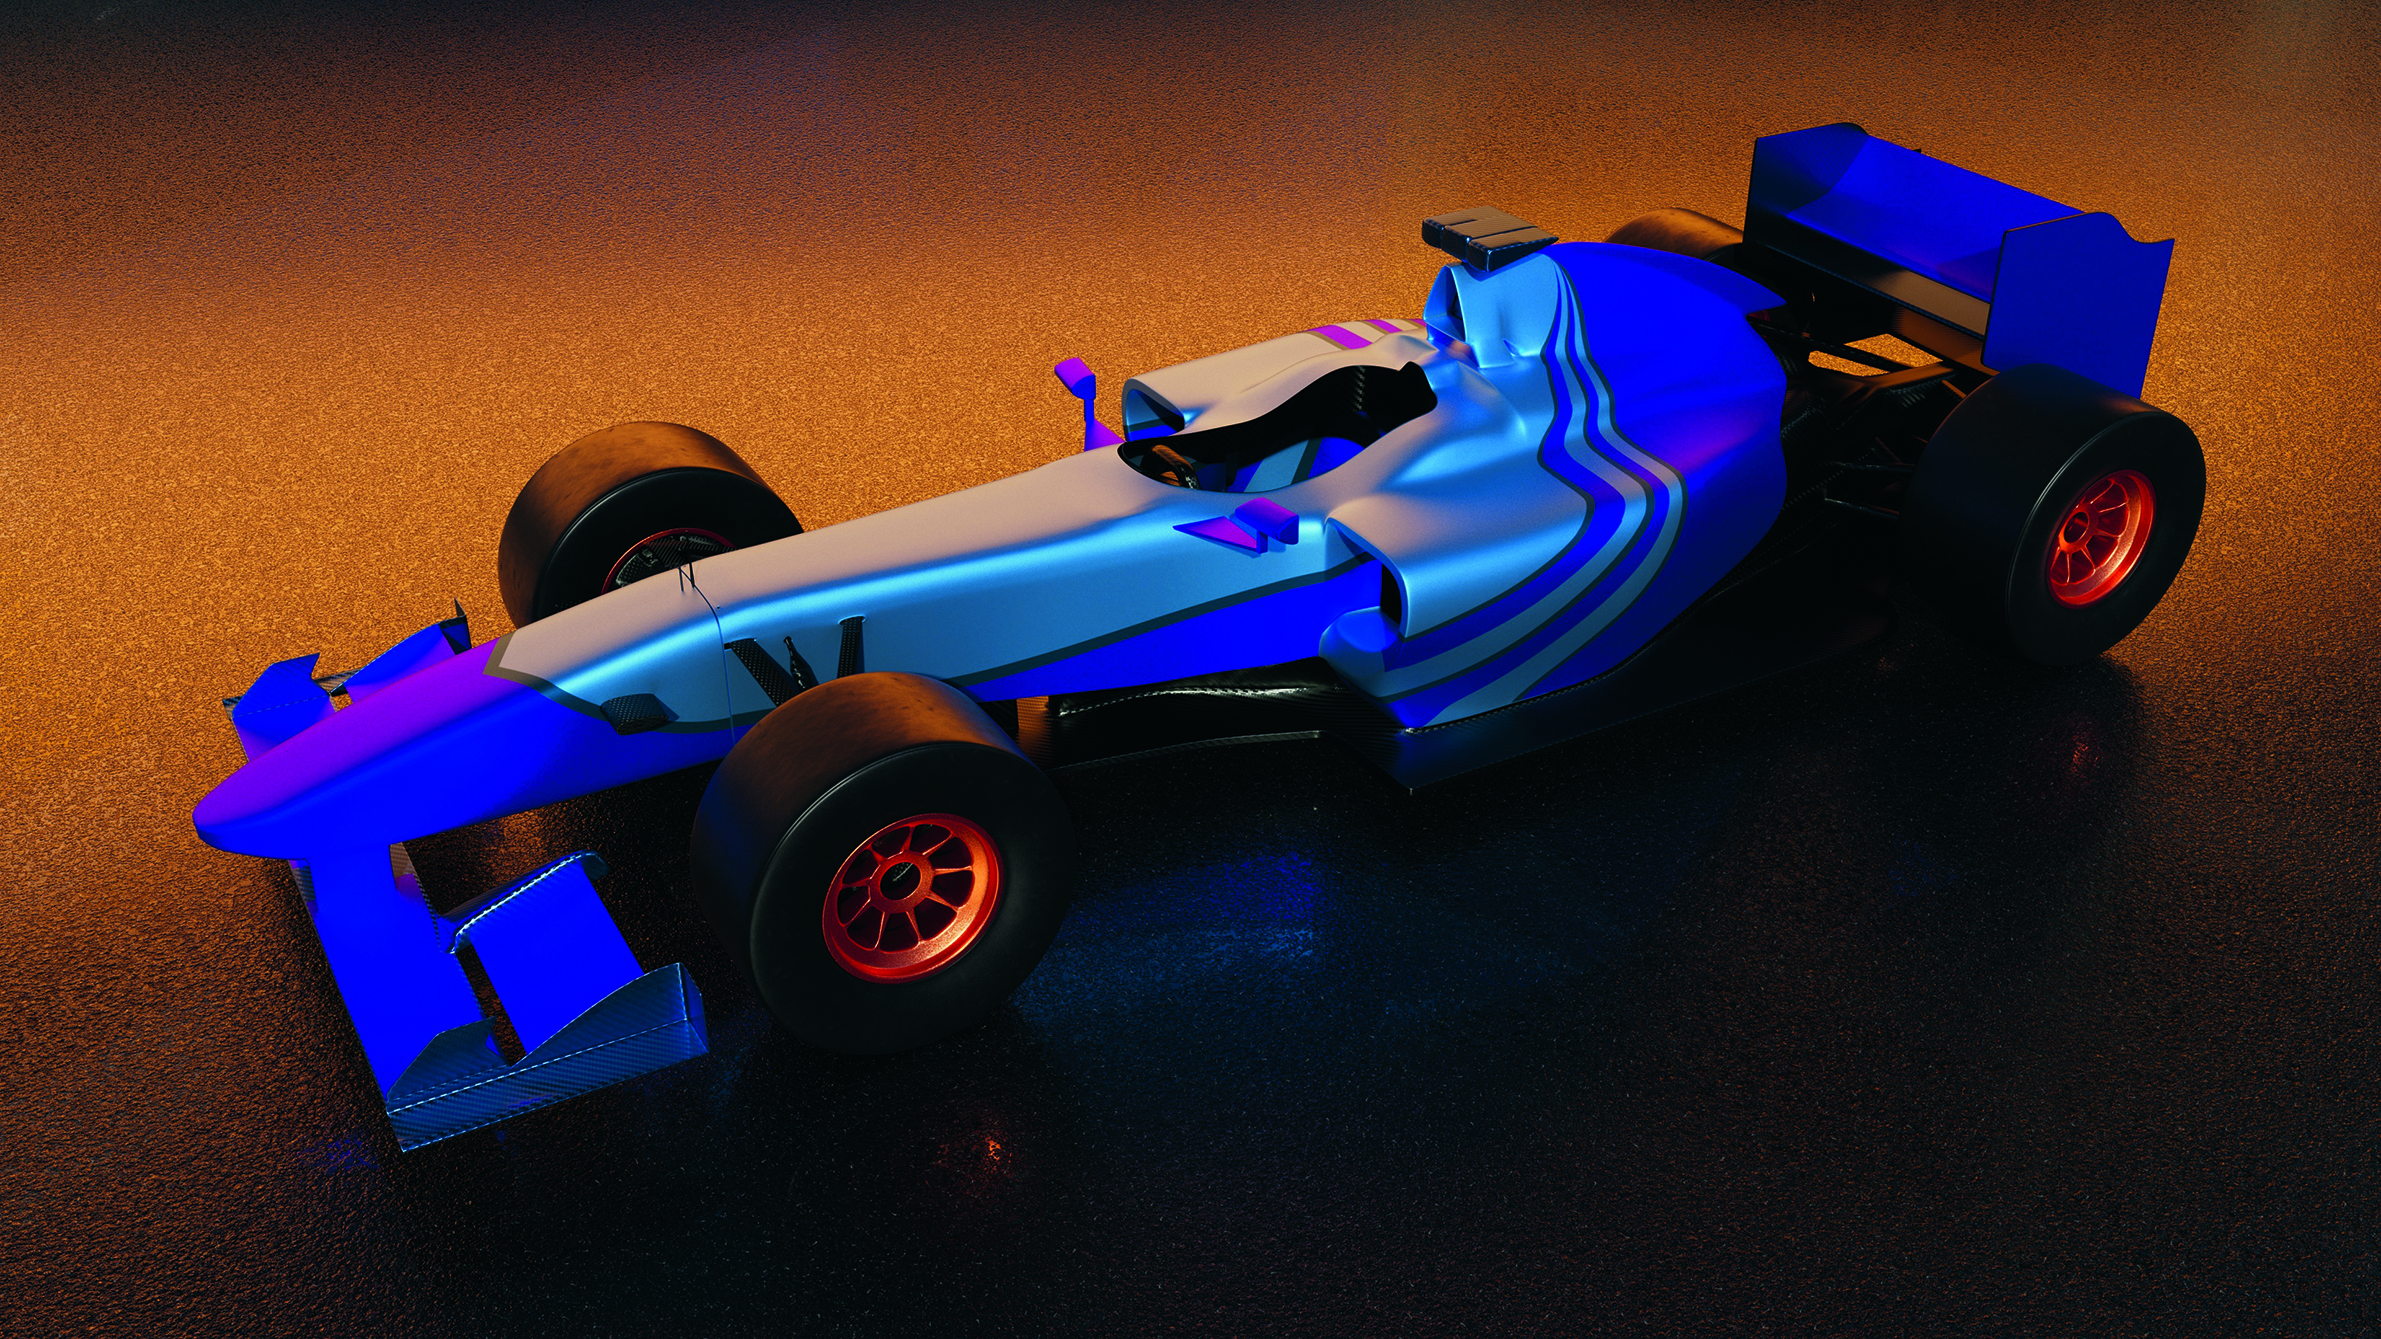
Foreshortening makes objects orientated towards the viewpoint appear to be shorter than they really are. Remember that as objects get farther away from your viewpoint, the more extreme the foreshortening, so the closer together far-off objects appear to be.
05 Add details to different plains
To sell the idea of distance in your perspective, it helps to add details in different plains within an image. A sweeping vista will appear all the more impressive if there's a person in the foreground to give the background context.
06 Understand perspective
Perspective lines represent how parallel faces appear as they move closer to a vanishing point. Set up guides, or draw a sketch of your perspective grid by deciding where the vanishing points are and sketching out lines that intersect with your primary subject.
07 Isometric (zero point) perspective
Isometric perspective is a popular choice for the non-realistic representation of objects. The interior angles between the width, height and depth axis should be 120 degrees. Objects drawn in isometric perspective should not foreshorten as they move towards or away from the viewpoint.
Daily design news, reviews, how-tos and more, as picked by the editors.
08 Facial features
Drawing a face is made easier by imagining lines that dissect the face, marking the position of the features. Imagine rubber bands wrapped horizontally around a ball: as you look straight on, the band lines appear perfectly horizontal; if you look from below they appear to curve upwards; and from above they appear to curve downwards. The lines will foreshorten as your viewpoint becomes more extreme.
09 Blur the distance
To help re-enforce your perspective, elements further away from the viewpoint will normally appear to be lighter in tone, less saturated and less defined. You can observe this by looking at a landscape: hills in the distance will appear to be lighter, with less definite detail and much less colour saturation than foreground objects.
10 Realistic versus extreme
The more extreme the perspective, the quicker the lines converge towards the vanishing point. If you want to go for realism, keep the perspective mild and the vanishing points far apart, but if you want to accentuate the perspective, move the vanishing points closer together.
Elsewhere, see our piece on five-point perspective.

The Creative Bloq team is made up of a group of art and design enthusiasts, and has changed and evolved since Creative Bloq began back in 2012. The current website team consists of eight full-time members of staff: Editor Georgia Coggan, Deputy Editor Rosie Hilder, Ecommerce Editor Beren Neale, Senior News Editor Daniel Piper, Editor, Digital Art and 3D Ian Dean, Tech Reviews Editor Erlingur Einarsson, Ecommerce Writer Beth Nicholls and Staff Writer Natalie Fear, as well as a roster of freelancers from around the world. The ImagineFX magazine team also pitch in, ensuring that content from leading digital art publication ImagineFX is represented on Creative Bloq.
