4 overlooked ZBrush tools you need to know
These often-forgotten ZBrush tools will improve your 3D creations.
Sign up to Creative Bloq's daily newsletter, which brings you the latest news and inspiration from the worlds of art, design and technology.
You are now subscribed
Your newsletter sign-up was successful
Want to add more newsletters?
With the vast array of ZBrush tools available, it can be easy to forget some of the most useful. We find ourselves creating certain shapes from scratch pretty much manually, as we completely forget that there's a shortcut that enables us to do it in no time whatsoever. Imagine our frustration when the lightbulb finally comes on and we realise how much time we've wasted on something that only required us to press a couple of buttons.
Turns out it is useful to refresh your memory from time to time. Just give yourself a few minutes to go through the menus and check out what awesome ZBrush tools have been hiding from you, or tools you've forgotten about.
Let’s look at what, in our experience, are the four most forgotten ZBrush tools. Don't forget that you can also boost your sculpting skills with our roundup of the best ZBrush tutorials. Need a new device? See our list of the best laptops for 3D modelling.
Article continues below01. Twist and SBend
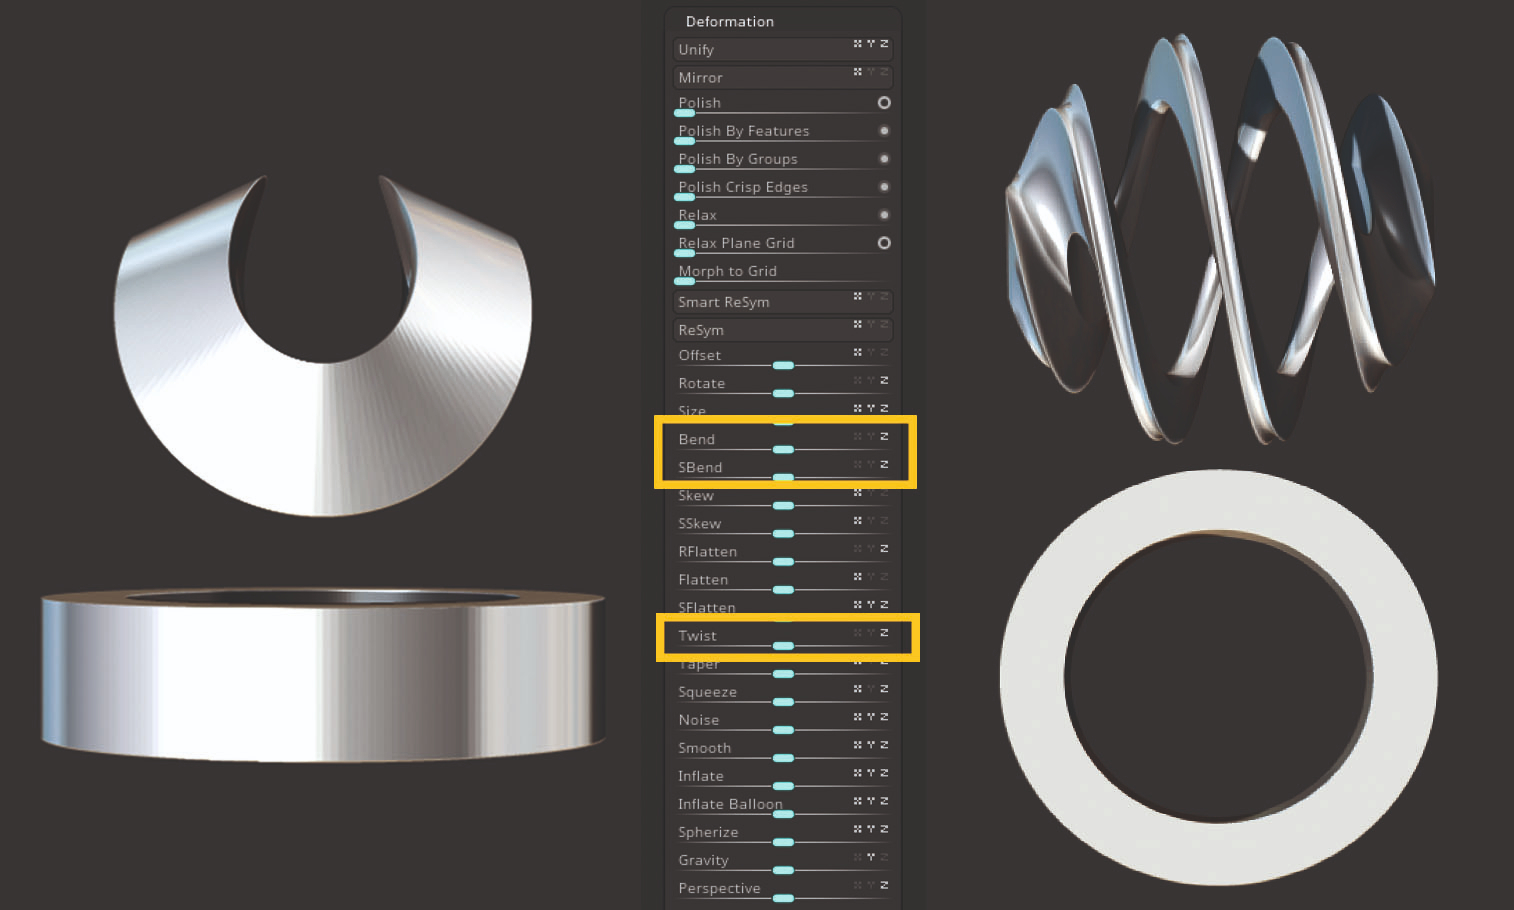
How often do you mask out a mesh to bend it in half? We bet our morning coffee that the answer is “more often than I wish to admit”. We have all done it, nothing to be ashamed of. Here is your friendly reminder that the Bend and SBend ZBrush tools exist to aid you. While you are visiting the Deformation menu, the Twist slider is smiling at you too. Give it a chance once in a while and it will help you create some intricate shapes.
02. Initialise
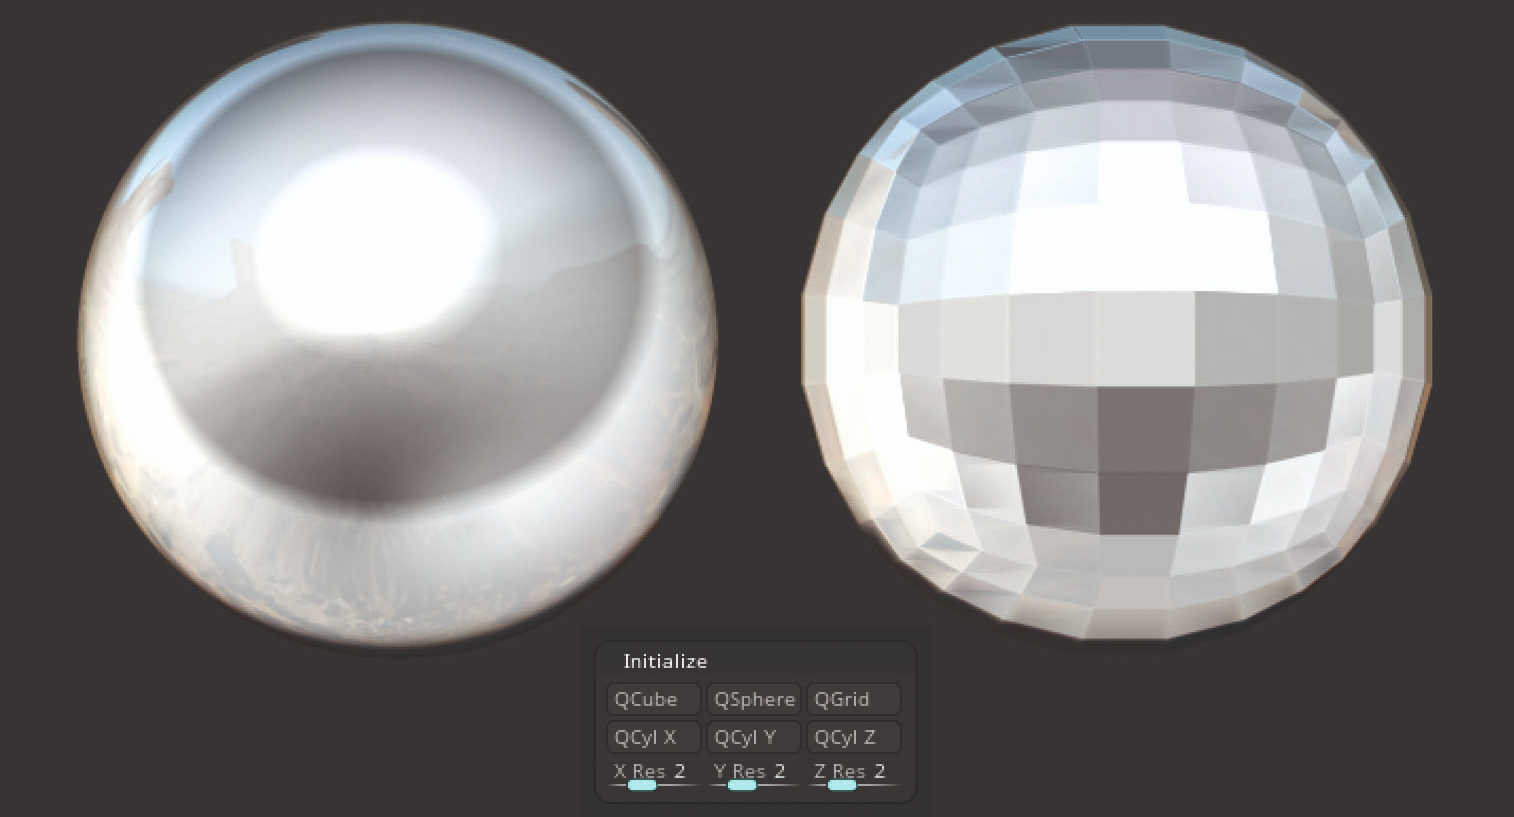
This ZBrush tool is our cone of shame. We know it exists, it is always right there at the bottom of Zbrush's Tool menu, and yet we will go out of our way to ZRemesh the living soul out of that high-poly sphere to create some low-poly spherical shapes. We always seem to reach enlightenment after having suffered through to the final stage of our elaborate ‘creative’ process. It elevates our heart rates just thinking about it. Remember to Initialise!
03. Dots display
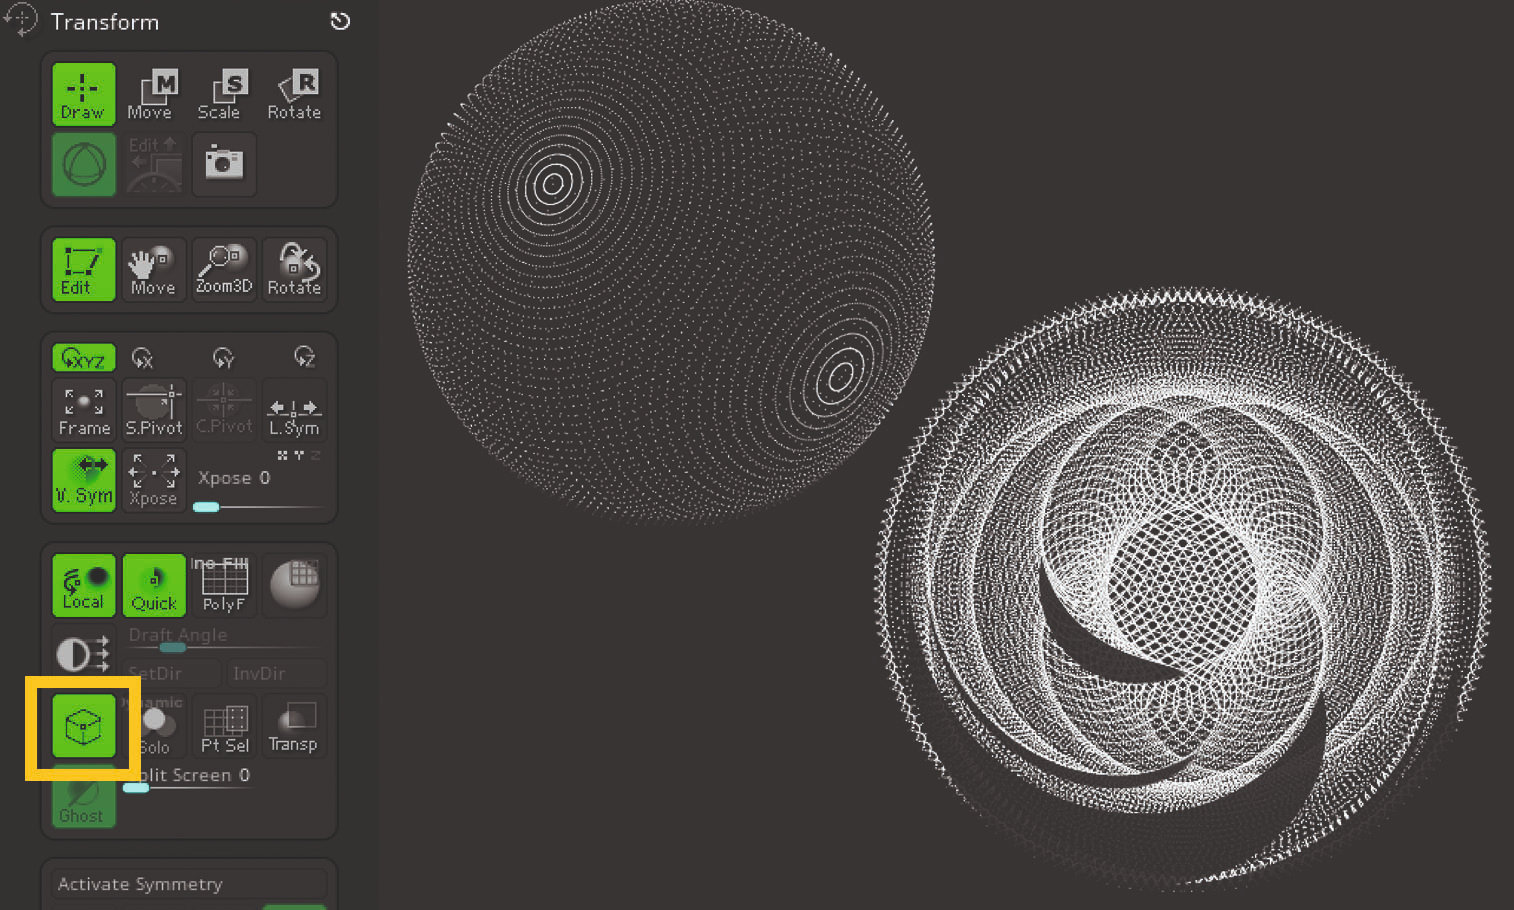
Found in the Transform menu, the Dots button causes the 3D tools to display as a (dotted) wireframe whenever a transformation or edit action is performed. Sounds cool, does it not? Now press BPR and simply watch the magic happen right before your eyes. You can achieve some pretty interesting renders when you have Dots enabled.
04. MatchMaker
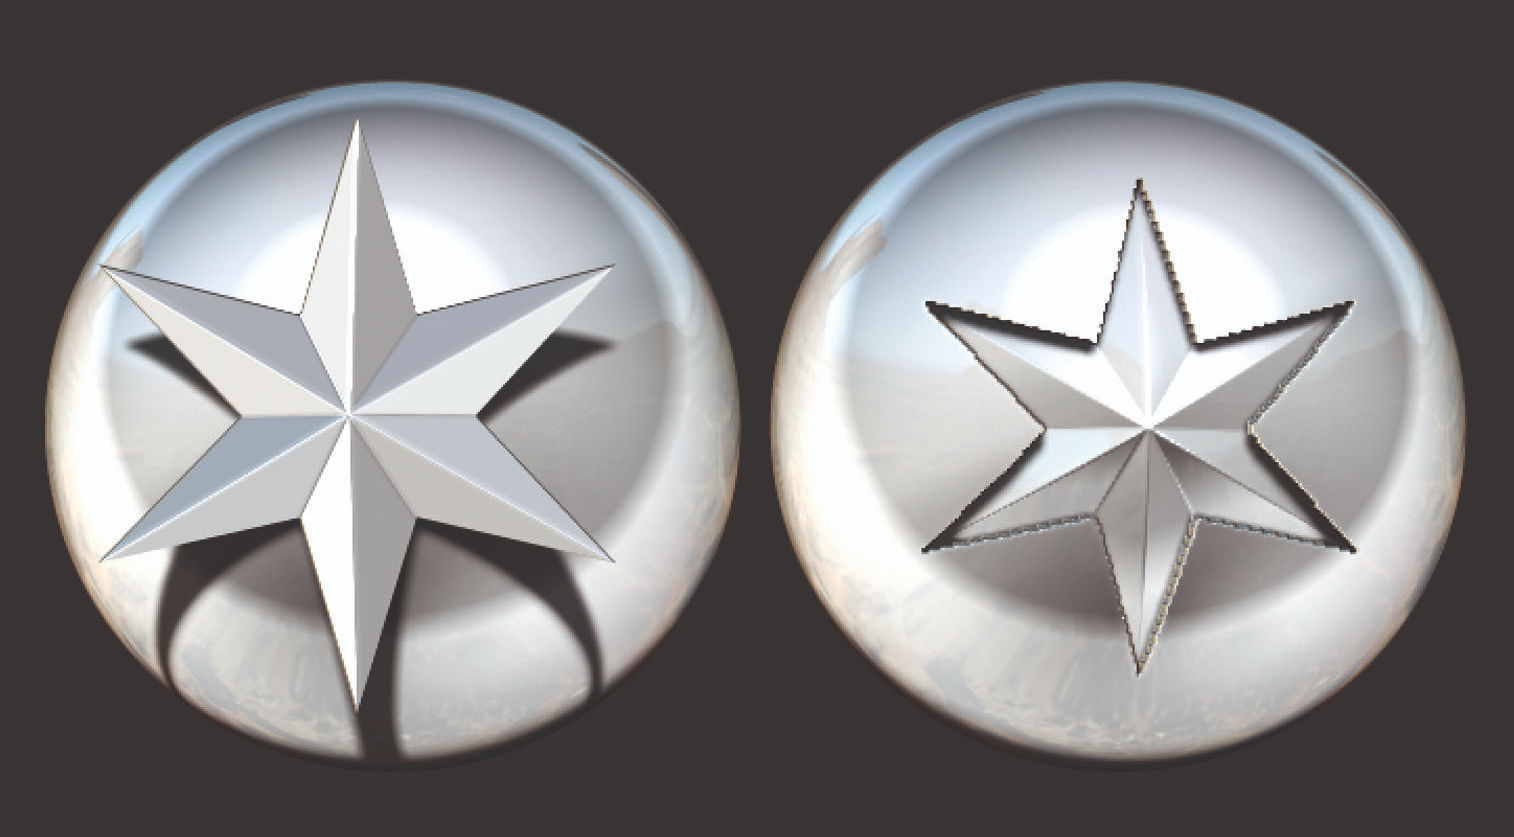
You may not need this ZBrush tool often, but it is worth remembering that the MatchMaker brush is available. You can use it to ‘stick’ one shape onto another, or carve it into an object. We recommend turning the BackfaceMask ON for the latter to avoid projecting the pattern onto both sides of the tool.
Sign up to Creative Bloq's daily newsletter, which brings you the latest news and inspiration from the worlds of art, design and technology.
This article was originally published in 3D World, the world's best-selling magazine for CG artists. Subscribe to 3D World.
Read more:

Maya is a 3D artist with a broad set of skills, diverse portfolio and extensive experience creating 3D assets for games and learning programmes. She has an excellent knowledge of Blender, ZBrush, Keyshot, Autodesk 3ds Max and Maya, Substance Painter and Designer, Photoshop; and integrating assets into Unity and Unreal Engine.
