11 tips for creating a watery landscape in 3D
Sign up to Creative Bloq's daily newsletter, which brings you the latest news and inspiration from the worlds of art, design and technology.
You are now subscribed
Your newsletter sign-up was successful
Want to add more newsletters?
Clarisse is a relatively new application, and it's more than just a render engine, a layout or look development tool. Clarisse frees artists from the constraints of computer power by handling huge amounts of geometry with ease.
In this tutorial, we're going to create a watery, rocky landscape that would be really hard to do in other applications. For this, we'll use the new physical-based rendering (PBR) for version 3.0 and all its features to explore and play with scanned data that spans millions of polygons, making thousands of copies of them.
To help, you can download the project files here (330.2MB), or the accompanying video here.
Article continues below01. Create the terrain
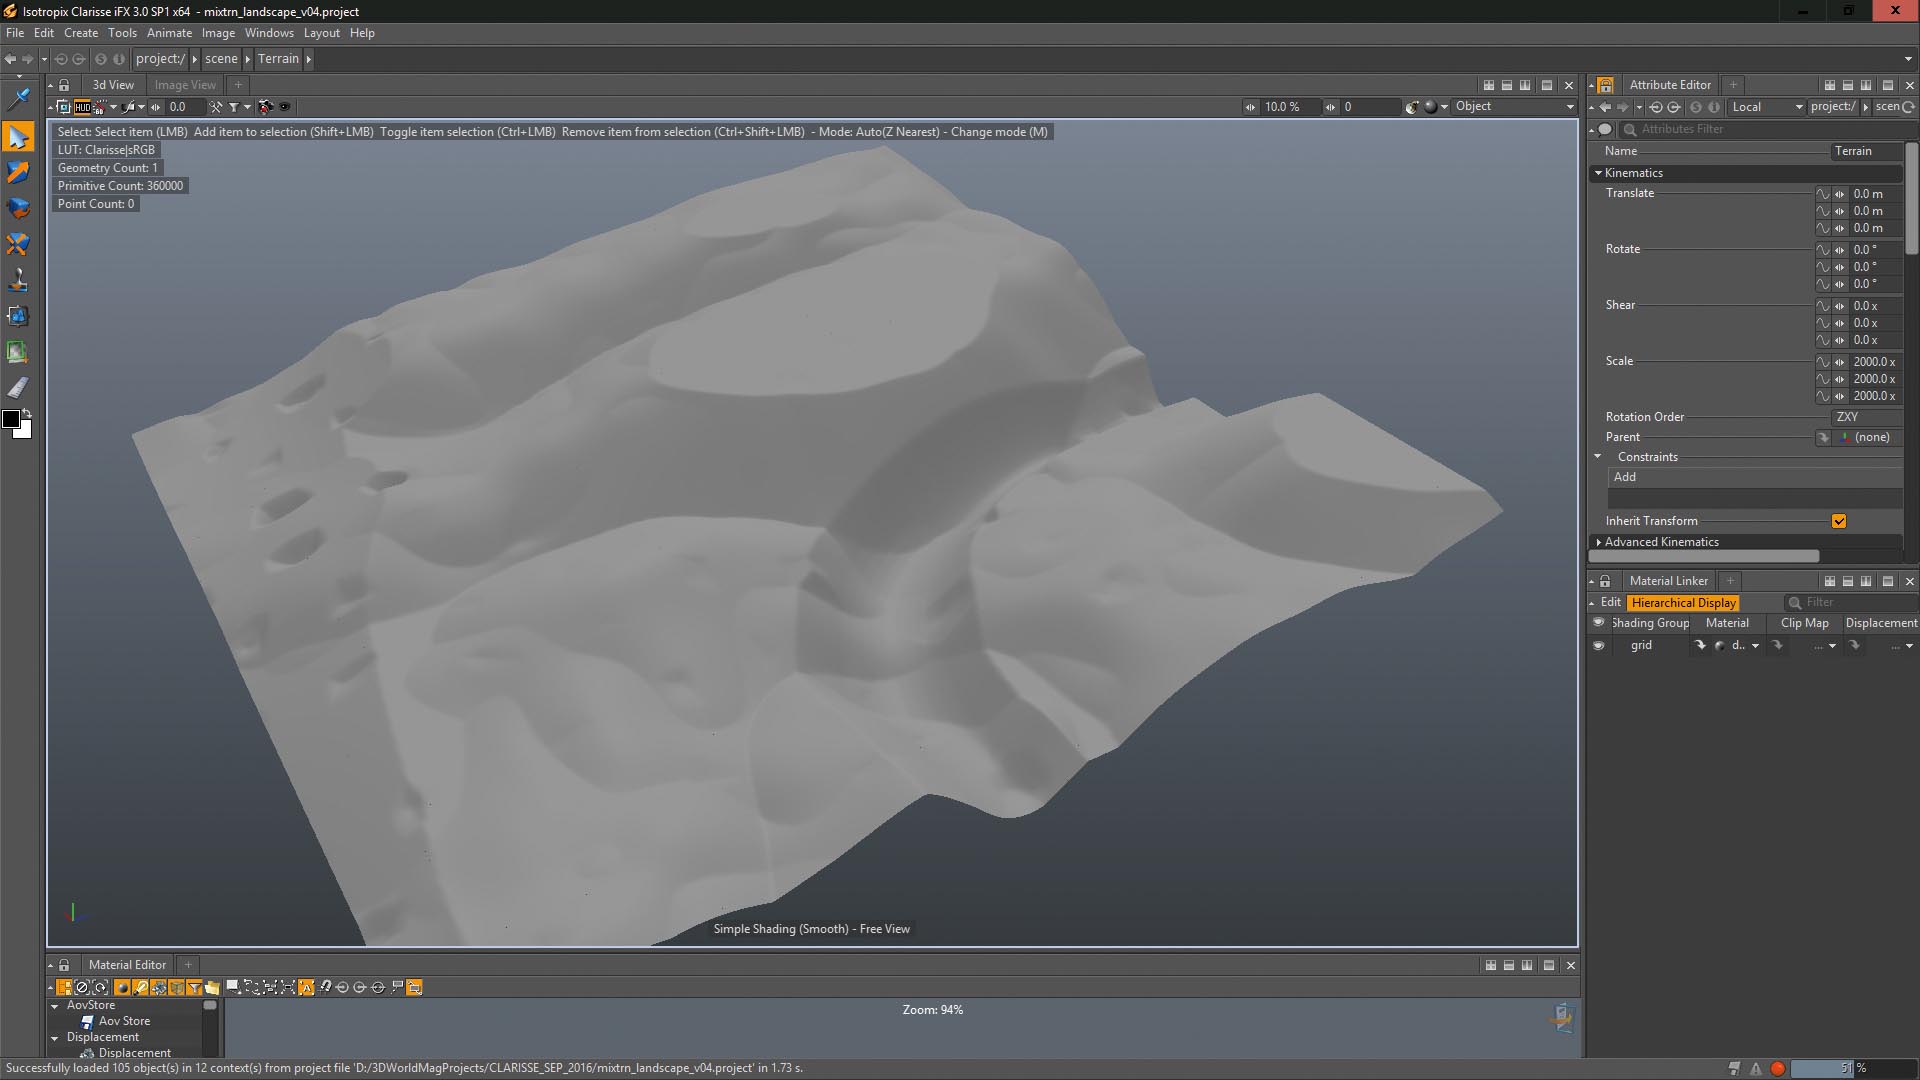
To create the base terrain, we'll use procedural modelling. There are no modelling tools available in Clarisse, but you can use anything that produces an image in order to shape geometry. This means your options are actually really good – and with Clarisse's ability to eat polygons for breakfast, you can tweak and shape your geometry really fast. We'll use a combination of two layers of fractal noise to quickly create our terrain, and also add a river area.
02. Create the ground layer
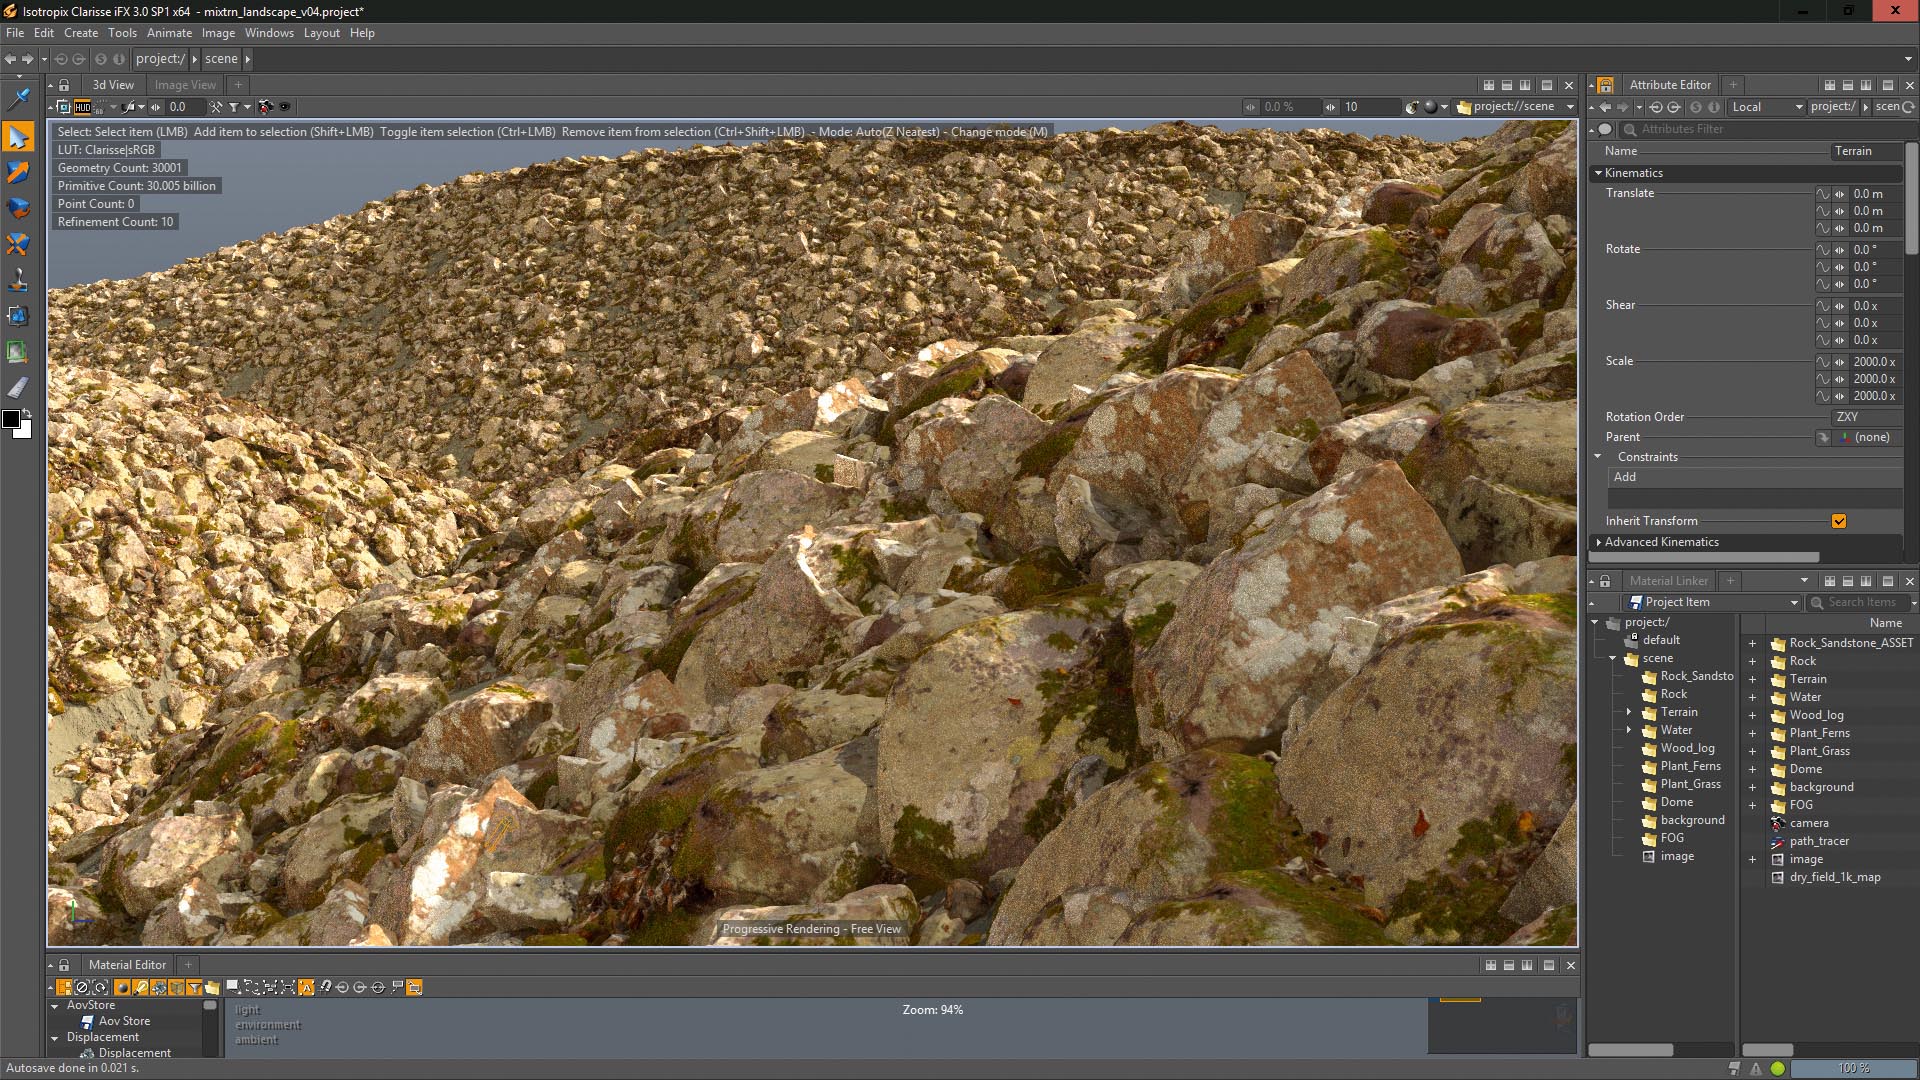
Now that the terrain is done, we can start to cover it with our assets. We'll use assets from the Megascans library, which are incredibly high res. They are also really beautiful and work well for this kind of project. This will be the base layer, so we'll need to cover the terrain completely. For this, we need to use a Point Cloud and a scatterer, using the terrain as a base for the Point Cloud.
03. Add a second layer of rocks
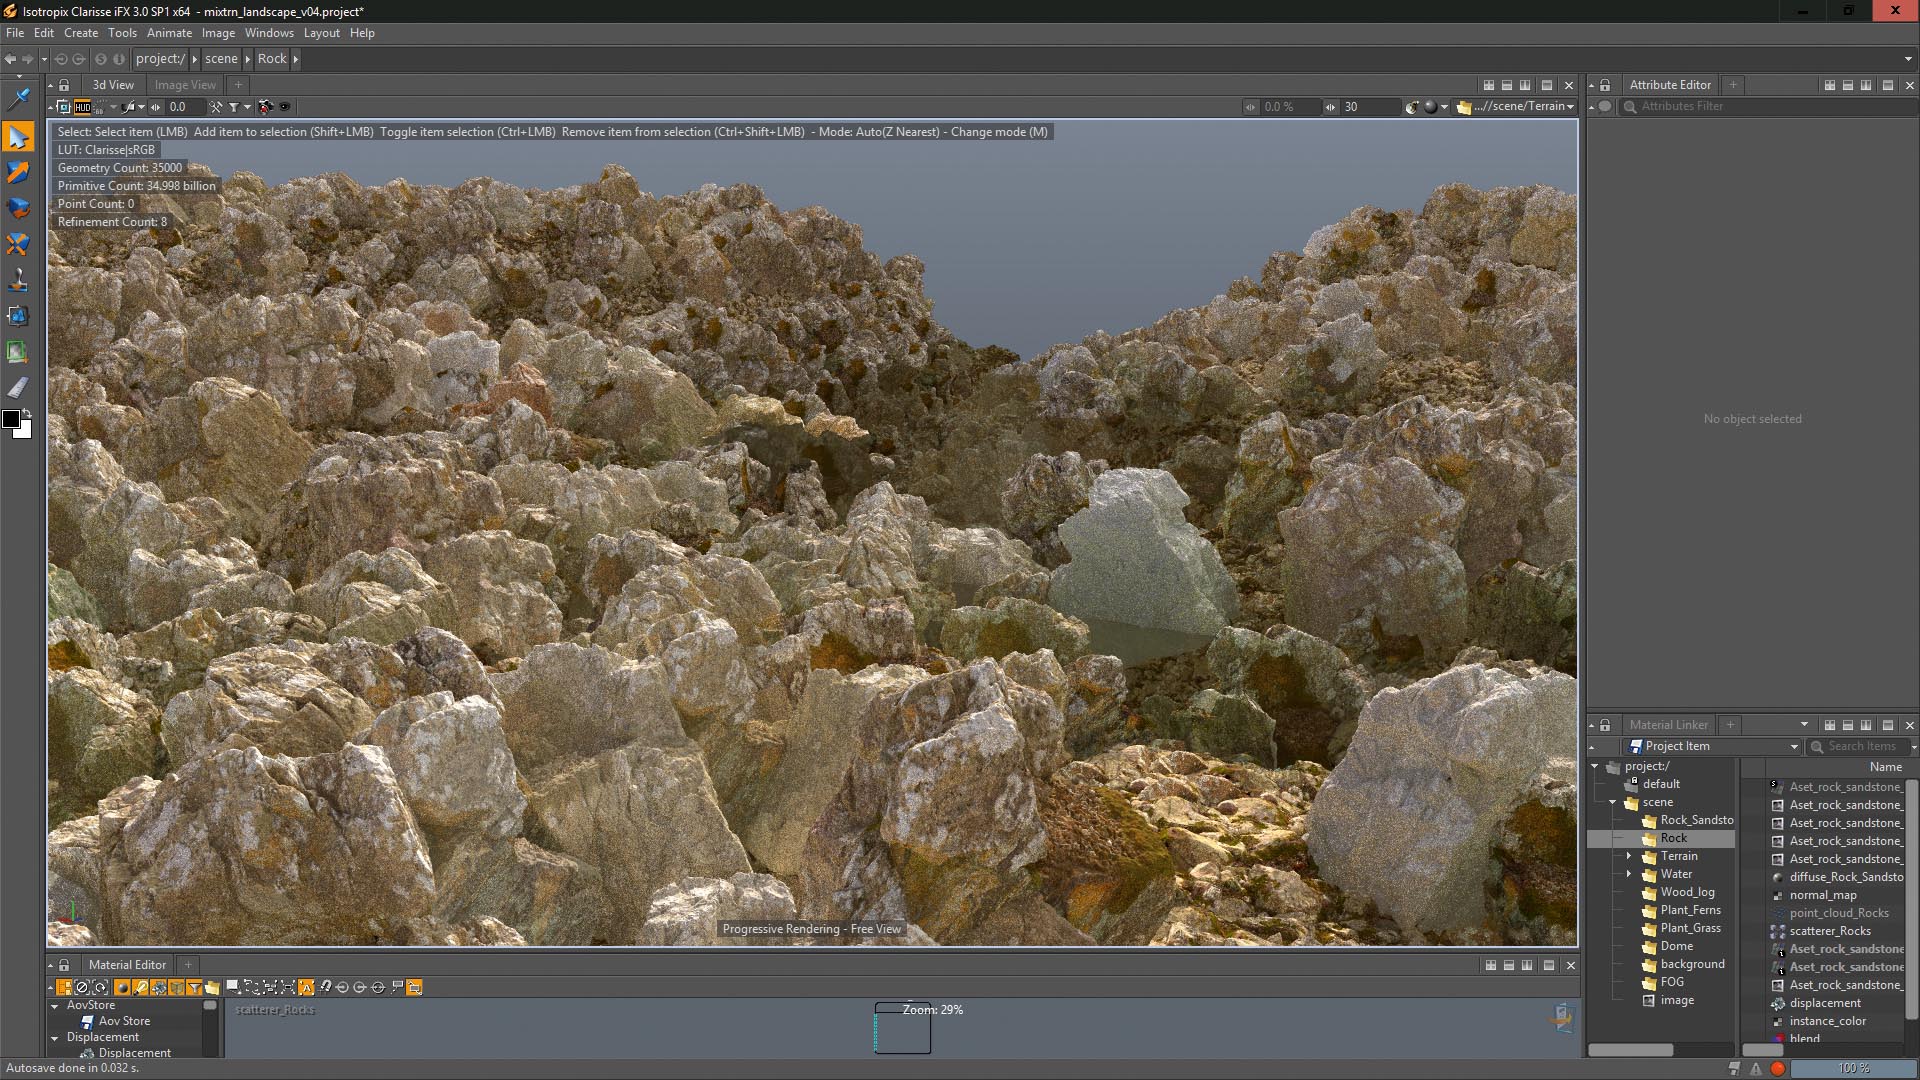
Adding a second layer will give the landscape more character definition. Use bigger rocks but with the same process as before; create a Point Cloud using the terrain as a base and scatter the rocks using a scatterer.
For more variation, orient the copies to the normals of the terrain by putting the Support Normals attribute up to 100 per cent. Also use rotation variation for a more natural look.
Sign up to Creative Bloq's daily newsletter, which brings you the latest news and inspiration from the worlds of art, design and technology.
04. Add the tree trunk
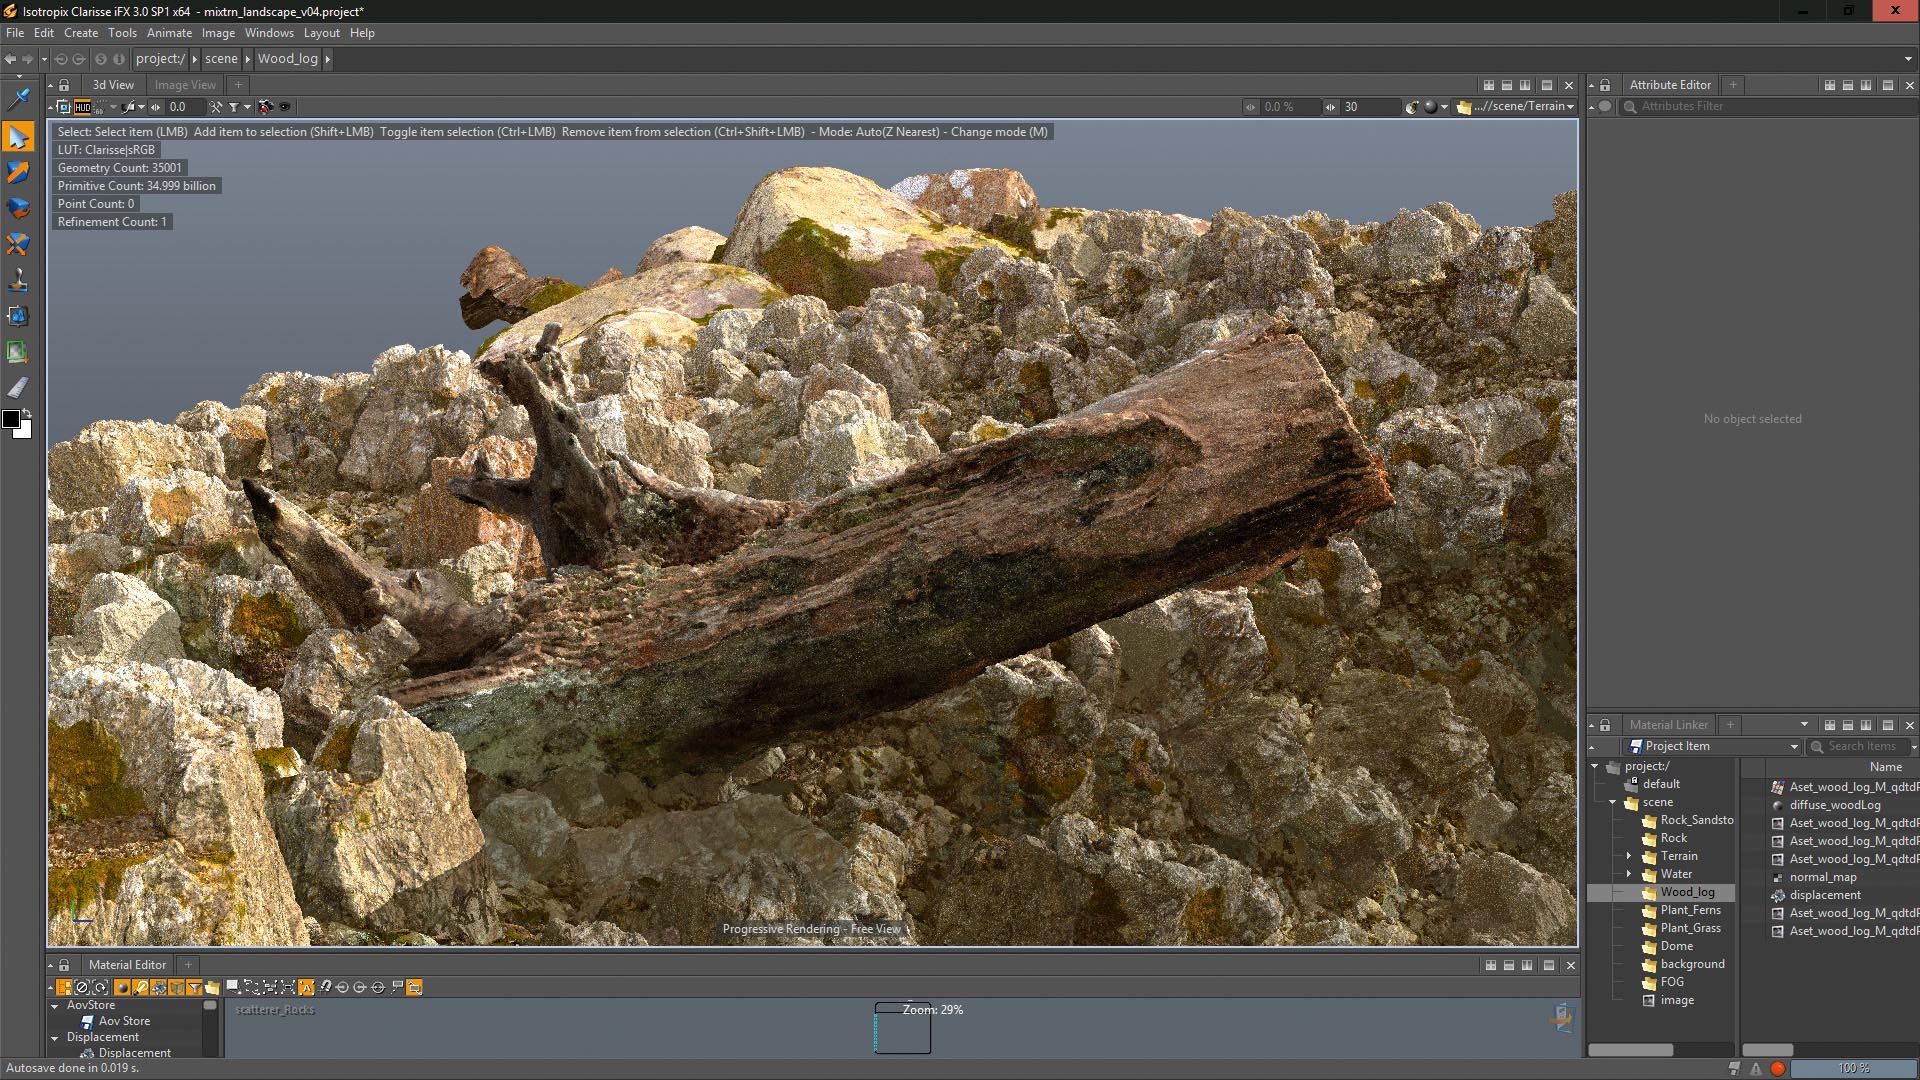
To create an impression of wildness, I add a tree trunk from Megascans to the scene. Setting up the textures is simple using the new PBR shading, and I also create extra detail by adding displacement to this asset.
05. Insert grass
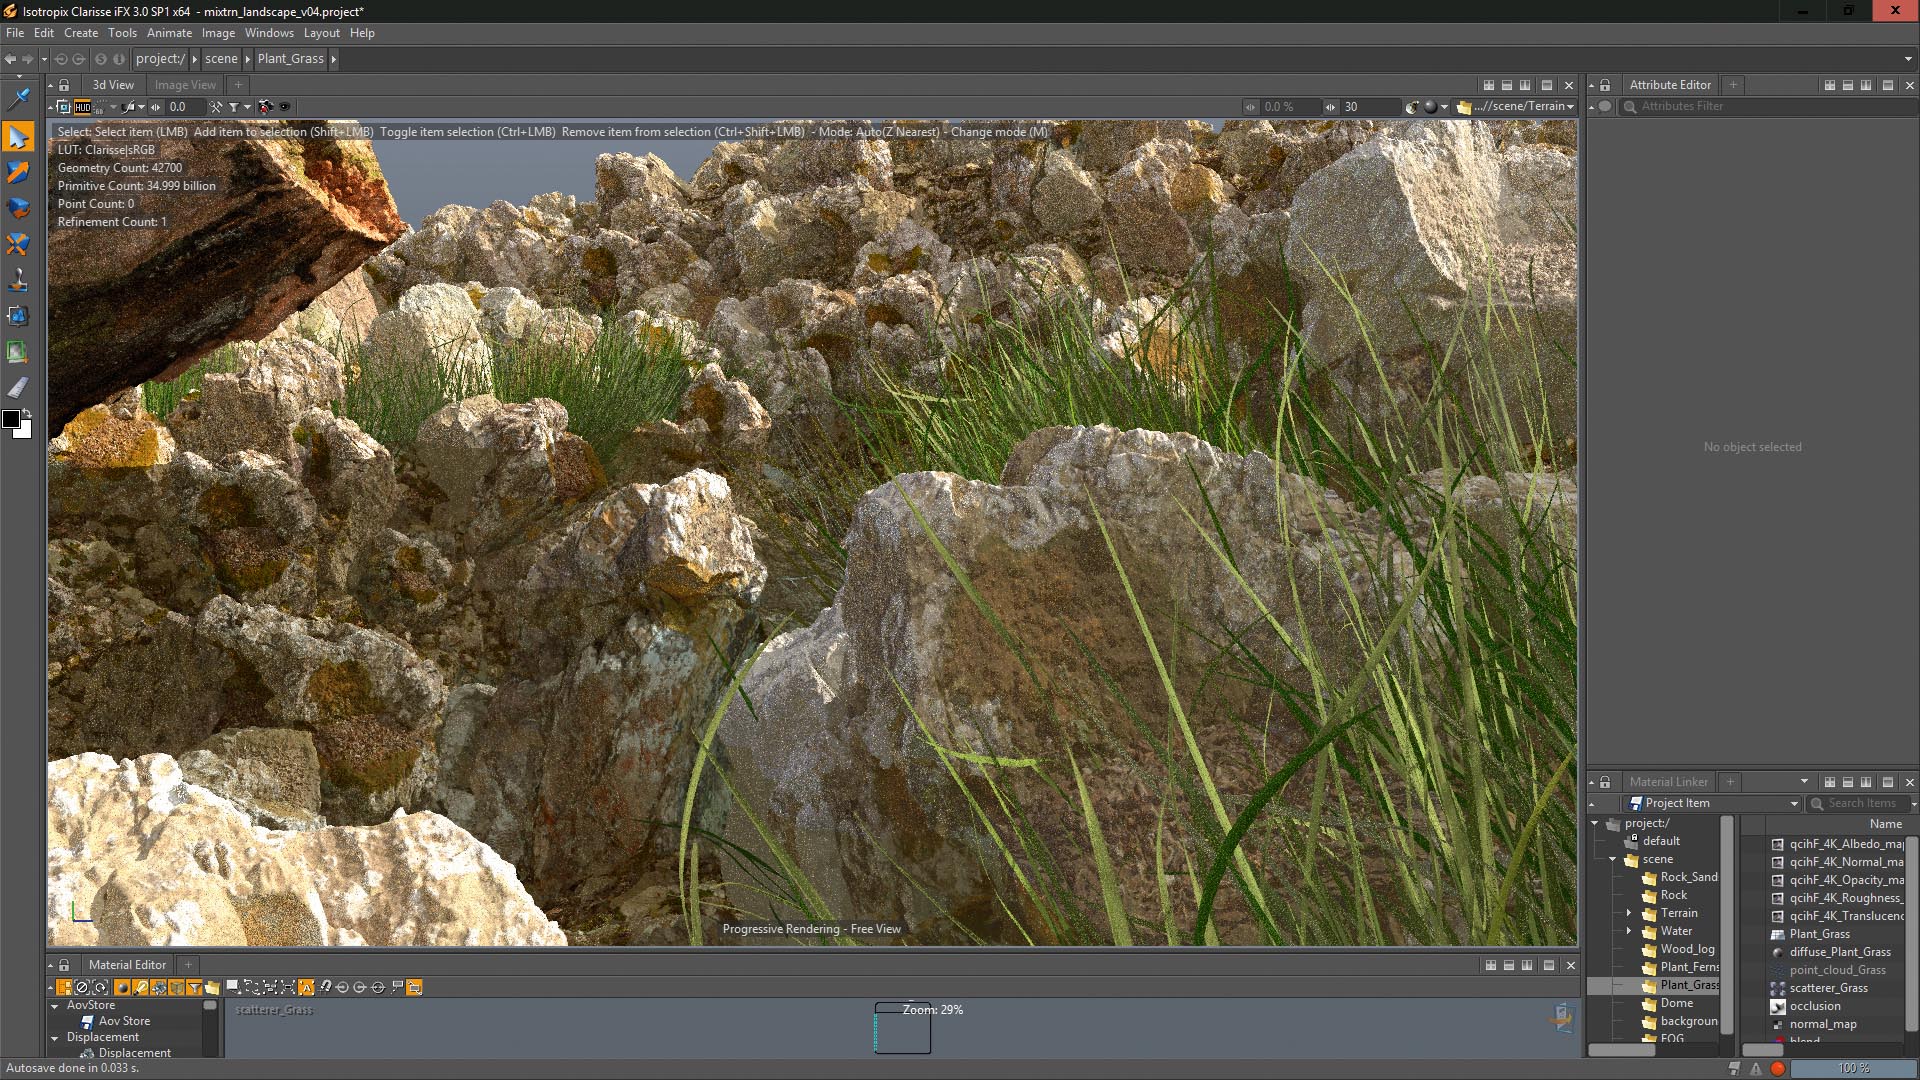
I add grass using the same method as the rocks: a Point Cloud plus a scatterer. This time, I localise the area the grass will grow in using occlusion. I detect where the water and terrain meet and use that to control where the Point Cloud creates points. This is very useful for a variety of effects – just experiment and you'll find many ways to use it.
06. Add ferns
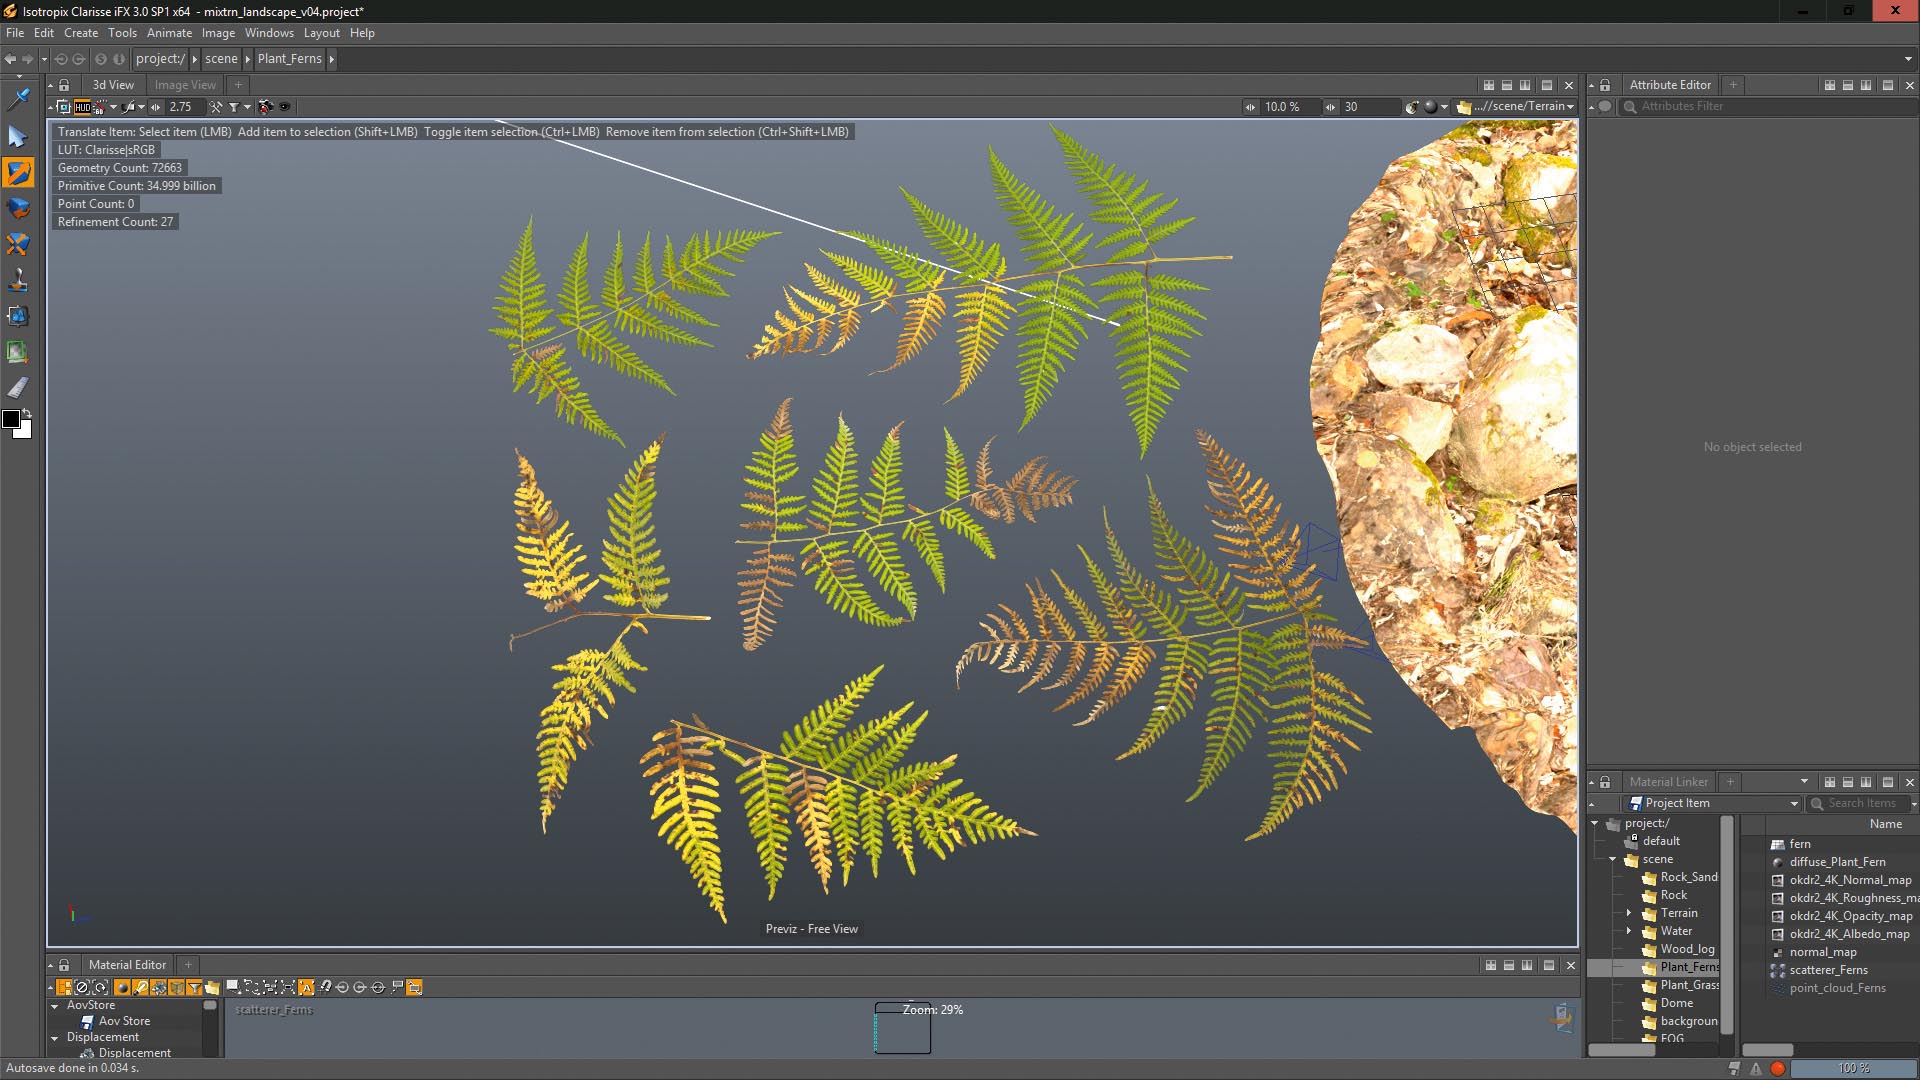
Ferns serve as another layer to break up the floor a bit. For this I use the Occlusion texture, but this time it will make sure no ferns intersect with the rocks. This also means if the rock scatters change, the ferns will update accordingly.
07. Use the water shader
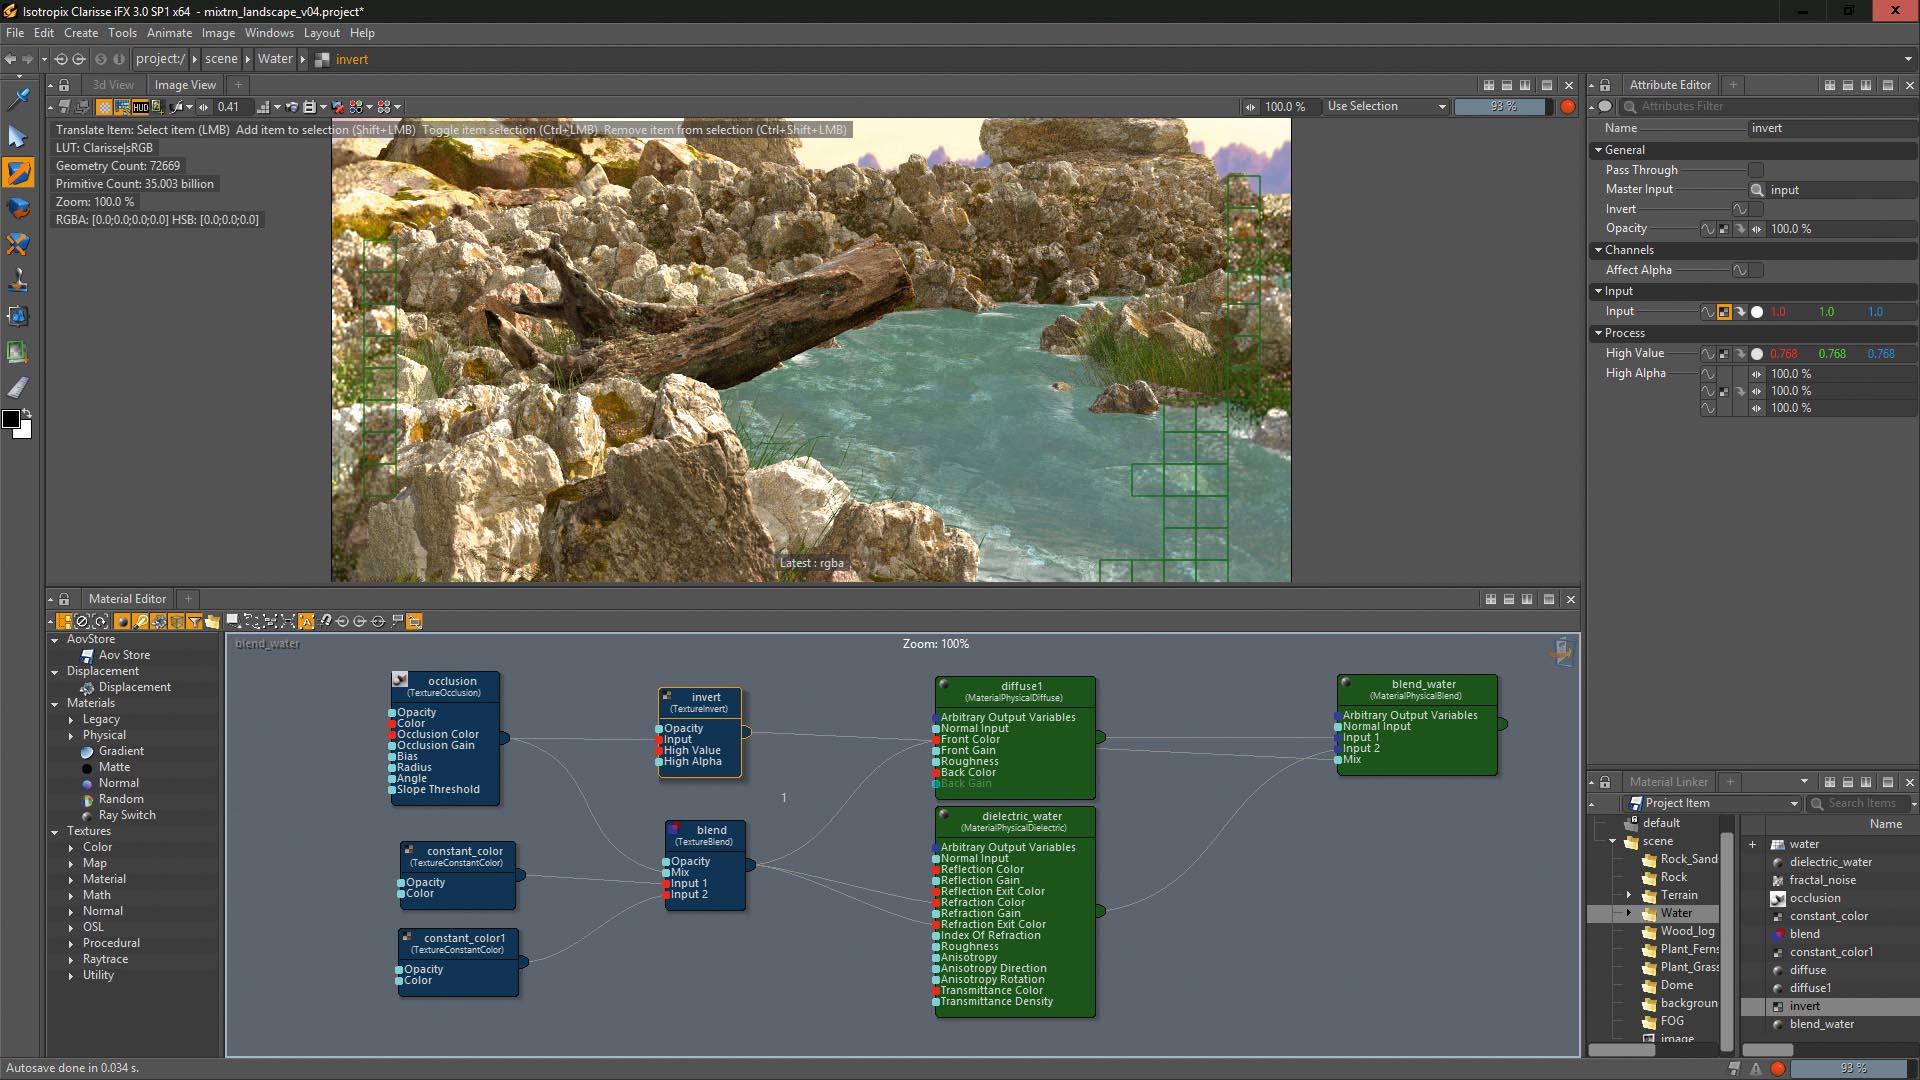
The water shader is the most complex shader in this project since everything else uses scanned textures. In this case, the shader is created from scratch using the new PBR dielectric shader, which provides a great way to simulate water, but is perhaps too perfect.
To get around this, and add a layer of foam, I use the Occlusion texture again to control two shaders; one that will define the foam and the dielectric that makes the water.
08. Create depth with background elements
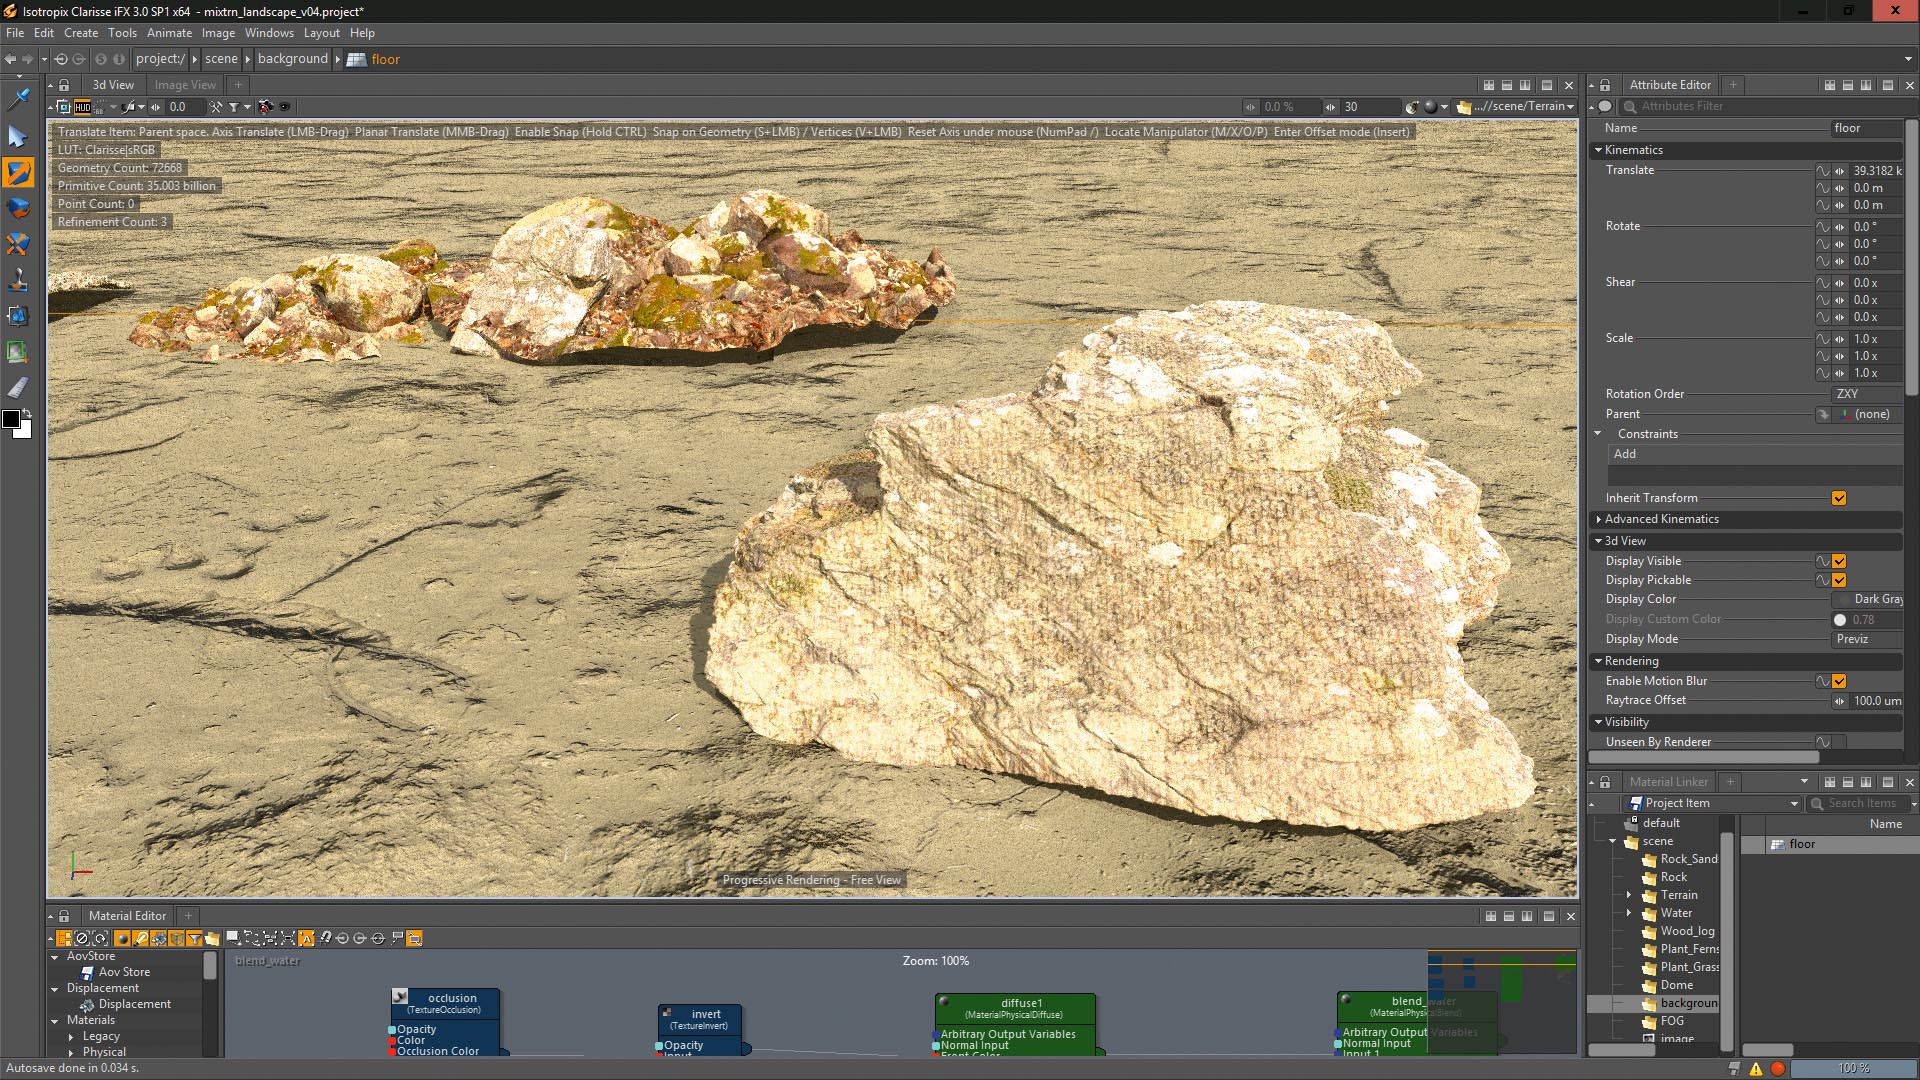
To give the scene more depth, I add some of the same assets to fill the scene in the background. Since the assets are high quality, this works well. Copy or drag a new copy of your assets to the viewport, position and rotate them until you have something you're happy with.
Combine as many assets as you like; the idea is to make something like a rocky mountain. Add other objects such as vehicles if you have those assets.
09. Adjust lighting
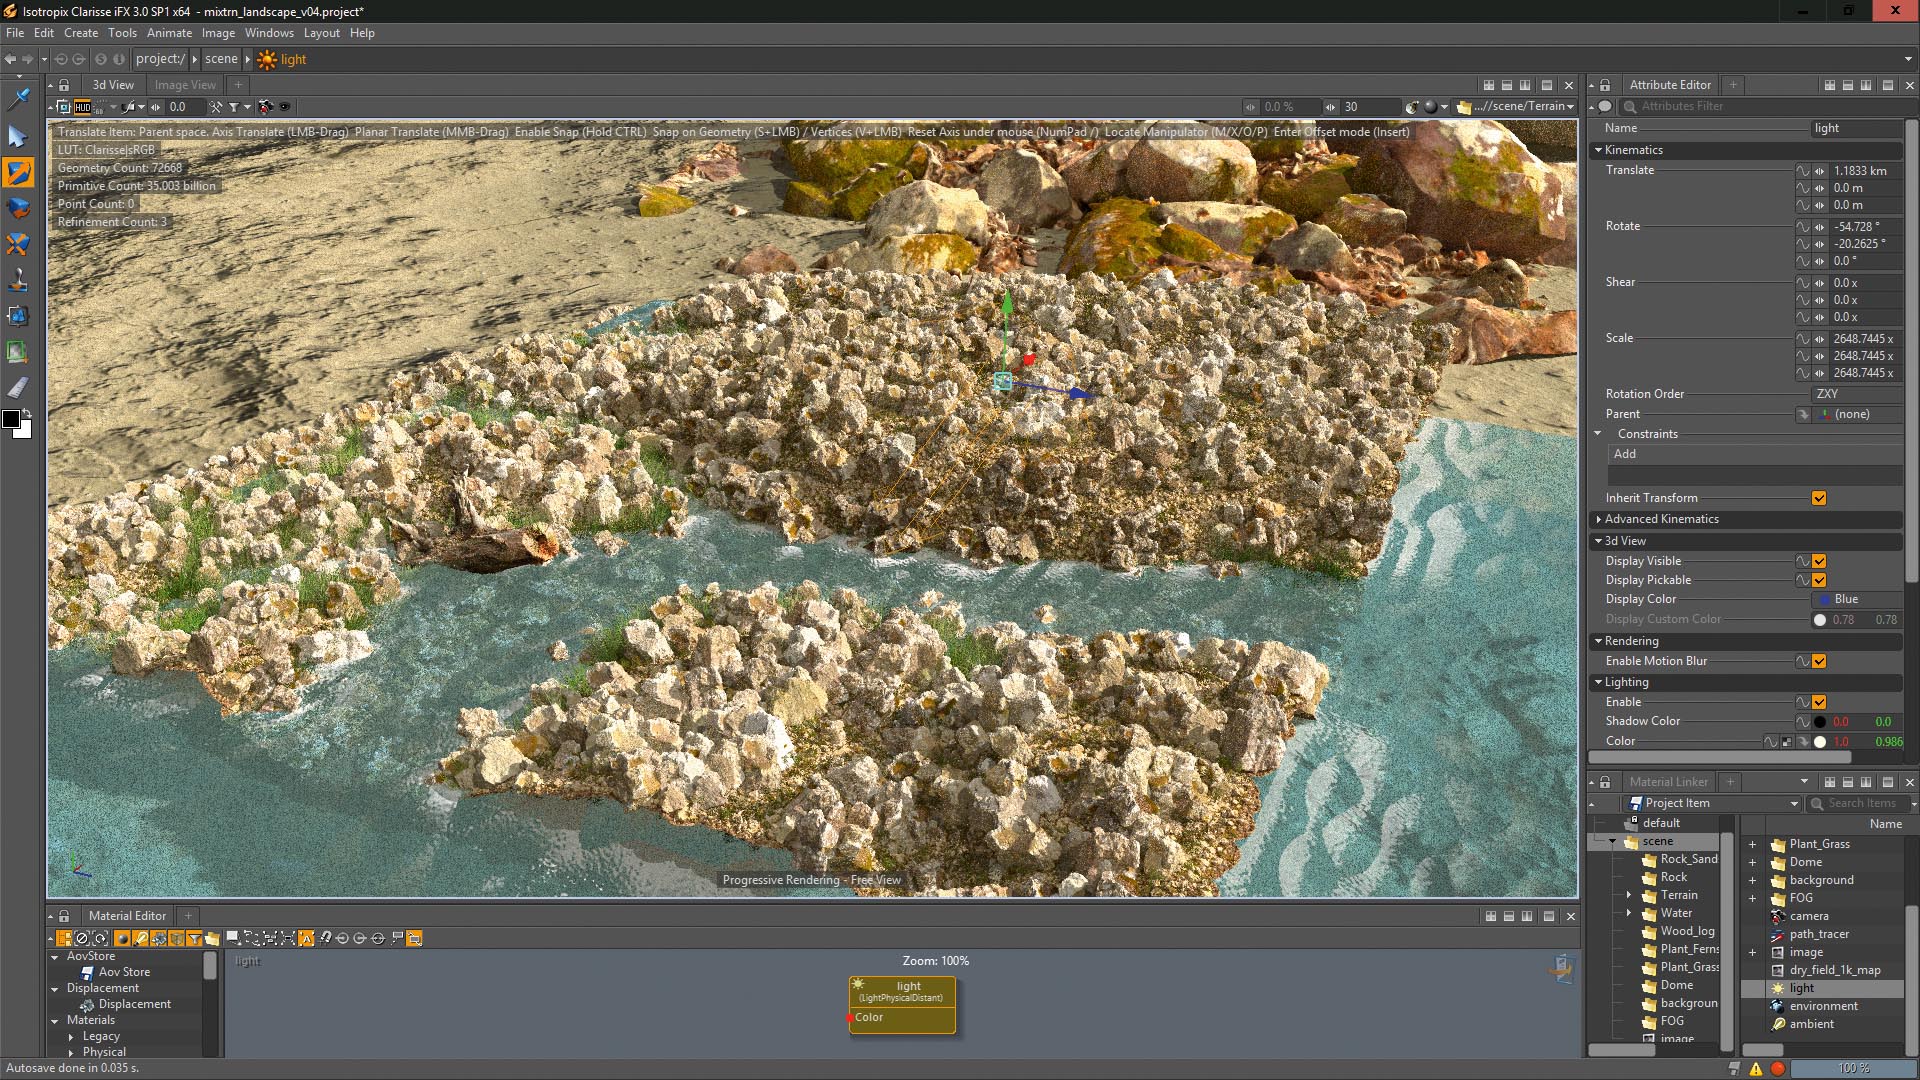
All of our elements are finished, so it's time to tweak the lighting. I basically want to see both light and shadow areas; the main light will come from the right and the left side will be the shadow area. I tend to keep my lighting setups simple; a Directional light and an Environment light were all I used to achieve this result.
10. Create atmosphere with fog
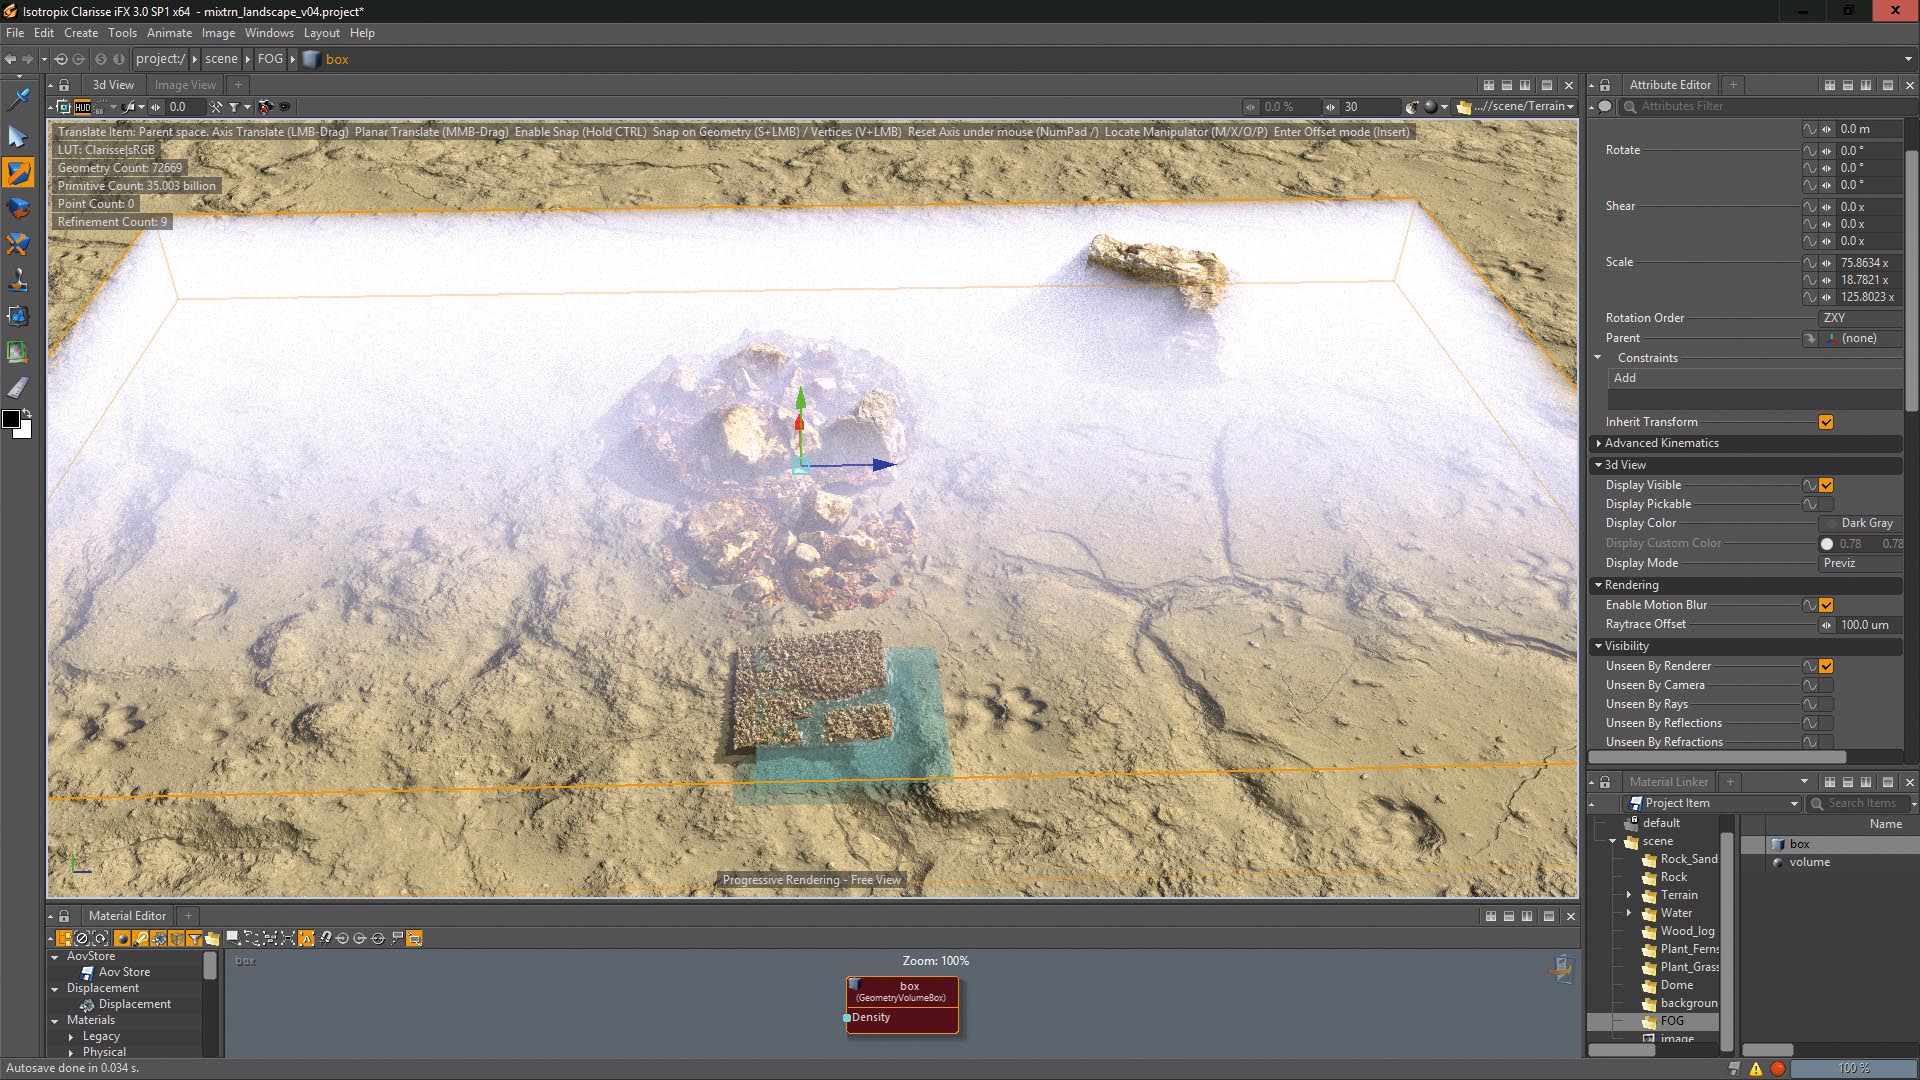
Fog adds a nice mood and depth to a scene. In Clarisse, it's simple to create volume primitives and control their decay. For example, I create a box for volume, then using the Density Curve, adjust it so that in front of the camera the density is very low, increasing into the background. This makes it look more natural.
11. Render the scene
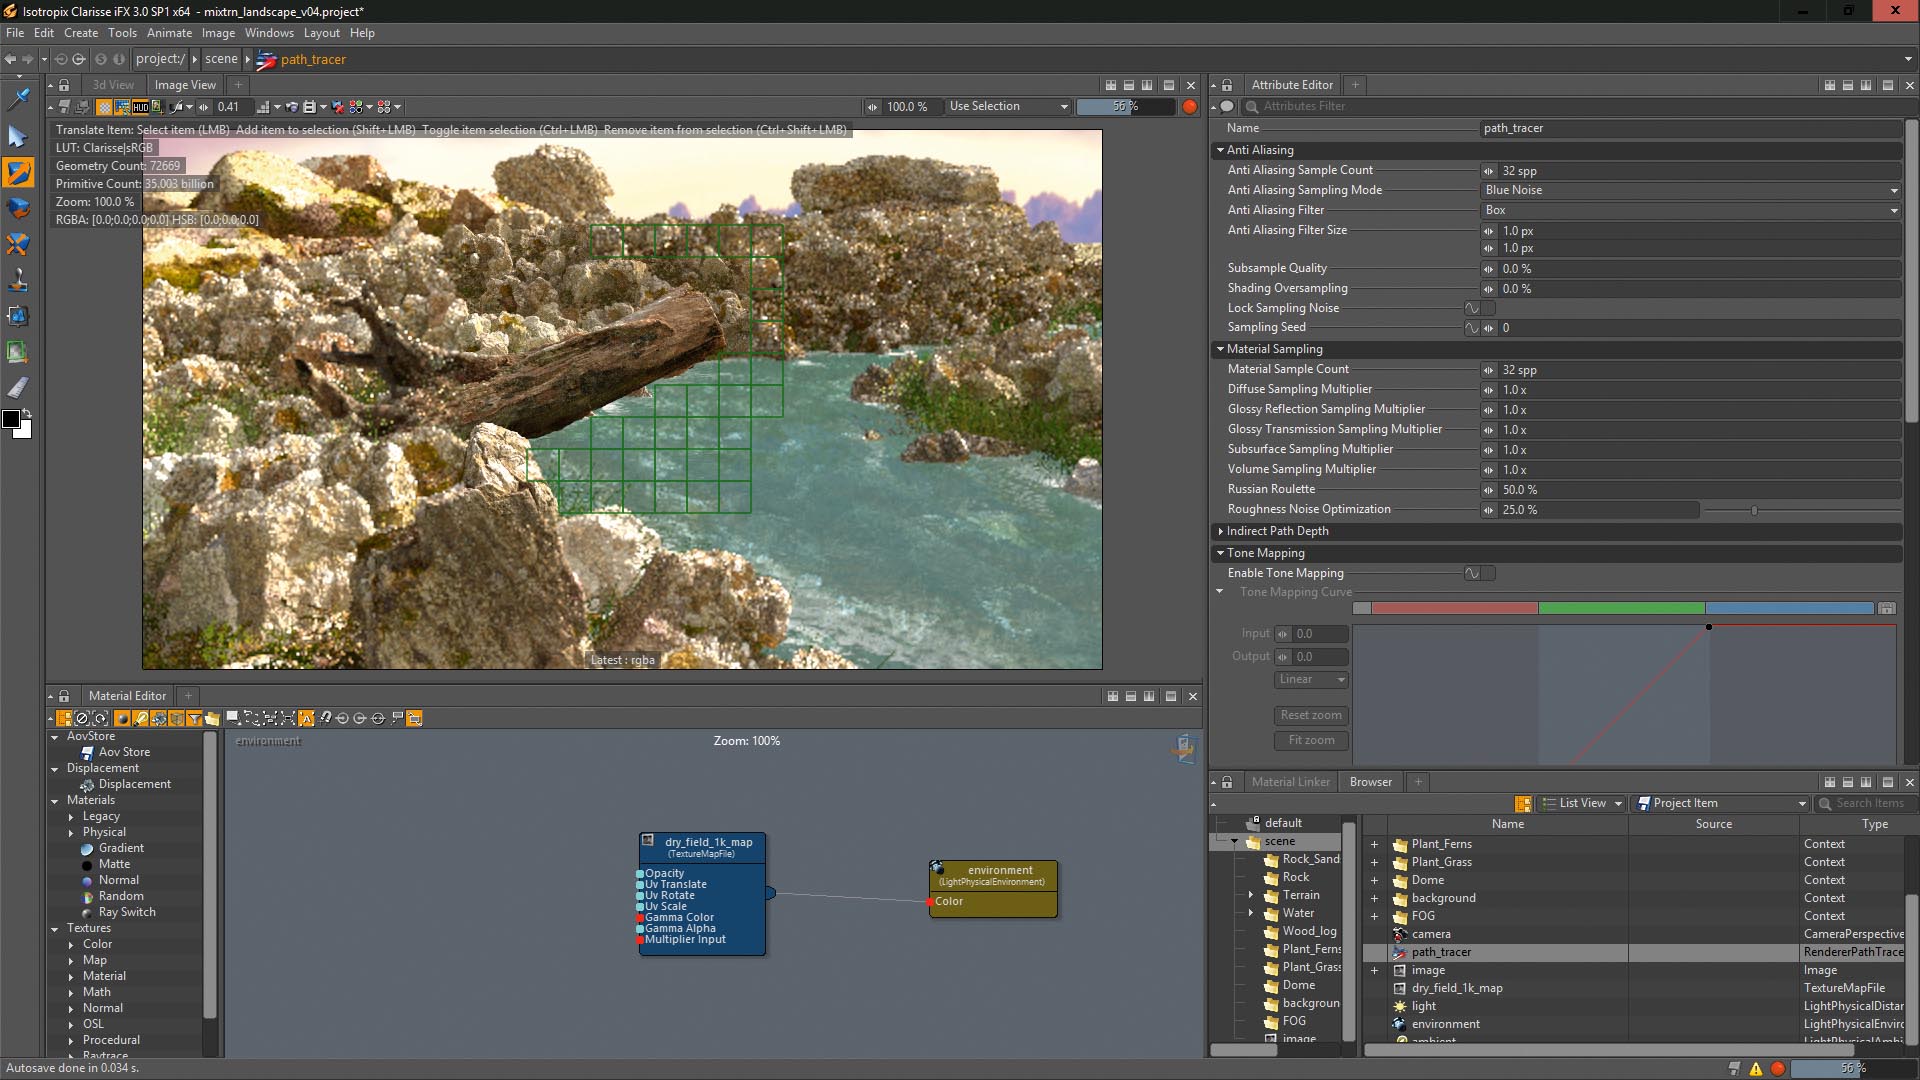
The new PBR system in Clarisse is terrific and actually very simple to use. You can achieve great detail and there are parameters that enable you to control samples for diffuse, reflection, and so forth. Since render time for a project like this is not an issue, I've included 32 samples for anti-aliasing and materials. This should give you a very nice image.
This article was originally featured in 3D World issue 215; buy it here
Related articles:
