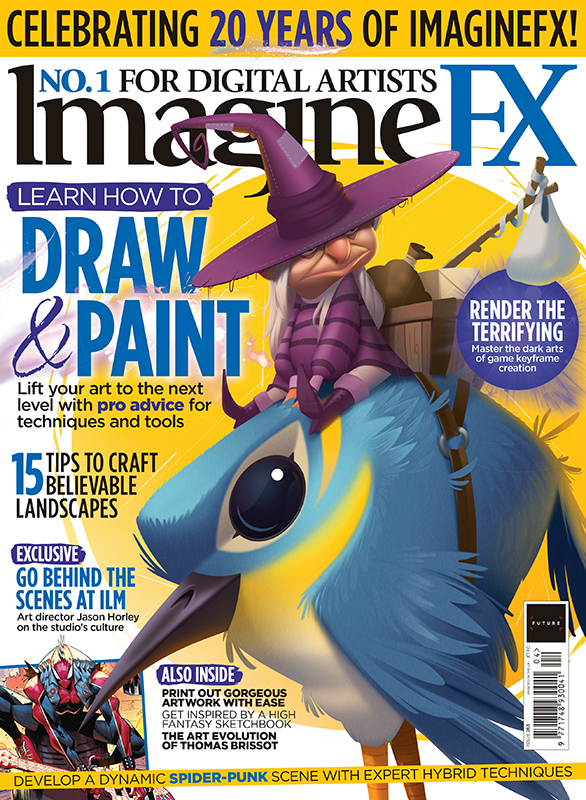
Model Darth Vader in ZBrush
Discover how to create a Darth Vader illustration using 3D and 2D techniques.
Daily design news, reviews, how-tos and more, as picked by the editors.
You are now subscribed
Your newsletter sign-up was successful
Want to add more newsletters?

Five times a week
CreativeBloq
Your daily dose of creative inspiration: unmissable art, design and tech news, reviews, expert commentary and buying advice.

Once a week
By Design
The design newsletter from Creative Bloq, bringing you the latest news and inspiration from the worlds of graphic design, branding, typography and more.

Once a week
State of the Art
Our digital art newsletter is your go-to source for the latest news, trends, and inspiration from the worlds of art, illustration, 3D modelling, game design, animation, and beyond.

Seasonal (around events)
Brand Impact Awards
Make an impression. Sign up to learn more about this prestigious award scheme, which celebrates the best of branding.
I was recently asked to create a 3D character illustration inspired by Rogue One: A Star Wars story. I worked in ZBrush, KeyShot and Photoshop to build this Darth Vader figure, which uses a mixture of 2D digital painting and 3D sculpting techniques.
Over the course of this tutorial I will go through some of my workflows and techniques from the project. Let's get started...
01. Research the Star Wars universe
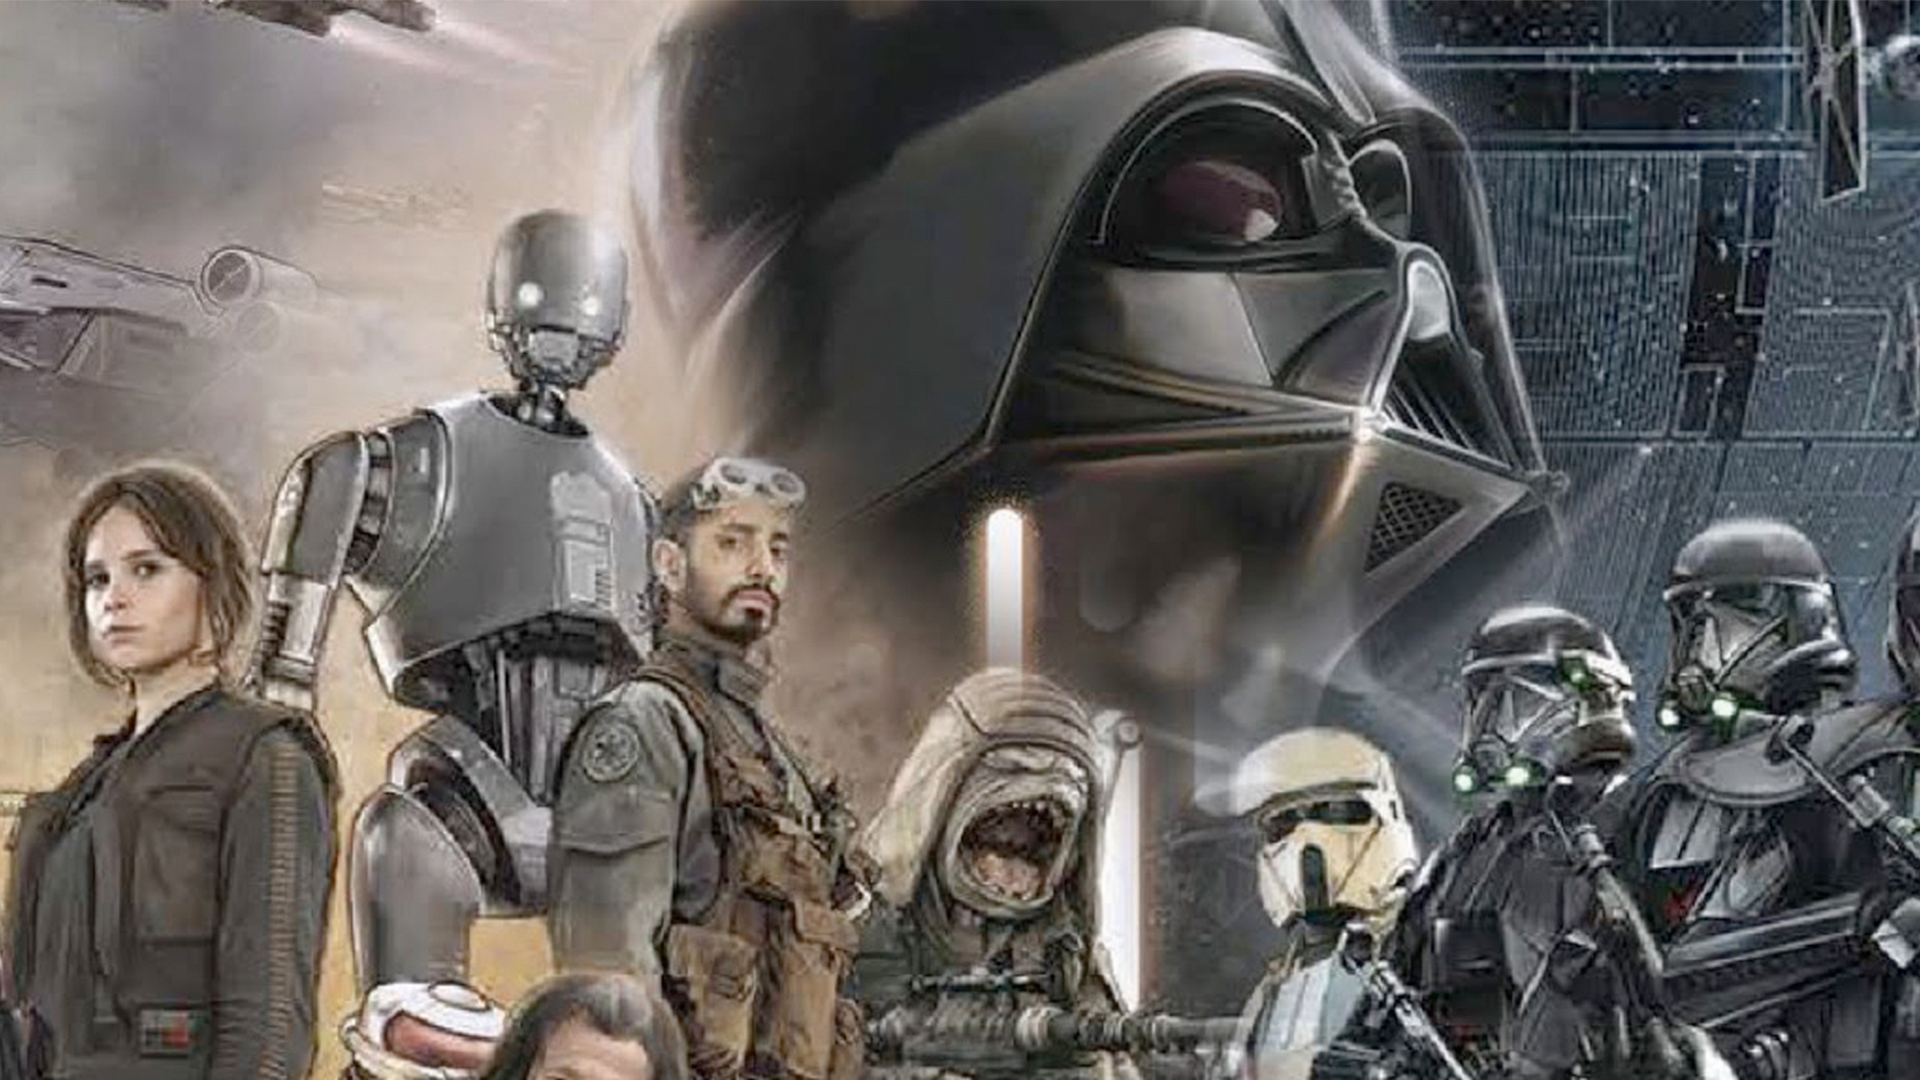
Start by researching around your brief. I was asked to create a Rogue One-themed illustration, so I started by gathering references from the Star Wars universe. I looked at various sources, including sci-fi and fantasy covers, art nouveau and poster designs. Use these references to guide the concept phase.
02. Mock up some options
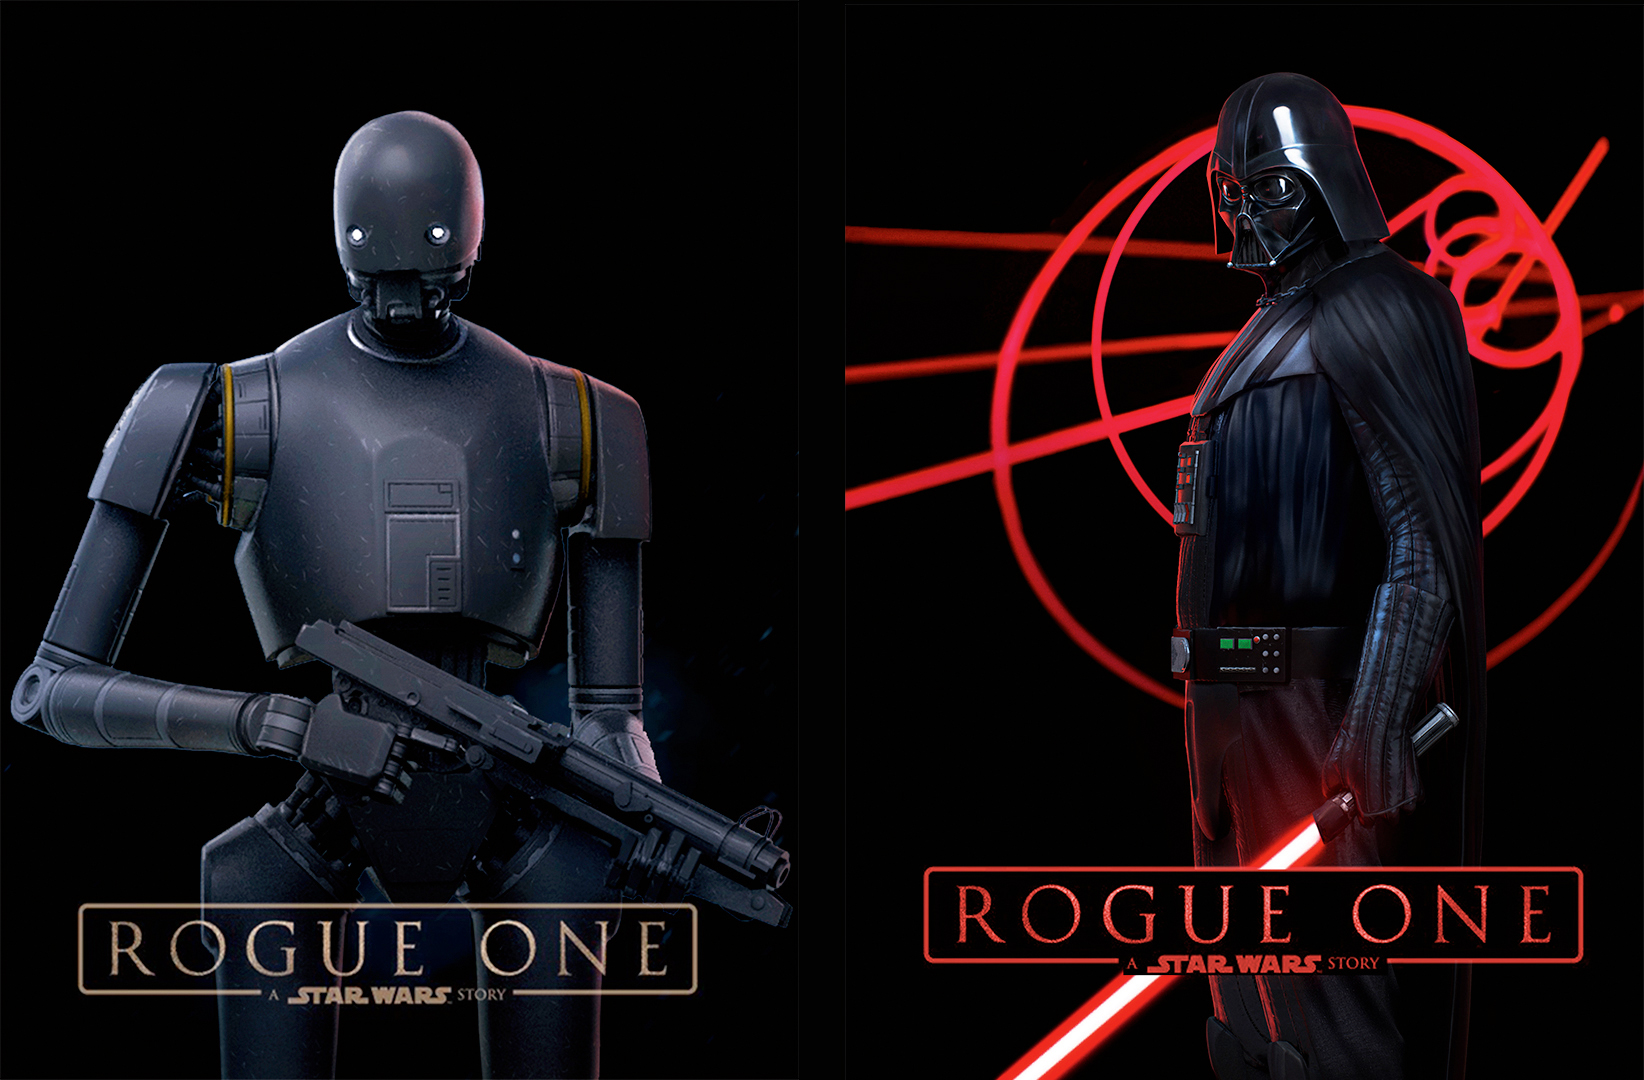
It's now time to create some concepts based on the brief – I decided to create concepts based on the new K-2SO droid and Darth Vader. You may have your own process for this, but I started off with thumbnail sketches, and then used ZBrush for some some rough 3D sculpting, KeyShot for materials and lighting, and Photoshop for digital painting.
03. Sculpt the overall shape
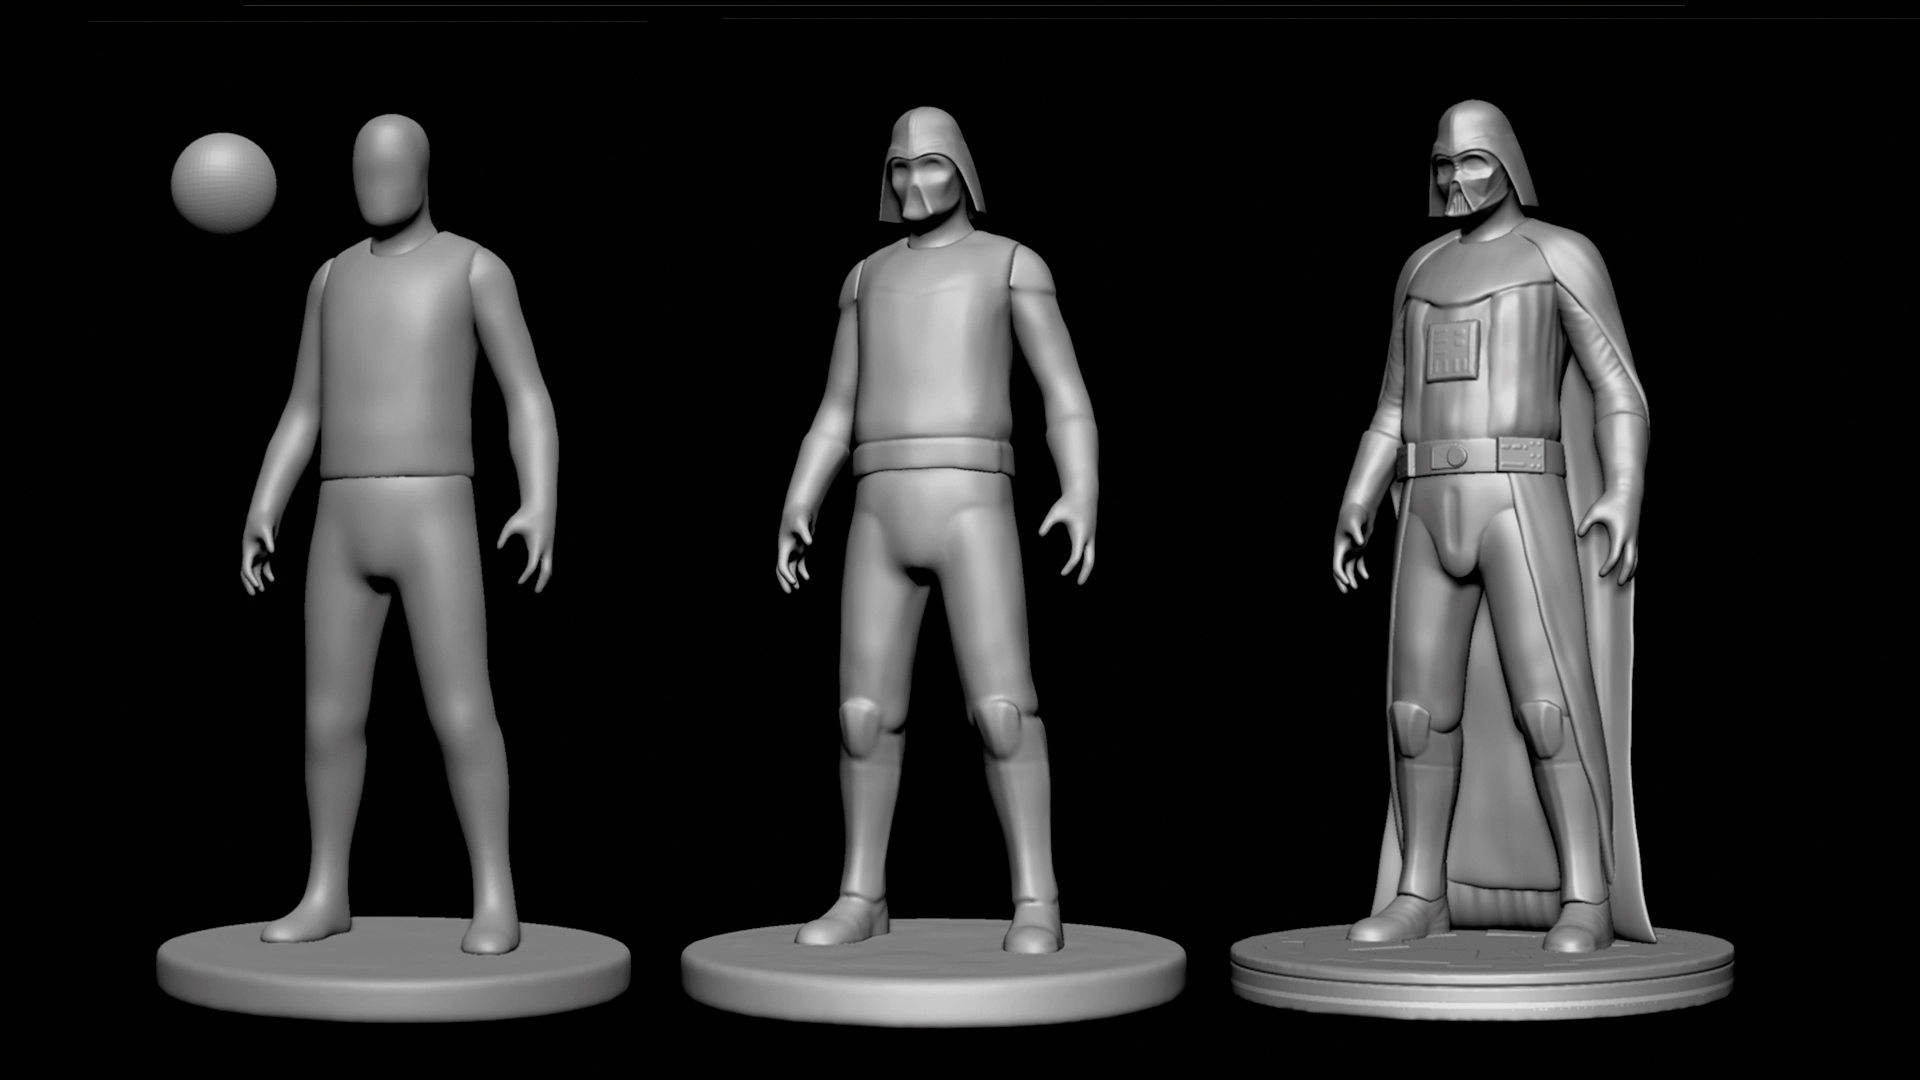
Once a character has been chosen, it's time to start sculpting. In ZBrush, select a sphere and start blocking out the character using sculpting and posing tools in combination with the DynaMesh function. Use the Transpose tool with the Lasso selection and Move brush to sculpt, the Clay brush to build and reduce forms, and Dam standard to carve the surface.
At this stage, focus on working out the overall shape and primary forms of the character, keeping the sculpt rough using large brush strokes. Once that's done you can start to work into the secondary forms with smaller strokes for added detail, using the initial concept sculpt as a guide.
04. Separate the model into parts
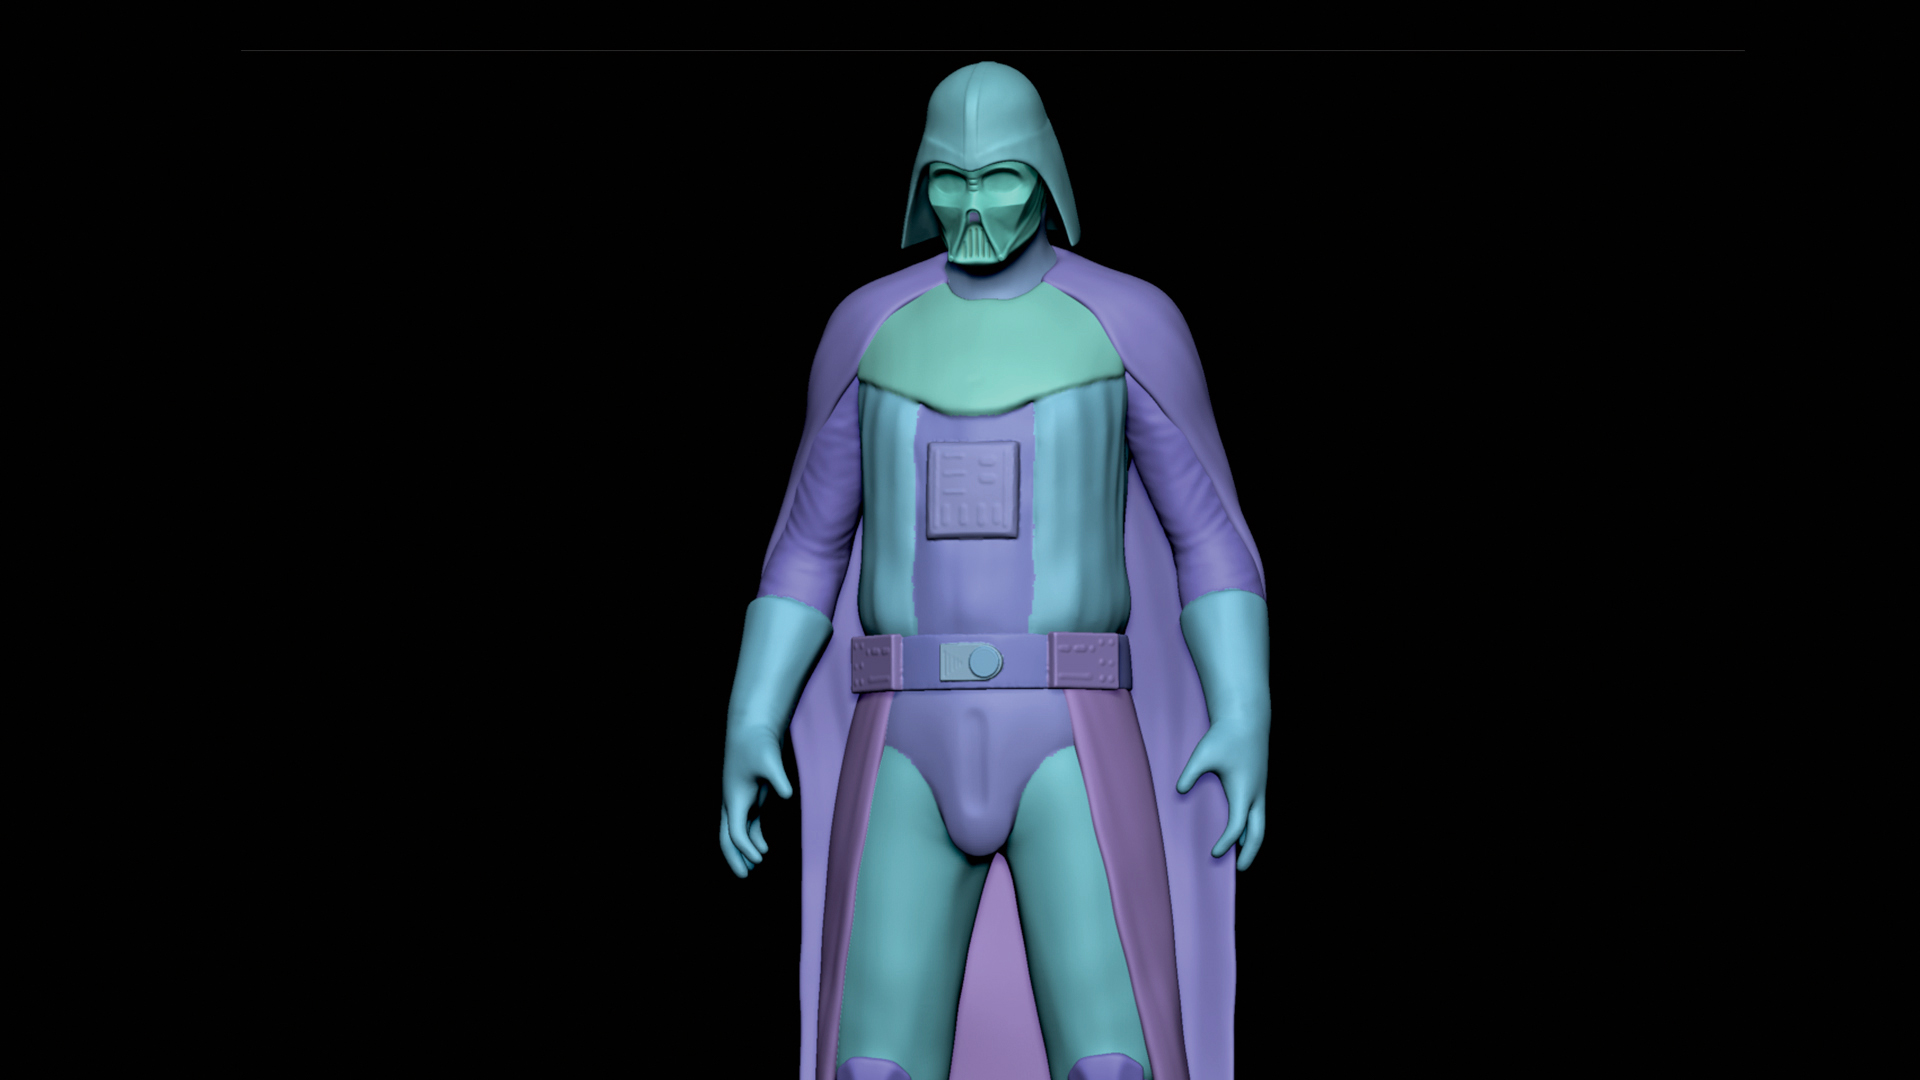
Begin to separate the different parts of the character, such as the armour and gear, to sculpt on separately. Use the Paint and Lasso Selection tools to mask out certain areas of the mesh, then select the Group Visible function in the Masking menu (or hit ctrl+W to create a polygroup from the visible selection). This makes it easier to add more detail to the different elements of the character.
Daily design news, reviews, how-tos and more, as picked by the editors.
05. Add details and extract
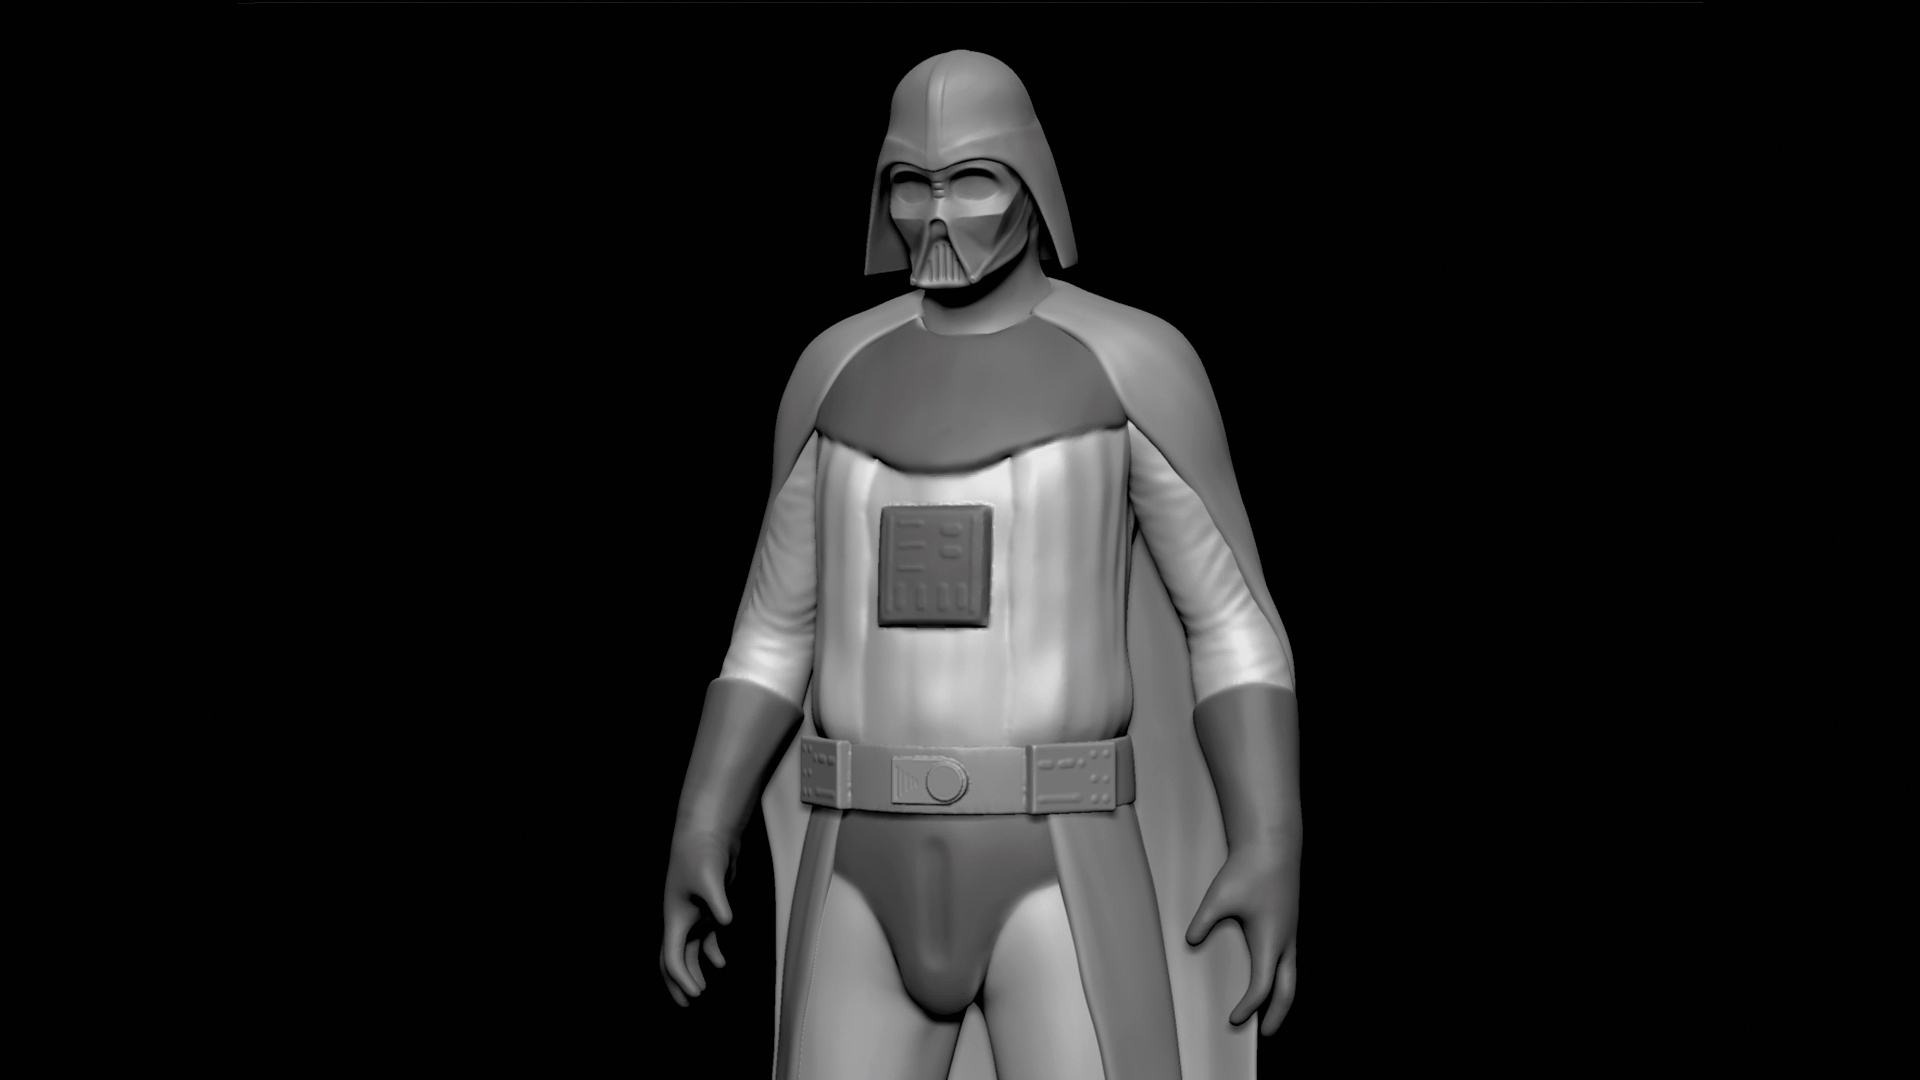
Modify existing elements using Transpose and the Move brush. At this point, you can start adding features like the gloves and shin guards. Use the Paint Selection tools to mask off an area of the mesh and the Extract function in the Subtool menu to extract these additional parts of the character. Experiment with the thickness slider in the Extract menu to get the desired results, before accepting the function.
06. Sculpt the helmet
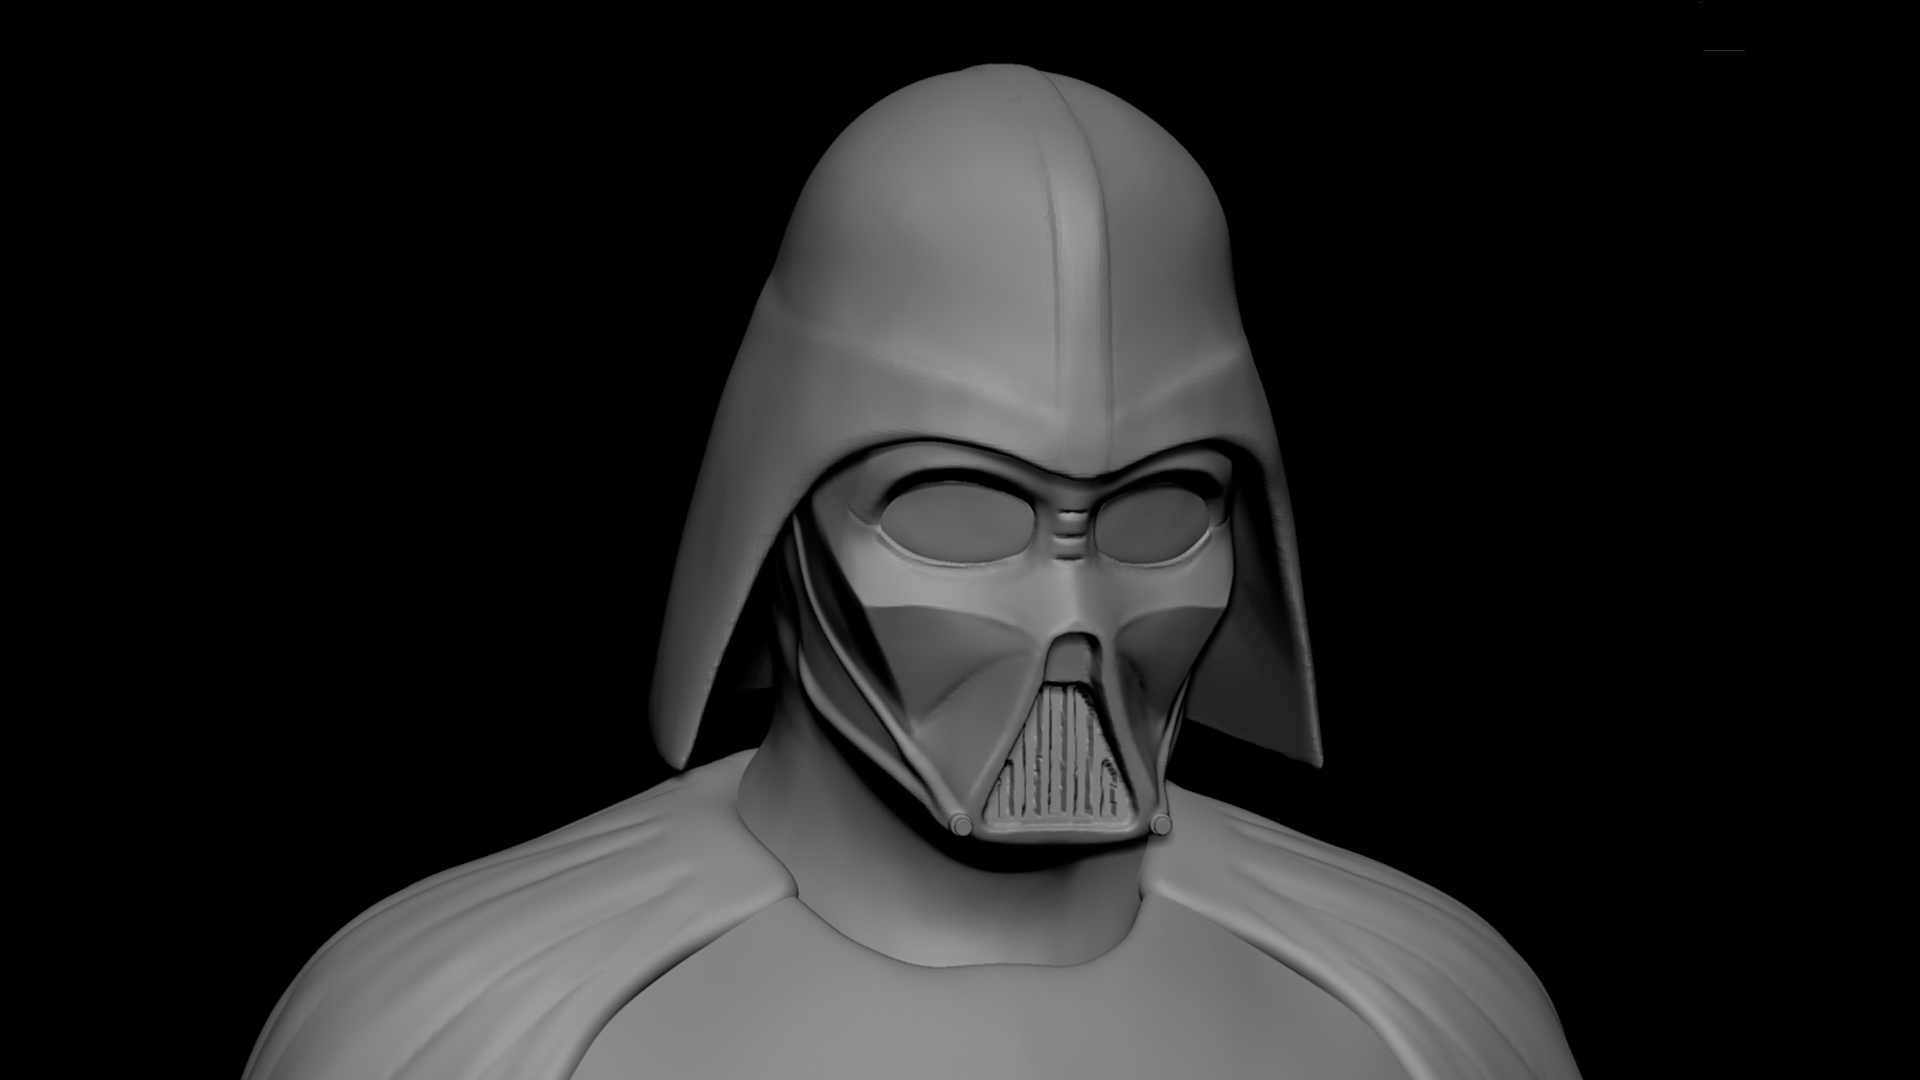
Once the overall shape and placement of the various elements of the character are set, you can start work on Vader’s helmet. Press ctrl+D to add subdivisions – this creates more surface resolution to work with. Refine the shape and form of the helmet with the Move, Clay, Hard polish and Dam standard brushes. Having the helmet elements separate makes it easier to control the shapes.
07. Create realistic cloth
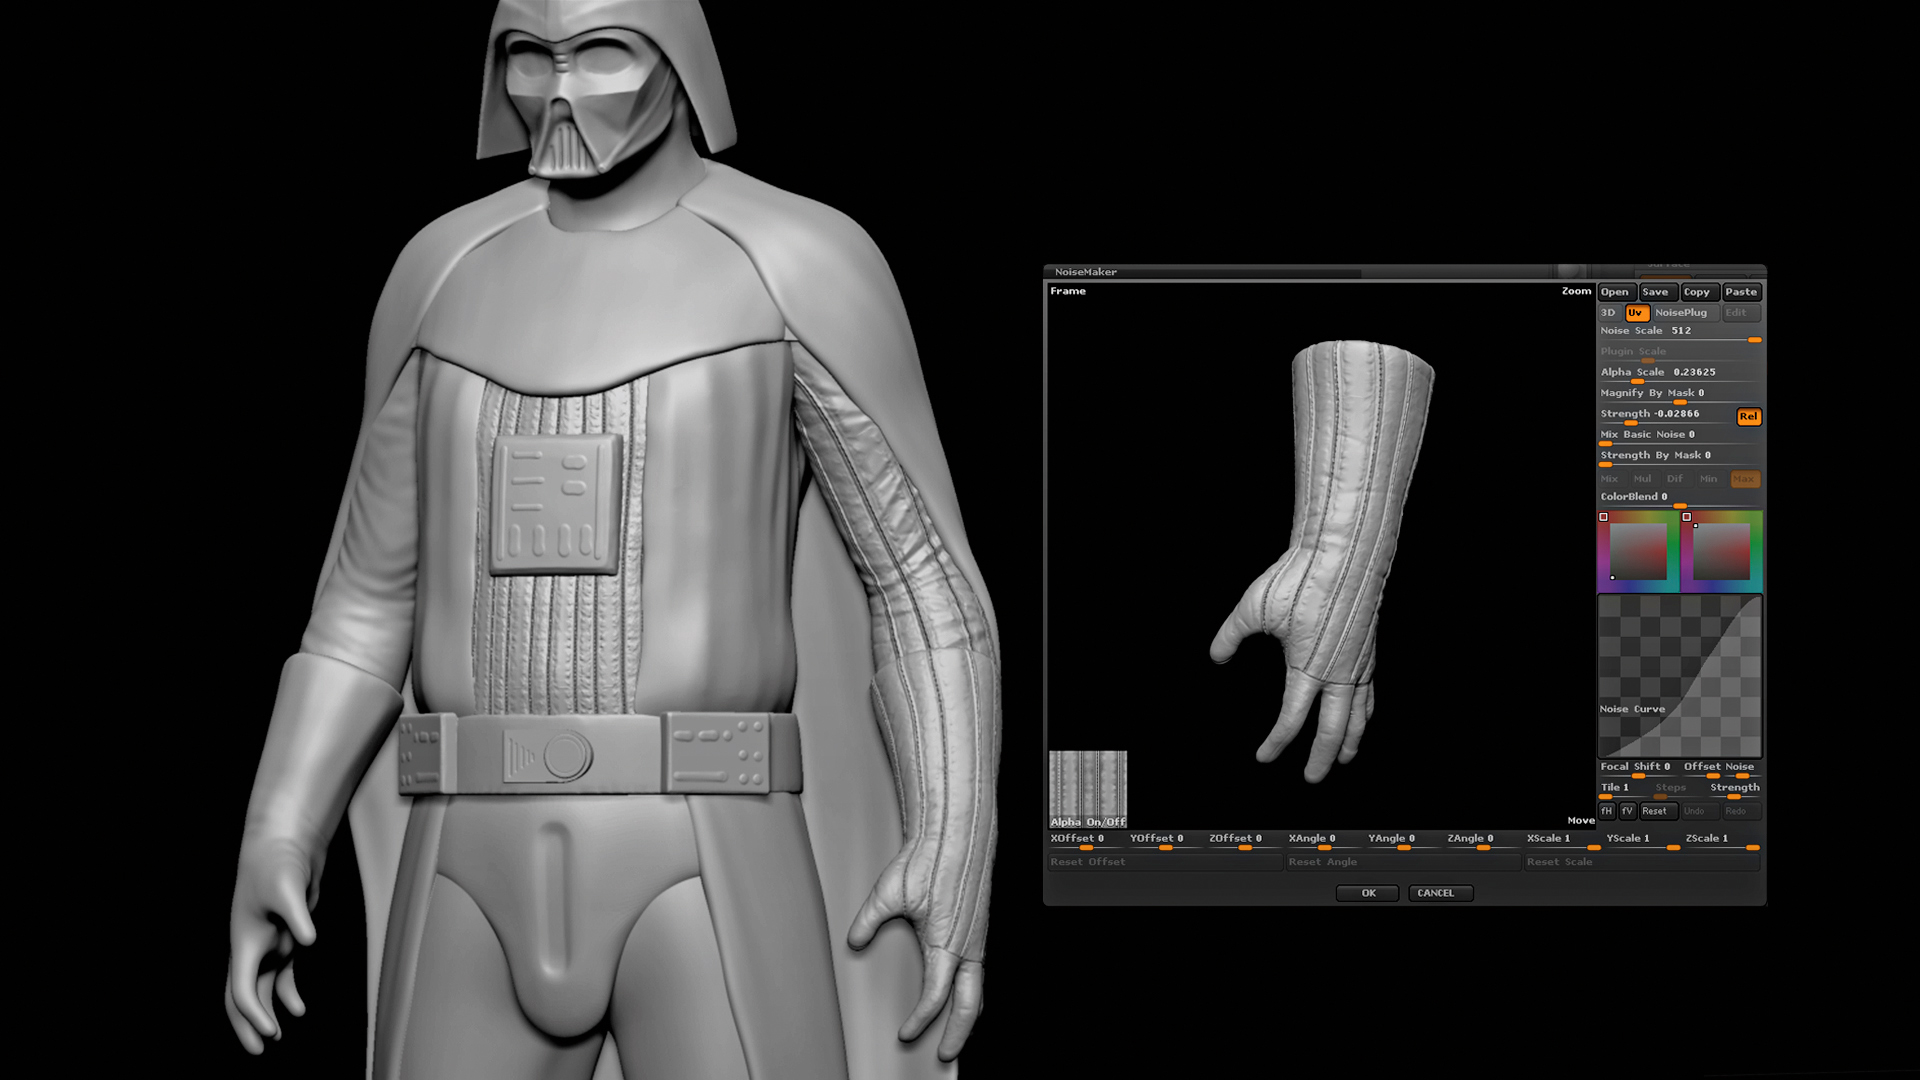
Sculpt the cloth parts of the character using the Dam Standard brush, with the Smooth and Clay brushes to create the cloth folds. Experiment with pressing the alt key while sculpting; this creates an additive or subtraction form effect with the selected brush.
After sculpting the folds, re-mesh the surface using the ZRemesher function and create UVs for mesh with the UV Master plugin. Then create a tileable surface texture in Photoshop and apply the image within the Surface Noise tab.
08. Sculpt the armour
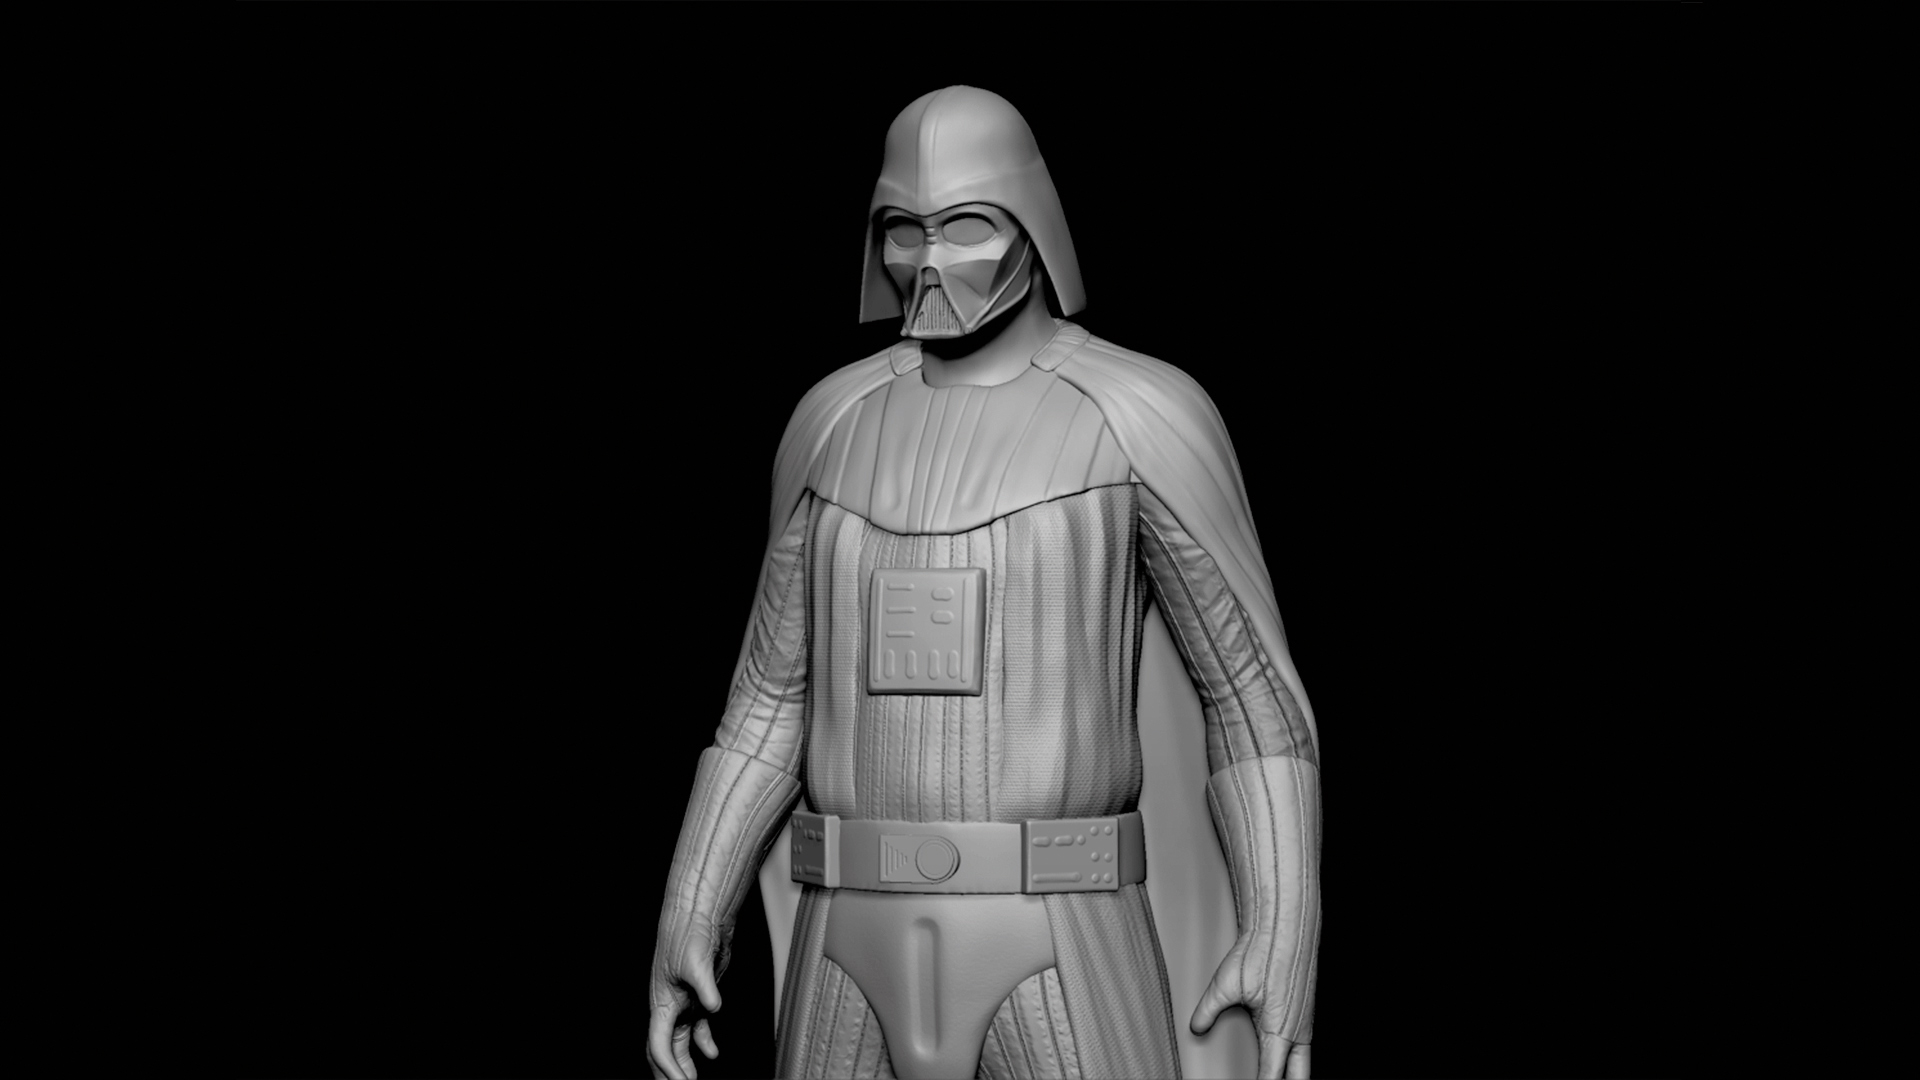
Sculpt the different parts of the armour parts – such as the chest and shoulder guards – using the Clay, Polish and Trim Dynamic brushes to create hard surface effects. Use the Dam standard brush to create the cut lines on the surface of Vader’s uniform, and the Trim brushes to cut out angles or curves from the mesh. It is good practice to experiment with the various brushes and settings within ZBrush to get a feel for what the tools can do.
09. Model the accessories
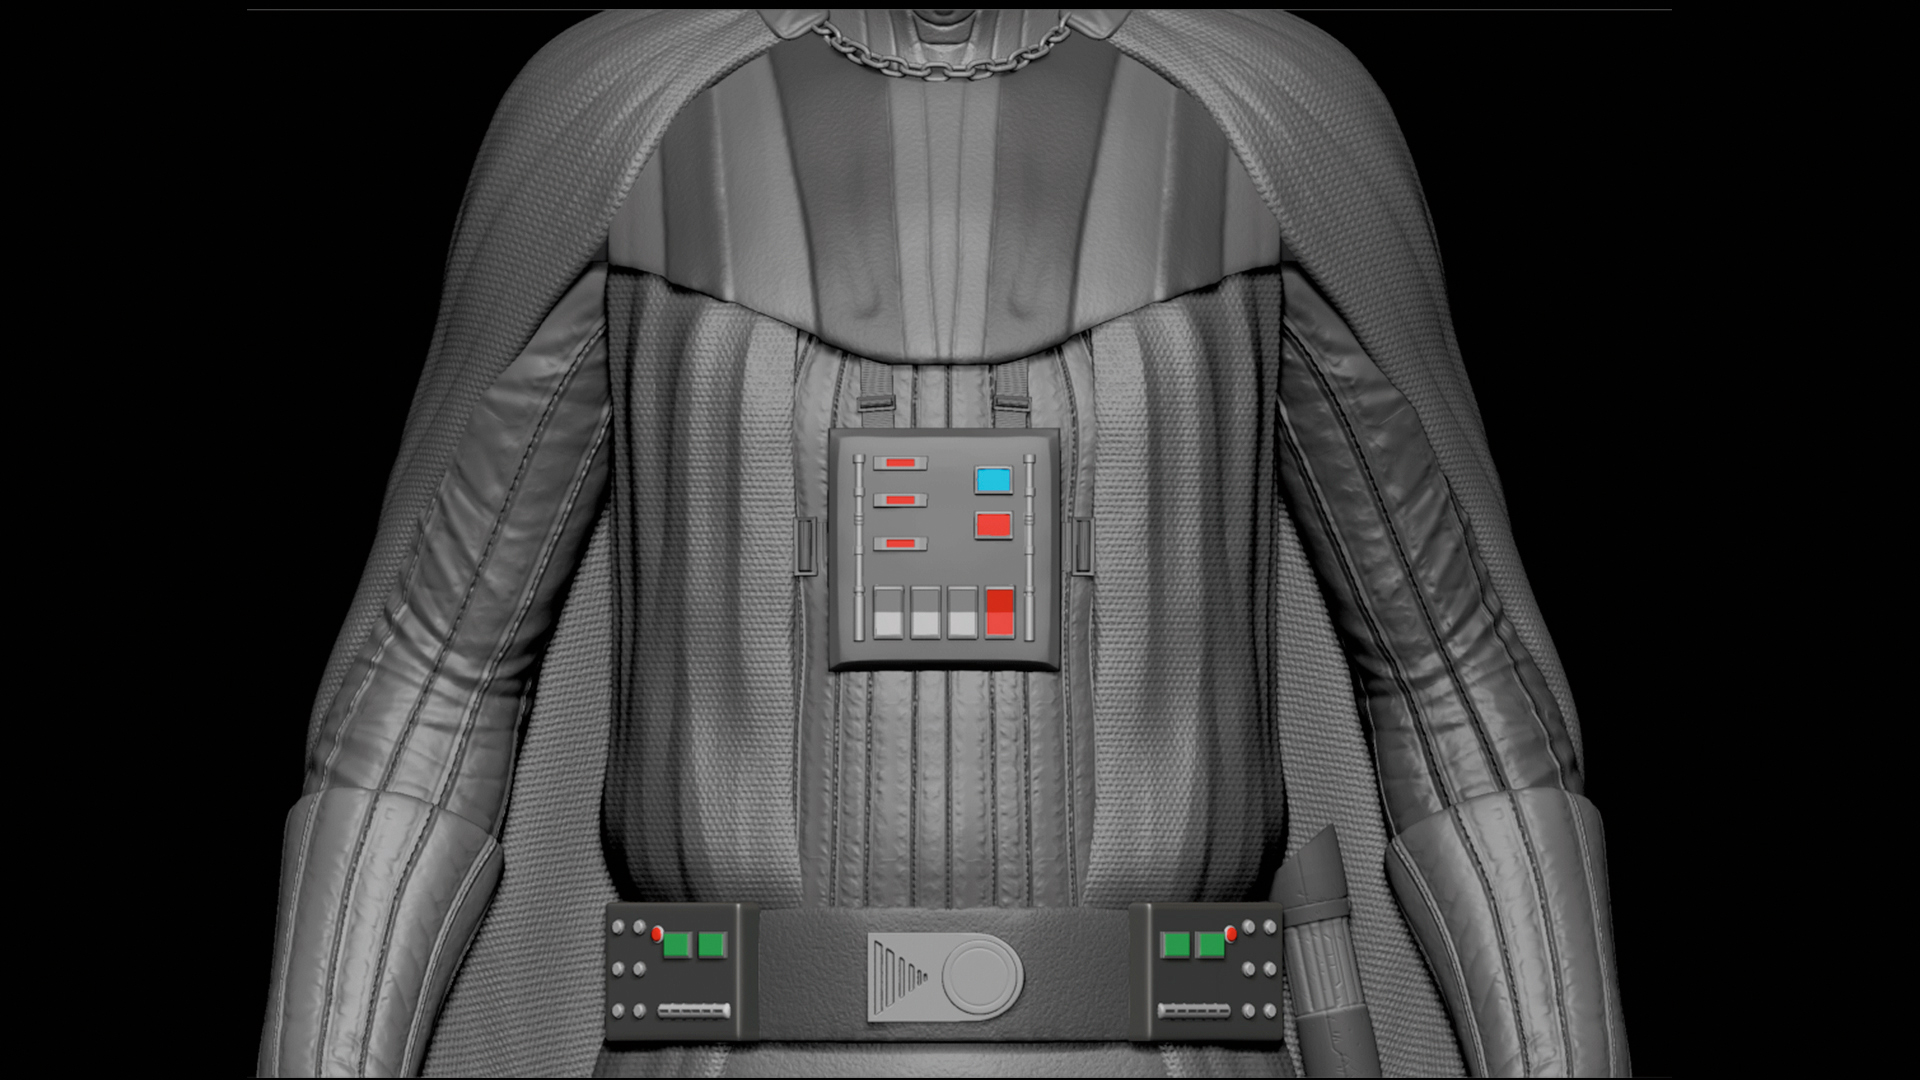
Sculpt the chest and belt features using Insert Cylinder and Cubes brushes, in combination with the Dynamesh function and Cut tools. To create the various buttons and switches, position and duplicate the repeated elements by selecting the Transpose tool and pressing ctrl, while moving the selected object to create a duplicate. Start to fill in the different elements with basic colours using the Fill Object function.
10. Experiment with variations
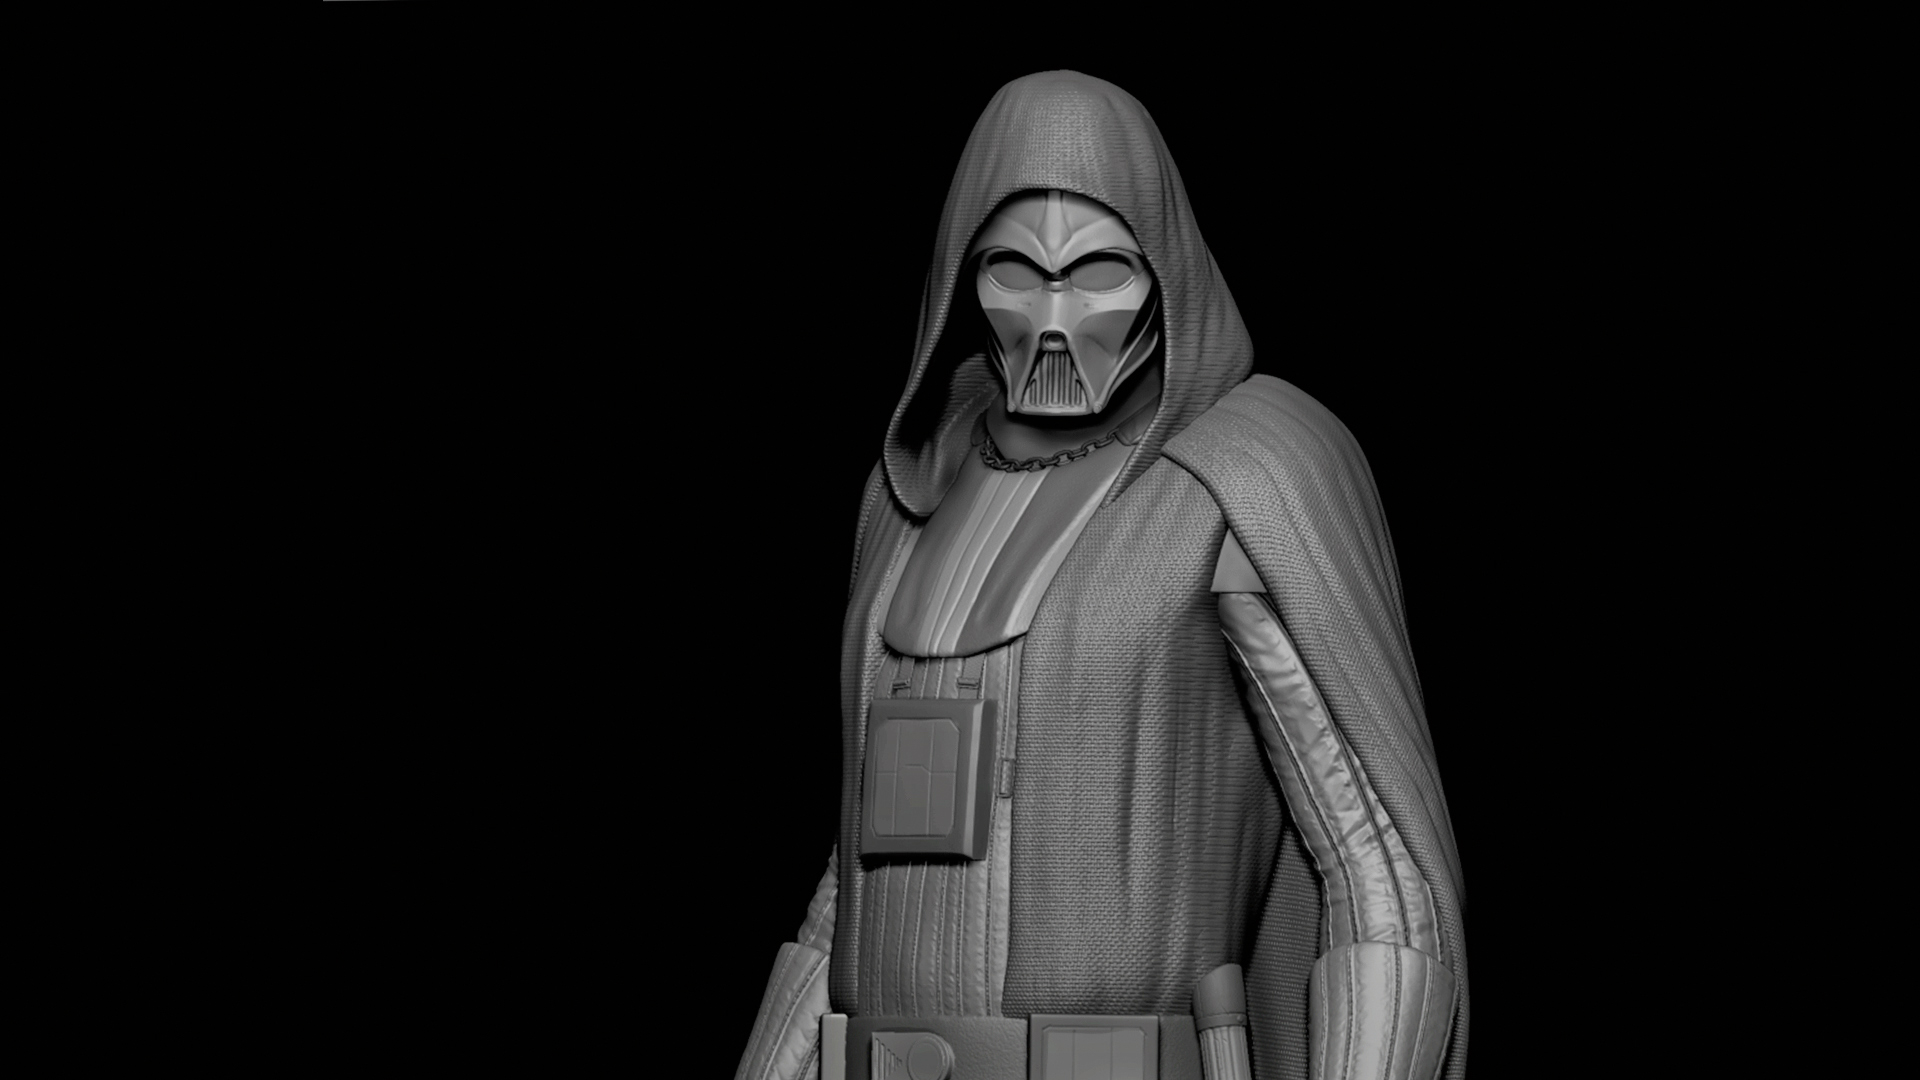
I create a helmet variation by duplicating the helmet and modifying the design slightly using the various sculpting and Transpose tools to shape the helmet. I create additional assets and modifications for the character as a variant design option. I decide to create a hood by duplicating the helmet mesh and use the Move, Clay, and Dam Standard brushes to sculpt in the cloth deformations. I may only take elements of this variant into the next phase of modelling, but it’s good practice to keep refining your ideas as you go.
Next page: finish your Darth Vader model by adding surface detail and lighting...
