How to use Gravity Sketch
Discover how Gravity Sketch can positively impact your CG workflow with this step-by-step guide.
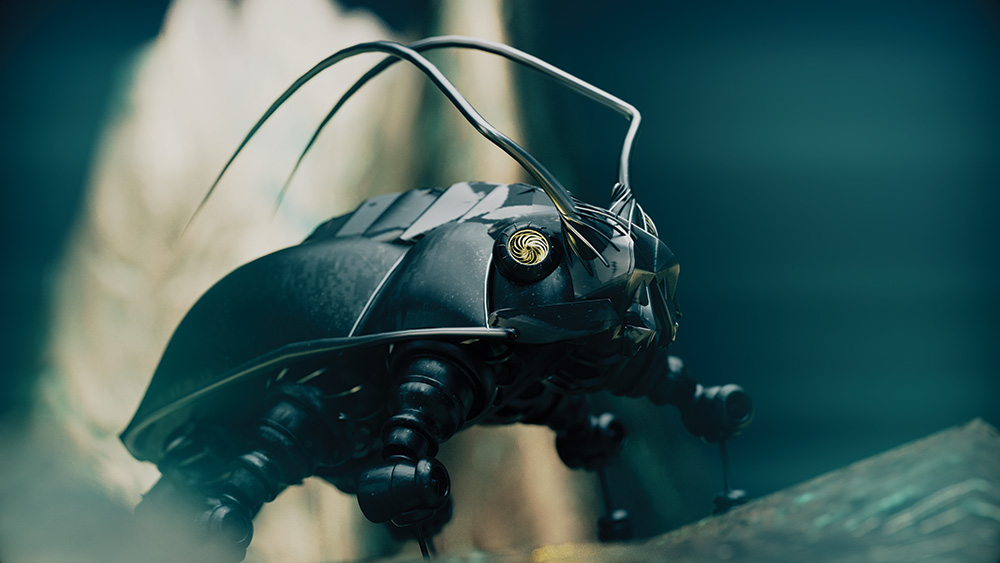
Gravity Sketch, the design and modelling tool for VR creatives, has continued to gain ground in the VR creative space and become increasingly popular with artists around the world. The app creates its modelling environment in VR and has a transformative impact on modelling creation. With its deceptively simple control scheme that is manipulated by VR hand controllers, Gravity Sketch can quickly make any artist feel at one with their model.
What's more, a new subdivision toolset has further elevated Gravity Sketch into a unique, friendly modelling tool that provides a fresh, intuitive and affordable way to get artists of any experience level to start modelling.
Gravity Sketch also goes a long way towards fulfilling the need for a 3D application that offers an intuitive modelling environment and can still create geometry that is able to be transferred to other 3D software when finished. For awesome examples of other 3D software you could use with Gravity Sketch, we have a rundown of the best 3D modelling software for your perusal right here. Now, let's explore what Gravity Sketch can do.
Article continues below01. Create in VR
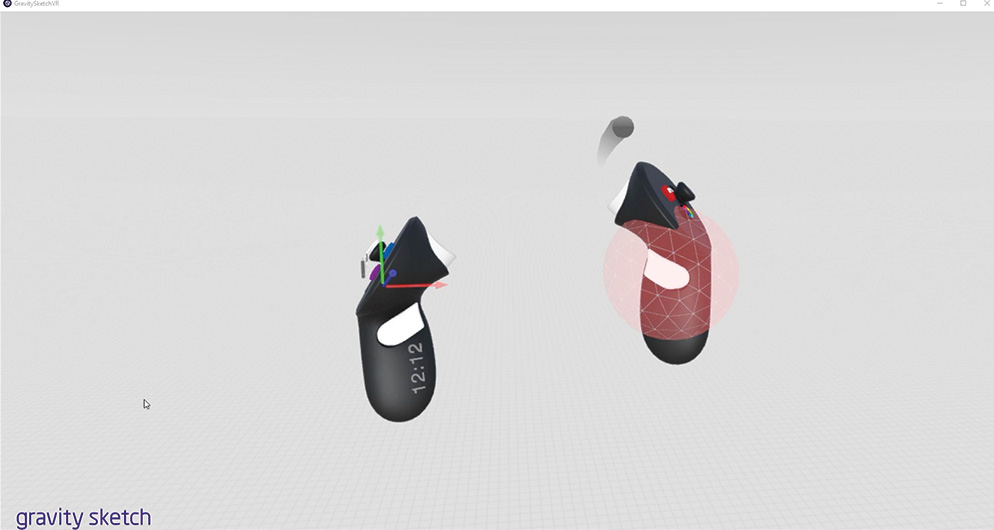
To use Gravity Sketch, a VR-capable Windows machine is needed along with an Oculus Rift, HTC Vive or certain brands of Windows mixed-reality headsets. Whatever headset is used, hand controllers are essential, as they contain all the tools needed to use Gravity Sketch. Gravity Sketch is available either through Steam or the Oculus Rift store. For this tutorial the standard version of Gravity Sketch was used.
02. Get sketching

After pulling in reference imagery by clicking and dragging from the intuitive interface, sketching can begin. Switching on the axis makes drawing in symmetry easy. As Gravity Sketch creates vector lines, even in the sketch phase, each sketch line can have its control points edited, deleted or moved. This makes Gravity Sketch an excellent tool for artists of any skill level, as any mistake can be quickly tweaked and refined.
03. Work with layers

Gravity Sketch has an excellent layer and grouping system. Grouping objects is controlled by the left controller, and objects can be added and groups broken with a single click. The layer palette can be pulled into the VR environment, and an object can be dropped into the correct layer by picking it up and dropping it into the blue box at the end of each layer title. Layer visibility and activation are all easily controlled using the larger buttons on the layer palette.
04. Pull out surfaces

When creating the main surfaces, both hands are needed. Surfaces are literally pulled into shape and can snap to guide geometry such as paths. Like all elements within Gravity Sketch, these surfaces can then be modified and adjusted after they have been created. Standard 3D practices such as fewer control points enable surfaces to work well with Gravity Sketch, as it makes the control points easier to capture.
Sign up to Creative Bloq's daily newsletter, which brings you the latest news and inspiration from the worlds of art, design and technology.
05. Use the lathe tool
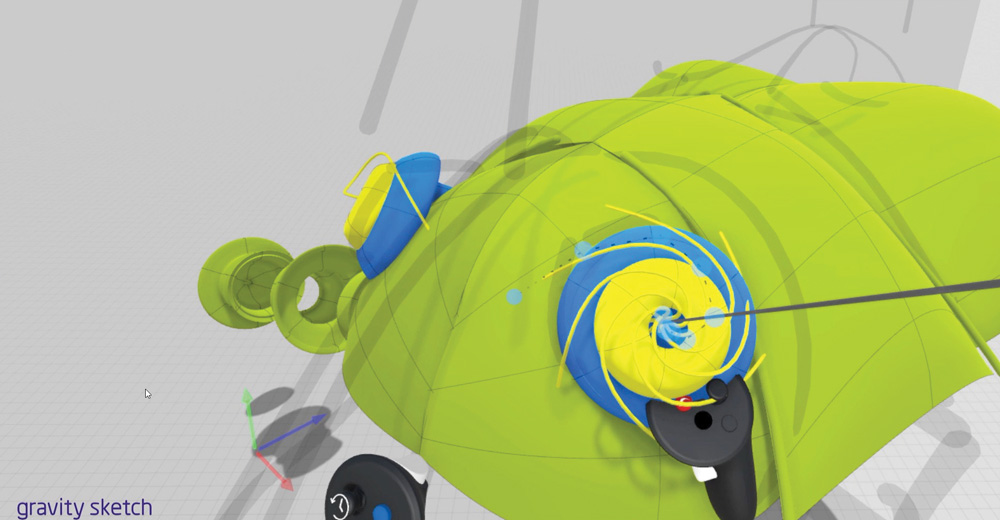
Gravity Sketch has a unique methodology for creating lathe objects. Using the secondary hand to place the axis, lathe objects are drawn out in situ. Again, these can be edited after they have been drawn. This methodology also works with the circular array system within Gravity Sketch, which uses the same axis to allow multiple instances of the same spline to be created – a great way of creating wire looms and other detailed elements.
06. Try subdivision modelling
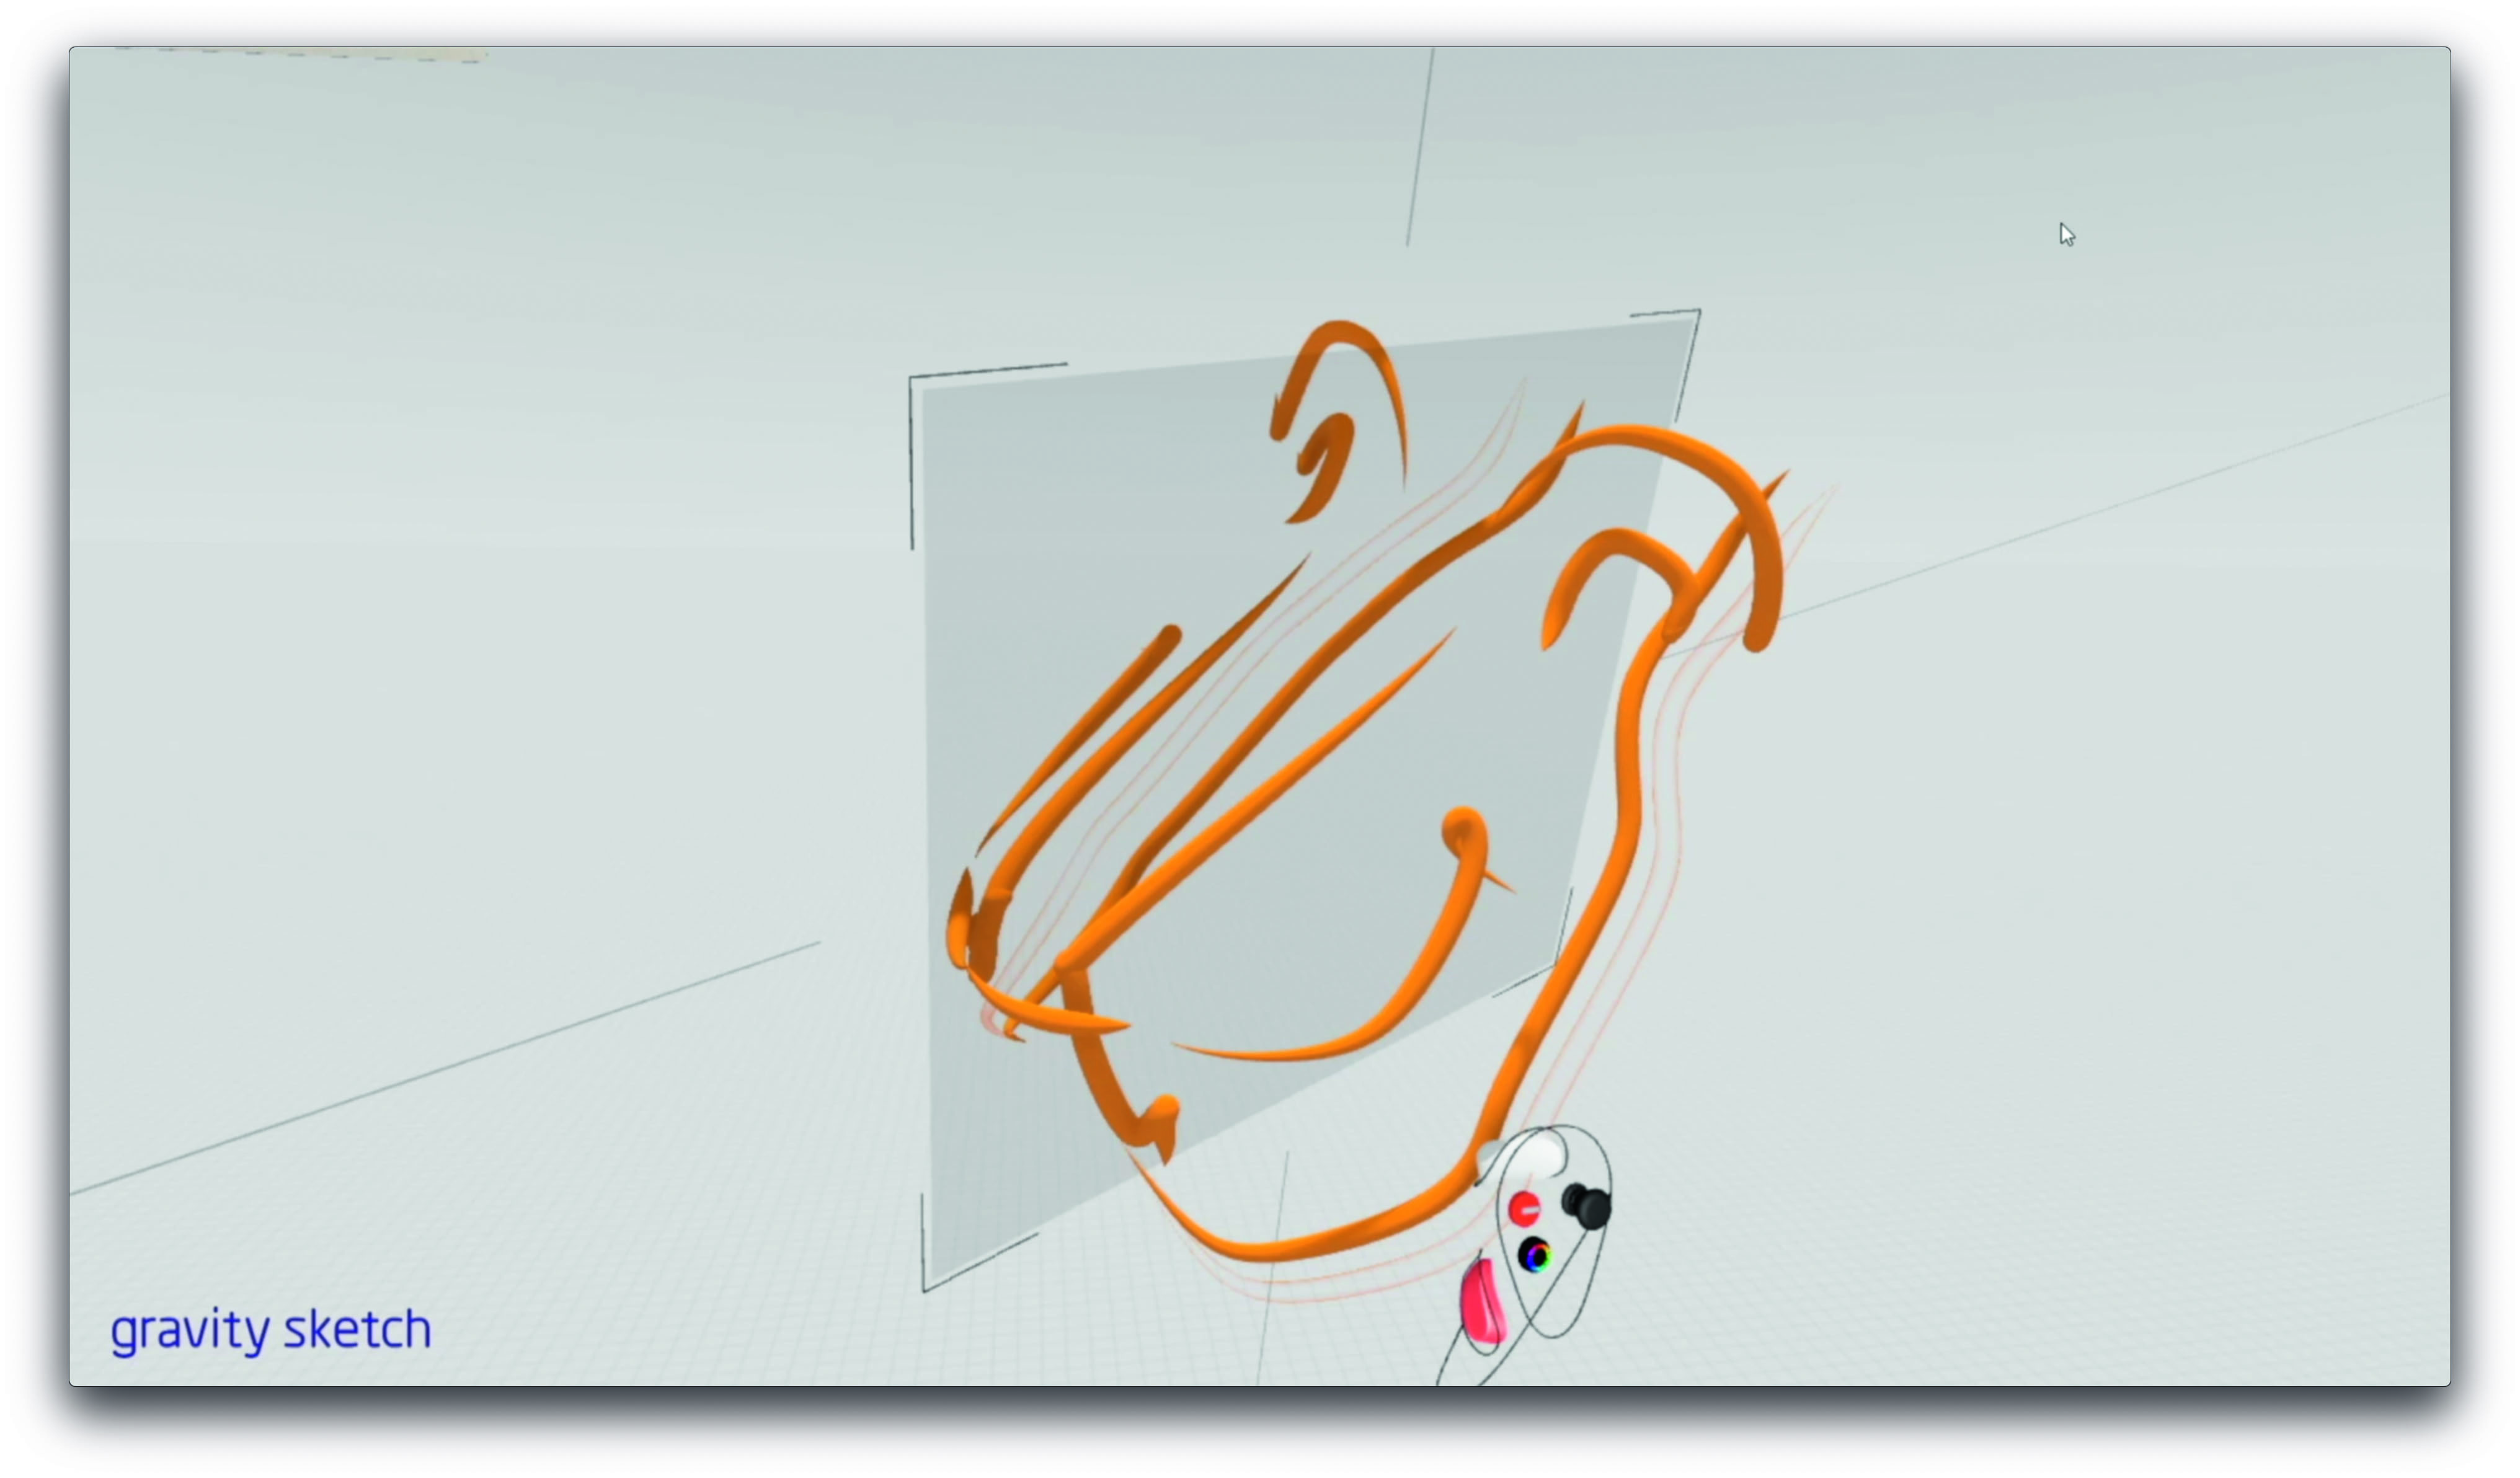
Gravity Sketch's subdivision and polygon modelling toolset is a great new feature, but that does not mean the traditional workflow should be abandoned when working this way. The sketch brushes should still be used to quickly form a quick 3D sketch that can allow the artist to get an idea of the volume very quickly. Keep the sketches to a single Gravity Sketch layer which can be hidden or shown at various transparency levels as desired through the modelling process.
07. Create a polygonal object
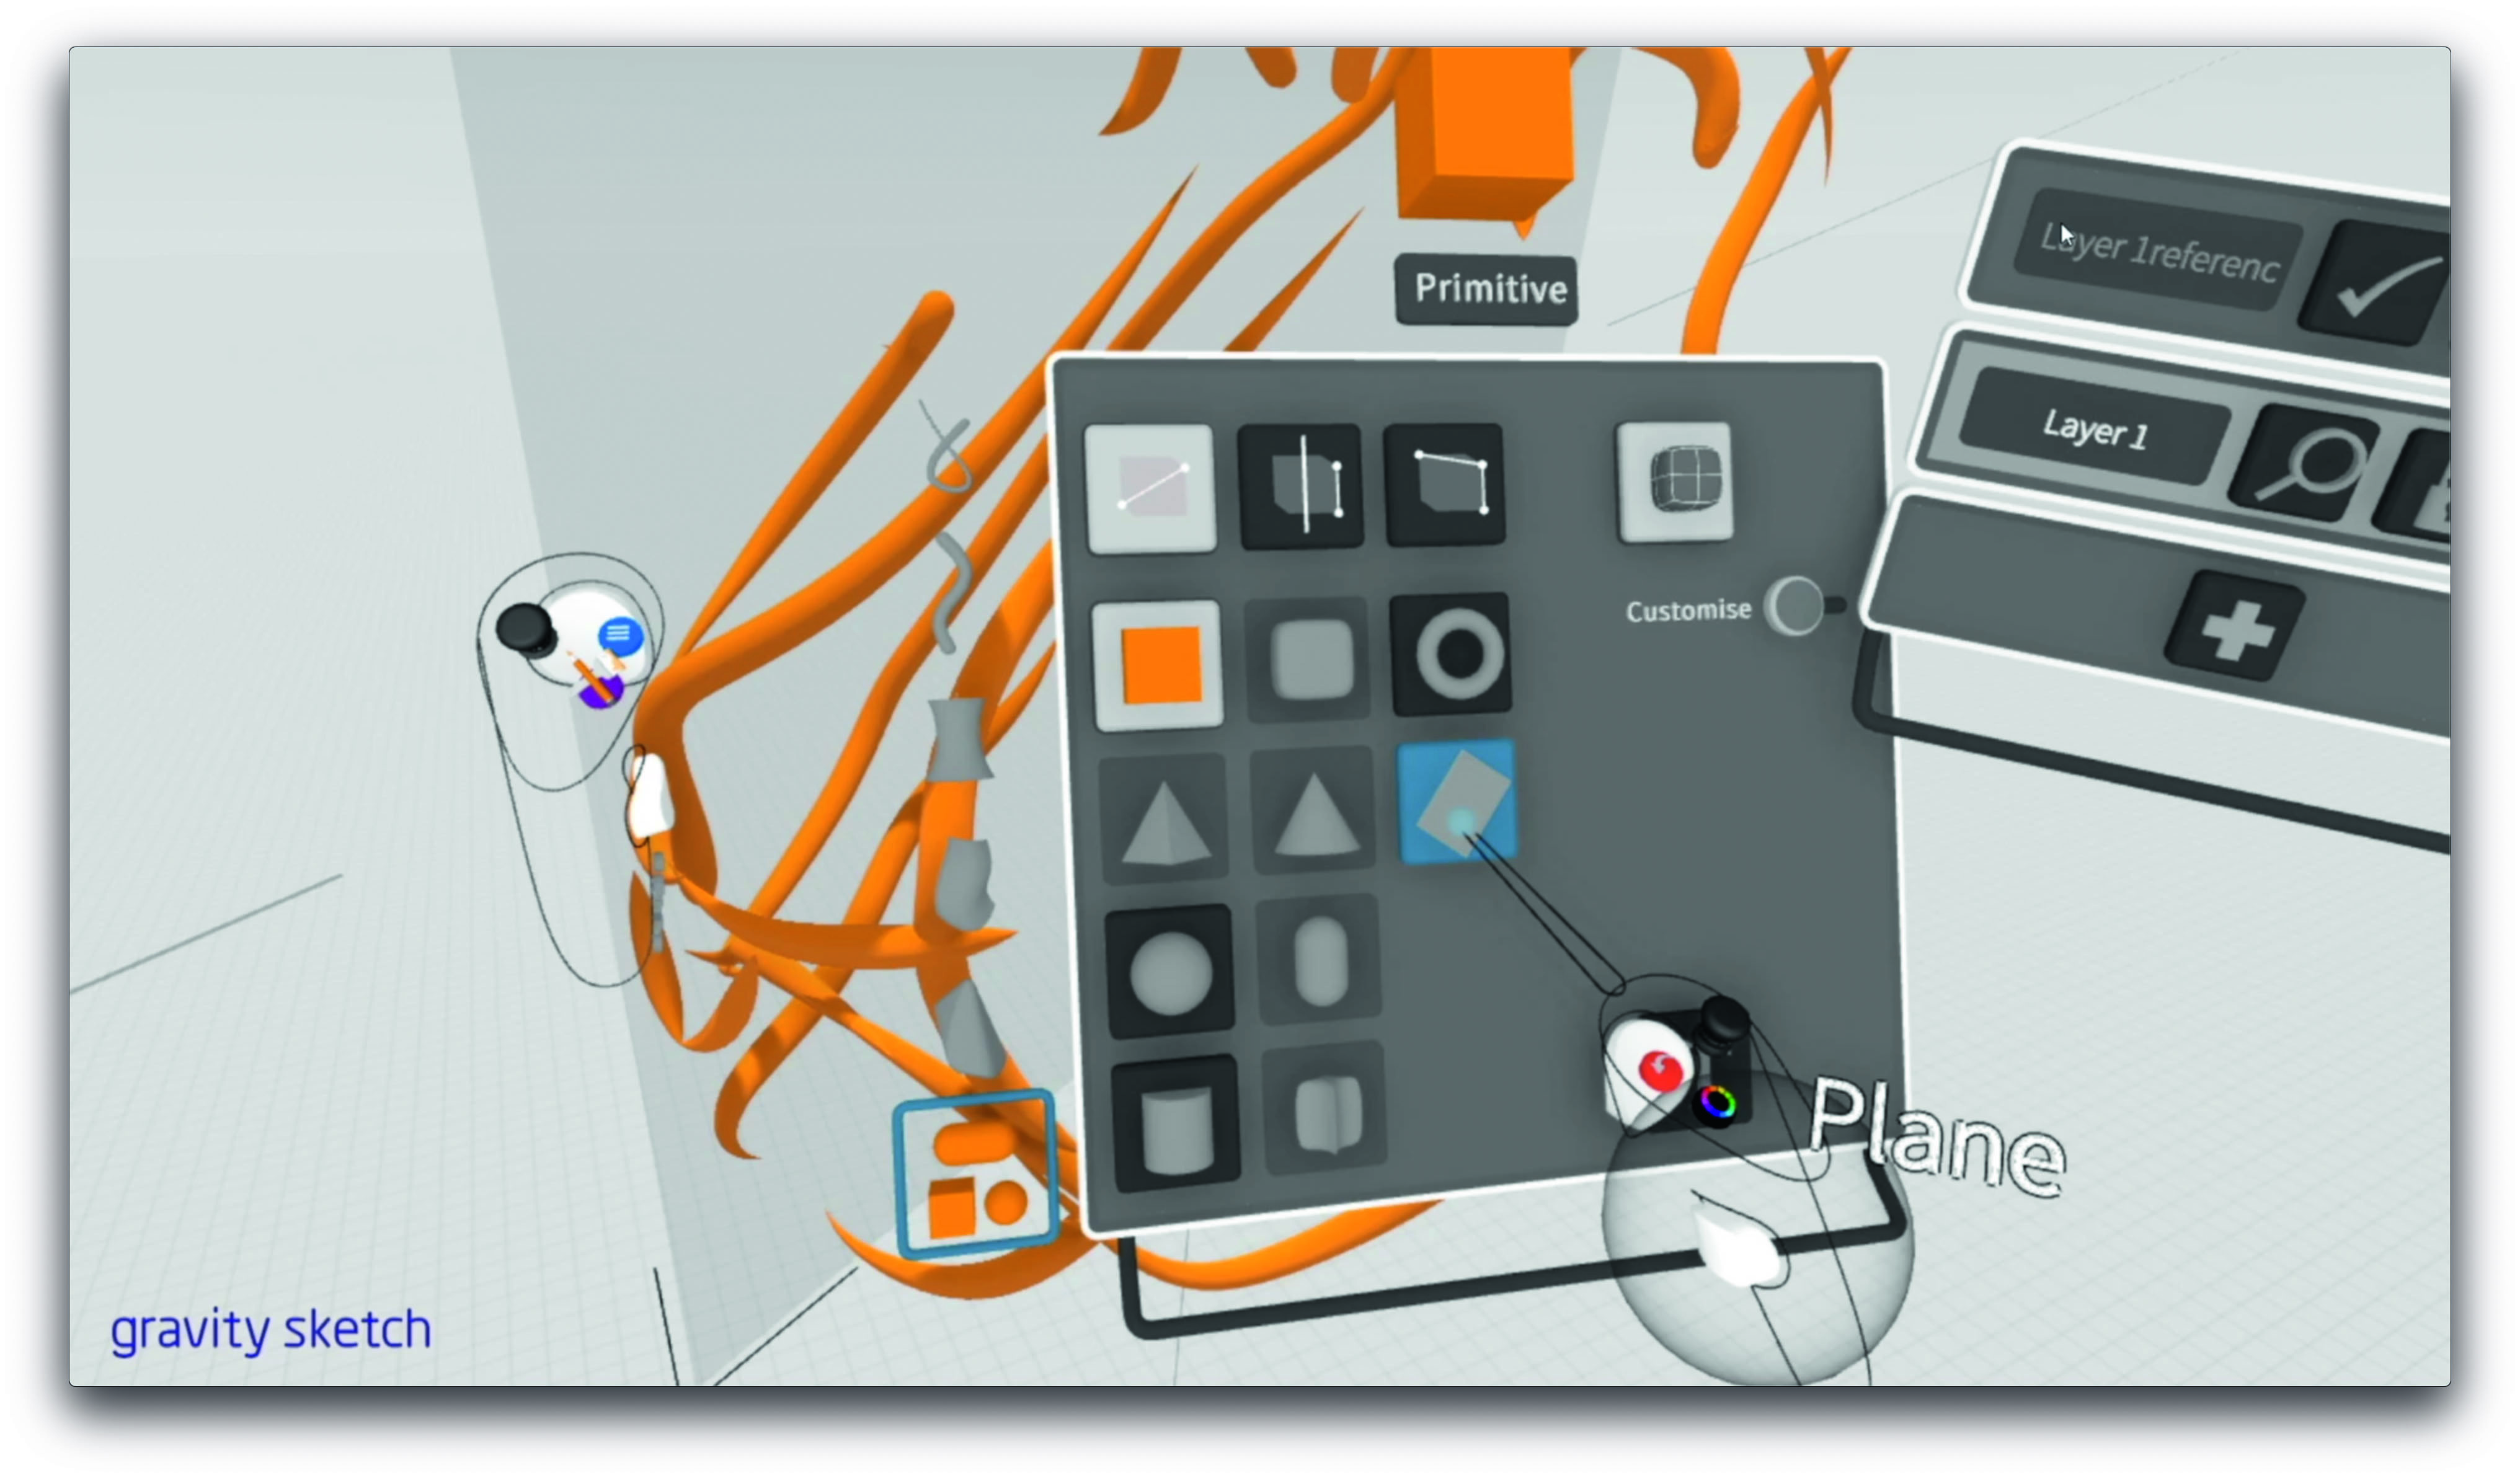
While a couple of the pre-existing NURBS tools like surfaces can be converted to a polygon/subdivision surface, if it is a new scene, it is potentially best to start working with a single plane, with symmetry already selected. To do this, go to the Primitive menu and select Plane. Make sure the subdivision rounded cuboid icon in the top right of the primitive plane is selected. This greys out the primitive objects Gravity Sketch cannot use to make a subdivision object.
08. Work with a subdivision object
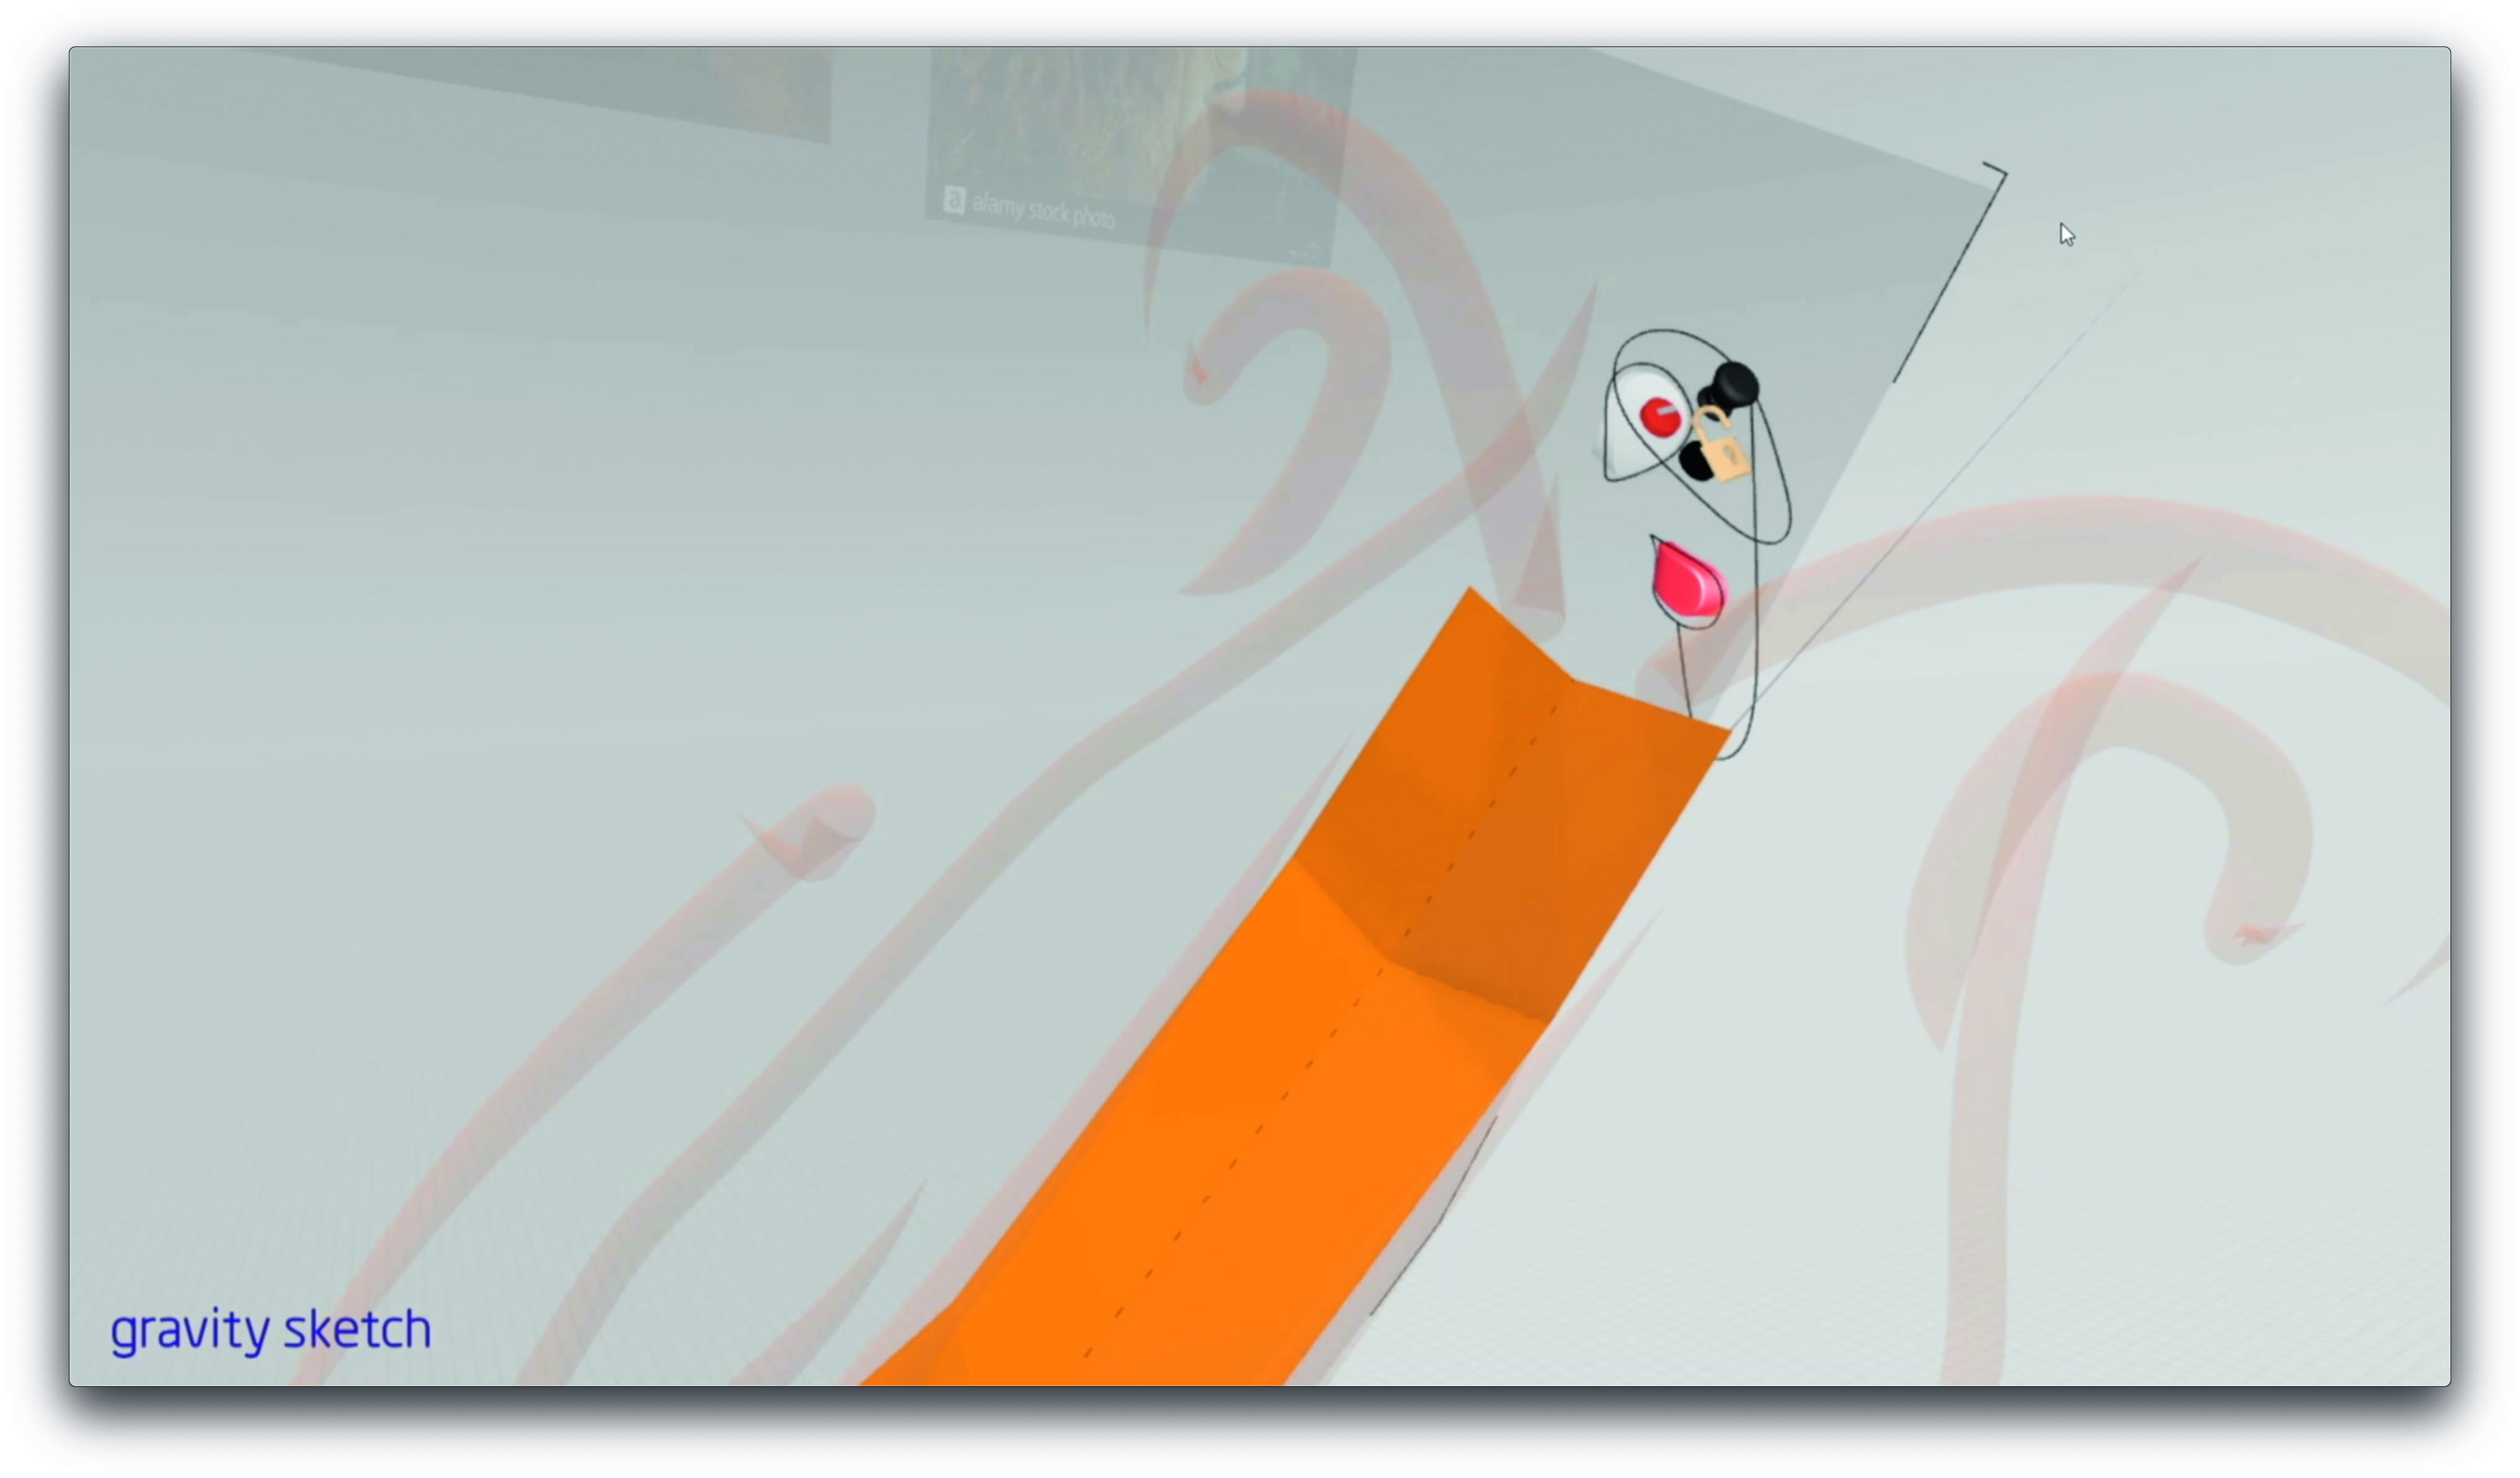
Extruding edges to create more geometry is simple in Gravity Sketch. Select an edge(s) or polygon(s), then a single click on the primary controller’s trigger pulls out a new edge or polygon. Vertices will snap to nearby points and seal edges. With the Auto Select Loops tool selected from the tool palette (visible on the secondary hand in edit mode), Gravity Sketch can select plausible edge loops and extrude a strip of polygons with one click of the trigger.
09. Explore the tools for polygons and subdivisions
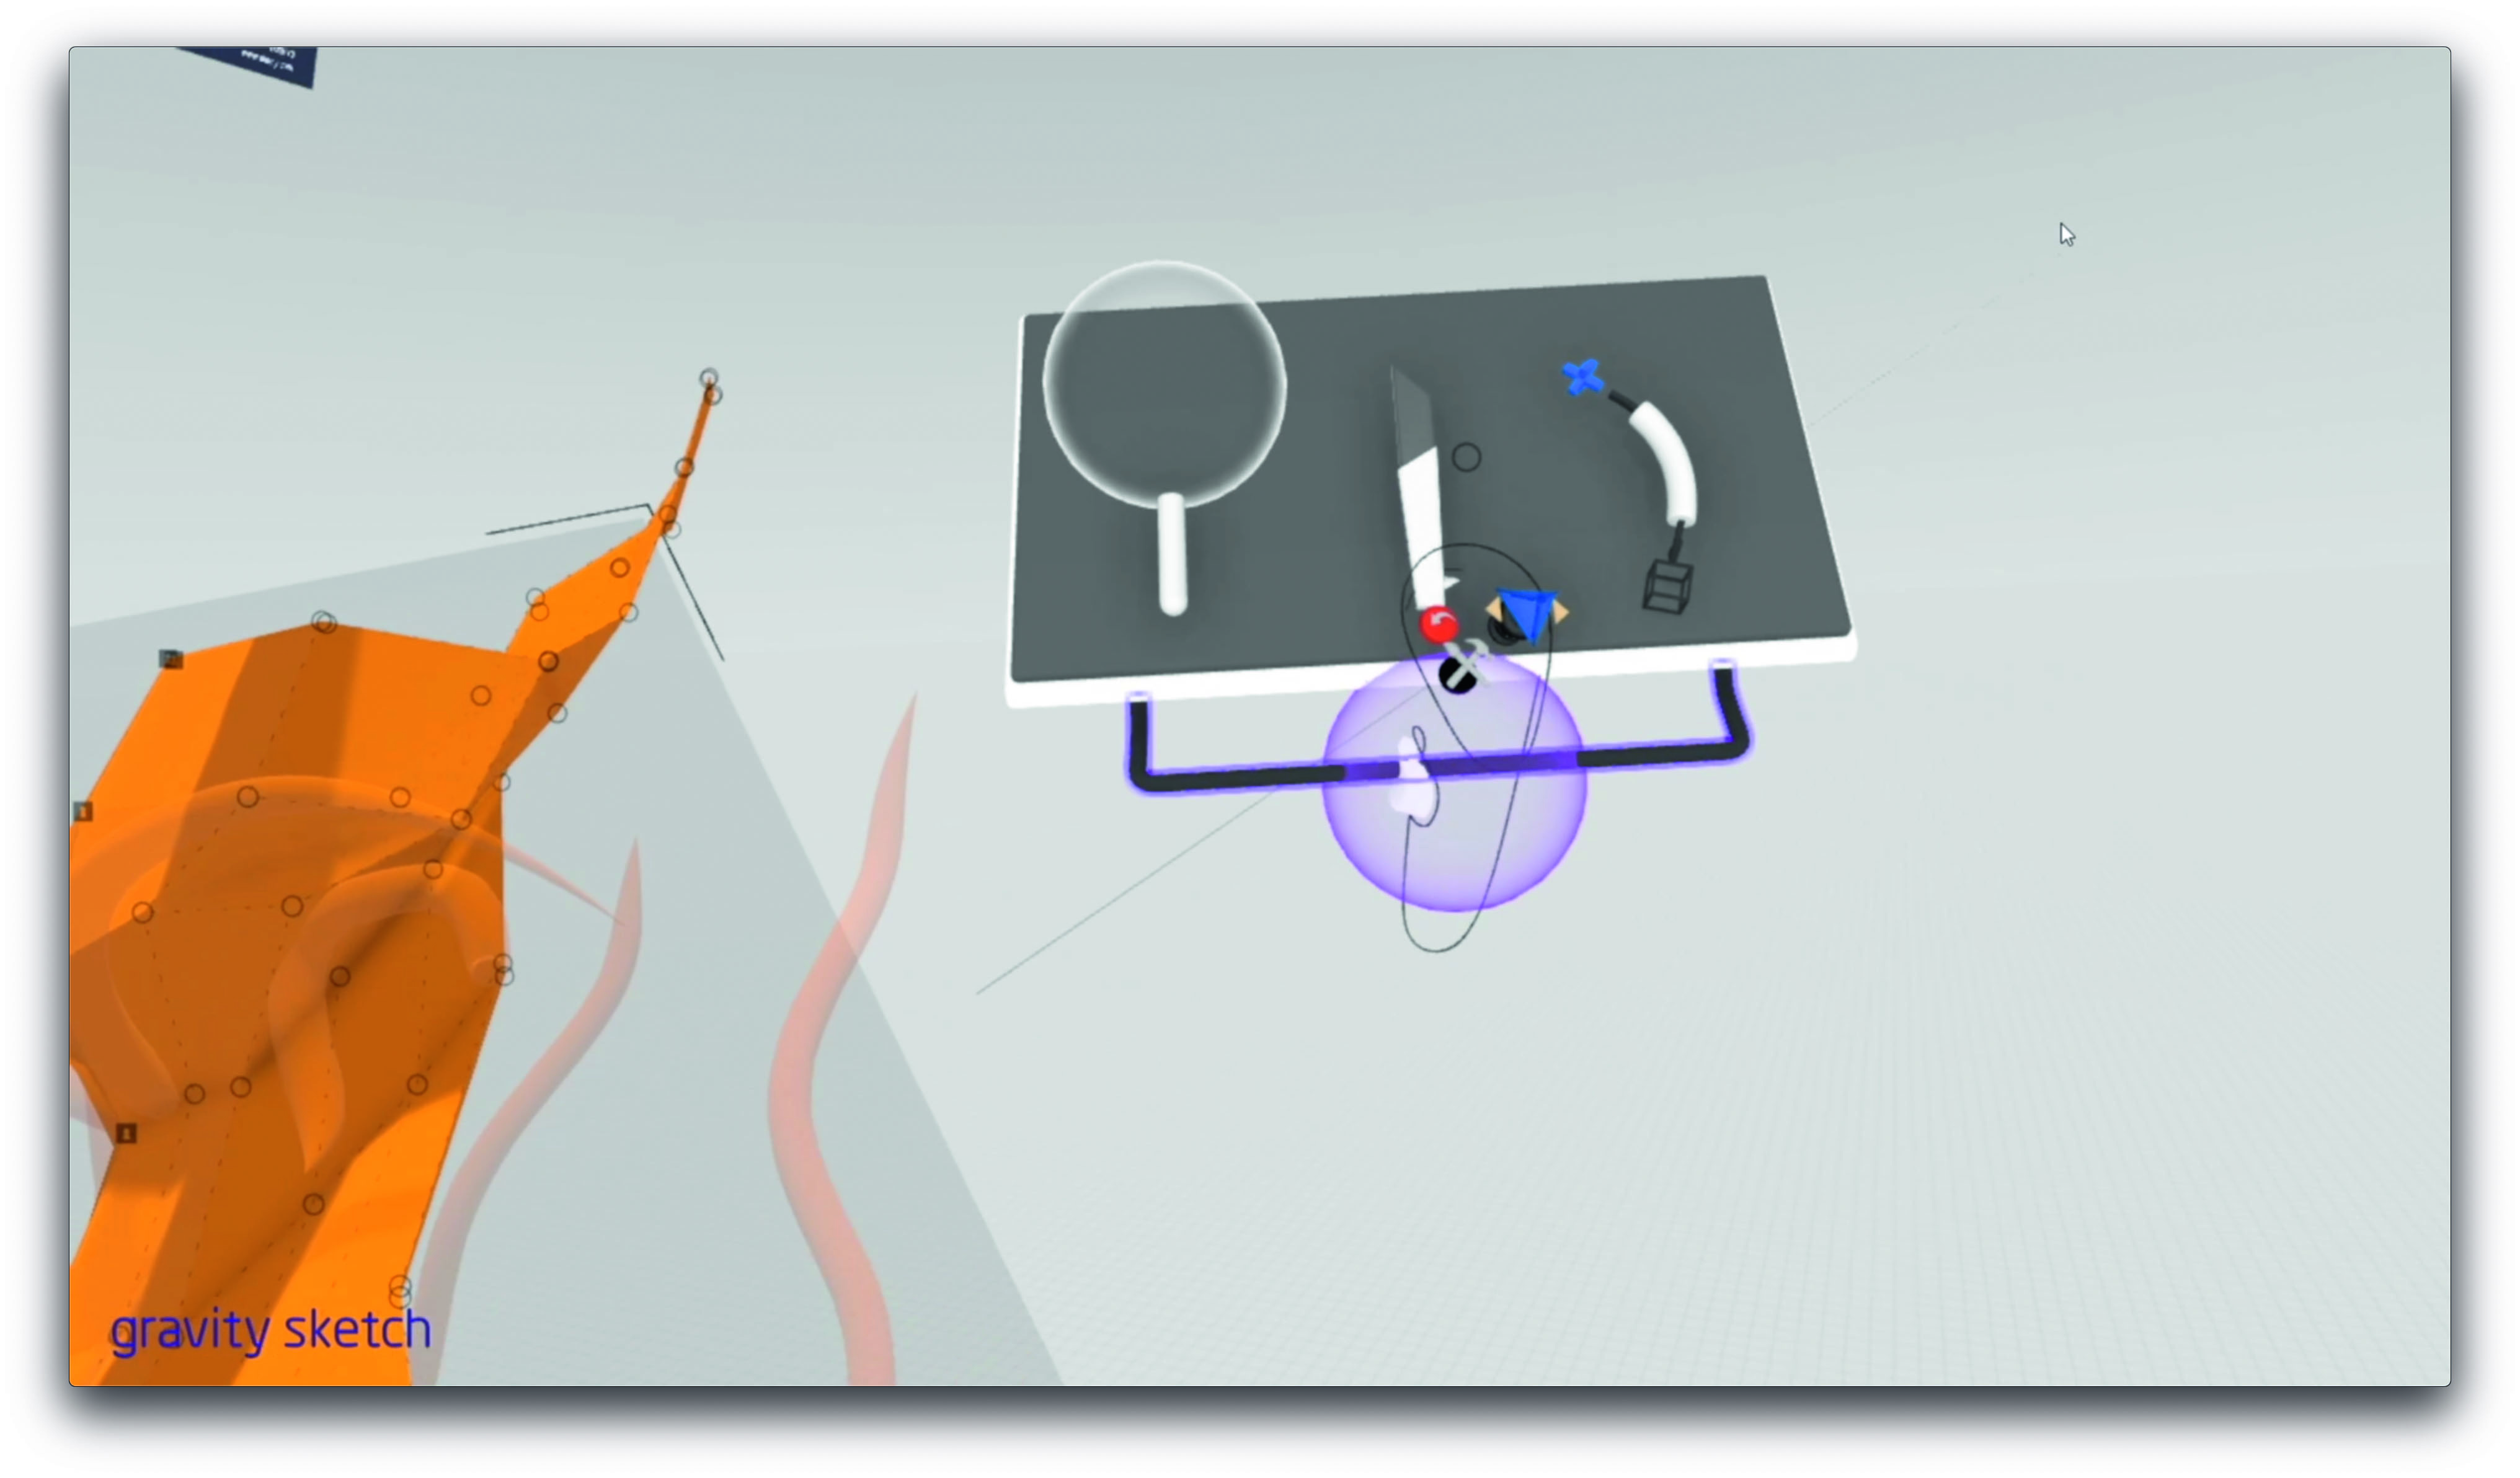
The subdivision toolset is accessed by clicking on the lower button of the primary hand, which has the icon of a brush and hammer when in editing mode. The sphere with the stick is a smoothing tool, which smooths out point position – remember to scale the scene in Gravity Sketch rather than the smooth tool itself. There is also a knife for cutting new edges into a polygon and a merge tool which can combine separate polygon objects in a single layer.
10. Activate subdivisions
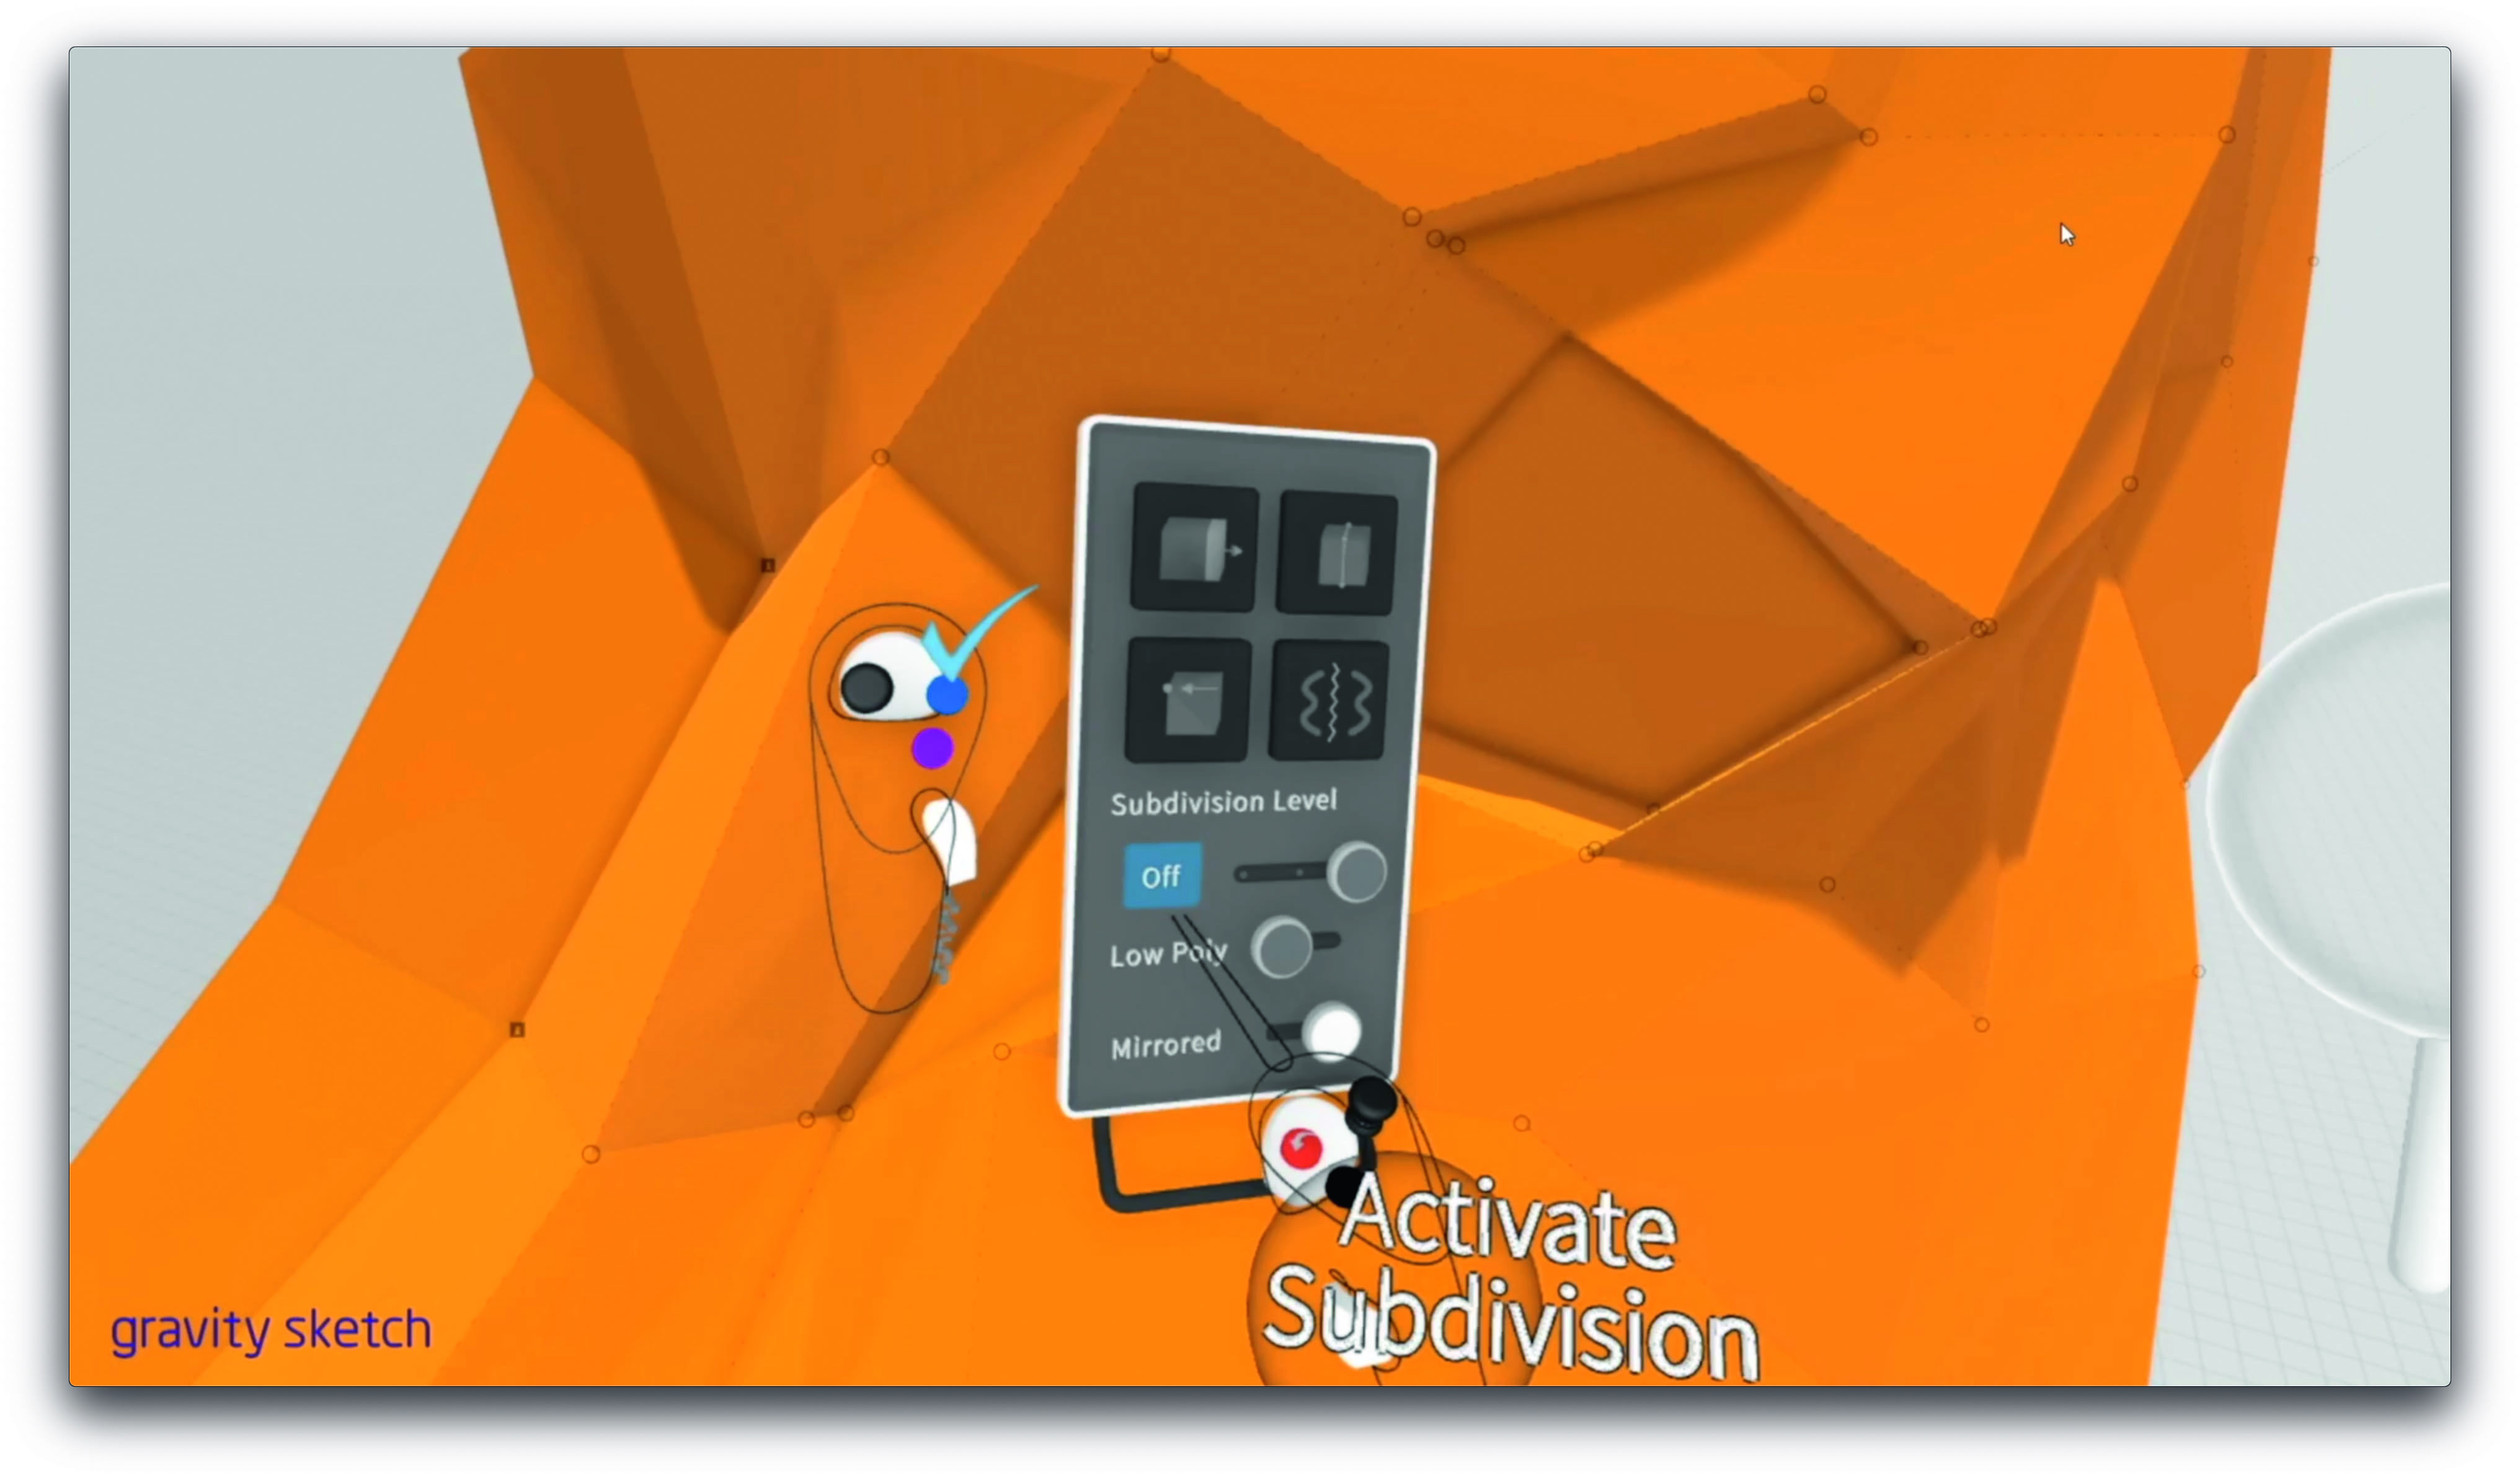
In the edit palette toggle the Off/On button under Subdivision Level. There are three layers of subdivision smoothing available. If edges are too smooth, edge loops can be easily added by single-clicking the trigger on the primary hand on an edge, which will then make an edge loop if there is a plausible polygon loop available. With 'Auto Select Loops' selected, an artist can manually slide the new edge loop to make a harder corner.
11. Export to a 3D application

The basic version of Gravity Sketch allows OBJ exporting, which is fine for most uses. The OBJ can be geometry-heavy, so be prepared to retopologise the model if needed for real-time or animation requirements. If colours are added during the Gravity Sketch creation process they carry across as separate materials. Gravity Sketch is capable of creating basic renders, but its ability to create geometry for export into 3D applications makes it an invaluable creation tool.
This article was originally published in 3D World, the world's best-selling magazine for CG artists. Subscribe to 3D World.
Read more:

Mike Griggs is a veteran digital content creator and technical writer. For nearly 30 years, Mike has been creating digital artwork, animations and VR elements for multi-national companies and world-class museums. Mike has been a writer for 3D World Magazine and Creative Bloq for over 10 years, where he has shared his passion for demystifying the process of digital content creation.
