15 top tips to boost your photography skills
This guide contains everything you need to take your photography skills to the next level.
12. Position your subject
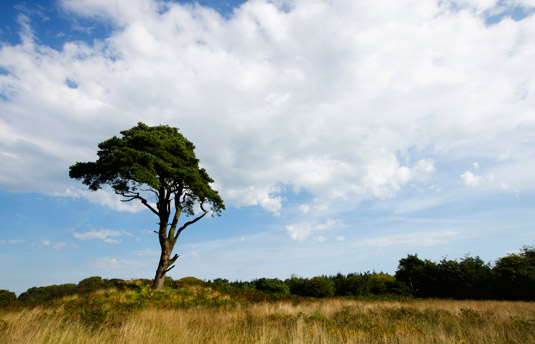
Besides choosing what to shoot and the best settings to use, learning the basics of composition is one of the fundamental ways to improve your photography skills. There are plenty of rules and theories about what makes the perfect composition, but the key thing that you should think about when taking your shots is where to position the main subject in your image.
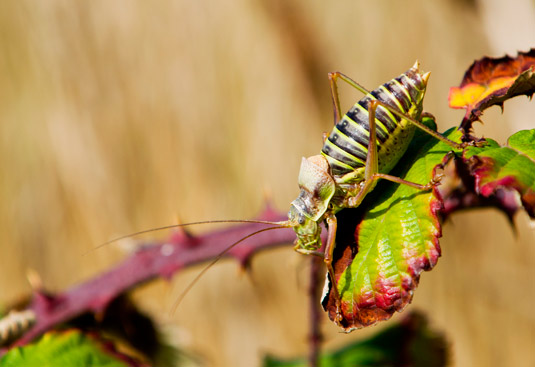
It's tempting to put the subject in the centre of the frame, but this can produce static-looking compositions. It's often much better to put the subject just off centre.
The classic approach is to use the rule of thirds, which is defined by imaginary 'lines' that divide each side of the image into three equal-sized areas. You then position the main subject on one of these lines, or where they intersect.
Article continues below13. Make good use of space

The space around your subject is nearly as important to the success of your composition as the subject itself. First of all, you need to think about how much of the subject's surroundings you want to include in your shot.
This isn't an exact science, but as a general rule you should include the surroundings if they add to the photo, such as showing the environment around the subject in a portrait or wildlife image. Alternatively, a tighter composition that excludes the surroundings can help to make the main subject dominate the image.
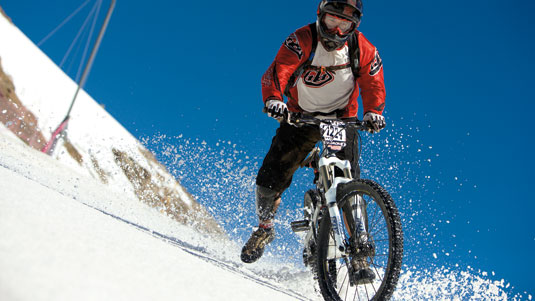
One key aspect of using space in your shots is particularly applicable to action shots and portraits. When looking at images of moving subjects, you naturally look ahead into the area that it's travelling towards.
For this reason, it's a good idea to leave more space ahead of the subject for it to move into than there is behind it, otherwise your shot can end up looking rather unbalanced.
Sign up to Creative Bloq's daily newsletter, which brings you the latest news and inspiration from the worlds of art, design and technology.
Portraits can also benefit from a similar composition technique. Leaving some space on the side that your subject is looking into instantly creates a considerably more balanced composition.
14. Sharpen your shots
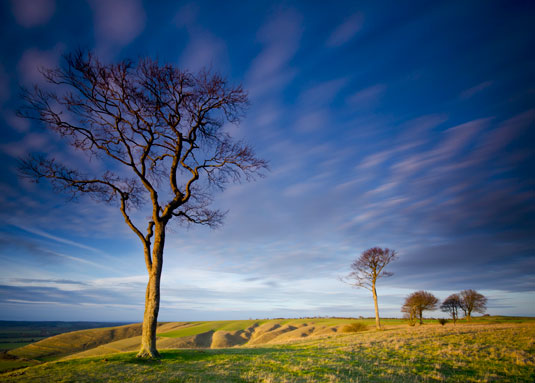
Getting the most from your imaging software is a skill that takes time to master. It's tempting to think that the more sharpening you apply to your images, the sharper they'll appear. But you need to exercise some restraint; otherwise you'll end-up with increased noise and ugly 'haloes'.
One of the most common causes of over-sharpening is applying it at the wrong stage in your processing, or even applying it to images that have already been sharpened. If you shoot JPEG images, these may have been sharpened already in-camera, so you need to take great care when applying extra sharpening.
Raw files won't have had any sharpening applied in-camera, but it can be applied when processing your images. You just need to decide whether it's best to apply it to your raw conversions, or later on.
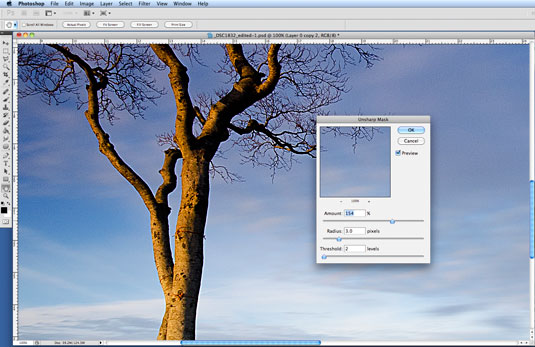
The best way to avoid over-sharpening is to make it one of the last adjustments that you make to your pictures, so if you are going to be editing your shots in Photoshop Elements or CS, then it's best to turn off any in-camera or raw conversion sharpening.
The most obvious side-effect of applying too much sharpening is a halo around details in your shots, the result of using a high Radius setting. To spot this, zoom in to 100% on an area of the image containing dark lines or fine details against a lighter background.
Here's a super tip: if applying sharpening to your images using photoshop's unsharp Mask filter, the key is to be subtle. As a starting point, try to use an amount of between 50 and 80%, a Radius of 1 and a Threshold of between 2 and 5.
15. Use saturation
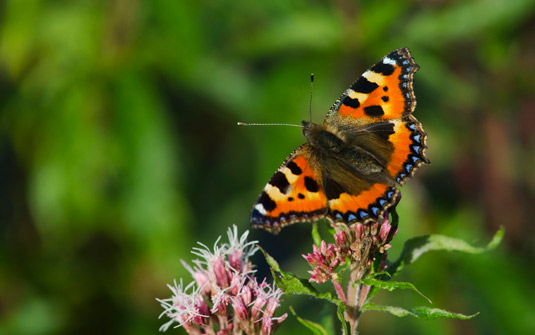
Similar to sharpening, saturation needs to be used with care if you want to avoid your images looking garish and over-cooked. In many scenes you'll find that some colours are much more saturated than others, especially reds and greens, so rather than simply adjusting the saturation of the whole image, you can also target individual colours using the Hue/Saturation control.
Related articles:
Current page: Photography guide: composition, sharpening and saturation
Prev Page Photography guide: exposure, lighting and detail
The Creative Bloq team is made up of a group of art and design enthusiasts, and has changed and evolved since Creative Bloq began back in 2012. The current website team consists of eight full-time members of staff: Editor Georgia Coggan, Deputy Editor Rosie Hilder, Ecommerce Editor Beren Neale, Senior News Editor Daniel Piper, Editor, Digital Art and 3D Ian Dean, Tech Reviews Editor Erlingur Einarsson, Ecommerce Writer Beth Nicholls and Staff Writer Natalie Fear, as well as a roster of freelancers from around the world. The ImagineFX magazine team also pitch in, ensuring that content from leading digital art publication ImagineFX is represented on Creative Bloq.
