How to assign a texture to an Alembic file in Cinema 4D
Learn to assign textures to Alembic in Cinema 4D to vastly improve your scene’s efficiency.
Sign up to Creative Bloq's daily newsletter, which brings you the latest news and inspiration from the worlds of art, design and technology.
You are now subscribed
Your newsletter sign-up was successful
Want to add more newsletters?

Five times a week
CreativeBloq
Sign up to Creative Bloq's daily newsletter, which brings you the latest news and inspiration from the worlds of art, design and technology.

Once a week
By Design
Sign up to Creative Bloq's daily newsletter, which brings you the latest news and inspiration from the worlds of art, design and technology.

Once a week
State of the Art
Sign up to Creative Bloq's daily newsletter, which brings you the latest news and inspiration from the worlds of art, design and technology.

Seasonal (around events)
Brand Impact Awards
Sign up to Creative Bloq's daily newsletter, which brings you the latest news and inspiration from the worlds of art, design and technology.
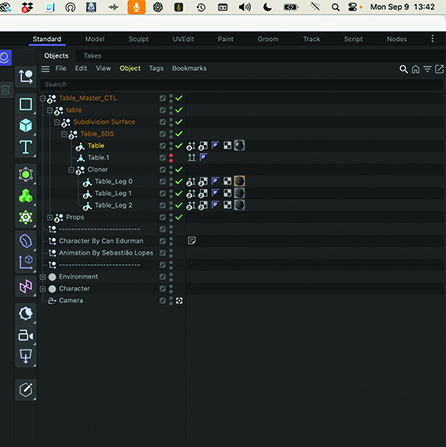
Sometimes textures won’t immediately appear correctly mapped. If this is the case for you, it could be a scaling issue with the texture tag. This can be easily adjusted by clicking on the material in the Objects list and changing the Material Tag properties.
When working as a 3D artist, trade-offs always have to be assessed while running through a project, and one of the most fundamental is learning how to optimise a scene for the available hardware resources.
It’s common for a 3D scene to become sluggish when you’re just starting out. The obvious and easiest answer is to invest in the fastest workstation with the biggest graphics card. While this might make the scene feel a bit faster, it hasn’t dealt with the potential reason why it became bogged down in the first place: because the scene itself isn’t very efficient.
So what is an efficient scene? As with many things in 3D creation, the film set analogy can work well. On a film set, the primary focus is usually the actors and their interaction with each other. Every other element around them is secondary, and may even be out of focus depending on the camera lens used.
If we apply that same logic to a Cinema 4D (C4D) scene of a room where the primary focus is the character and the surroundings are secondary, the artist needs to ensure that when they’re happy with the modelling and texturing of all the secondary elements, they need to be made as efficient as possible.
Understanding how to assign textures to Alembic in Cinema 4D can vastly improve your scene’s efficiency
C4D has lots of great tools for this such as the Book and Stair generators, plus lots of downloadable assets that can populate a scene quickly. Still, they require the program to keep all of these elements live and editable, which can use up a lot of resources and slow a scene down, no matter how powerful the computer.
This is where scene exchange file formats such as Alembic can be handy. An Alembic file can hold a vast array of information such as animation, which can be easily moved between post-production applications. They can also be used to replace secondary elements in a C4D scene’s files. As Alembics are a read format, they use a fraction of the computer’s resources in a scene, though the catch is that they import without textures. In this tutorial, we’ll take a look at applying texture to an Alembic in C4D.
If you're new to the software check out our Cinema 4D review and our roundup of the best Cinema 4D tutorials to boost your skills.
Sign up to Creative Bloq's daily newsletter, which brings you the latest news and inspiration from the worlds of art, design and technology.
01. Load up an example scene for practice
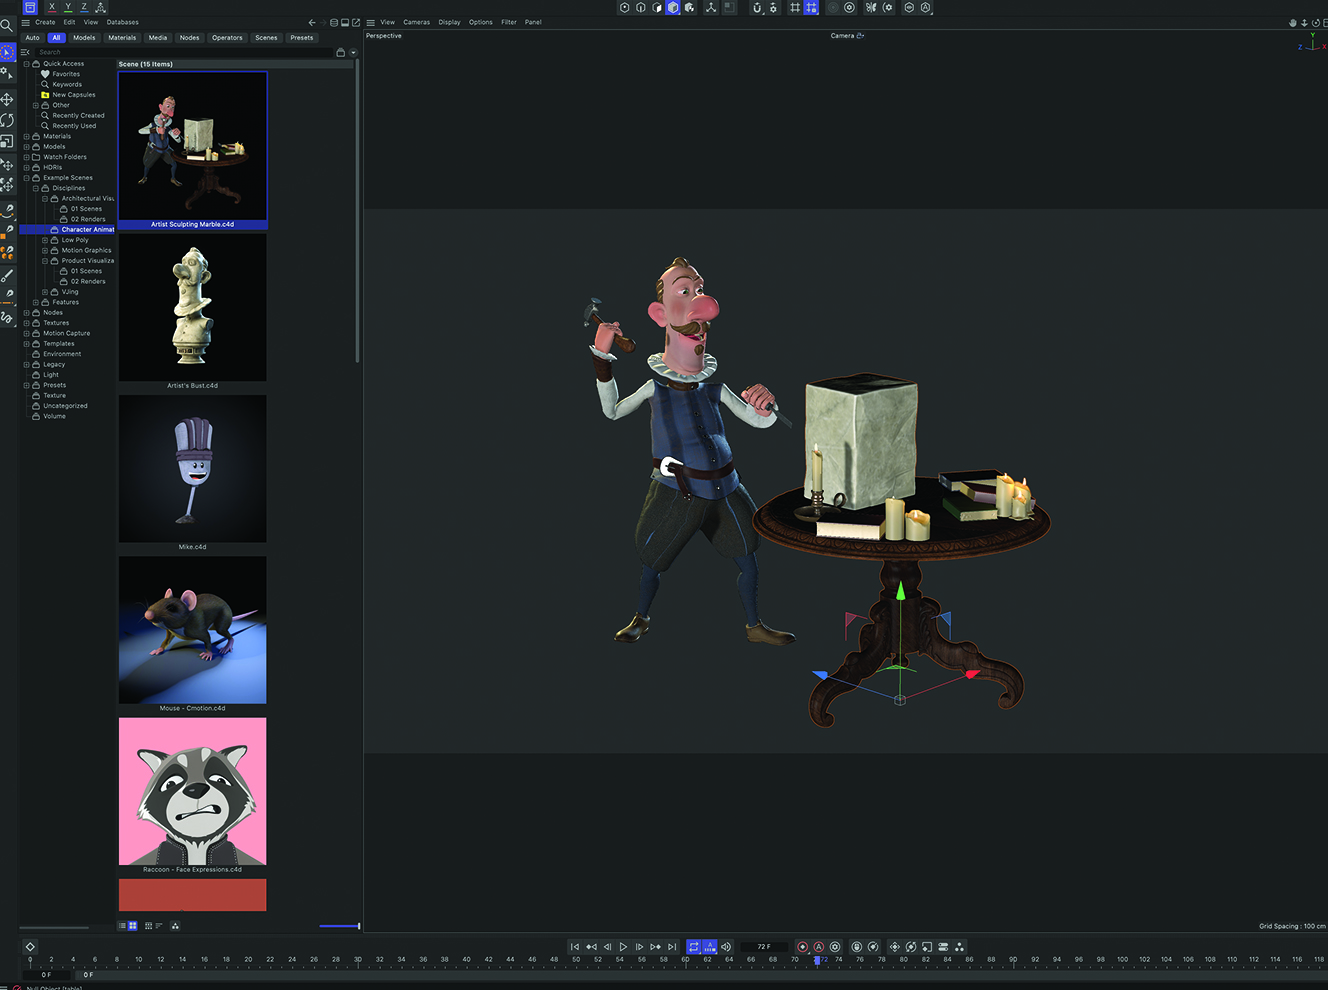
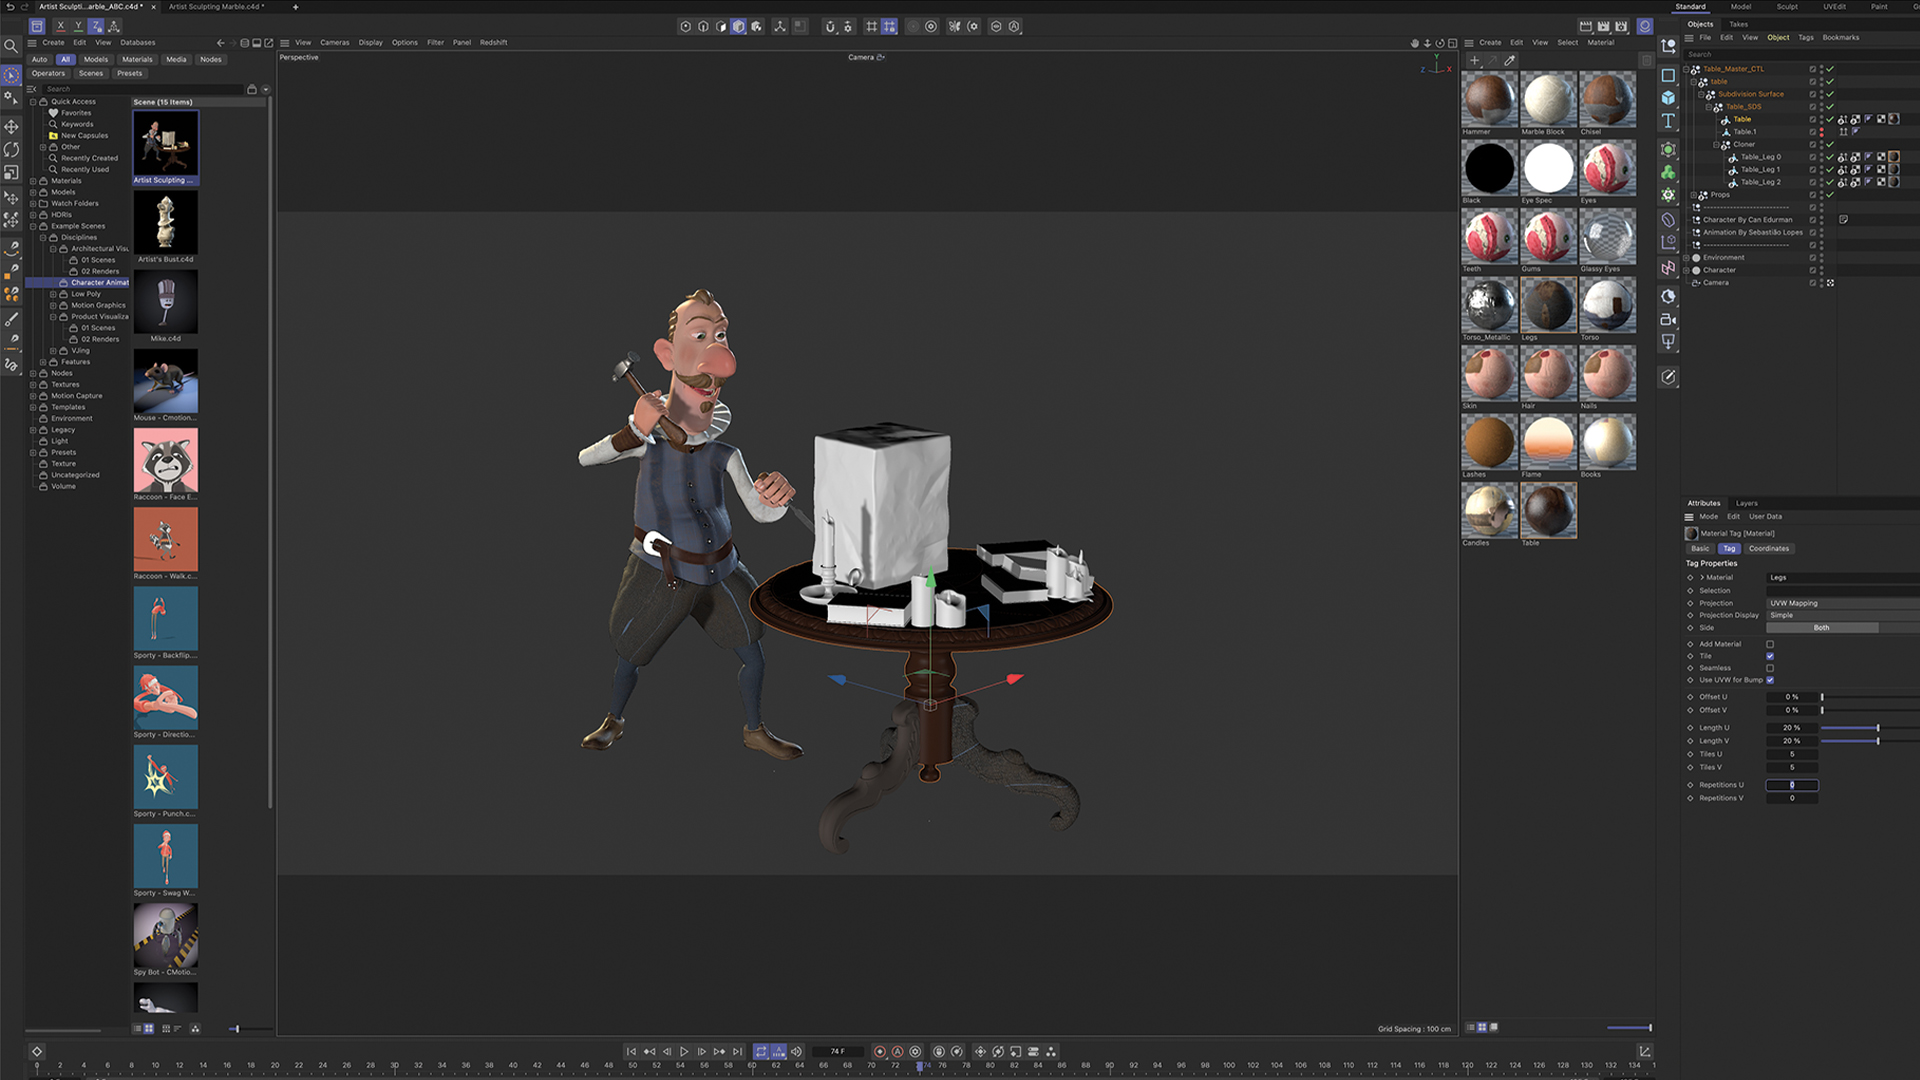
The scene being used here is the ‘Artist Sculpting Marble.c4d’ file, which is available in the Asset browser of Cinema 4D 2024. The scene has an animated character with a table prop that’s textured with animated candles, with the file size just under 50MB. The table group will be what we convert into an Alembic.
02. Select all the required geometry
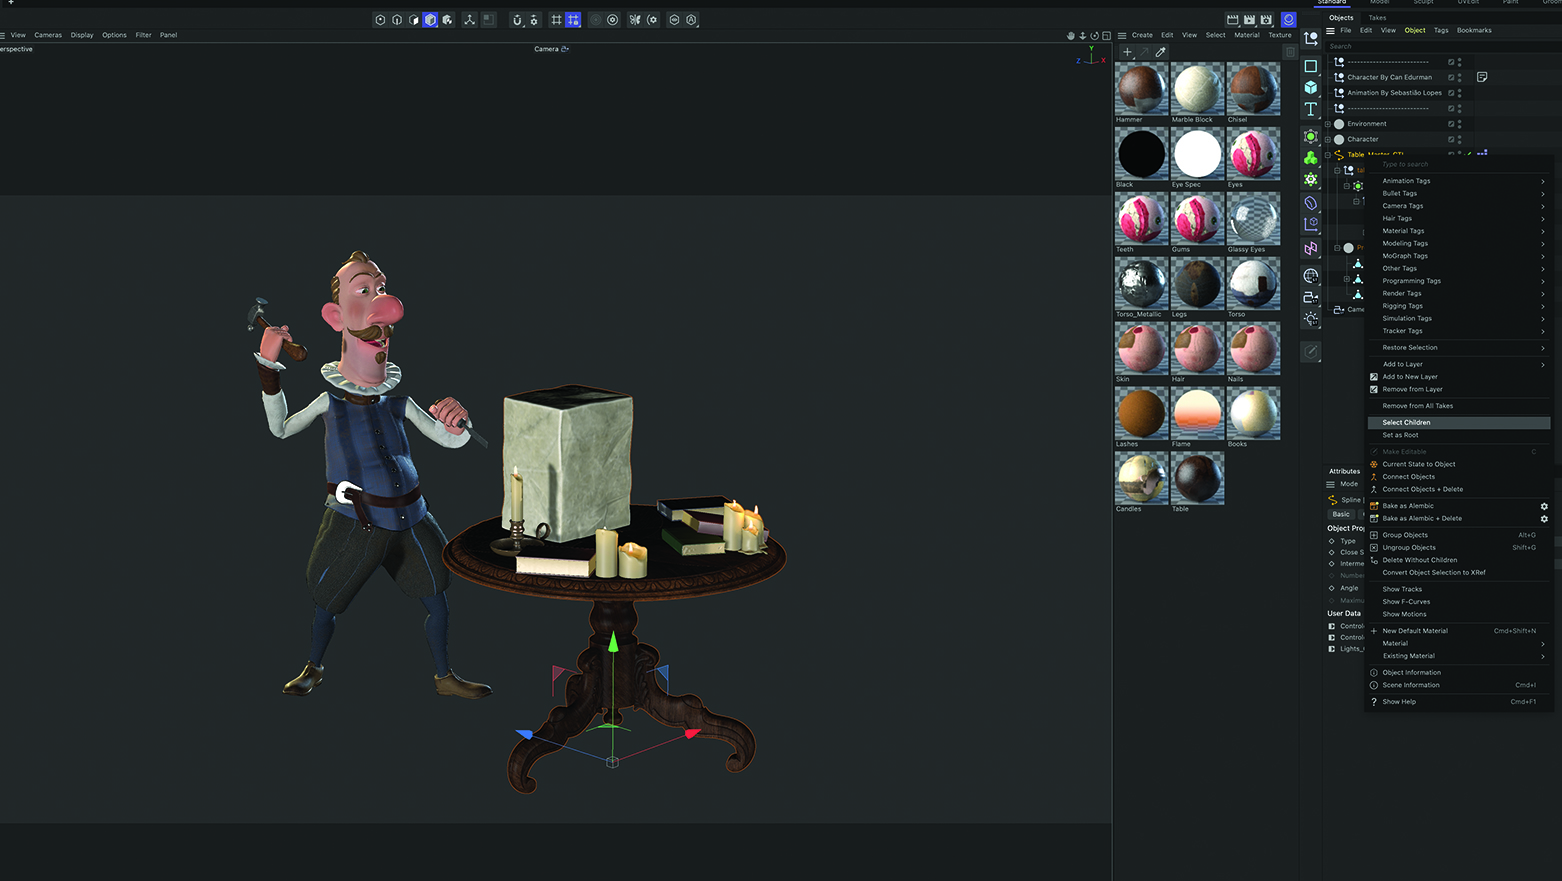
To create the Alembic model of the table, we need to export every element of it. In the Cinema 4D Object Manager, under the Objects tab, select the ‘Table_Master_CTL’ Null, then right-click and choose Select Children to select all of the elements within the group, as otherwise only the Null could be exported with none of the geometry inside of it.
03. Create the Alembic
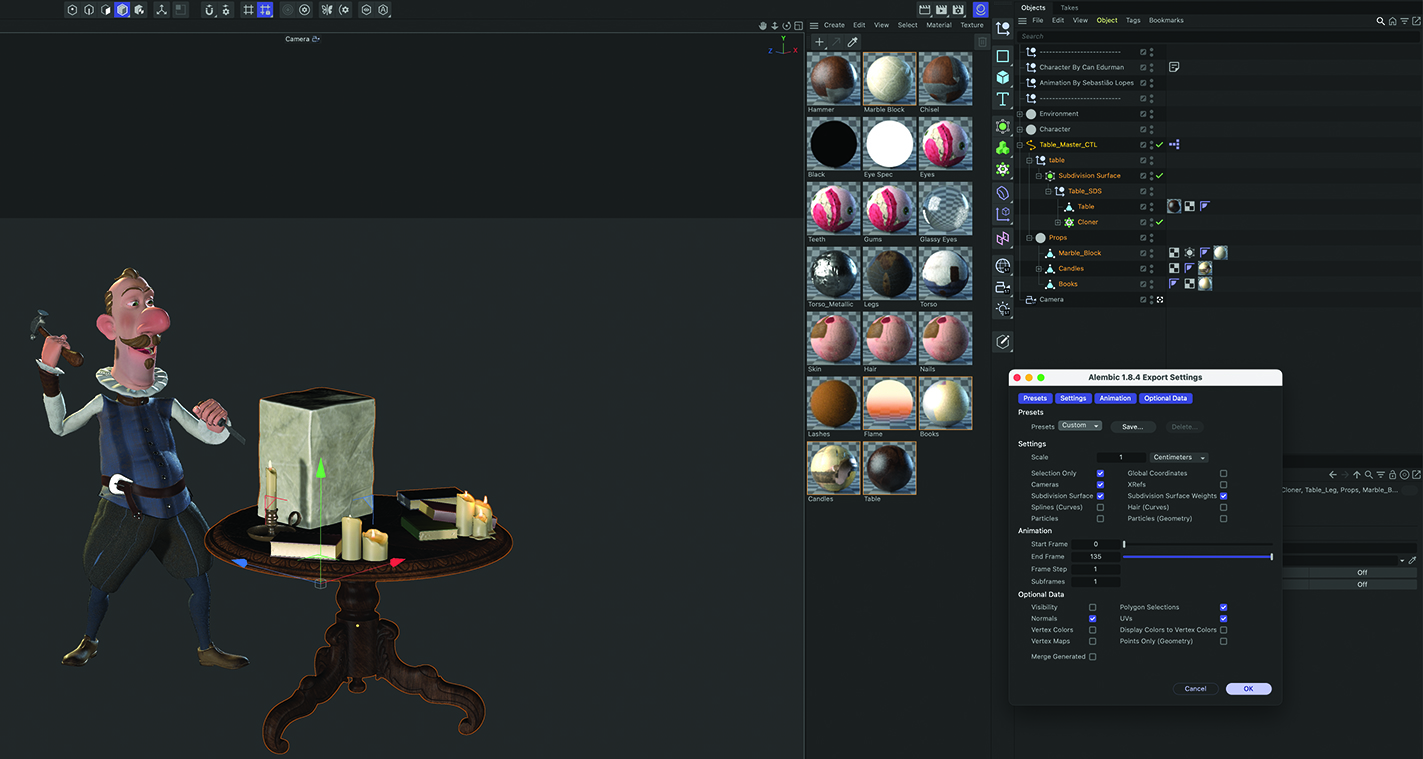
With all the table elements selected, in the Objects tab go to File>’Export Selected Elements as…’>’Alembic (*.abc)’. This will bring up the Alembic export options. Ensure the ‘End Frame’ dialogue is set to the final frame of the animation so the Alembic contains all of the candle flickering information, and then click OK.
4. Import the Alembic File
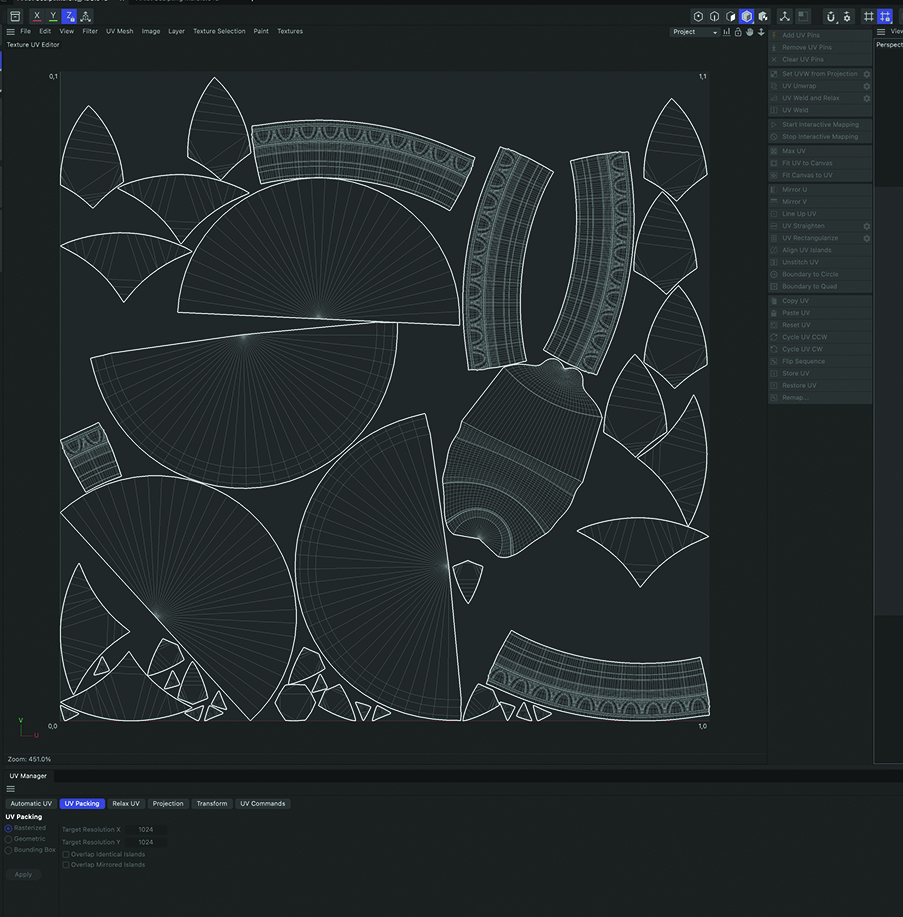
You can import the Alembic using the Merge command for it to occupy the same space as the original table. Version the file and delete the original table geometry to halve the scene’s file size. To add texture, select an appropriate element in the Alembic list, duplicate it and then press ‘C’ to convert the Alembic part into editable geometry. Uncheck the new geometry’s UV tag, place it on top of the Alembic geometry, and apply the texture.
This content originally appeared in 3D World magazine. Subscribe to 3D World at Magazines Direct.

Mike Griggs is a veteran digital content creator and technical writer. For nearly 30 years, Mike has been creating digital artwork, animations and VR elements for multi-national companies and world-class museums. Mike has been a writer for 3D World Magazine and Creative Bloq for over 10 years, where he has shared his passion for demystifying the process of digital content creation.
