How to run a realistic physics simulation in KeyShot
Speed up your CG workflow.
Sign up to Creative Bloq's daily newsletter, which brings you the latest news and inspiration from the worlds of art, design and technology.
You are now subscribed
Your newsletter sign-up was successful
Want to add more newsletters?
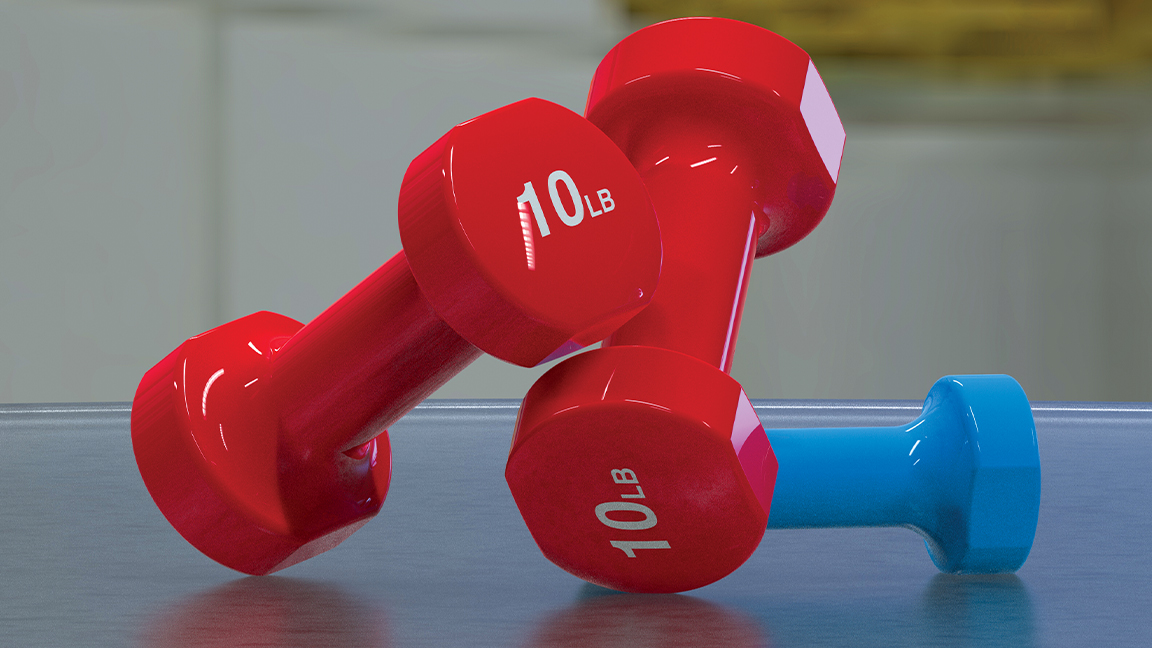
The final location of your simulated objects will depend largely on where, in 3D space, they’re located prior to the simulation taking place. Give some thought to how your objects might interact with each other. You can always re-run simulations if the result isn’t what you’re after, but you can get a better outcome with a bit of thought.
Being able to simulate objects in 3D is an incredibly useful ability. One of the primary benefits is that it provides the ability to animate objects interacting with each other. Something that would have taken ages to keyframe can suddenly be achieved in a matter of minutes. There’s something god-like in the ability to set something in motion and enjoy the simulated results moments later.
The other benefit of physics simulation is the ability to place objects into a scene in a natural way. I first remember seeing 3D visualisers do this when visualising food items on a chopping board. Rather than painstakingly positioning a variety of cut pepper pieces, why not drop them from above the chopping board and see them fall into a natural location? The same is true for fruit in a bowl, books in a pile, or flower petals on a table.
In February 2022, Luxion released KeyShot 11, and for the first time it was possible to perform physics simulations directly inside the visualisation package. This was a significant step forward for KeyShot and its user-base because it suddenly opened up a whole new world of possibilities, especially for product visualisation and animation.
KeyShot’s simulation properties are relatively limited, but they provide enough flexibility for rudimentary animations
Simulating objects in KeyShot follows the same principles as almost all other simulation tools. The process essentially goes like this: all the objects that are selected respond to the gravity setting; these objects fall, and then bang into each other and any other objects in the scene; the objects eventually settle into their final resting positions.
During the simulation, KeyShot generates keyframes that represent the moving objects. The beauty of this process is that after the simulation is complete, you can move to any point within it, as well as adjust keyframes. This makes it possible to fine-tune the movements and positioning of objects, and also retime the animation.
KeyShot’s simulation properties are relatively limited, but they provide enough flexibility for rudimentary animations. It’s also worth keeping in mind that the simulation process often requires a fair amount of trial and error before finding properties that work. This is particularly true for the Friction and Bounciness settings, which significantly impact how the objects interact with each other.
In my short tutorial below I’ll be dropping some weights onto the ground, but in reality you could use this process for any type of simulation. If you're new to renderers, read our KeyShot review and our roundup of the best rendering software available now.
Sign up to Creative Bloq's daily newsletter, which brings you the latest news and inspiration from the worlds of art, design and technology.
1. Preparing your scene
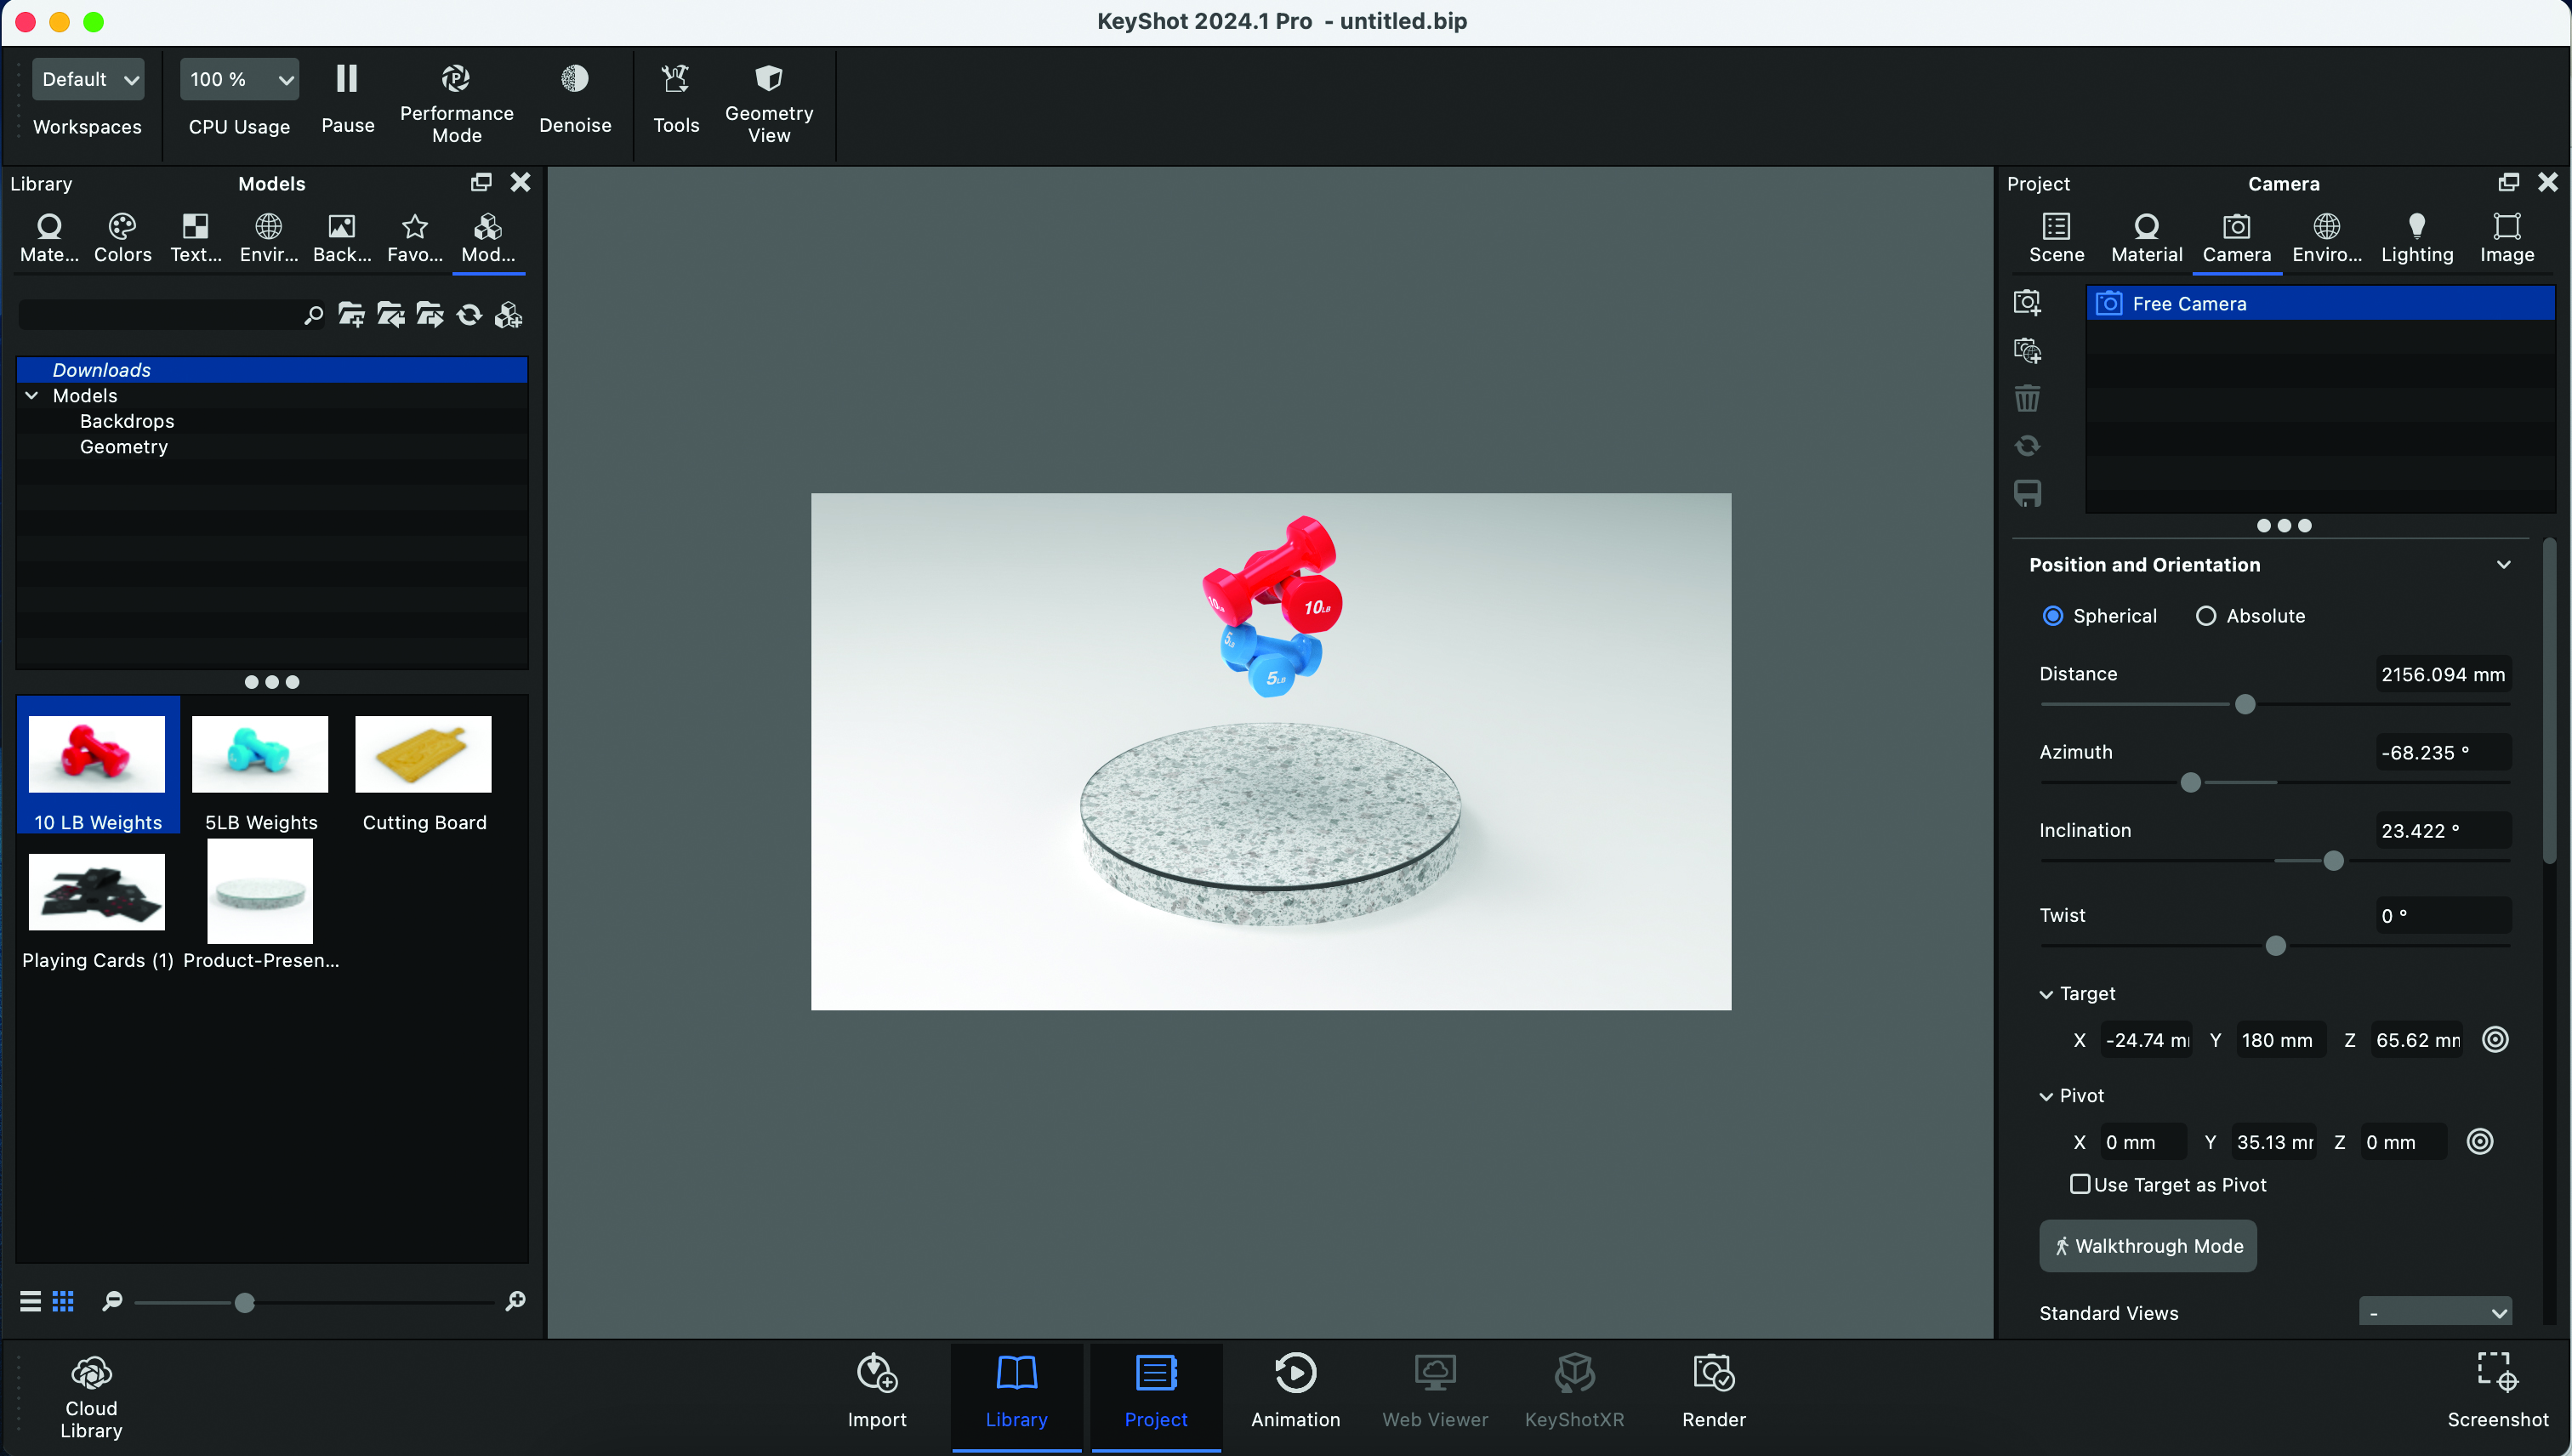
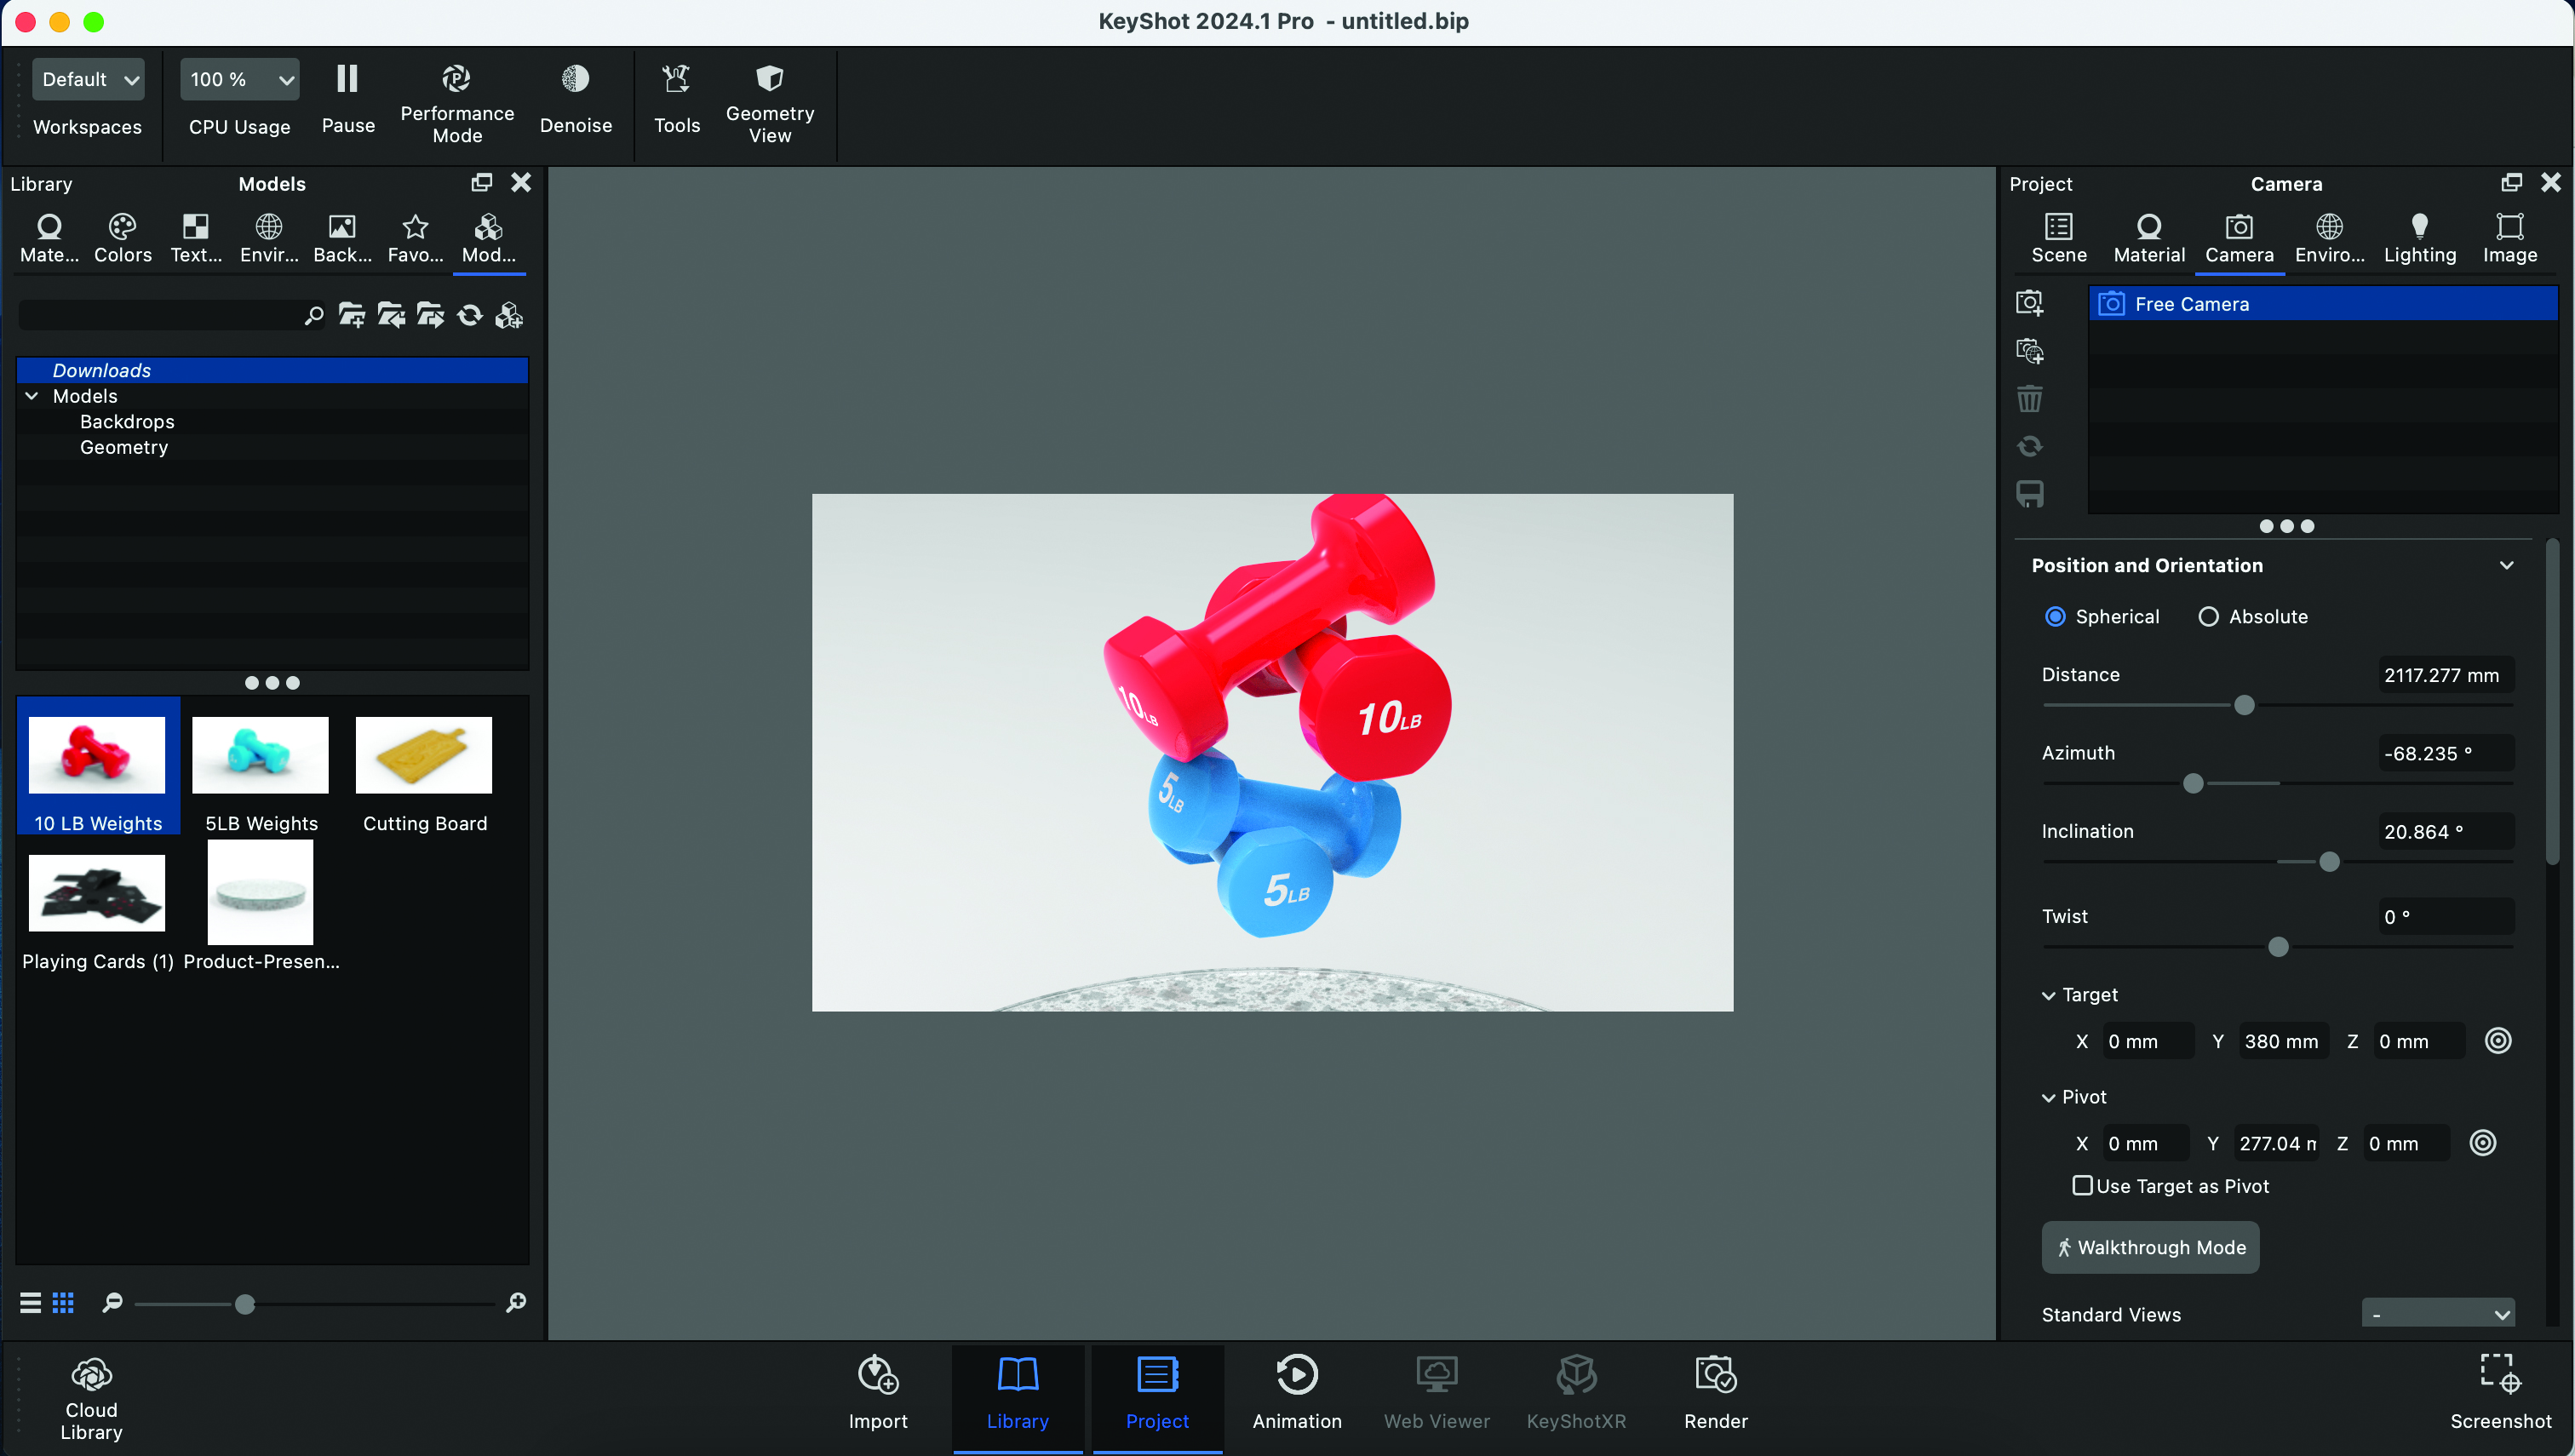
To run a simulation, you need two main types of objects. The first are the objects that are going to respond to gravity in your scene, and the second type are those that won’t. In our example, I’ve downloaded a presentation platform and some weights from KeyShot Cloud. Rather than positioning these weights onto the surface manually, I thought it would be easier to simulate them. The result will often look more natural.
2. Setting up the simulation
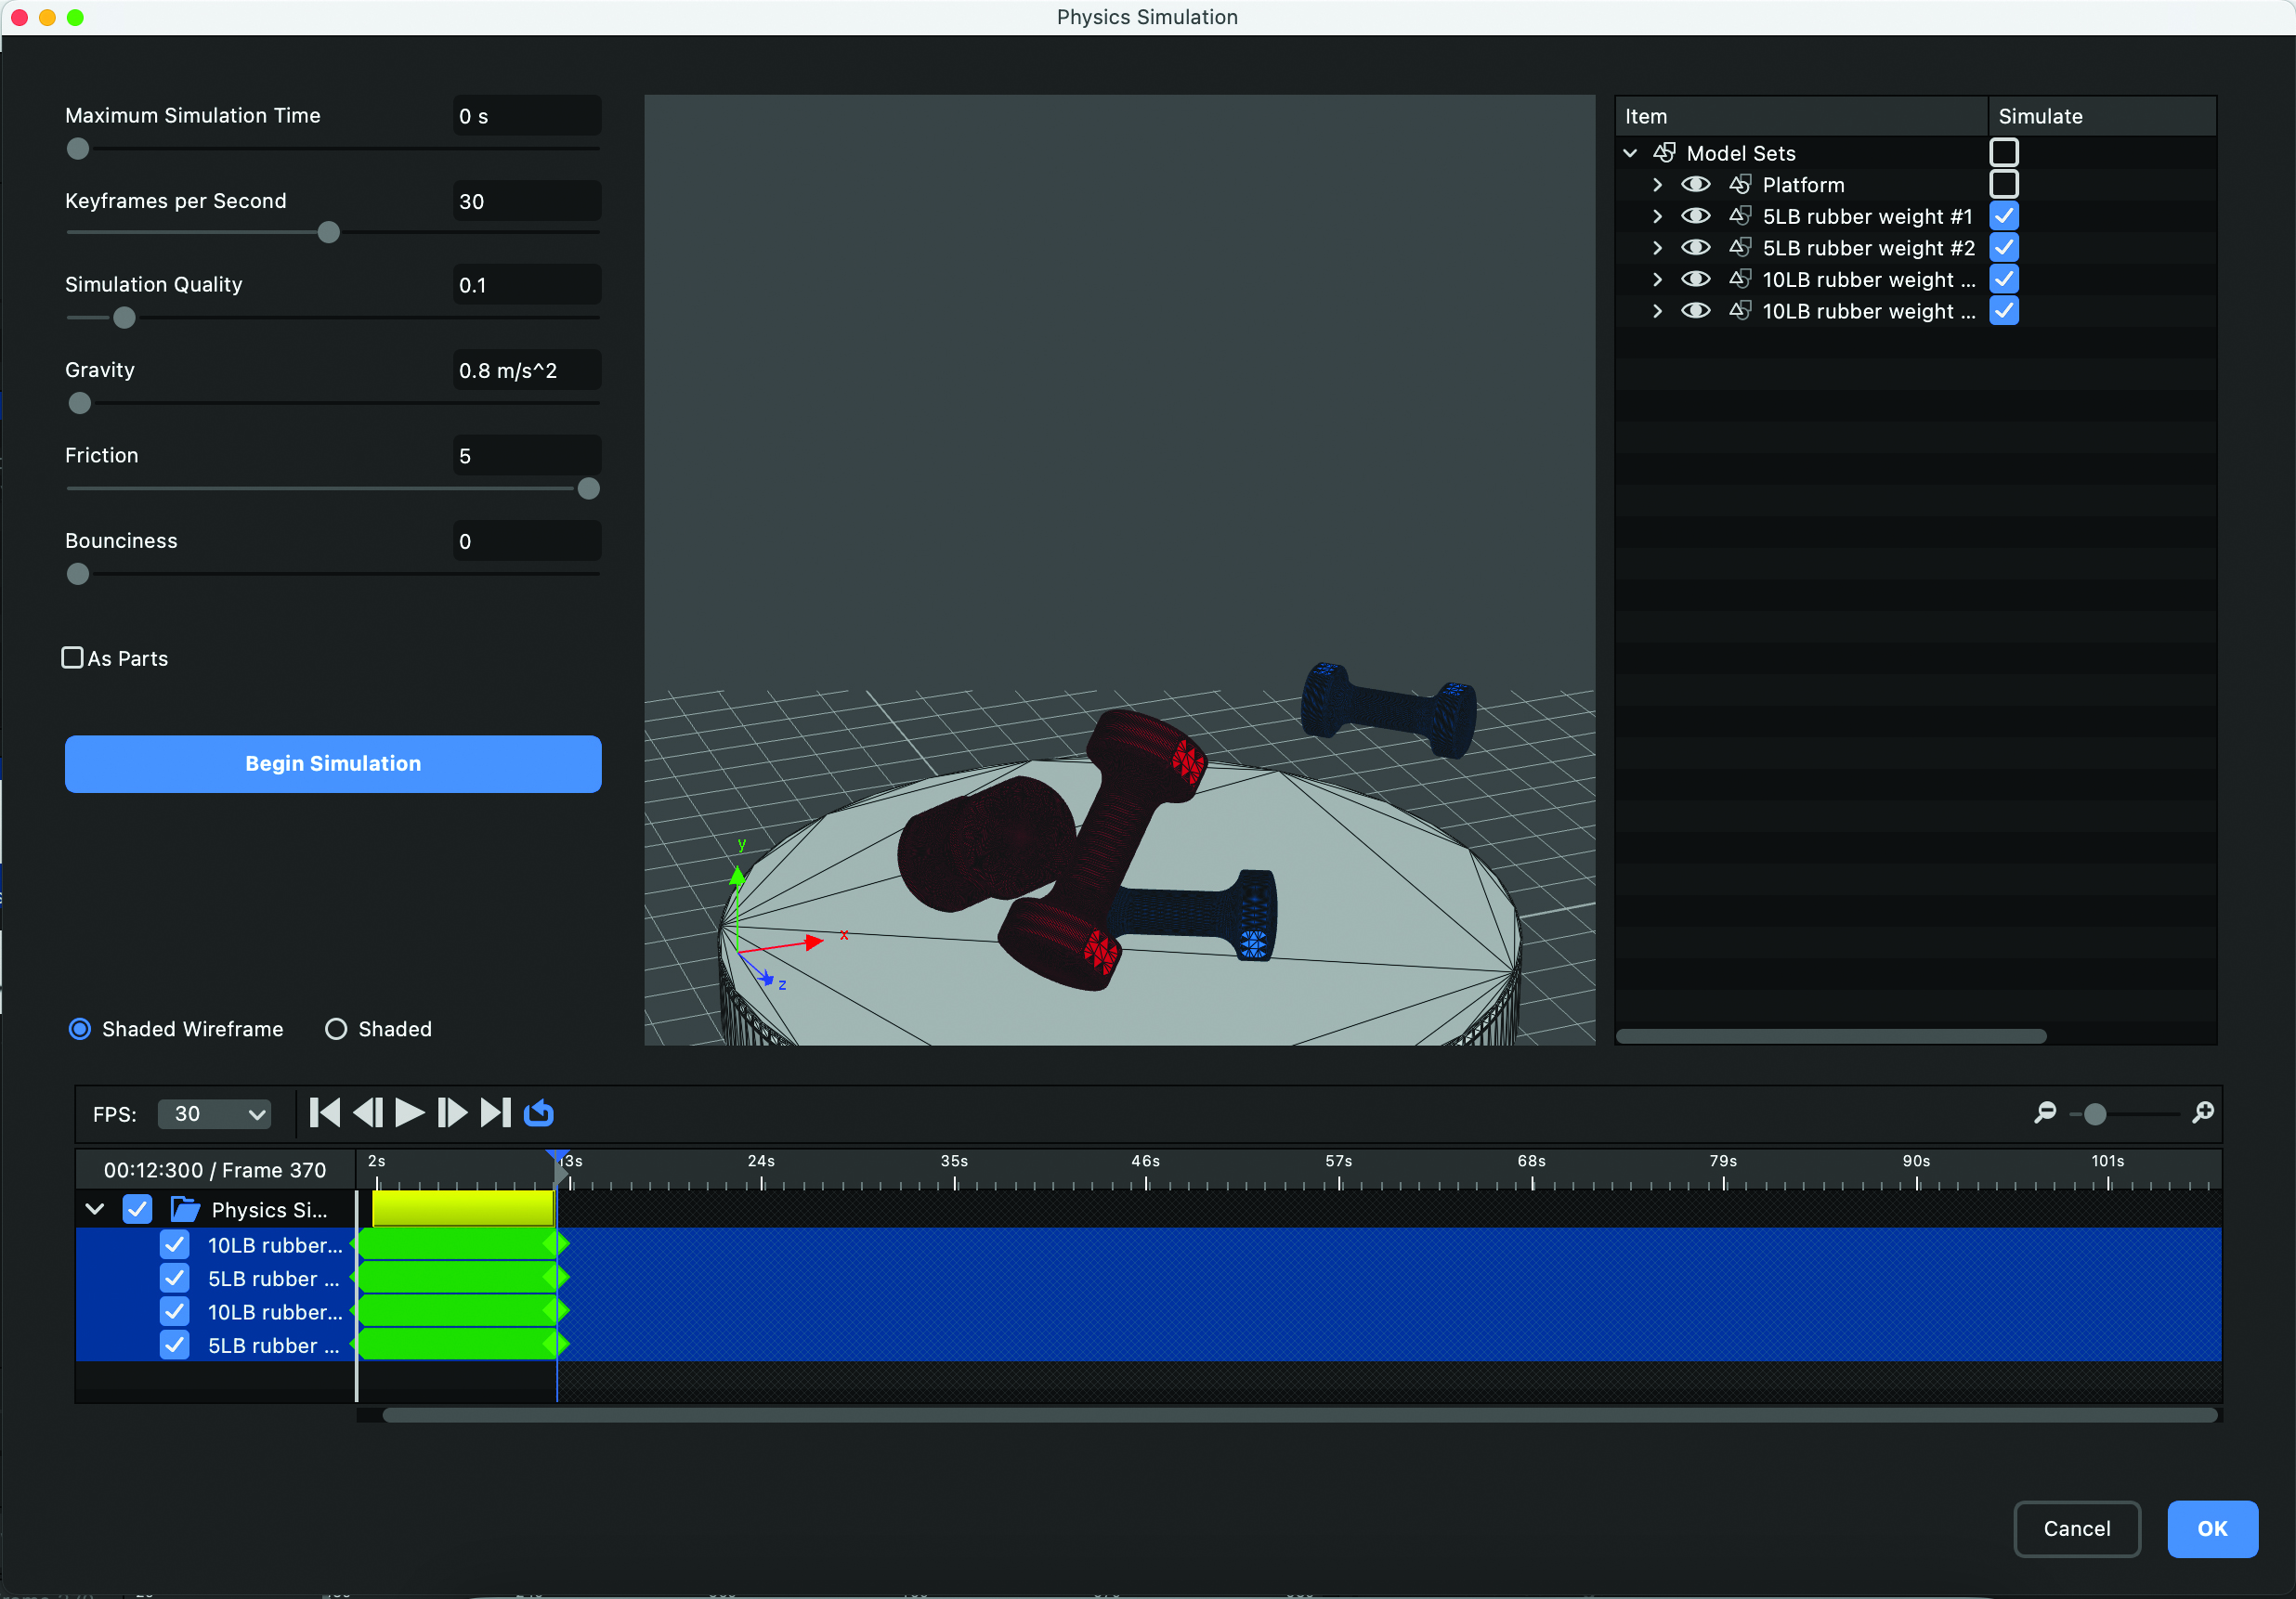
Open the Simulation window by going to Tools> Physics Simulation. On the right-hand side, tick the objects you want gravity applied to, then with the default settings click Begin Simulation. The resulting simulation can be replayed using the playback controls. If you move to the end of the timeline, you’ll see what the end state is and whether the objects have landed in an acceptable way.
3. Deciding the gravity setting
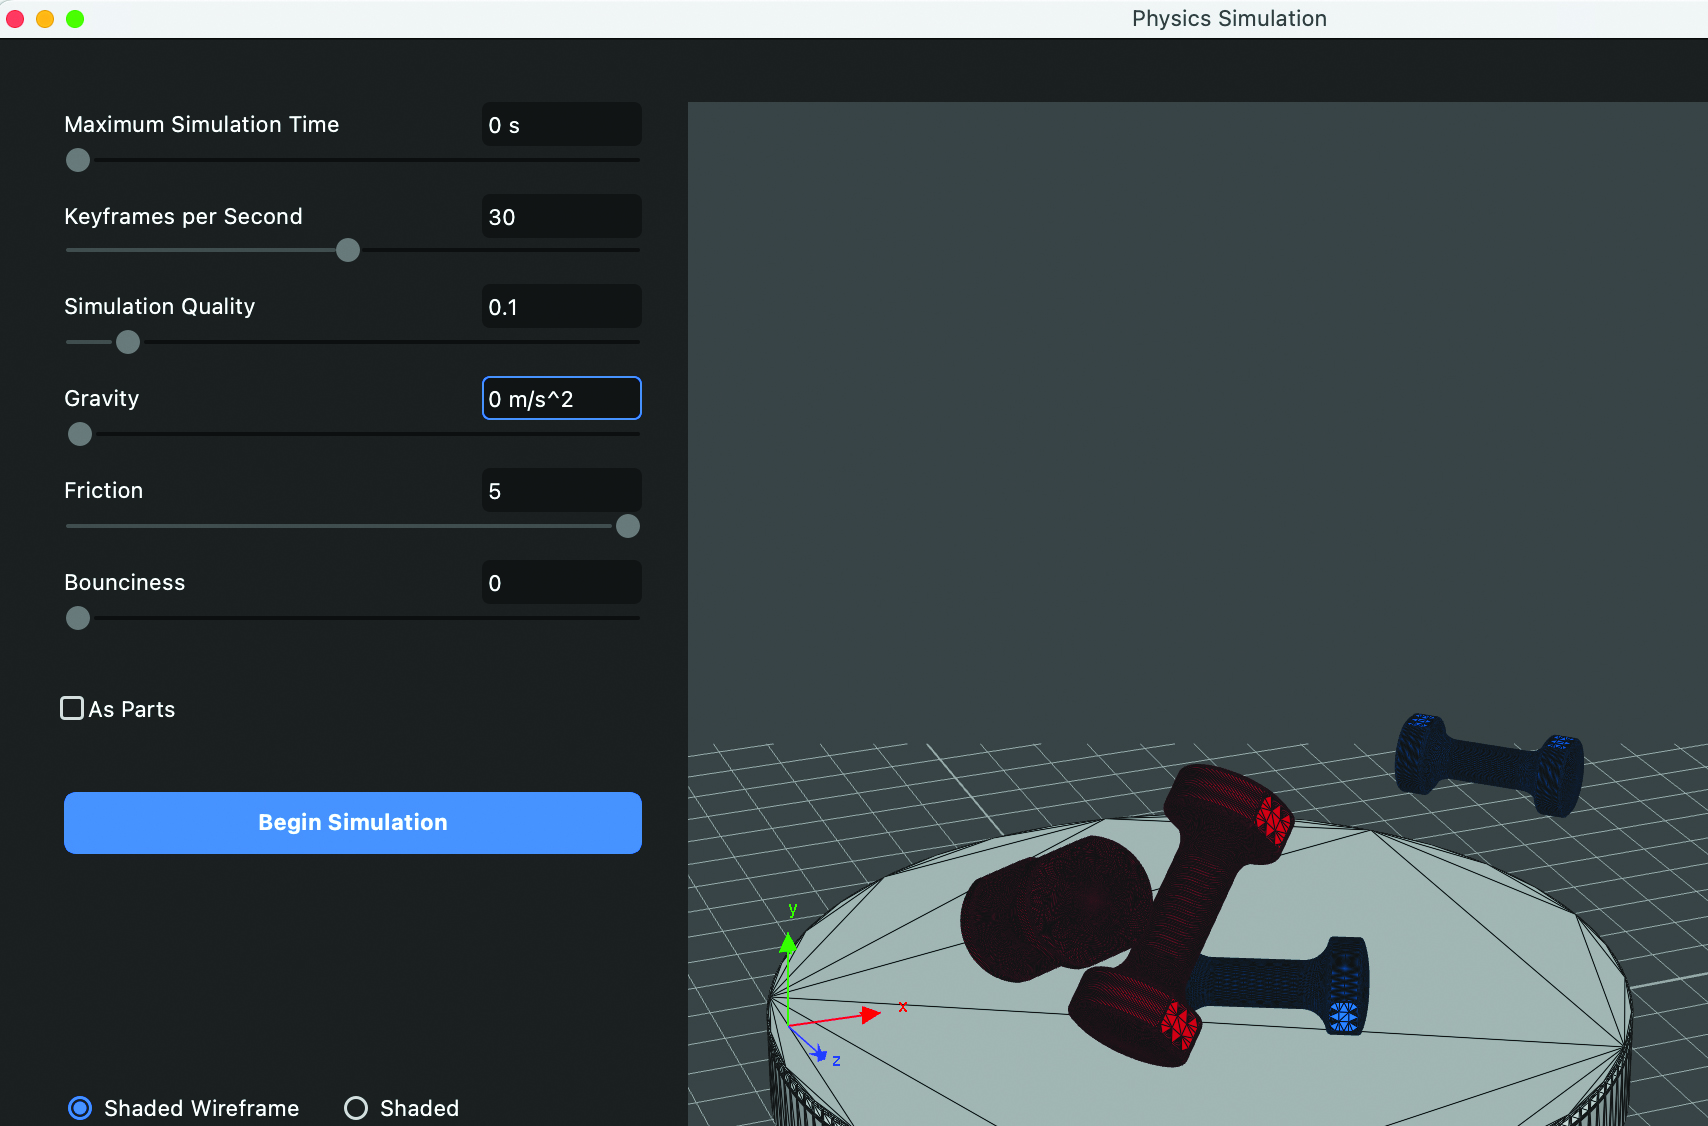
The Gravity field, as you’d expect, dictates how quickly the objects fall and is measured in m/s^2. The higher the number, the quicker the objects will fall. This parameter becomes vitally important if you want to create a video simulation, as it acts as the setting for the speed of motion, or slow-motion if you set it slow enough. If you go for 0 m/s^2 then it also creates a cool space-like simulation without any gravity at all.
4. Setting friction and bounce
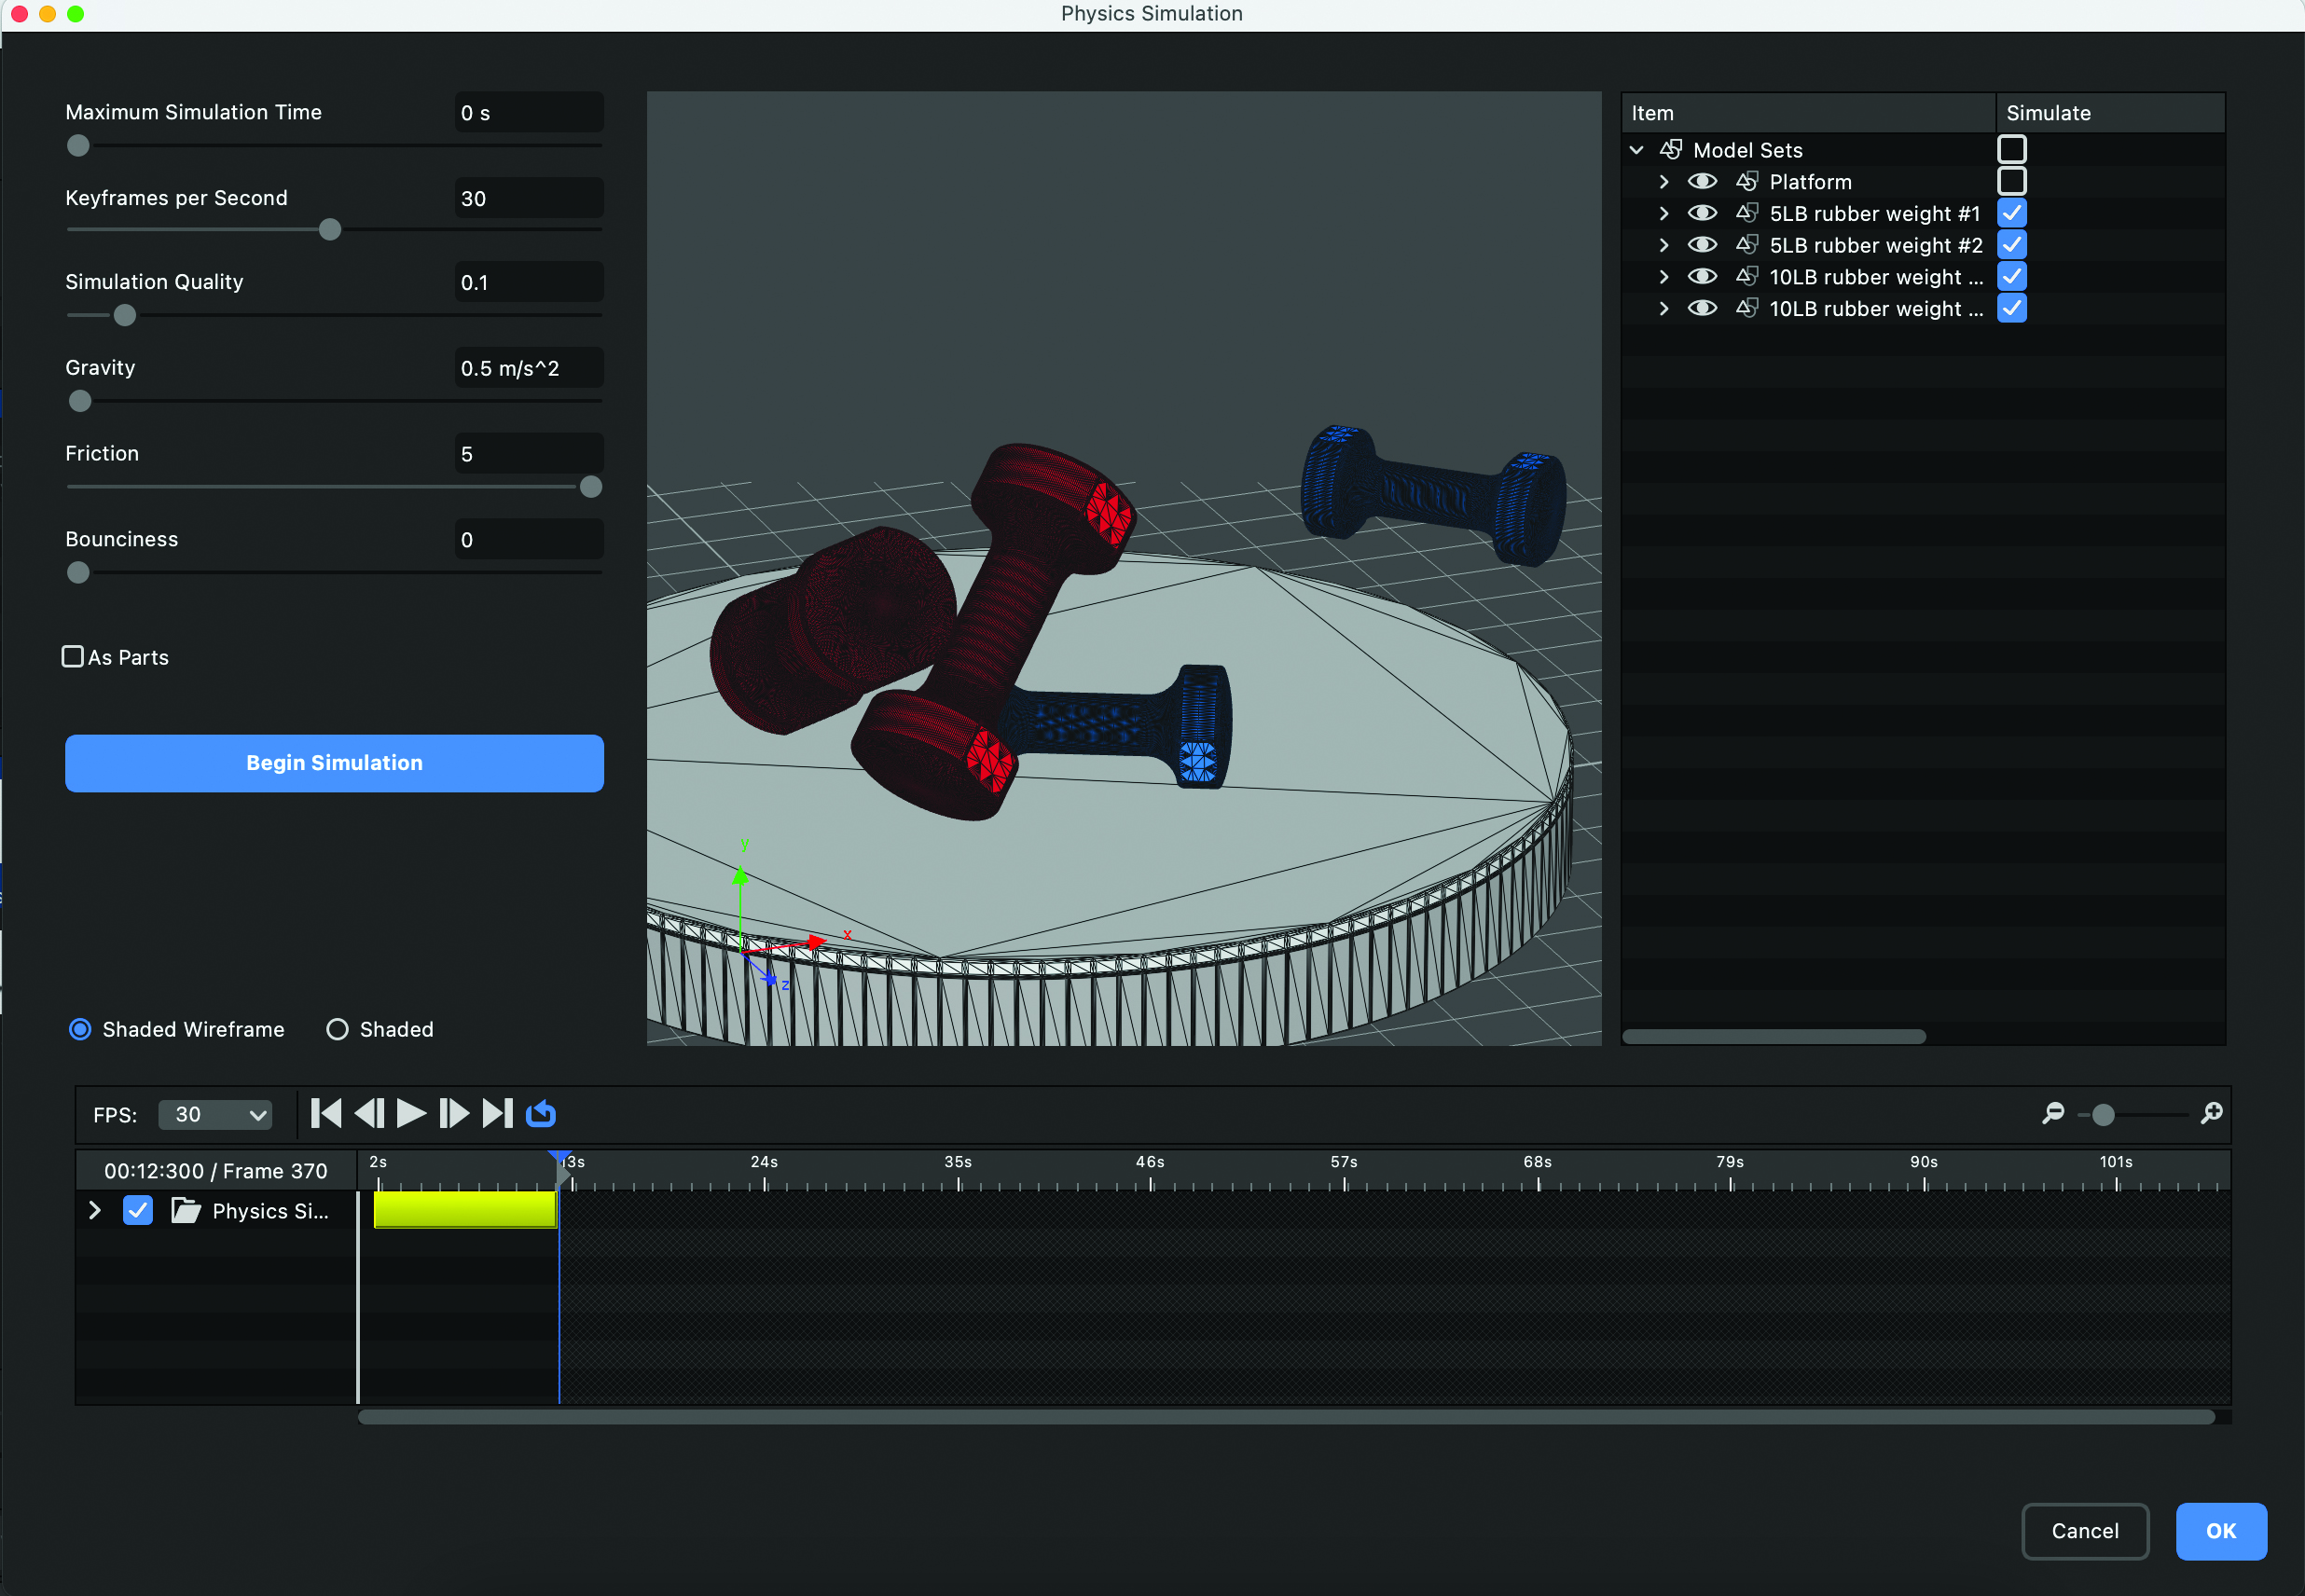
These parameters control how the simulated objects relate to one another. The controls are pretty rudimentary, but in essence the Friction setting will force the objects to stick closer together, whereas the Bounciness will push them apart. The higher the number, the more pronounced the effect will be, so if you’re simulating bouncy balls, then go for a high number on the Bounciness.
This content originally appeared in 3D World magazine. Subscribe to 3D World at Magazines Direct.

Paul is a digital expert. In the 20 years since he graduated with a first-class honours degree in Computer Science, Paul has been actively involved in a variety of different tech and creative industries that make him the go-to guy for reviews, opinion pieces, and featured articles. With a particular love of all things visual, including photography, videography, and 3D visualisation Paul is never far from a camera or other piece of tech that gets his creative juices going. You'll also find his writing in other places, including Creative Bloq, Digital Camera World, and 3D World Magazine.
