How to add realism to CG renders
Digital artist Rob Redman shows how making your CG camera emulate a real-world lens can add realism to every piece you render.

There was a time, not all that long ago, when it was easy to distinguish between work created in-camera and work that was computer-generated. There were a number of reasons for this, including the fact that technology hadn't quite reached a point that enabled artists to present their visions as they would like, or that possibilities existed but were too time consuming.
Those reasons are the logistical, technology-based aspects, though. There is another, more fundamental factor that has now been overcome. It features in almost all good CG, including much of the stylised, non-photorealistic work we see, both on screen and in print.
That would be some good old dirt. What really sells a lot of the 3D work we see now is natural chaos: wear and tear, dust and dirt and all the other minute details that stop everything from looking too crisp and perfect.
Article continues belowTake this a step further, and you can start to produce remarkably realistic and believable art. Start to add those little distortions, dust and scratches to your CG lens. There are many things we can do to make our render lens feel more like its physical counterpart.
Real lenses all have a certain amount of distortion and artefacting, which may or may not increase as light hits at certain angles, producing flares and colour shifting. Then there are the different shapes and blade counts of the iris itself, which all produce different kinds of out-of-focus blurs, highlights and glows (known as bokeh).
To recreate these effects, most of the main 3D applications now have systems in place to control these effects – either as a post effect or during render time. For this example, I will use Maxon's Cinema 4D and its physical renderer, as well as showing a third-party renderer's solution: in this case, Maxwell from Next Limit.
Another factor to keep in mind is scale. Some renderers and their associated effects (in particular lighting) rely on a real-world scale to produce predictable and consistent results. So next time you're modelling a photo studio and some objects to 'photograph', model them at their correct size, and you will find it much easier to light and render.
Sign up to Creative Bloq's daily newsletter, which brings you the latest news and inspiration from the worlds of art, design and technology.
01. Load a scene
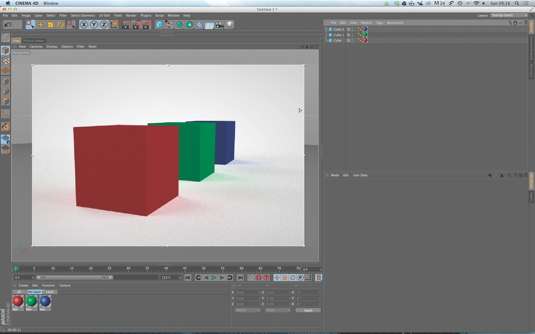
To demonstrate this I'm using a simple scene. I've used an HDR skydome to light three cubes on an infinite floor, and have also turned on real-time preview rendering, to make it easier to see changes I make on the fly.
Doing this can make the viewport slower as it refreshes, but will save time making test renders. You'll end up using this feature less as you get used to working with cameras and become accustomed to how the changes you make effect the end result.
02. Set up a basic camera
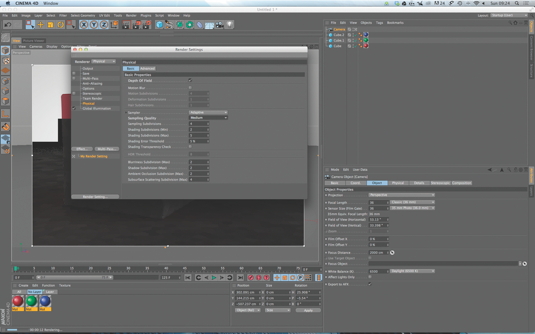
Add a camera to the scene. Make sure your renderer is set to Physical and the depth of field is turned on. In your software's attributes manager, you can then set the camera's base settings, such as field of view and focal length.
Don't worry if your preview render goes all blurry, we'll fix that next; for now, just get the view set up to frame your objects and get things prepped. Notice the Projection menu. You can use different methods such as isometric if needed.
03. Targeting
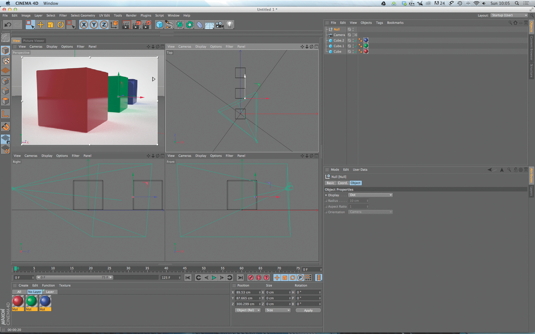
Most 3D software allows you to target a camera to an object, which can be helpful – but don't target the model you want to be in focus. The target looks for the object's axis and you may not want this, or may not want to change the axis.
Instead, add a null to the scene and target that, making it easy to fix your focus anywhere in the scene. You can also add a target tag so your camera will stay pointed at the null as you move it, handy when animating with shallow depth of field
04. Depth of field

Now it's time to decide on your camera settings. In our example, I've set up a shallow depth of field. This is based on an f/stop or aperture of f/1, which is extreme for a physical camera lens.
A good-quality lens with the capability to focus that narrowly could cost many thousands of pounds – but in 3D, we can push even further and stop down to decimal places. Note that small numbers mean less is in focus, while higher numbers mean more is sharp.
05. Chromatic aberration
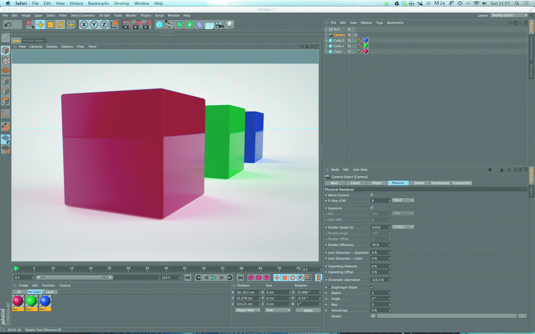
This effect is another feature of real-world lenses that 3D software allows us to replicate. This is a phenomenon where the various glass elements of the lens slightly shift the colours. This creates a subtle effect that helps to lift the end render.
There are plug-ins for After Effects and Photoshop that enable you to add the effect, but you can easily do it here by simply increasing the value.
06. Lens distortion
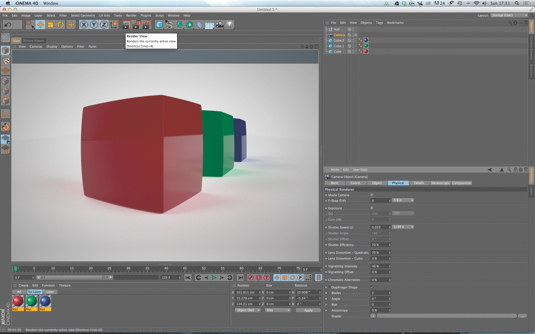
There are other lens attributes you can replicate, such as diffusion, dust or finger prints on the glass, and distortion: Cinema 4D has two kinds: quadratic and cubic.
The effect is best thought of as being caused by the glass elements being particularly curved and warping the image. I've also added some vignetting here, which is something you often see in photos taken with wide-angle lenses.
Expert tip: Depth pass
It's possible to add a lot of lens effects after your render is done. But to get the best results, render out a depth or z-depth pass, which will help you map blurs in your compositor of choice.
Words: Rob Redman
Rob Redman is former technical editor of 3D World, and is a digital artist and designer with over a decade’s experience in the CG industry. This article originally appeared in 3D World issue 182.

The Creative Bloq team is made up of a group of art and design enthusiasts, and has changed and evolved since Creative Bloq began back in 2012. The current website team consists of eight full-time members of staff: Editor Georgia Coggan, Deputy Editor Rosie Hilder, Ecommerce Editor Beren Neale, Senior News Editor Daniel Piper, Editor, Digital Art and 3D Ian Dean, Tech Reviews Editor Erlingur Einarsson, Ecommerce Writer Beth Nicholls and Staff Writer Natalie Fear, as well as a roster of freelancers from around the world. The ImagineFX magazine team also pitch in, ensuring that content from leading digital art publication ImagineFX is represented on Creative Bloq.
