The golden rule of comics - and when to break it
Thinking outside of the box: comic book artist PJ Holden explains why one rule of the form is made to be broken.
Manga Studio's panel frame tools are a super-quick way to create fast, easy frame panels or, if you're more used to the naming conventions of UK/US comics, comic panels.
These tools are especially useful when you want to stick to tried and trusted comic book layouts, and can help create brilliantly readable comics. That doesn't mean that you’ll be limited to self-contained panel formats.
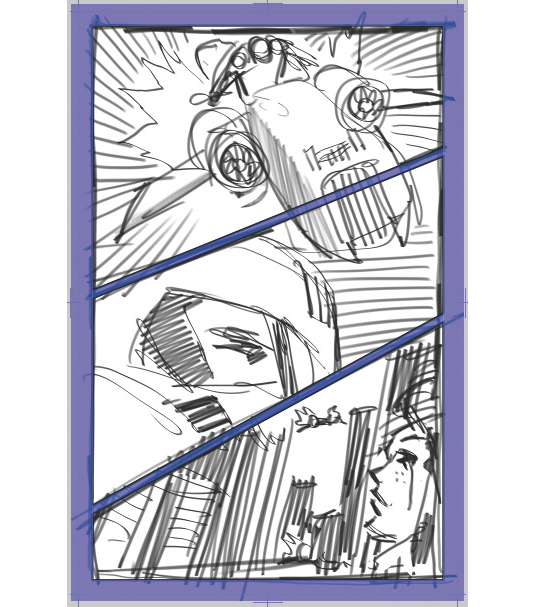
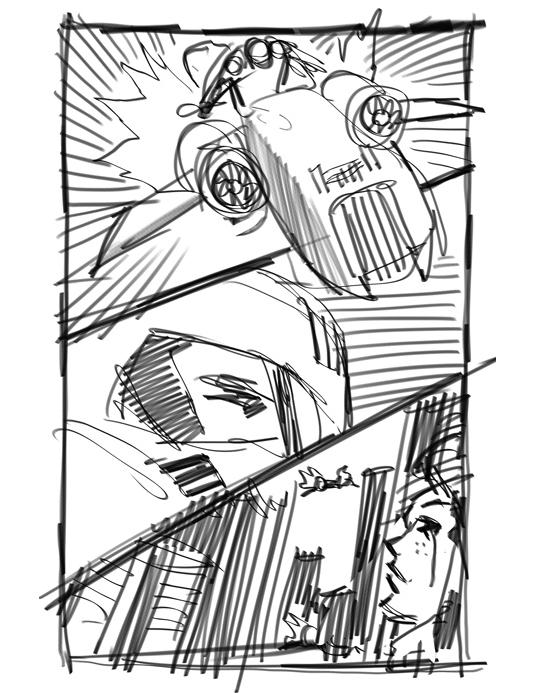
Sometimes action is called for, and a comic character can't be contained by a comic frame. In those instances we need to help our characters break away from their constraints. For this article, we're going to assume you've either pencilled – or at least roughed out – a page, and that you have at least one element that just wants to explode out of the frame.
Article continues below01. Define the panel frame

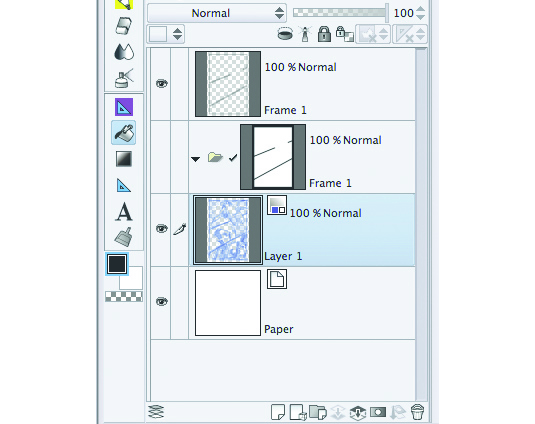
Create a new Panel Frame Layer using Layer>New Frame Layer. This will create a special folder, which is masked off to show only the panels you've created.
The mask applies to any layers within this folder – so make sure you've moved any pencils and inks into this folder. It will also add a border along those masked-off areas. You can specify the width of these borders yourself.
02. Slice and render

Using the Divide Frame Border tool, you can then slice up the larger frame into smaller panels as you see fit. Holding Shift while using the tool locks the slicing to the vertical, horizontal and 45-degree steps.
You can also set the height and width of this slice in the tool’s properties. Take your time, and once you've got a layout that you're happy with, you can rasterise it using Layer>Rasterize.
Sign up to Creative Bloq's daily newsletter, which brings you the latest news and inspiration from the worlds of art, design and technology.
03. Cut out and keep

Once rasterised, your frame folder will be replaced by a plain folder, but it'll have a mask where the panels were, and above it a layer with the borders drawn on to it. Selecting the mask on the folder layer, you can now draw on the mask to reveal more of the layers contained within the folder.
04. Edit

You can edit at this point, too – in the panel border layer you can erase the parts of the border that you no longer need or want.
Notes on masks

Manga Studio's masks uses the opacity level of the colour to decide what should be shown on the layer (where Photoshop would use black and white for the same effect). This means you need to draw 100 per cent transparent ink on the mask to indicate artwork to be hidden, and any other colour for artwork to be revealed.
Using various levels of opacity (with any colour) you can create subtle masks – assuming, of course, that your layer Expression is set to either Grey or Colour.
Words: PJ Holden
PJ Holden has been a professional comic artist for over a decade, drawing predominantly for 2000 AD on Judge Dredd, Rogue Trooper and more. This article originally appeared in ImagineFX issue 103.

The Creative Bloq team is made up of a group of art and design enthusiasts, and has changed and evolved since Creative Bloq began back in 2012. The current website team consists of eight full-time members of staff: Editor Georgia Coggan, Deputy Editor Rosie Hilder, Ecommerce Editor Beren Neale, Senior News Editor Daniel Piper, Editor, Digital Art and 3D Ian Dean, Tech Reviews Editor Erlingur Einarsson, Ecommerce Writer Beth Nicholls and Staff Writer Natalie Fear, as well as a roster of freelancers from around the world. The ImagineFX magazine team also pitch in, ensuring that content from leading digital art publication ImagineFX is represented on Creative Bloq.
