Add another dimension
It’s relatively easy to spice up your photos in Photoshop. But how about taking it one step further? The key to success is to fix your colours and enhance them. That way you’ll be sure to achieve eye-catching results
Sign up to Creative Bloq's daily newsletter, which brings you the latest news and inspiration from the worlds of art, design and technology.
You are now subscribed
Your newsletter sign-up was successful
Want to add more newsletters?
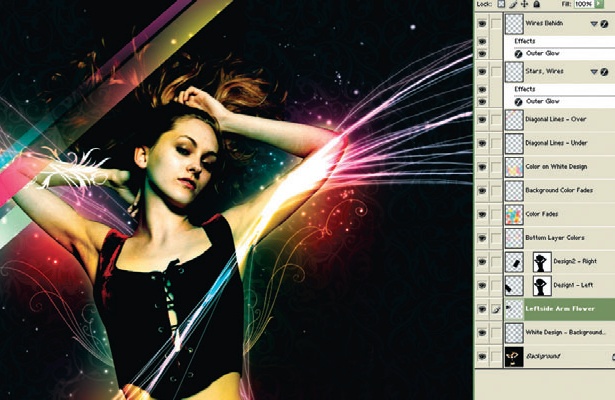
15 Open Flowers1.tif from the support files and then Copy and Paste it into the main image. Set the Blending mode to Screen and place it on the left-hand side, near her right arm, as shown.
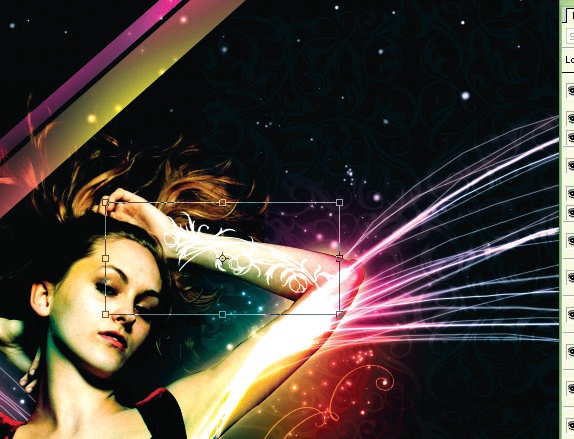
16 Duplicate that Layer. Next, choose Edit>Transform>FlipHorizontal and then Edit>Transform>Scale and make it a little smaller, ensuring that you keep it in proportion. Place this alongside her other arm.
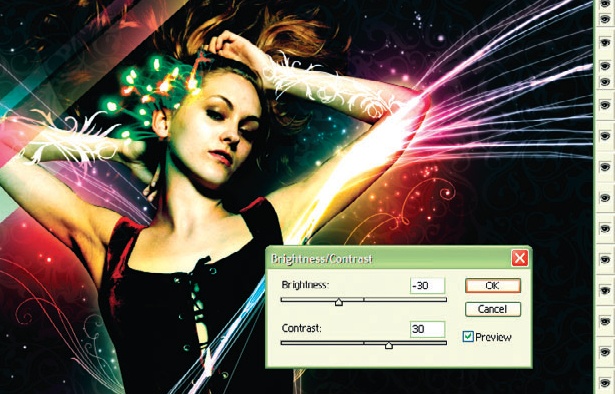
17 Open Fireworks.tif from the support files and Copy and Paste it into the main image. Set the Blending mode to Lighten, the Brightness to -30 and the Contrast to +30. Position the fireworks near her ear.
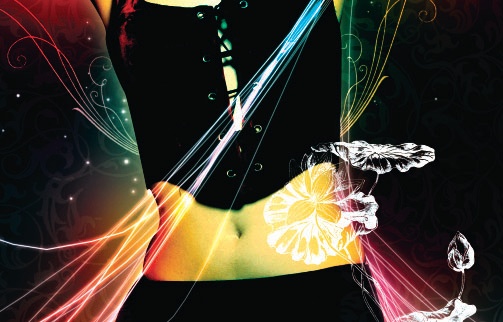
18 Now open Flowers2.tif and again, Copy and Paste into the main image. Set the Blending mode to Screen. Move these flowers to the bottom-middle area near the girl’s hip so that the stems follow the curve of her body.
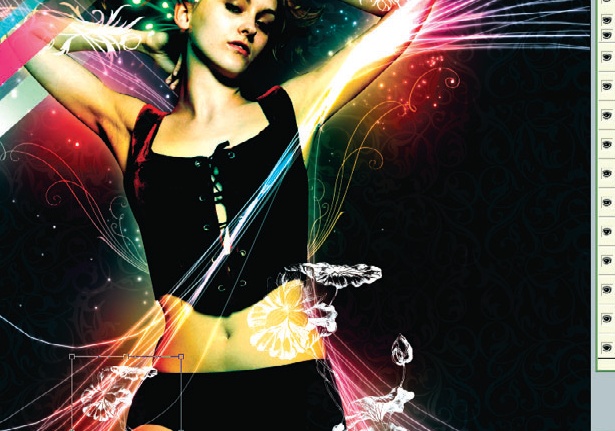
19 Duplicate this Layer. Choose Edit> Transform>Flip Horizontal and then Edit>Transform>Scale and make the new layer about one-third the size of the first. To balance the composition, place this on the left-hand side, next to her other hip.

20 Go back to the “Stars, Wires” layer, right-click on it and select Copy Layer Style. Create a new layer named “Beauty”. Right-click this new Layer and choose Paste Layer Style. Now, using the default soft-edge Brush tool at size 10, write the word “Beauty”.
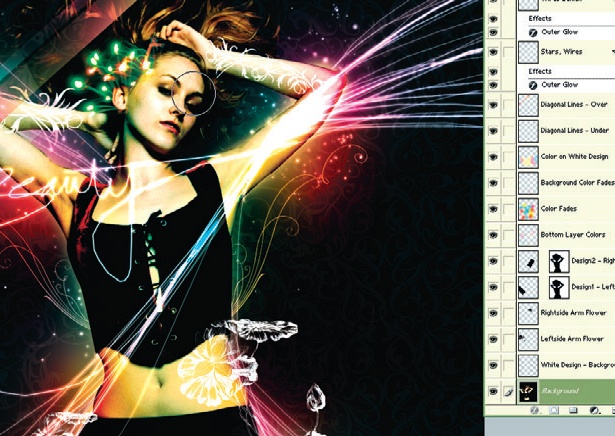
21 On the main Layer, the original photo, use the Burn tool on the Shadows at 100 per cent and go over the girl’s face once with a size 100 soft-edge Brush. This adds great shadow and definition to her face.
Sign up to Creative Bloq's daily newsletter, which brings you the latest news and inspiration from the worlds of art, design and technology.
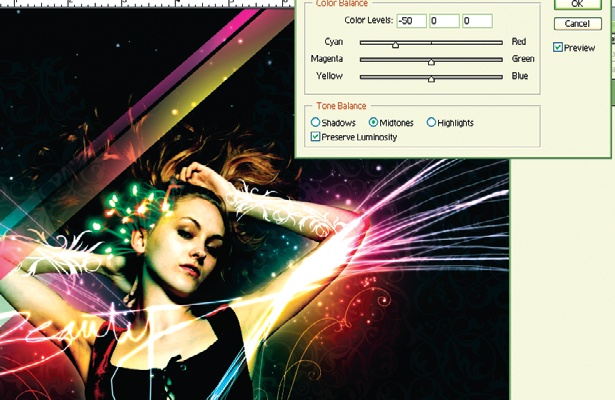
22 Finally, flatten the image so that you have just one Layer and go to Image> Adjustments>ColorBalance. Set Cyan to -50 to remove the hot colours and give it a crisper feel. You can now adjust any of the other colours until you reach your desired hues.

The Creative Bloq team is made up of a group of art and design enthusiasts, and has changed and evolved since Creative Bloq began back in 2012. The current website team consists of eight full-time members of staff: Editor Georgia Coggan, Deputy Editor Rosie Hilder, Ecommerce Editor Beren Neale, Senior News Editor Daniel Piper, Editor, Digital Art and 3D Ian Dean, Tech Reviews Editor Erlingur Einarsson, Ecommerce Writer Beth Nicholls and Staff Writer Natalie Fear, as well as a roster of freelancers from around the world. The ImagineFX magazine team also pitch in, ensuring that content from leading digital art publication ImagineFX is represented on Creative Bloq.
