Create a realistic off-road scene
Not all cars drive on tarmac. Mike Griggs demonstrates how to create a realistically rough terrain for rallying.
Tasks that not so long ago would have taken a long time to learn are becoming much easier to administer with a single click or a dedicated plug-in as 3D software becomes more advanced. One of these is moving a car along a predefined surface geometry.
Most of the time this will be a simple, smooth road, which can be done with traditional animation or using particle systems. Custom rigs are now available for most 3D apps that enable you to place your own or stock vehicle models and then add working suspension, contact with the ground, speed, direction – and even collision deformation, should you wish to add damage to your car. However, having access to these rigs does mean that you can potentially lose the character of your vehicle and its environment. A lot of rigs deal primarily with the car and its placement on tarmac – but what if the car is driving through wet mud, desert sand or even on the surface of the moon? Understanding what impact different types of terrain can have on the passage of a vehicle will improve your CG skills immensely. You should also take into account the impressions the car could make on the terrain; tyre tracks are an obvious one, but there could also be dust and disturbed vegetation.
Some packages now come with deformers that enable geometry to be modified interactively by another object. This can also be achieved with animated bump, normal and displacement maps. Flying debris should also be considered when creating your scene. This should be straightforward if your software comes with a physics simulator, but if not you can create looping animations of dust and stones flying into the air as the car drives over them.
No rally car ever looks as pristine at the end of a stage as it did at the beginning. Using occlusion maps can really help to give your vehicle a weathered look, alongside hand-painting your textures and adding scratches to the paintwork as you advance through the scene.
Using these techniques will help give your vehicles character, and a lot of the skills you learn will be applicable to other types of work – plus it’s a lot of fun!
Download the supporting files here.
Make a rough track
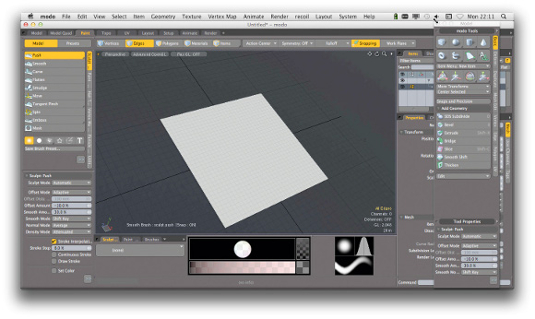
01 Create the base terrain
Make a simple plane, subdivide it a couple of times then convert it into a subdivision surface for sculpting into a rally track.
Daily design news, reviews, how-tos and more, as picked by the editors.
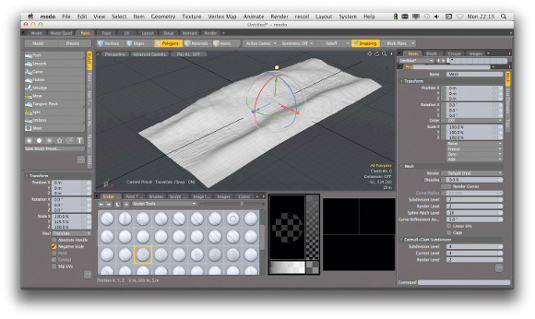
02 Sculpt in details
Use a Push tool to create a series of bumps in the surface and sculpt in some detail. Then add some noise displacement for extra texture.
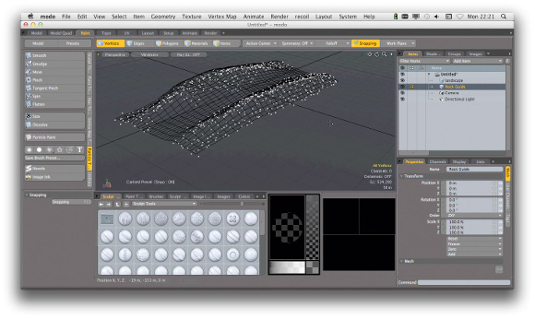
03 Add the rocks
Using a duplicate of your landscape, reduce it to its constituent points. Now jitter the points and use them as a cloner source for your rocks.
Artist tips: four ways to make your car more credible
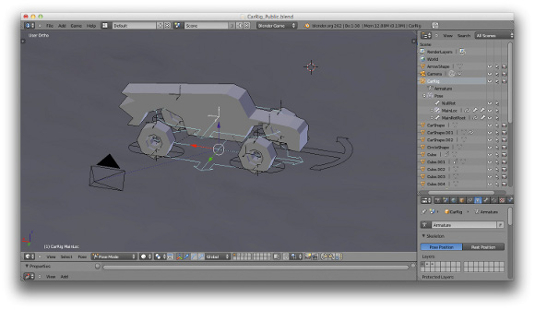
01 Custom car rigs
Most of the common apps have car rigs that enable you to add geometry to animate them. These can range from simple rigs, which just animate direction and wheel turning, to highly realistic plug-ins that can handle suspension and collision deformation. These more elaborate rigs do have a corresponding price, so the free, open-source 3D app Blender is a good place to start if funds are tight.
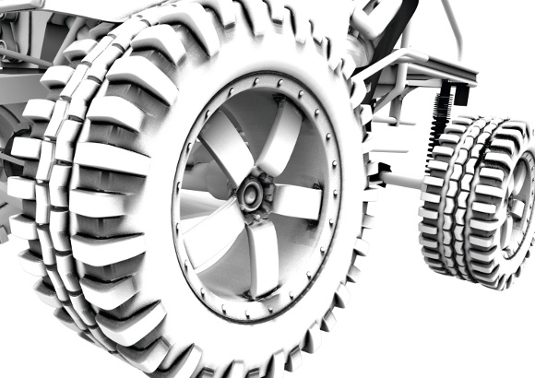
02 Create wear with occlusion maps
Occlusion maps are a good way to weather your car. An occlusion texture can be created by baking an ambient occlusion map then adding dirt in Photoshop. This is brought back into your 3D program as a mask for your texture. Alternatively, you can create cavity maps in programs such as ZBrush or xNormal. Some apps, such as modo, have a special texture to create modifiable occlusion layers.
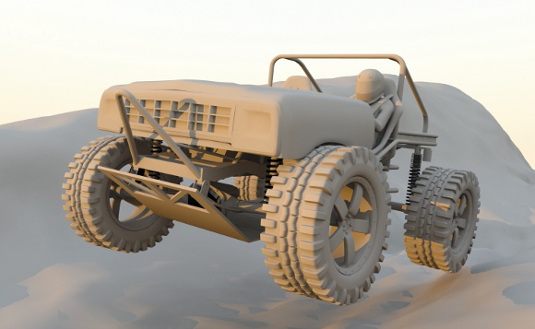
03 Light using the golden hour
Lighting your car scene can go a long way to help your image. In car commercials (and Michael Bay films), the vehicles look amazing because they’re being shot in the golden hour, the soft light as the sun rises or sets. Apps with time and geography systems, which enable you to dial in the sunlight and control shadow direction and ambient daylight colour, are now entering the market.
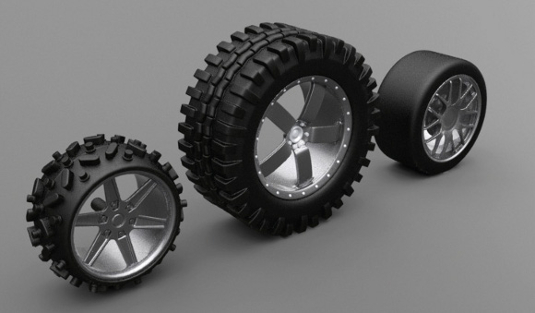
04 Differences in tyres
Tyre pressures can change radically according to the type of terrain a car is on – snow requires less, tarmac requires more. The profile of the tyre can depict this pressure in different ways: a monster truck’s tyre will show the deformation of low tyre pressure much more than a rally car, for instance. Bigger, chunkier tyres will also throw up a lot more debris than more conventional rubber treads.
Mike Griggs is a concept designer working across 3D, motion graphics and VFX. He’s based in Sussex, UK

The Creative Bloq team is made up of a group of art and design enthusiasts, and has changed and evolved since Creative Bloq began back in 2012. The current website team consists of eight full-time members of staff: Editor Georgia Coggan, Deputy Editor Rosie Hilder, Ecommerce Editor Beren Neale, Senior News Editor Daniel Piper, Editor, Digital Art and 3D Ian Dean, Tech Reviews Editor Erlingur Einarsson, Ecommerce Writer Beth Nicholls and Staff Writer Natalie Fear, as well as a roster of freelancers from around the world. The ImagineFX magazine team also pitch in, ensuring that content from leading digital art publication ImagineFX is represented on Creative Bloq.
