3 top tips for mastering facial shadows
Artist Daniela Uhlig runs through correct shadow placement to give your character a 3D appearance.

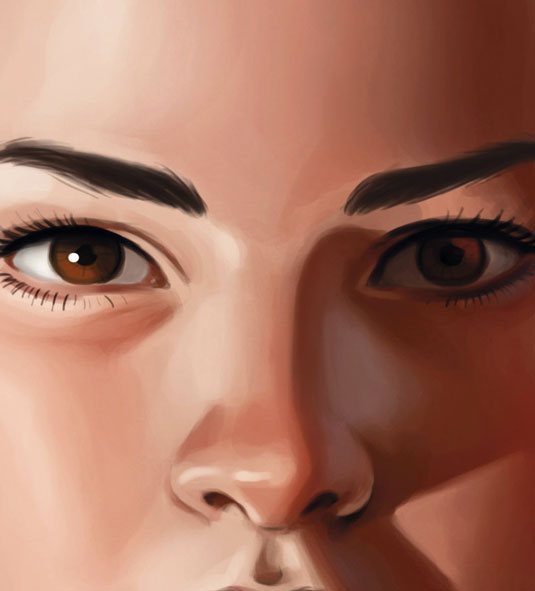
The shadows on a face or an object are important. They give more information about the form and three-dimensional construction. If a face is illuminated by a hard-point source of light, the shadows will be clear. These shadows help to describe the structure and contours of the face more clearly than diffuse light.
01. Know your source

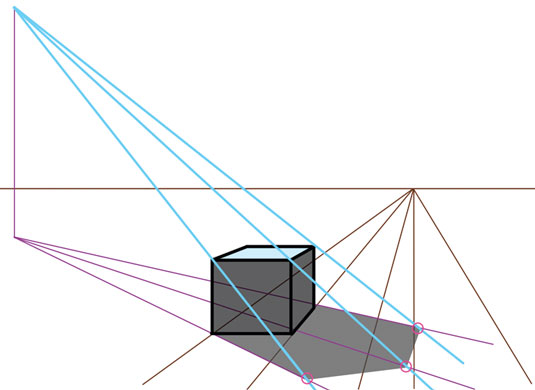
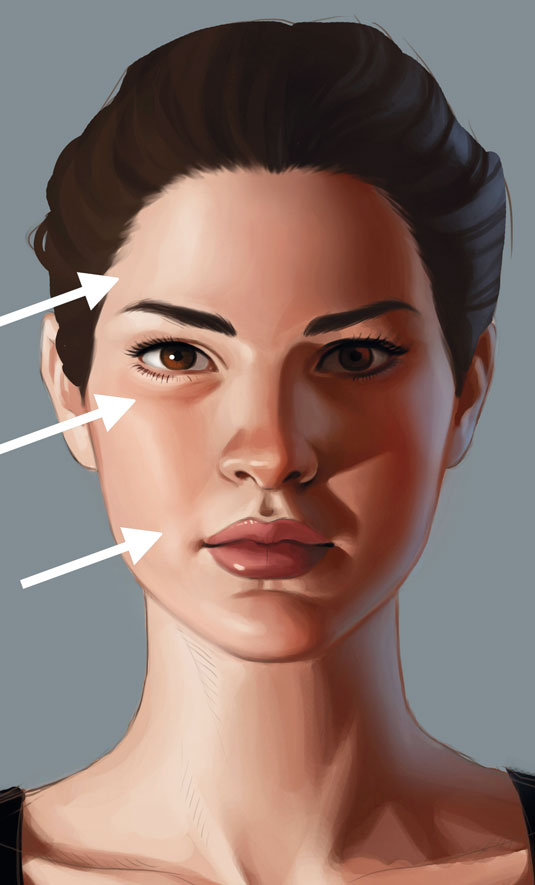
I think about which direction my light source is coming from. As an aid, you could draw line demonstrating the direction of the light. The direction is key for the placement of the shadows. Everything that faces the light source is bright and everywhere the light doesn't strike is dark.
02. Examine your own facial features

When I paint a face without reference I examine my own face with my fingers, which tells which parts curve inwards or outward. The most difficult part of a hard shadow is the cast shadow. The shadow of an object (in case of a portrait, the nose) is more elongated than the object itself.
The more the light in my example comes from the side, the longer the cast shadow of the nose becomes. The more the light source comes from the front, the shorter the cast shadow.
03. Set it up before you start

A good tip (especially for portraits) is to use a small table lamp and a mirror. When you alter the position of the table lamp, you also change the cast shadows on your face. It's important to understand the different ways in which shadows fall. This awareness and understanding is the basis of placing a shadow correctly.
Artists' secret: Change your brush stroke settings afterwards
Sometimes you can create the perfect line that has exactly the momentum you want, but with too much coverage or in the wrong mode. In this case simply click Edit>Fade Brush Tool. This opens a new window in which you can alter the opacity and mode.
Words: Daniela Uhlig
Daily design news, reviews, how-tos and more, as picked by the editors.
Daniela Uhlig works in the games industry, where she create concepts for characters and backgrounds. In her spare time she’s an art freelancer. This article originally appeared in ImagineFX magazine issue 98.
Like this? Read these!

The Creative Bloq team is made up of a group of art and design enthusiasts, and has changed and evolved since Creative Bloq began back in 2012. The current website team consists of eight full-time members of staff: Editor Georgia Coggan, Deputy Editor Rosie Hilder, Ecommerce Editor Beren Neale, Senior News Editor Daniel Piper, Editor, Digital Art and 3D Ian Dean, Tech Reviews Editor Erlingur Einarsson, Ecommerce Writer Beth Nicholls and Staff Writer Natalie Fear, as well as a roster of freelancers from around the world. The ImagineFX magazine team also pitch in, ensuring that content from leading digital art publication ImagineFX is represented on Creative Bloq.
